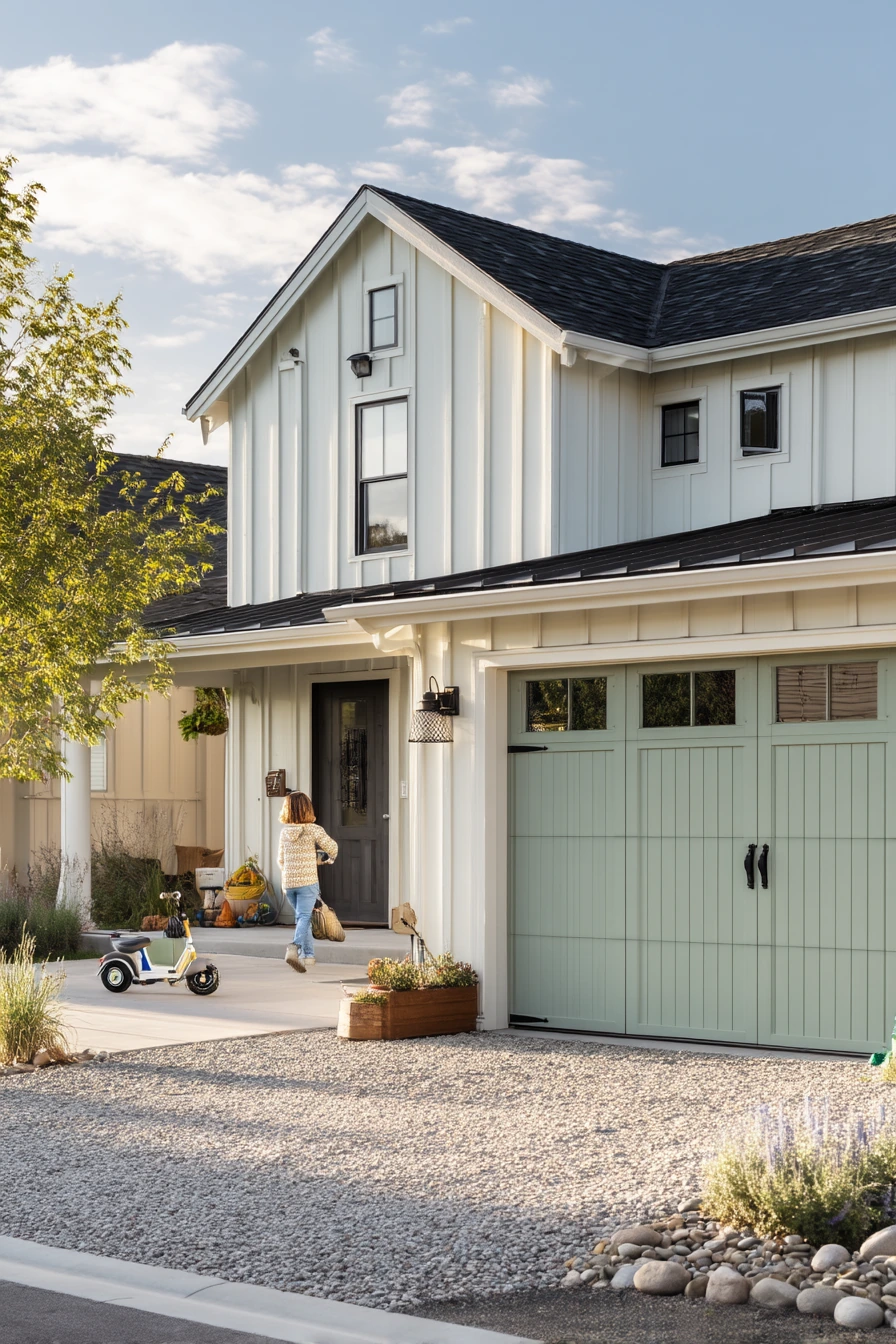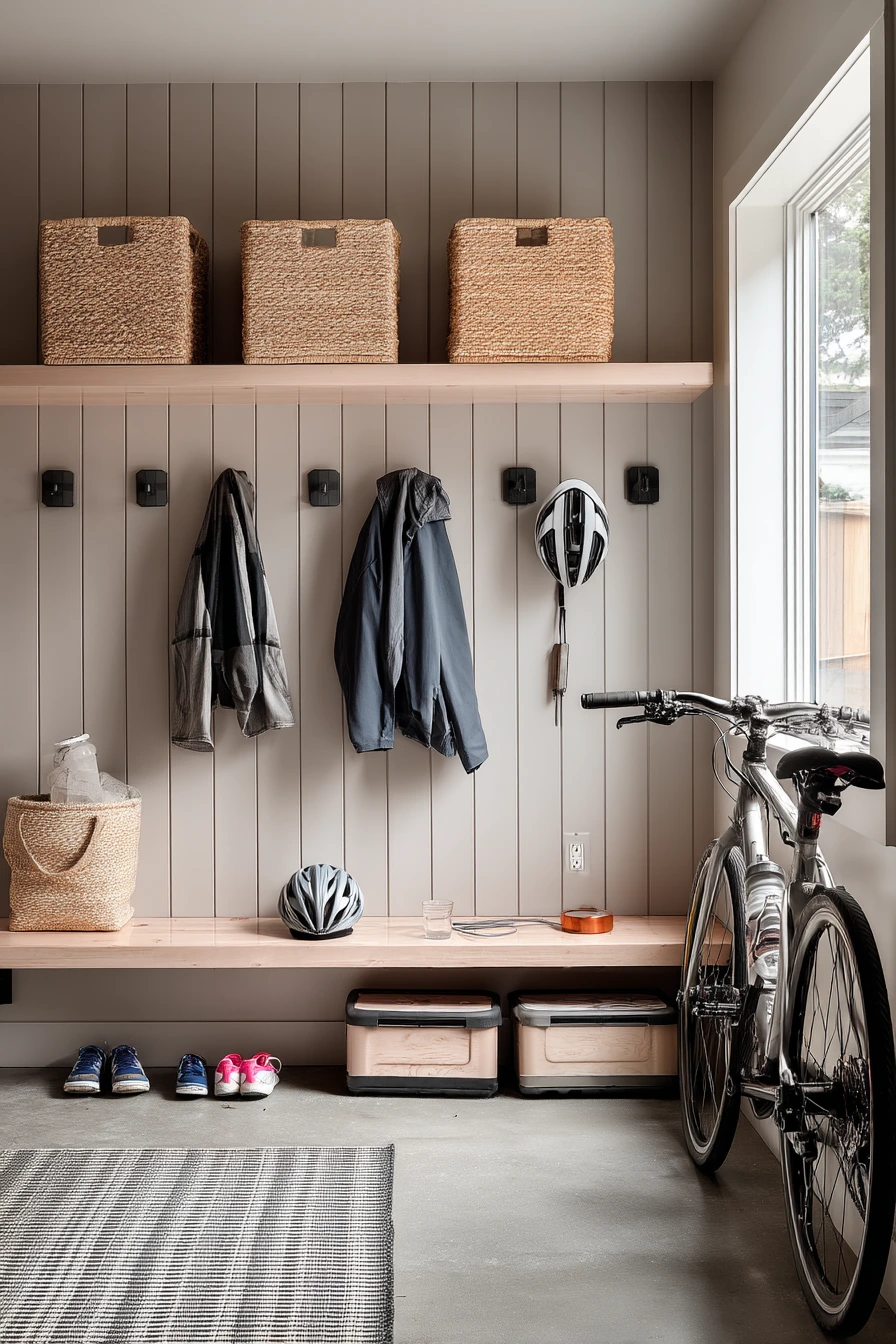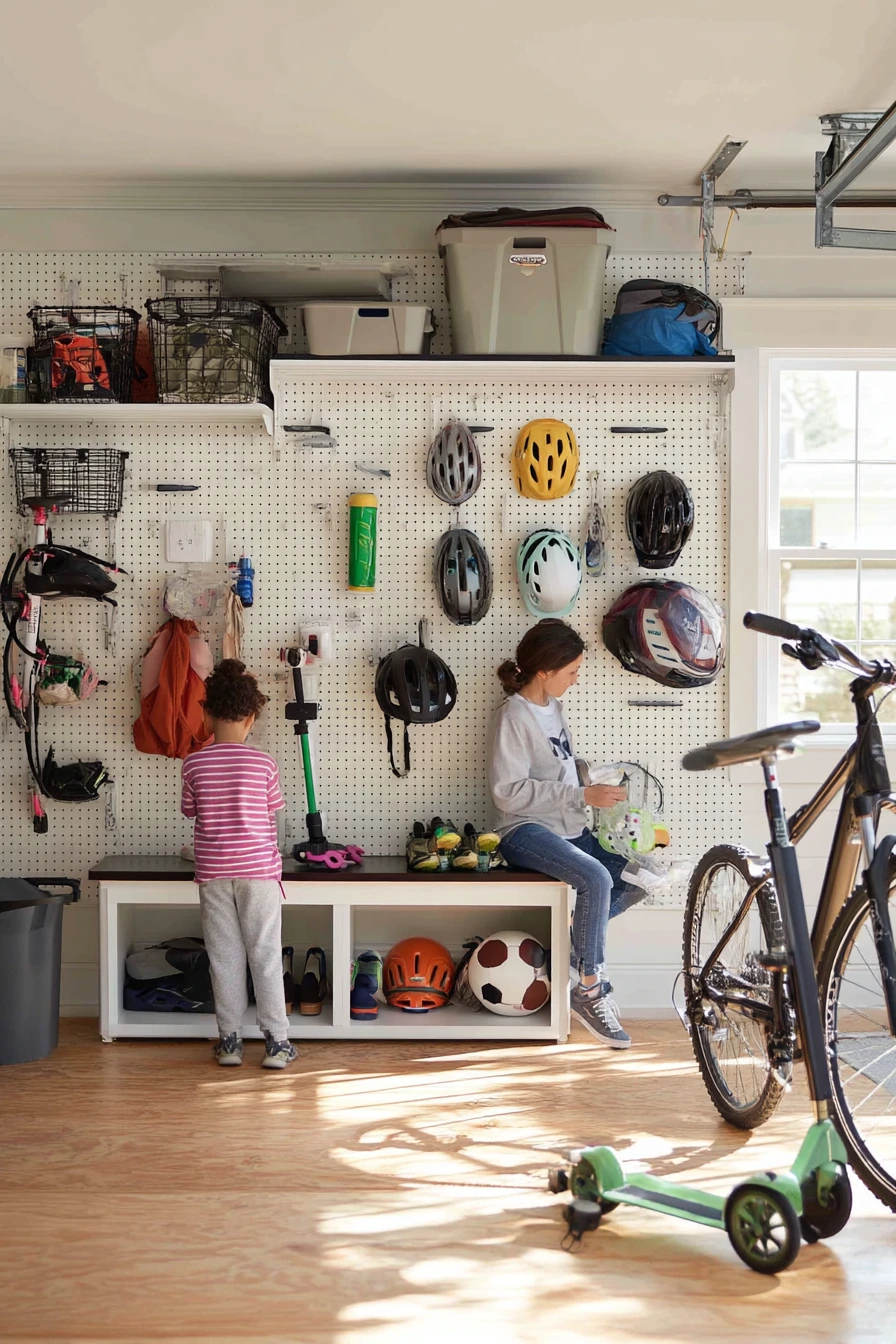

Looking for garage workbench ideas that actually fit real life. This guide shows practical setups you can copy, even if your garage is small, shared with bikes, or used for storage.
You will see compact wall-mounted benches, simple DIY sawhorse tables, slim single-wall benches, and sturdier woodworking stations. Each one includes easy organization ideas like pegboard, labeled bins, drawers, and tool docks.
These examples are styled like real homes with everyday items nearby, such as a coiled charging cable, a shopping list pinned to the wall, and backpacks by the door. The goal is to help you build a work area that stays calm, safe, and useful.
Use the tips to plan your layout, pick a work surface, add light, and keep tools in reach. You can start small, improve it over time, and still get a workbench that looks tidy in photos.
1 Compact Wall-Mounted Workbench for a Busy Family Garage
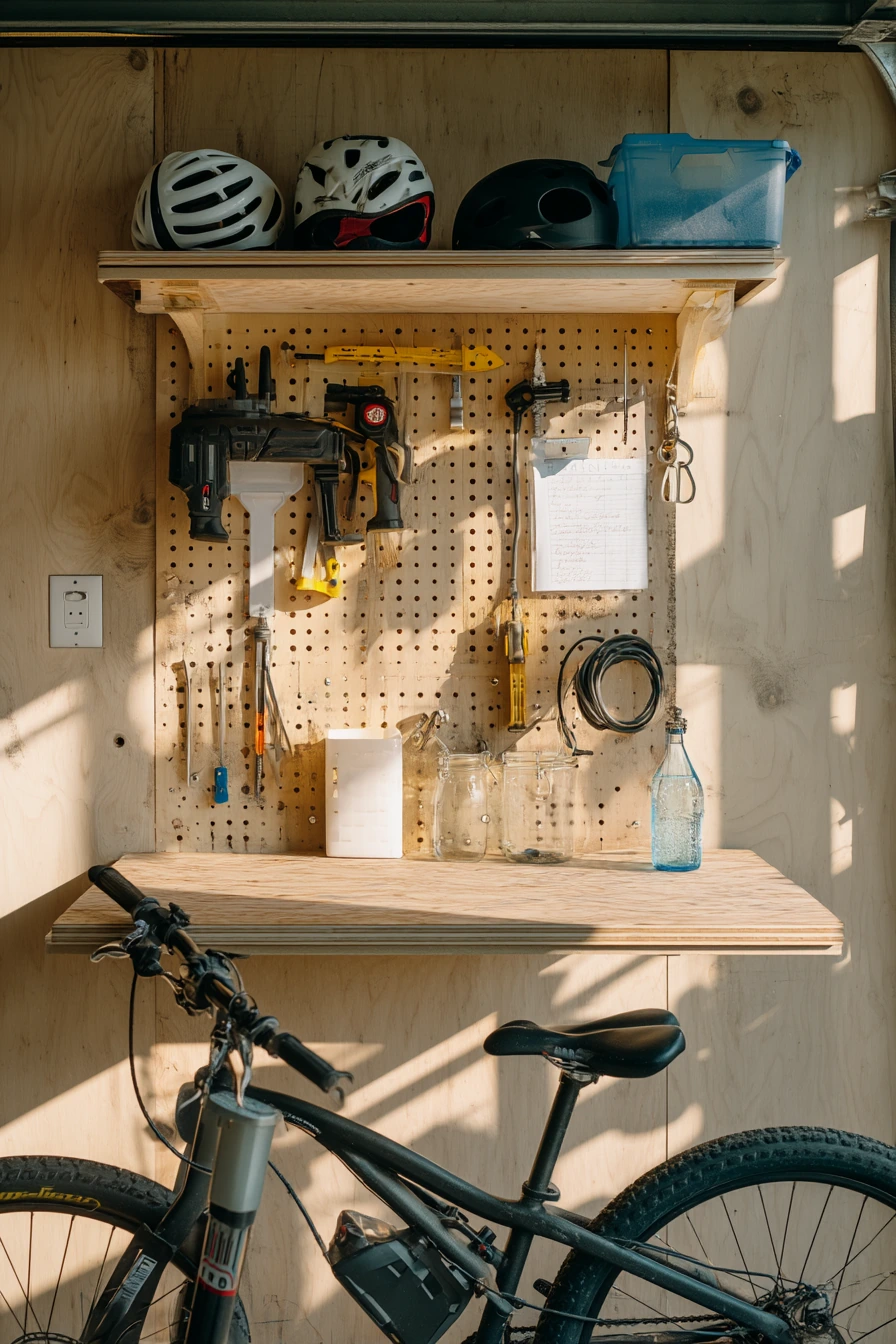
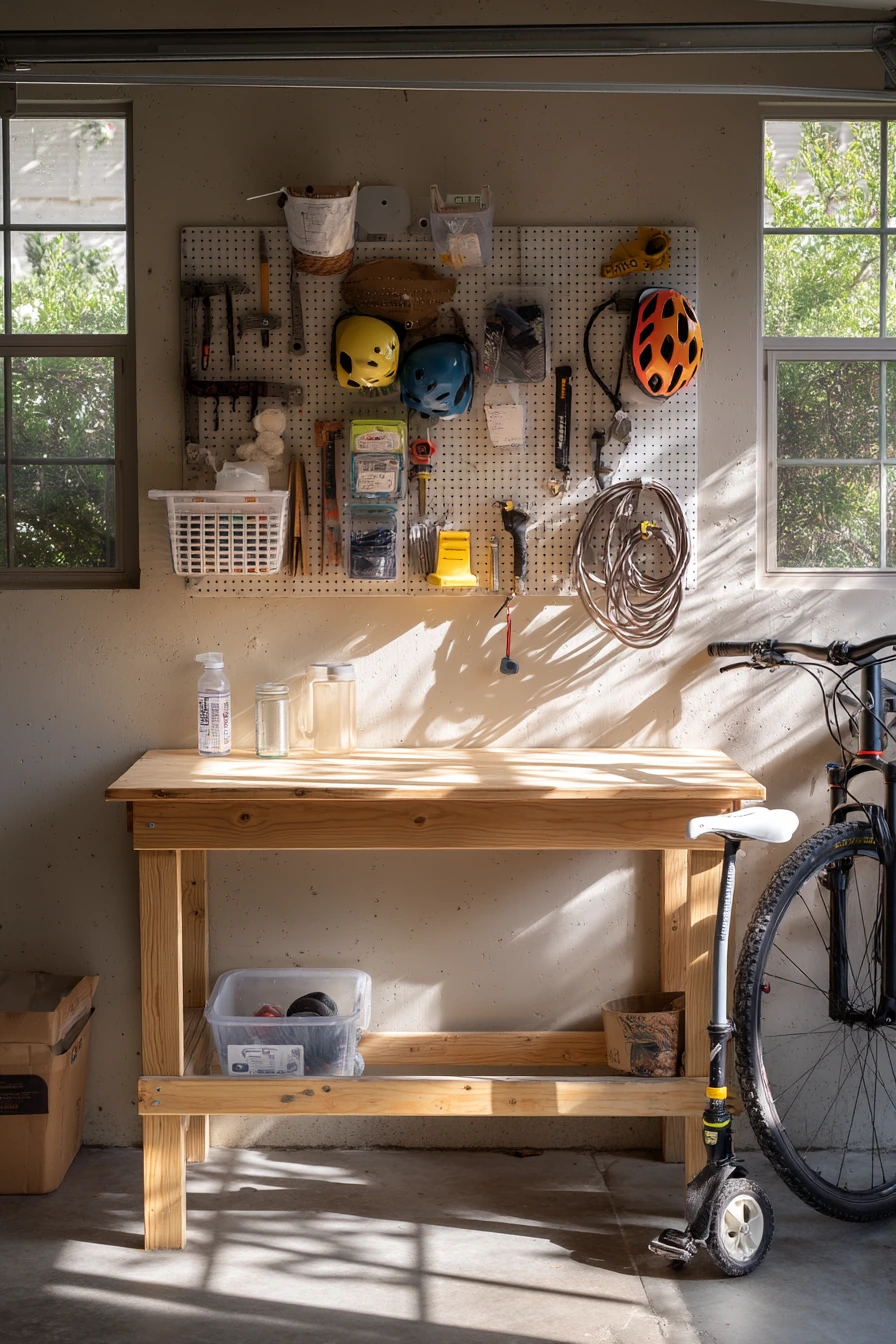
A wall-mounted workbench is one of the best garage workbench ideas for a family garage. It keeps the floor open for bikes, helmets, and a kid’s scooter, while still giving you a solid place to fix things. A plywood top works well because it is strong, easy to replace, and simple to cut to size. Add a clamp light or small task light so you can see clearly in the morning or after work.
To make it feel calm, set up a pegboard with the hand tools you use most. Keep a few hooks for tape, a small level, and pliers. Under the bench, use labeled bins for fast cleanup. If life happens and a half-full water glass shows up on the bench, you still want the main surface to be clear enough to work safely.
Style it in a real, useful way. Pin a shopping list to the wall for hardware runs, and coil the charging cable on a hook so it does not tangle. Keep one small “drop zone” tray for keys and screws. This kind of setup looks tidy in photos, but it also supports daily routines.
- Mount the bench into wall studs and use heavy brackets for strength.
- Choose a plywood top that is at least 3/4 inch thick.
- Hang a pegboard and outline tool shapes so items go back fast.
- Add labeled bins for glue, tape, and spare parts.
- Use a clamp light and aim it at the work surface, not your eyes.
Pro Design Tip: Keep the pegboard “quiet” by grouping tools by job (bike tools, picture-hanging tools, basic repair tools) and leave 20% of the board empty for new needs.
Budget Considerations: Brackets and plywood are usually cheaper than full cabinets. If you need to save more, use a reclaimed door as the top and sand it smooth.
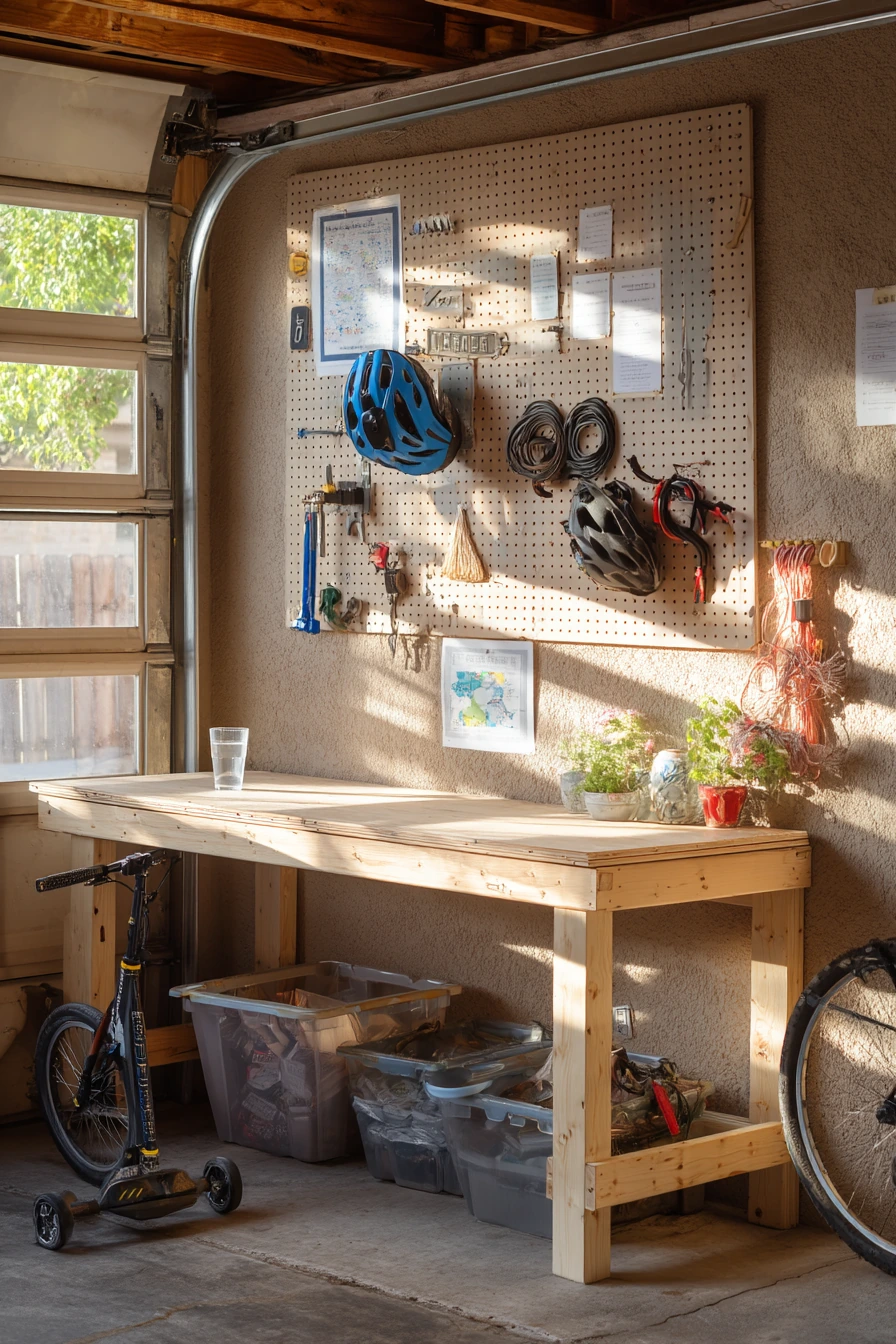
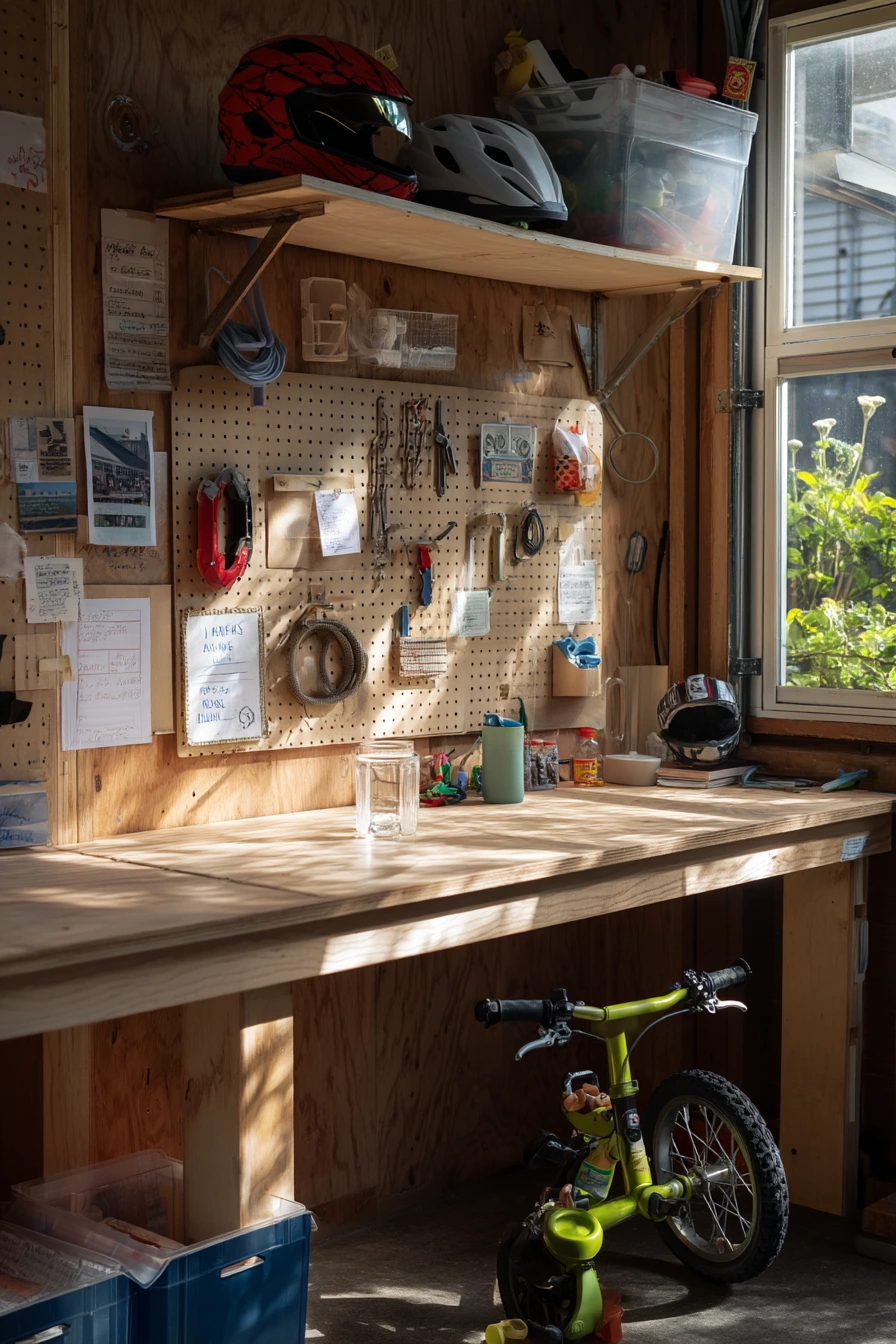
2 Budget-Friendly DIY Bench in a Renter Garage
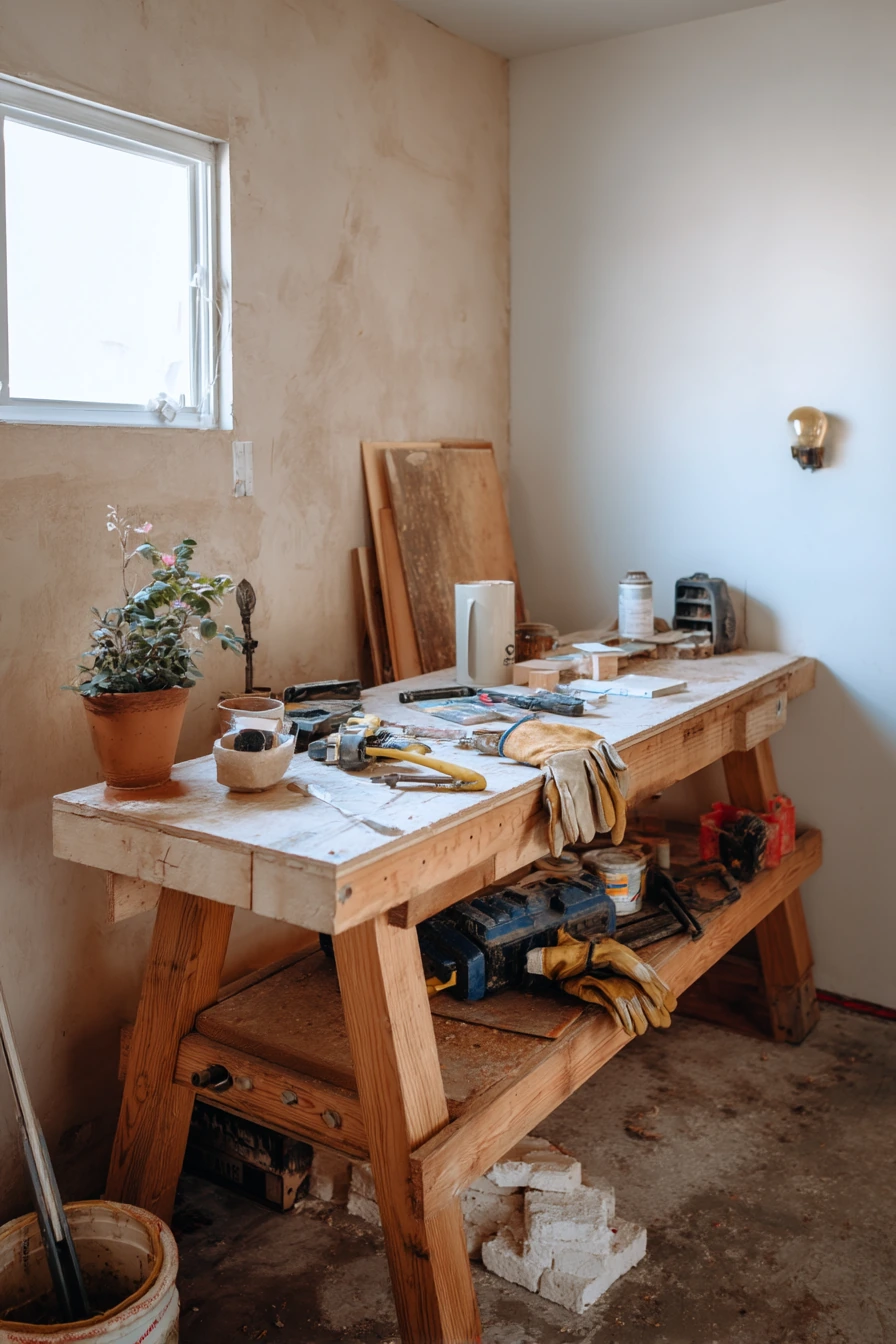
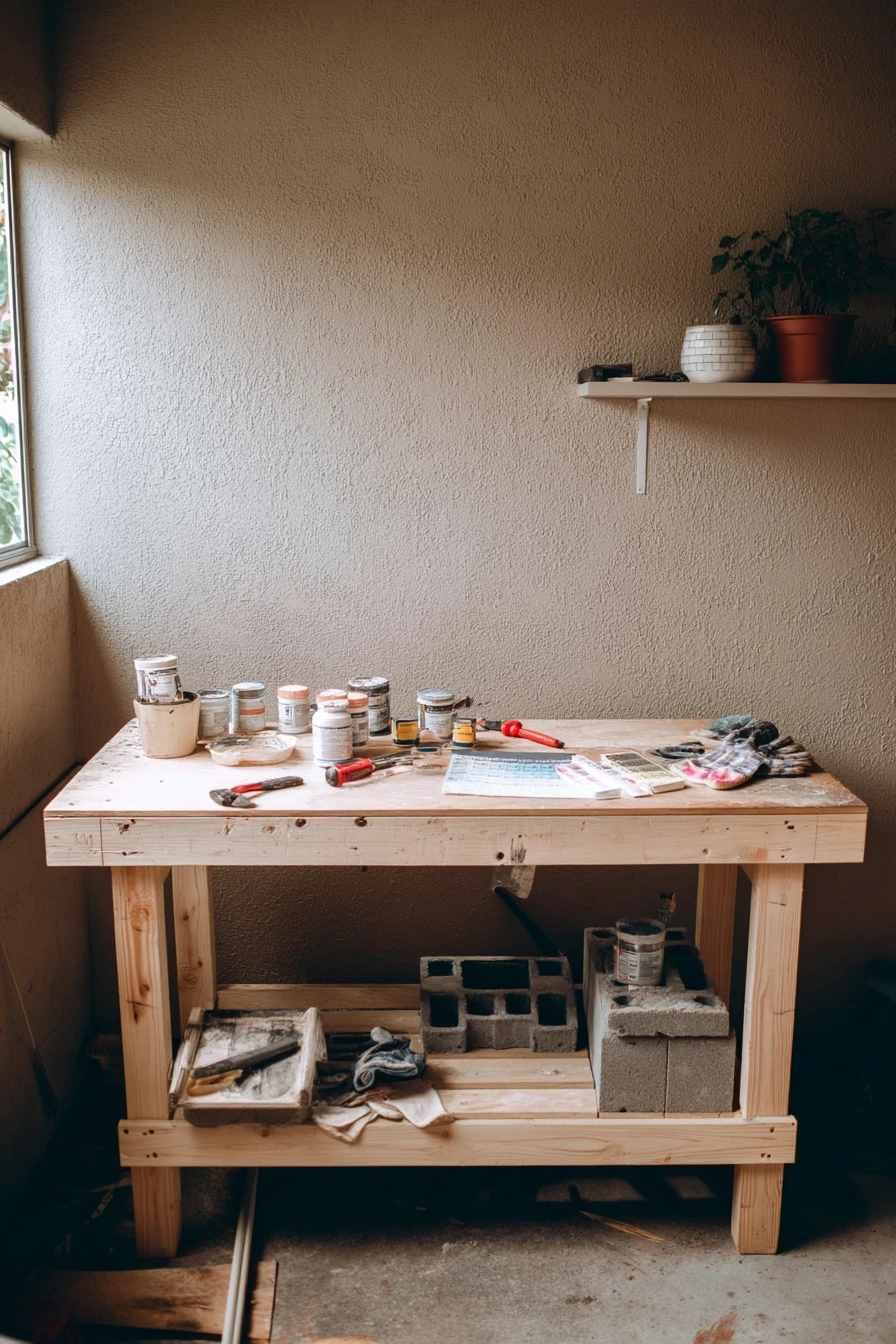
If you rent, you may not be able to drill into walls or build permanent cabinets. A sawhorse bench is a budget-friendly DIY option that packs up fast. Use two sturdy sawhorses and a stained plywood sheet for the top. It is simple, stable, and easy to move when you need the garage for parking.
Storage can be low-cost too. Stack cinder blocks under the bench to hold paint cans, a tool tray, or a rolled-up drop cloth. Keep an extension cord on a hook or in a bucket so it does not become a tripping hazard. Small details make it feel real and lived-in, like a chipped mug for pencils or a place to set your gloves.
For styling, add one small plant on a shelf to soften the space, and keep paint tester swatches in a folder or clipped to a board. This setup works for light woodworking, painting, and quick home repairs. The key is to make everything easy to put away, so the bench does not take over the garage.
- Use locking sawhorses or add a brace to stop wobble.
- Stain and seal the plywood so glue and paint wipe off easier.
- Store supplies in cinder block openings using small bins.
- Keep work gloves and safety glasses in one open tray.
- Roll the drop cloth tight and secure it with twine or a strap.
Pro Design Tip: Choose one “mobile station” box for the tools you use every time, so you can set up and clean up in under five minutes.
Budget Considerations: Sawhorses plus plywood can cost less than a premade bench. Ask a lumber yard for a cut-off sheet or buy a used solid-core door for an even cheaper top.
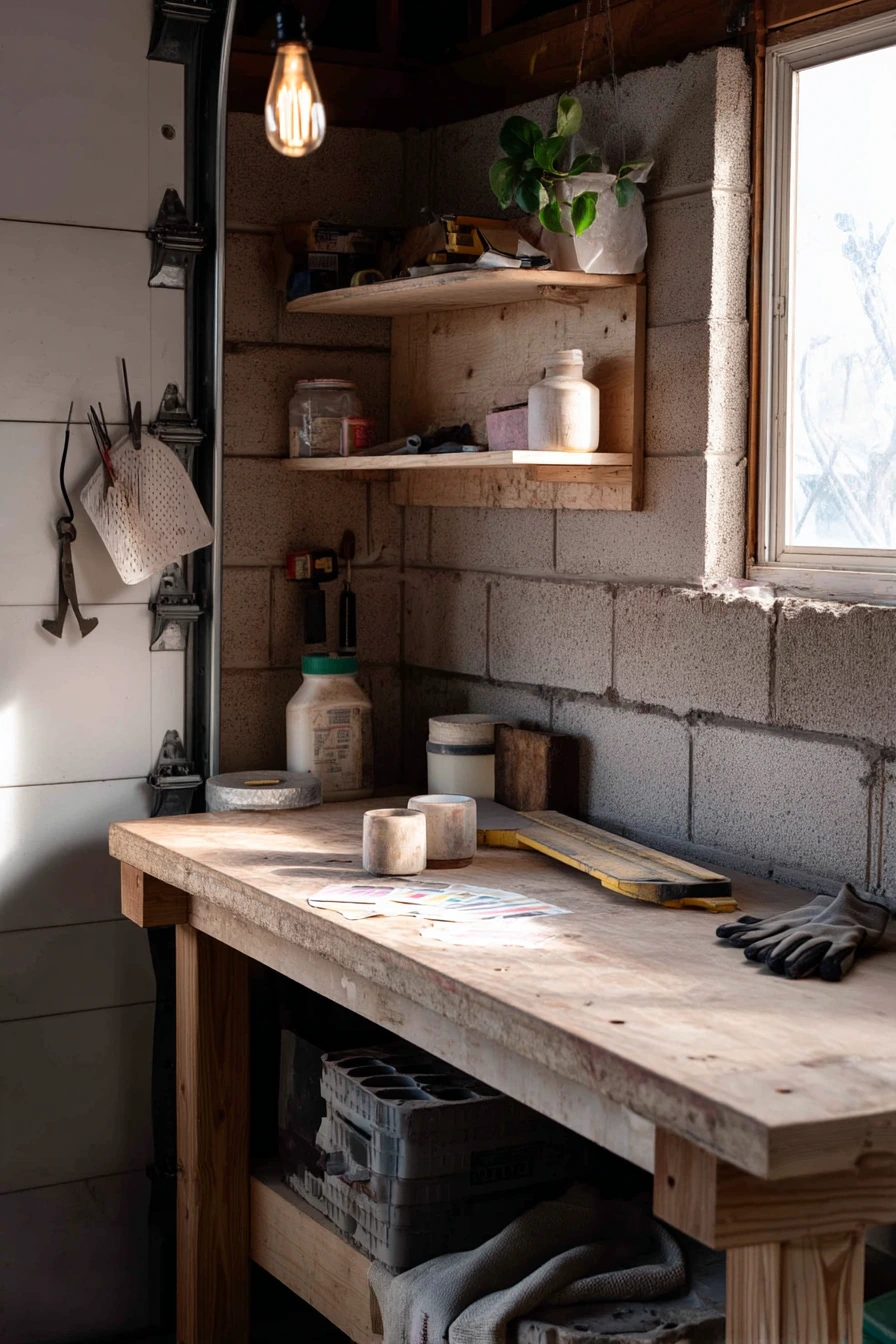
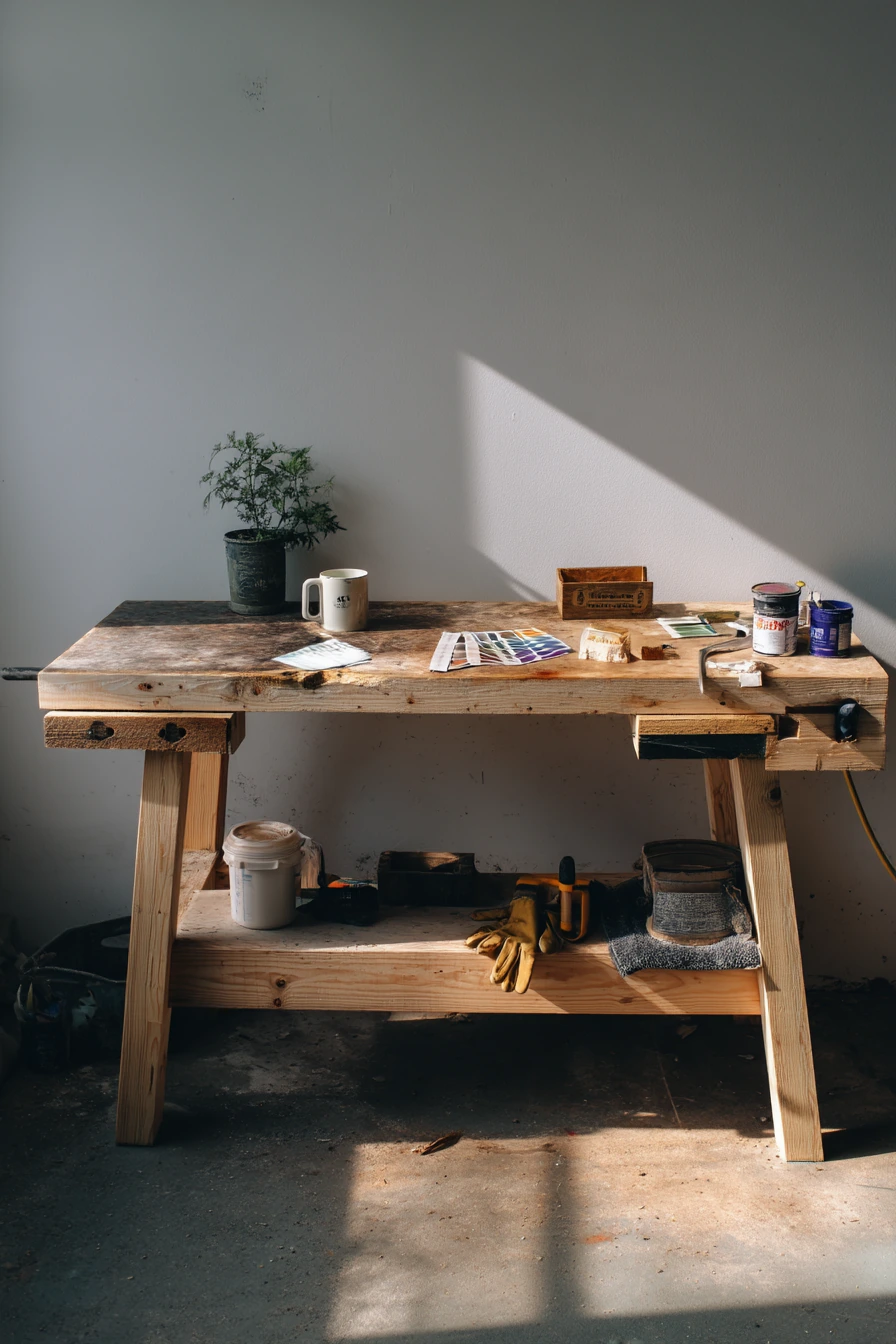
3 Small-Space Garage Bench with Vertical Storage
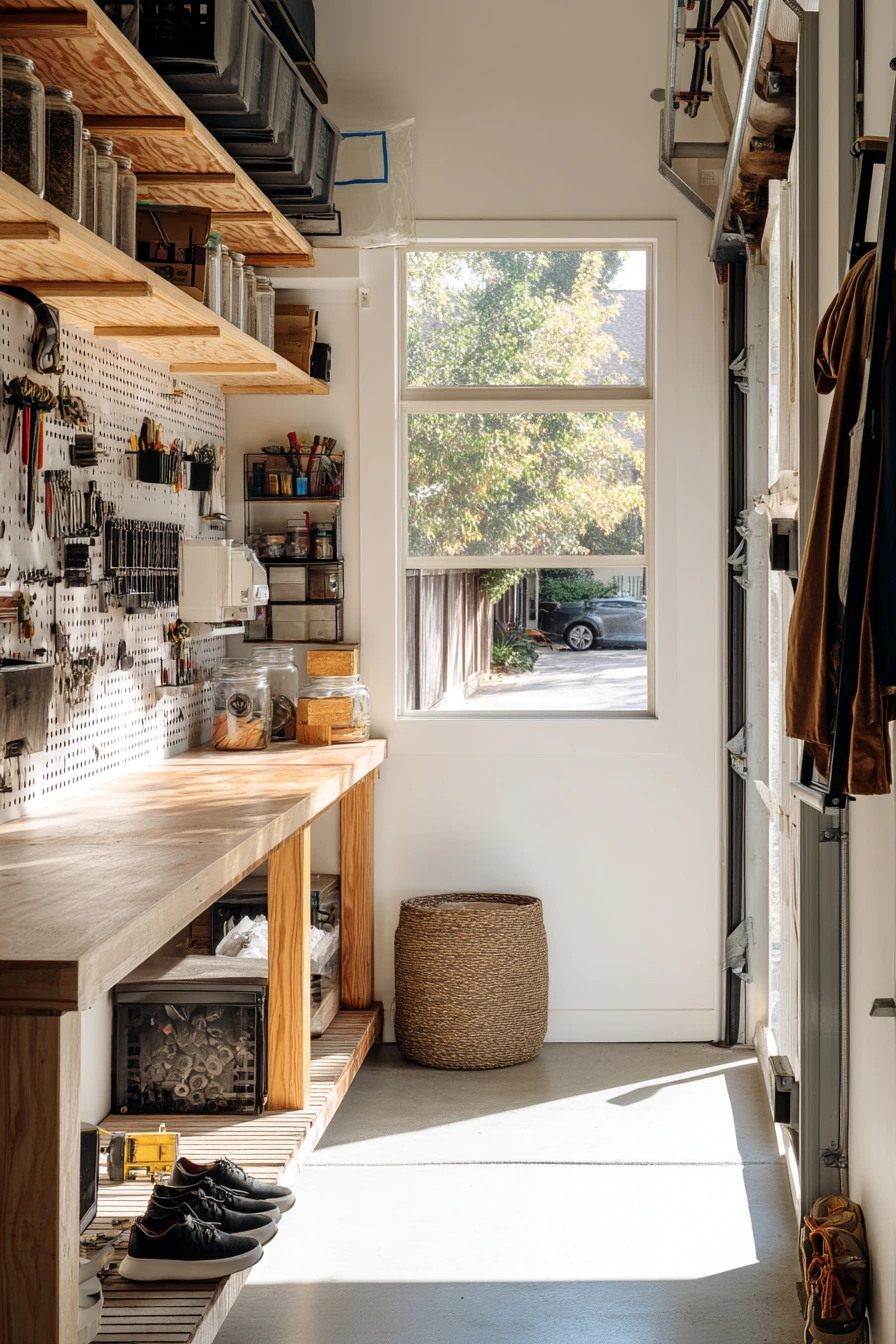
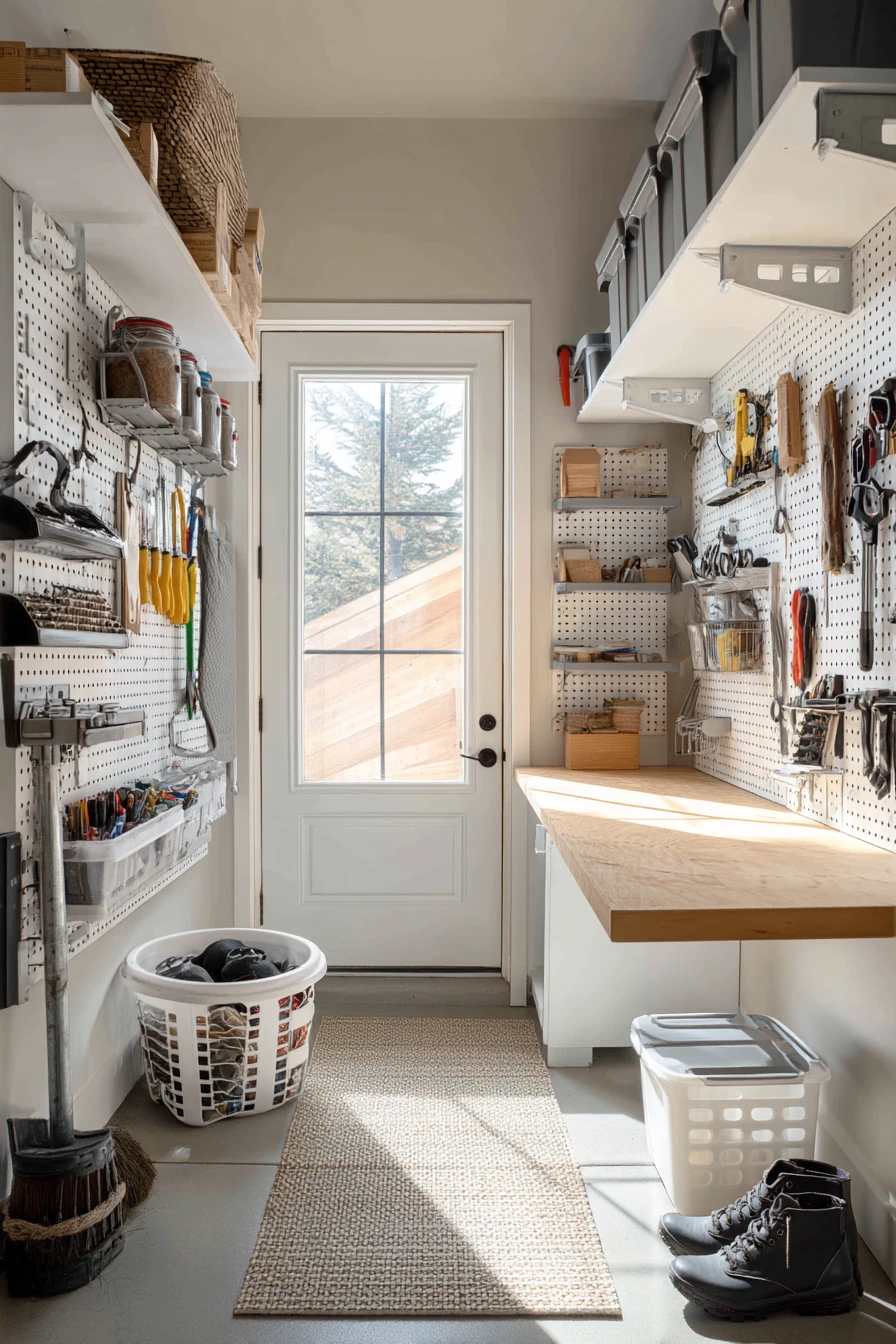
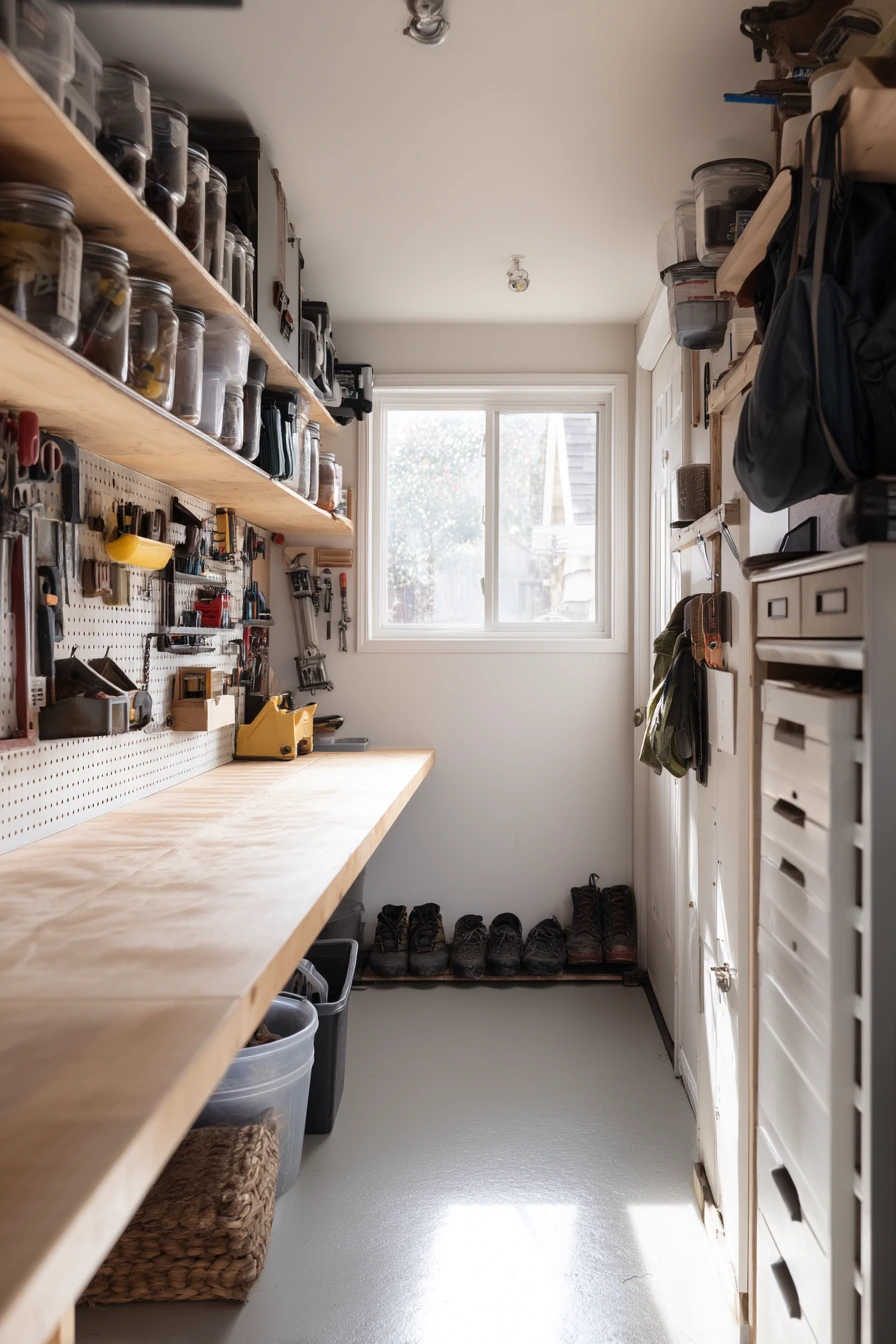
A narrow single-car garage needs a slim workbench that stays out of the way. Run a bench along one wall so the center lane stays clear for walking and storage. A shallow depth, like 16 to 20 inches, is often enough for small repairs, sanding, and tool setup. Keep the surface free of piles by planning storage above and below.
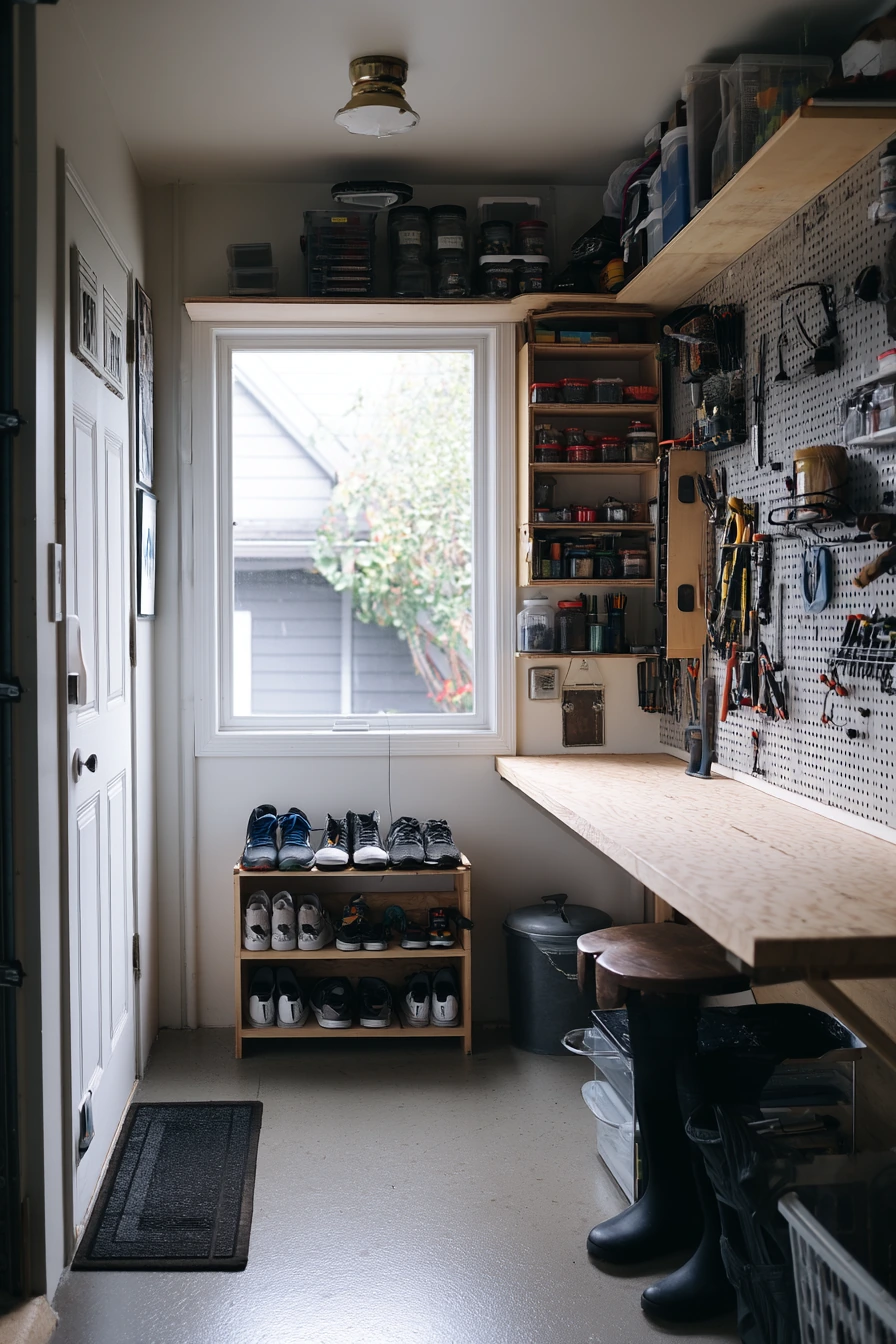
Vertical organization is the secret here. Add a pegboard for hand tools and a magnetic strip for bits, scissors, and small metal tools. Use stackable drawers for nails, anchors, and electrical parts. Clear jars for spare screws work well and help you see what you have. If you have a mail pile that tends to land in the garage, give it one tray so it does not spread across the bench.
Style it so it still feels like a real entry zone. A folded ladder can lean in a corner, and a laundry basket near the door might be part of your routine. The goal is not perfect. It is a setup that keeps the tight space functional and safer, even with dusty sneakers and everyday clutter nearby.
- Keep the bench shallow to protect walking space and car doors.
- Use a magnetic strip for small tools to free up drawer space.
- Label stackable drawers by category, not by brand.
- Store screws in jars and add simple lid labels.
- Add one “incoming” tray for mail so it stays contained.
Pro Design Tip: Match the pegboard hooks and drawer fronts in one color to reduce visual noise and make the narrow garage feel wider.
Budget Considerations: A slim bench uses less lumber and less countertop material. Repurpose an old desk top and add simple legs to keep costs low.
4 Weekend Woodworker Bench with Real Tools in Use
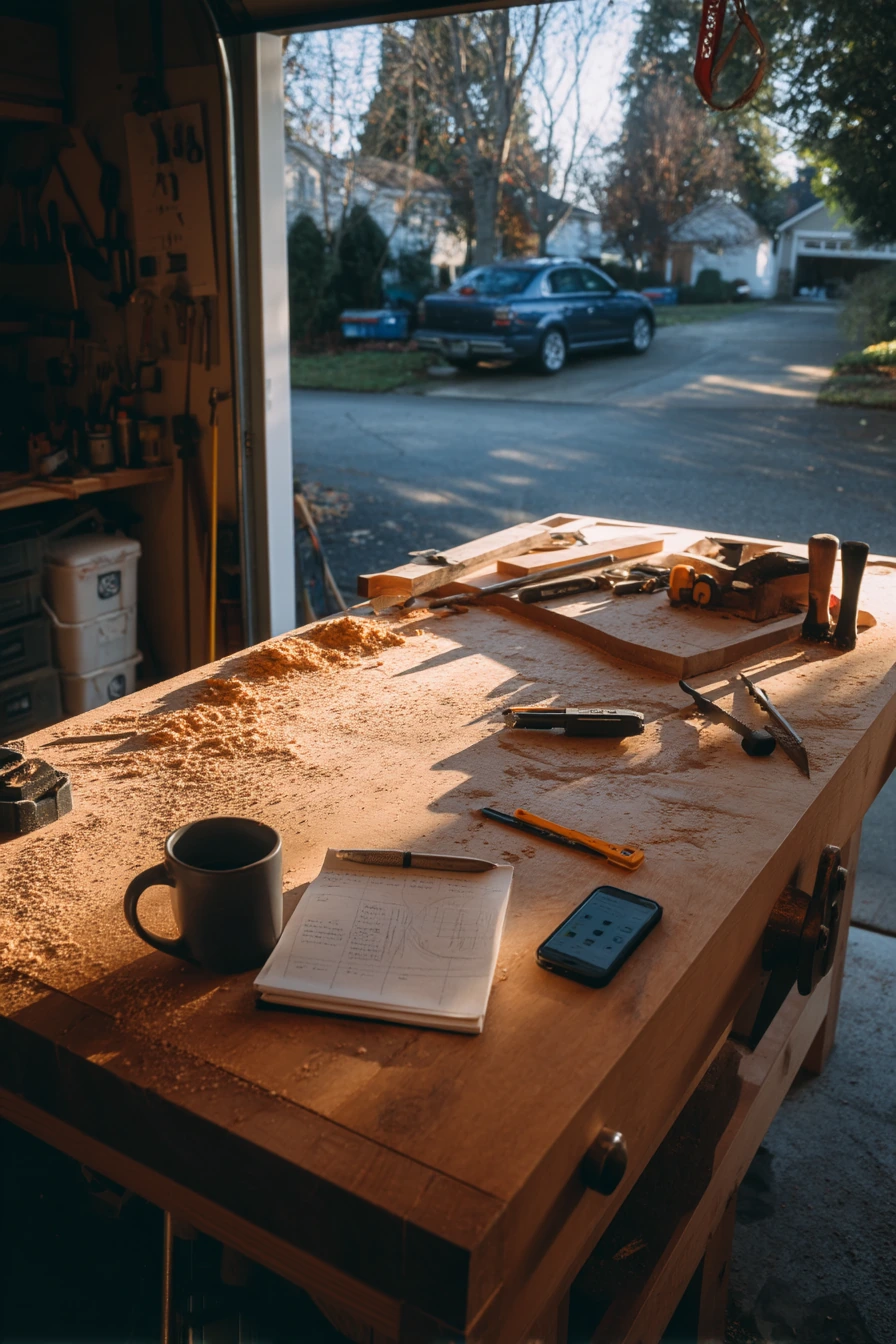
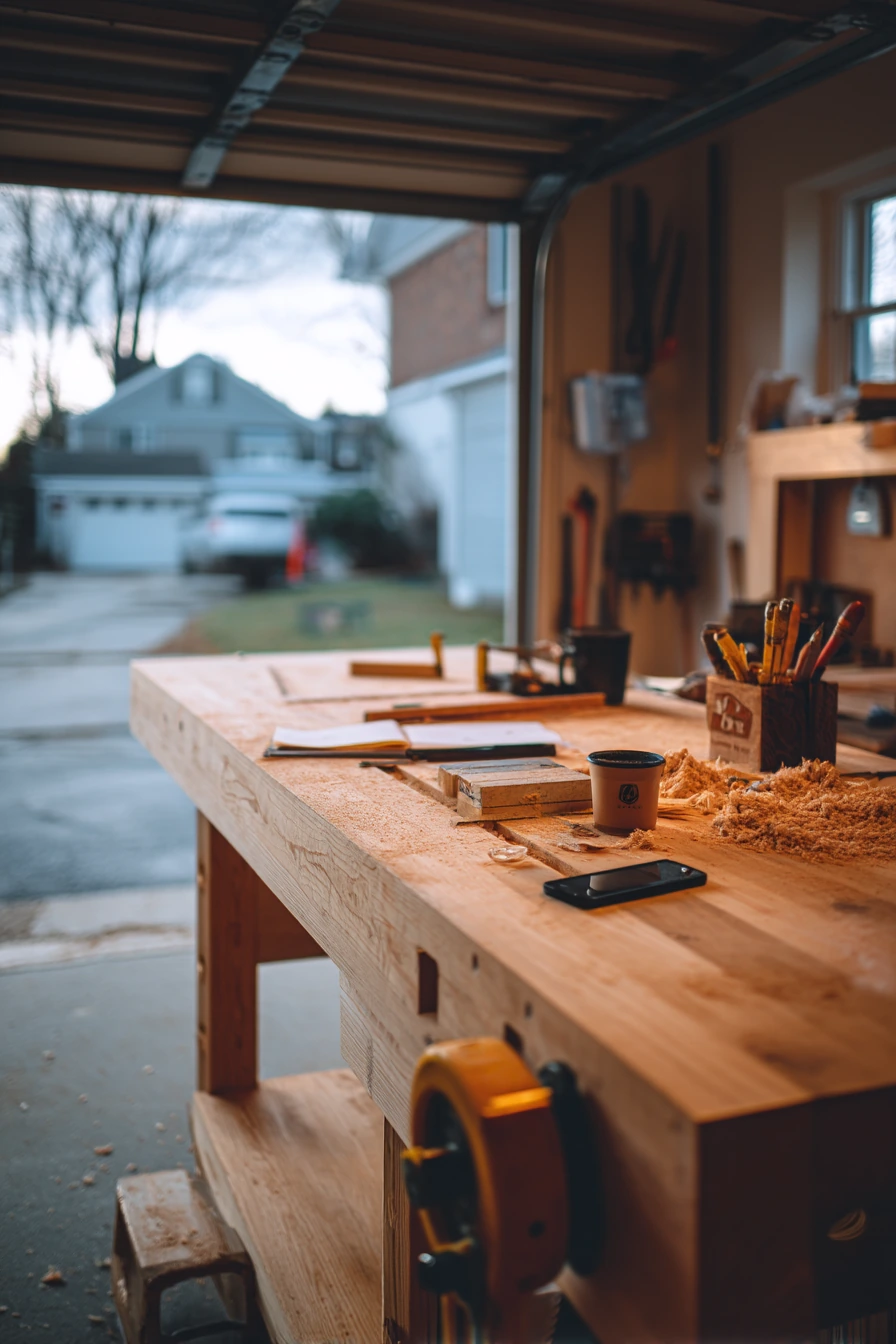
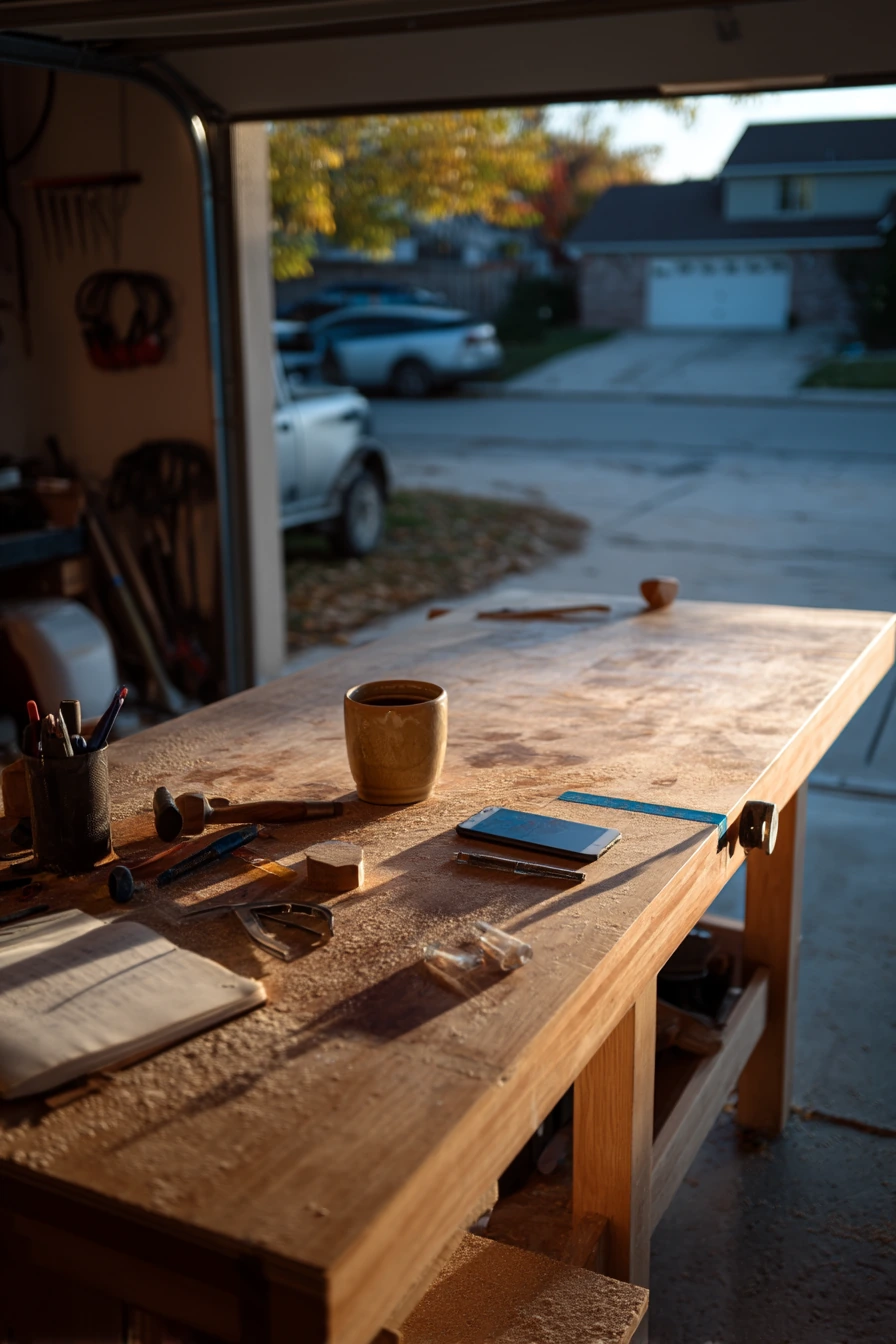
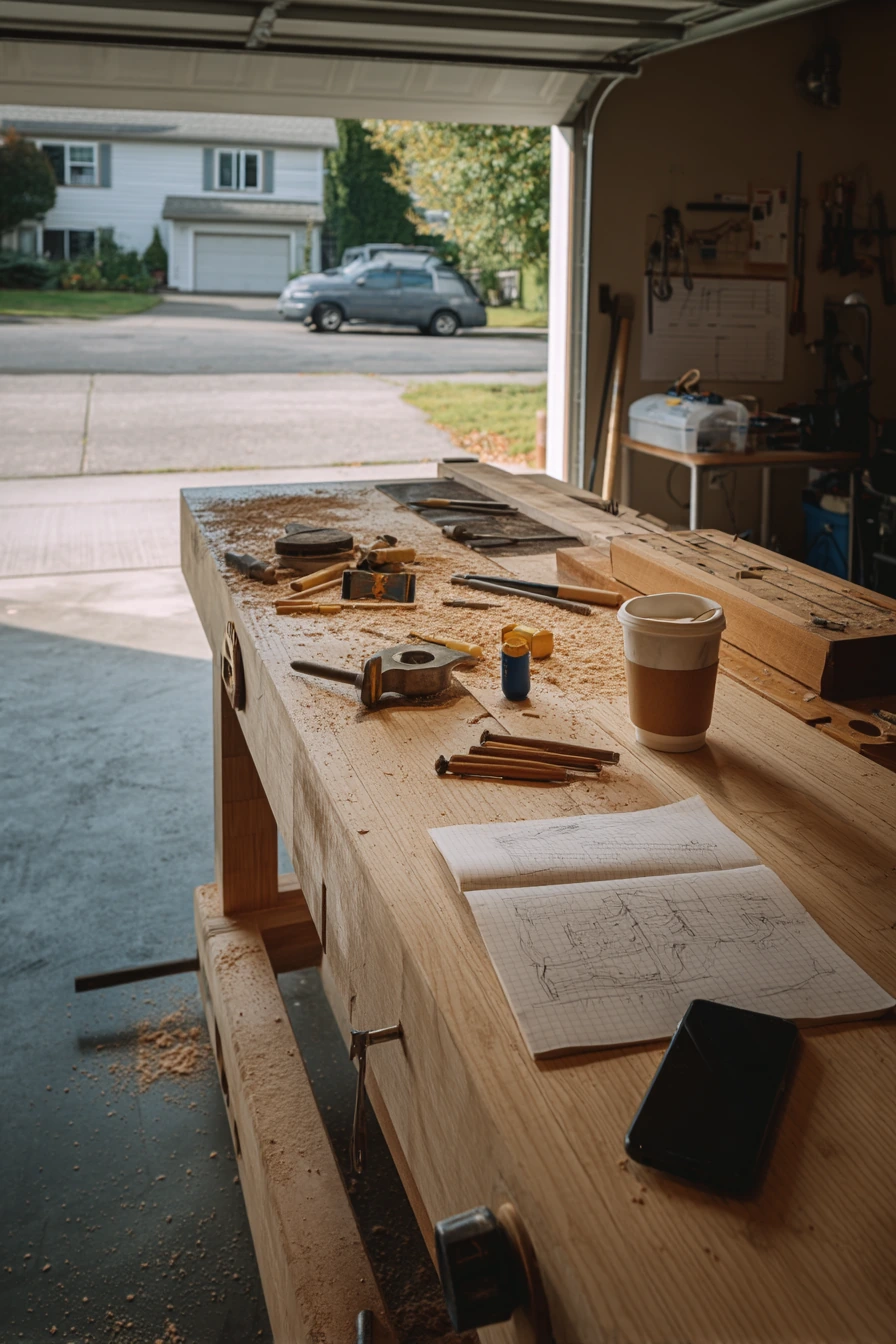
If you do weekend woodworking, you will want a sturdy bench that can take force from sawing, chiseling, and clamping. A butcher-block top is strong, heavy, and comfortable to work on. Add a bench vise for holding boards, and keep a marked measuring tape and pencil within reach. Some sawdust on the surface is normal and shows the bench is being used.
Set up the bench as a true station. A cup for chisels keeps sharp edges upright and easy to grab. Keep safety glasses on a hook at eye level so you use them every time. A notebook with sketches helps you track cuts and avoid mistakes. If your phone charges at the bench, route the cable along the back edge so it does not cross your work area.
To style it, keep the current project visible, like a half-sanded shelf on the bench. Put the cold coffee cup on a small side shelf, not by the sawdust. This keeps the scene honest but safer. A simple shop towel and a small brush for cleanup make the area look cared for and help you finish faster.
- Pick a heavy top and secure the base so it does not rack or twist.
- Mount a bench vise where your dominant hand feels natural.
- Use a cup or rack for chisels to protect the cutting edges.
- Keep a notebook and pencil for measurements and quick sketches.
- Add a cable clip to keep phone charging cords off the work surface.
Pro Design Tip: Install a narrow tool ledge along the back of the bench for the items you reach for most, so the main surface stays open for the project.
Budget Considerations: Butcher-block can be pricey. For a lower-cost option, laminate two layers of plywood and add a hardwood edge strip.
5 Multi-Use Bench for Crafts and Repairs
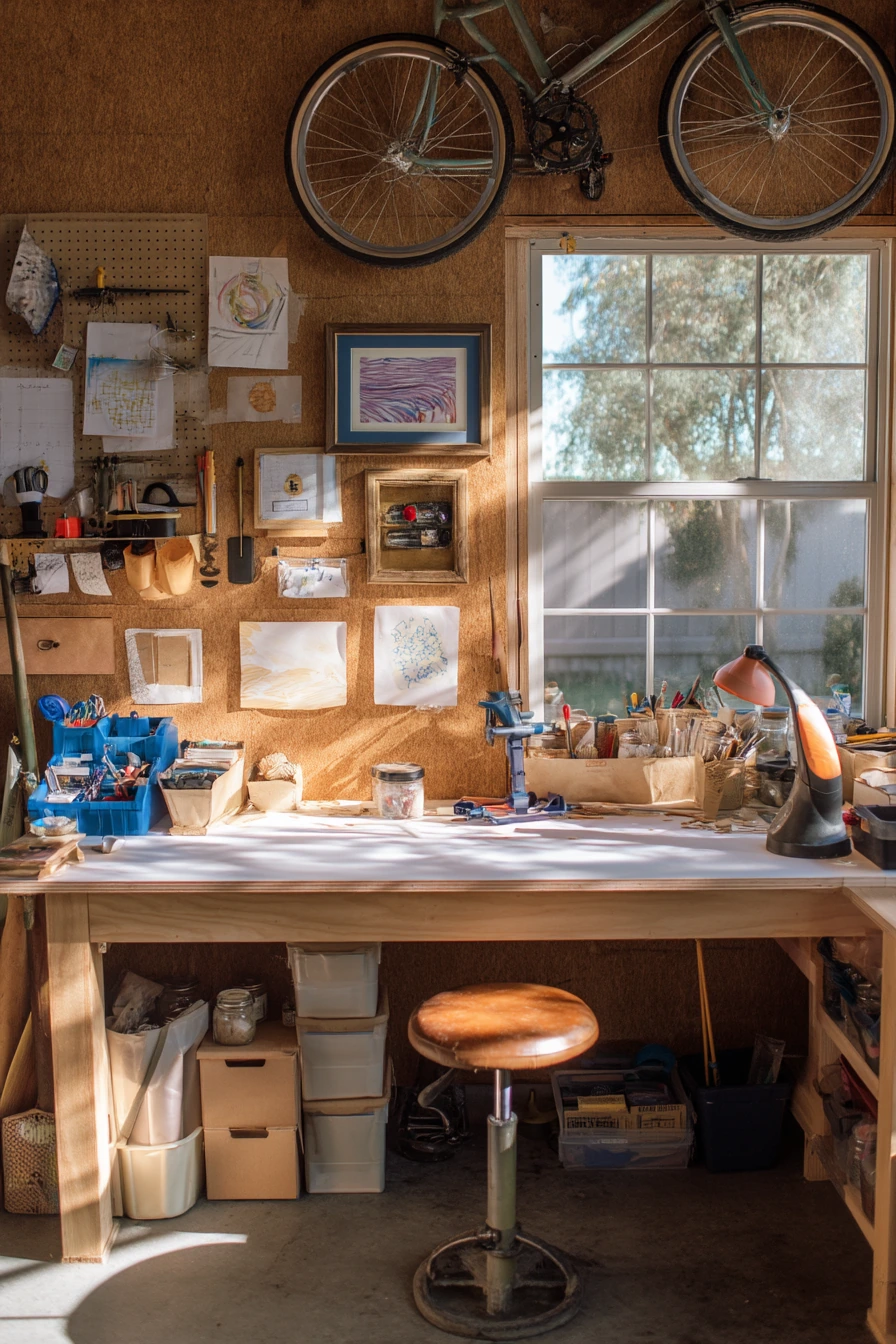
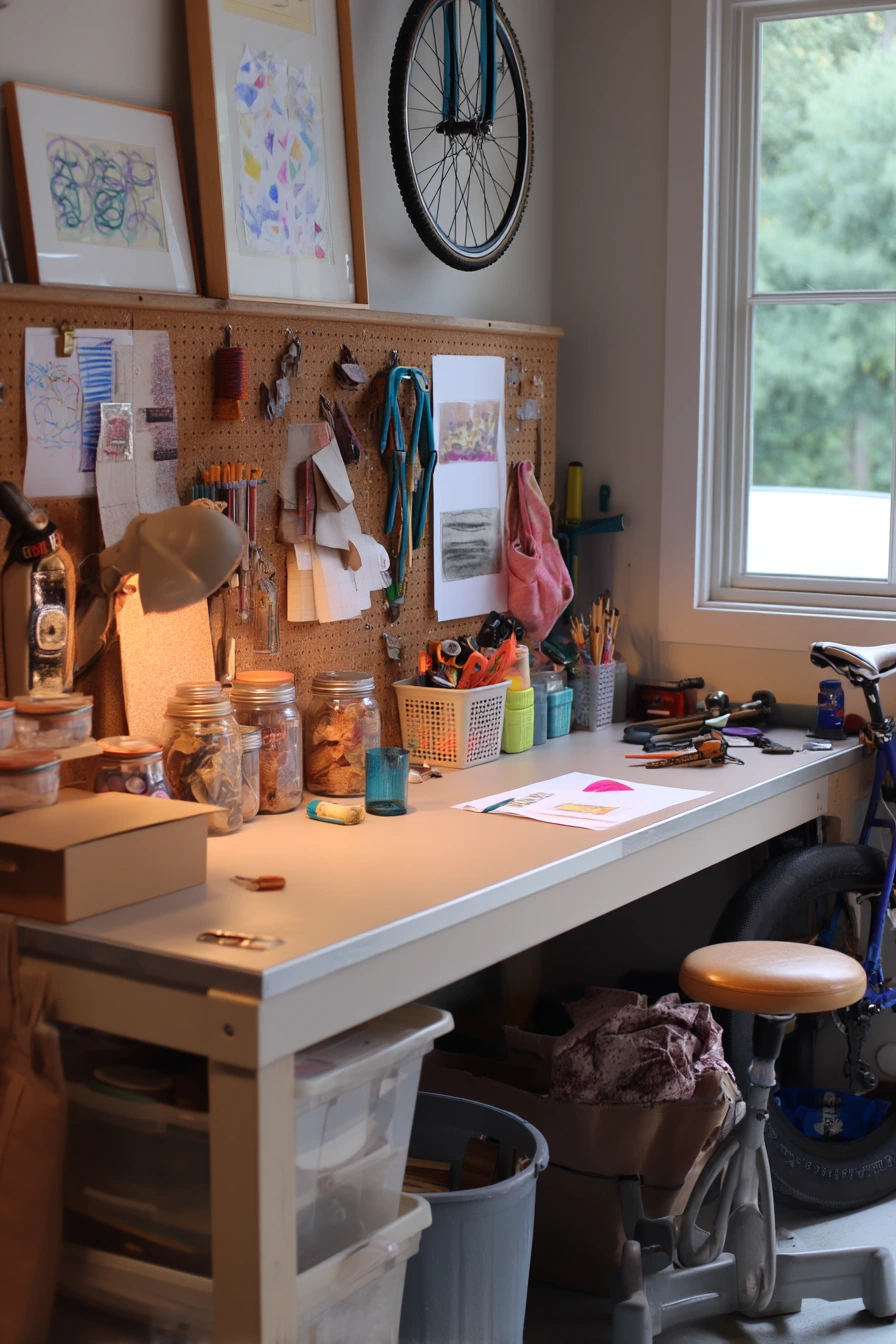
A multi-use garage bench works best when it can switch between bike repairs and weekend crafts without a full reset. A white laminate work surface is easy to wipe down after glue, paint, or chain grease. Add tool bins and a cork board so you can pin notes, patterns, and reminders. This kind of bench fits a busy home where small projects happen in short time blocks.
Keep zones on the bench. One side can hold bike tools, like a bicycle pump and a small parts tray. The other side can hold craft supplies, like fabric scraps and paintbrushes in a cup. Mason jars are great for buttons, bolts, and clips, and they also look neat on a shelf. A pair of reading glasses on a hook or in a small case prevents scratches and saves time.
For styling, clip a child’s art project to the side of the bench so it feels personal but not messy. Use a small tray for “today’s items” and clear it at the end of the day. Keep a soft lamp nearby if the overhead light is harsh, so the space feels warm and you can see colors accurately.
- Choose a laminate top for easy cleanup after crafts and repairs.
- Use a cork board for notes, patterns, and small reminders.
- Store bike items together: pump, patch kit, and tire levers.
- Use jars for small parts and keep lids labeled.
- Clip kids’ art to the side, not on the main work surface.
Pro Design Tip: Use two color-coded bin sets, one for bike gear and one for crafts, so anyone in the house can put things back correctly.
Budget Considerations: Laminate off-cuts can be affordable. You can also use a pre-finished shelf board as a top to avoid extra sealing and paint.
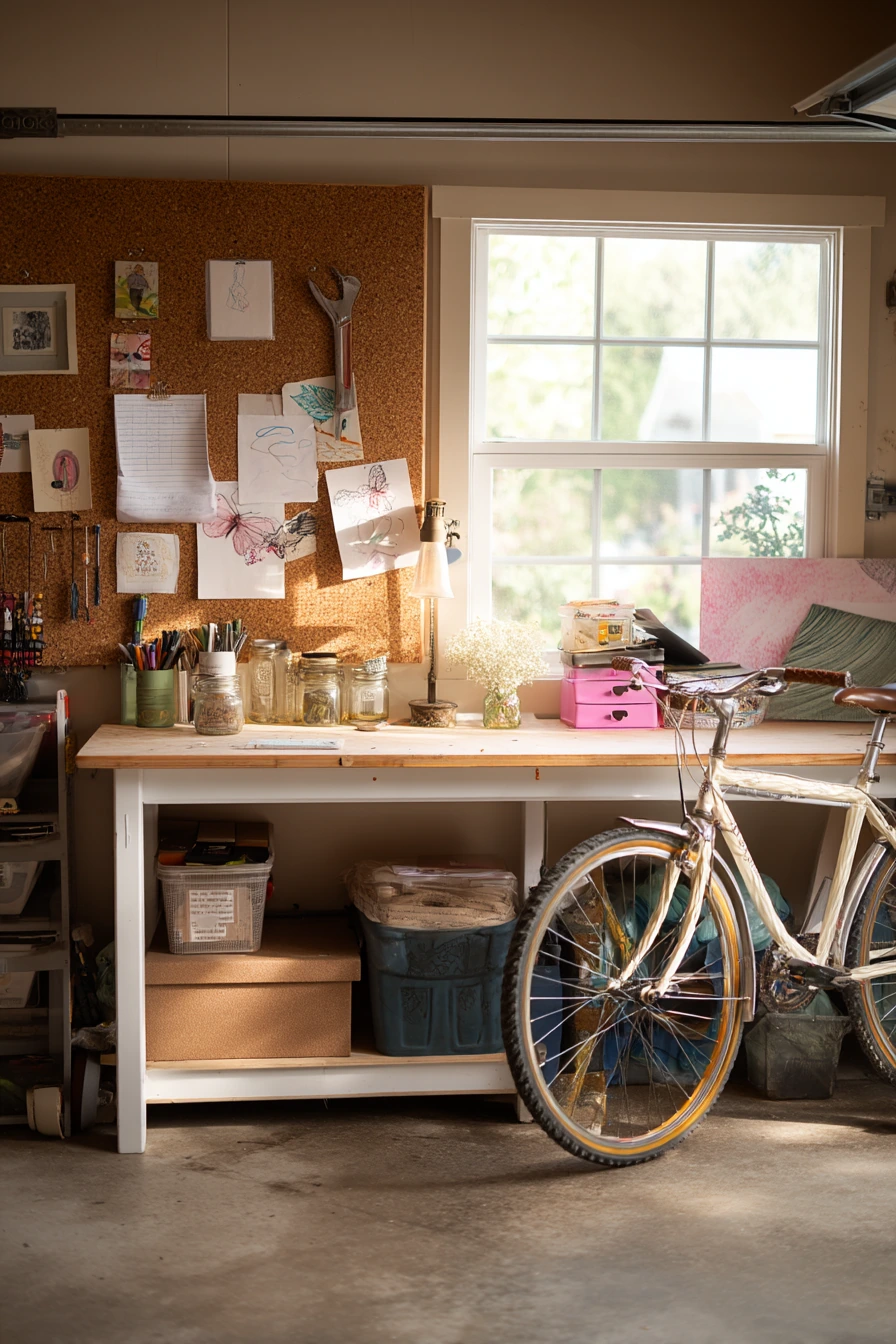
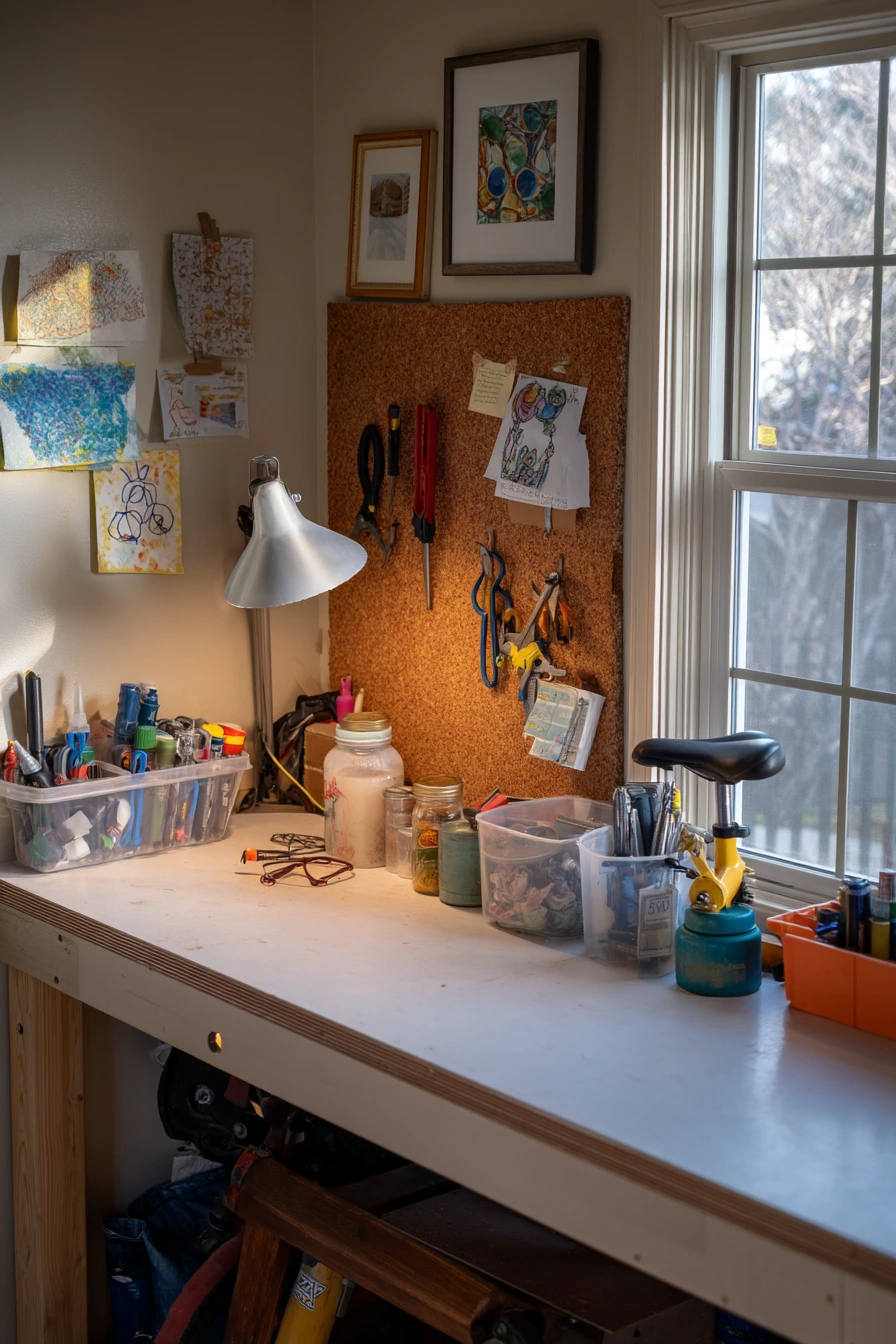
6 Clean Modern Garage Bench for a Car Enthusiast
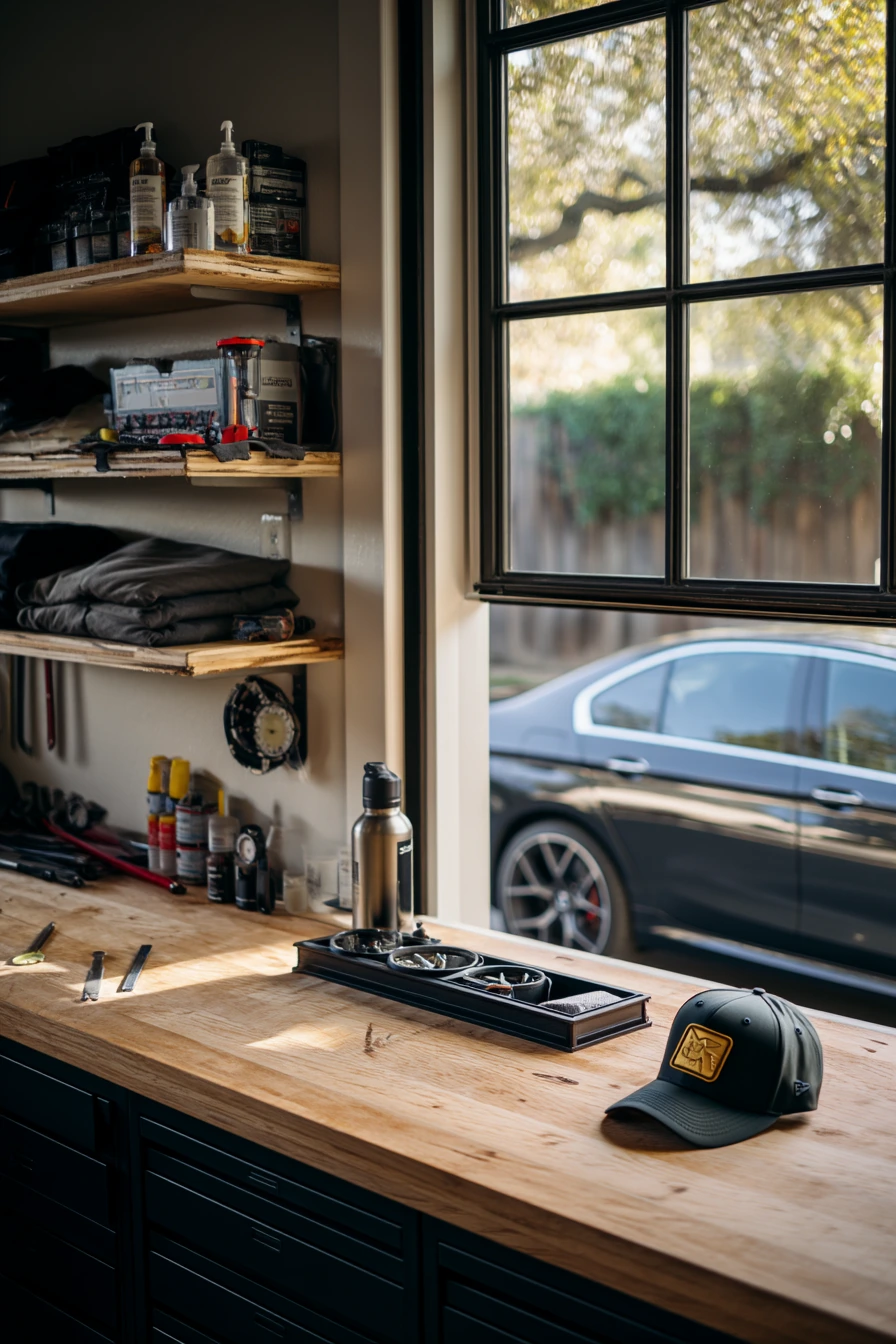
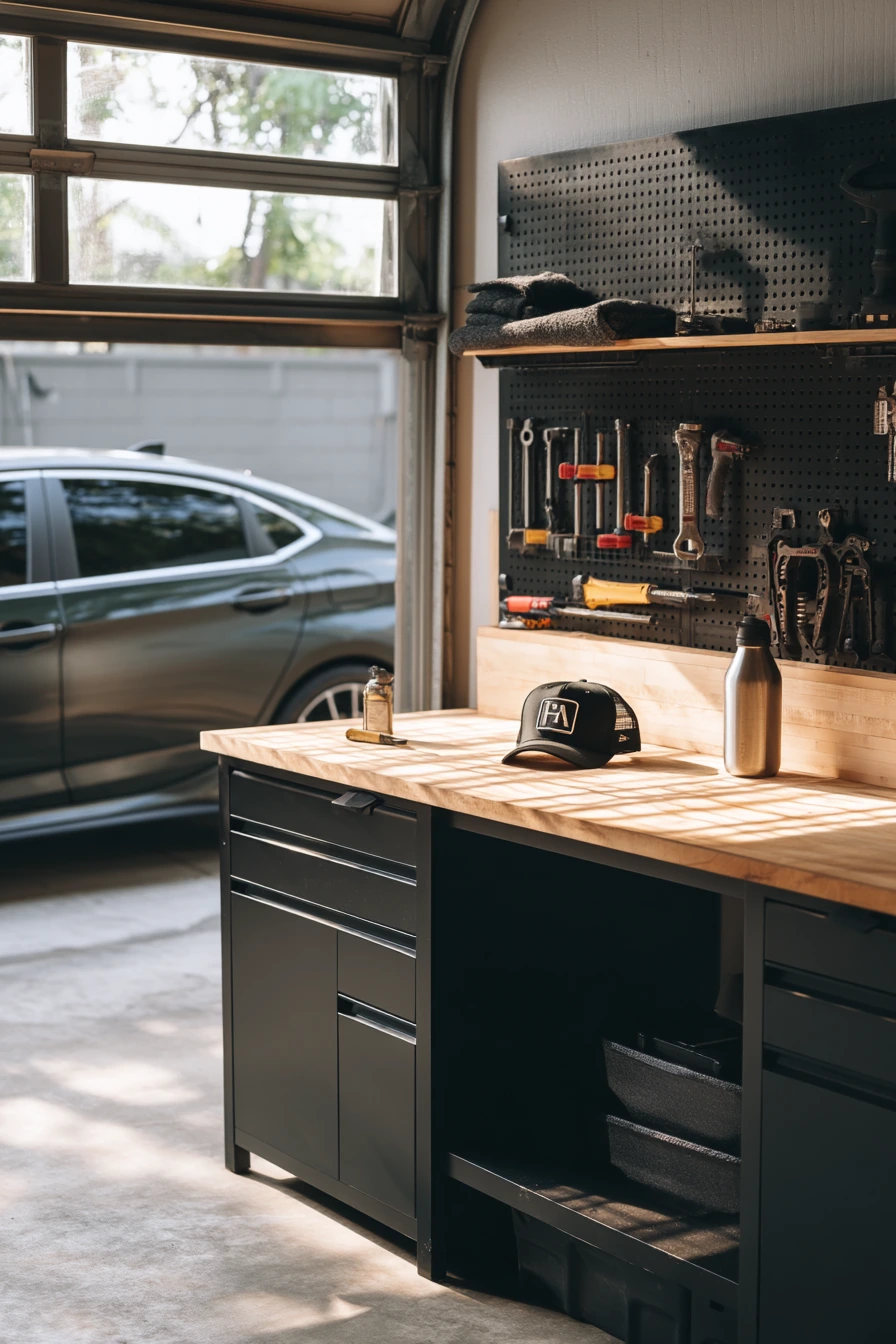
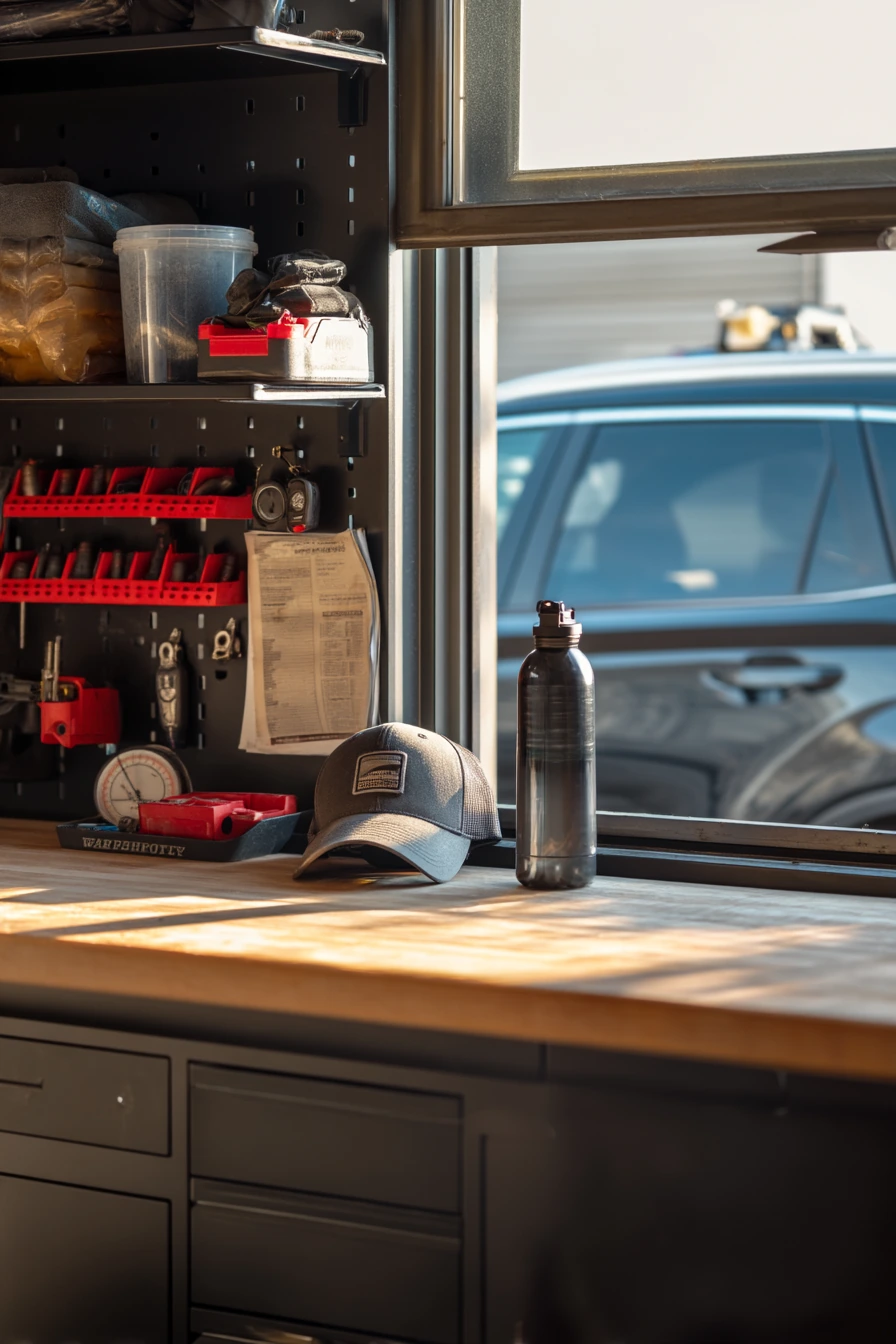
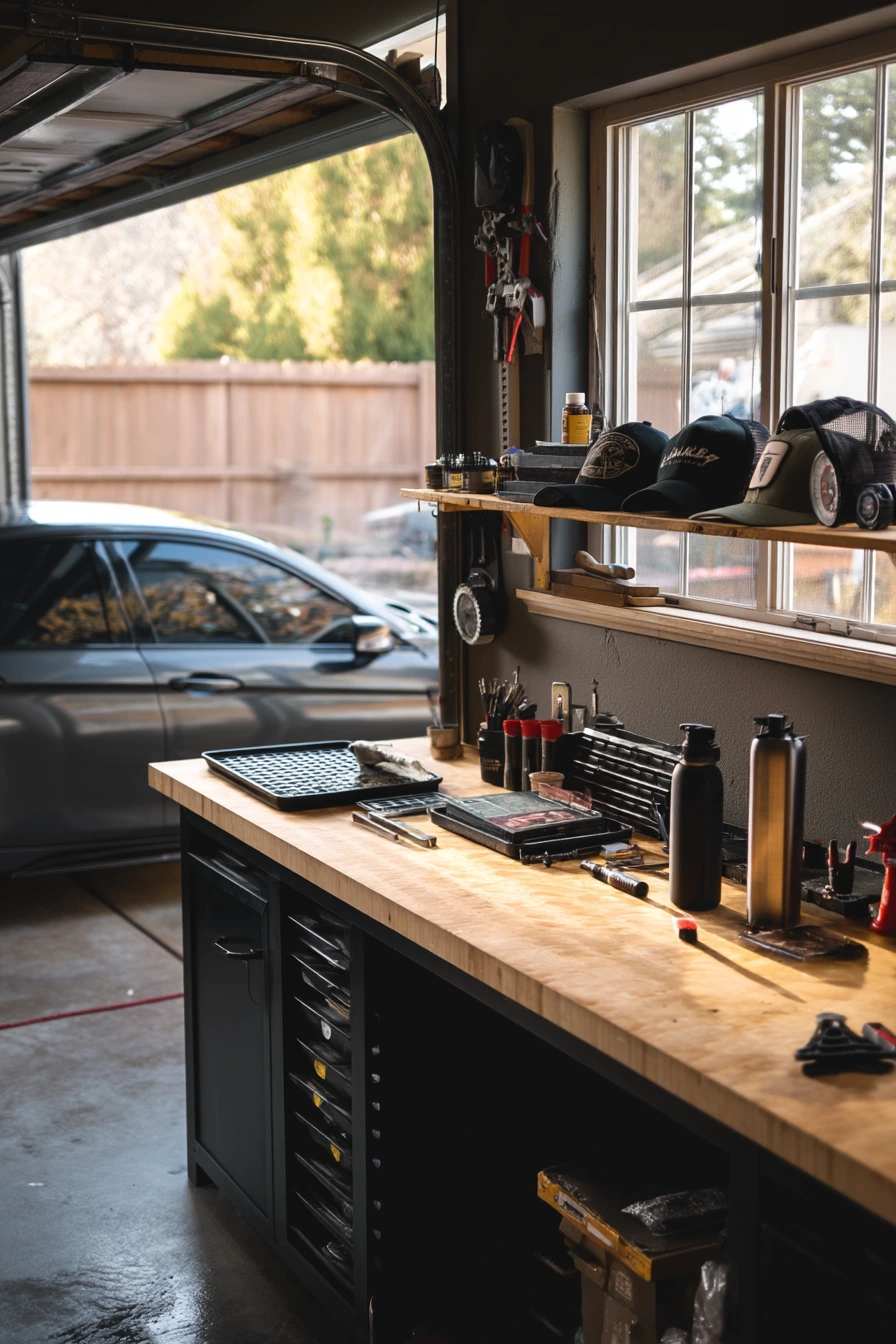
If you want a neater look without losing function, pair matte black cabinets with an oak countertop. This style works well beside a parked sedan because it looks organized and stays grounded in daily use. Keep the work surface mostly open, with only a few essentials like parts trays and a reusable water bottle.
For car-focused tasks, add organized socket rails and dedicate one drawer to common items like an oil rag, tire pressure gauge, and gloves. Keep the car manual in a known spot so it does not get buried. The goal is fast access, not a perfect showroom. A baseball cap on the shelf and a few regularly used tools make the station feel real and ready.
To style it, aim for simple lines. Use matching trays and keep labels small and clear. If the garage gets bright late-morning light, place items that fade, like paper manuals, inside cabinets. Add a small rubber mat on part of the top to protect the oak when you set down heavy parts.
- Use base cabinets to hide bulkier items and reduce visual clutter.
- Install socket rails so sets stay complete and easy to grab.
- Keep a tray system for small parts to avoid losing screws.
- Store the car manual and service notes in one labeled drawer.
- Add a protective mat section for messy or heavy work.
Pro Design Tip: Keep the countertop clear in the center and place “daily tools” at the ends, so the middle becomes your default work zone.
Budget Considerations: New cabinets can add up fast. For a cheaper build, use used kitchen base cabinets and paint them a low-sheen black, then add a solid wood or plywood top.
7 Gardener’s Potting Bench in the Garage

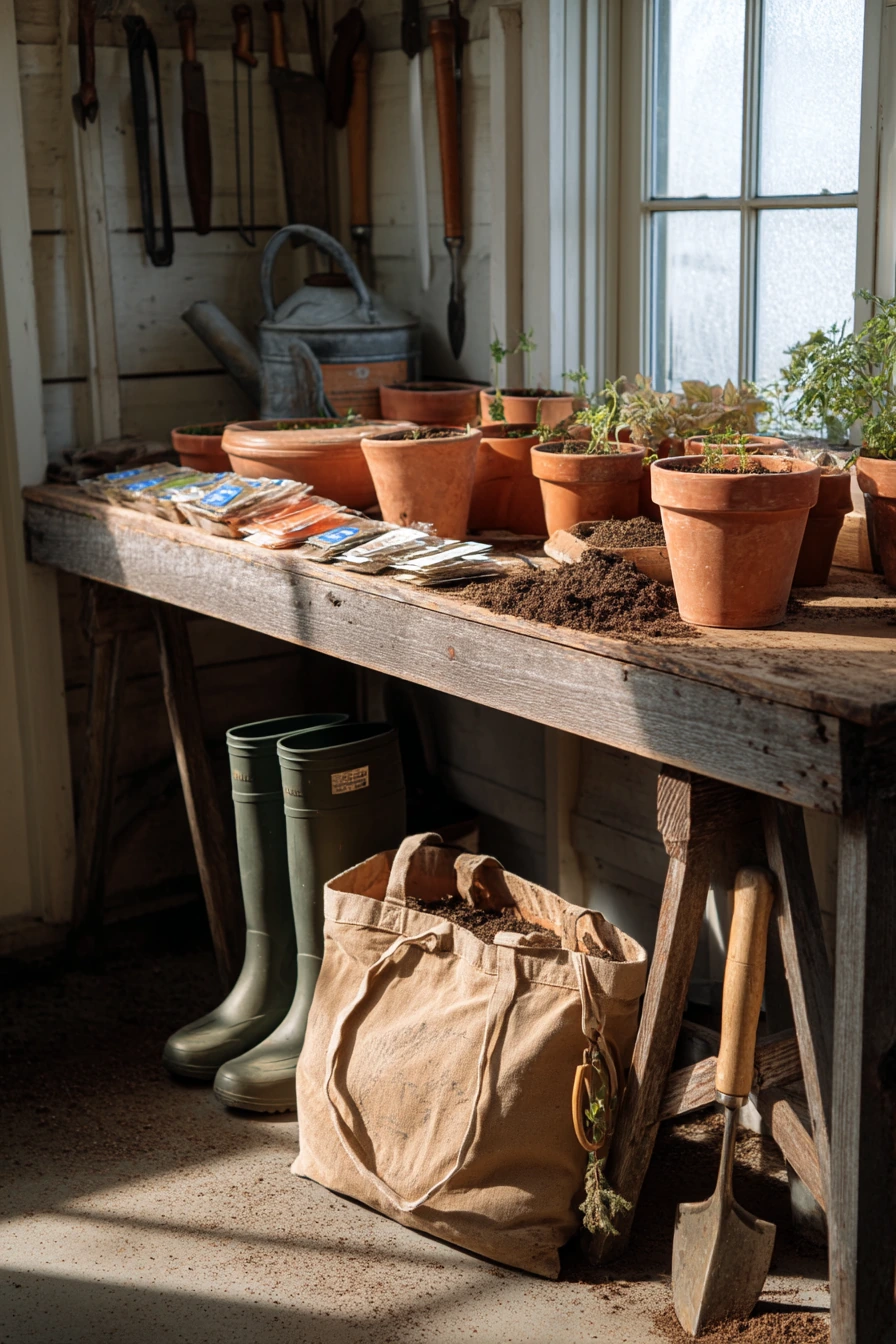
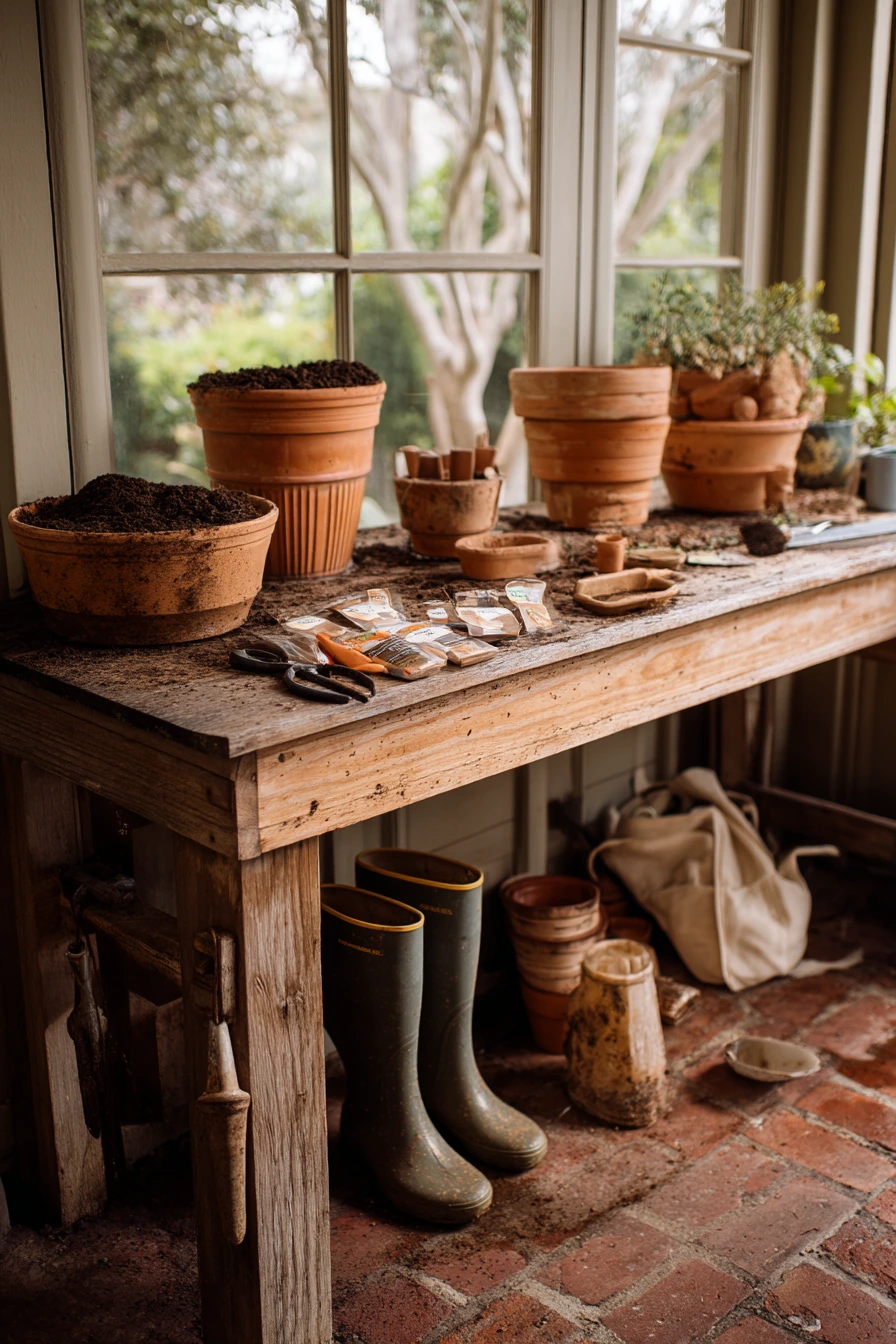
A potting bench in the garage is a smart way to keep dirt and tools out of the kitchen. A weathered wood top has a relaxed look and hides scuffs. Set out terracotta pots, seed packets, pruning shears, and twine so you can start quickly. A little potting soil dust is normal, but you can control it with a tray and a small brush.
Build the setup for easy cleanup. Keep a watering can near the bench and store potting soil in a sealed bin to cut down on mess and pests. Rubber boots can live below the bench, and a muddy trowel should have its own spot, like a bucket or a wall hook. A folded market tote is useful for hauling supplies to the garden.
Style it with earthy, simple textures. Line up pots by size and keep seed packets in a small box so they do not curl. Add a small wood crate for gloves and plant tags. If the garage has gentle window light, place the bench near it for better color and plant checks, but keep soil away from car paint and stored items.
- Use a sealed bin for potting soil to reduce dust and bugs.
- Set a tray on the bench to catch spills while you fill pots.
- Hang shears and twine on hooks for quick access.
- Store boots under the bench on a washable mat.
- Keep seed packets in a box or file to prevent bending.
Pro Design Tip: Add a narrow backsplash strip behind the bench so soil does not fall between the bench and the wall, and cleanup stays simple.
Budget Considerations: A potting bench can be made from scrap lumber or an old table. If you need to save money, use inexpensive hooks and a plastic tray instead of built-in bins.

8 Storage-Led Bench for a Noisy Household
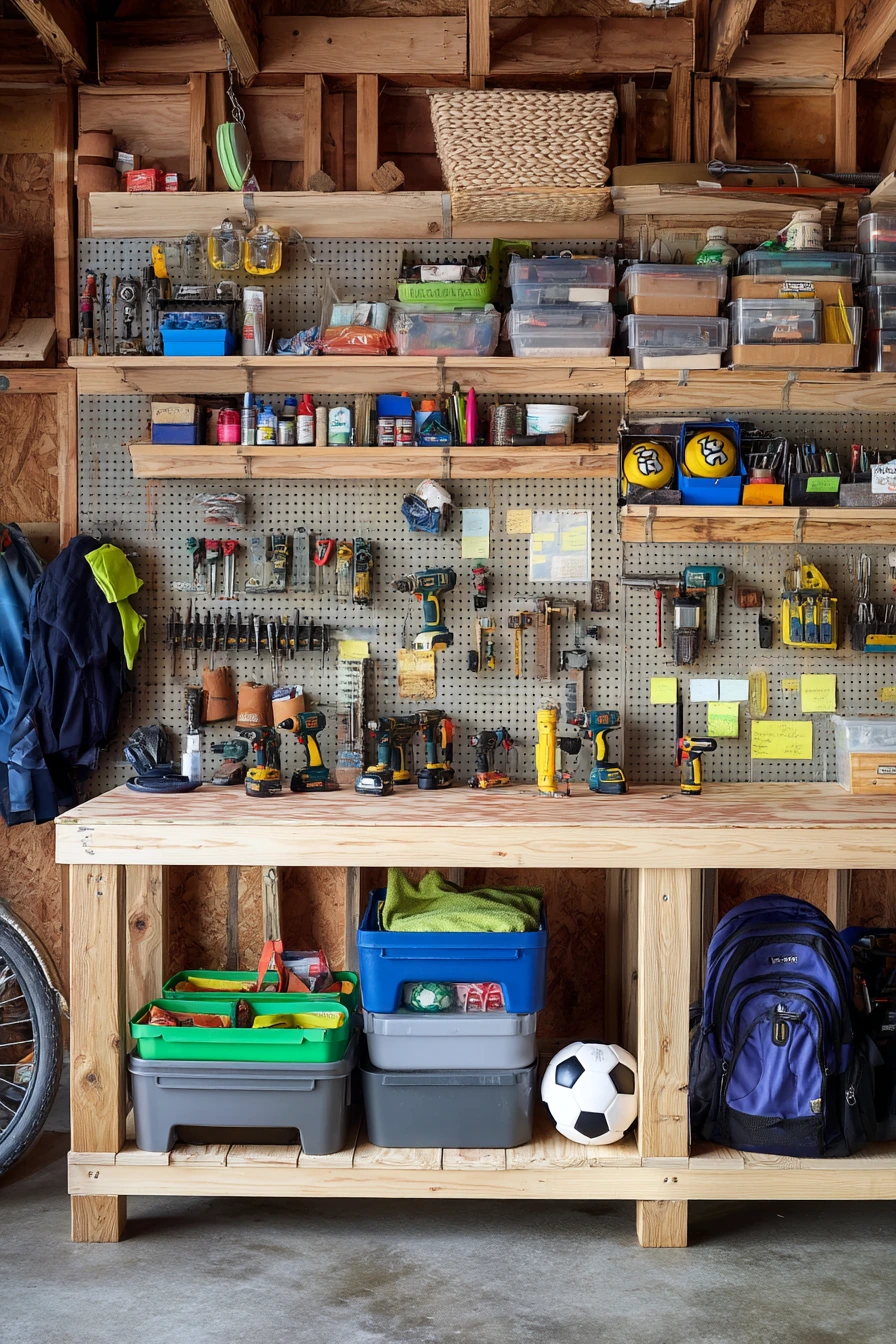
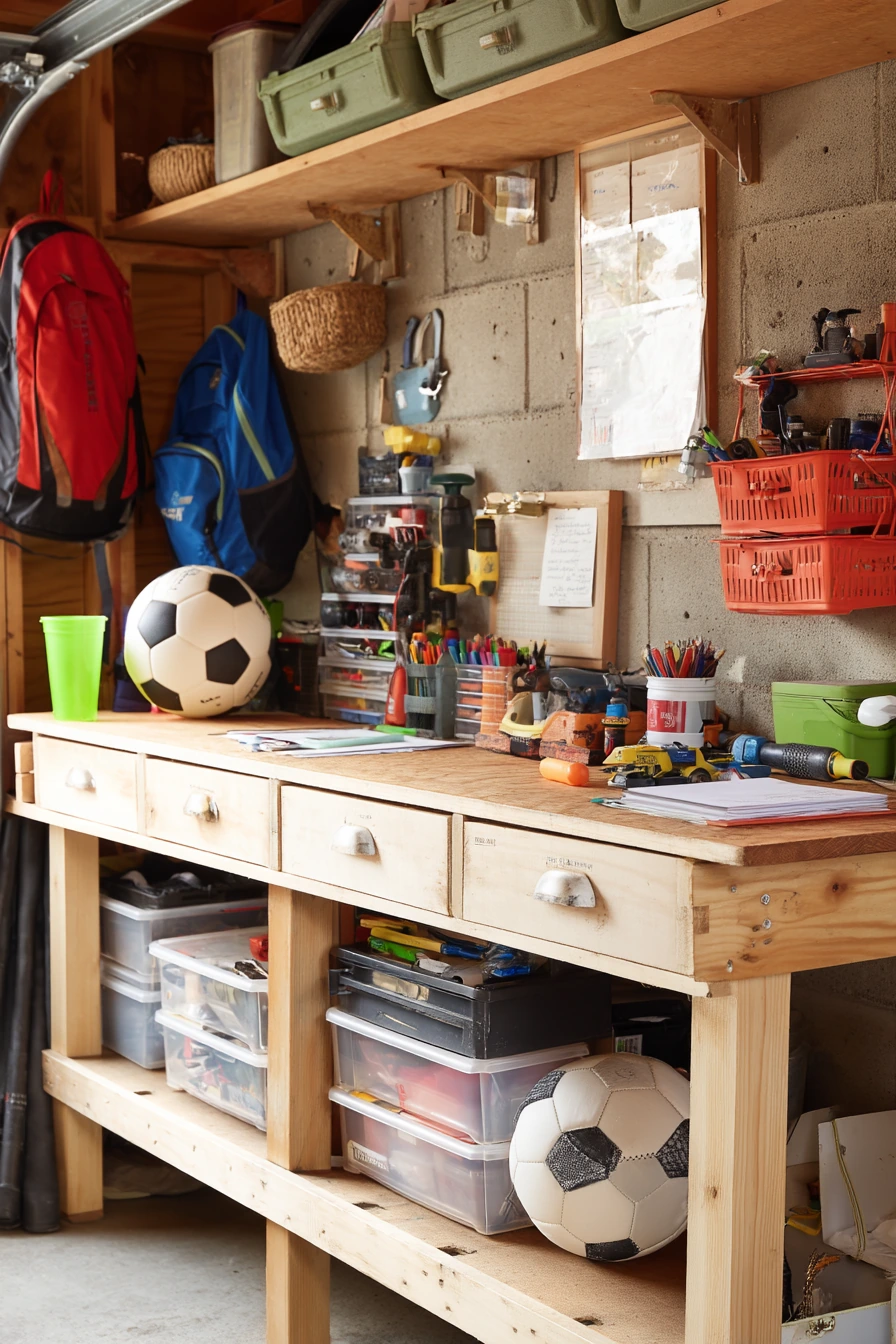
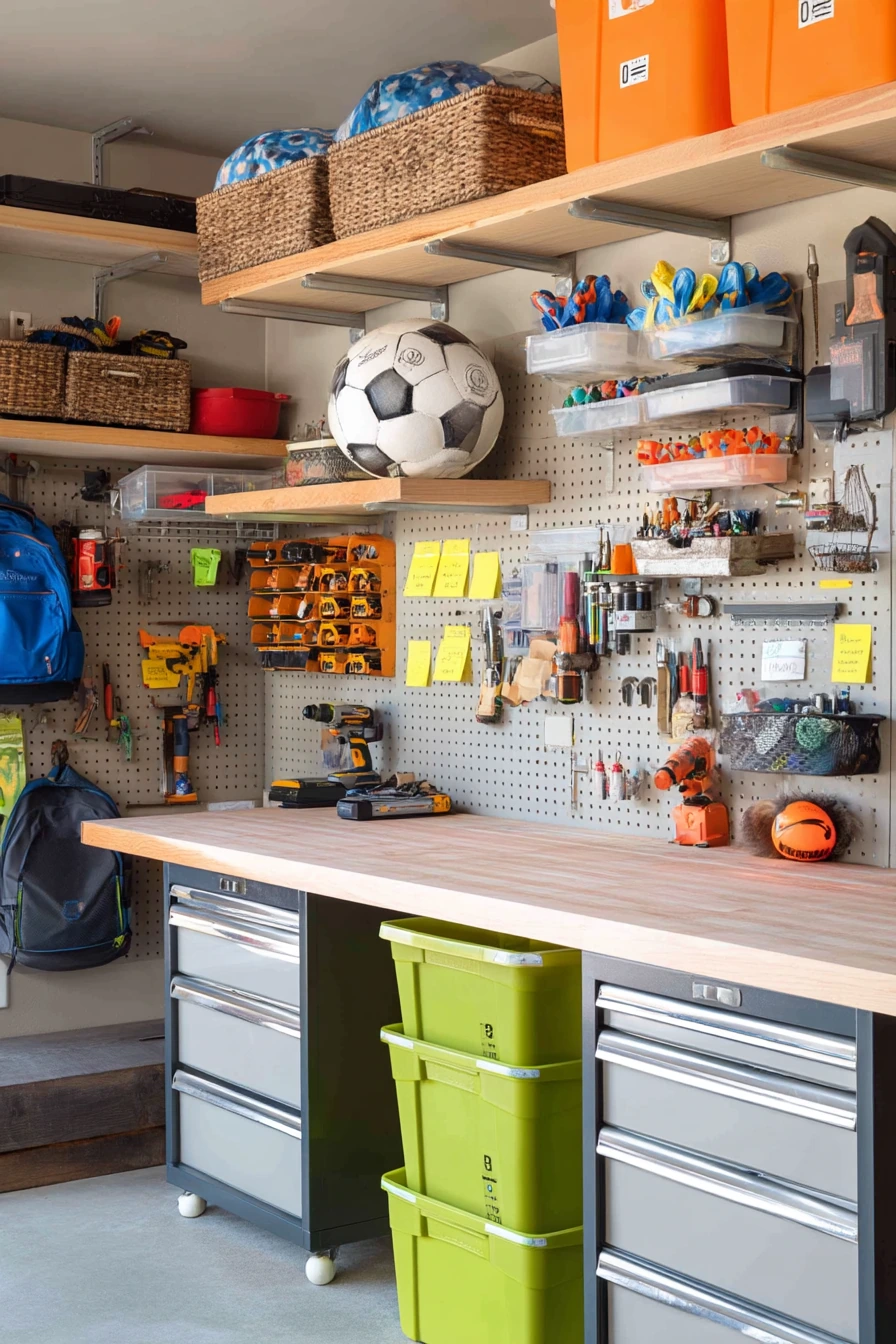
In a busy household, the best garage workbench ideas start with storage. Deep drawers handle bulky items, while labeled bins keep small parts from spreading. Wall-mounted baskets are great for sports gear and quick-grab items. Add a cordless drill dock so batteries charge in one place and the drill does not get lost.
This kind of bench often sits near family traffic. Backpacks may hang nearby, a soccer ball rolls in, and a sticky note schedule ends up on the wall. Plan for that. Give each category a home, and leave one “catch-all” bin for items that do not belong anywhere else yet. A half-folded tarp can live in a tall basket or on a shelf, not on the bench top.
For styling, make labels consistent and easy to read from a few feet away. Use matching bin colors or all clear bins for a calmer look. Keep the work surface open for real tasks, like assembling a shelf or fixing a toy. When the storage system works, the garage feels less chaotic, and it is easier to keep up during the week.
- Use deep drawers for power tools and bulky hardware boxes.
- Label bins by task: paint, bike, fasteners, electrical, outdoor.
- Install wall baskets for balls, gloves, and small sports items.
- Add a drill dock with a nearby outlet for charging.
- Create one “reset bin” for random items, then sort weekly.
Pro Design Tip: Place the most-used drawers between waist and shoulder height, and keep rarely used items higher or lower to reduce daily bending and digging.
Budget Considerations: Drawer systems can be expensive. Save money by using a basic cabinet base with add-on plastic drawer units, then upgrade one section at a time.
9 Tiny Apartment Garage Bench with Fold-Down Surface
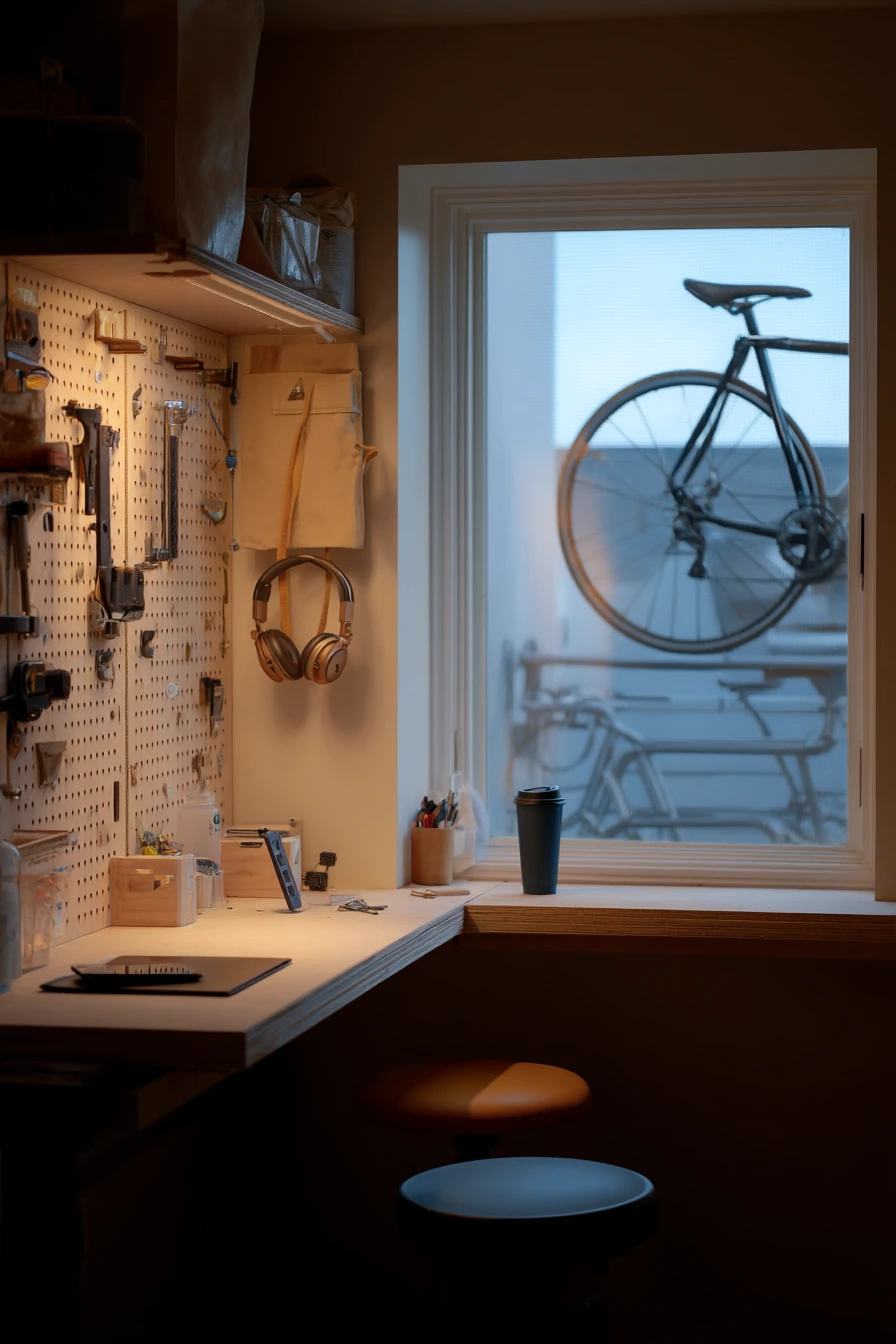
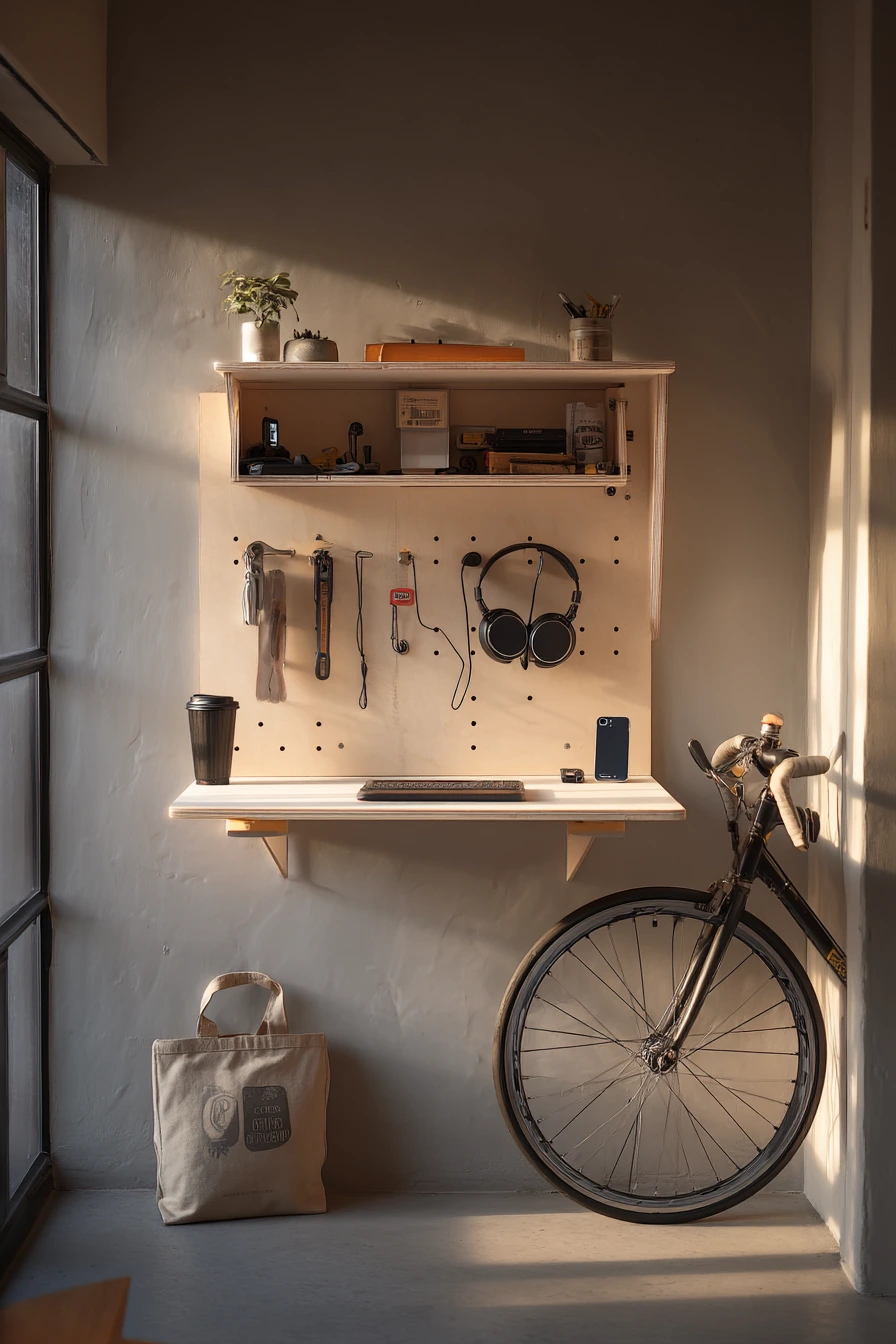
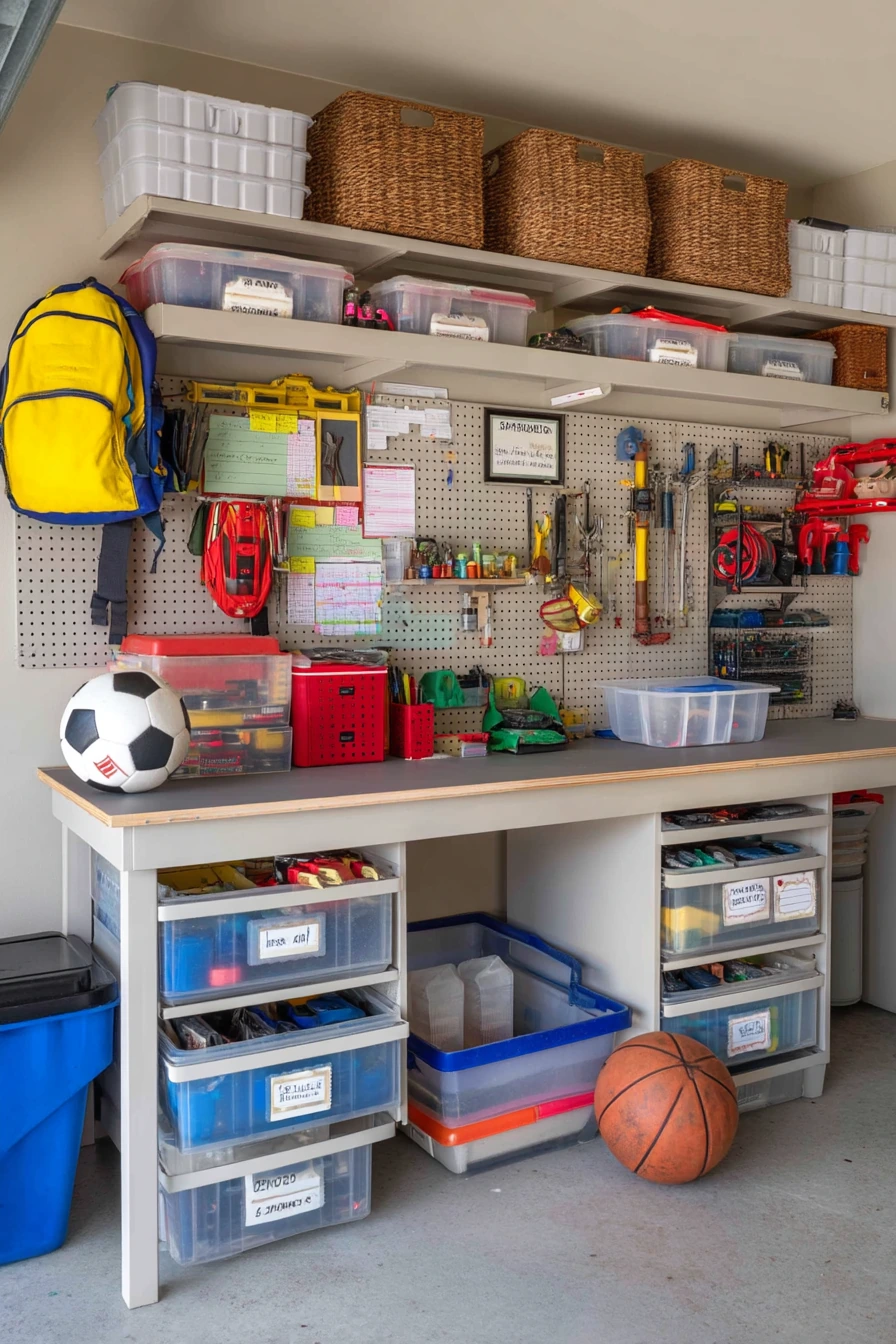
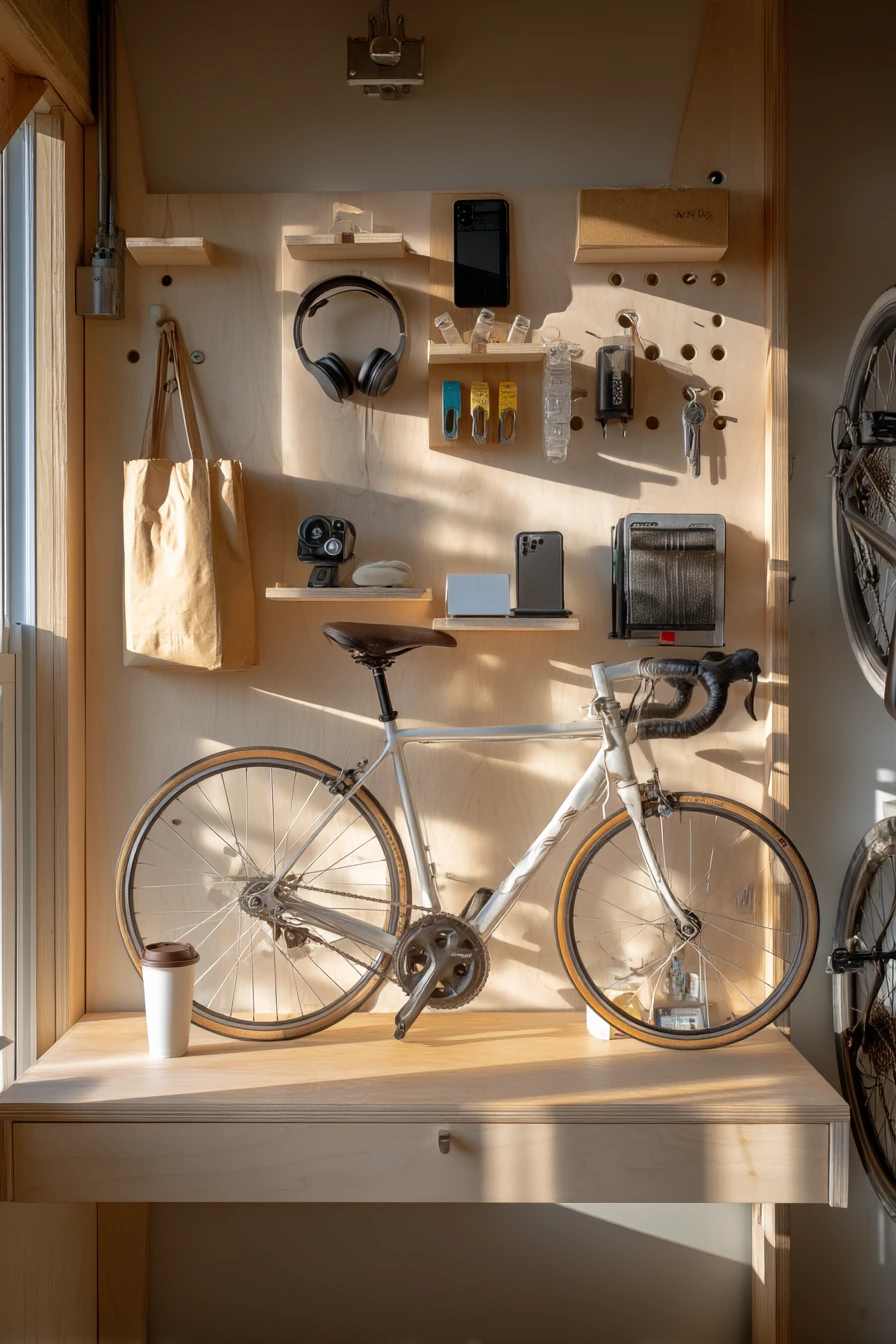
In a tiny apartment garage, a fold-down work surface can give you a real work area without taking up permanent space. When the bench is up, you have room for a bike or storage bins. When it folds down, you get a stable spot for repairs and small builds. Slim shelving and a small pegboard keep essentials close without crowding the wall.
Keep your tool kit compact and realistic. A small toolbox, a few organizers for screws, and a hook for a reusable tote cover most needs. If a bicycle wheel leans nearby, plan a protected corner so it does not scratch the wall or the bench. Manage cords on purpose. A phone charger and headphones should have a dedicated hook or small tray so they do not slide into your work area.
For styling, go minimal but not sterile. Choose a single color for hooks and containers, and keep just one or two items visible on the shelf. A takeaway cup can sit in a coaster spot, but do not place drinks near cutting or drilling. With a fold-down bench, the biggest win is being able to reset the space fast and keep it looking clean in photos.
- Mount the fold-down frame into studs for safe support.
- Use a slim shelf above for light items like tape and a small level.
- Add a small pegboard for pliers, drivers, and scissors.
- Keep a compact toolbox so the bench closes easily.
- Use hooks for bike gear and a tray for chargers and headphones.
Pro Design Tip: Install a thin edge lip on the fold-down surface so small parts do not roll off when the garage floor is uneven.
Budget Considerations: Fold-down hardware kits are affordable, but you can also build a simple hinged top with two folding brackets. Use plywood and paint it for a clean finish.
10 Hobbyist Bench with Evening Project Vibes
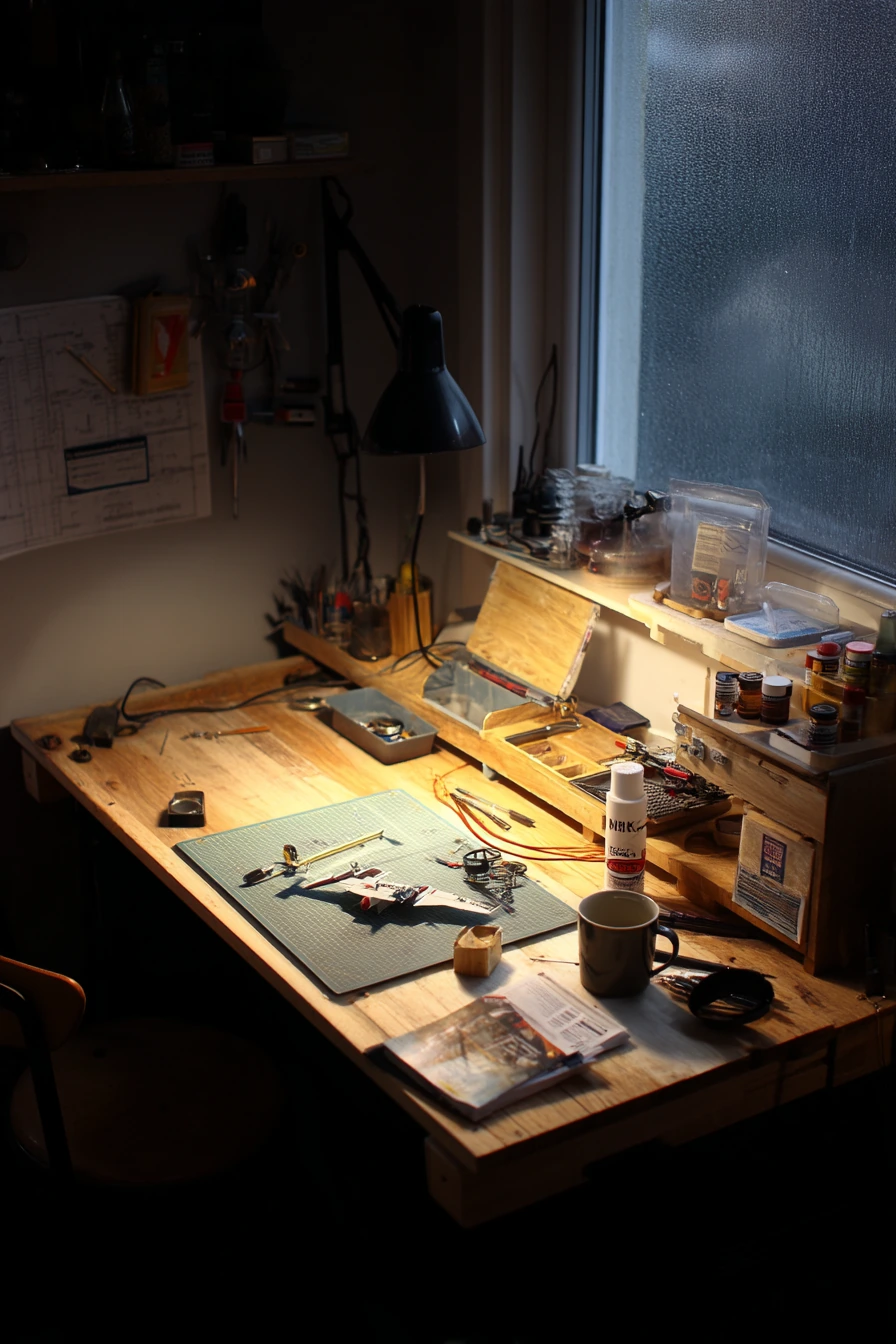

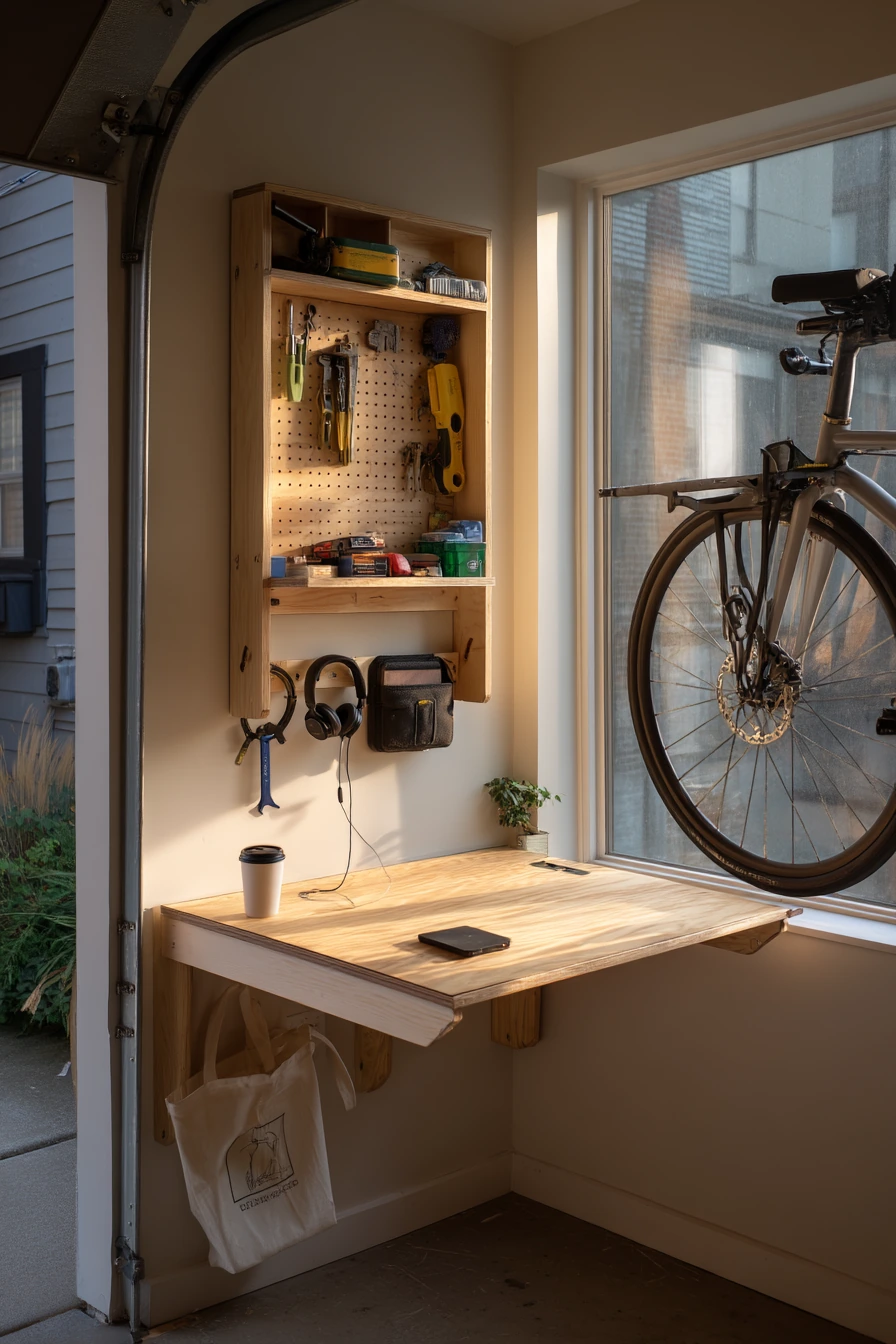
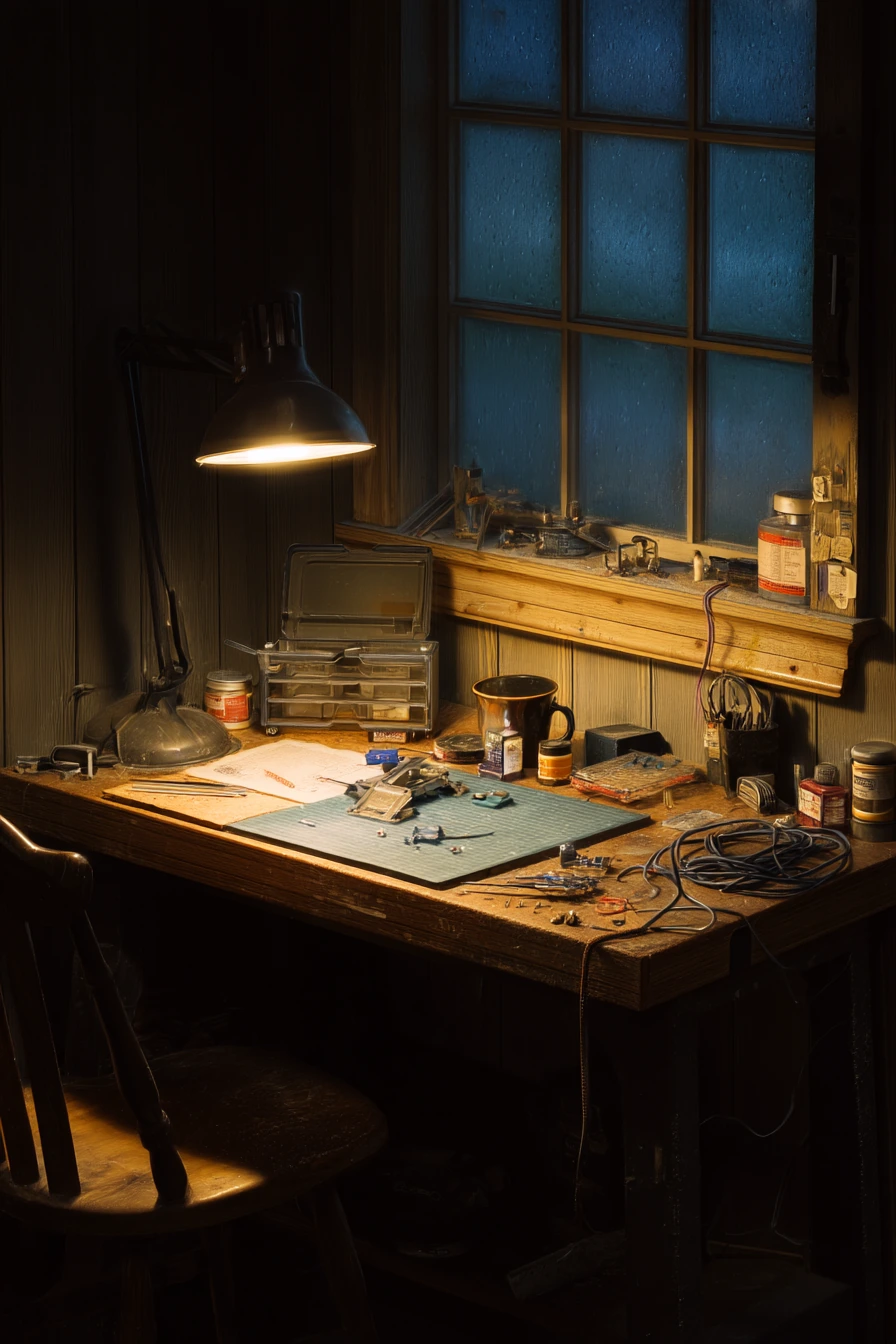
An after-dinner hobby bench should feel quiet and focused. A wooden top is warm and easy to work on, and a good task lamp is the most important upgrade. If you do small electronics, add a soldering mat and small organizers for parts. This setup is perfect for a half-finished model kit that you want to return to without setting everything up again.
Plan for comfort and eye strain. Keep your glasses case on the bench or in a small drawer, and use a lamp with an adjustable arm so you can aim light right where you need it. If you like to read while you work, an open paperback can sit on a small stand or a clean corner of the bench. Keep drinks like a tea mug on a side shelf to protect tools and projects.
Cable control matters here, since chargers often end up draped across the surface. Use clips under the front edge to route cords and keep the work area safe. Style it with a few neat containers and leave some open space. This bench looks best when it shows a real hobby in progress, but it still feels tidy and easy to use.
- Choose a bright task lamp with an adjustable arm and shade.
- Use a soldering mat or cutting mat to protect the wood top.
- Sort small parts in labeled organizers so they do not mix.
- Keep reading glasses and small tools in one reachable spot.
- Clip charging cables to the bench edge to stop tangles.
Pro Design Tip: Add a shallow drawer or slide-out tray for the “tiny stuff” so the main top stays clear and your project can stay set up.
Budget Considerations: Lighting can be a low-cost upgrade with a simple LED task lamp. If you are watching spending, repurpose a sturdy table and add a mat instead of buying a new bench.
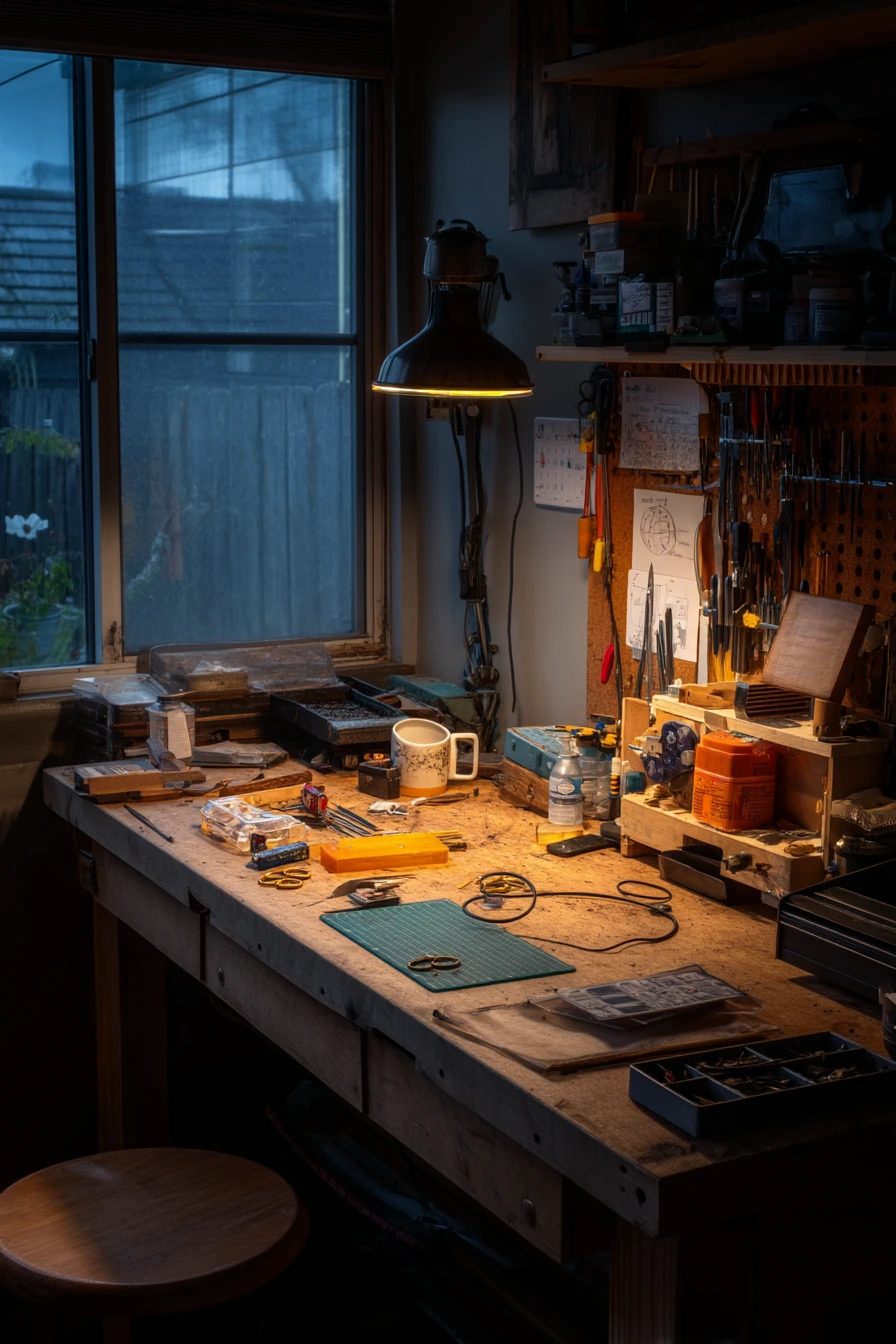
Good garage workbench ideas start with your real life, not a perfect photo. Choose a setup that fits your space, your projects, and how often you can reset the area.
If you have kids and sports gear, storage and labels will matter most. If you do woodworking, strength and clamping space come first. If you rent or have a tiny garage, go fold-down or portable.
Start with a safe surface, solid lighting, and one simple tool system. You can add drawers, bins, and upgrades over time as you learn what you use most.
FAQ
What is the best height for a garage workbench? Most people like 34 to 38 inches. If you do detail work, go slightly higher. If you do heavy sanding, a bit lower can feel better.
How deep should a workbench be in a small garage? For tight spaces, 16 to 20 inches is often enough. If you need larger projects, aim for 24 inches but protect walking and car door space.
What is the cheapest workbench top material? Plywood is usually the best low-cost option. Two layers of plywood screwed and glued together make it stronger.
Is pegboard still a good idea for tool storage? Yes, especially for hand tools. Use proper hooks, keep weight limits in mind, and group tools by job to stay organized.
How do I keep my garage workbench from getting cluttered? Keep one tray for “today’s items,” use labeled bins, and clear the bench at the end of the week. Having a drop zone prevents piles.
What lighting works best over a garage workbench? Use bright overhead lighting plus a task lamp or clamp light. Aim light at the work surface and reduce shadows around your hands.
Can I build a good workbench without drilling into walls? Yes. Use a sawhorse setup, a freestanding bench, or a fold-down bench that mounts into studs with minimal holes, depending on your rental rules.