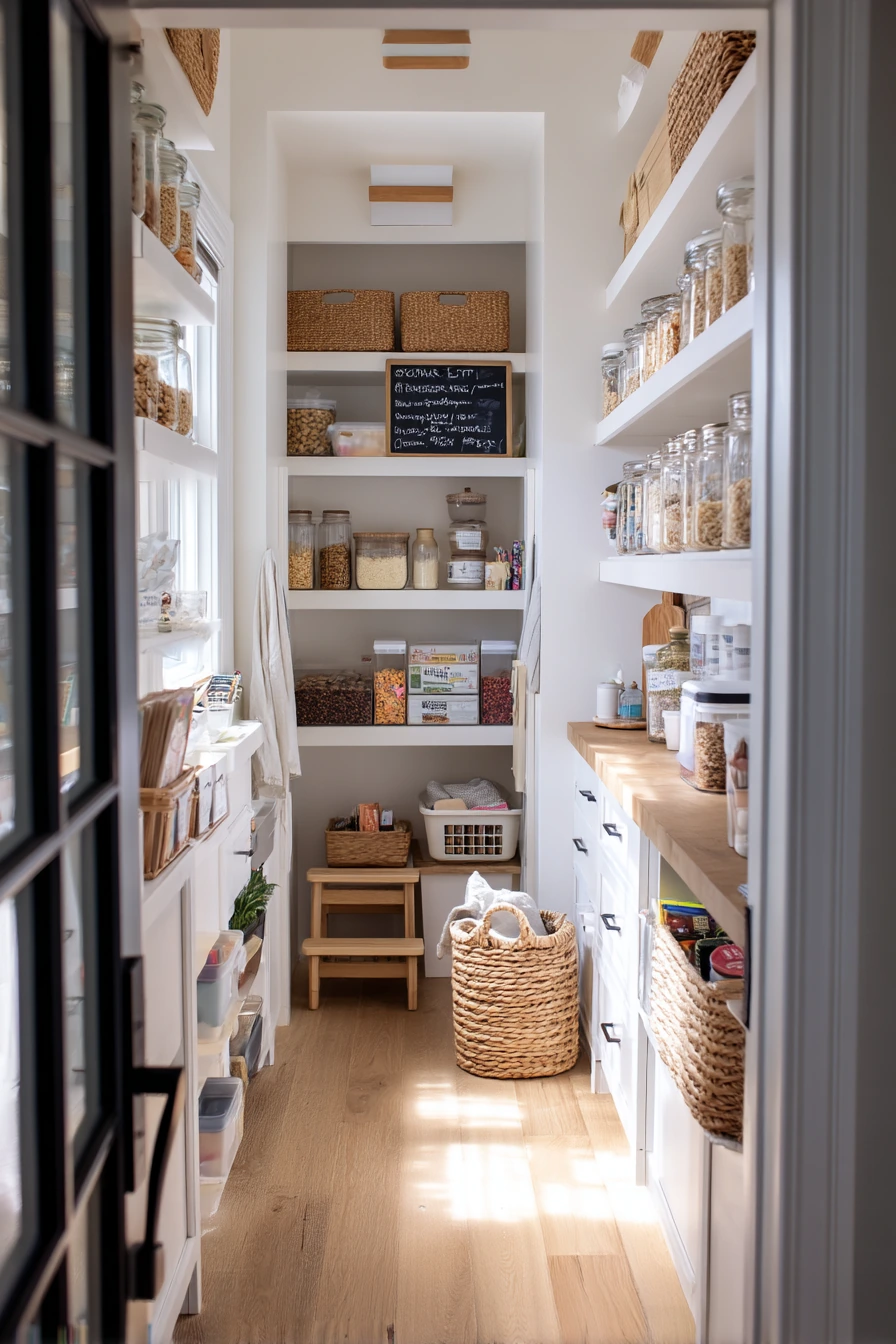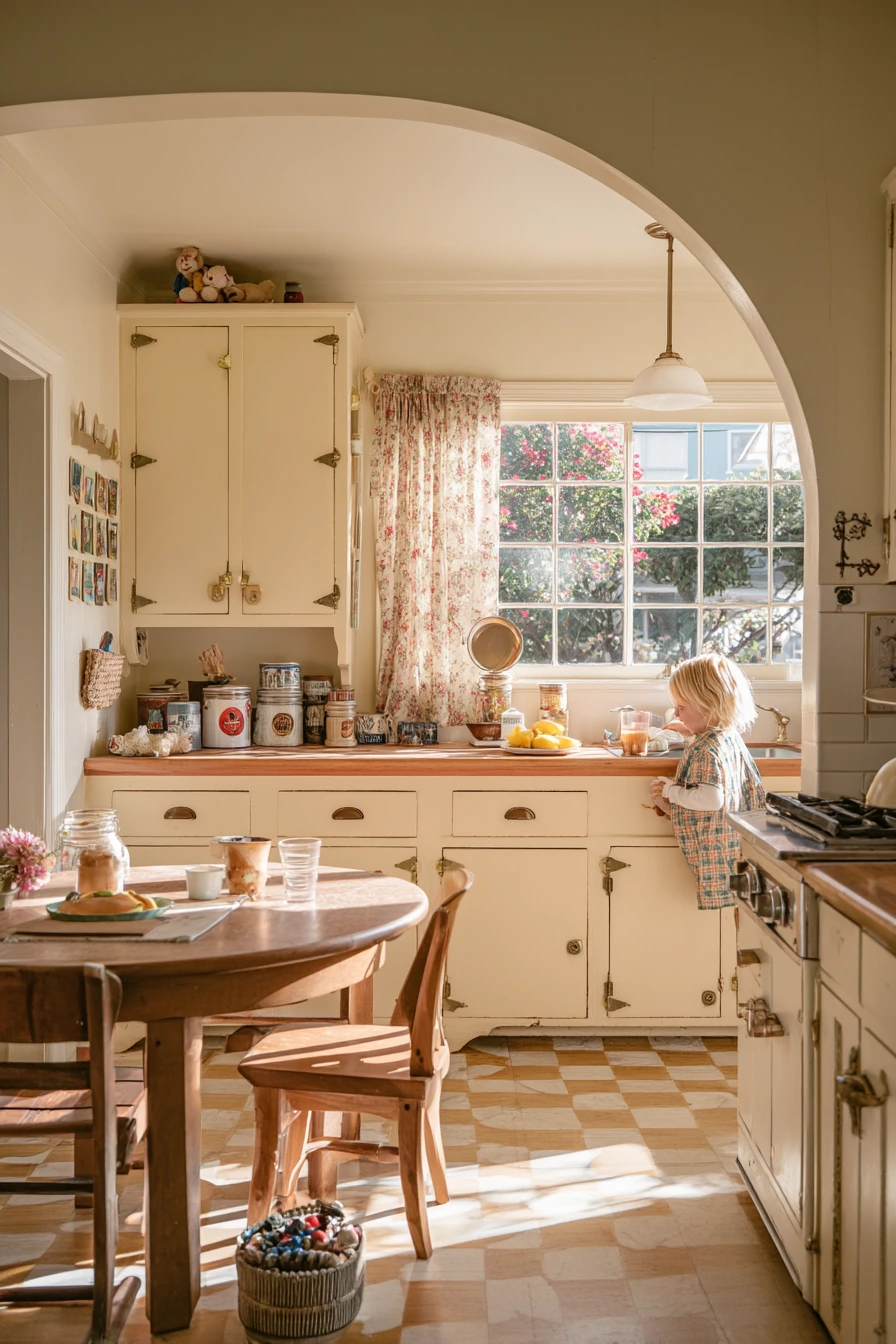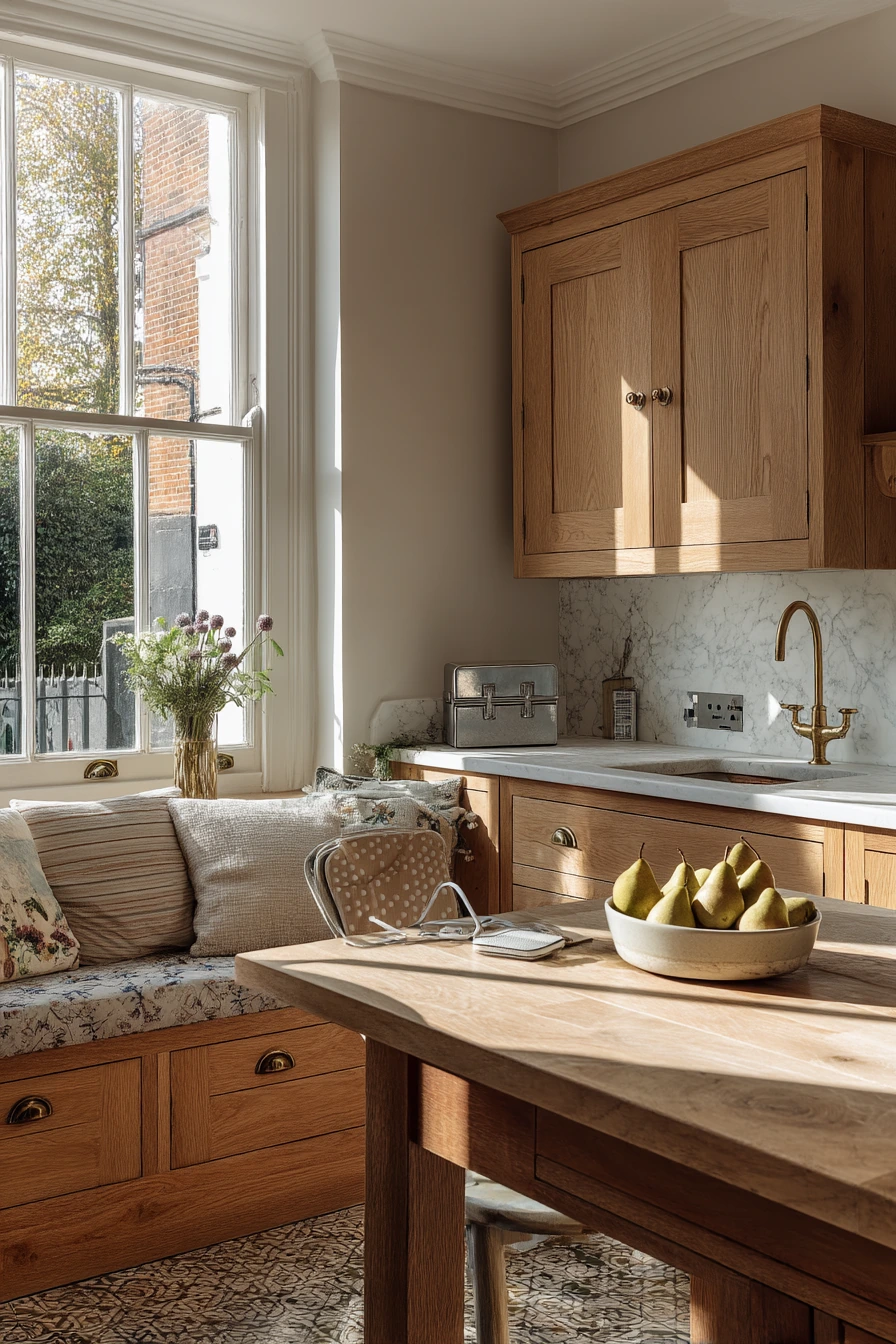

Good pantry shelving ideas help you find food fast, waste less, and keep your kitchen calm. The right setup also makes it easier to keep snacks, baking items, and small appliances in the right place.
In this guide, you will see pantry shelving ideas for a busy family, a narrow apartment nook, a rental kitchen, and even a tiny pantry that needs vertical storage. Each section includes simple styling ideas, plus one pro design tip and a budget note.
These pantry layouts use open shelves, woven bins, labeled jars, clear bins, stackable glass containers, and kid-friendly zones. Pick the ideas that fit your space, then copy the parts that make daily life easier.
Use this post like a checklist. Start with shelf spacing, then add bins and labels, and finish with small details that help you keep it tidy week after week.
1 Family Pantry with Open Shelves
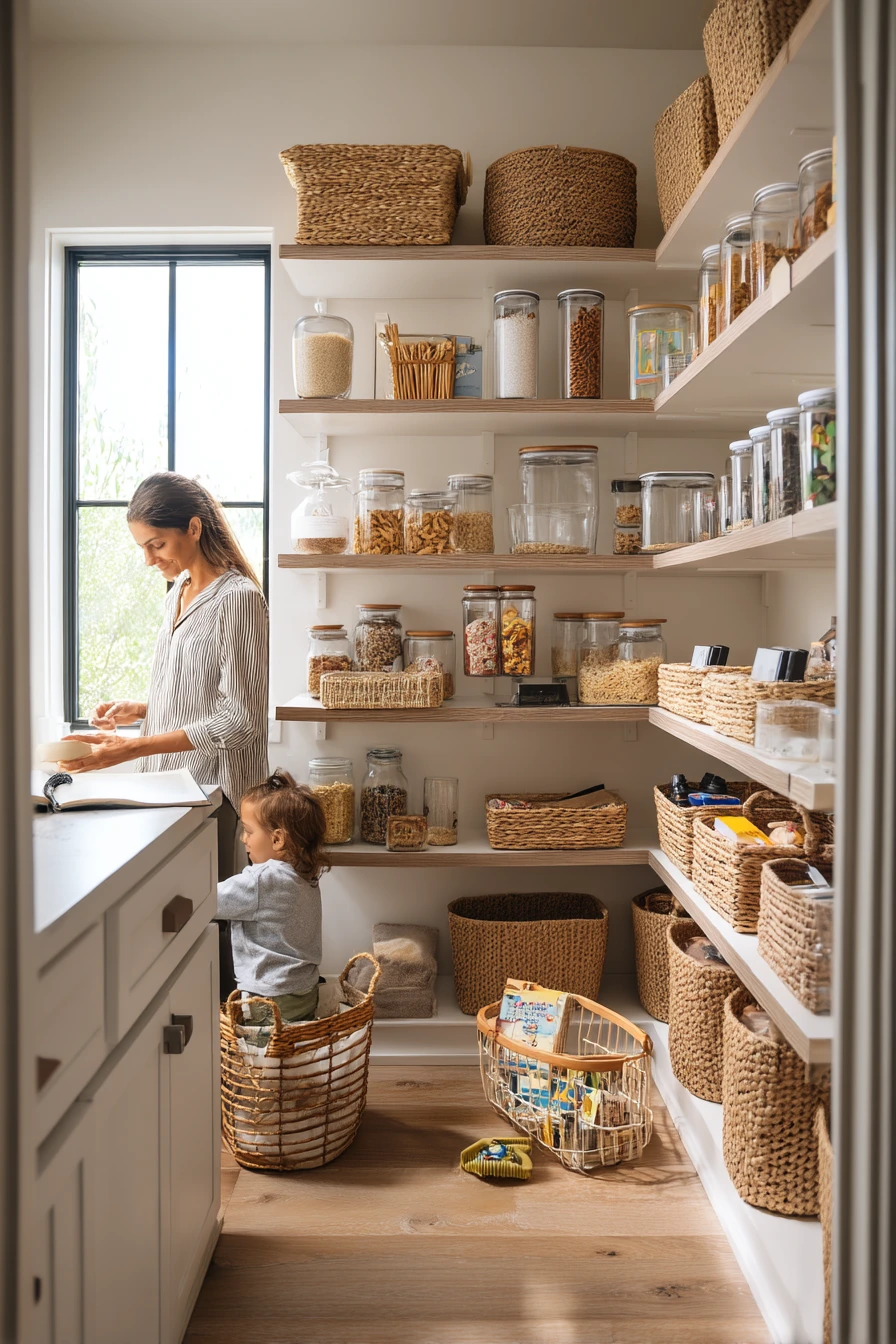
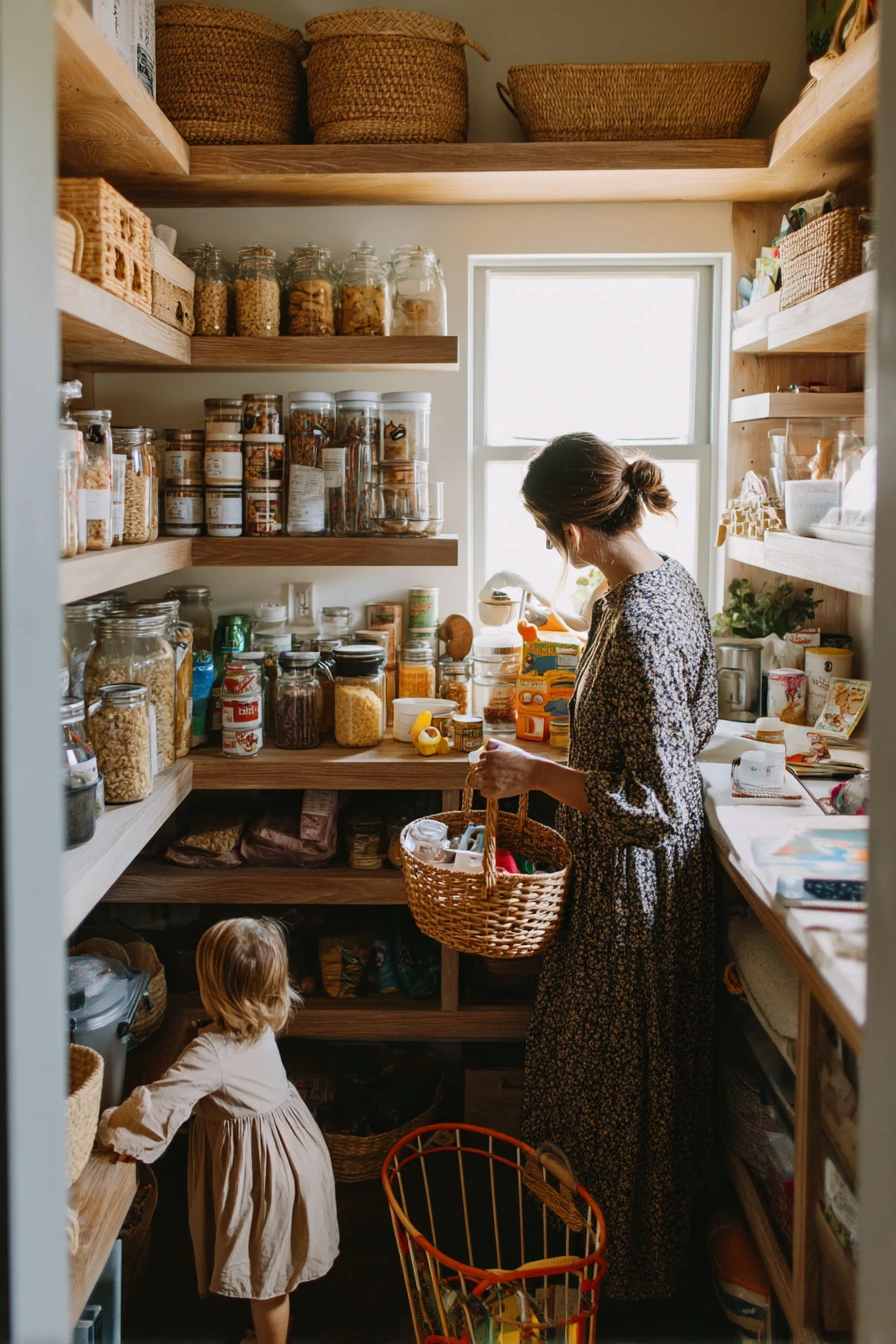
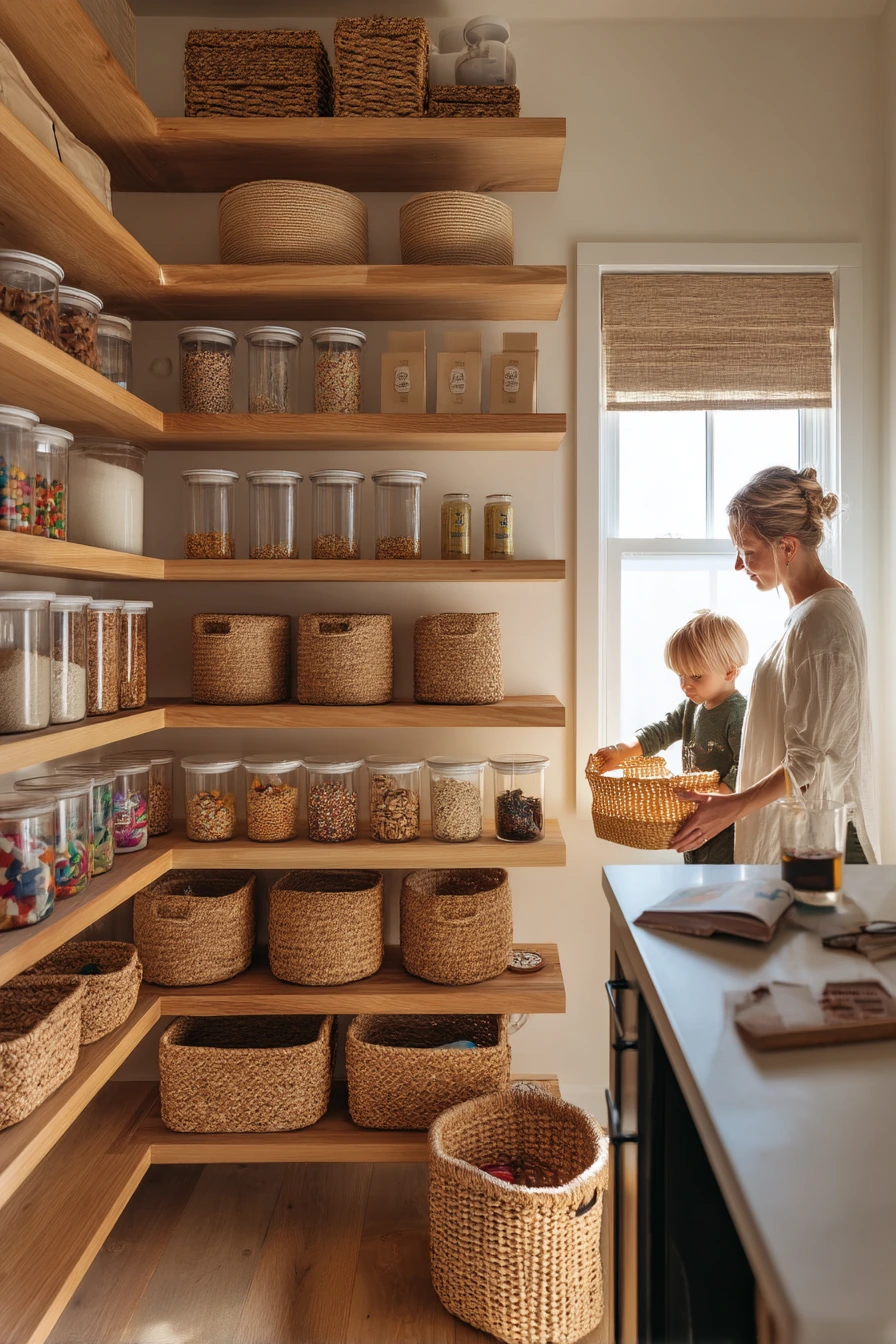
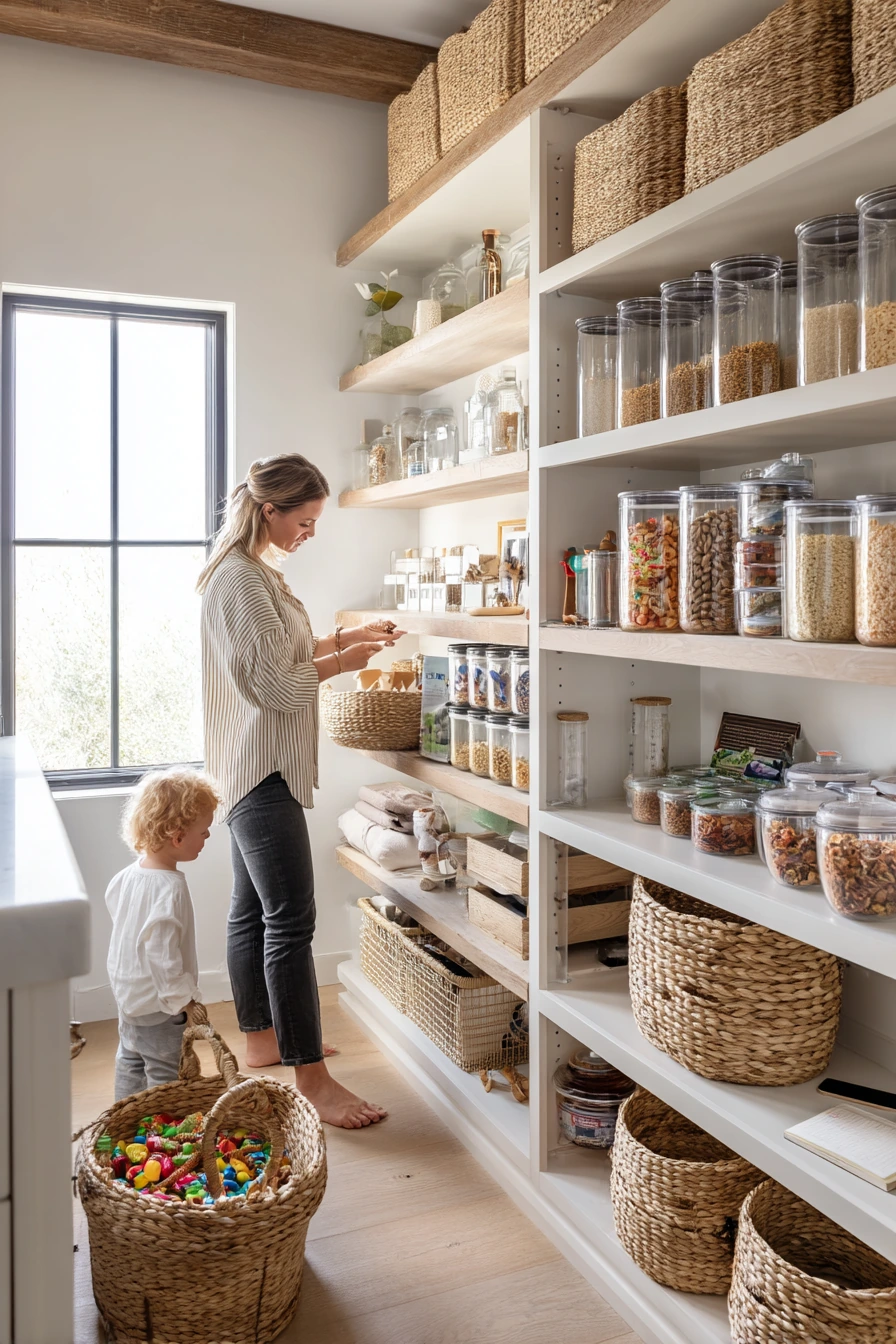
Busy family pantry shelving works best when it is easy to use with one hand and fast to reset. In a practical walk-in pantry, matte wood open shelves give you full visibility, so you can spot cereal canisters, labeled jars, and stackable glass containers right away. Keep the most-used snacks at eye level, and place heavier items like extra drinks and bulk boxes lower down.
Plan for real life, not a photo-ready moment. A toddler’s toy basket on a lower shelf can be a smart choice if it keeps little hands out of breakables. If you often end up with a water glass on the counter or a charger near a recipe book, make that part of the system. Add a small “drop zone” tray on one shelf for random items you do not want mixed with food.
How to style it: mix woven bins with clear containers so it feels warm but still easy to scan. Use matching labels on jars and canisters, and keep a small empty bin for “backstock” so refills do not drift around. Morning window light will highlight clutter, so keep shelf edges clean and group items in threes.
- Create a snack shelf with bins for bars, crackers, and pouches so kids can grab and go.
- Use stackable glass containers for pasta, rice, and baking staples to save space.
- Store cereal in tall canisters to reduce bulky boxes.
- Add woven bins for chips and bread so packaging looks calmer.
- Keep one “quick reset” bin for loose items you need to sort later.
Pro Design Tip: Leave 12 to 14 inches between shelves in the main zone so jars, canisters, and bins fit without wasted height, then add one taller shelf for paper towels and small appliances.
Budget Considerations: If new wood shelving is pricey, paint existing shelves a warm matte tone and upgrade only the front row with matching labeled jars and one set of cereal canisters.
2 Small-Space Apartment Pantry Nook
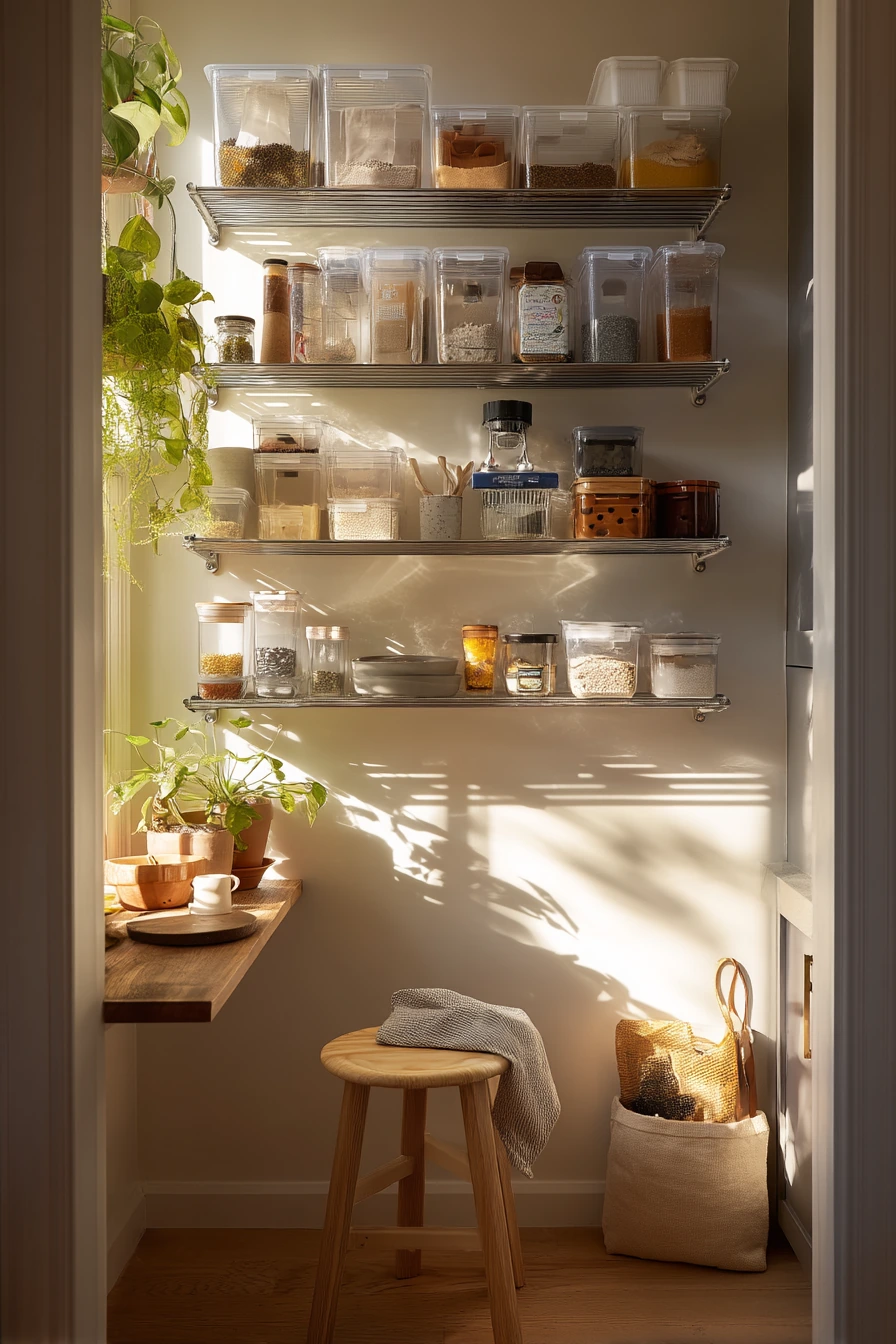
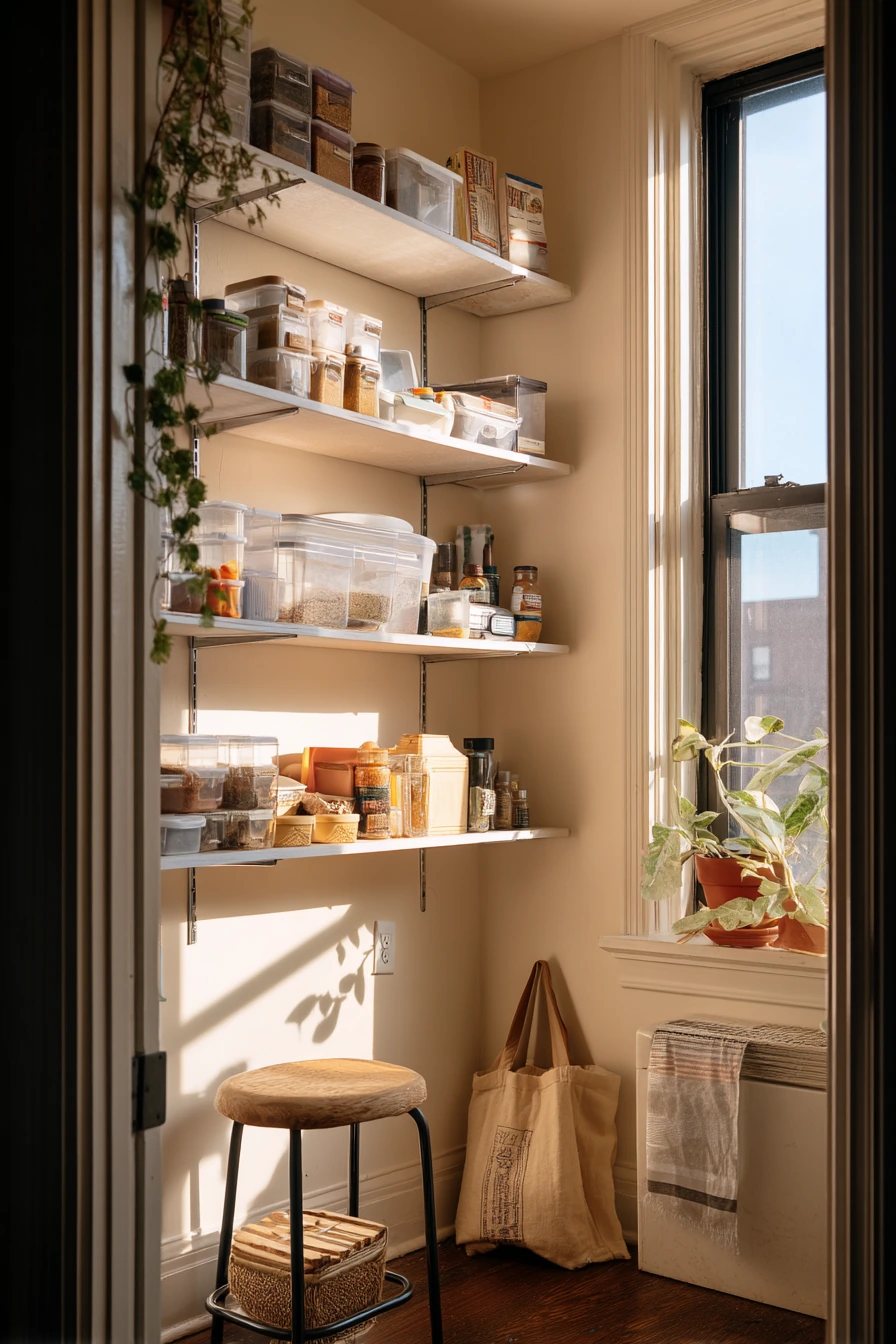
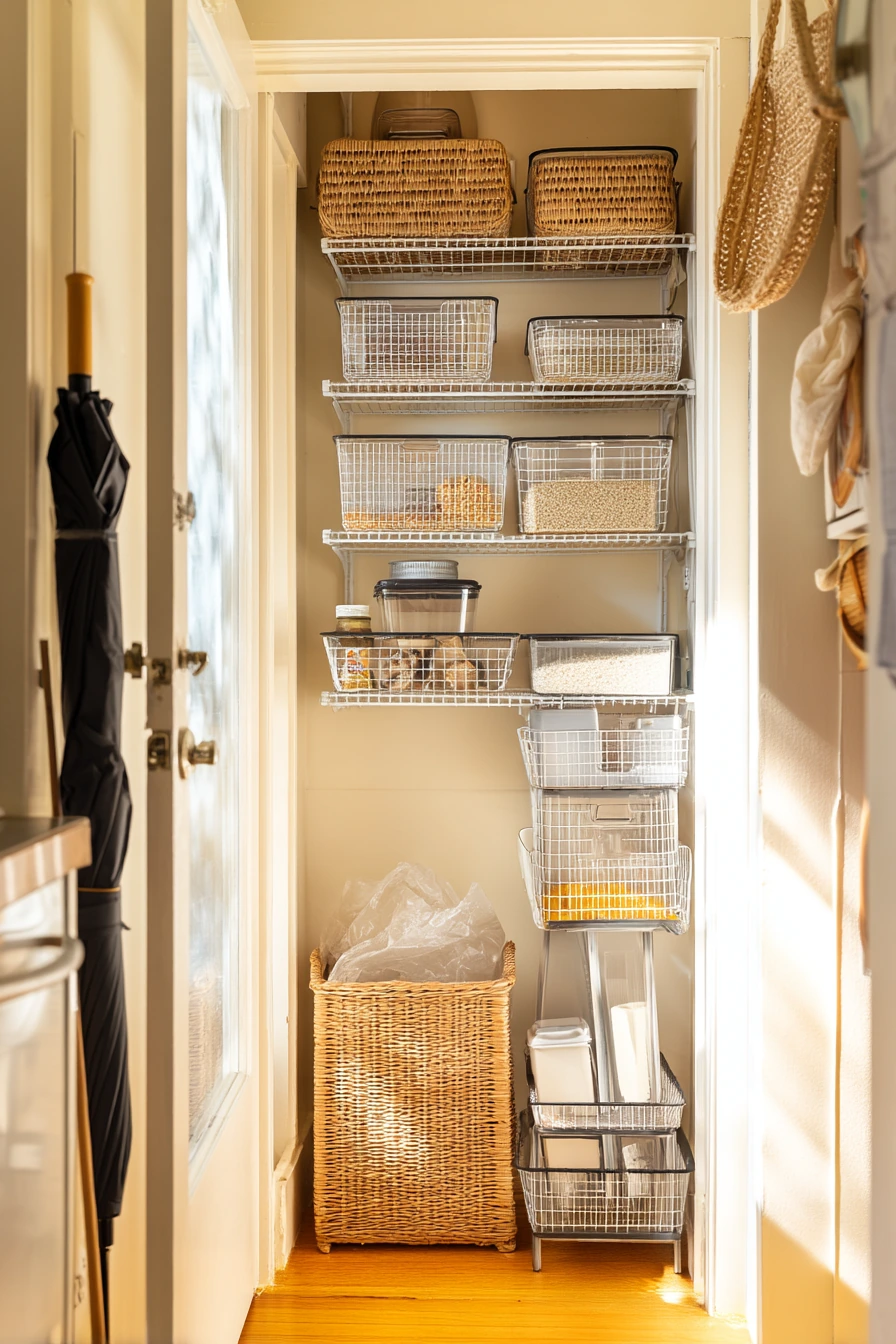
Small-space pantry shelving ideas focus on height and slim profiles. In a narrow apartment kitchen nook, ceiling-height shelves with slim metal brackets can hold a lot without feeling heavy. Use clear bins for grouped categories like breakfast, snacks, and baking, and use spice jars for small items that would otherwise get lost.
To keep the nook airy, limit deep shelves that force you to stack items behind each other. If you store paper bags or backup groceries, keep them in one labeled bin so they do not sprawl. Compact appliances should live on the lowest shelf you can reach safely, with cords wrapped and tucked into a small bin. A houseplant can soften the look, but keep it away from dry goods so soil and leaves do not drop near food.
How to style it: choose two container finishes max, like clear bins plus white labels. Use one soft fabric element, like a slightly wrinkled dish towel, to make the area feel lived-in without adding visual mess. If you keep a tote bag on a stool, hang it on a hook instead, so the floor stays open and the corner looks bigger.
- Run shelves to the ceiling and store rarely used items on the top level.
- Use narrow clear bins to prevent items from disappearing in the back.
- Group spices in uniform jars and sort by type, not alphabet, for faster cooking.
- Add one small tray for oils, tea, or coffee so it looks neat.
- Use hooks under a shelf for measuring spoons or small tools.
Pro Design Tip: In tight spaces, use 10 to 12 inch deep shelves and add a lip or rail on the front edge so bins feel secure when you pull them out.
Budget Considerations: Metal brackets and basic boards can be affordable; save money by using standard pine boards and painting them, then spend on clear bins that you can reuse in any future home.
3 Budget Rental Pantry Makeover
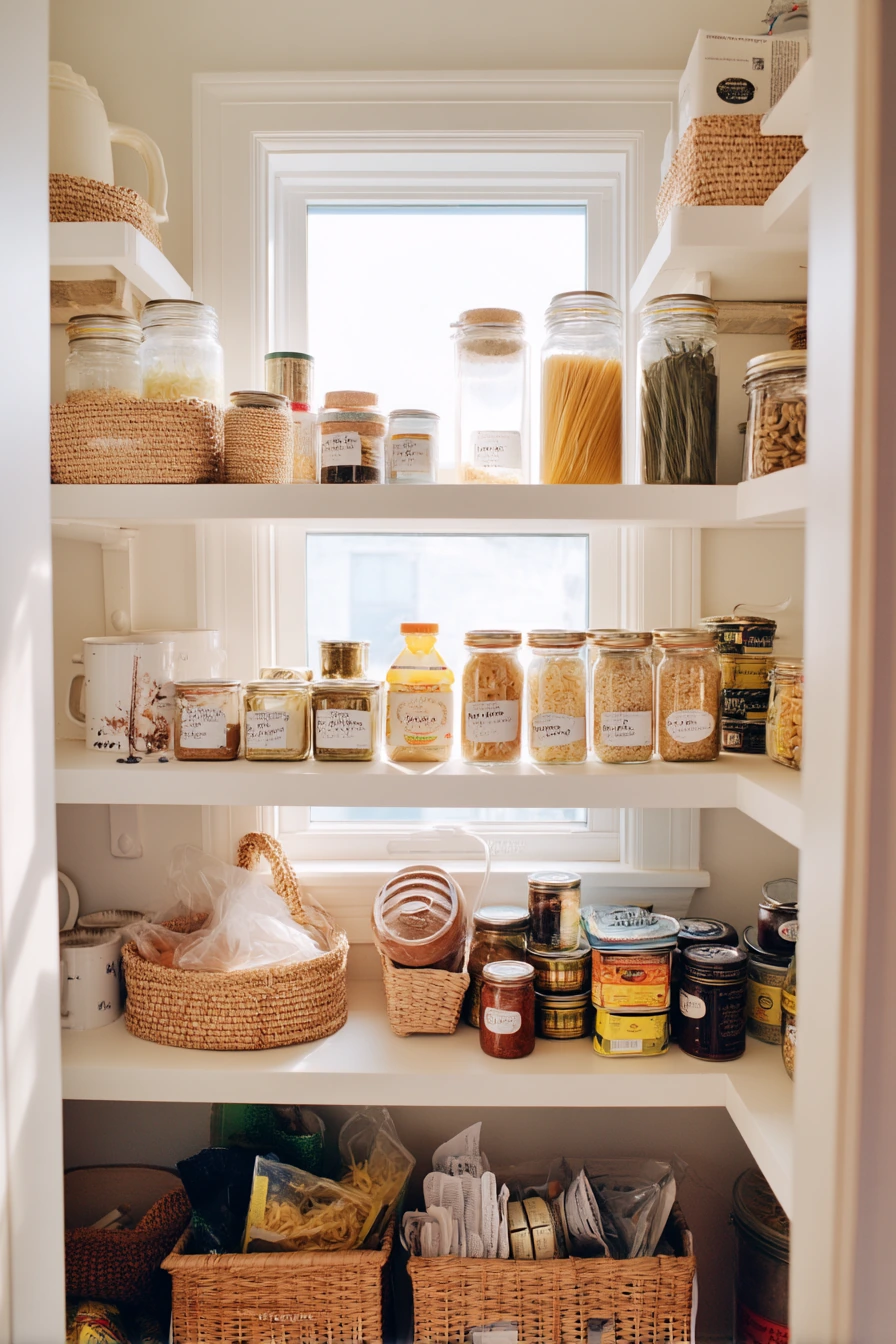
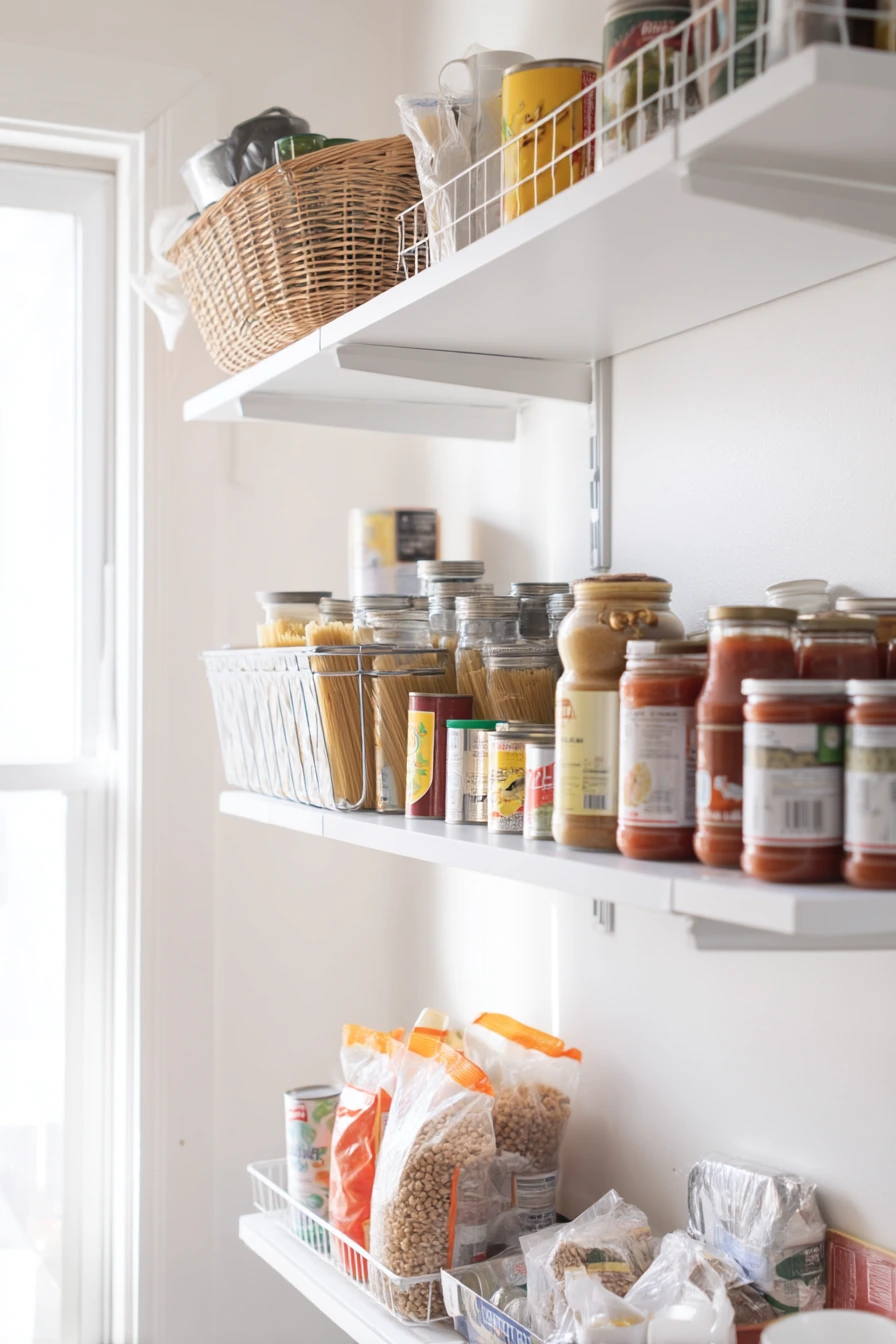
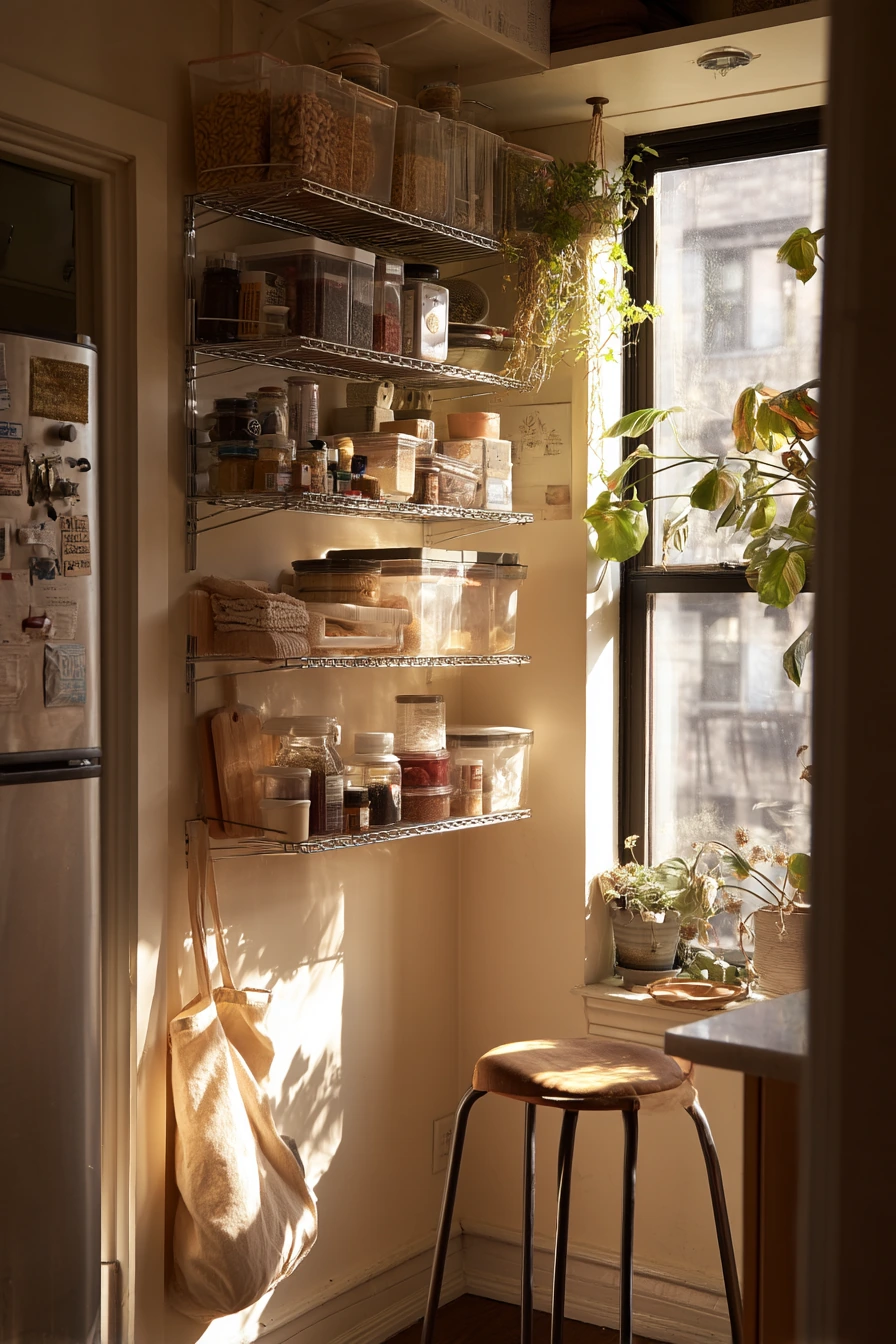
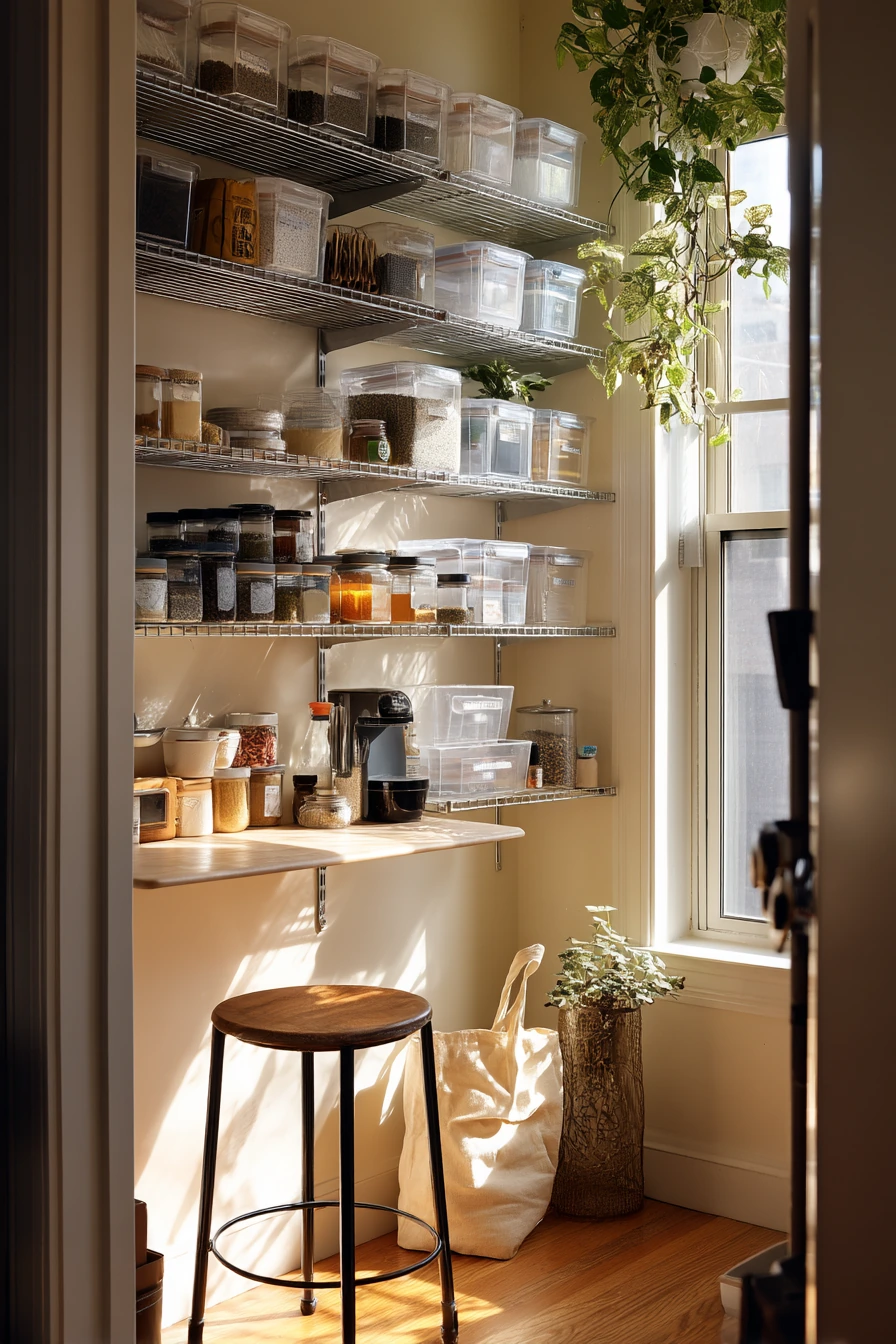
Budget-friendly pantry shelving in a rental should be simple, removable, and easy to clean. White laminate shelves are common in rentals, and they work well with peel-and-stick labels because the surface wipes down fast. Start by sorting pantry staples into clear groups: canned goods, pasta jars, baking basics, snacks, and drinks.
To add storage without drilling, use tension-rod baskets or hanging baskets that grip the shelf above. These are great for small items like seasoning packets, granola bars, or dishcloths. A recycled tray for odds and ends can hold things that always float around, like chip clips, grocery coupons, and spare keys. If you tend to leave unopened mail stacks nearby, create a “not food” shelf so paper does not mix with ingredients.
How to style it: keep the look clean with matching labels, even if the containers are a mix. Embrace a modest, practical vibe and avoid too many decorative pieces. If you have groceries half-unpacked, keep one empty bin labeled “put away” so you can finish later without cluttering every shelf. Wipe shelf rings right away so the pantry stays fresh.
- Use peel-and-stick labels on bins, jars, and shelf edges for quick resets.
- Add tension-rod baskets under a shelf to create a bonus level.
- Store canned goods in rows by type, with oldest in front.
- Use pasta jars for spaghetti, noodles, and rice to reduce bag spills.
- Place a tray on one shelf for clips, batteries, and small extras.
Pro Design Tip: Make one shelf the “incoming zone” for new groceries so you can sort and rotate items before they spread through the pantry.
Budget Considerations: Skip pricey matching canisters; reuse pasta sauce jars, add simple labels, and invest in a few sturdy bins for the categories you use every day.
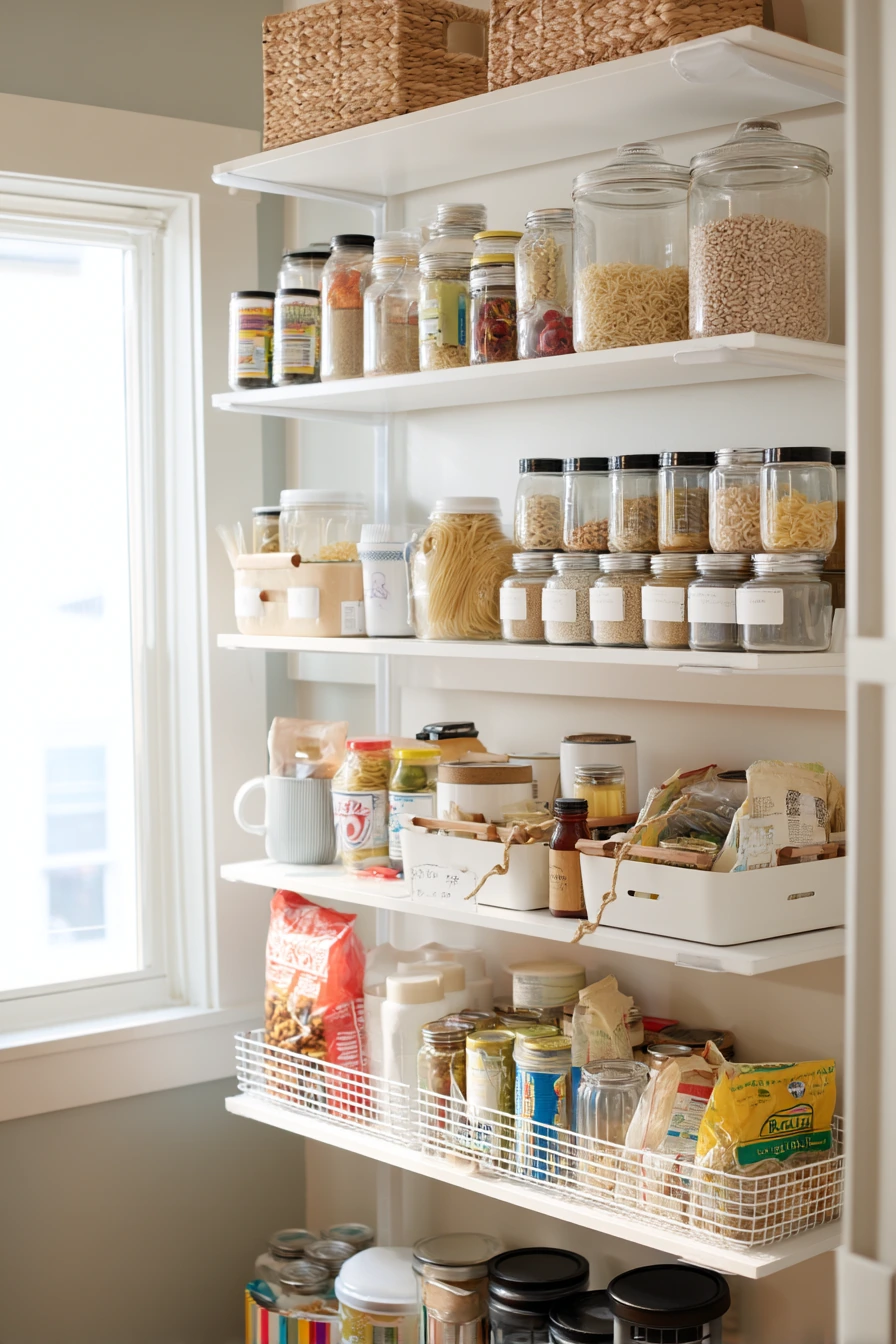
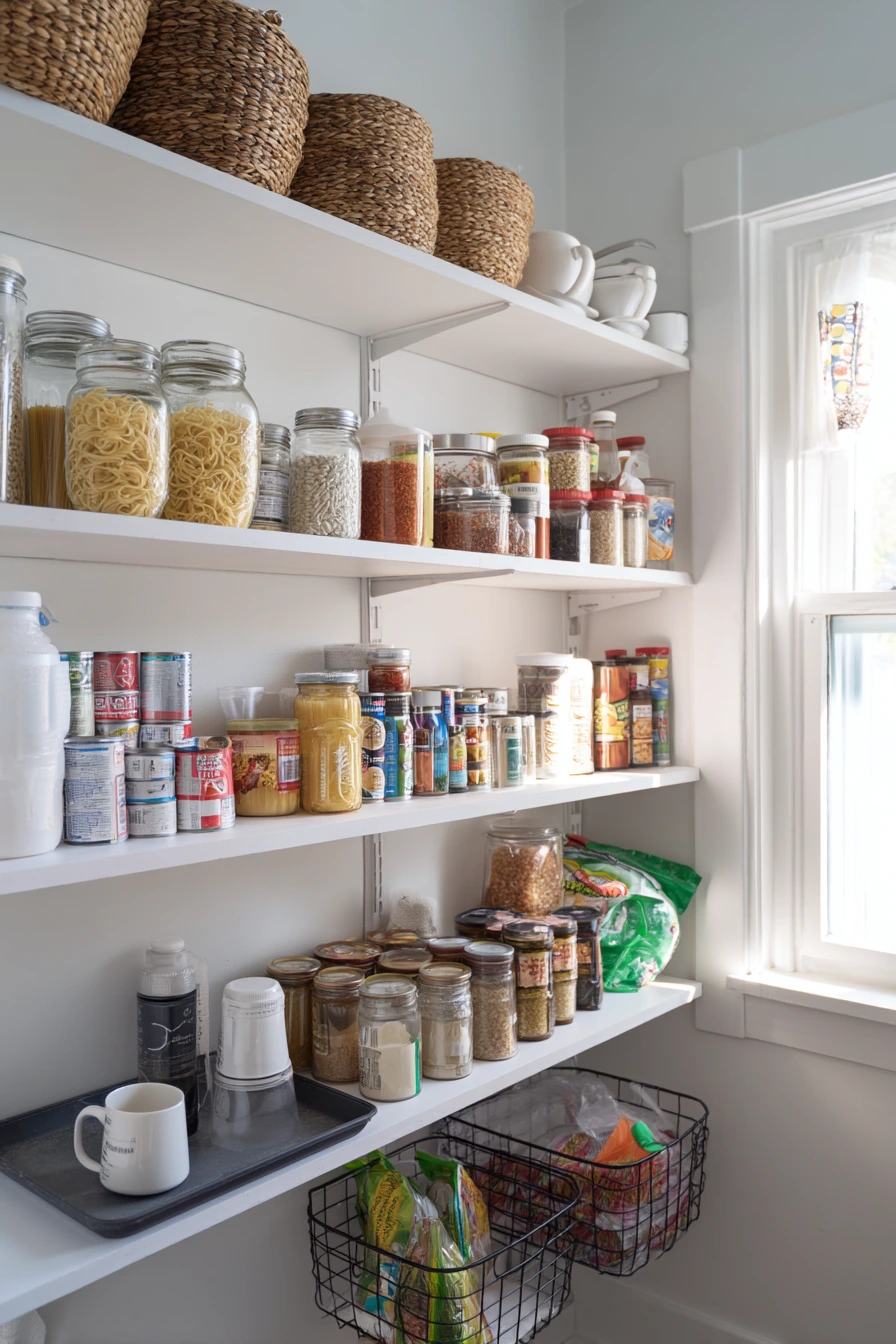
4 Minimal Pantry for a Single Professional
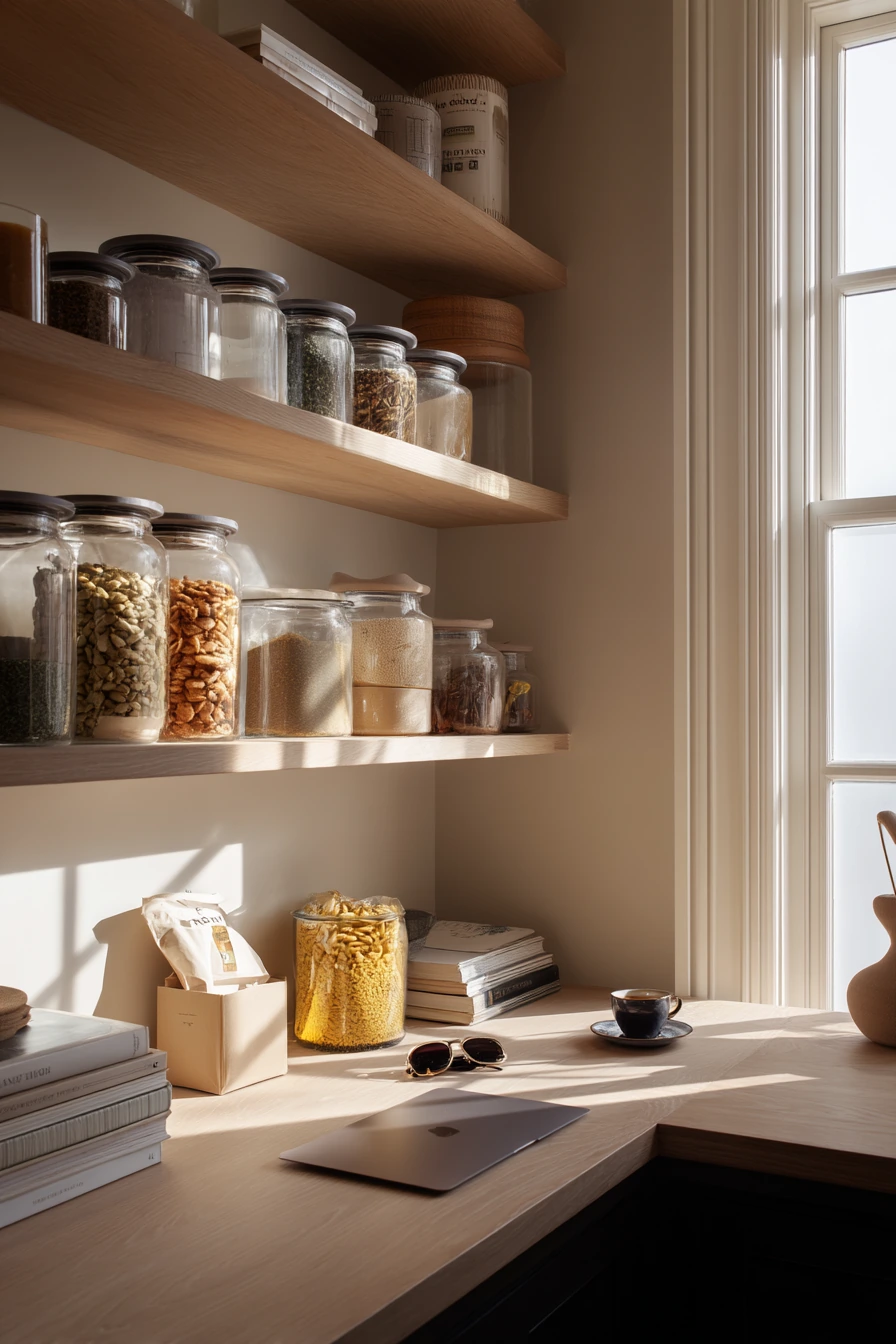
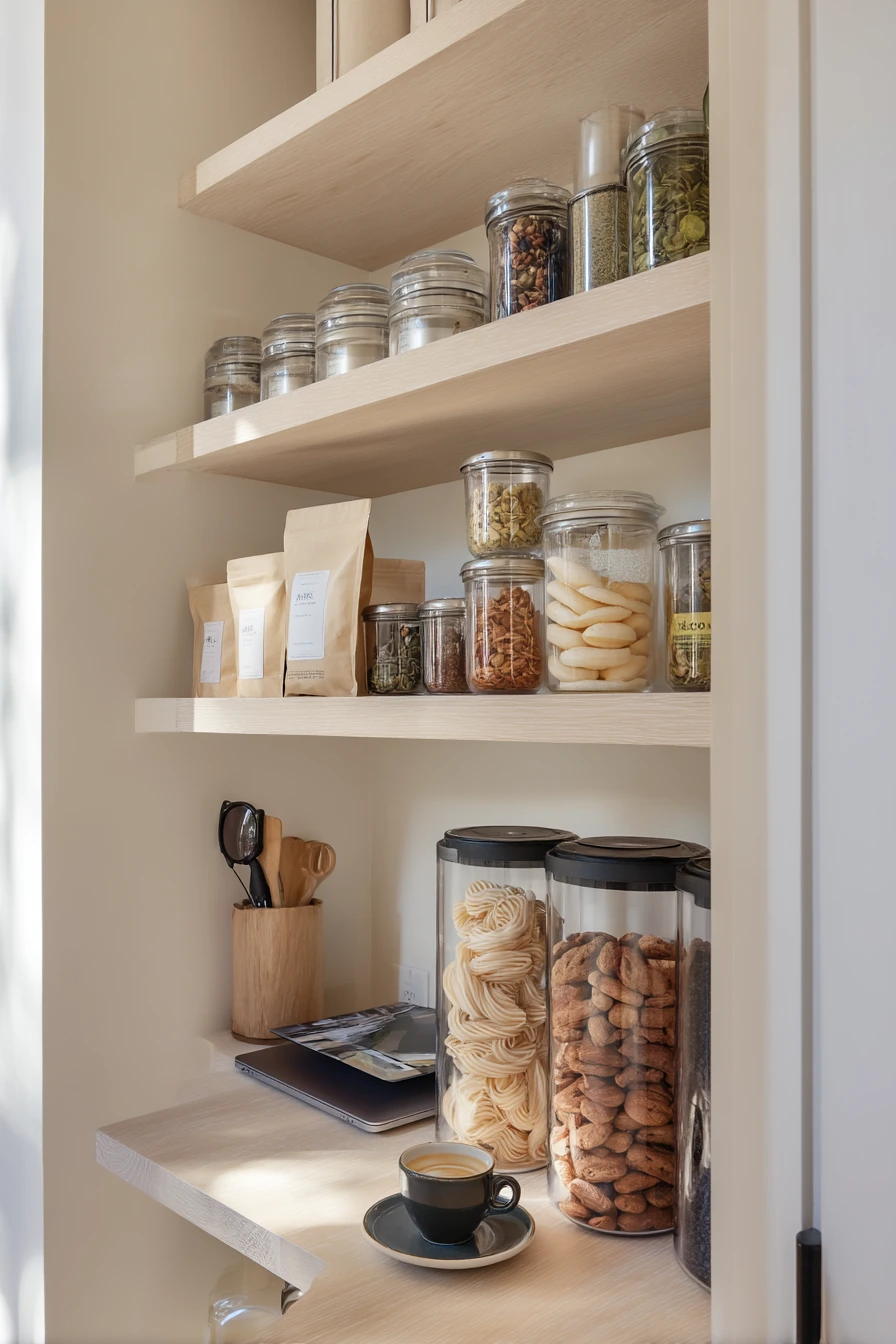
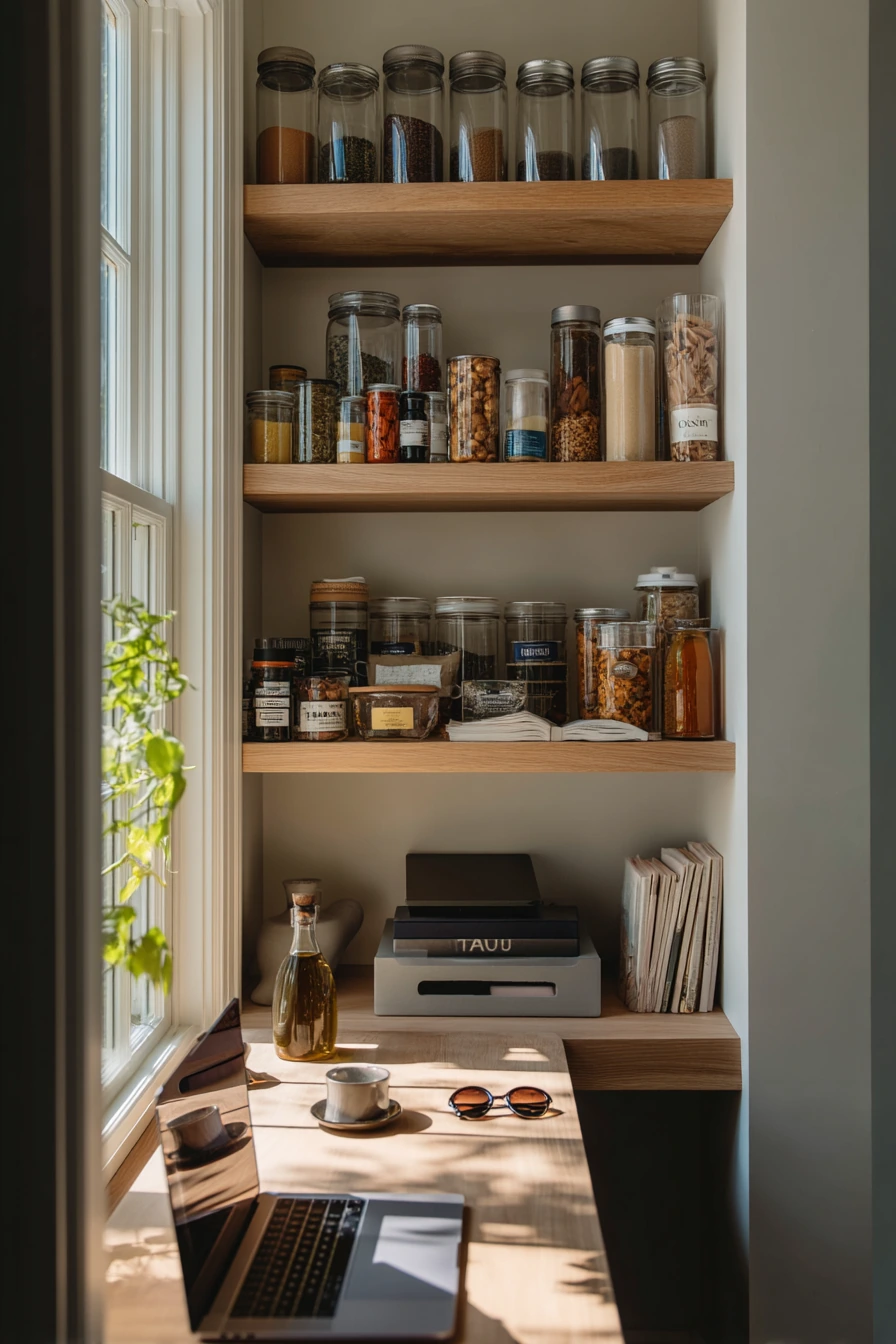
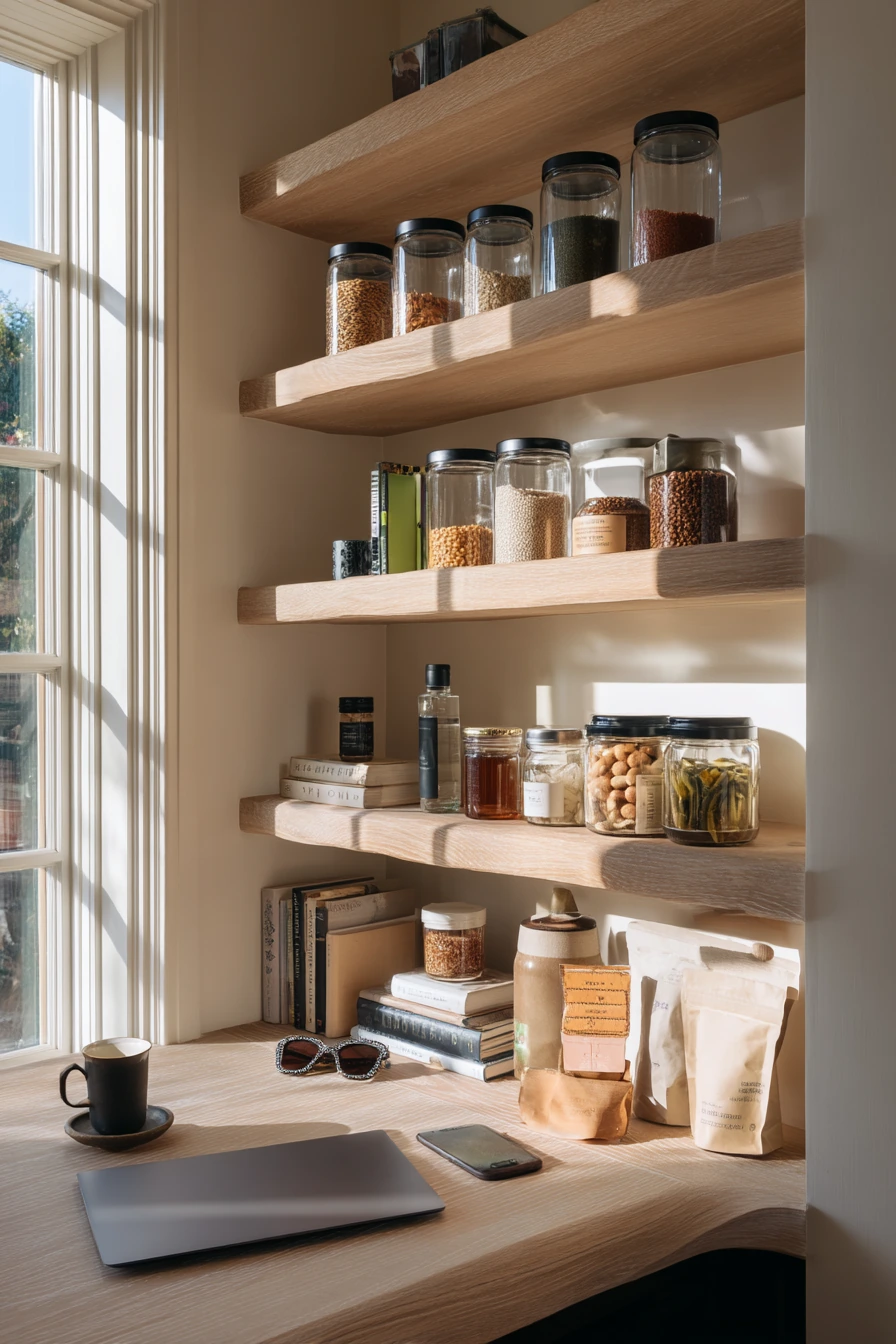
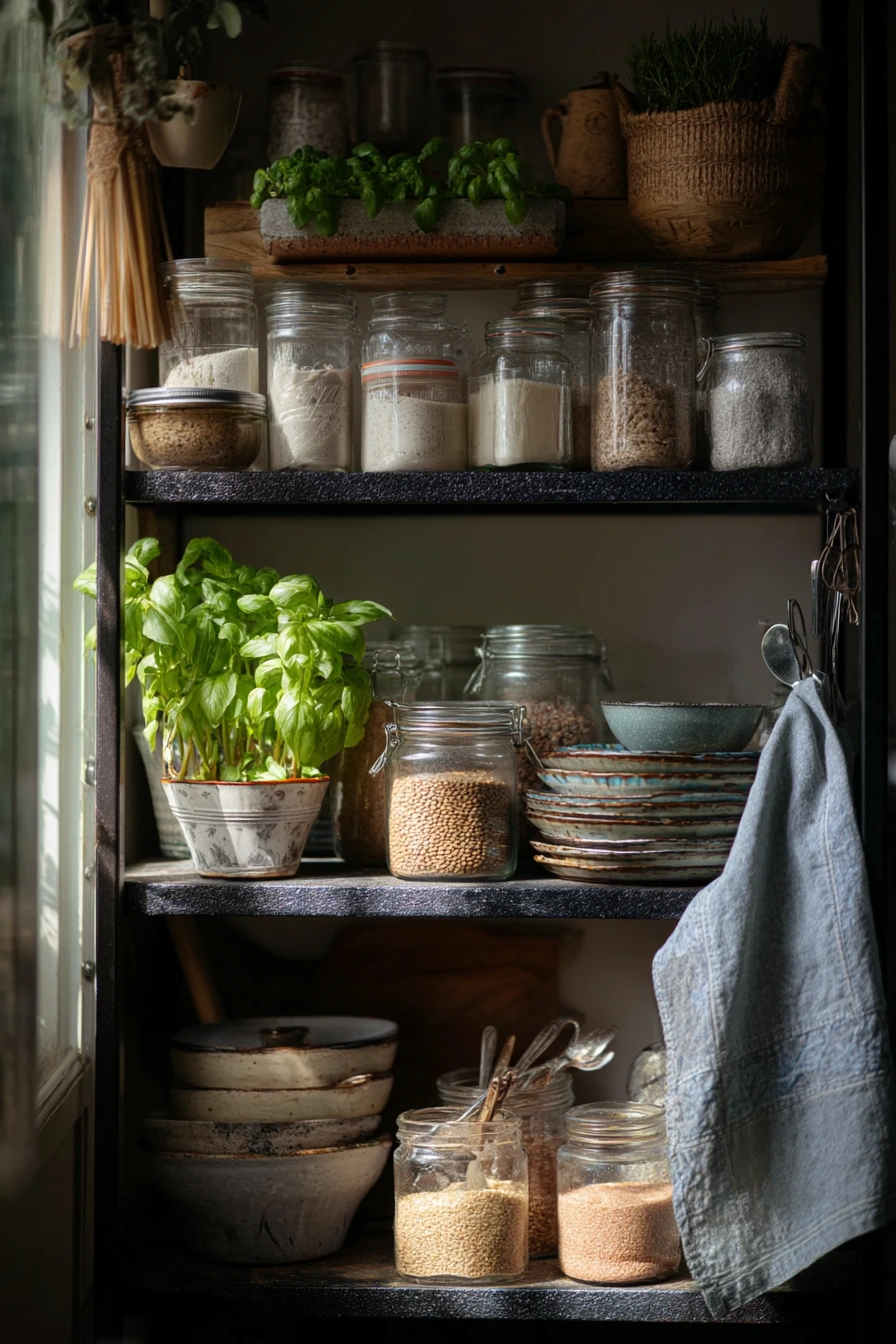
Streamlined pantry shelving ideas work well when your schedule is busy and you want fewer decisions. Open oak shelves with uniform glass jars create a calm, tailored look, and they make it easy to see what you are low on. Keep tea tins, olive oil, and protein snacks in a tight grouping near where you pack breakfast or lunch.
In a single-person pantry, clutter often comes from “in-between” items like sunglasses by the doorway, a laptop charging cable, or one espresso cup that never makes it back to the cabinet. Instead of fighting that habit, add one small basket for grab-and-go items that do not belong in the pantry long-term. Then set a rule: anything in that basket gets cleared once a day.
How to style it: use consistent jar shapes and label them with simple text. Keep a few cookbooks standing upright with bookends, and leave open space between groups so the shelves do not feel packed. If you like a restrained look, stick to one wood tone and one metal finish for containers and hooks.
- Use uniform glass jars for grains, nuts, and snacks to keep the shelf lines clean.
- Store oils and vinegar on a tray so drips do not stain wood.
- Create a coffee and tea shelf with tins, filters, and sweeteners together.
- Keep protein snacks in one bin so you can refill it fast.
- Limit decor to one item, like a small plant or a framed list.
Pro Design Tip: Build your pantry around “stations” like coffee, breakfast, and cooking, and keep each station within one shelf span so you do not bounce around while you work.
Budget Considerations: Uniform jars can add up; buy them slowly and start with the items you use most, then fill gaps with recycled jars that match in height.
5 Herb and Everyday Cooking Pantry
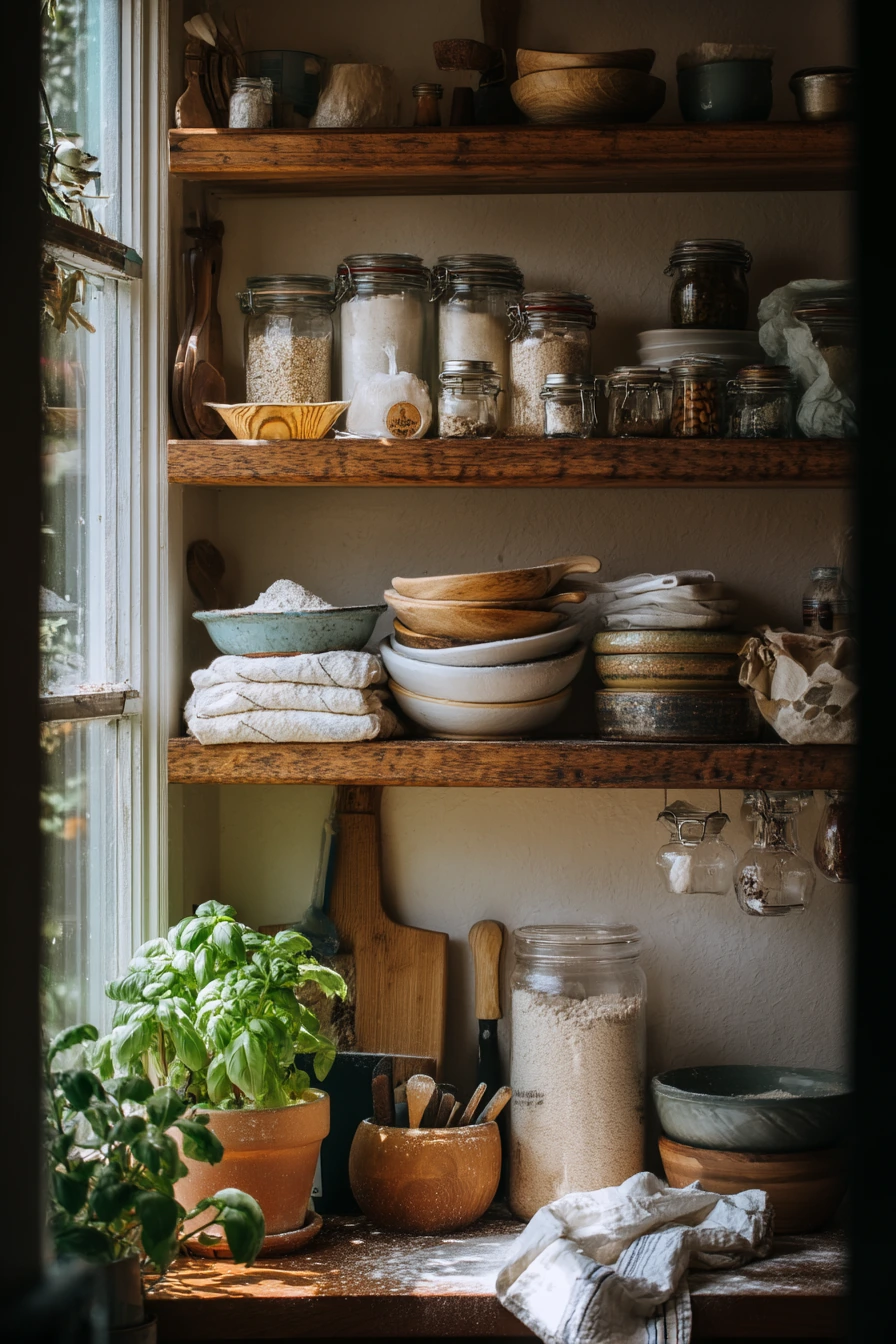
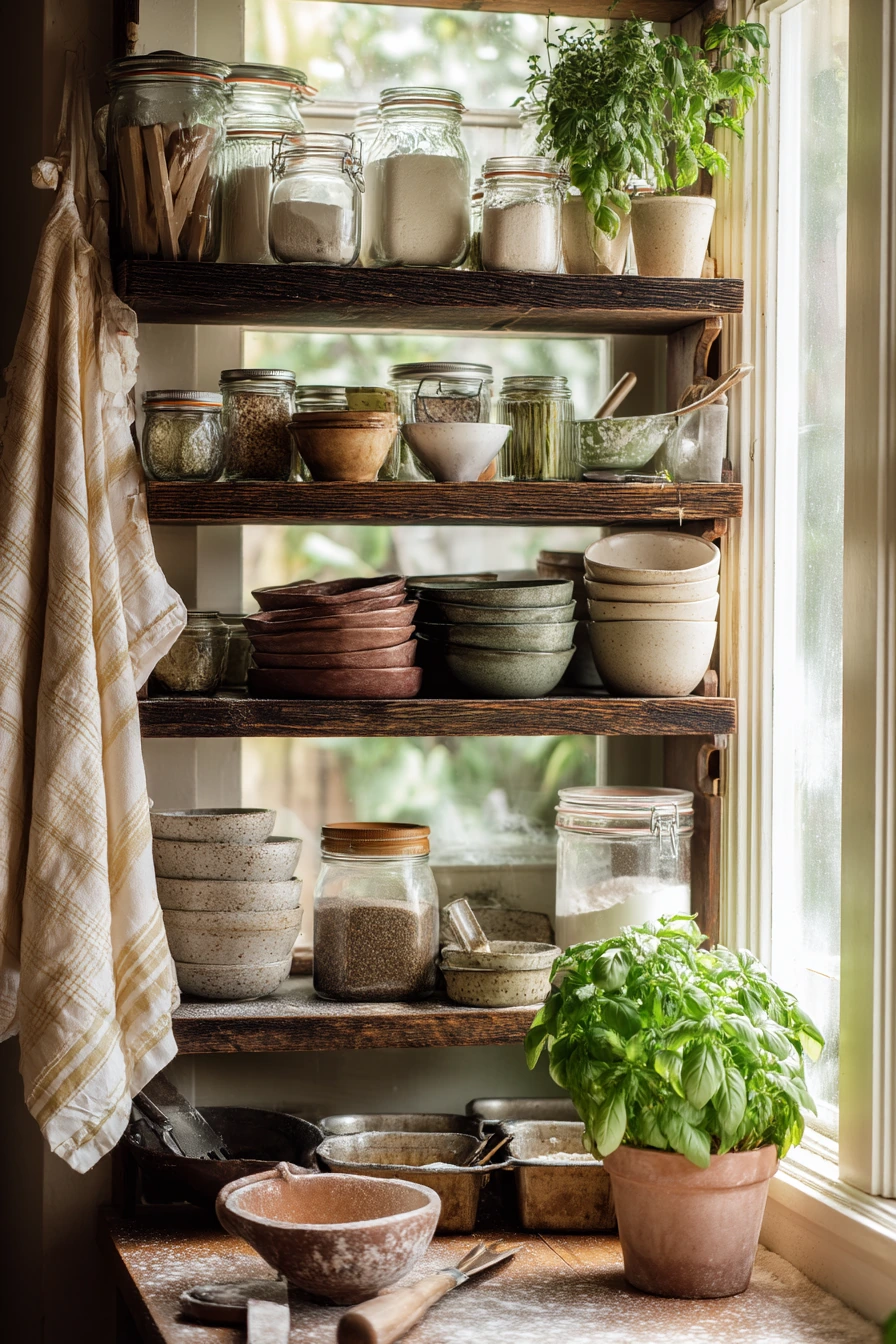
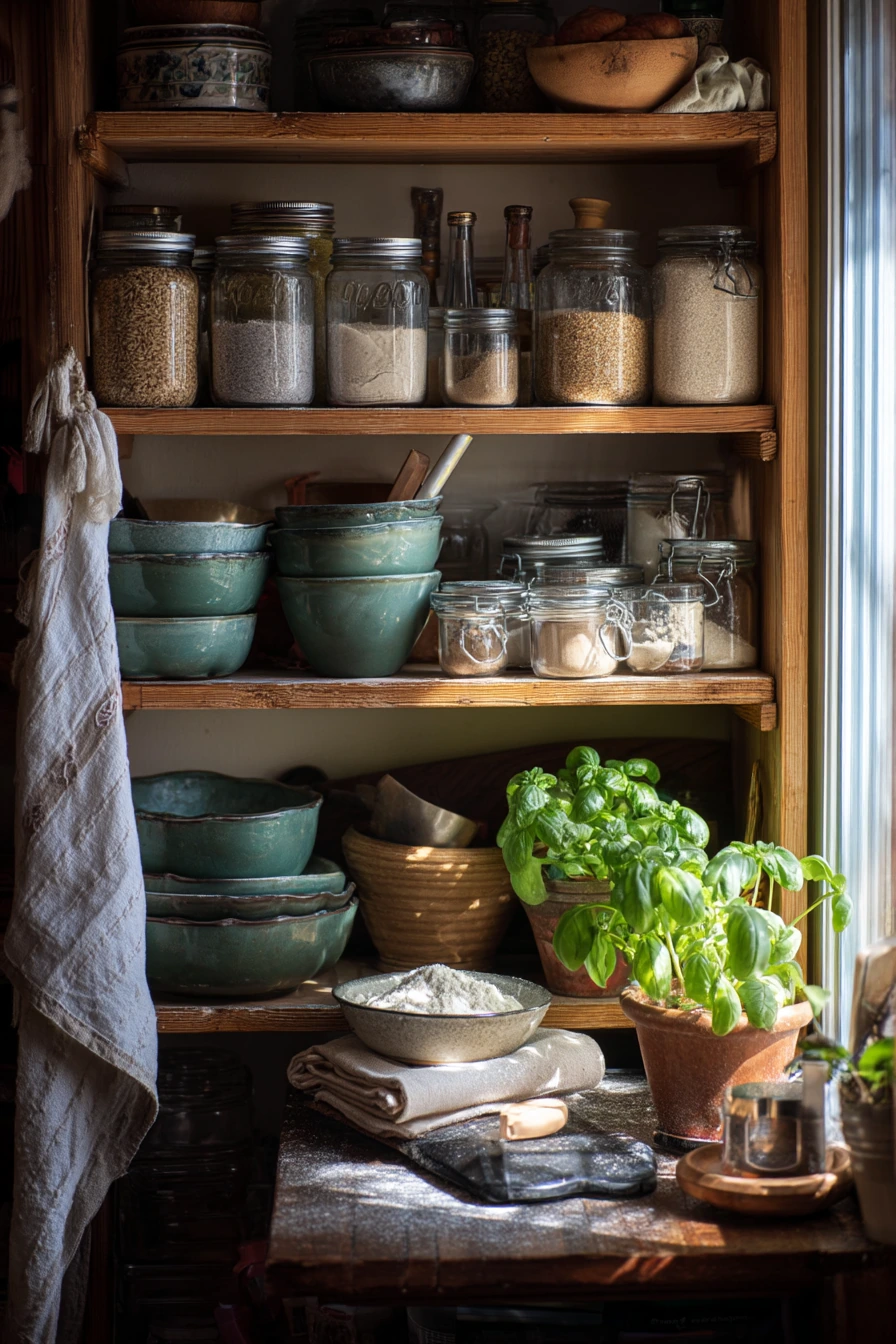
Home cook pantry shelving ideas should support prep, baking, and frequent cooking. Sturdy shelves are important because flour, grains, and ceramic bowls get heavy. Keep herb jars, baking tins, and staples like sugar and oats easy to reach. Hanging measuring cups under a shelf can save space and speed up cooking.
A pantry that gets real use will show it. Flour dust on a shelf or a tea towel tossed nearby is normal, but you can keep it under control with a few habits. Store flour and powdered sugar in sealed containers to prevent spills and pests. Keep a small hand broom or cloth in the pantry for quick wipe-downs, especially after baking days. Fresh basil in a small pot looks nice, but place it on a tray so water does not damage wood.
How to style it: mix ceramic bowls with clear containers so it feels warm and grounded. Use matching herb jars, and line up baking tins vertically in a rack. Keep labels simple, and choose one accent color like sage green or warm beige. Leave a little open space around your most-used items so you can pull them out without knocking things over.
- Store baking staples together: flour, sugar, cocoa, and baking powder.
- Use airtight containers for grains to keep them fresh and easy to scoop.
- Hang measuring cups and spoons on hooks under a shelf.
- Keep ceramic bowls on a middle shelf for easy grab and safe lifting.
- Add a tray for herbs, oils, or a small plant to protect the shelf surface.
Pro Design Tip: Put a “mixing zone” on one shelf with flours, sweeteners, and tools so you can bake without pulling items from five different places.
Budget Considerations: A simple hook rail and a few airtight containers can make the biggest difference; skip specialty racks and use basic file holders to store baking sheets and tins.
6 Renter-Friendly Pantry Cart and Shelves
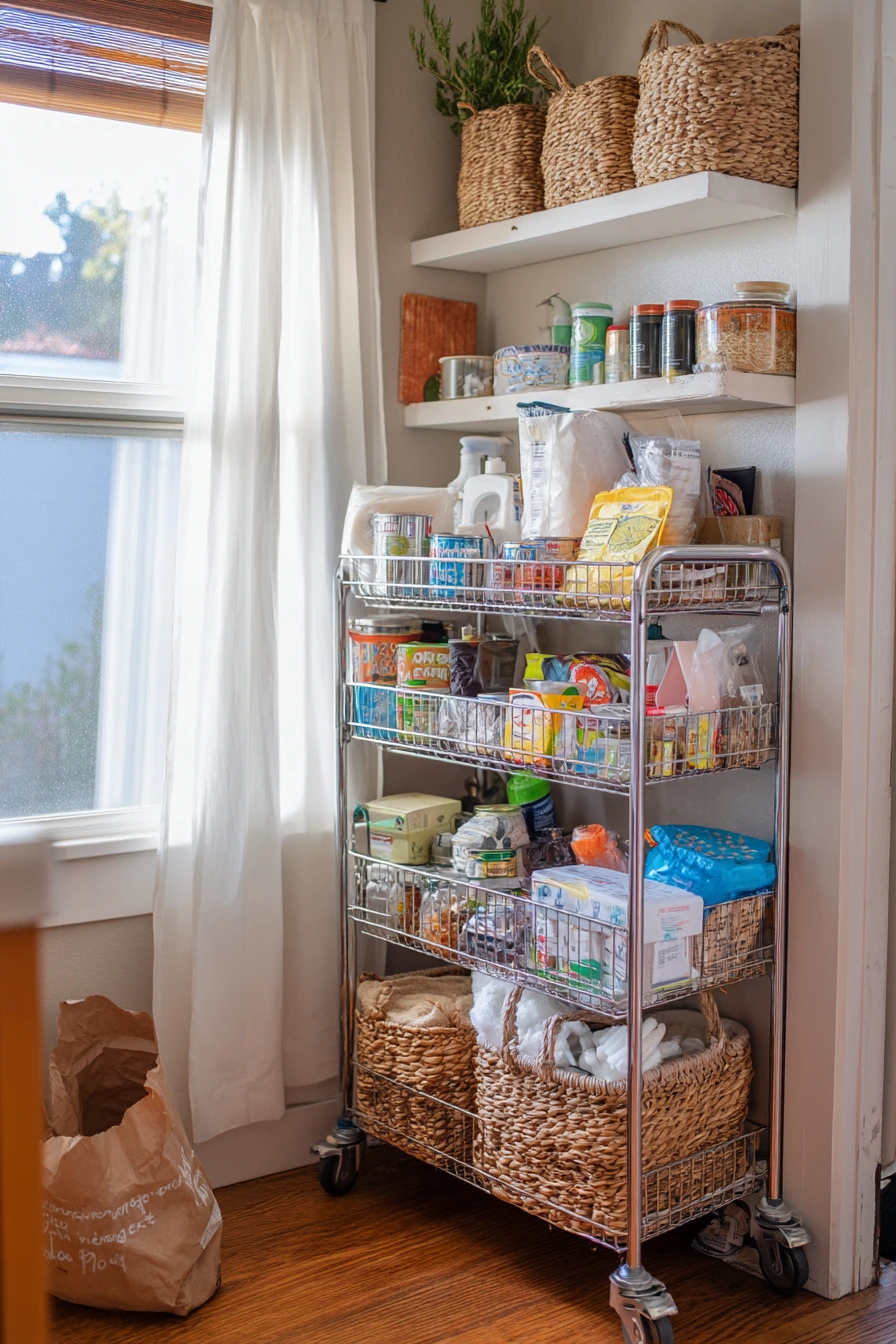
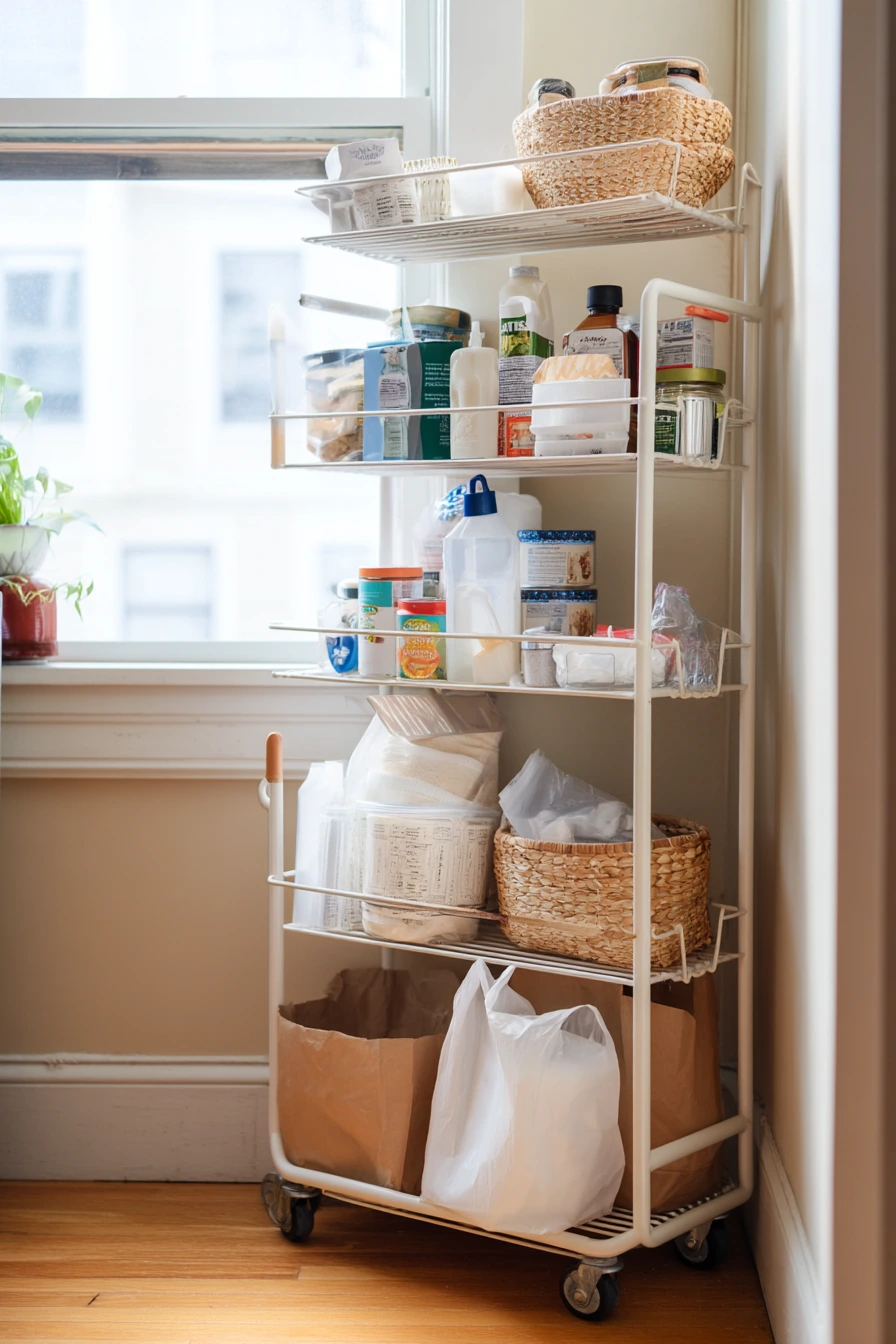
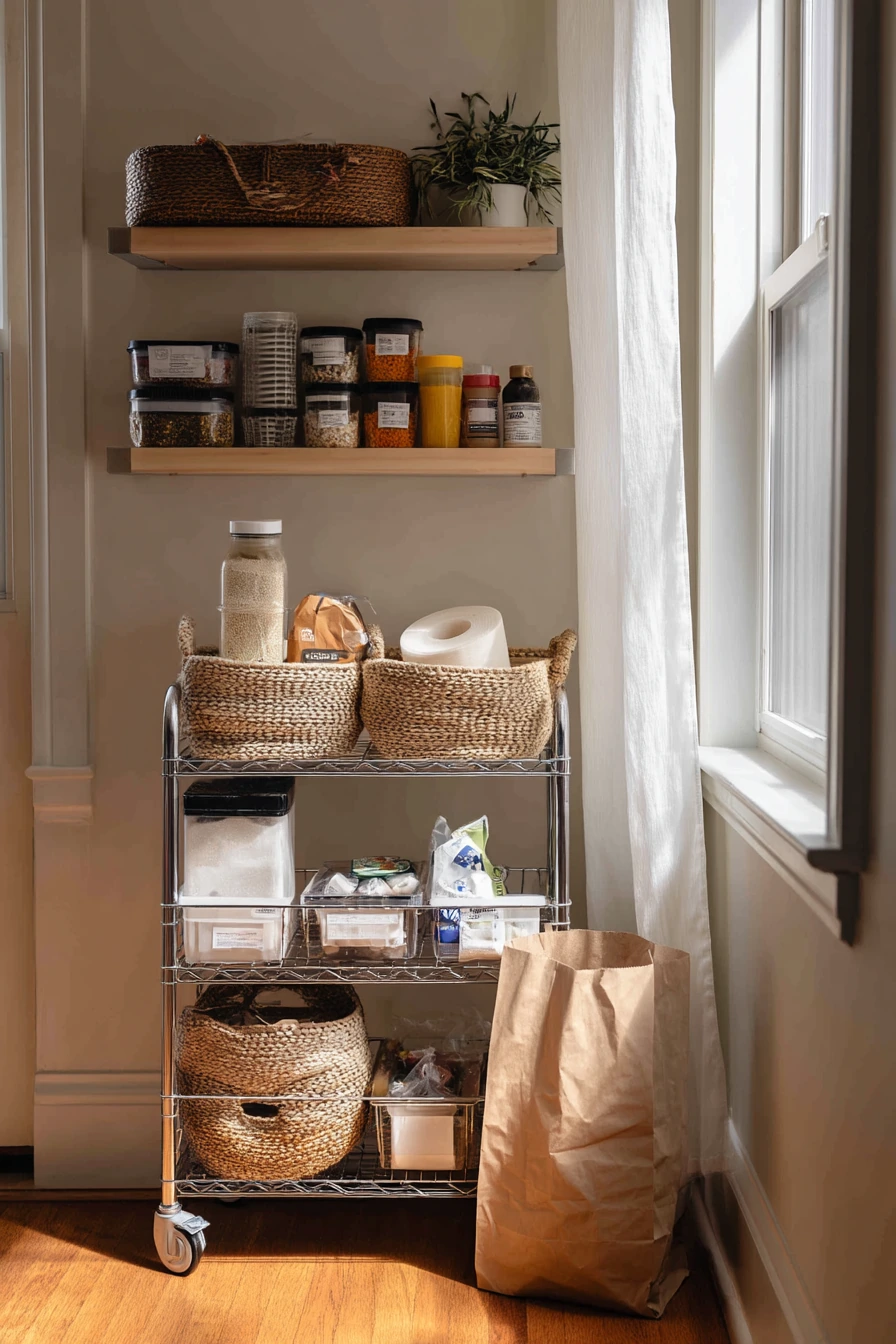
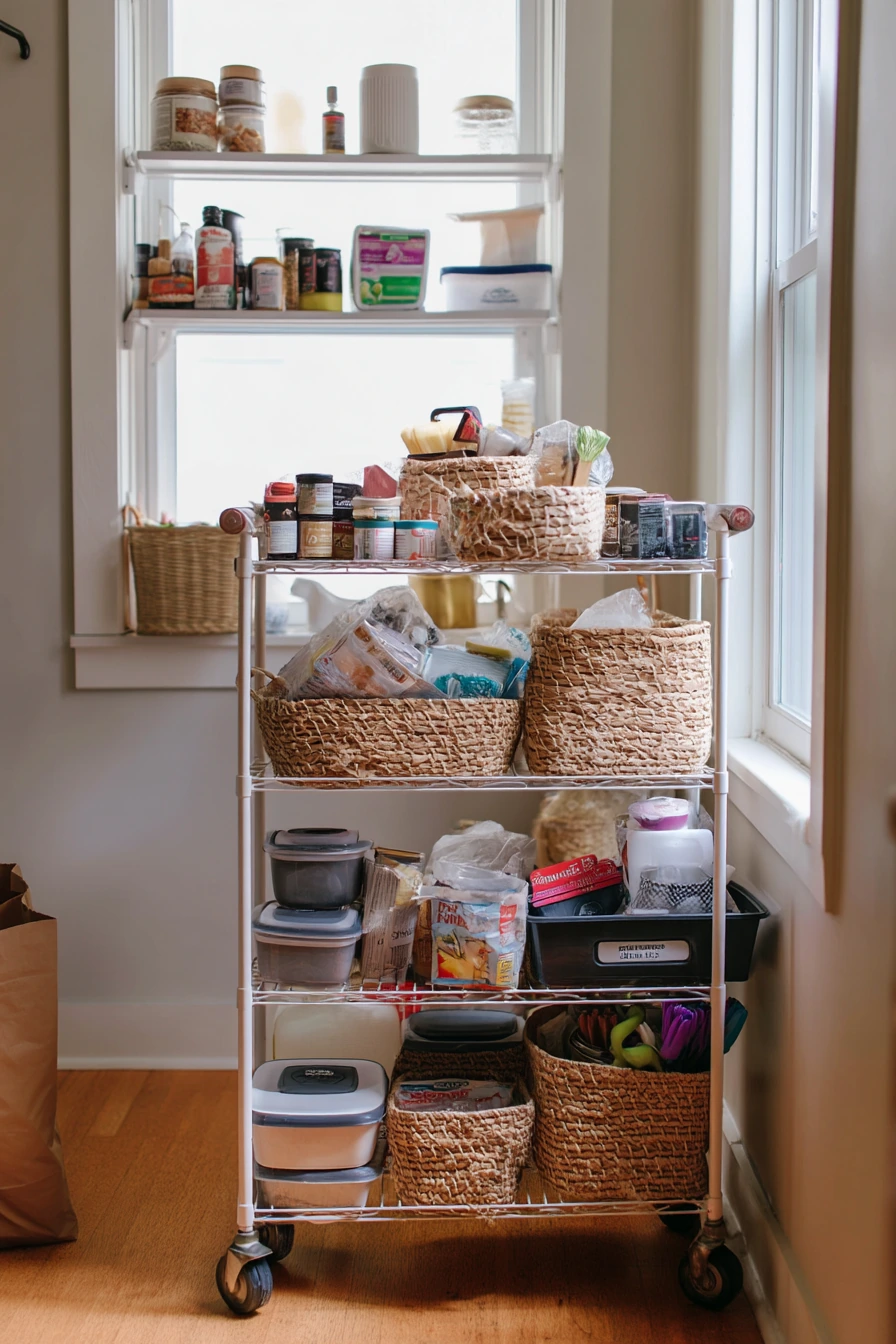
Renter-friendly pantry shelving ideas are all about flexibility. Pair open wall shelves with a rolling cart so you can add storage without major changes. Use the cart for items you reach for often, like pantry staples, reusable containers, and cleaning supplies. This setup is great when your pantry is small or shared, because you can roll the cart where you need it.
To keep it from looking messy, assign each cart level a purpose. Top shelf for daily snacks or coffee, middle for cooking basics, and bottom for heavier backups and cleaning products. If you tend to drop a key ring on the cart handle or toss a grocery receipt nearby, add a small cup or clip-on pouch so those items have a home. Keep a paper bag off the floor by storing it in a bin or hanging it on a hook.
How to style it: match baskets on the cart with the baskets on the wall shelves for a coordinated look. Use labels on the front of each basket, and keep one or two containers clear so you can see when you need to restock. Choose neutral colors so the cart looks like part of the kitchen, not a temporary fix.
- Use a three-tier rolling cart to add storage without drilling or remodeling.
- Keep cleaning supplies separate from food in a lidded bin on the bottom tier.
- Add matching baskets to hide packaging and make quick tidy-ups easier.
- Use reusable containers for rice, pasta, and snacks to reduce spills.
- Park the cart in the same spot every day so the kitchen stays clear.
Pro Design Tip: Add a slim cutting board or tray on the cart top to create a small landing spot for unpacking groceries and sorting items fast.
Budget Considerations: A basic rolling cart is often cheaper than adding cabinets; shop secondhand and swap the wheels if needed, then spend a little on sturdy bins that fit the cart exactly.
7 Kids’ Snack Zone Pantry
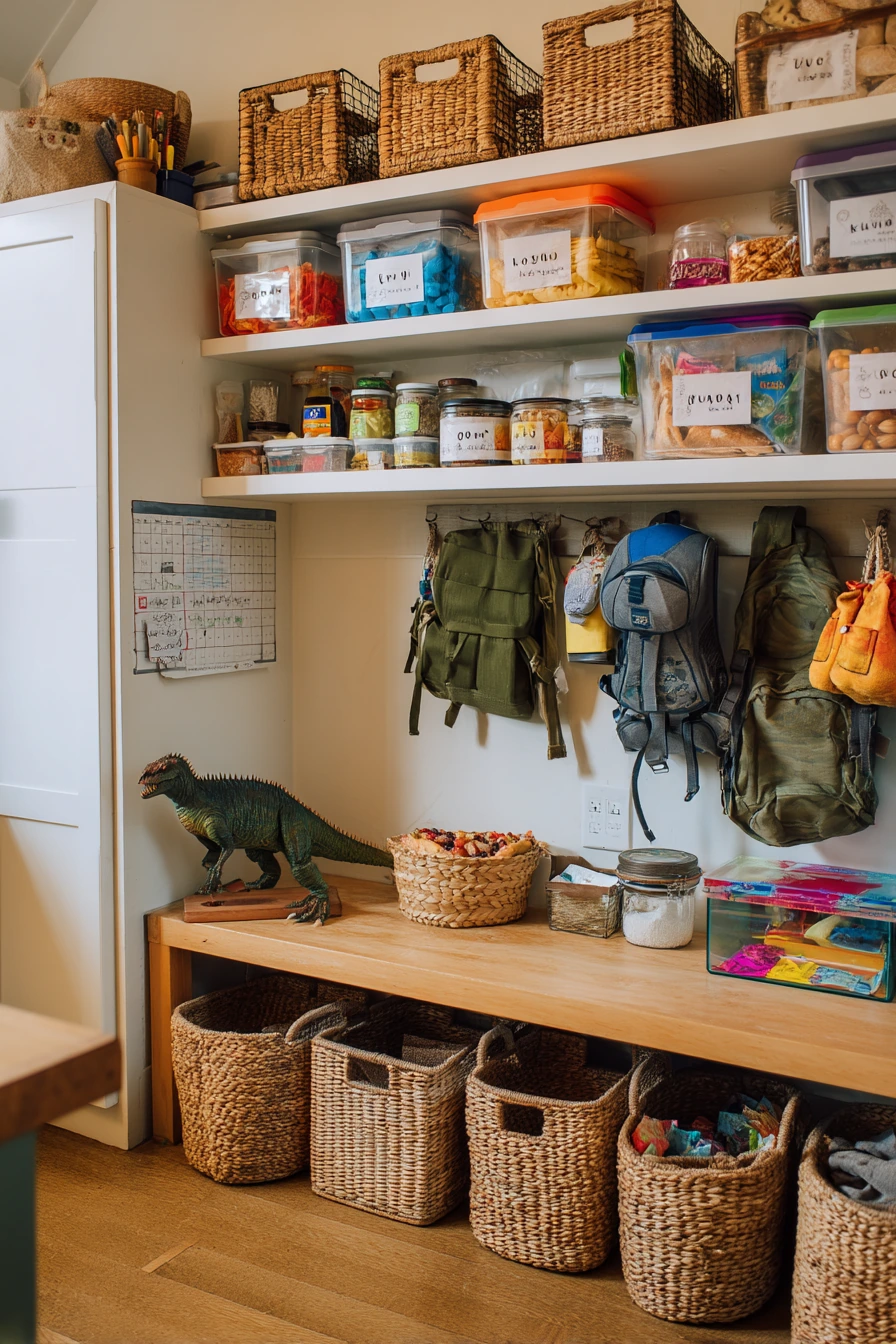
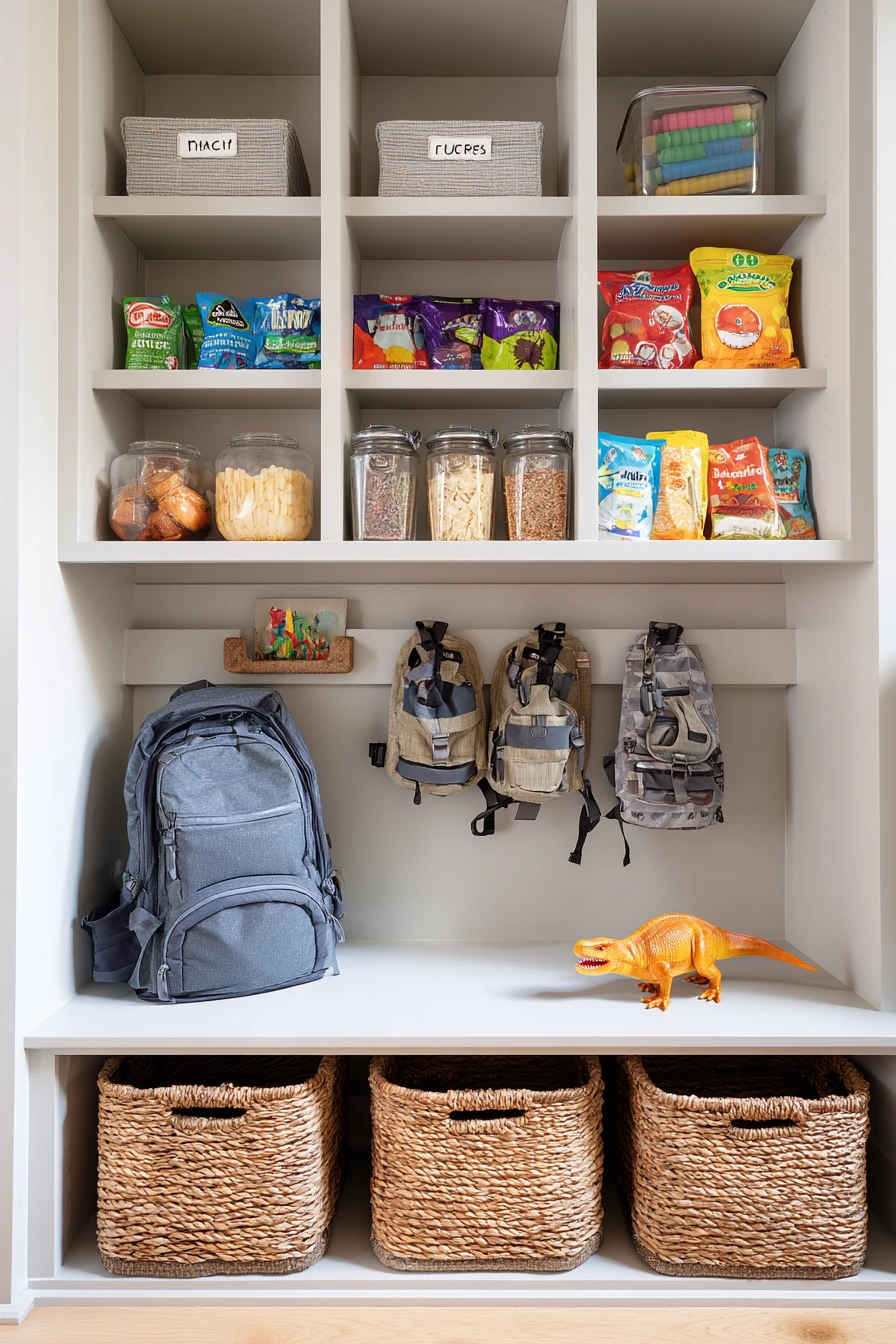
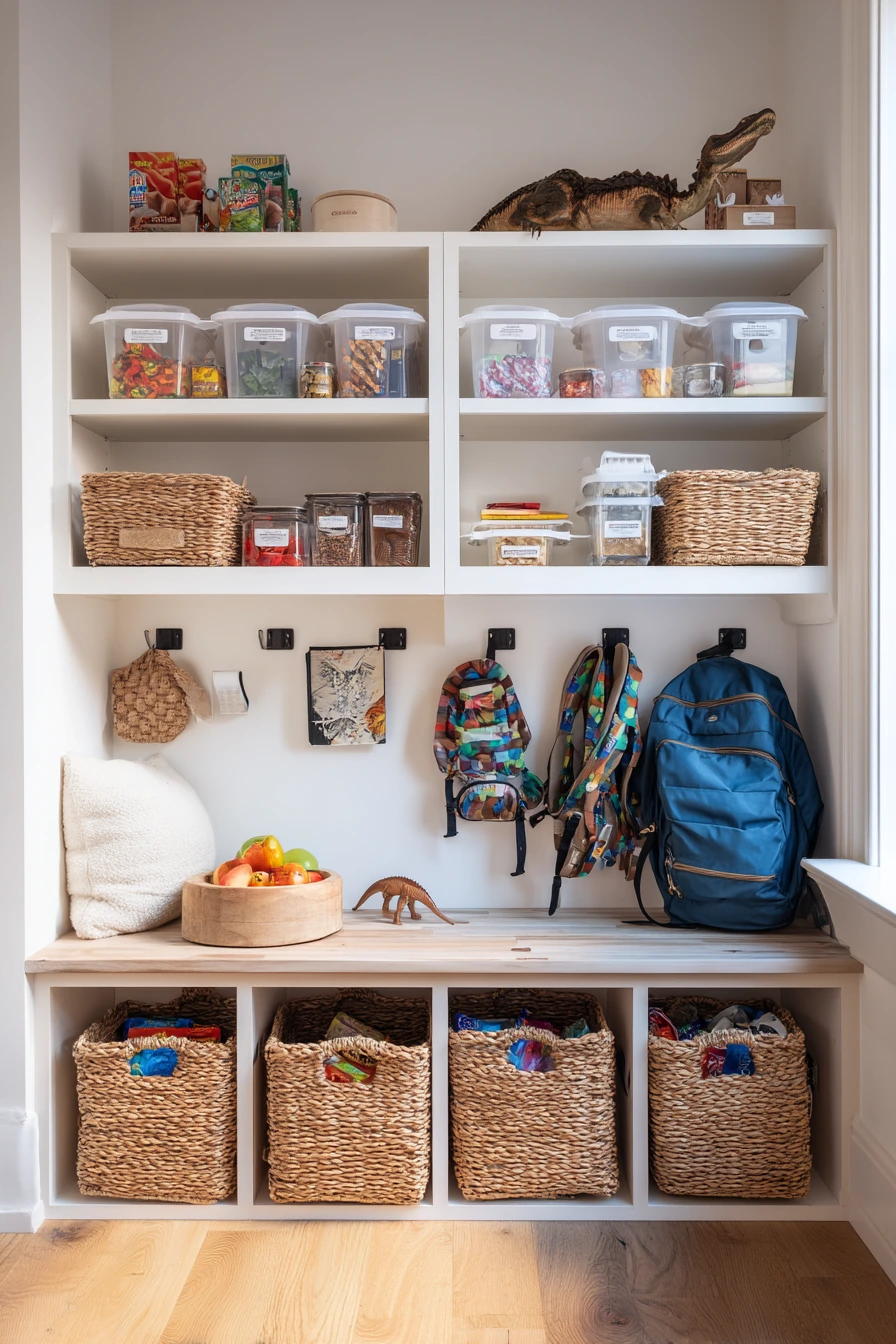
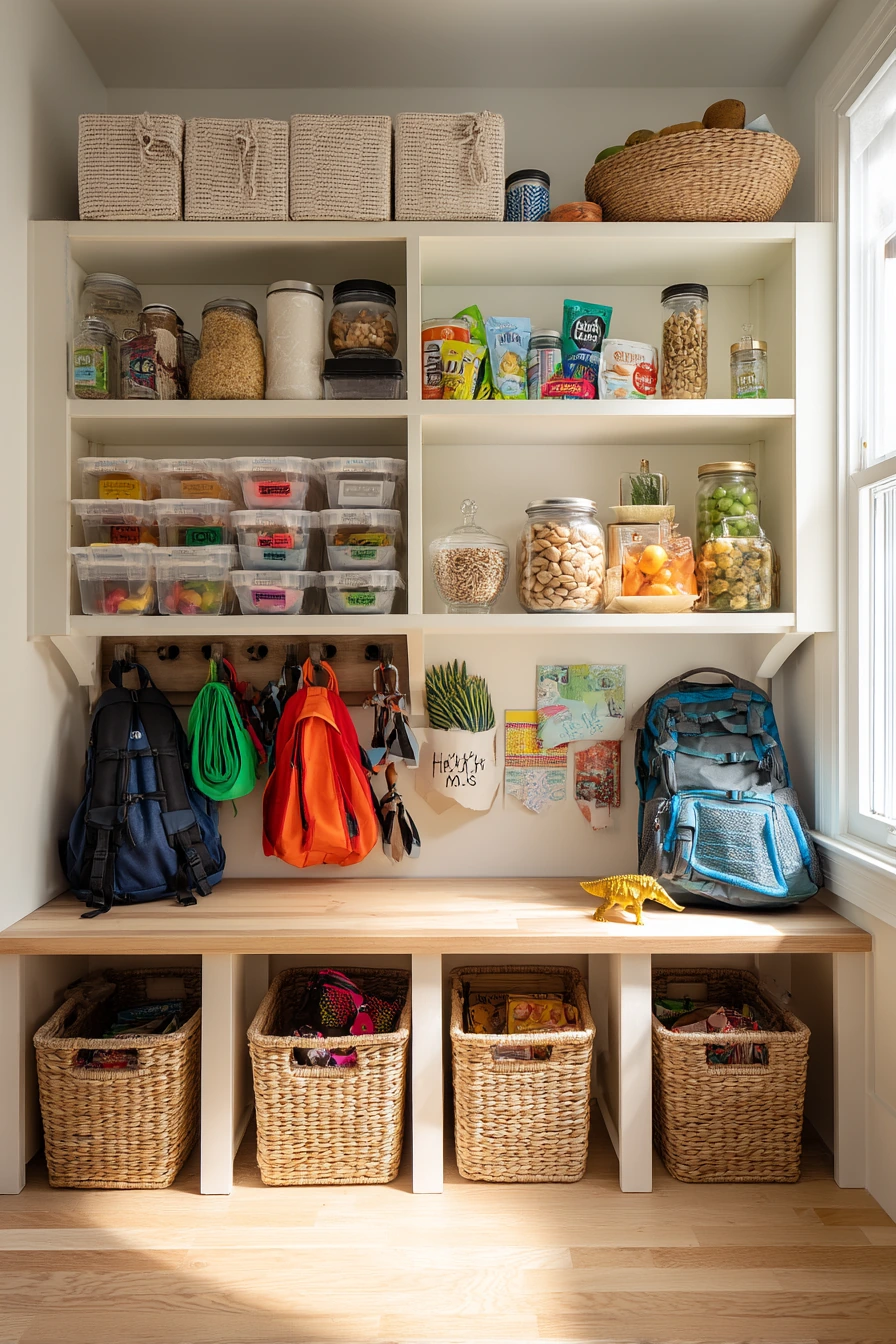
Family pantry shelving ideas work best when they support kids and adults at the same time. Create a kid-height snack zone with labeled bins for fruit pouches, crackers, and lunchbox gear. Durable baskets on lower shelves can handle daily grabbing, and they are safer than glass. Keep the adult-only items higher up, especially anything that is fragile or sharp.
Design for wear and tear. A smudged fingerprint on a jar will happen, so choose containers that wipe clean. If backpack straps hang nearby, add hooks or a small bench area so school items do not end up on food shelves. A small toy tucked under a bench is a good reminder to leave some space for kid life, but make sure toys stay in one basket so they do not spread through the pantry.
How to style it: use bright but limited label colors so kids can recognize categories fast. Keep the snack bins uniform in size, and add picture labels for younger kids. For a cheerful look, use woven bins for soft packaging and clear bins for items you need to monitor, like fruit snacks and granola bars. Leave an open spot for the week’s lunchbox needs so mornings run smoother.
- Set one low shelf as the “yes zone” where kids can choose their own snacks.
- Use labeled bins for lunchbox items like napkins, bags, and refillable bottles.
- Keep breakables and glass jars on higher shelves.
- Add a wipeable mat or tray under sticky snacks to catch crumbs.
- Use hooks for backpacks and hats so they stay off pantry shelves.
Pro Design Tip: Make the kid zone easy to reset by limiting it to 4 or 5 bins and keeping the same items in the same spot every week.
Budget Considerations: Instead of buying new bins, reuse shoebox-size containers and add simple printed labels; upgrade to sturdier baskets later if the system sticks.
8 Entertaining Pantry with Glass Fronts
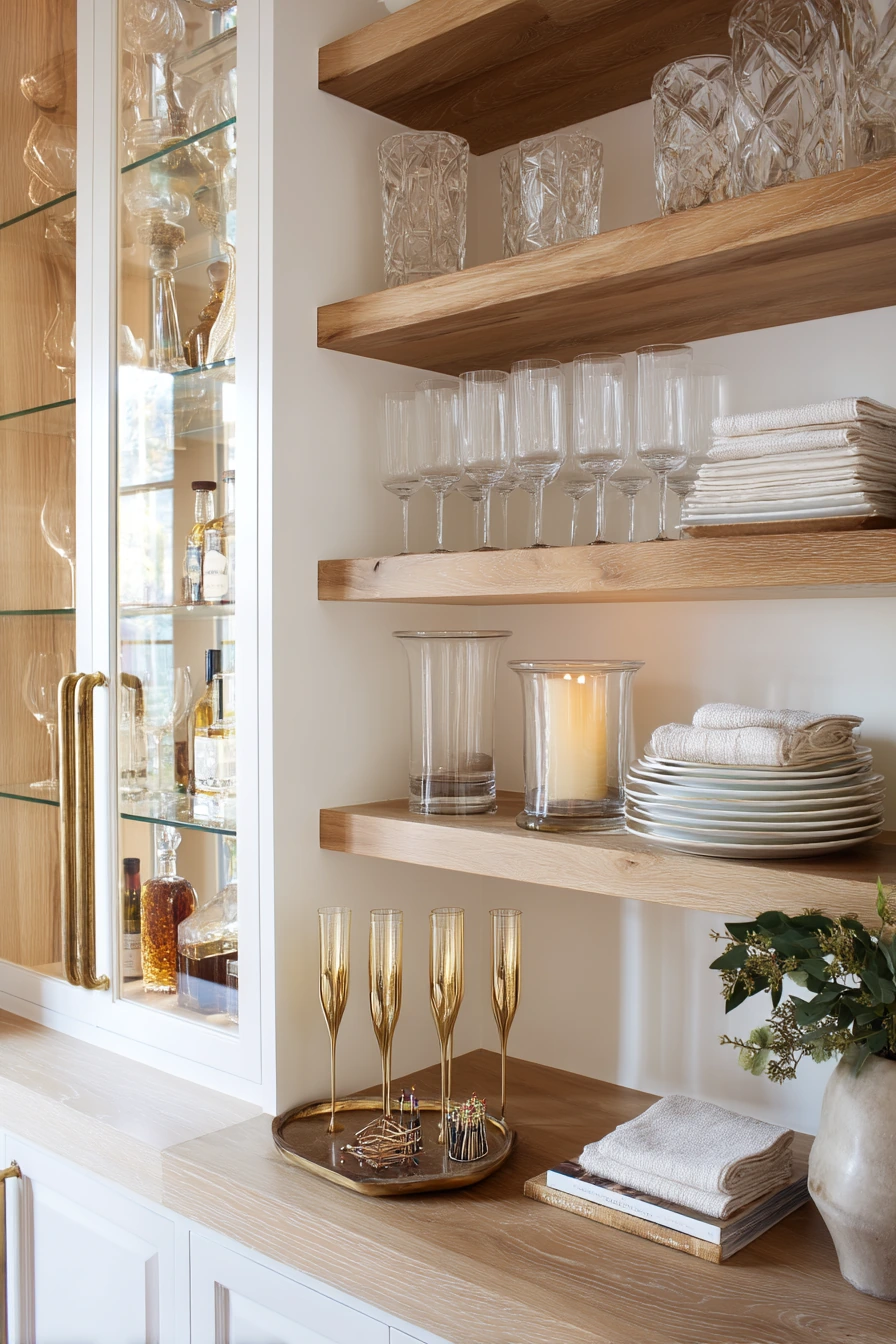
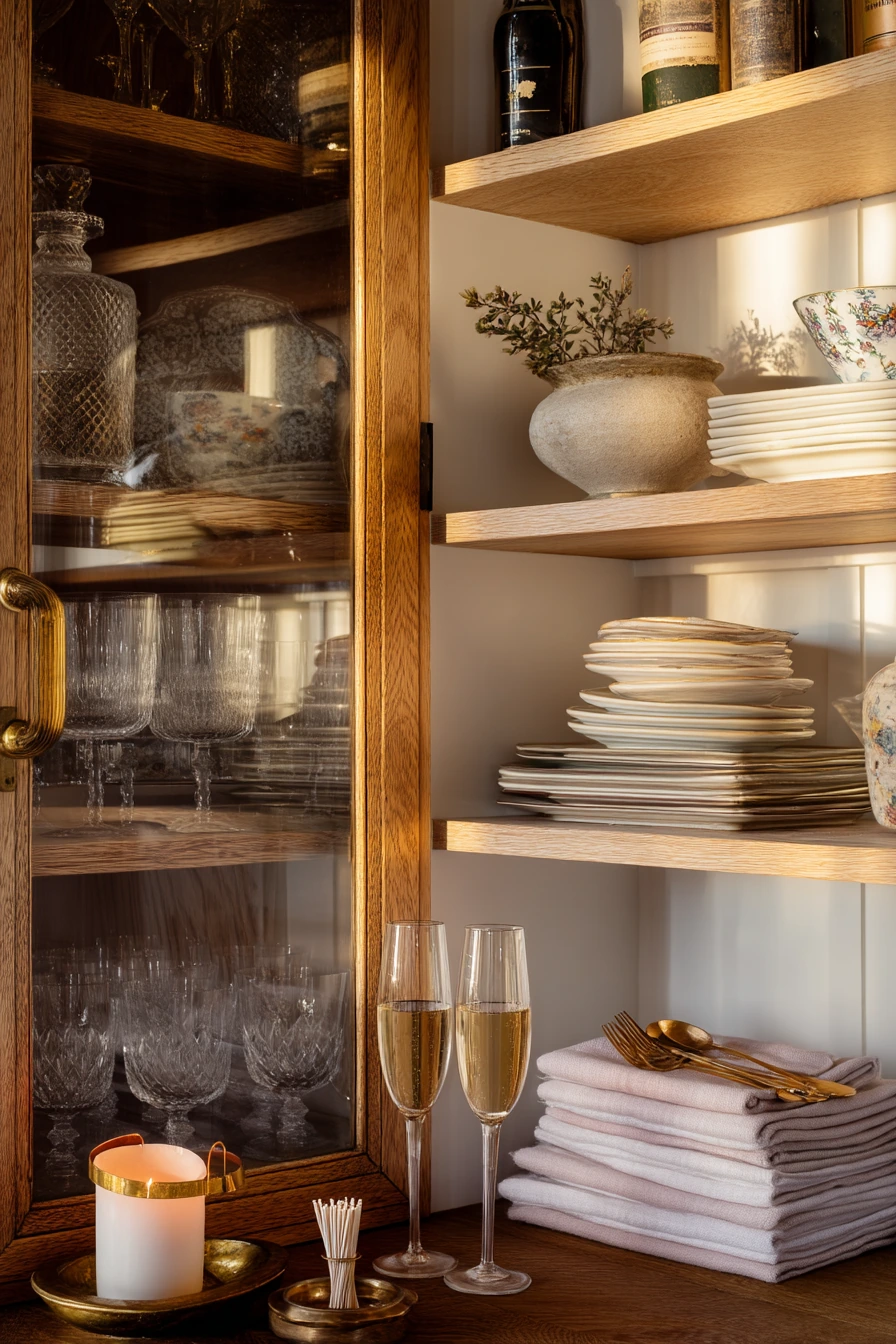
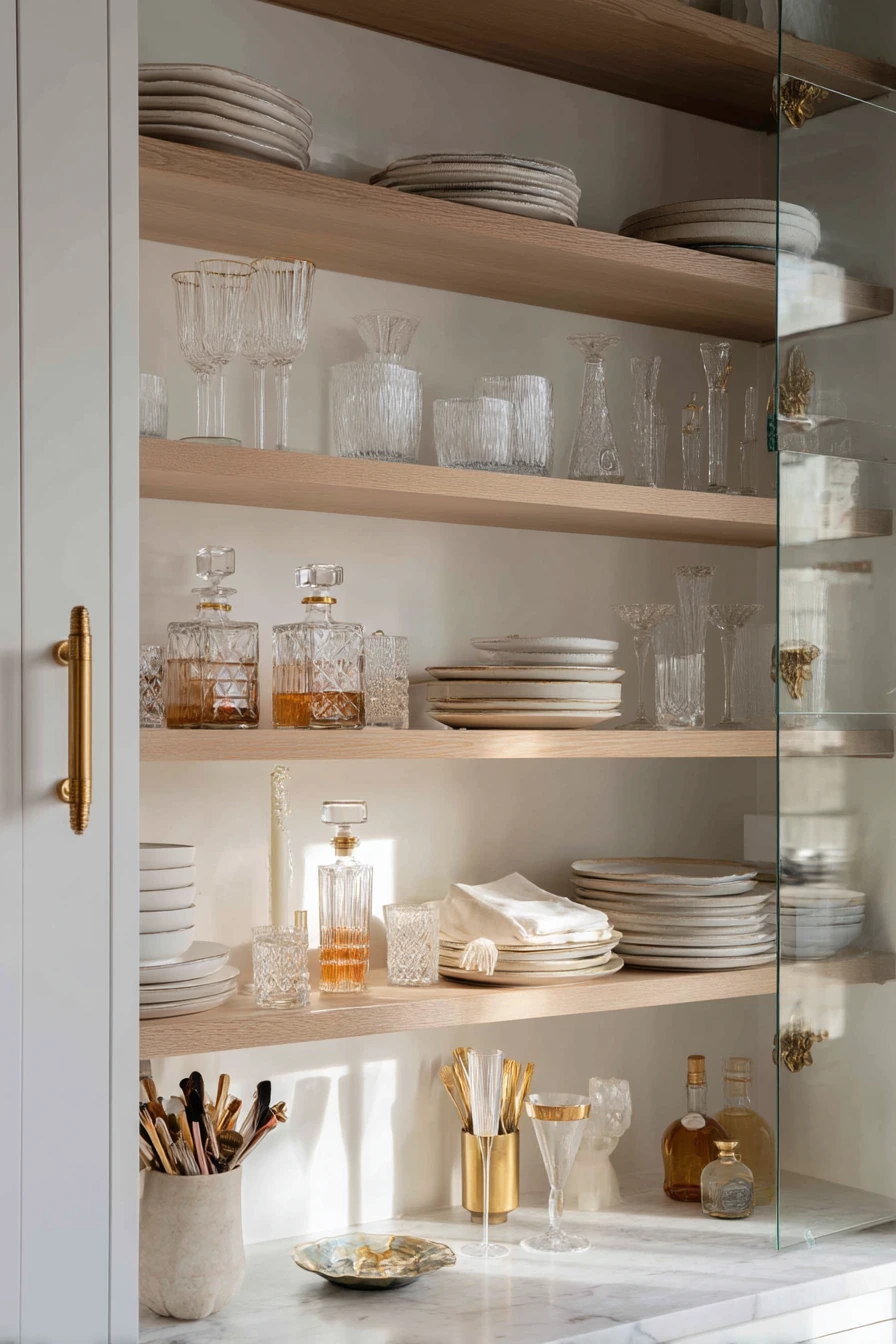
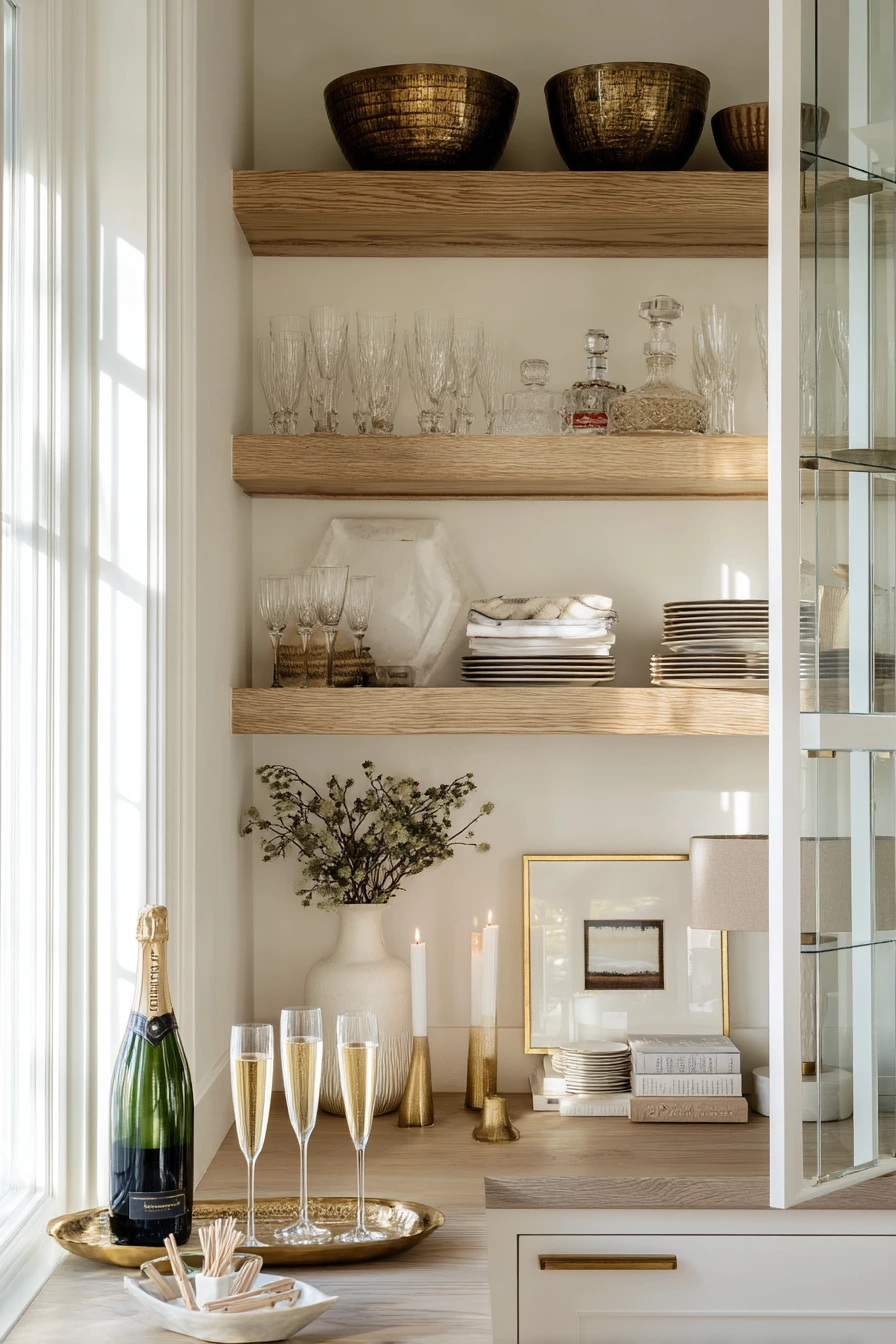
Entertaining-focused pantry shelving ideas help you host without digging through cabinets. Glass-front doors keep the look polished while still letting you see what you have. Refined oak shelves work well with decanters, serving plates, linen napkins, and neatly stacked glassware. Group items by use, like cocktail tools together and serving platters together.
Because glass shows everything, keep the shelves edited. Store everyday pantry staples elsewhere, and treat this area like a bar and serving pantry. A half-used candle and cocktail picks in a small dish can add warmth, but keep them contained on a tray so they do not look scattered. If one champagne flute ends up on the counter, add a “ready to wash” spot so the rest of the display stays tidy.
How to style it: stack plates by size, align glassware in straight rows, and fold linen napkins the same way. Use a small riser to lift shorter items like bitters and mixers so labels are visible. Warm lamp light mixed with window light can create glare on glass, so choose matte labels and keep the background simple.
- Use trays to corral bar tools, mixers, and cocktail picks.
- Stack serving plates vertically or in neat piles by size.
- Store linen napkins in a labeled box so they stay crisp and clean.
- Keep decanters on a stable middle shelf to reduce the risk of tipping.
- Leave one empty spot for items in use during a party.
Pro Design Tip: Install small puck lights inside the cabinet so glass-front doors look intentional and you can find serving pieces quickly at night.
Budget Considerations: If glass-front doors are not in your budget, use clear acrylic bins and a single open shelf for your best items, and store the rest in closed cabinets.
9 Tiny Pantry with Vertical Storage
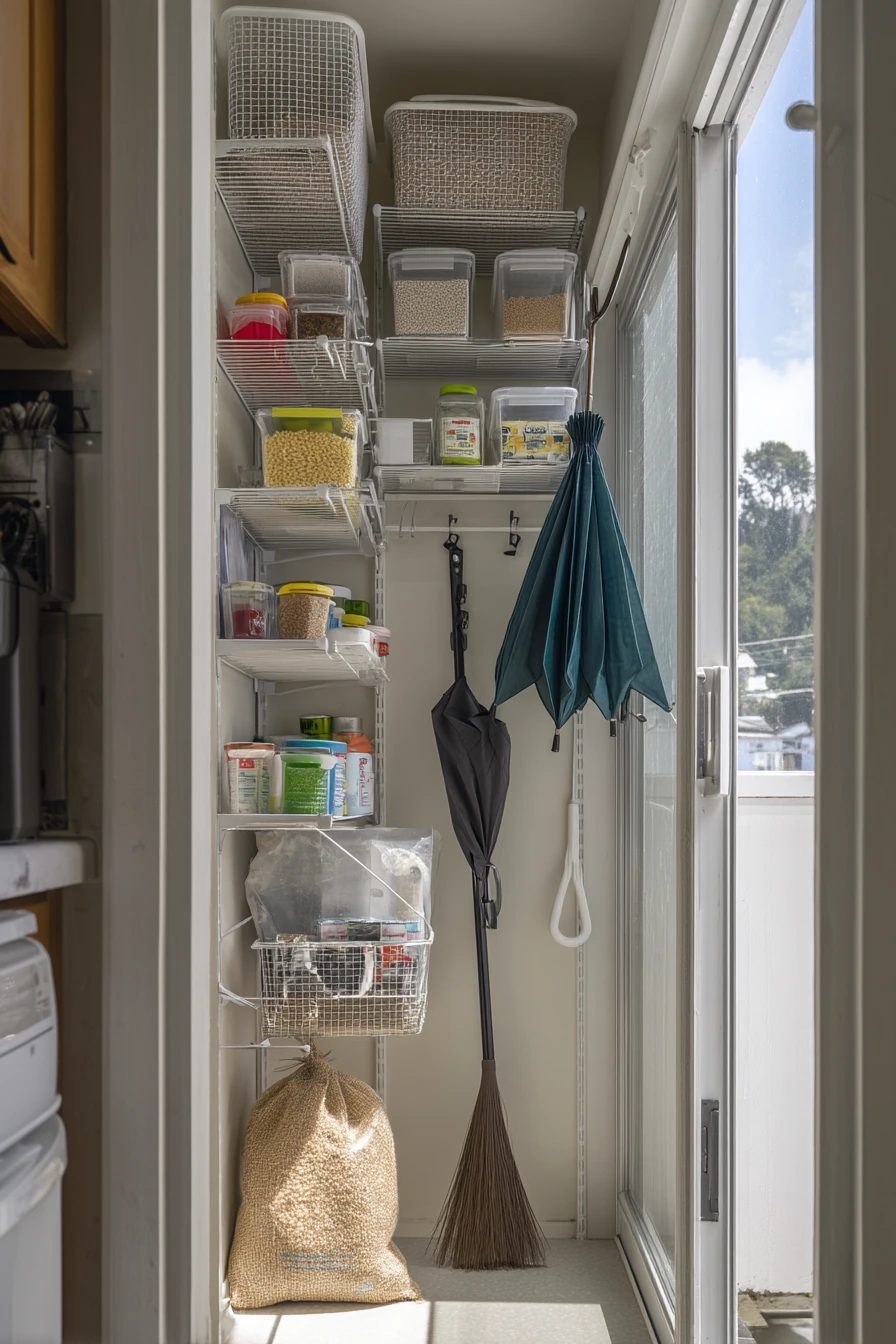
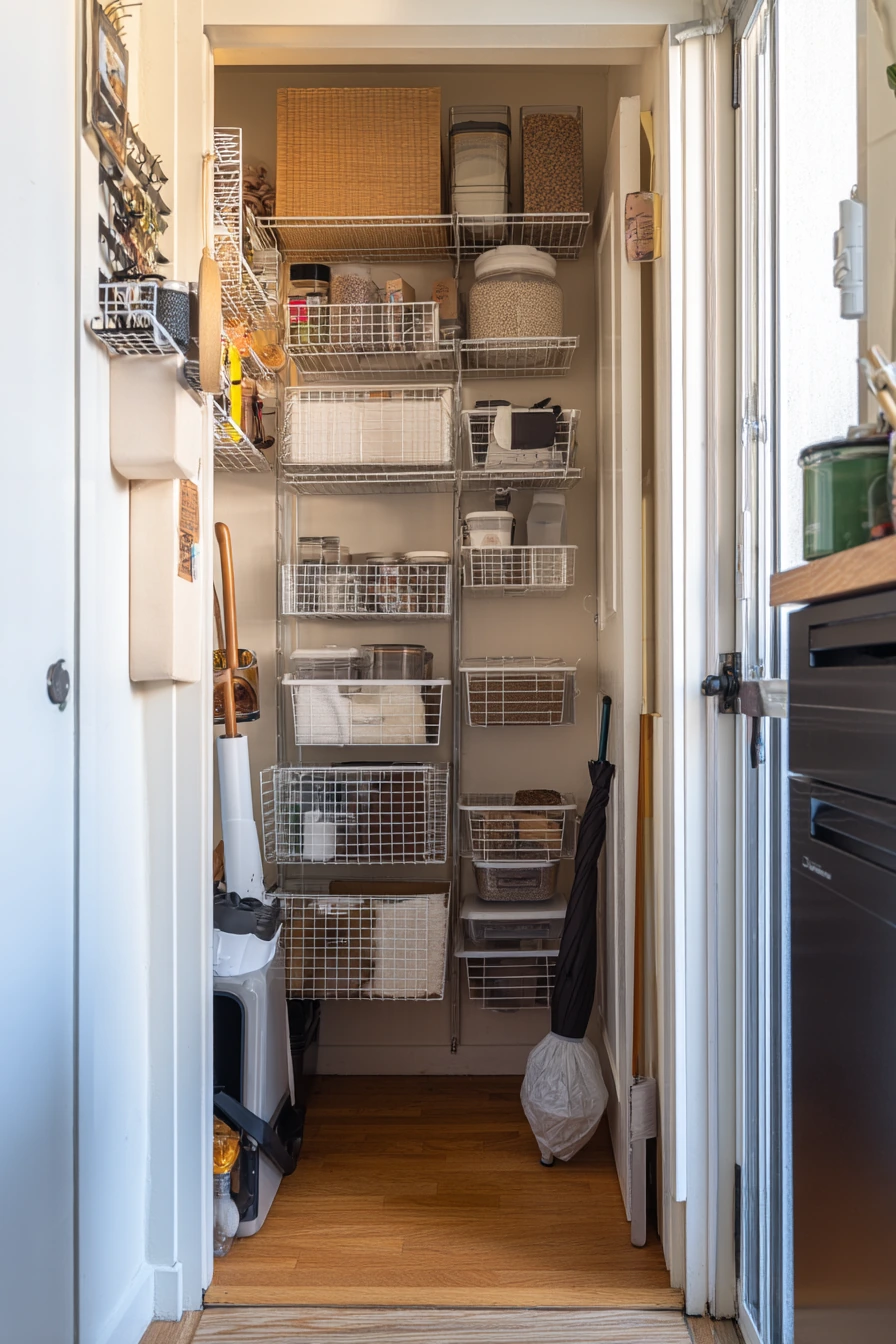
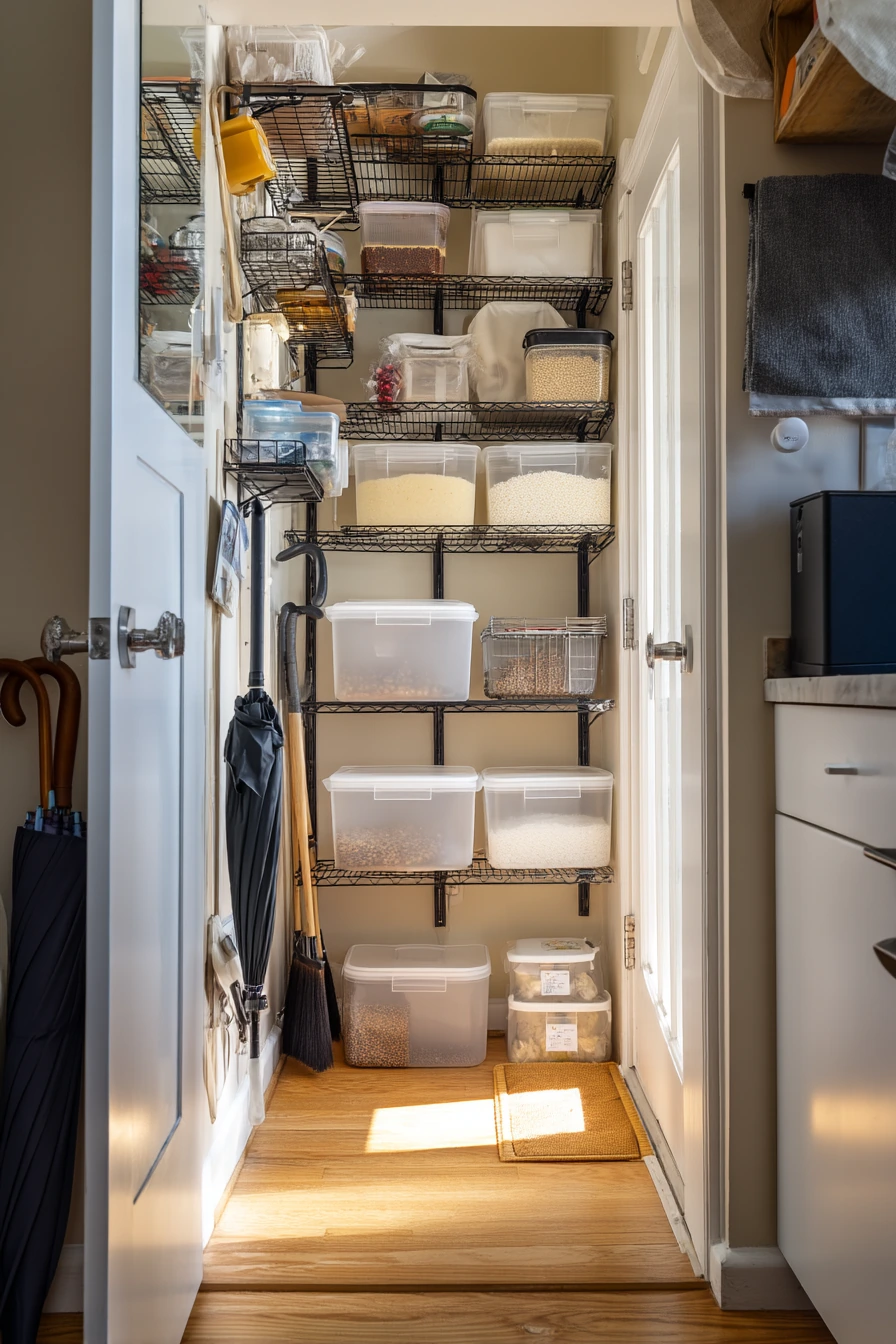
Tiny pantry shelving ideas need every inch to work. Slim shelves to the ceiling can turn a tight spot into real storage, especially when paired with wire baskets and stackable bins. Use pull-out drawers or slide-out bins on lower levels so you can reach items without unloading the front row. Hanging hooks can hold small tools, reusable bags, or lightweight items.
When space is very limited, the floor often becomes a problem. A bag of rice resting on the floor, a broom handle leaning nearby, or an umbrella by the door can make the area feel crowded. Add one tall bin for bulky bags like rice or pet food, and use a wall clip for the broom so it stays upright. Keep the bottom shelf clear enough to slide a bin in and out.
How to style it: choose breathable storage like wire baskets so the pantry does not feel heavy. Use stackable bins with front labels, and keep colors light. Group items by height, with tall bottles on one side and shorter jars on another. This reduces wasted gaps and makes the pantry easier to scan in cool daylight.
- Run slim shelves to the ceiling and store extras up high.
- Use wire baskets for onions, potatoes, or snack bags that need airflow.
- Add stackable bins with labels facing out for quick grabbing.
- Install hooks on the side wall for small items like bags and clips.
- Use pull-out drawers or sliding bins on the bottom for heavy items.
Pro Design Tip: Measure your most common items first, then set shelf spacing around them so you do not lose vertical space to tall gaps.
Budget Considerations: Stick with basic shelving and add inexpensive wire baskets; skip custom pull-outs and use sturdy drawer-style bins that slide on the shelf surface.
10 Seasonal Pantry Reset in a Real Home
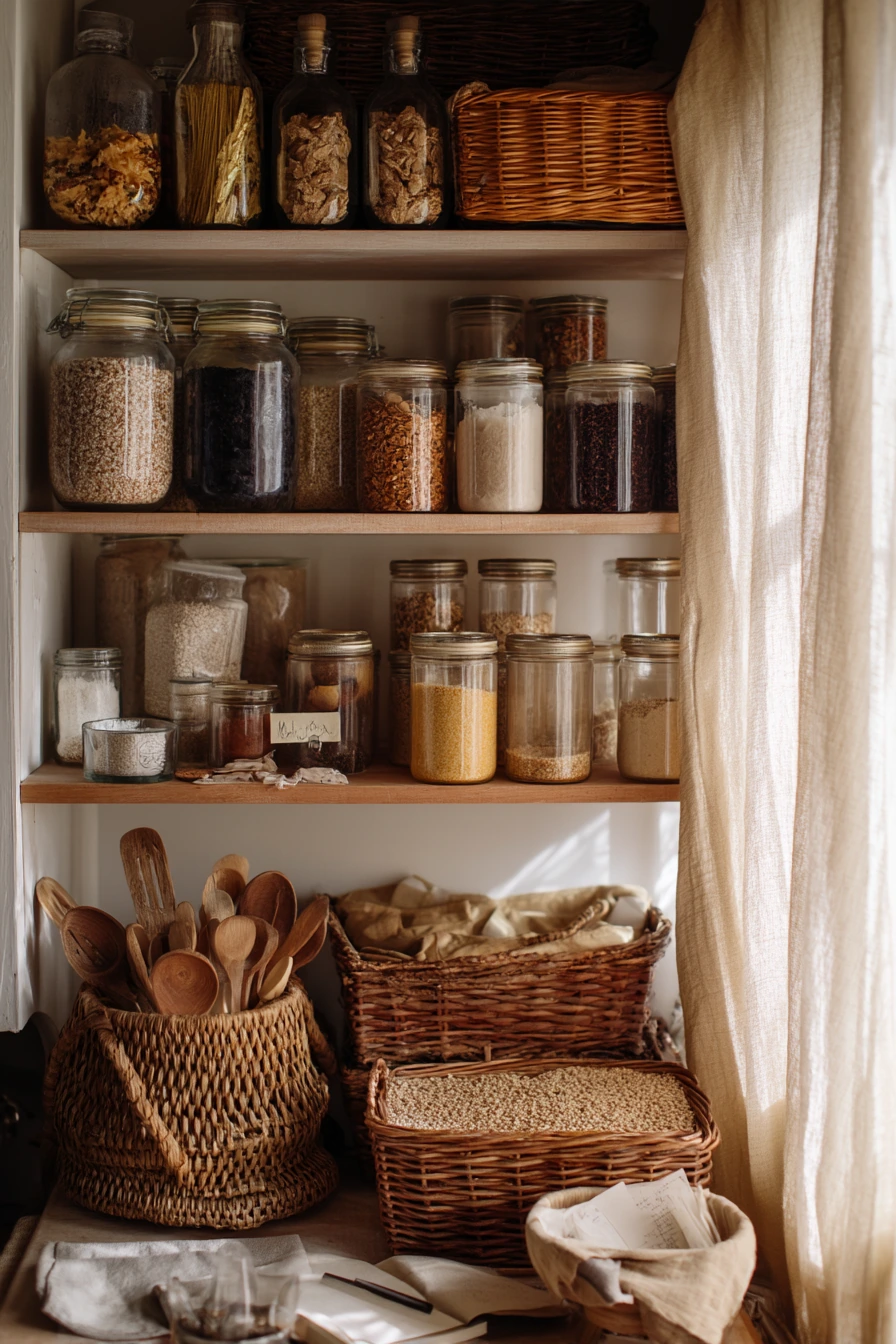
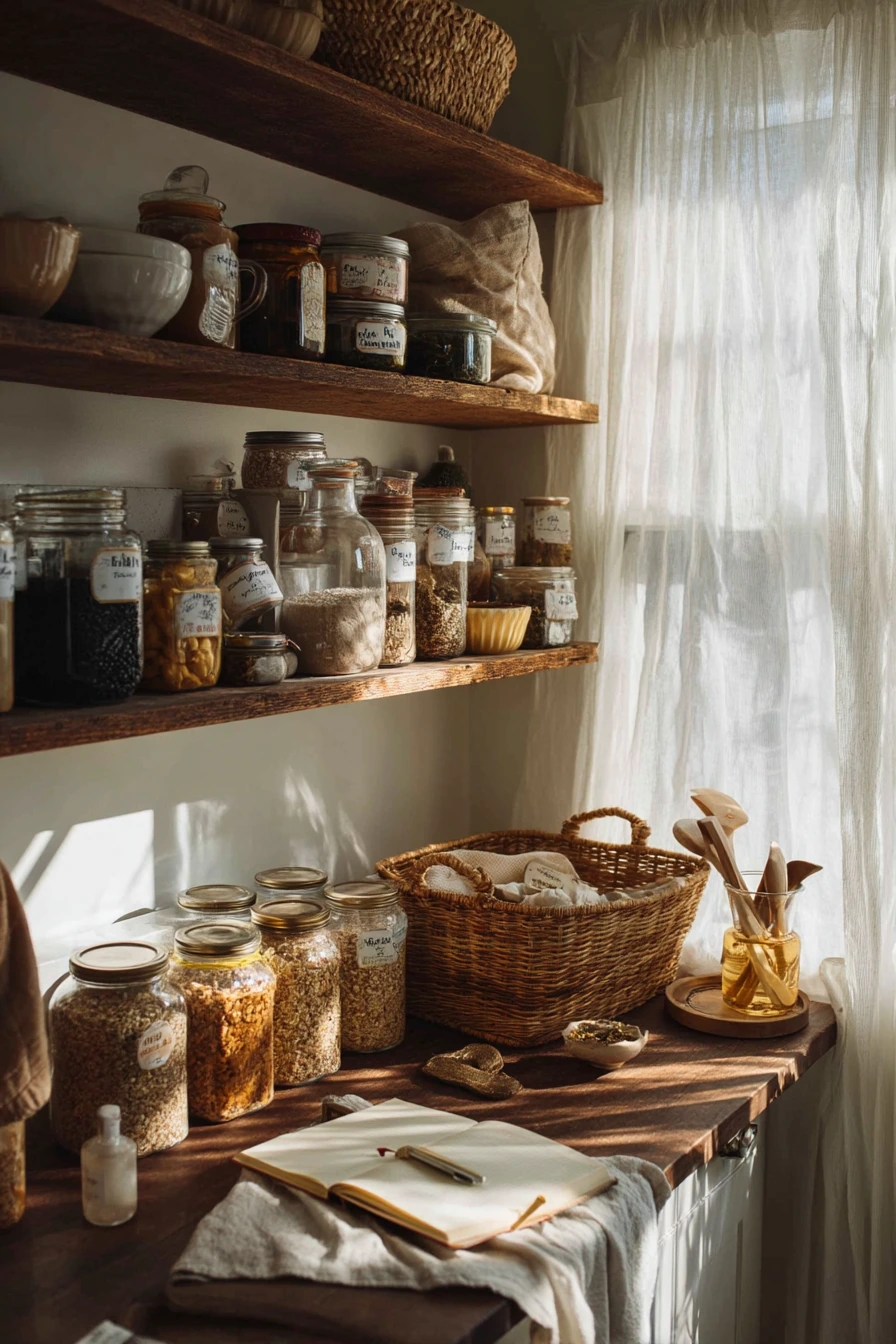
Seasonal pantry shelving ideas help you stay organized as routines change. A weekend reset is a good time to refresh labels, wipe shelves, and bring forward seasonal items like winter baking ingredients. Keep jars of oats and cocoa together, and use baskets for tea and hot drink add-ins so the season feels clear and cozy without adding clutter.
Use a simple reset flow. Pull everything out by category, check dates, and restock with the oldest items in front. Keep a notebook open to a grocery list so you can write what you need as you go. If you find a spoon in a measuring cup or a folded apron on the counter, give those items a home near the baking shelf so they do not wander.
How to style it: use fresh labels in one font and one color, and match jar heights where you can. Add one seasonal touch, like a basket for cinnamon, nutmeg, and vanilla, or a small set of mugs on a tray if space allows. Keep sunbeams through linen curtains in mind by using opaque bins for items that should not sit in bright light for long.
- Do a quick shelf wipe-down before putting items back in.
- Refresh labels so categories stay clear all season.
- Create a winter baking zone with cocoa, oats, sprinkles, and nuts.
- Use a tea basket for bags, honey, and stir sticks.
- Keep a restock list in the pantry so you can note items as they run low.
Pro Design Tip: Set a 20 minute timer for your reset and focus only on visibility, labels, and first-in-first-out rotation.
Budget Considerations: You do not need new containers each season; reuse the same jars and bins and update only the labels with low-cost tape or printable stickers.
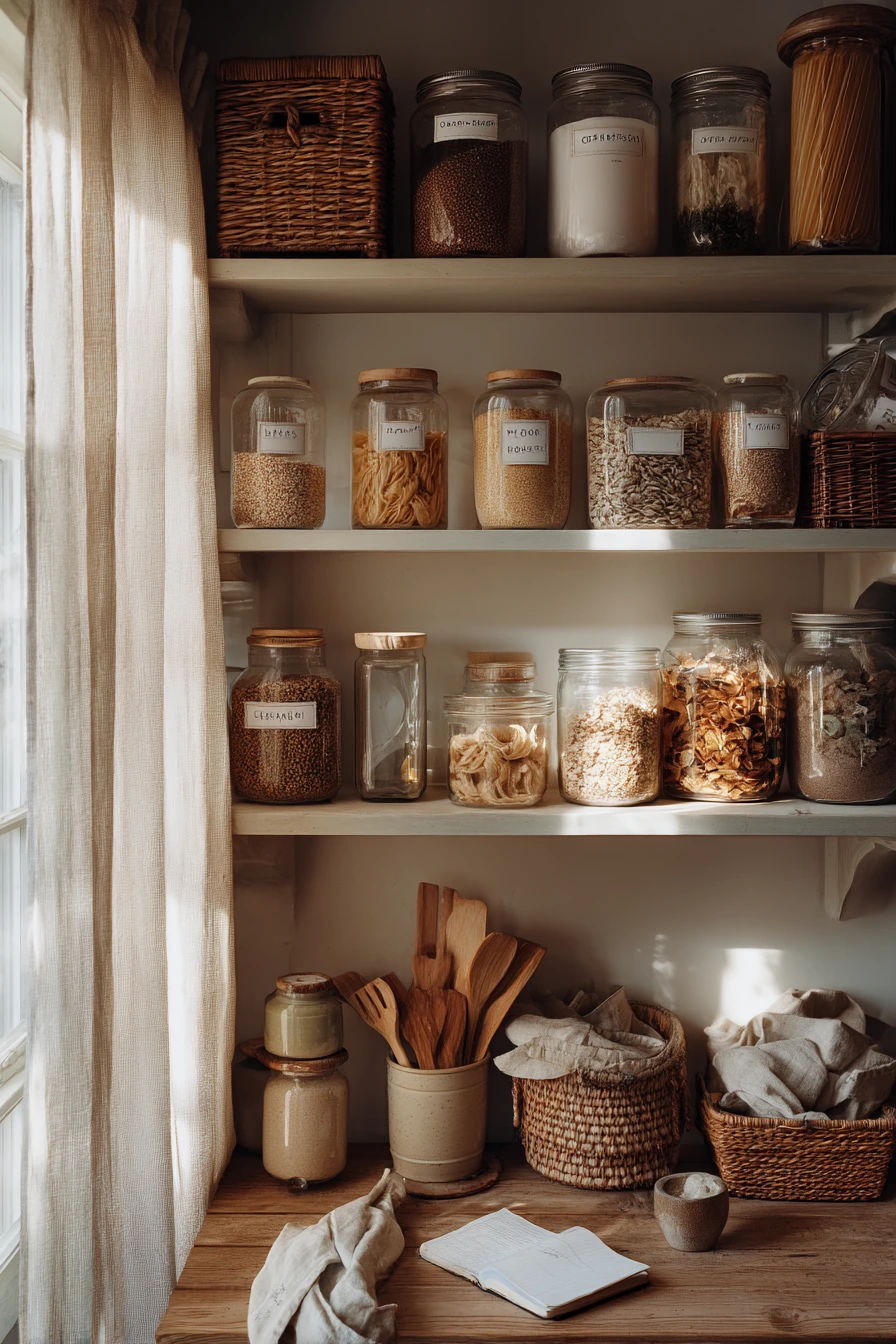
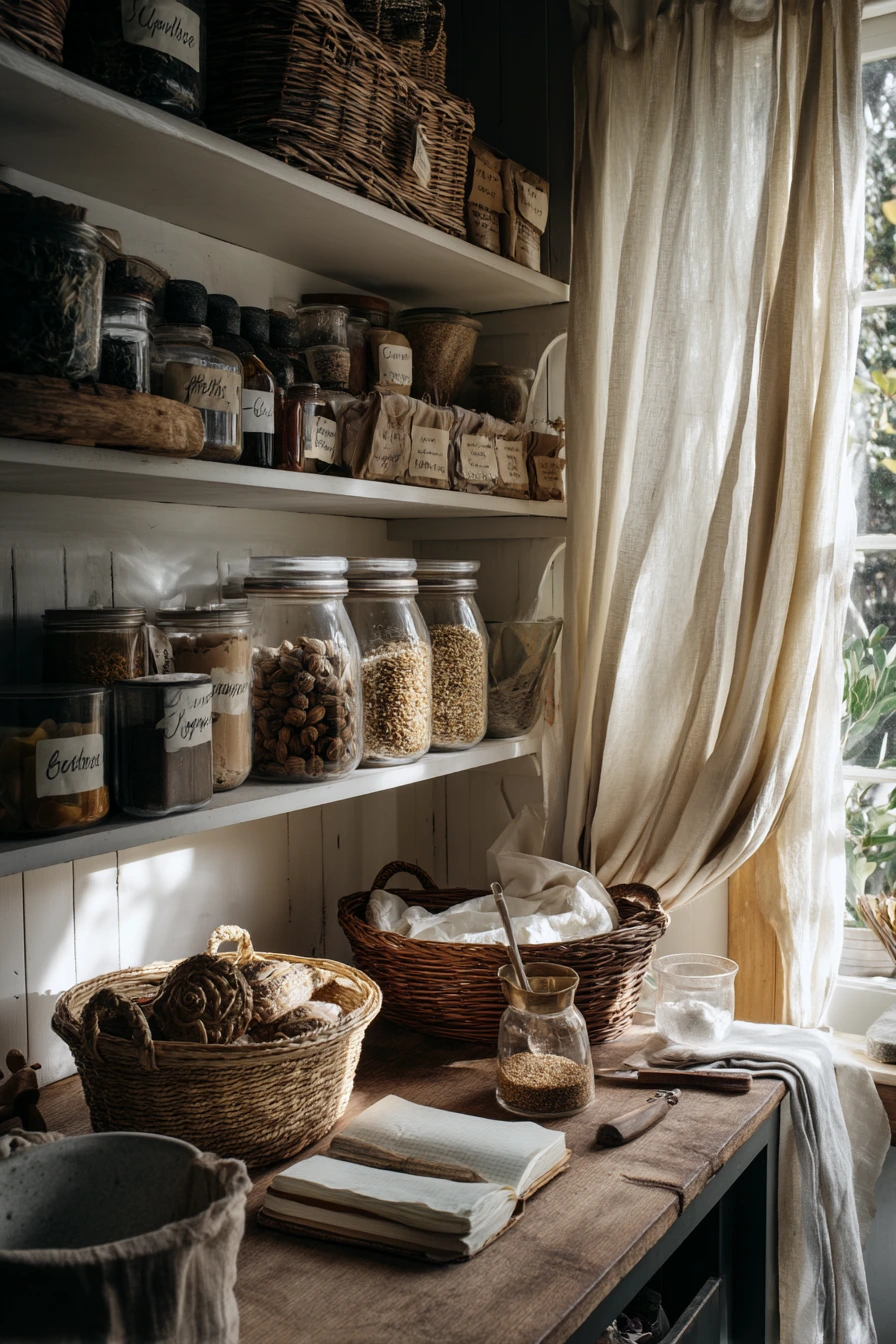
These pantry shelving ideas are meant to fit real kitchens, from walk-in pantries to narrow nooks and tiny closets. Start with shelf height and zones, then add bins, labels, and a simple reset routine.
If you want the biggest payoff, focus on one change this week, like a kid snack shelf, a rolling cart, or uniform jars for your top staples. Small upgrades are easier to keep up, and they still make the pantry feel better to use.
FAQ
What is the best shelf depth for a pantry? For most pantries, 10 to 12 inches works well for visibility. Deeper shelves can waste space because items hide in the back unless you use pull-out bins.
Should I use open shelves or closed cabinets in a pantry? Open shelves are faster to access and easier to adjust. Closed cabinets hide clutter, but you may forget what you have unless you label and use bins.
How do I organize pantry shelves for a family? Use zones, like breakfast, snacks, baking, and dinners. Create a kid-height snack area with labeled bins, and keep breakables higher up.
What containers work best for pantry staples? Airtight containers are best for flour, sugar, rice, and cereal. Clear bins work well for snack bags and packets, and woven baskets can hide messy packaging.
How do I make a rental pantry look nicer without remodeling? Add removable labels, matching bins, and tension-rod baskets. Keep one tray for odds and ends, and aim for consistent container colors.
How often should I reset my pantry? A quick weekly tidy helps. Do a deeper seasonal reset every few months to check dates, wipe shelves, and refresh labels.