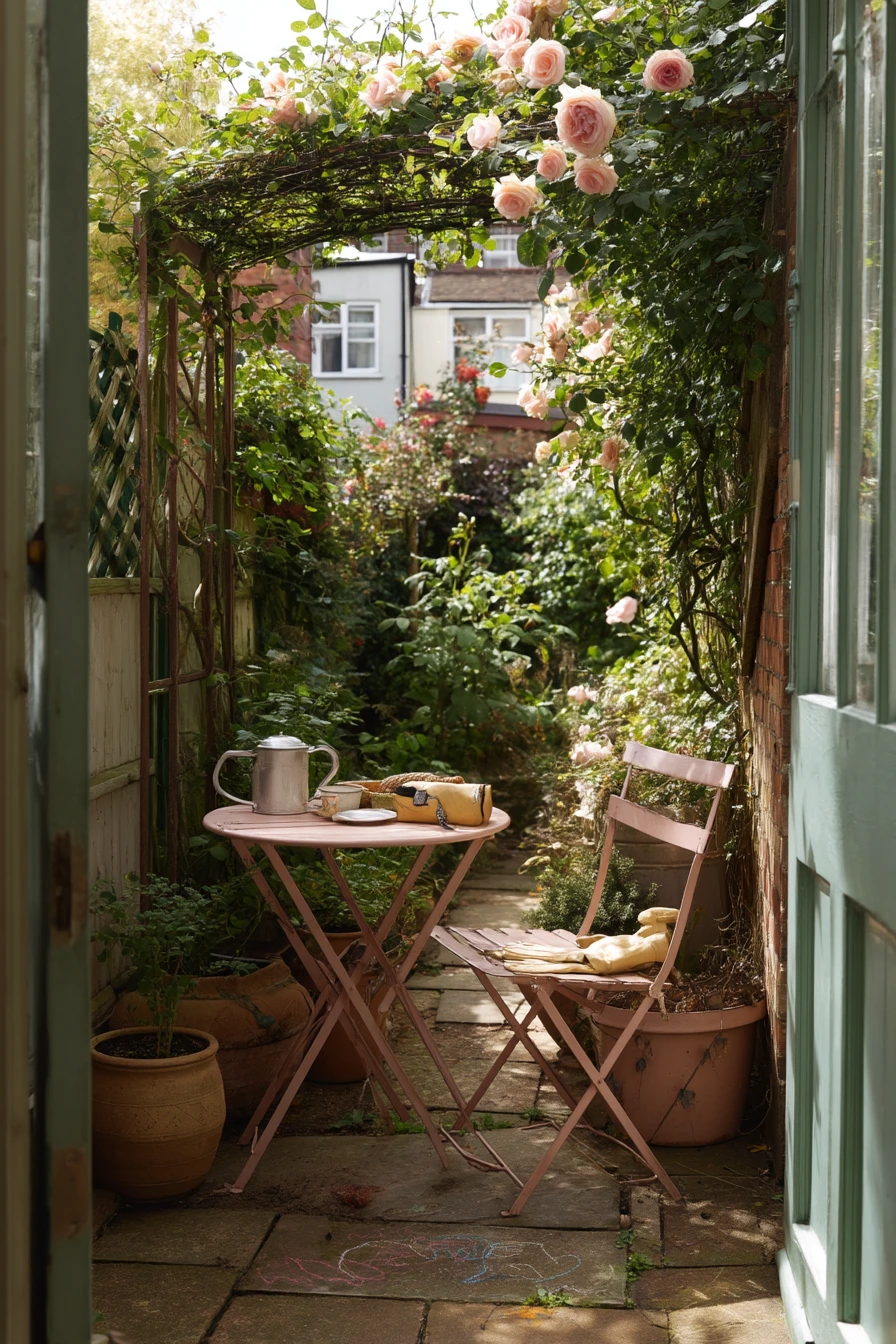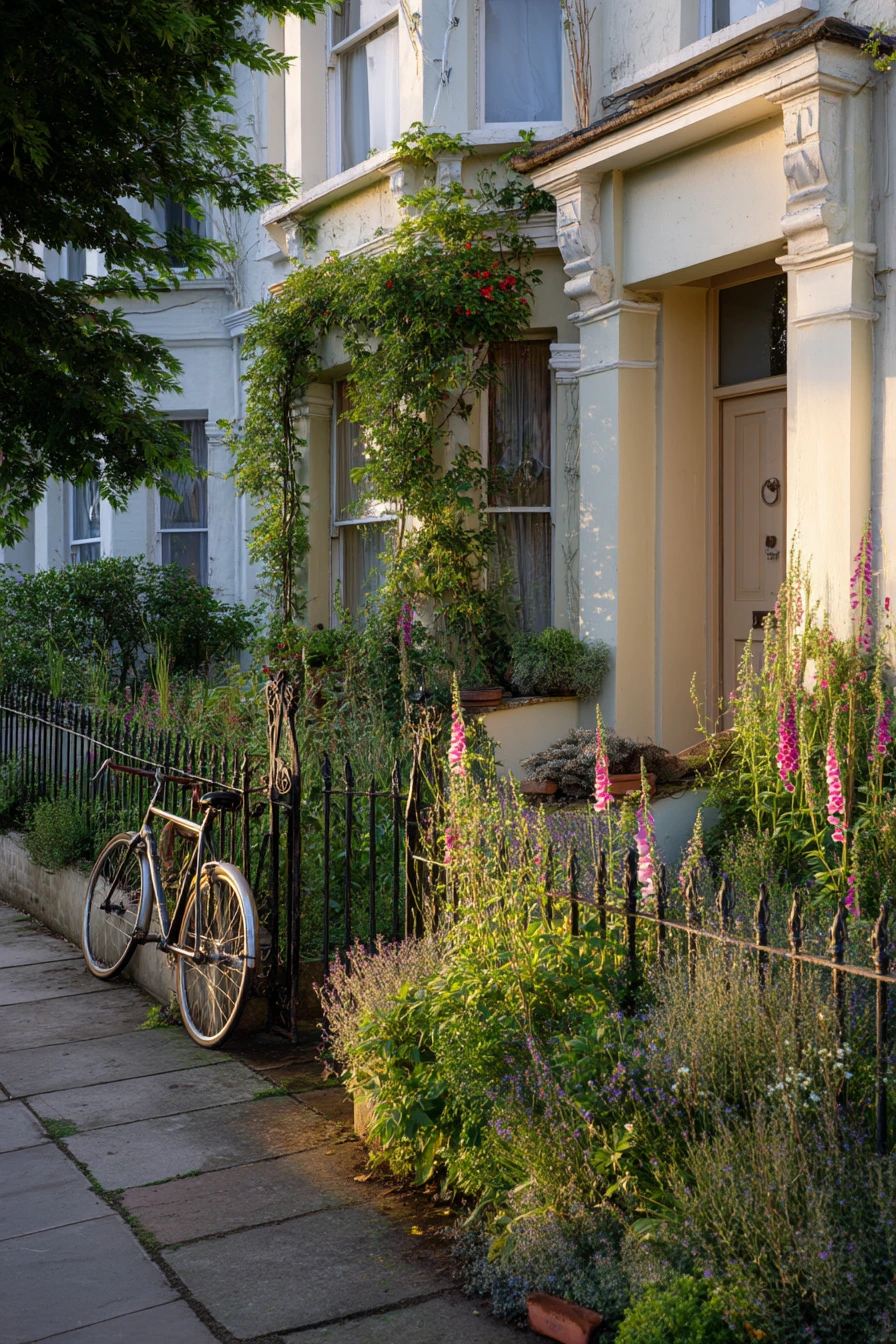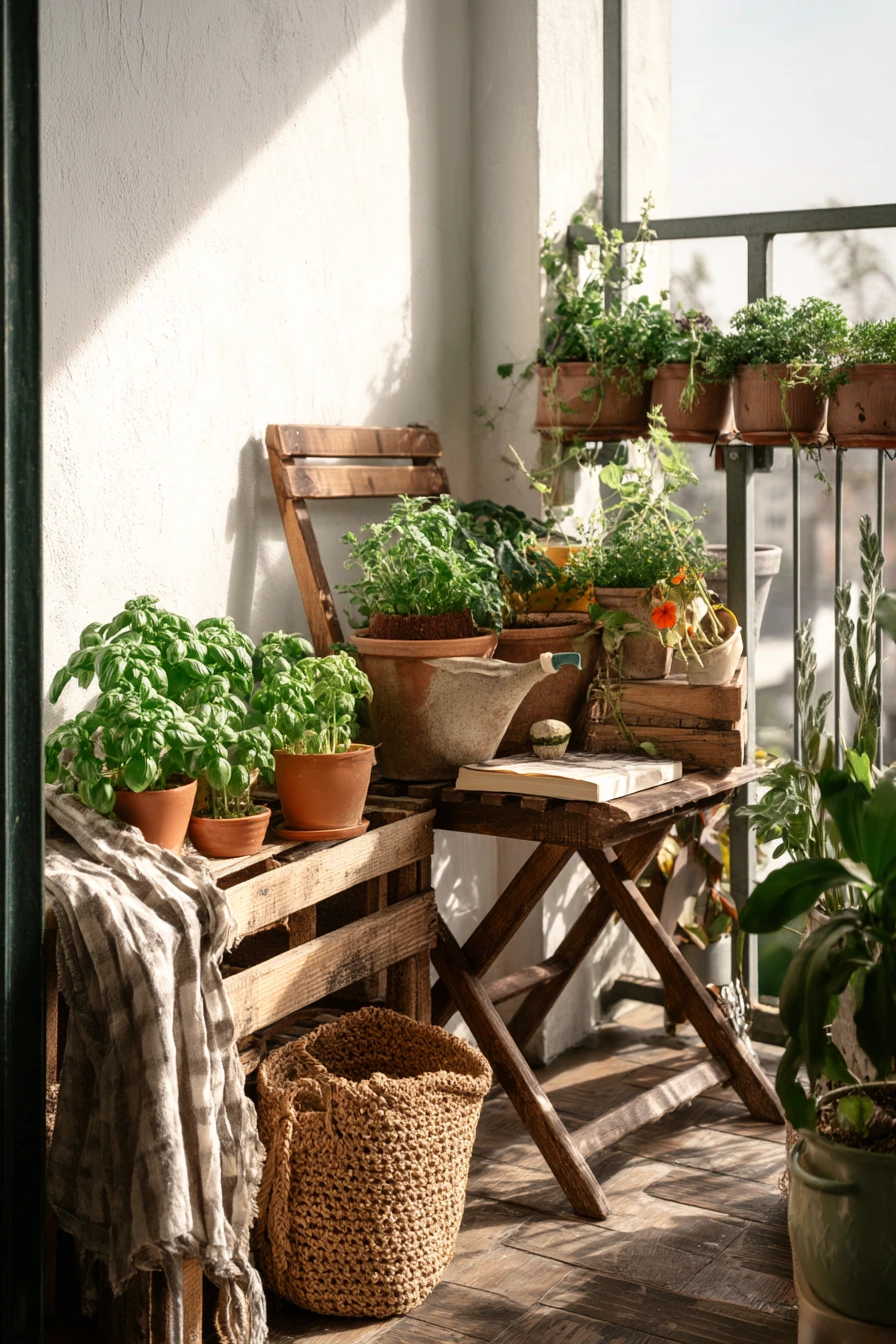

Garden focal point ideas help your yard feel planned, even if the rest is simple. A focal point is the thing your eye lands on first, like a birdbath, fire pit, or a big planter.
In this post you will find easy focal point setups for small courtyards, rental decks, patios, and front yards. Each idea uses real life details like stepping stones, terracotta pots, string lights, and herbs, so it feels doable at home.
You will also get quick styling tips, a pro design tip, and a budget note for every space. Use these ideas to turn Pinterest inspiration into a clear weekend plan.
Pick one focal point, keep the area around it tidy, and repeat a few plants or materials. That is often enough to make a garden look calm and finished.
1 Cottage Garden Birdbath Nook
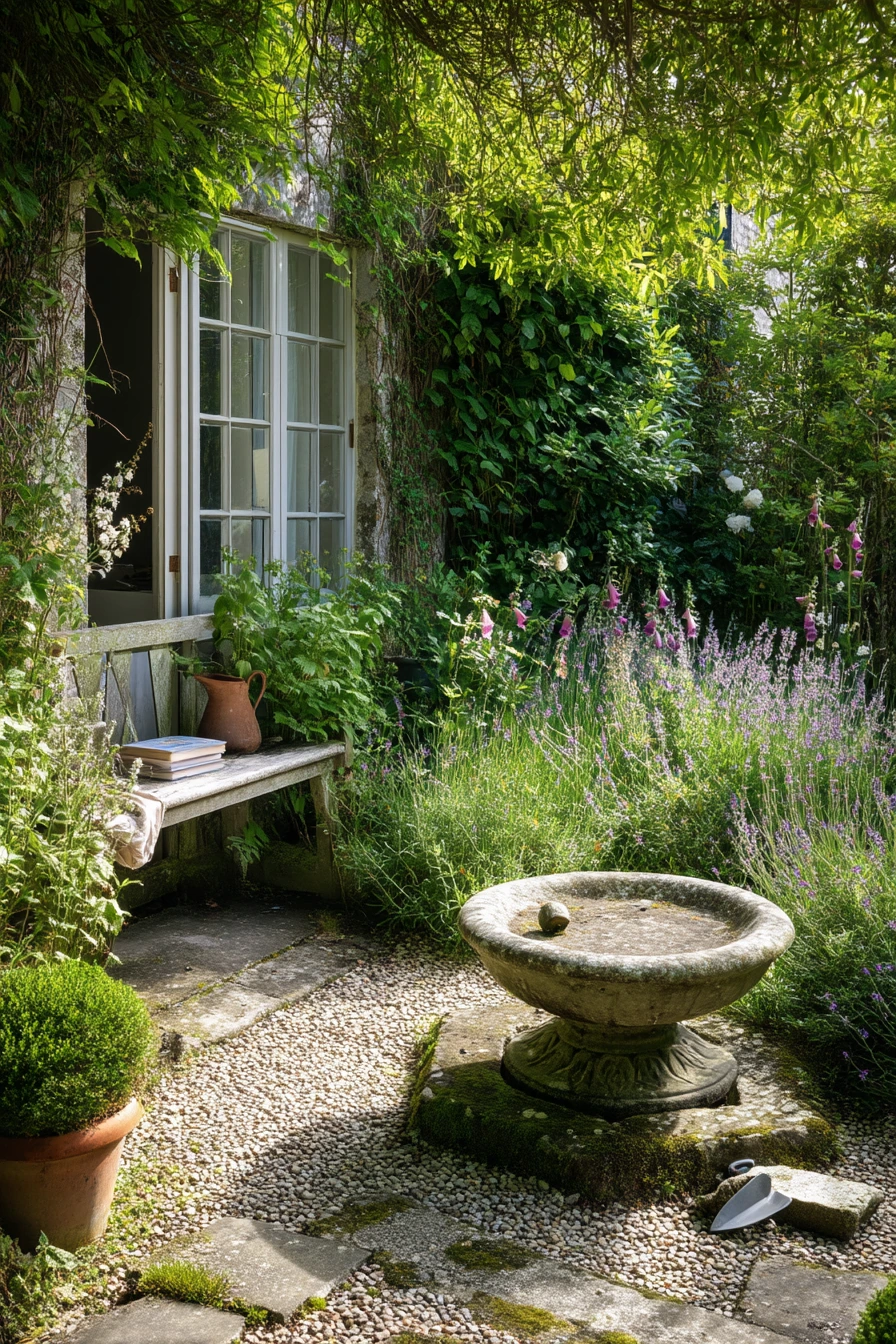
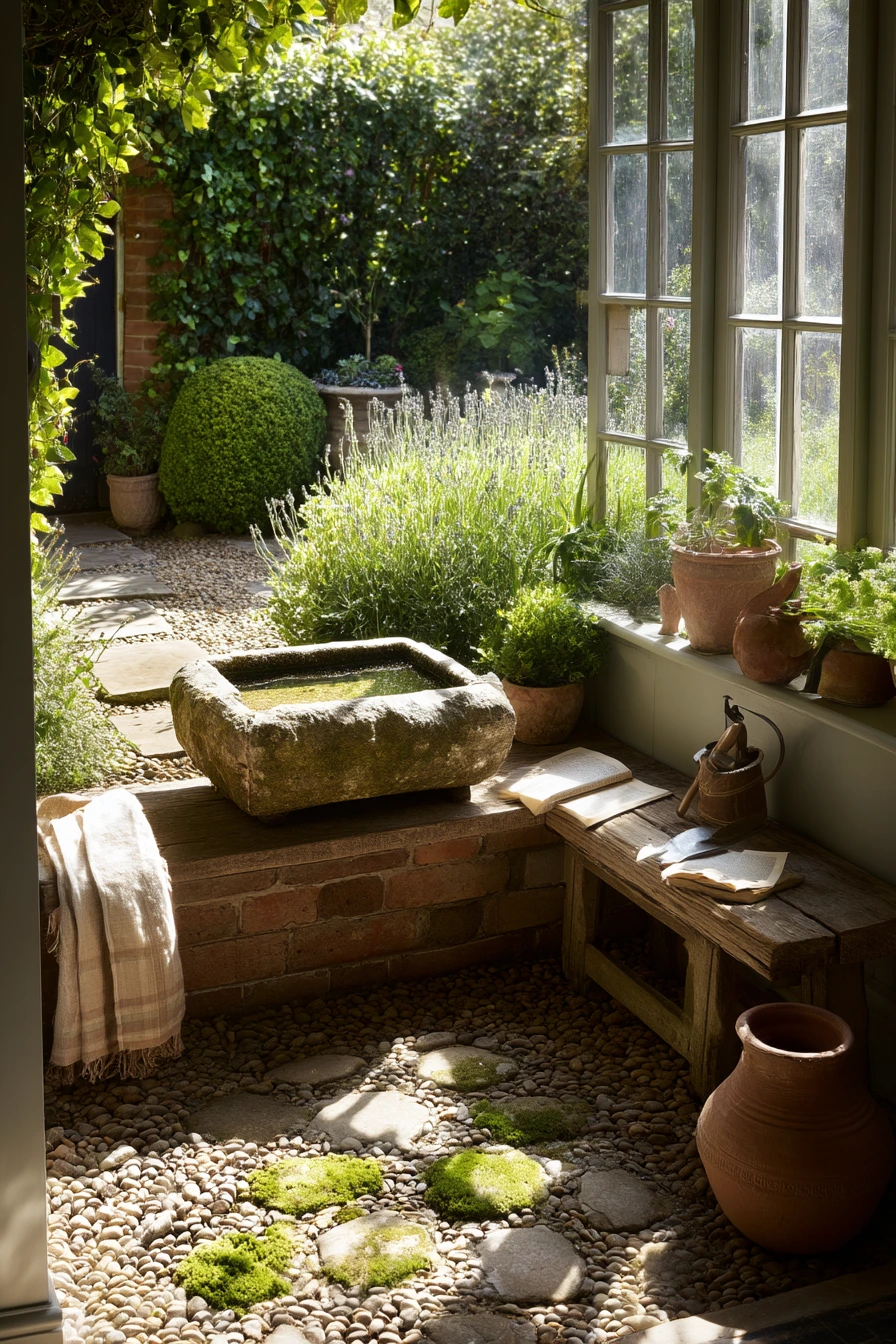
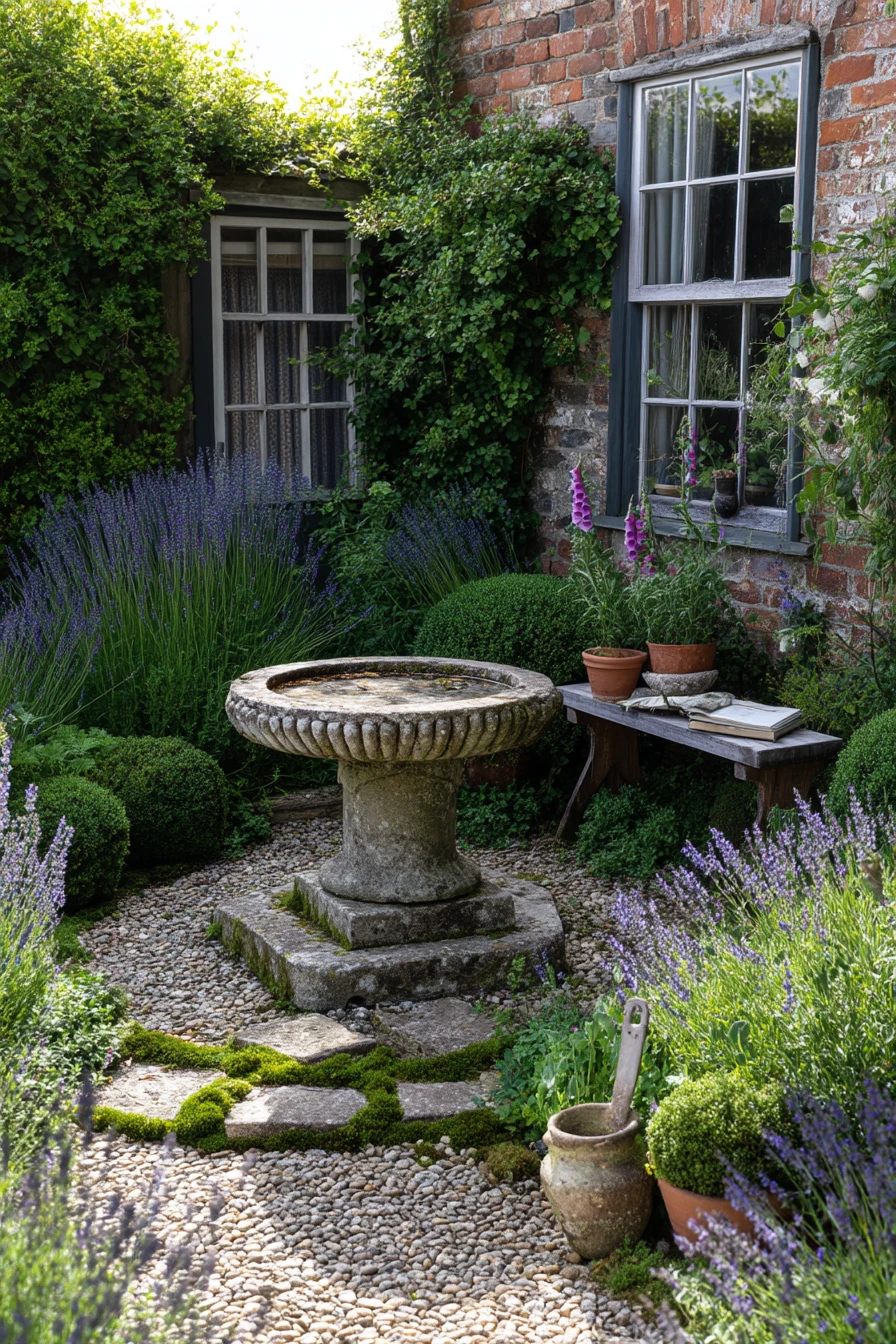
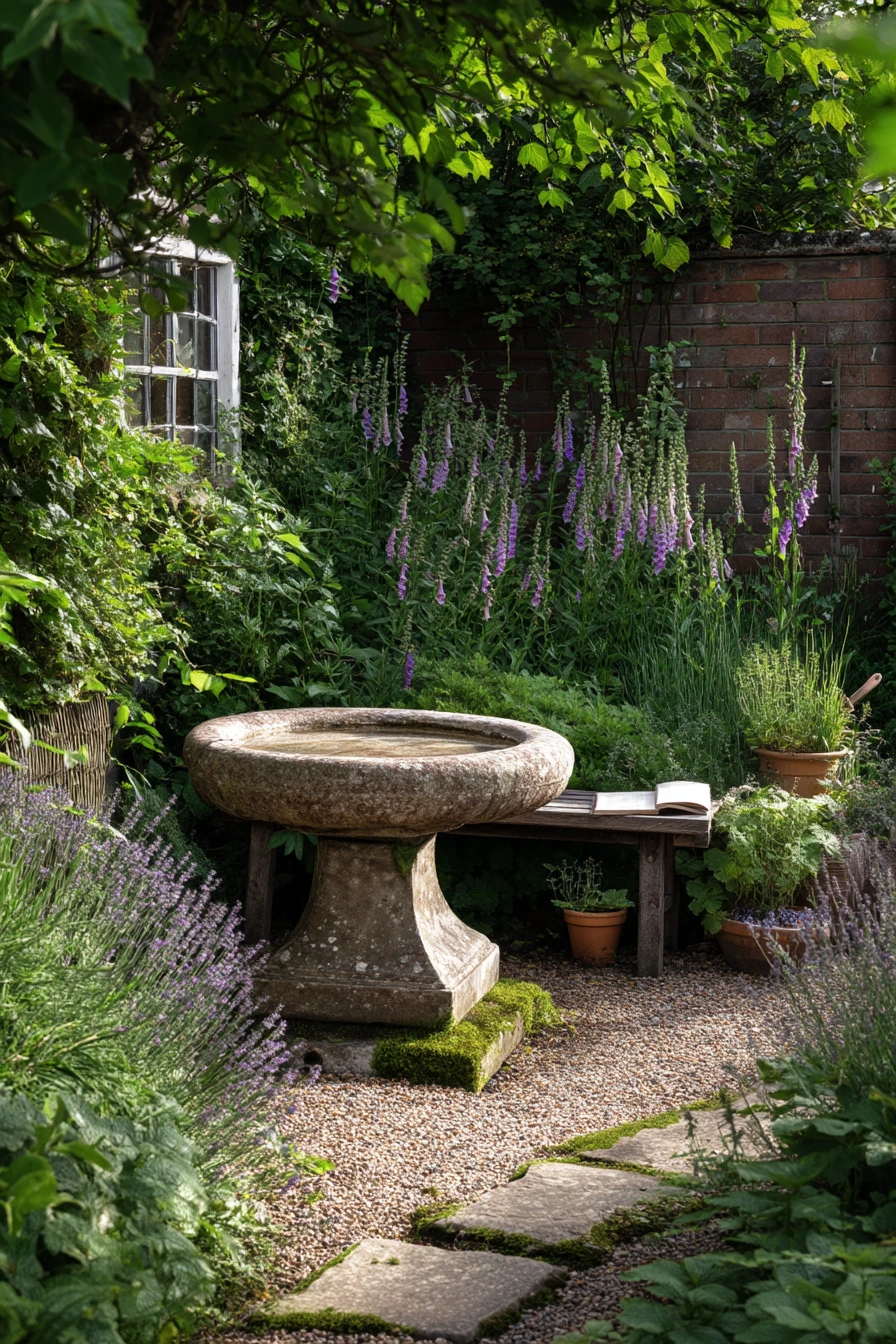
A stone birdbath makes a strong garden focal point because it adds height, sound, and movement. In a real family garden, it also feels gentle and useful, not too formal. Place it where you can see it from the back door or kitchen glass, so it becomes part of daily life.
Keep the planting around it simple and clipped. Lavender works well because it stays neat and smells good when you brush past it. Mix in foxgloves for tall spikes and a softer look. Add mossy stepping stones to pull the eye toward the birdbath and to keep shoes out of the mud. A weathered bench nearby makes it a place you actually use, especially if there is a throw and a paperback left open.
To style this scene, use a few honest items that fit the space. Terracotta pots, a watering can, and even a child’s trowel in the gravel make the garden feel lived in. Morning light is a bonus, so avoid blocking the view with tall shrubs right in front of the birdbath. Refresh the water often so it stays clear and the stone does not stain.
- Set the birdbath on a firm base so it does not lean over time.
- Ring it with lavender in a simple circle for a tidy edge.
- Use stepping stones to create a clear path from the patio.
- Add one bench within a few steps, facing the focal point.
- Keep a watering can and small tools in one spot to reduce clutter.
Pro Design Tip: Use one repeating material near the birdbath, like gravel or terracotta, so the area reads as one small garden room.
Budget Considerations: A cast stone birdbath can cost more; for a lower cost, use a simple concrete bowl on a sturdy pedestal and age it naturally over time.
2 Small Courtyard Water Bowl Moment
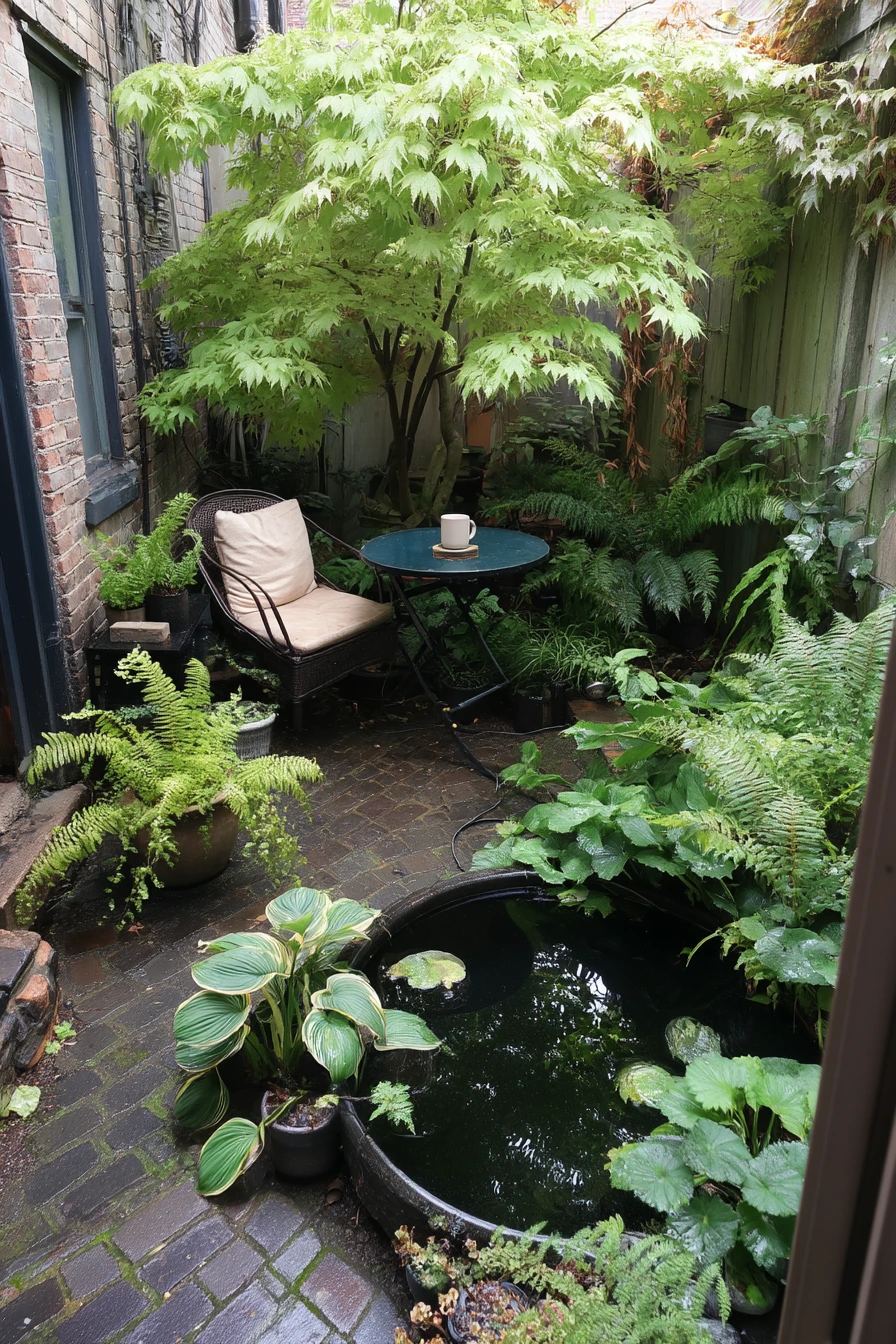
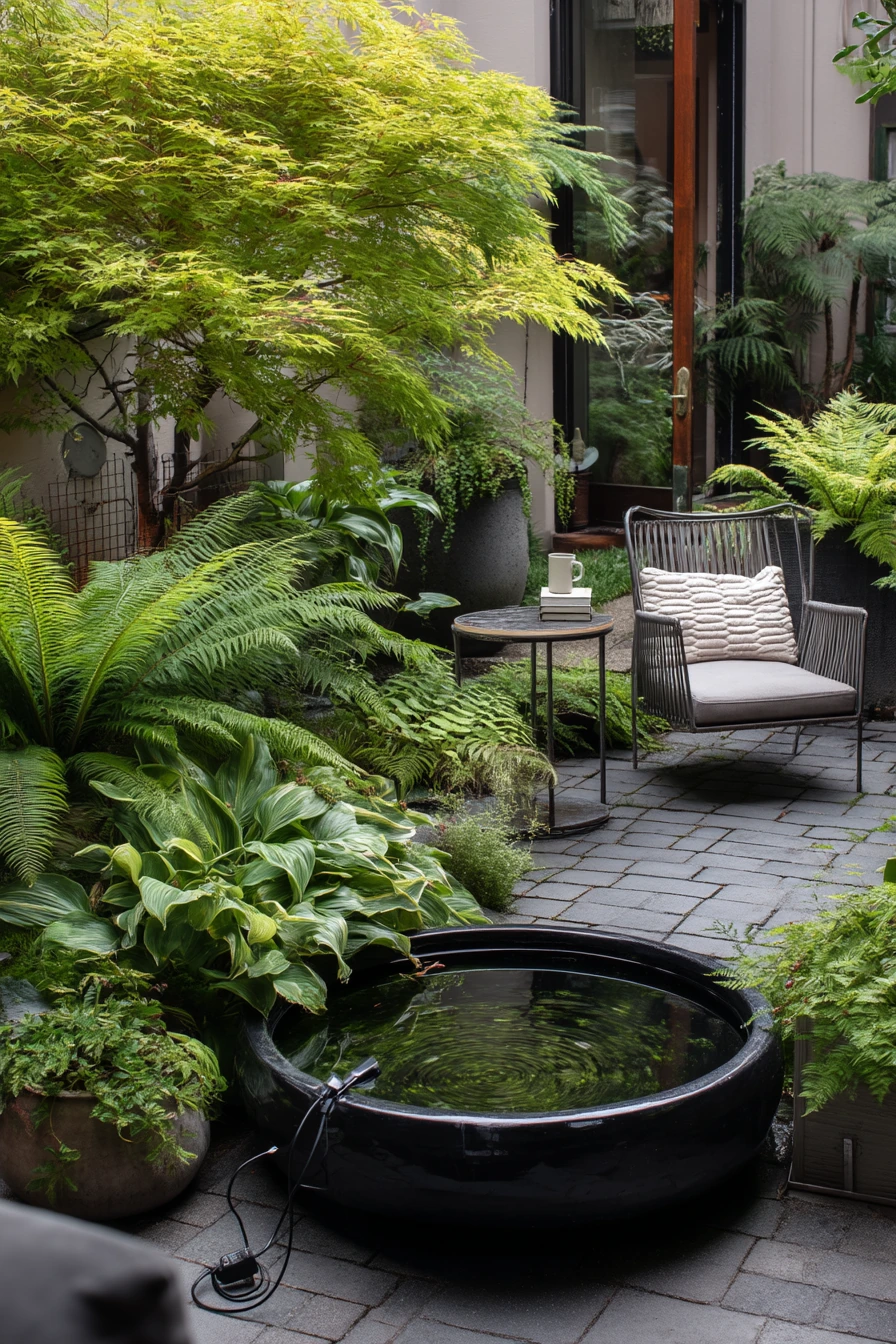
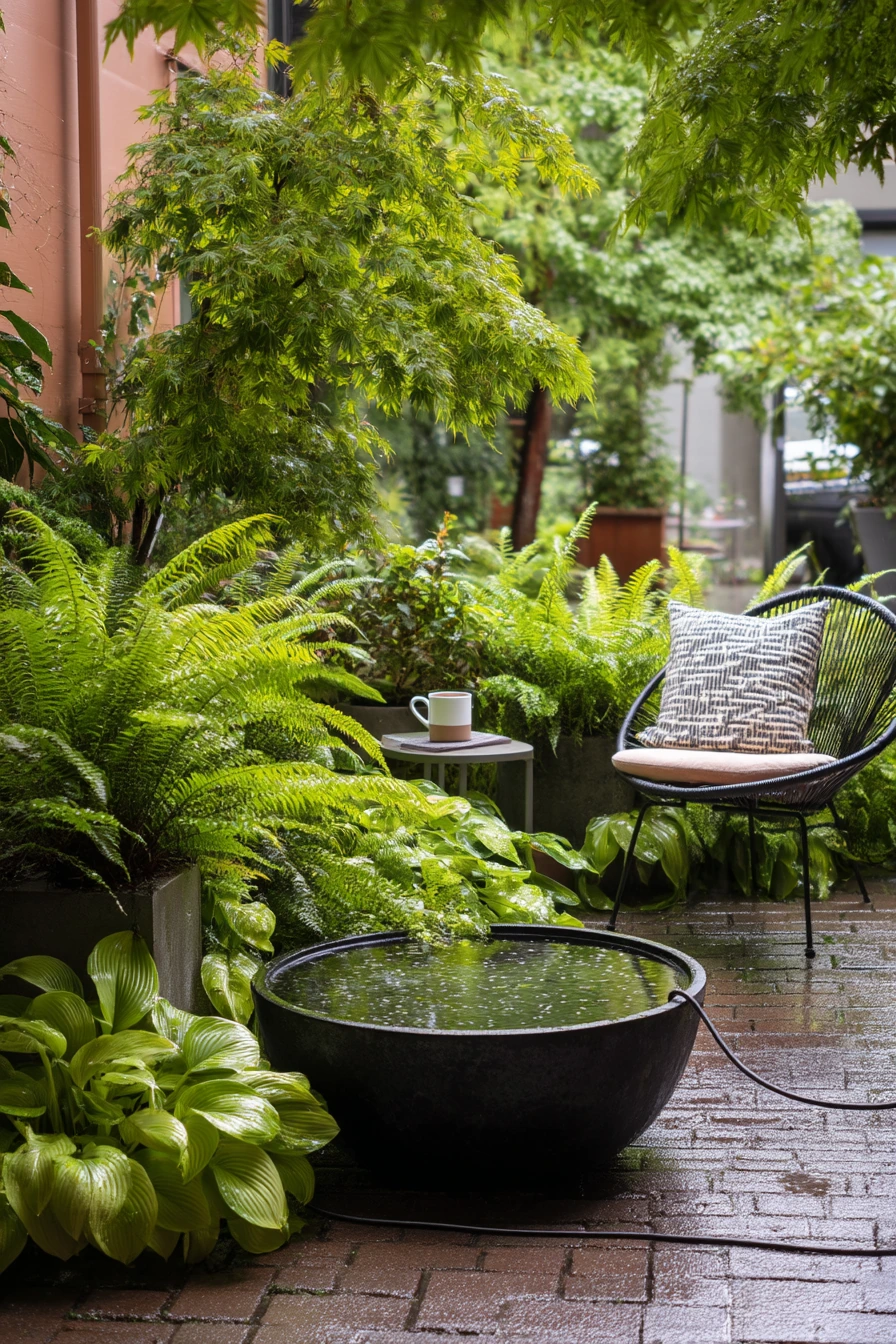
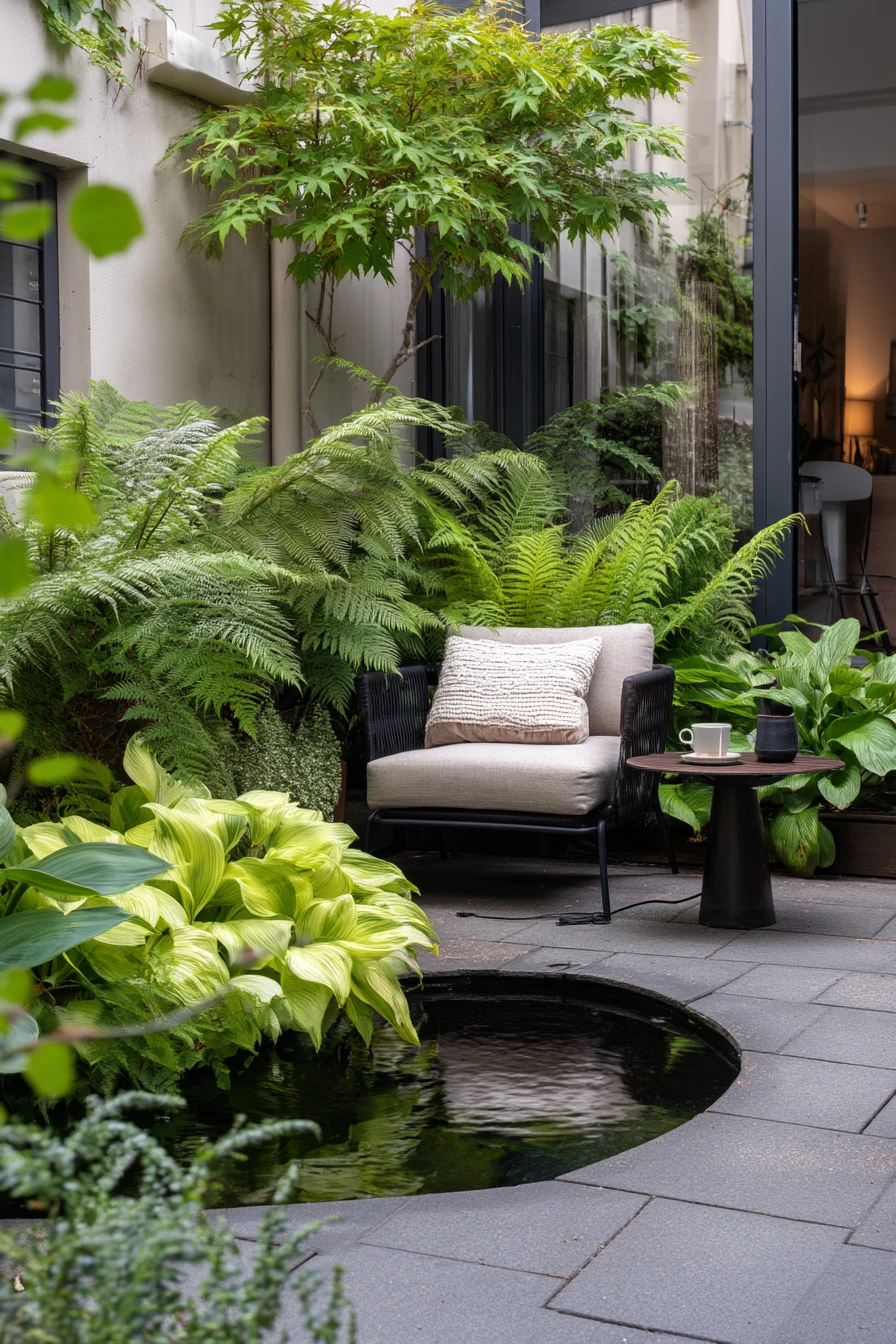
A shallow black water bowl is a smart focal point idea for a compact city courtyard. It gives you the calm look of water without a big pond. The dark finish also makes crisp reflections, even on soft overcast days.
Place the bowl where you can see it from the threshold, then build a green frame around it. Ferns and hostas make the space feel lush and quiet. Add one ornamental maple in a large clay planter for height and shape. This works well in a rental garden because most items are movable and you do not need to dig up the ground.
Make the courtyard feel real by adding small comfort details. A cafe chair with a knit cushion invites you to sit. A tea mug on the side table and a phone charging cable near an indoor outlet show how you will use the space. Rain dark pavers are fine, but keep them clean so the focal point stays sharp. Top up the bowl after windy days, and skim leaves so the water surface stays smooth.
- Choose a wide bowl that is low, so it fits a small footprint.
- Group plants in odd numbers, like 3 or 5 pots, for balance.
- Use clay planters to warm up black and gray surfaces.
- Keep one clear walkway around the bowl for easy care.
- Add a small table and one chair to turn it into a daily spot.
Pro Design Tip: Put the water bowl on a simple gravel pad or tray so it feels anchored and any splashes look intentional.
Budget Considerations: A real stone bowl can be pricey; a powder coated metal bowl or resin bowl can give the same dark reflection at a lower cost.
3 Family Patio Fire Pit Anchor
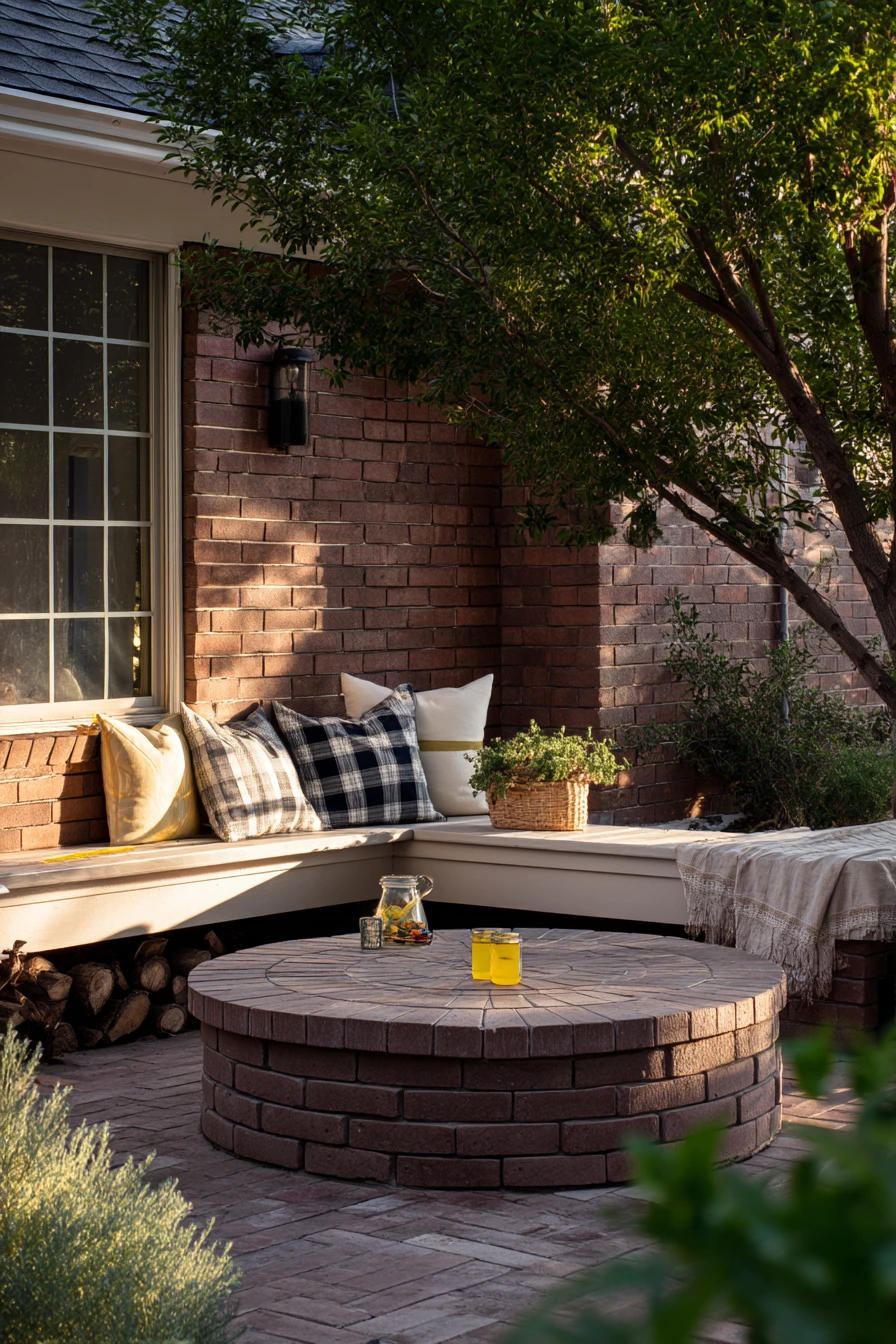
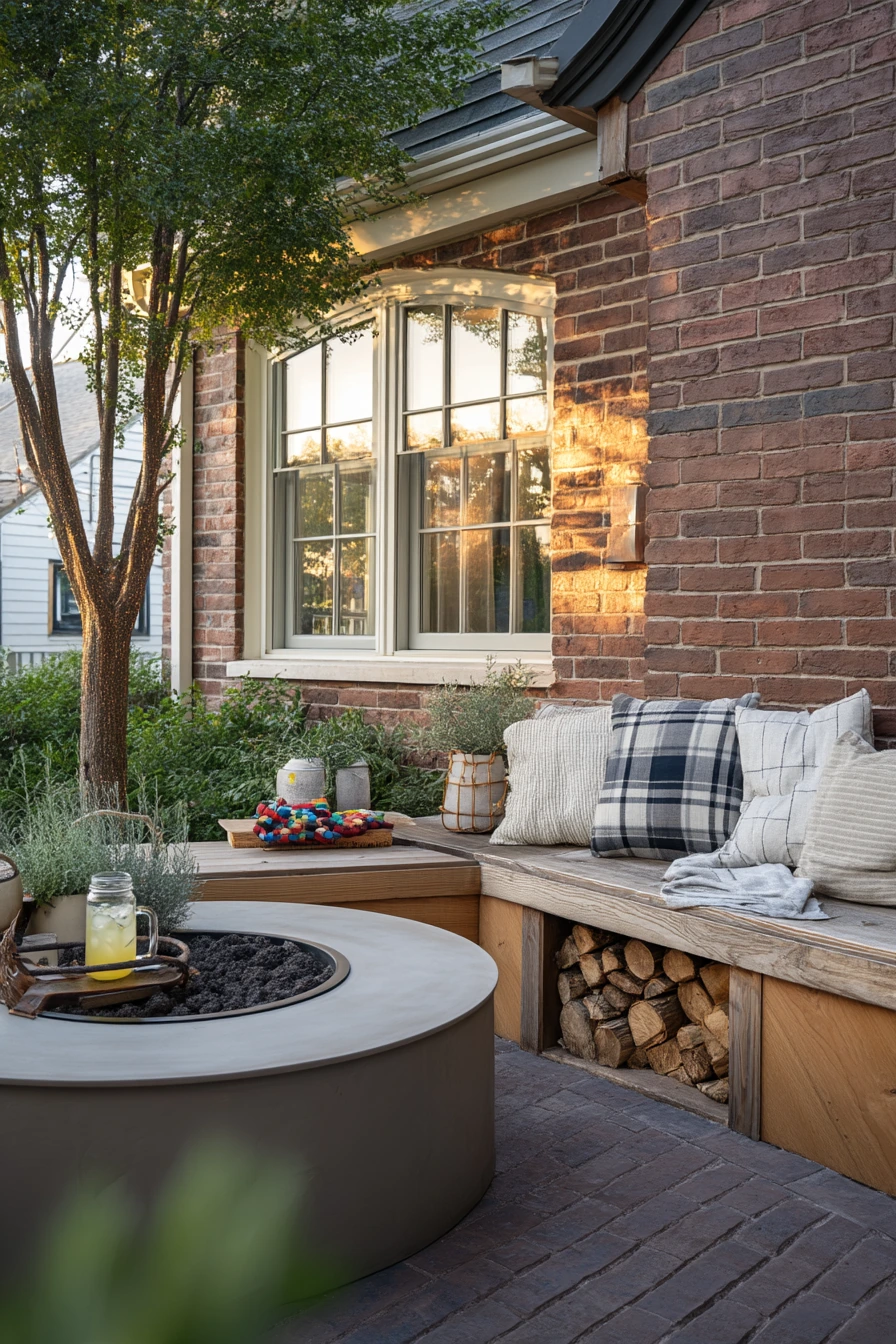
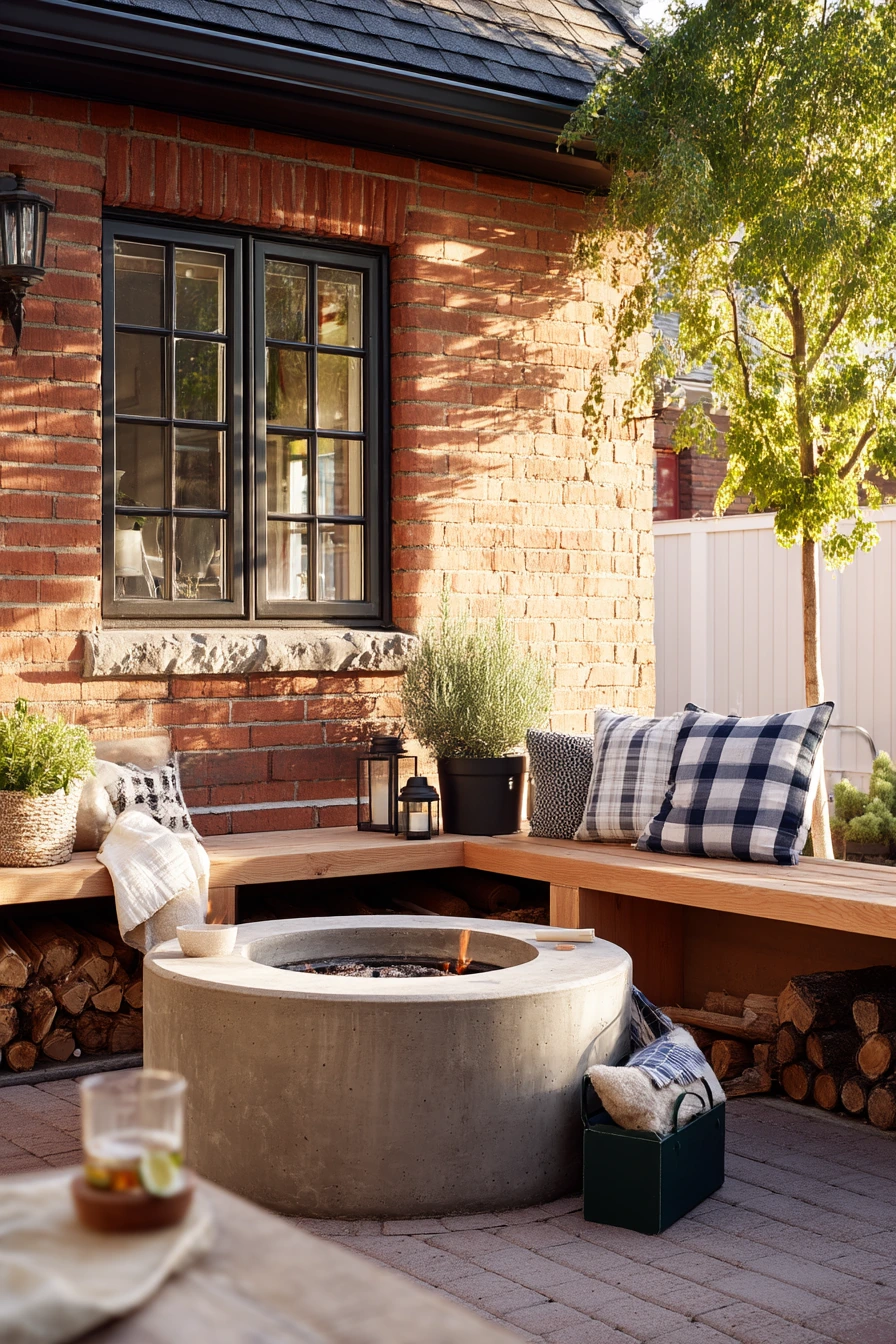
A round fire pit creates a clear center point for a backyard patio. It pulls people together and makes the space feel warm and grounded. Even when it is not lit, it still looks like the main feature, especially with late afternoon light on brick or siding.
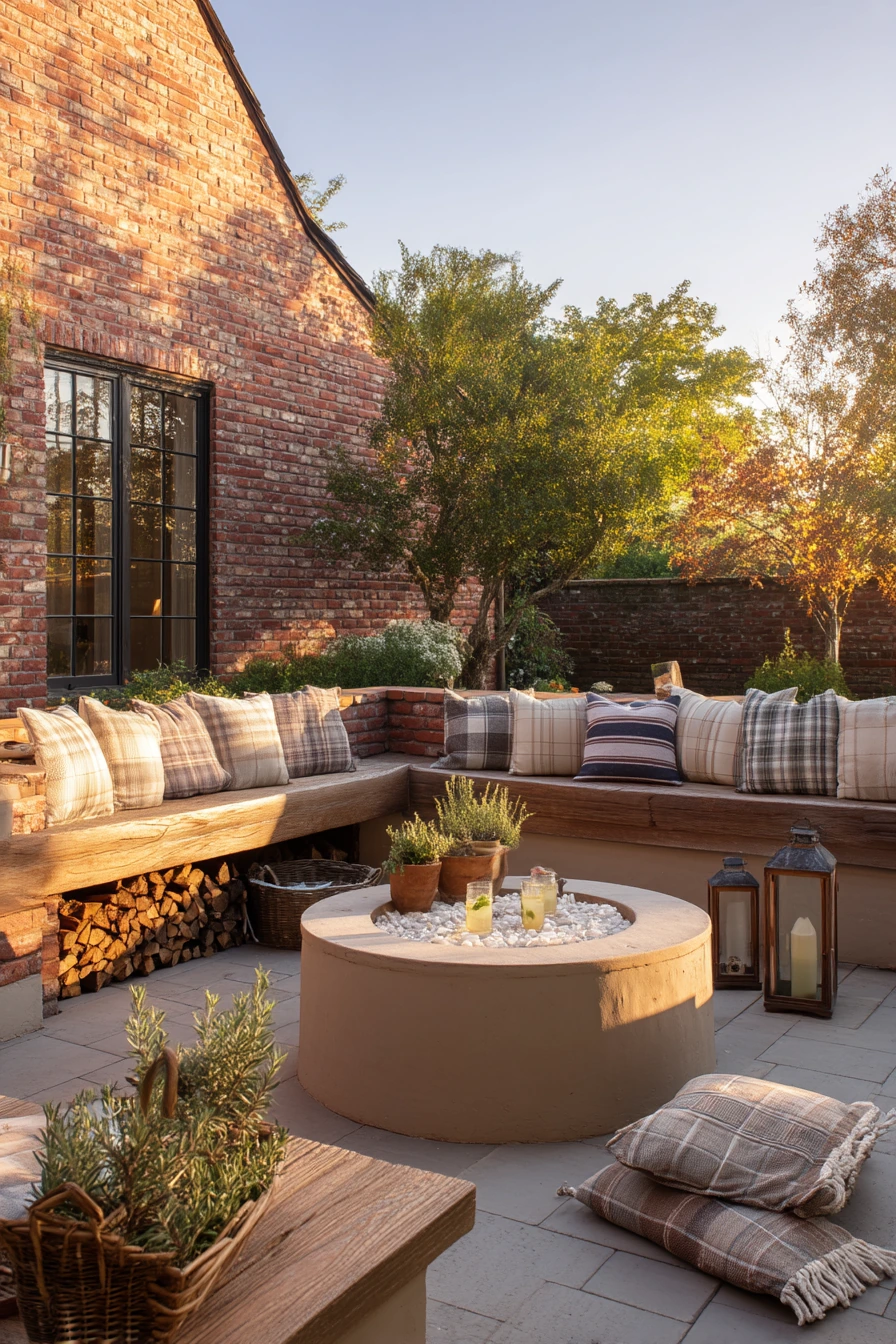
To keep it family friendly, surround the fire pit with low built in seating or sturdy benches. Add stacked firewood nearby so it feels ready, but keep it neat in one zone. Lanterns add softer light and help the patio feel welcoming. Potted rosemary is a great choice because it is tough, smells good, and fits the relaxed look.
Style it like a real home, not a showroom. One plaid pillow can be slightly slumped, and a lemonade glass with condensation can sit on the table. A child’s toy basket tucked near the bench helps keep clutter contained. For safety, keep a clear ring around the fire pit, and store extra cushions away from sparks. If your patio is small, choose fewer items and focus on texture, like wood, brick, and woven fabrics.
- Center the seating so every spot faces the fire pit.
- Use one small side table for drinks to reduce spills.
- Store firewood in a single stack or rack to stay tidy.
- Add two lanterns at different heights for depth.
- Keep a toy basket close so cleanup is fast.
Pro Design Tip: Repeat the round shape with one round table or round tray so the focal point feels planned.
Budget Considerations: Built in seating costs more; start with simple benches or outdoor chairs and upgrade later when you know the best layout.
4 Renter-Friendly Trellis Statement
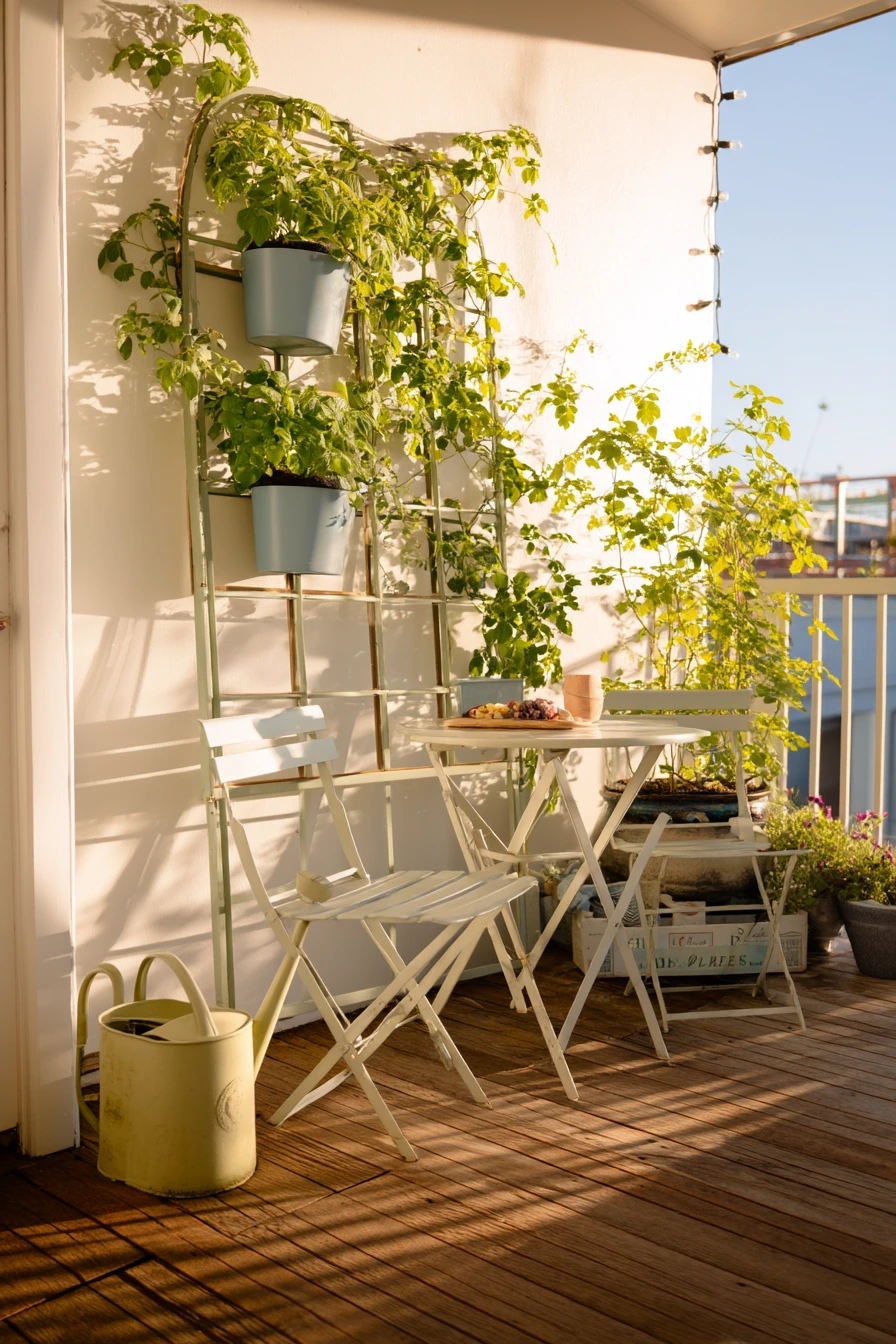
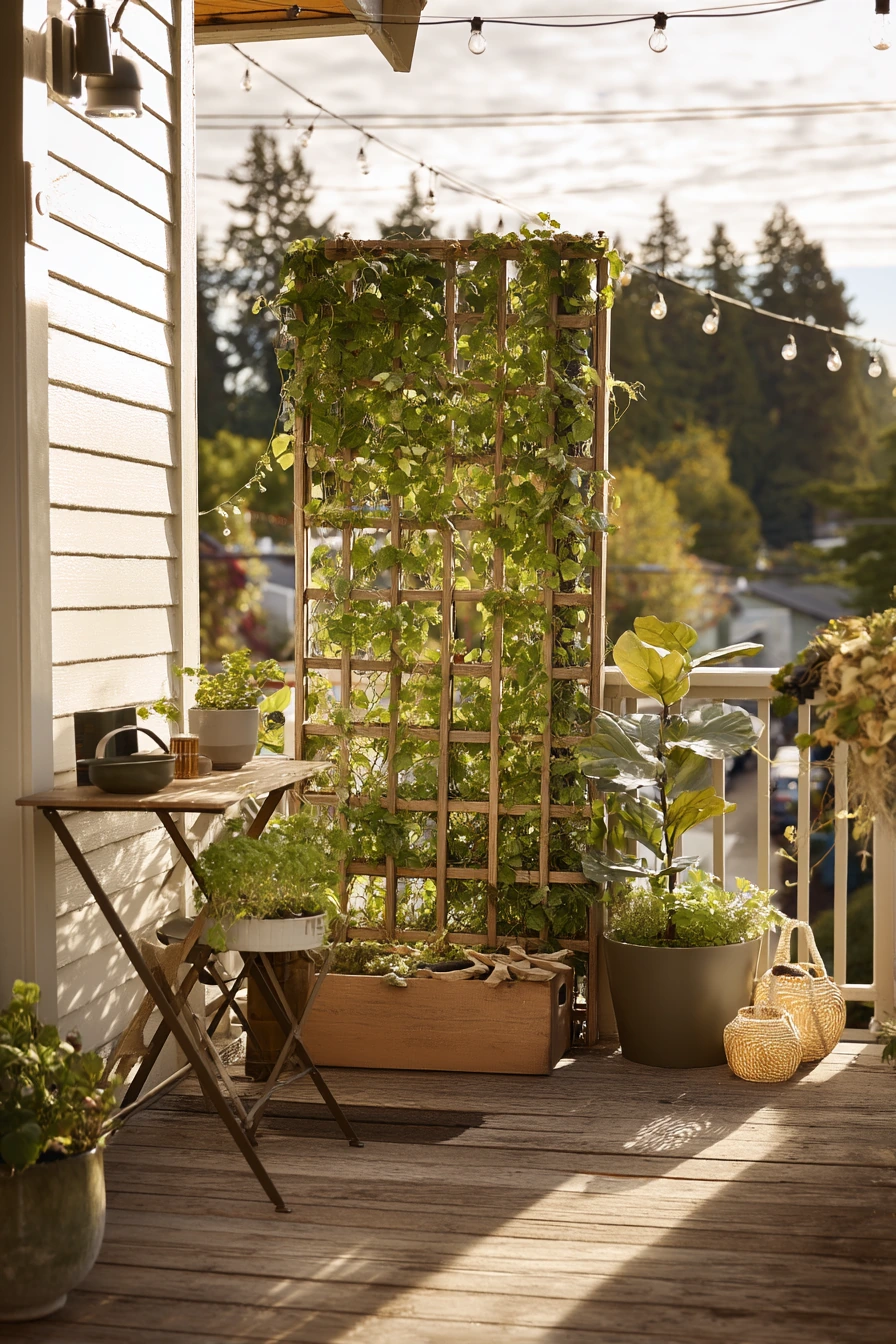
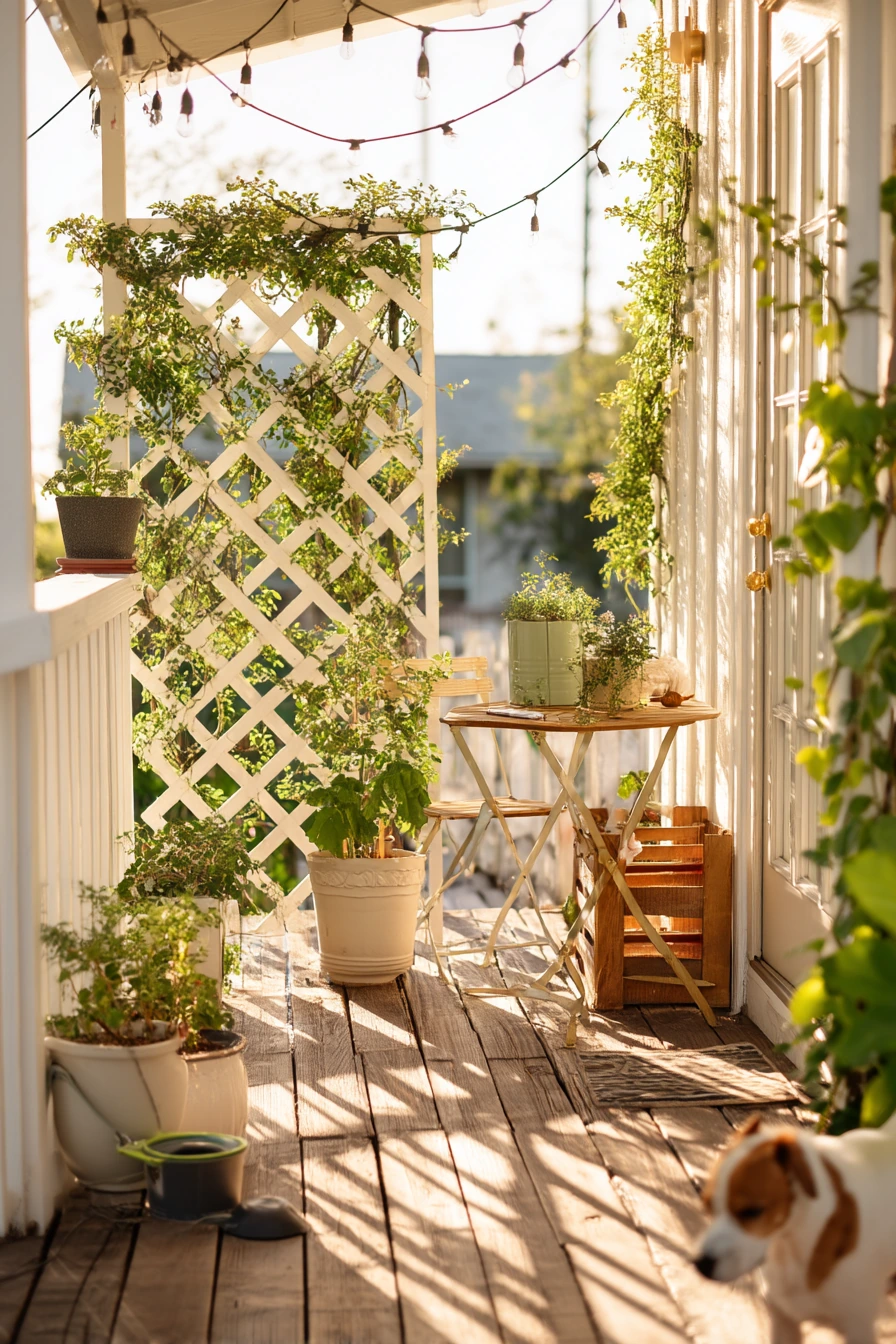
A freestanding trellis covered in climbing jasmine is a strong focal point for a modest rental deck. It adds height and privacy without drilling into walls or changing the structure. The flowers and scent also make the deck feel fresh in the evening.
Set the trellis at the far end of the deck so it draws the eye outward. Pair it with removable planters so you can take everything with you when you move. Choose a mix of leafy plants and herbs, and leave a clear path for walking. String lights can frame the trellis and make the focal point work after dark. A folding bistro table keeps the deck flexible for meals or work.
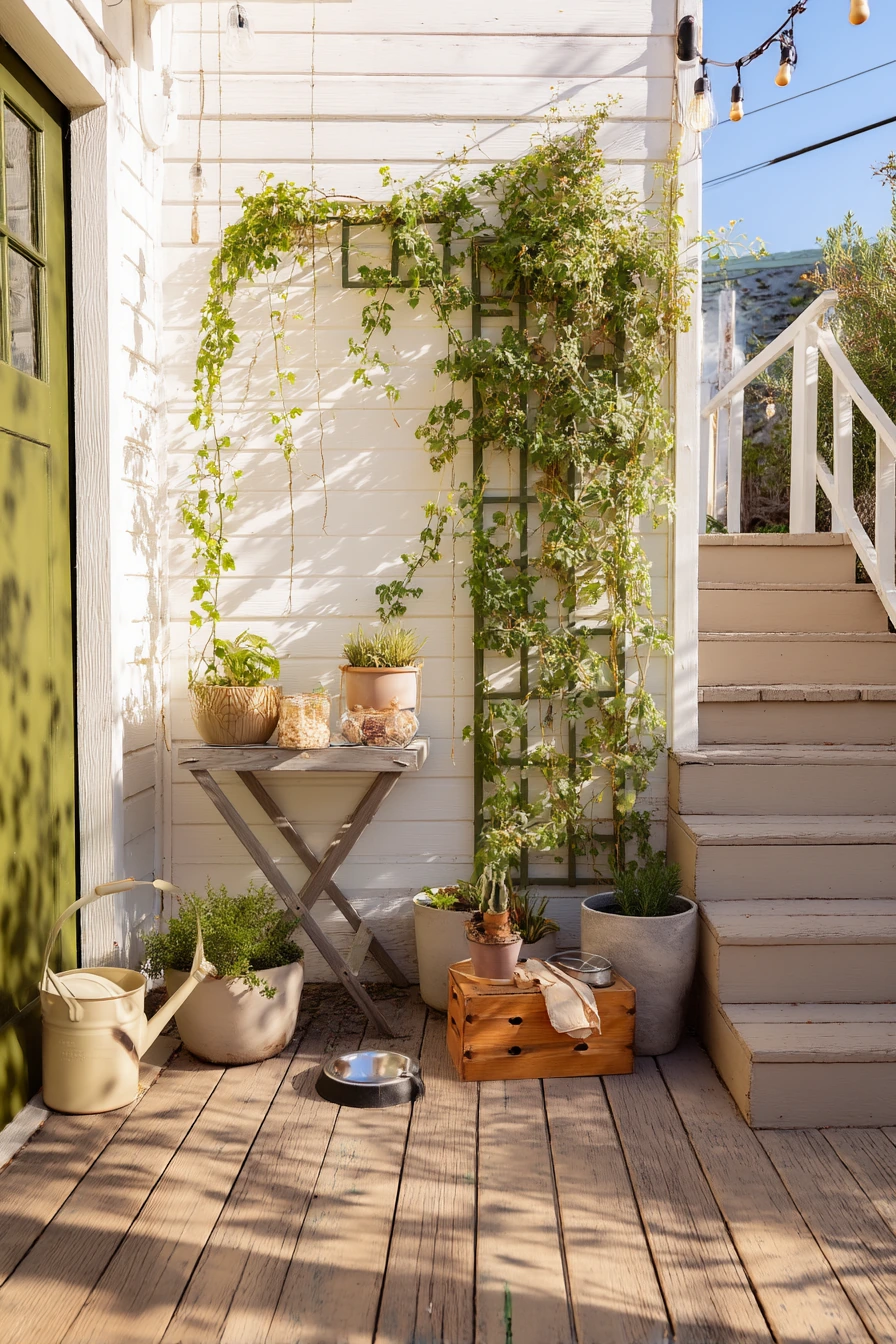
Keep the styling practical. Gardening gloves can live on a hook or in a small bin. A dog bowl by the step makes the space feel like home. Add one herb crate with a watering can and seed packets so your supplies stay together. In golden hour light, the jasmine will cast gentle shadows across the boards, so avoid too many extra items near the base. Water planters on a tray or saucer to protect the deck surface.
- Use a trellis with a wide base so it does not tip in wind.
- Pick jasmine or another climber that does well in pots.
- Hang string lights from the trellis, not from the building.
- Choose folding furniture to save space when needed.
- Group tools and seed packets in one crate to cut mess.
Pro Design Tip: Create a simple triangle shape with the trellis, one tall planter, and one chair so the eye moves in a calm path.
Budget Considerations: A strong freestanding trellis can cost more; build one from cedar strips or use a metal garden panel with zip ties for support.
5 Formal Front Yard Topiary Center
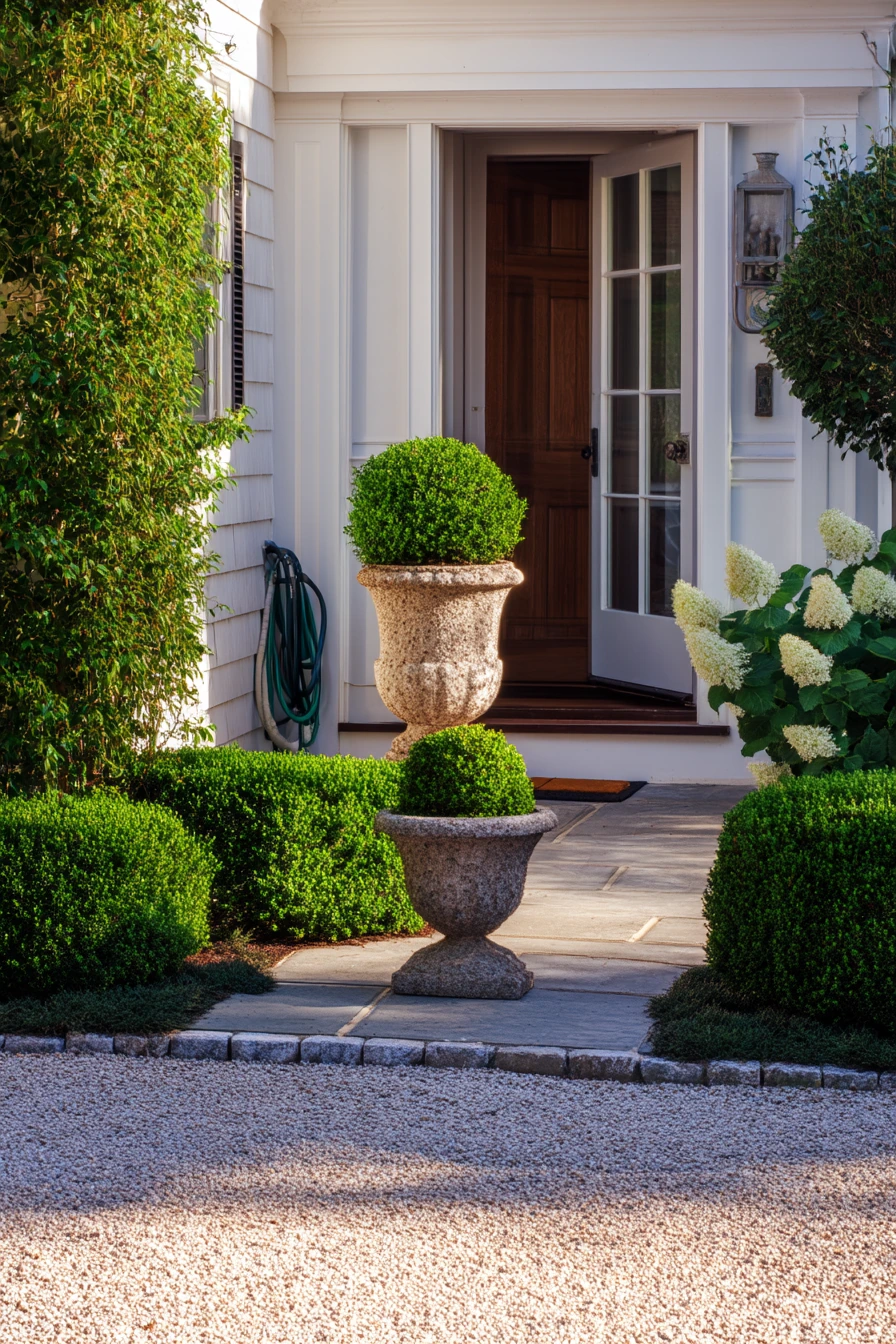
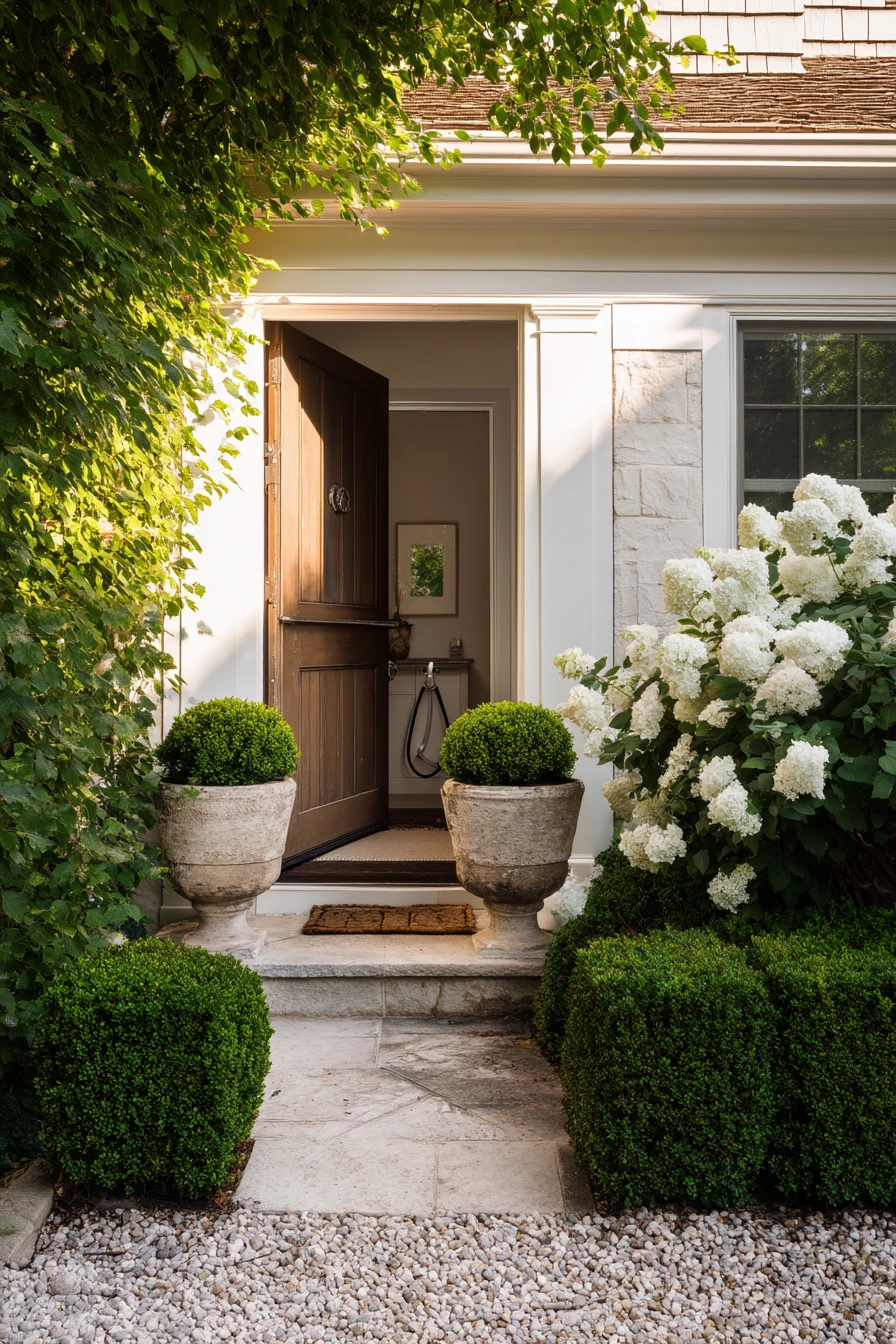
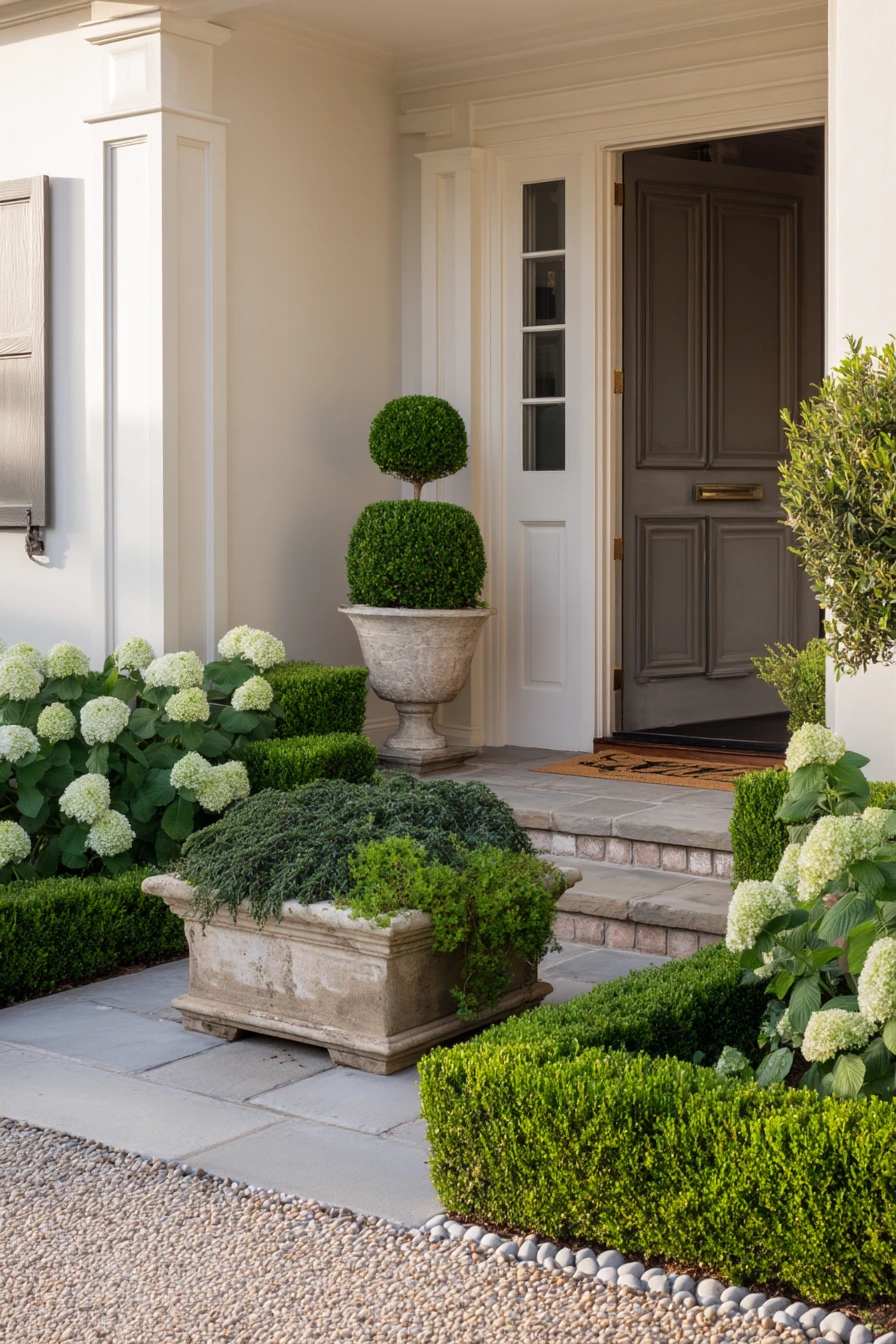
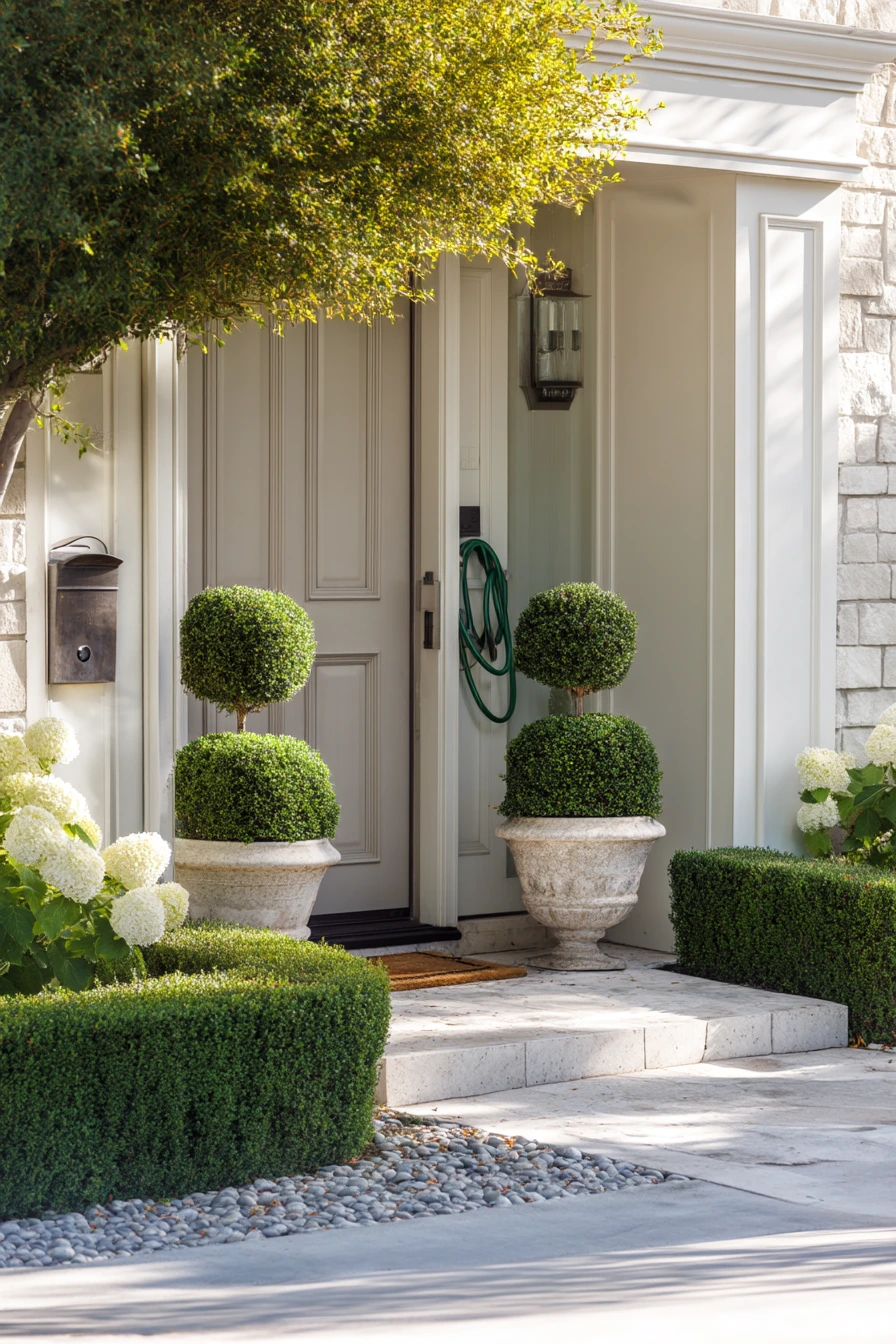
A pair of sculpted topiaries with a low stone urn makes a clean focal point for a tidy front yard. It signals order and care without needing a lot of color. This setup also works well from the street because it reads clearly at a distance.
Frame the focal point with simple evergreens like boxwood, then soften the edges with white hydrangeas. Gravel edging keeps lines crisp and helps stop grass from creeping into beds. If your front door is open at times, details like a doormat and a small console with mail inside make the space feel lived in, not staged. Keep the garden hose coiled near the spigot so it is handy but not messy.
For styling, stick to a limited palette. Green, white, and stone tones look calm in morning light with clean shadow lines. Keep the urn planting low so it does not block the shapes of the topiaries. If you want seasonal change, swap the urn contents, not the whole bed. A simple ground cover or a band of gravel can keep weeds down and make the focal point easier to maintain.
- Use two matching topiaries to create a clear entry frame.
- Place the urn slightly forward to lead the eye in.
- Keep edges sharp with gravel or steel edging.
- Limit plant types so it stays polished.
- Hide practical items like hoses in a neat corner.
Pro Design Tip: Choose one strong shape theme, like spheres and low mounds, and repeat it across the bed for a designer look.
Budget Considerations: Large topiaries can be expensive; start with smaller boxwood in pots and let them grow, or use two matching planters for the same paired effect.
6 Kids’ Secret Path Garden Feature
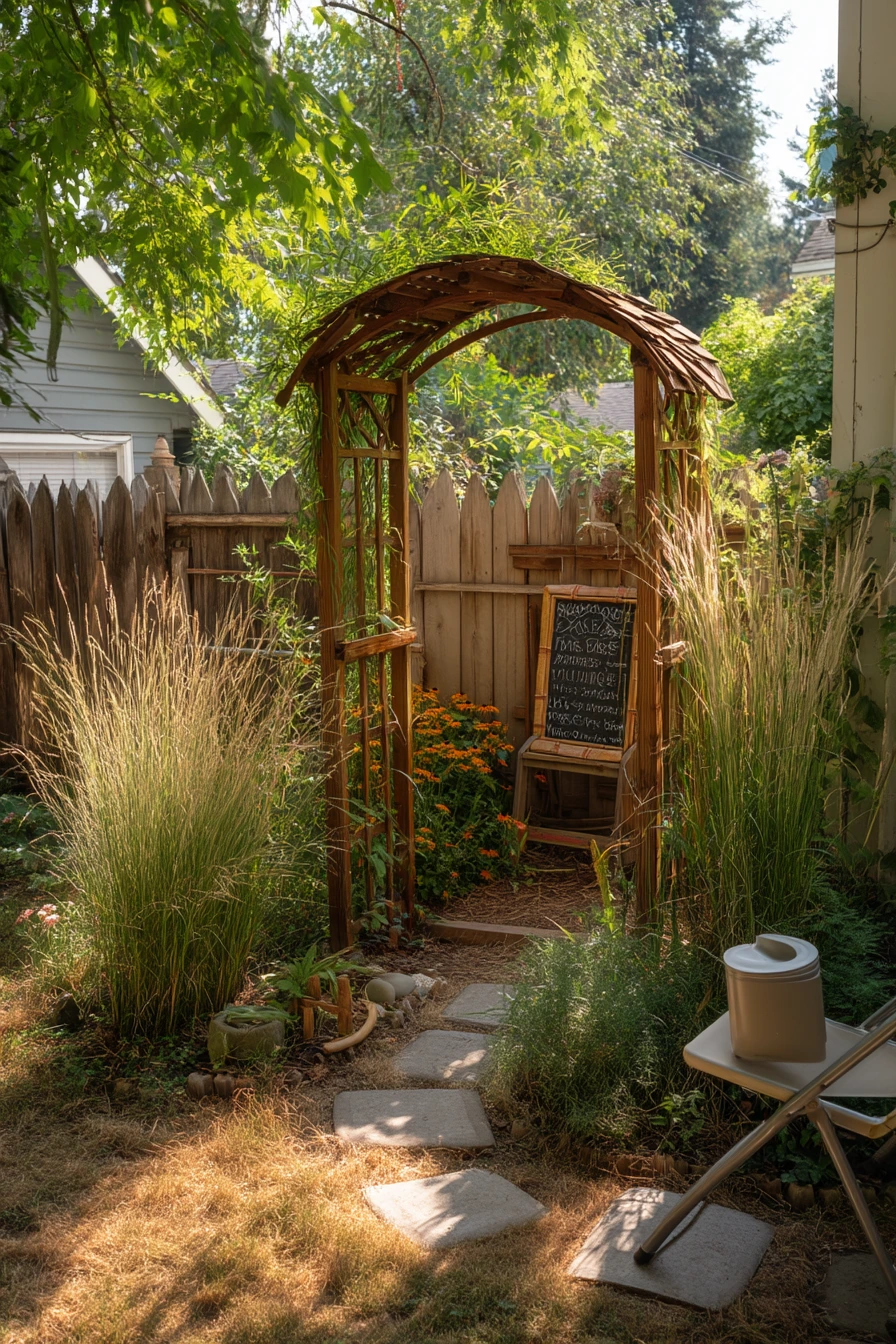
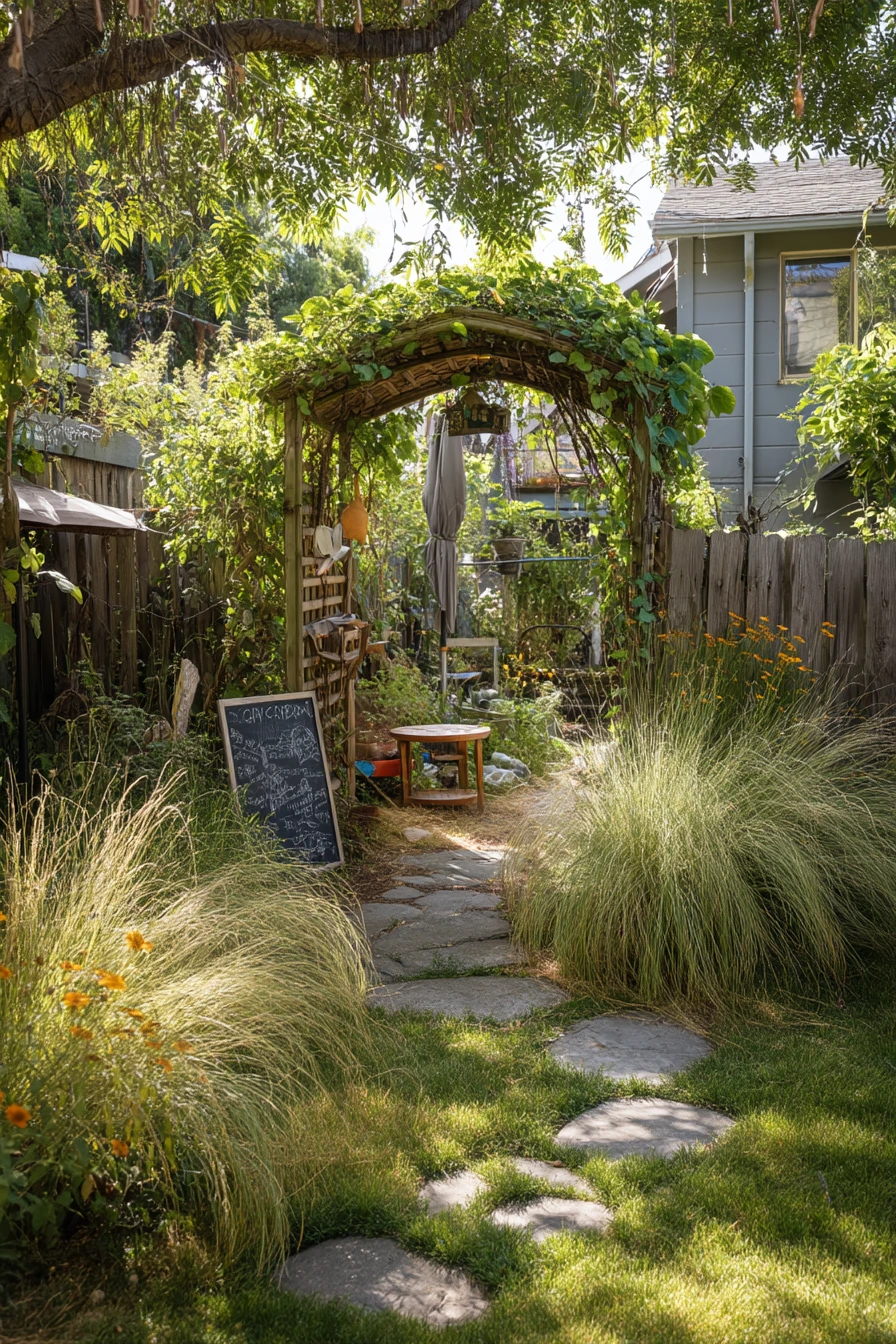
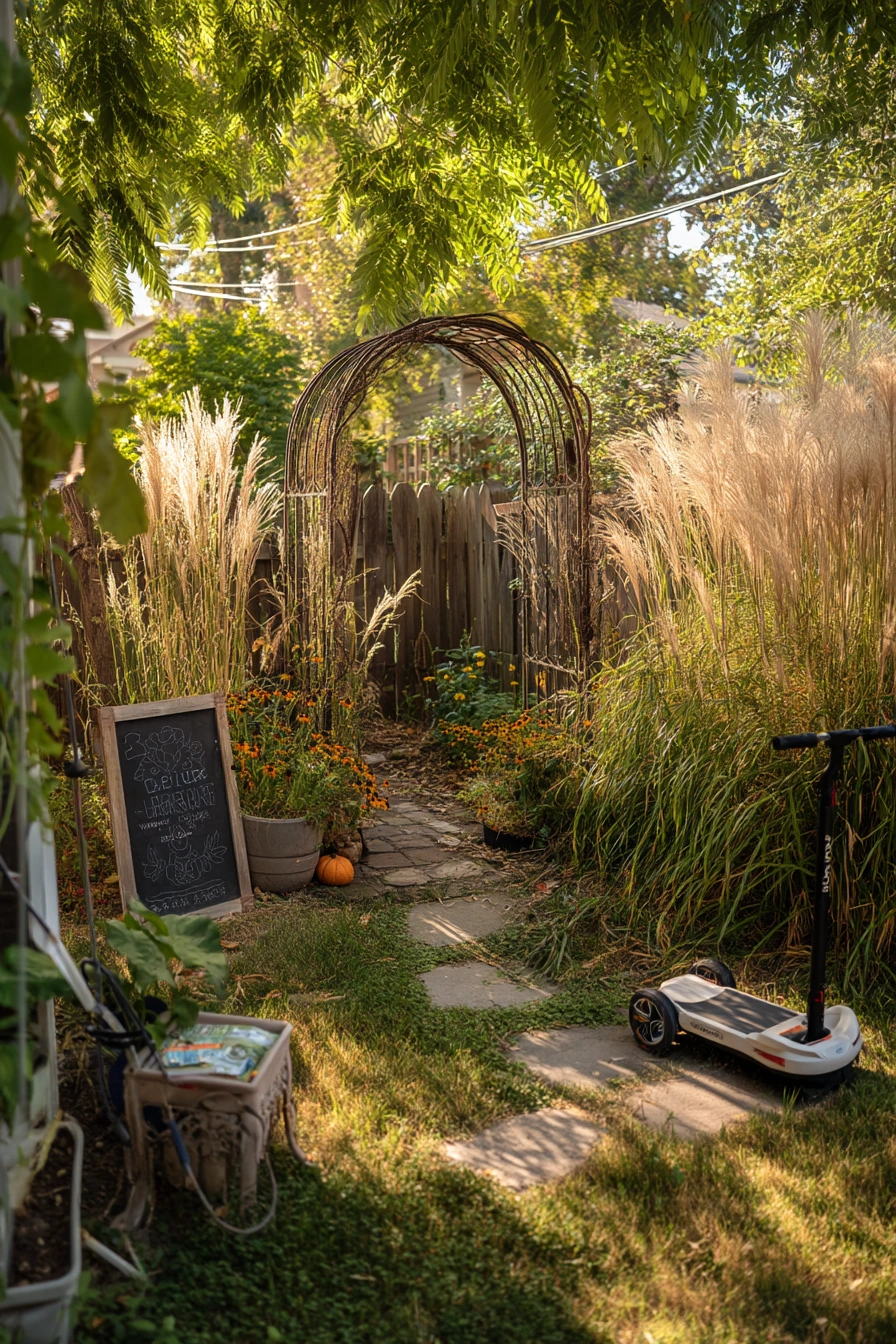
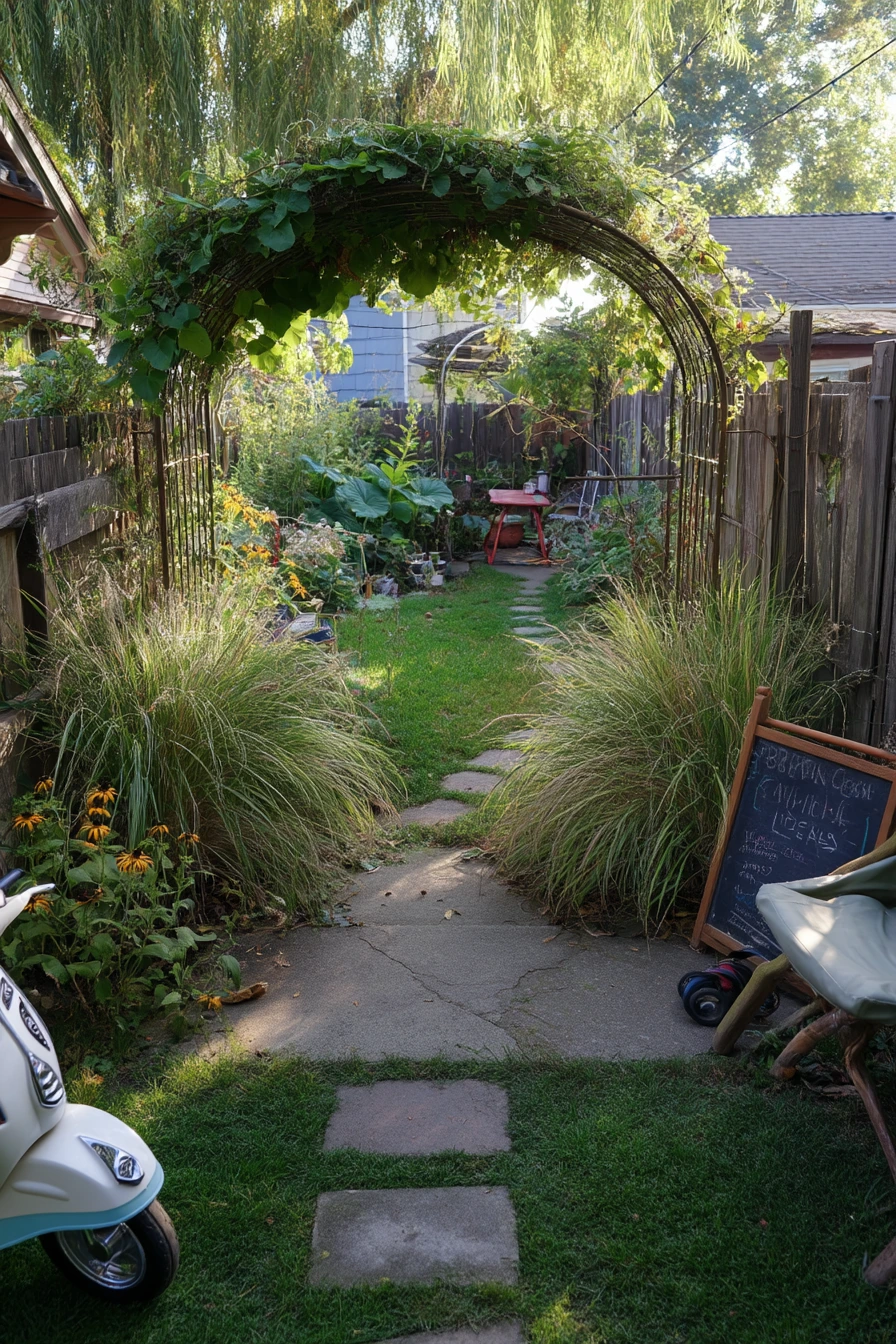
An arched arbor over a stepping stone path is a classic garden focal point that works in a normal backyard. It adds height and a sense of journey, even if the path is short. From the lawn edge, the arbor becomes a natural photo spot and a clear target for the eye.
Make the area around it feel playful and family friendly. Tall grasses can sway and soften fences. Marigolds bring bright color and are easy to grow. A chalkboard sign leaning against the fence adds a simple personal touch, like a garden name or a note about what you planted. Real life items like a scooter by the gate and muddy sneakers on the mat make the space feel honest and used.
To style it well, keep the path clean and the arbor base uncluttered. Let climbing plants grow up the arch, but do not overcrowd the entrance. Place a patio chair nearby with a book and a water bottle so the garden feels like a place to pause. In soft afternoon light, the plants will cast moving shadows, so choose calm materials like stone and wood. Check the arbor posts each season and tighten screws so it stays solid.
- Set the arbor at the start of a path to create a clear gateway.
- Use stepping stones that are wide enough for quick kid steps.
- Plant tall grasses behind for a soft screen.
- Add marigolds at the base for easy color.
- Keep one small sign or marker for a personal detail.
Pro Design Tip: Make the path slightly narrower as it goes under the arbor to increase depth and make the garden feel larger.
Budget Considerations: A wood arbor varies in cost; for a lower cost, use a metal arch kit and train fast growing annual vines while perennials establish.
7 Seasonal Pumpkin Planter Entry
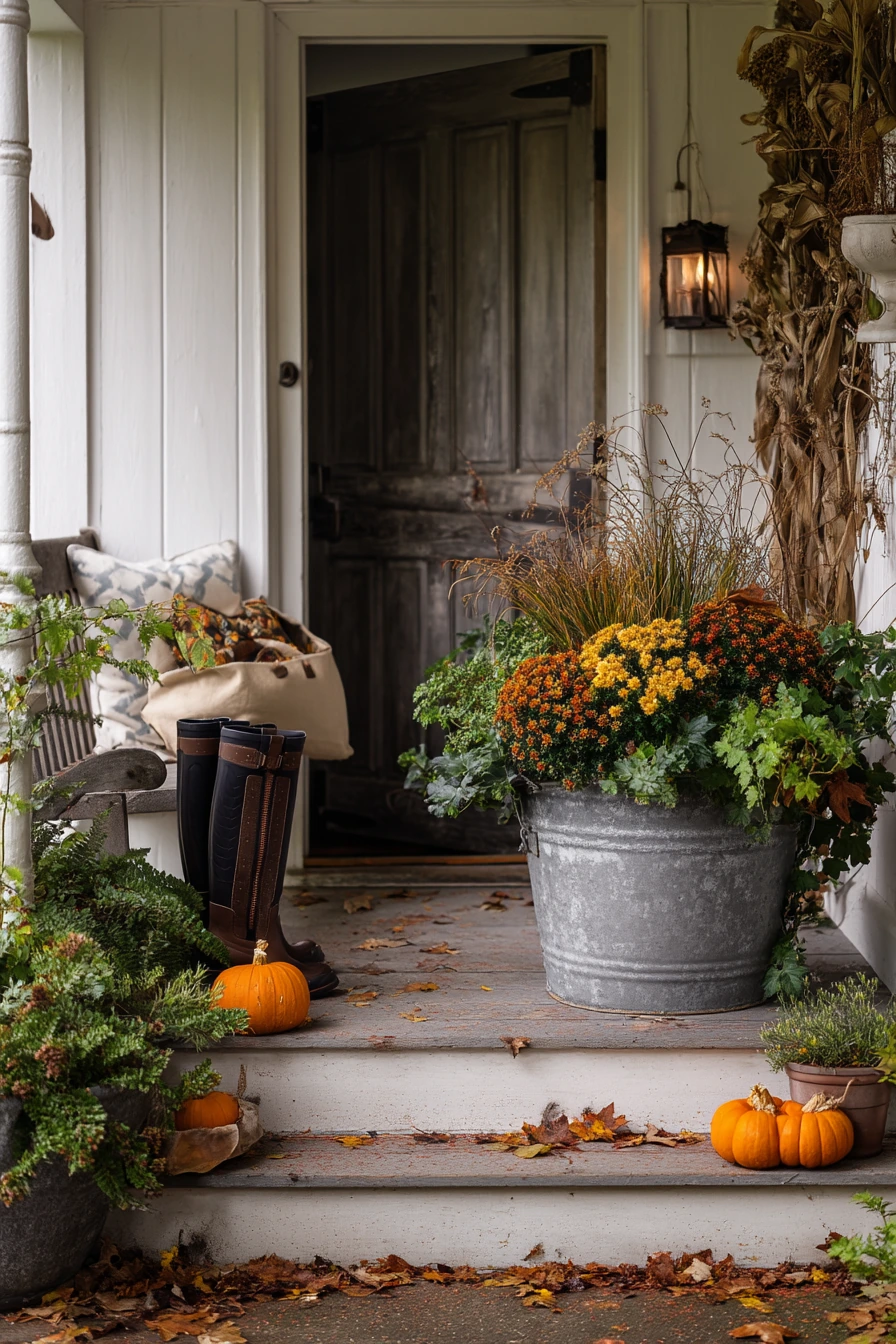
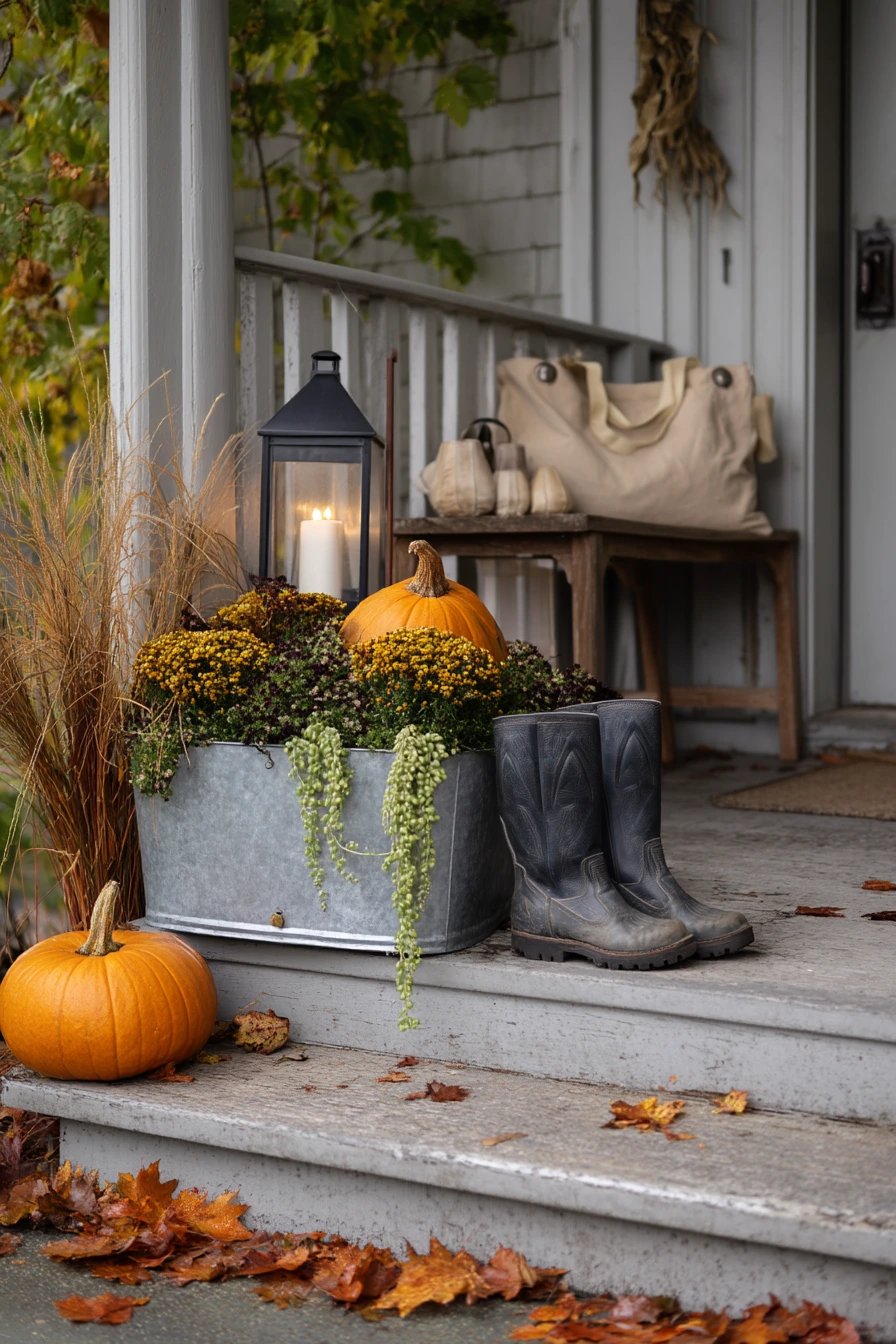
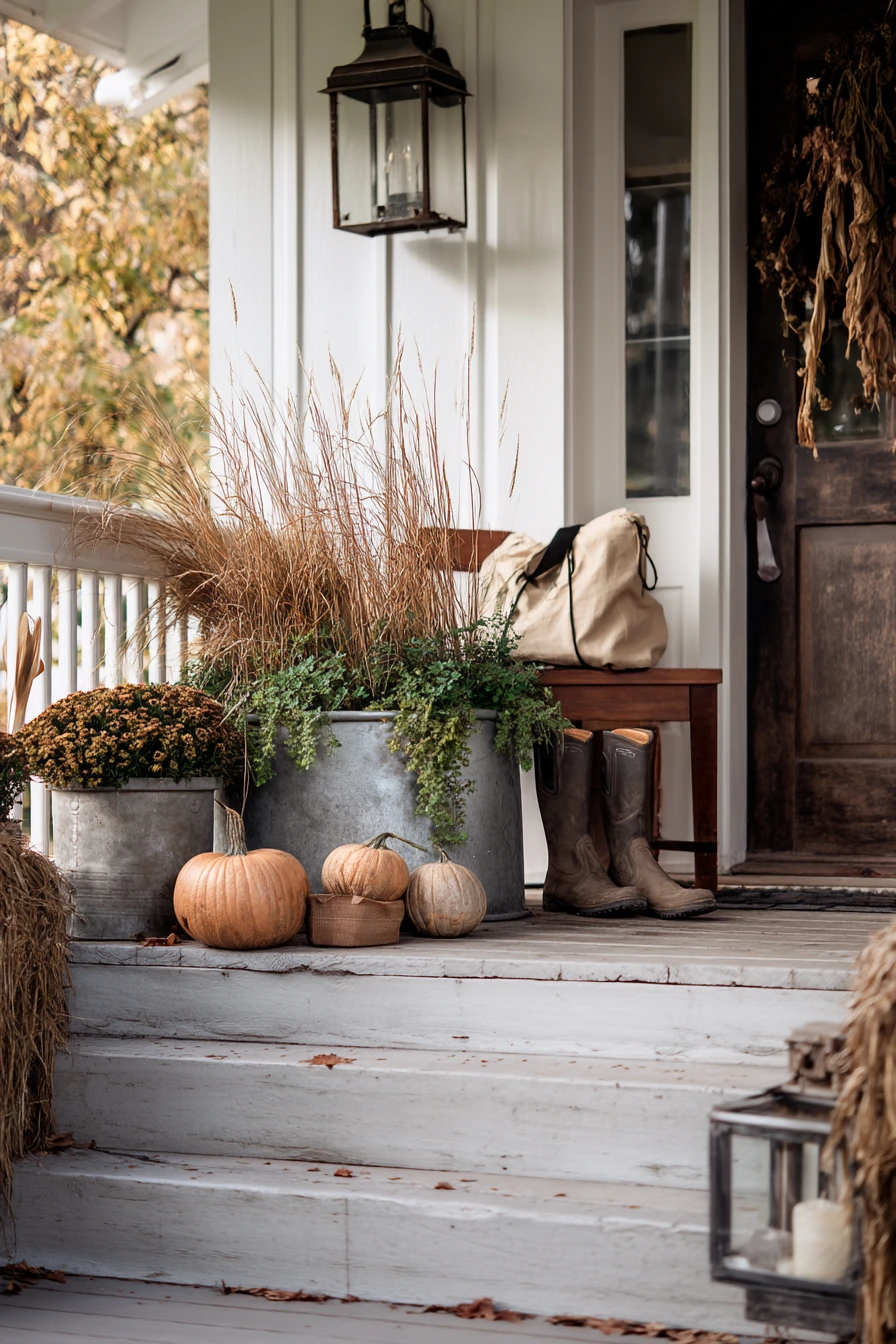
A large galvanized planter filled with pumpkins and mums is an easy fall focal point for a front entry. It gives instant seasonal style without changing your landscaping. The metal finish also looks good with many home colors and porch materials.
Build the arrangement in layers. Start with dried grasses in the back for height, then add trailing ivy to spill over the edge. Tuck in mums for full color. Place pumpkins at different heights, using one small pot turned upside down inside the planter if you need lift. Soft cloudy autumn daylight keeps the colors true, so you do not need extra decor to make it work.
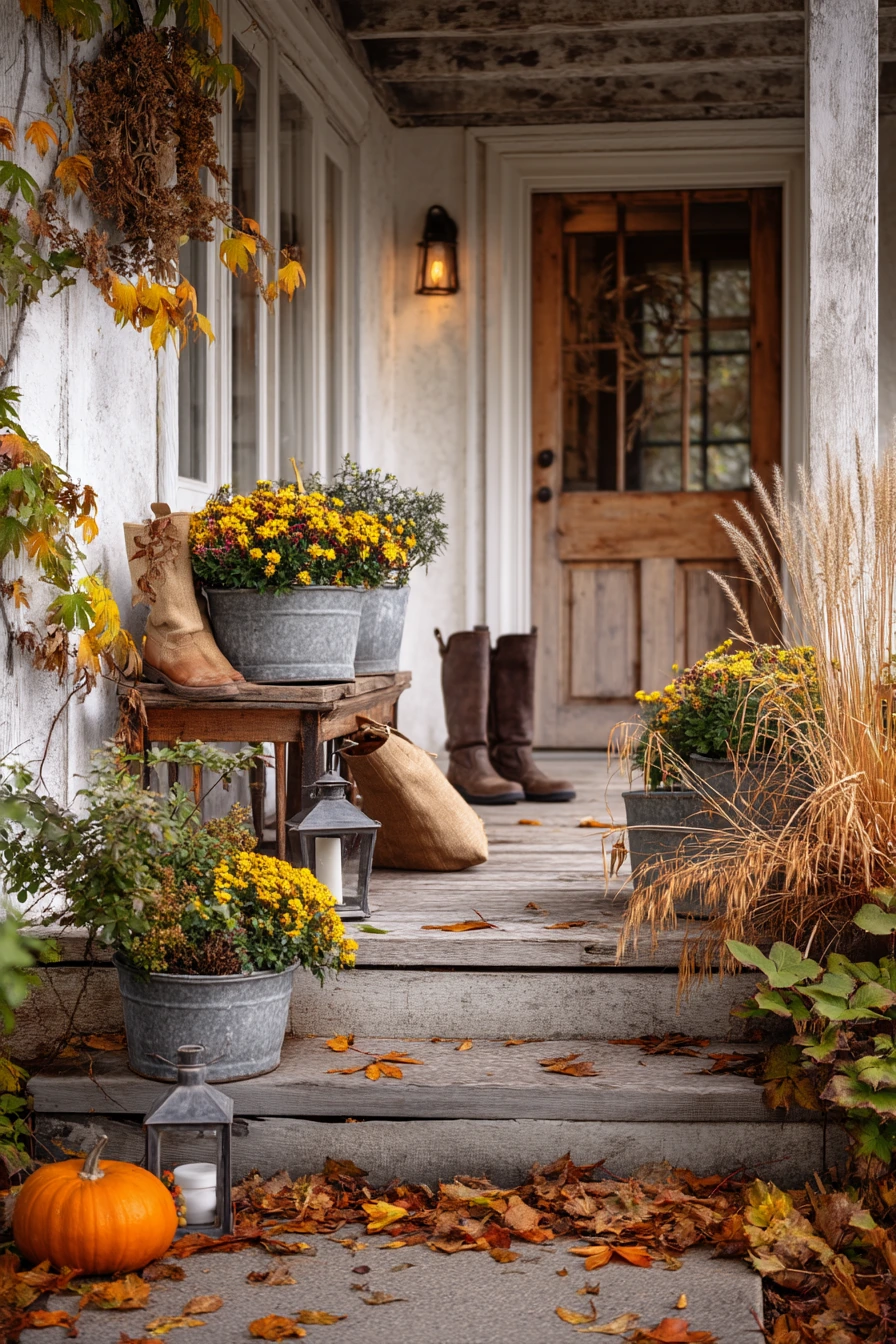
Keep it looking lived in, not perfect. An uneven stack of boots by the door and a tote bag on the bench feel real. Add a candle lantern near the step for warm light in the evening, but keep the flame protected. Leave a little space for walking so guests are not forced to squeeze past the planter. Sweep subtle leaf debris so it looks natural, not messy. When the season ends, swap pumpkins for winter greens to keep the focal point going.
- Use one large planter instead of many small items for a cleaner look.
- Mix round pumpkins with tall dried grasses for balance.
- Add ivy to soften the hard edge of metal.
- Place a lantern low to highlight the arrangement at night.
- Keep a clear path so the entry feels open.
Pro Design Tip: Repeat the same fall color two more times, like rust or cream, with a doormat or cushion so the entry looks tied together.
Budget Considerations: Fresh mums and pumpkins add up; buy fewer large mums, use mini pumpkins, and mix in cut branches from your yard for free height.
8 Mediterranean Olive Tree Courtyard
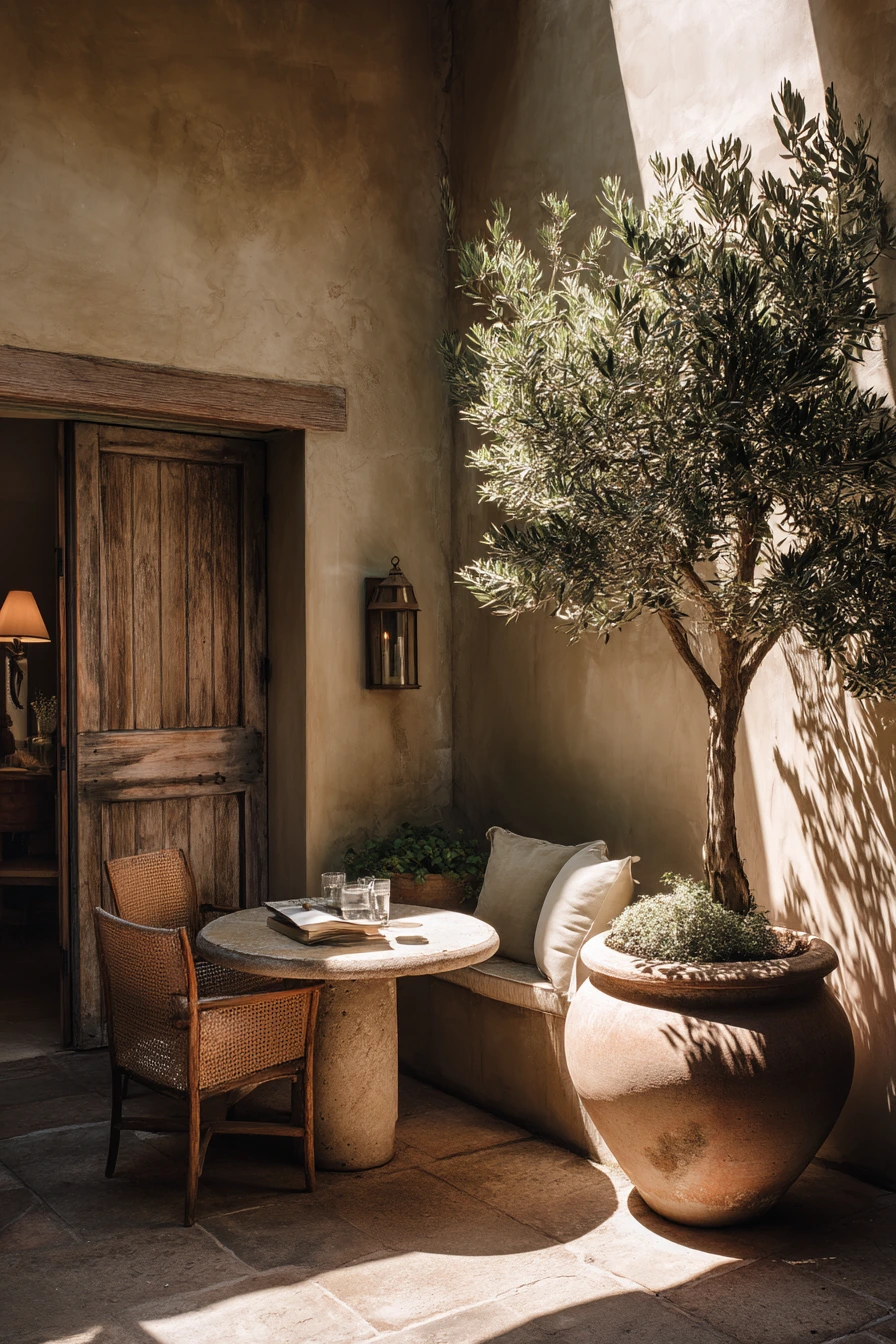
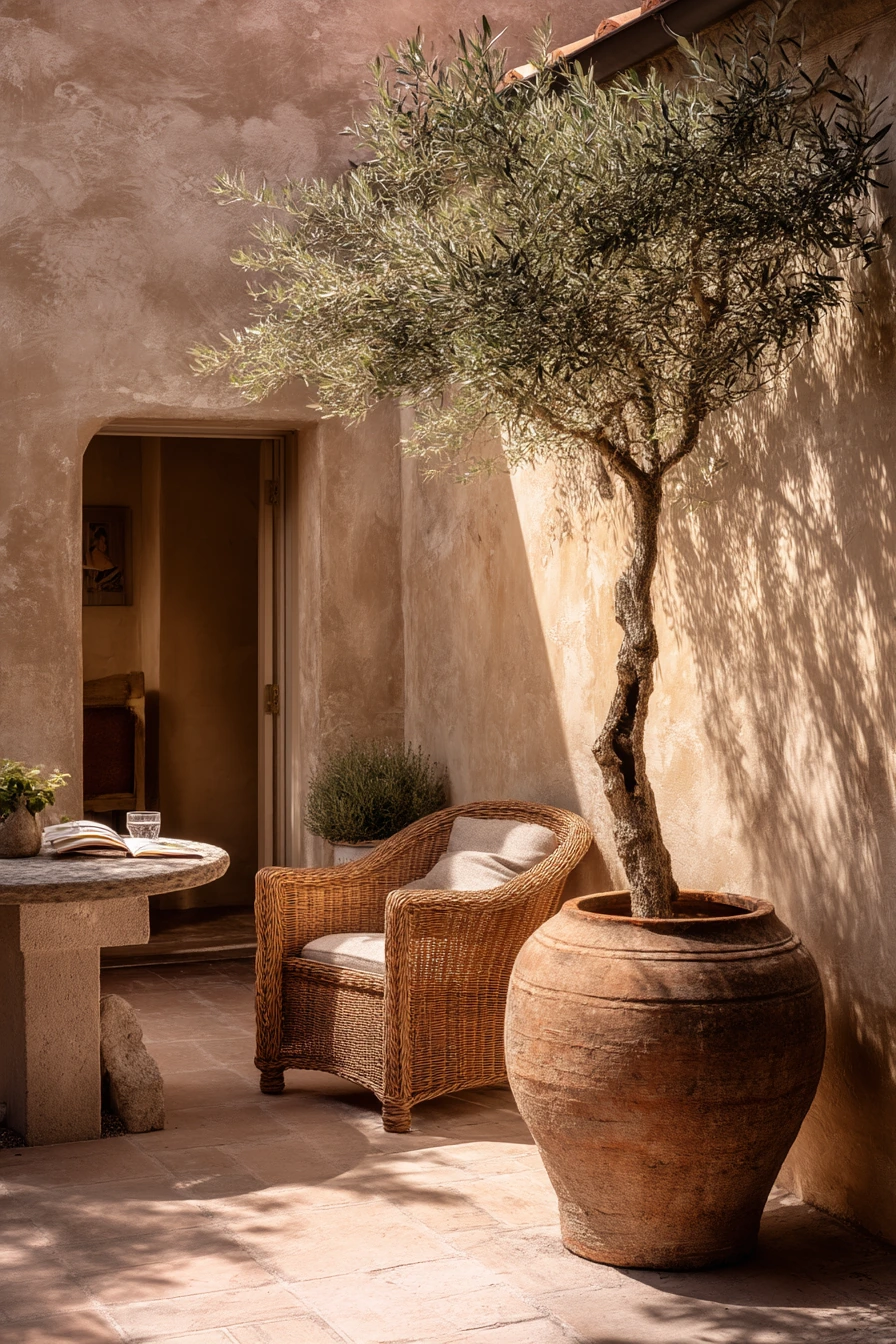
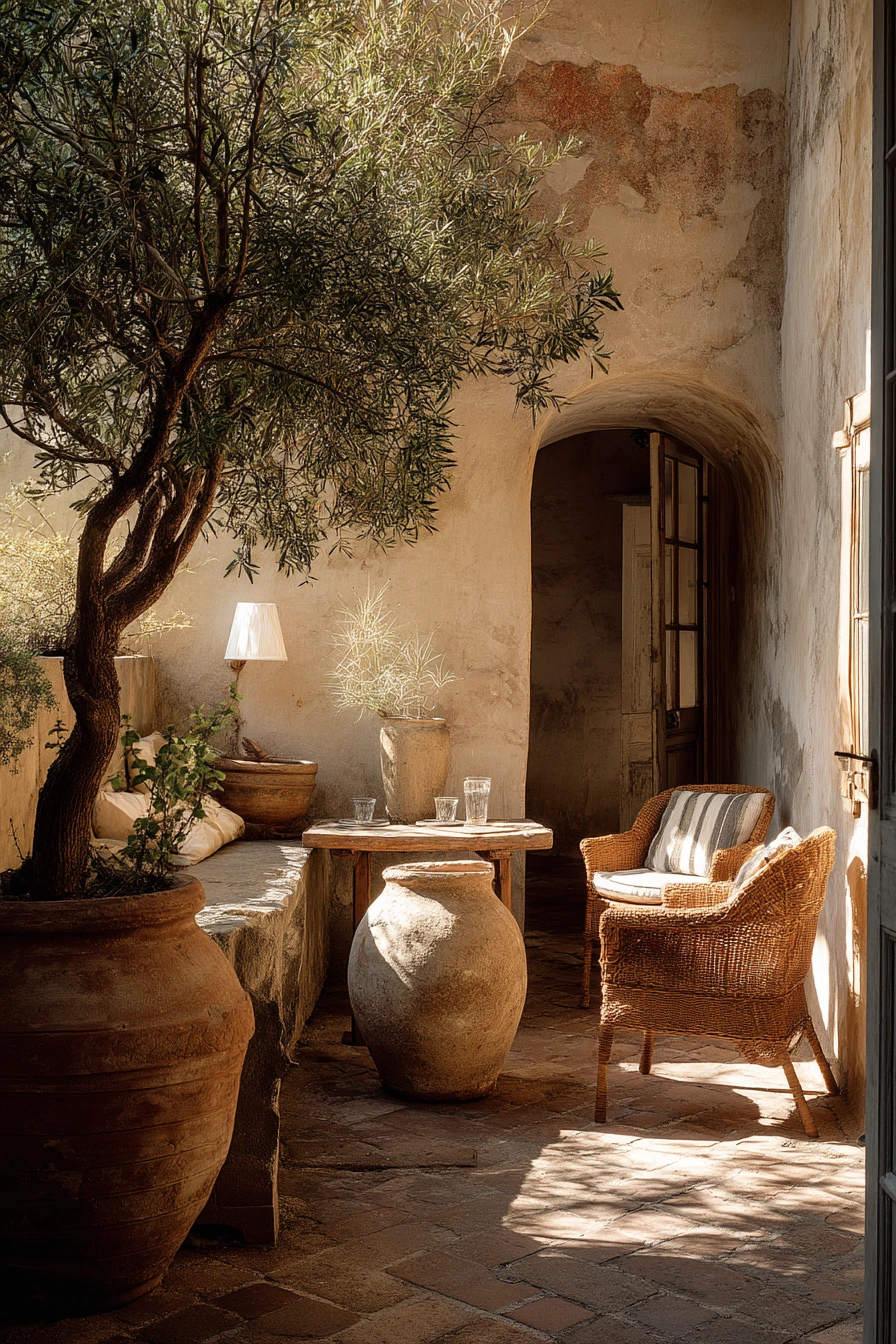
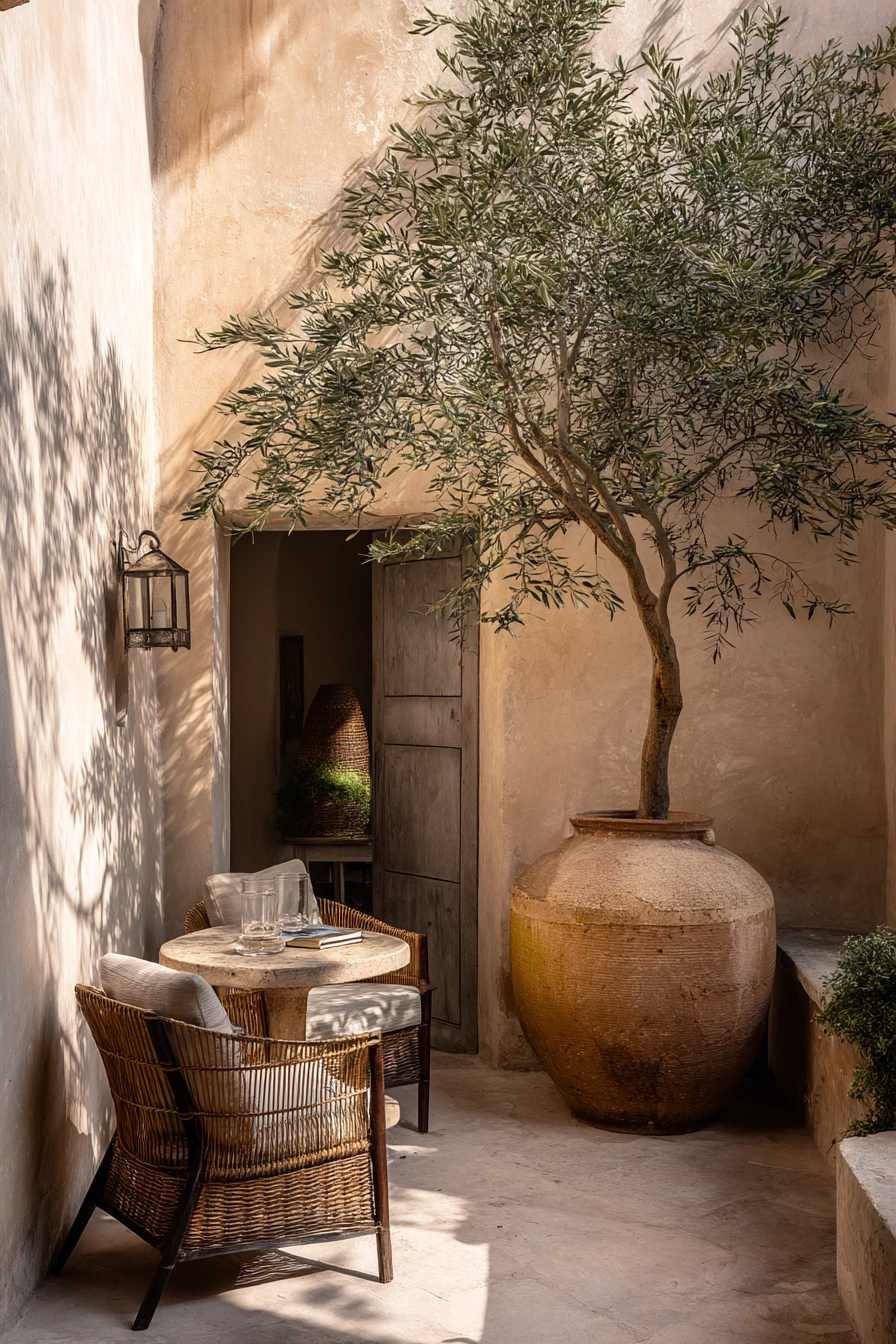
A mature olive tree in a terracotta urn is a strong courtyard focal point because it brings height, texture, and a relaxed Mediterranean feel. It also looks good all year. In a sun washed space with limewashed walls, the warm clay and silvery leaves stand out without loud colors.
To support the main feature, keep the surrounding items simple and earthy. Woven chairs add softness and match the natural look. A rosemary border gives a clean edge and adds scent when you walk by. A small stone pedestal can act as a second quiet focal point, but keep it plain so it does not compete with the tree. A ceramics book on the table and a water glass catching light make the courtyard feel used, like a real room outdoors.
Style the space with gentle, practical touches. A linen cushion can be slightly creased and still look good because it fits the relaxed theme. If you have a warm lamp glow just inside the doorway, it will blend with evening light and make the courtyard feel cozy. Water the olive tree deeply and less often, and use pot feet or a saucer system that fits your surface. Turn the urn a little each season so the tree grows evenly.
- Choose the largest urn your space can handle for better scale.
- Keep nearby furniture low so the tree stays the star.
- Edge the space with rosemary for a clean border.
- Add one stone pedestal for a simple vertical accent.
- Use natural textures like woven seats and linen cushions.
Pro Design Tip: Match the undertone of the terracotta to your wall color so the courtyard feels calm and connected.
Budget Considerations: Mature olive trees can be costly; start with a smaller tree or a hardy alternative like bay laurel, then upgrade the urn first for the same look.
9 Budget DIY Garden Obelisk
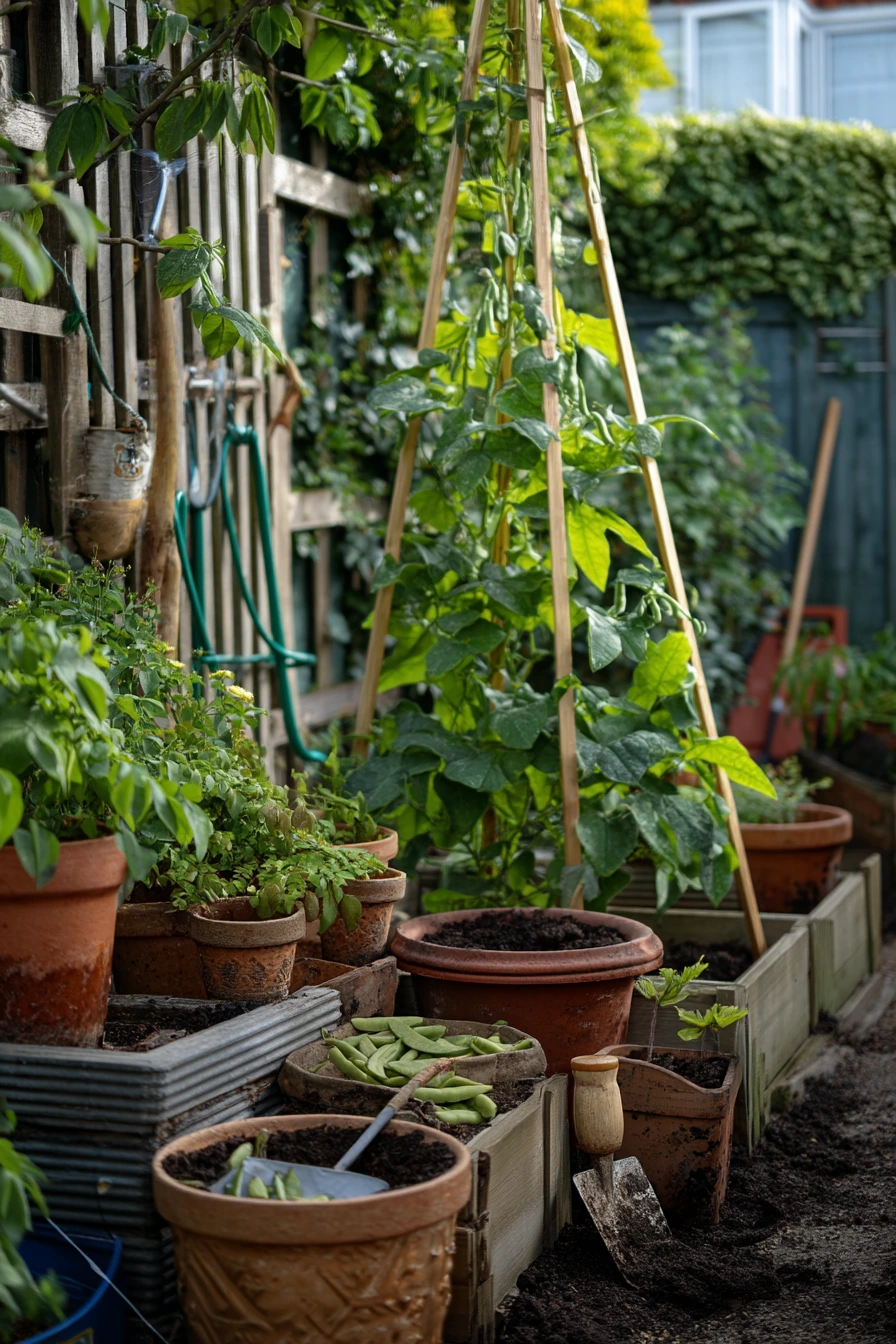
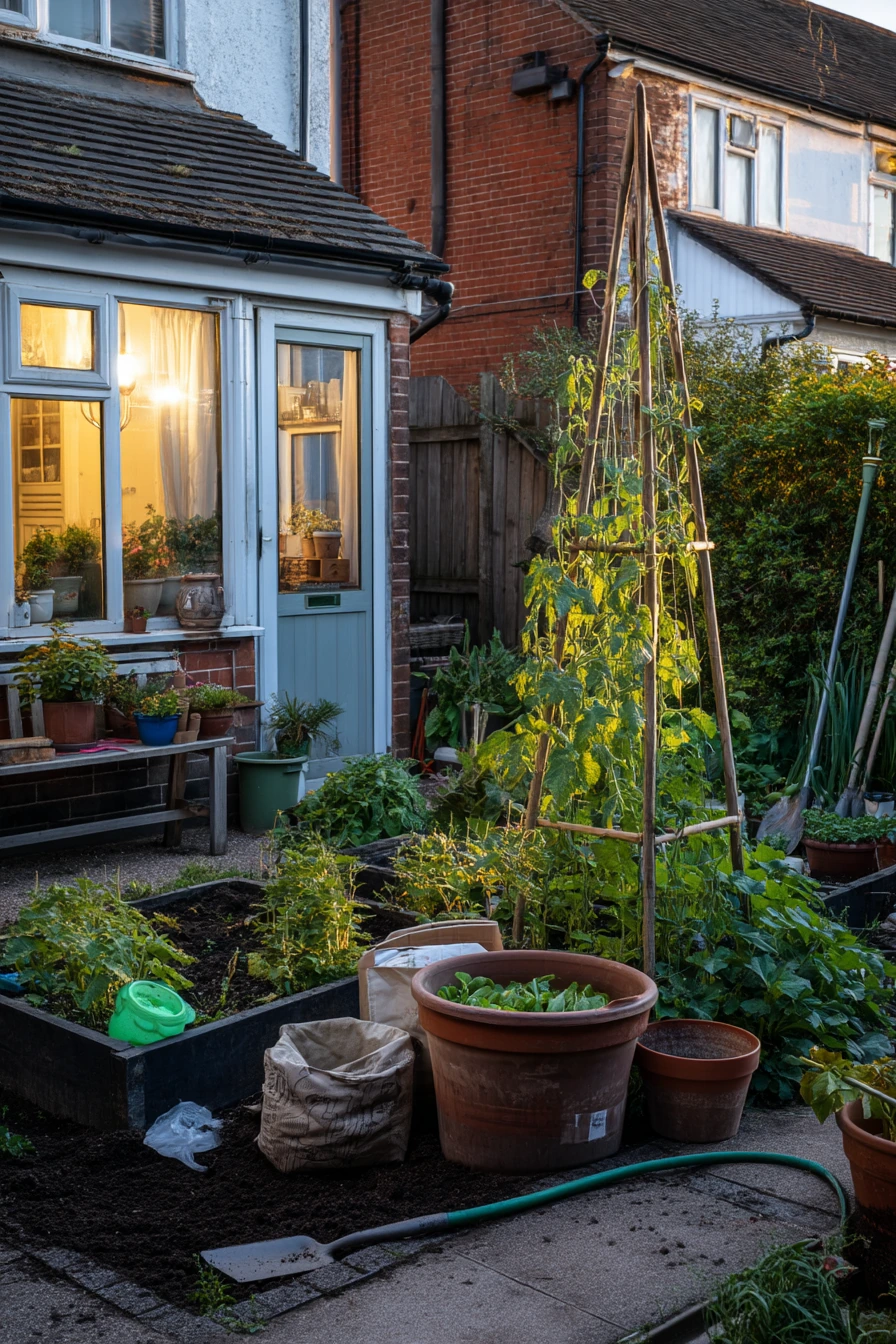
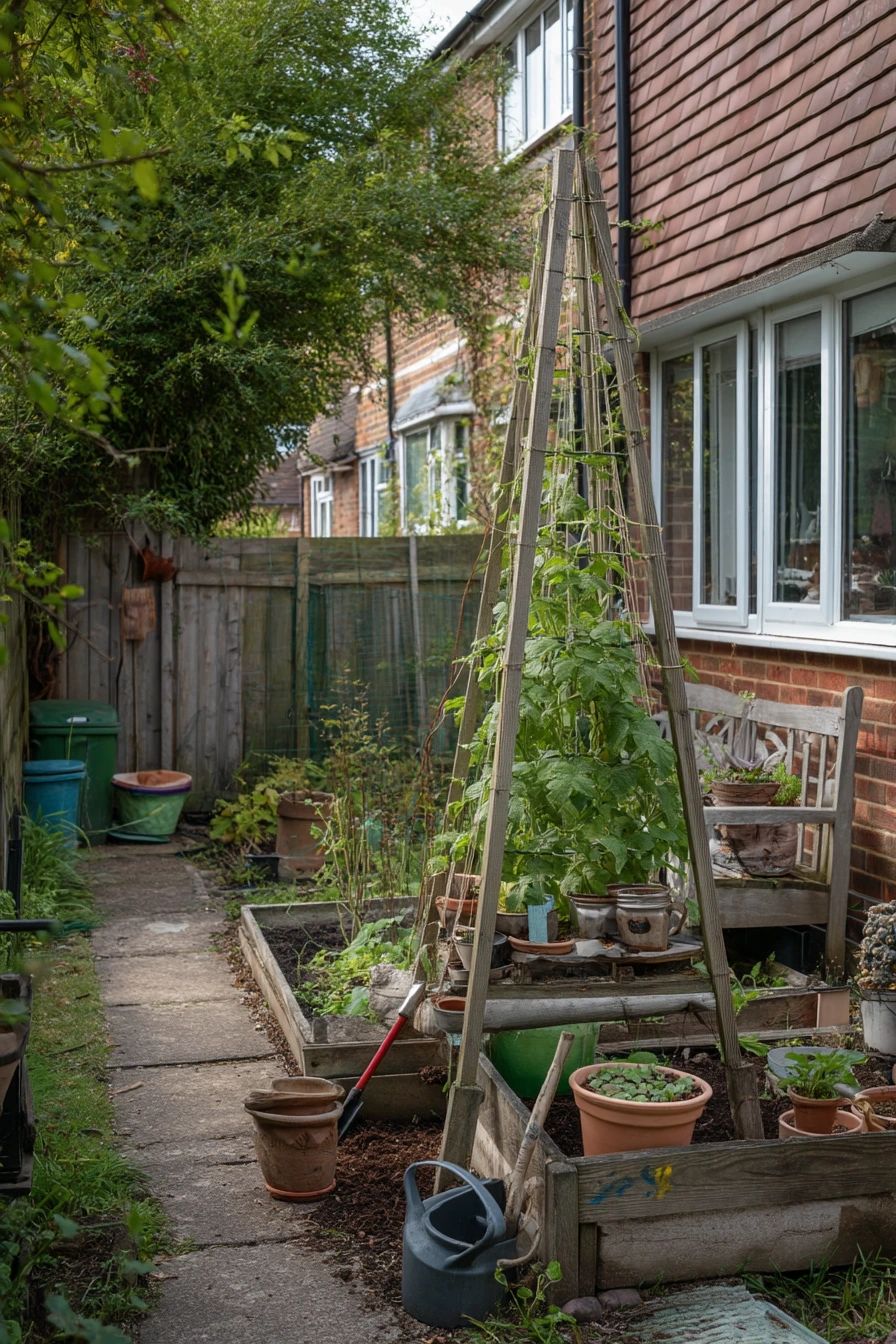
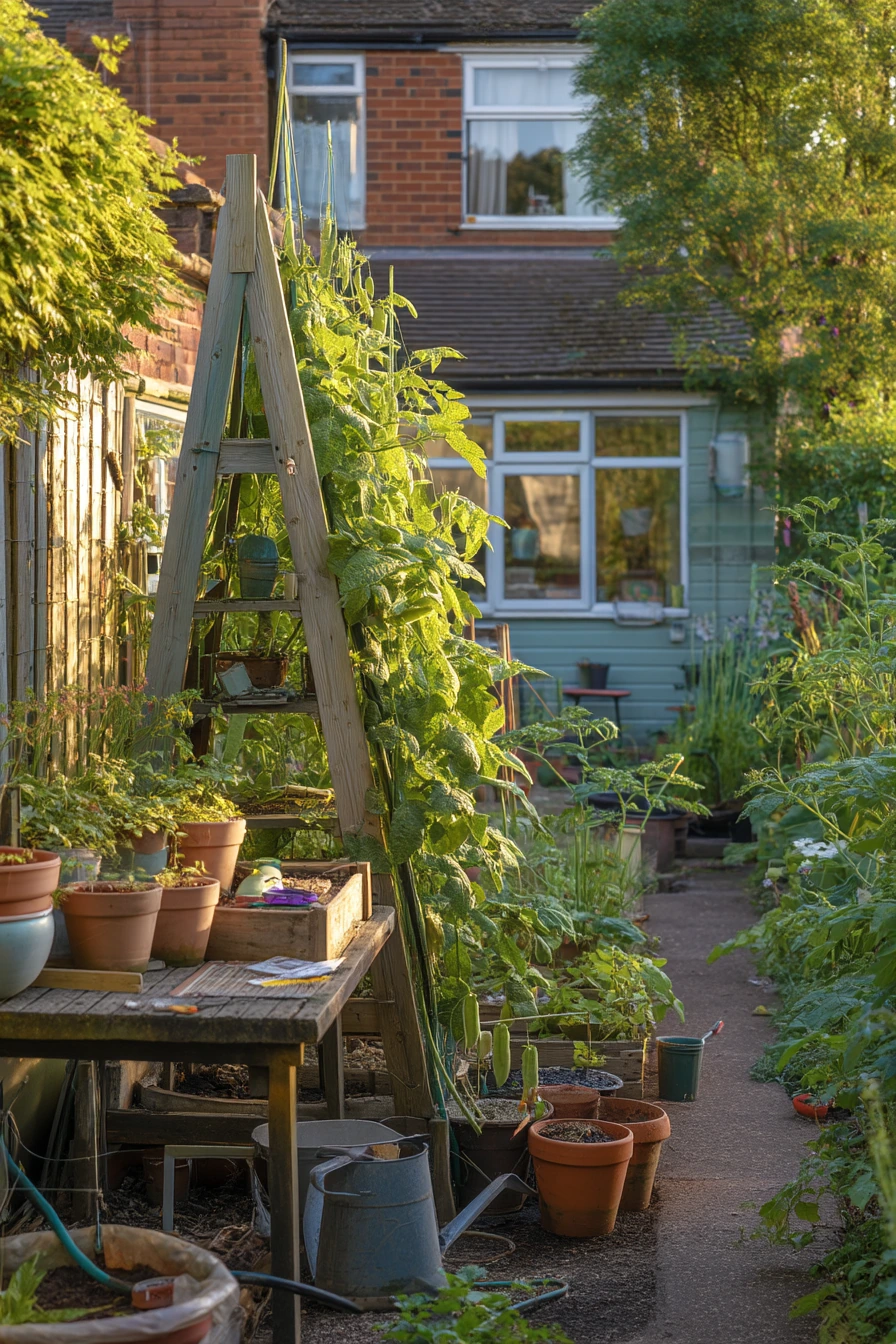
A painted wooden obelisk covered in climbing beans is a perfect focal point for a small suburban side garden. It adds height in a narrow space and makes the garden feel productive and cheerful. Unlike many decorative features, it also helps plants grow better.
Place the obelisk near the center of your raised beds so it is easy to reach from both sides. Surround it with reused terracotta pots, plant labels, and a compost bucket so the space stays practical. A bench nearby can hold a packet of twine, a hand shovel, and other daily tools. Soft evening window light from the kitchen makes the side garden feel connected to the house, which is great if you step out often to water or harvest.
To style it, keep your working items tidy but visible. A hose stretched across the path is common, but you can make it safer by adding a hook or hose guide to keep it against the edge. Paint the obelisk a color that shows up against green, like soft white, sage, or charcoal. Let beans climb high, then add a few lower crops around the base. The mix of fresh dirt, labels, and pots looks honest and useful, and the obelisk gives it a clear center.
- Use a tall obelisk to bring height to narrow beds.
- Paint it a simple color that contrasts with foliage.
- Keep labels consistent so the garden looks organized.
- Store twine and small tools in one bench box or tray.
- Train beans weekly so growth stays neat and strong.
Pro Design Tip: Align the obelisk with a window view line so the focal point looks intentional from inside the house too.
Budget Considerations: Store bought obelisks vary in price; build one from scrap wood or bamboo poles and paint it for a custom look.
10 Evening Lantern Garden View
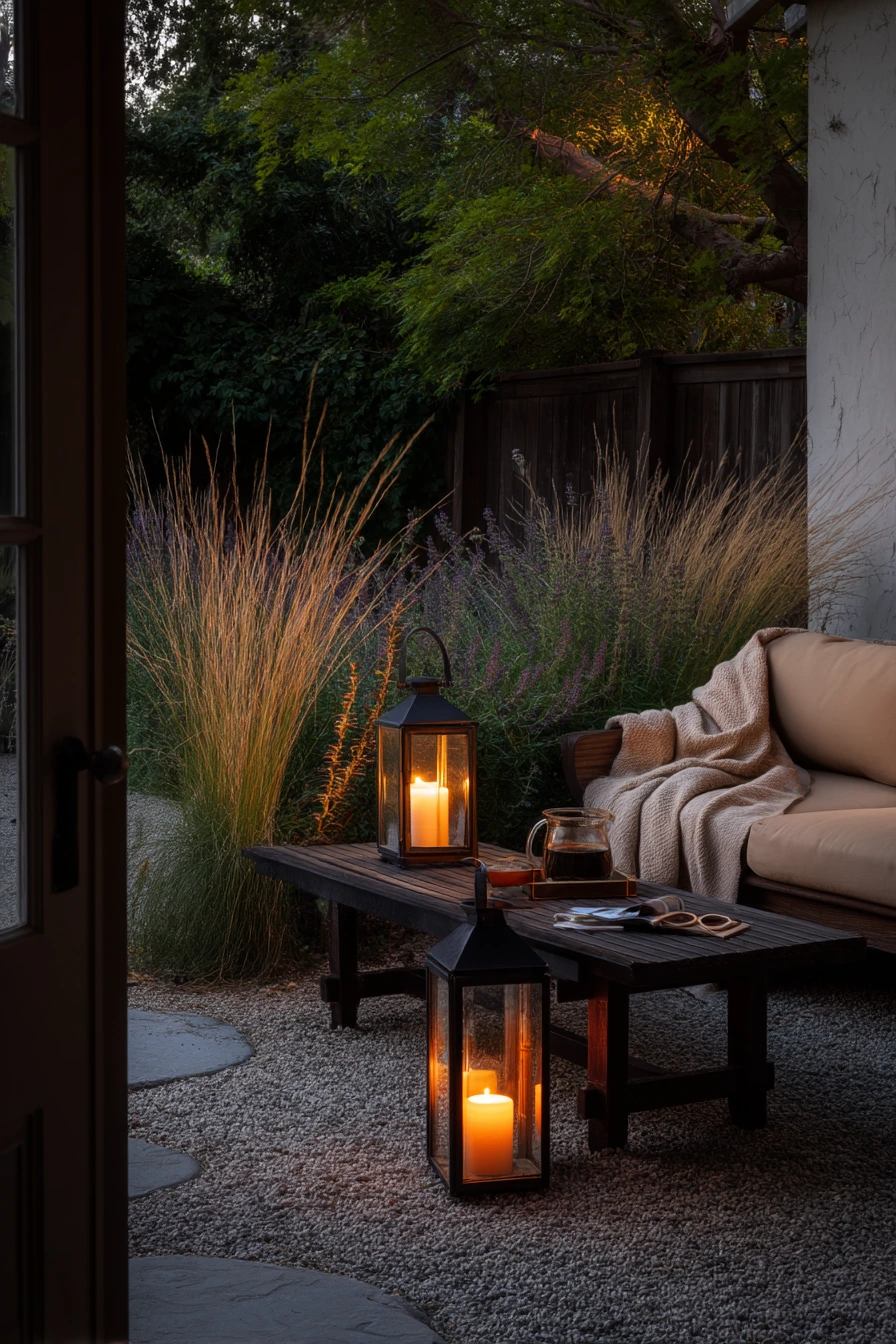
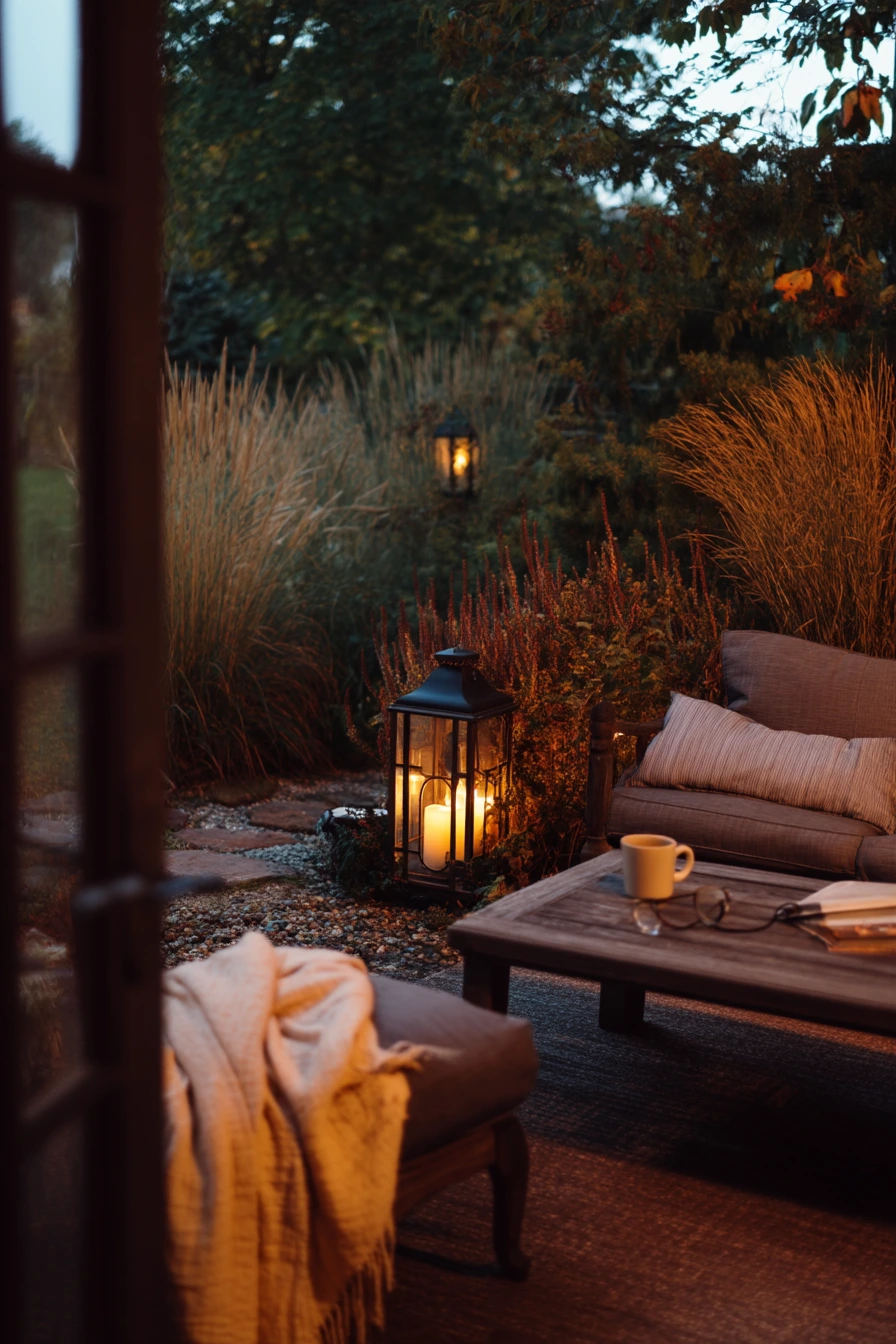
A lantern cluster on a low table is a simple garden focal point idea that shines at dusk. It gives the yard a soft center without needing a big build. When indoor lamp glow mixes with fading daylight, the lanterns help the patio feel intimate and grounded.
Create a small zone for the focal point using a gravel circle. Border it with ornamental grasses and salvia so it feels tucked in and calm. Use lanterns in a few sizes, but keep finishes similar, like black metal or aged brass. Add real life details that fit an evening routine, like an unfinished cup of tea, reading glasses, and a folded throw on the outdoor sofa. These items make the space feel welcoming and also show visitors how to use it.
For styling, focus on safe light and clear surfaces. Use battery candles if you have kids or pets, or place real candles in tall glass inserts. Keep the low table steady so lanterns do not wobble. Refresh the gravel edge once in a while to keep it crisp. If you want more depth, add one reflective surface, like a small metal tray, to bounce light. This focal point works in any season and can move with your furniture layout.
- Group 3 to 5 lanterns for a balanced cluster.
- Place the table on gravel so it feels like a set area.
- Use grasses and salvia to frame the light softly.
- Add one throw and one drink spot for comfort.
- Choose safe candle options for your household.
Pro Design Tip: Layer light at two heights by placing one lantern on the ground and the rest on the table for a richer evening glow.
Budget Considerations: Designer lanterns can be expensive; buy basic lanterns in a matching finish and upgrade the candles to better quality for a similar look.
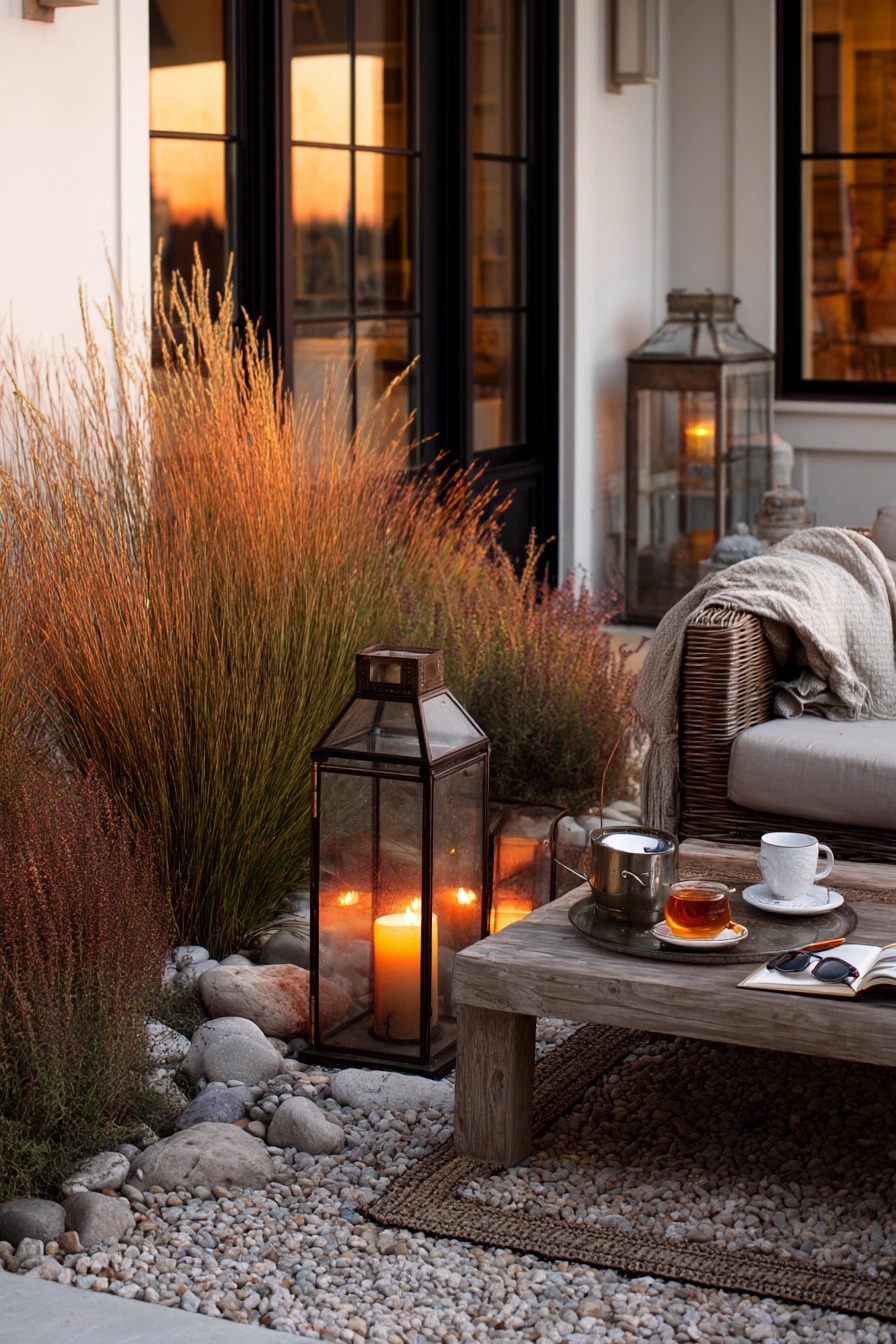
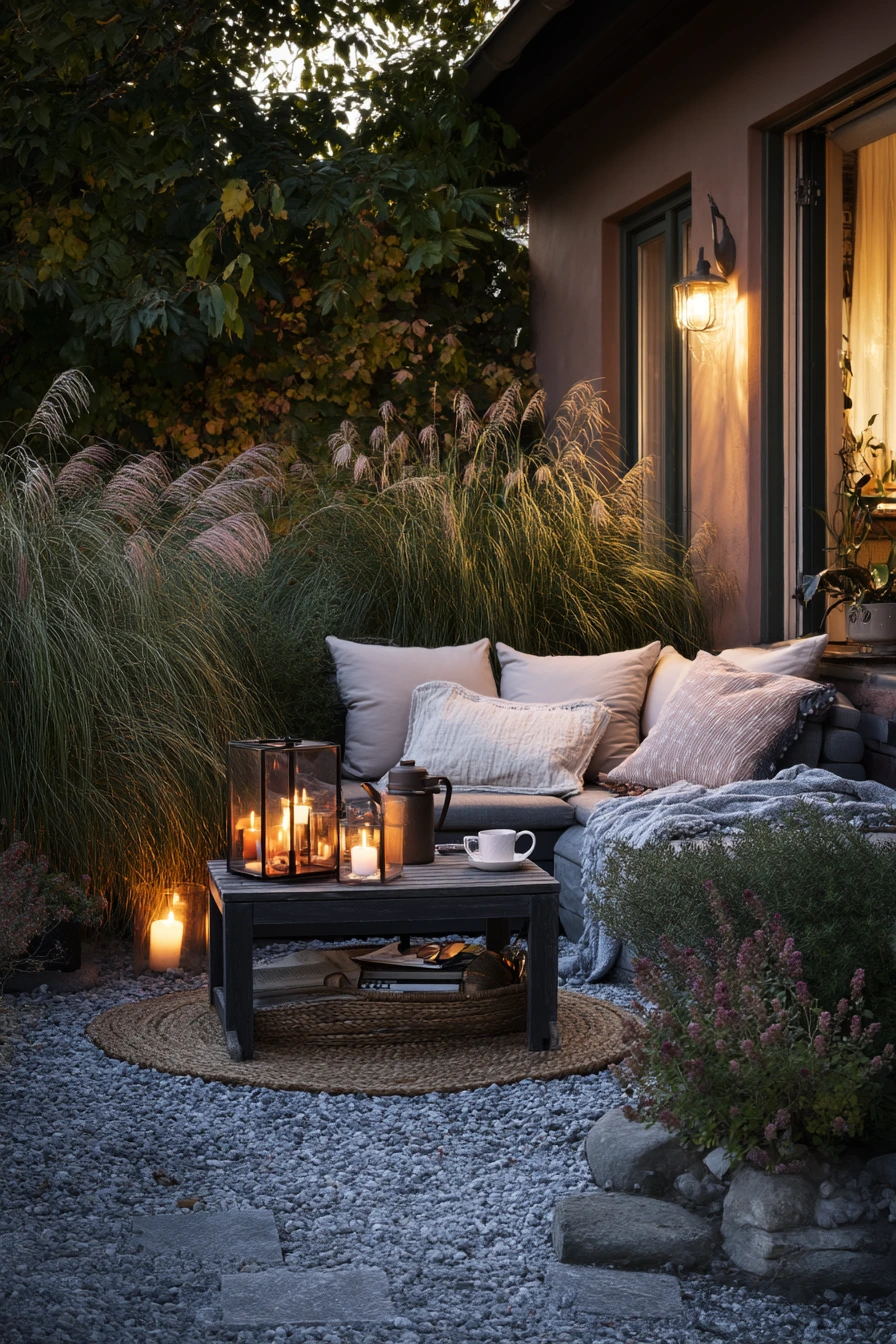
A good garden focal point can be simple, like a water bowl, a birdbath, or a lantern group. The key is clear placement, a tidy frame of plants, and a few practical items that match how you live.
Start with one idea that fits your space, then build around it with repeat materials and easy care plants. Small changes like edging, paths, and lighting can make the focal point feel finished.
FAQ
What is a garden focal point? It is the main feature your eye notices first, such as a fire pit, arbor, urn, or birdbath.
How do I choose the right focal point for a small garden? Pick one item with clear shape and keep the area around it simple, using pots and compact plants.
Where should a focal point go in the yard? Place it on a view line, like from the back door, patio doorway, or front walkway.
How many focal points should one garden have? Usually one per area is enough, like one for the front yard and one for the patio.
What plants help highlight a focal point? Use plants that repeat and stay neat, like lavender, boxwood, rosemary, hostas, and ornamental grasses.
What is the easiest low cost focal point? A cluster of lanterns, a painted obelisk, or a large seasonal planter can create a strong center with little spending.
How do I keep a focal point looking good in every season? Use evergreen structure, swap small seasonal items, and keep edges and paths clean.