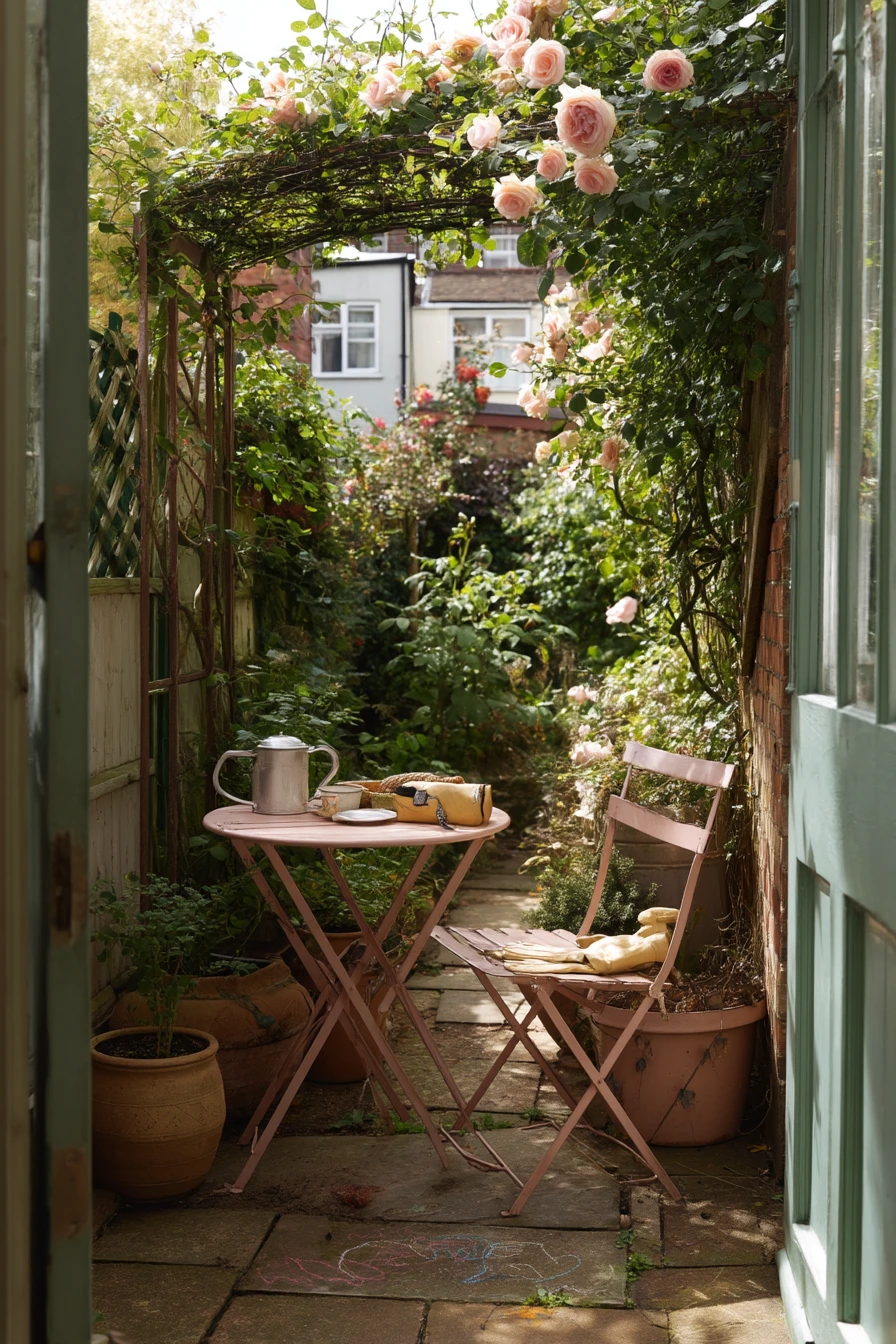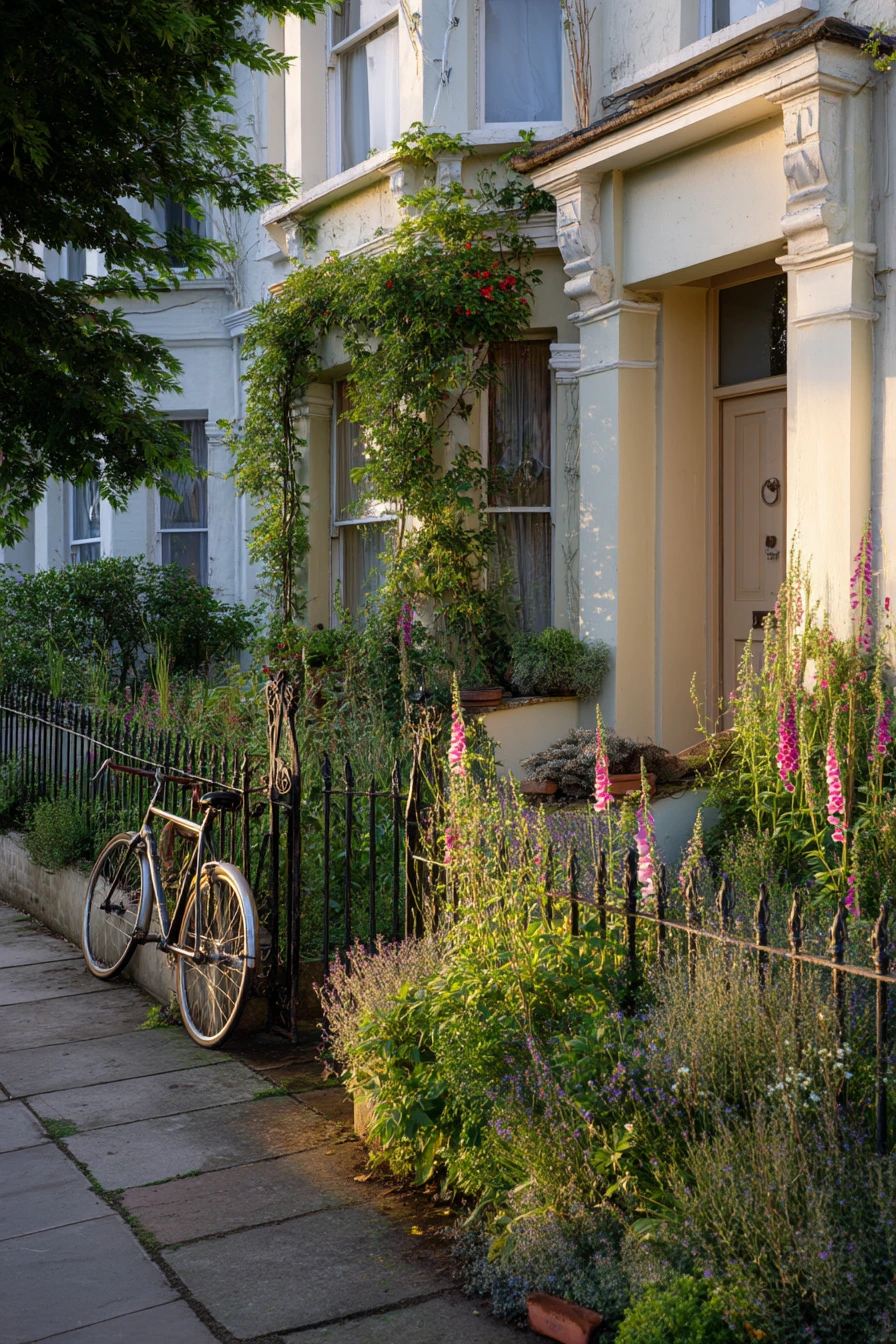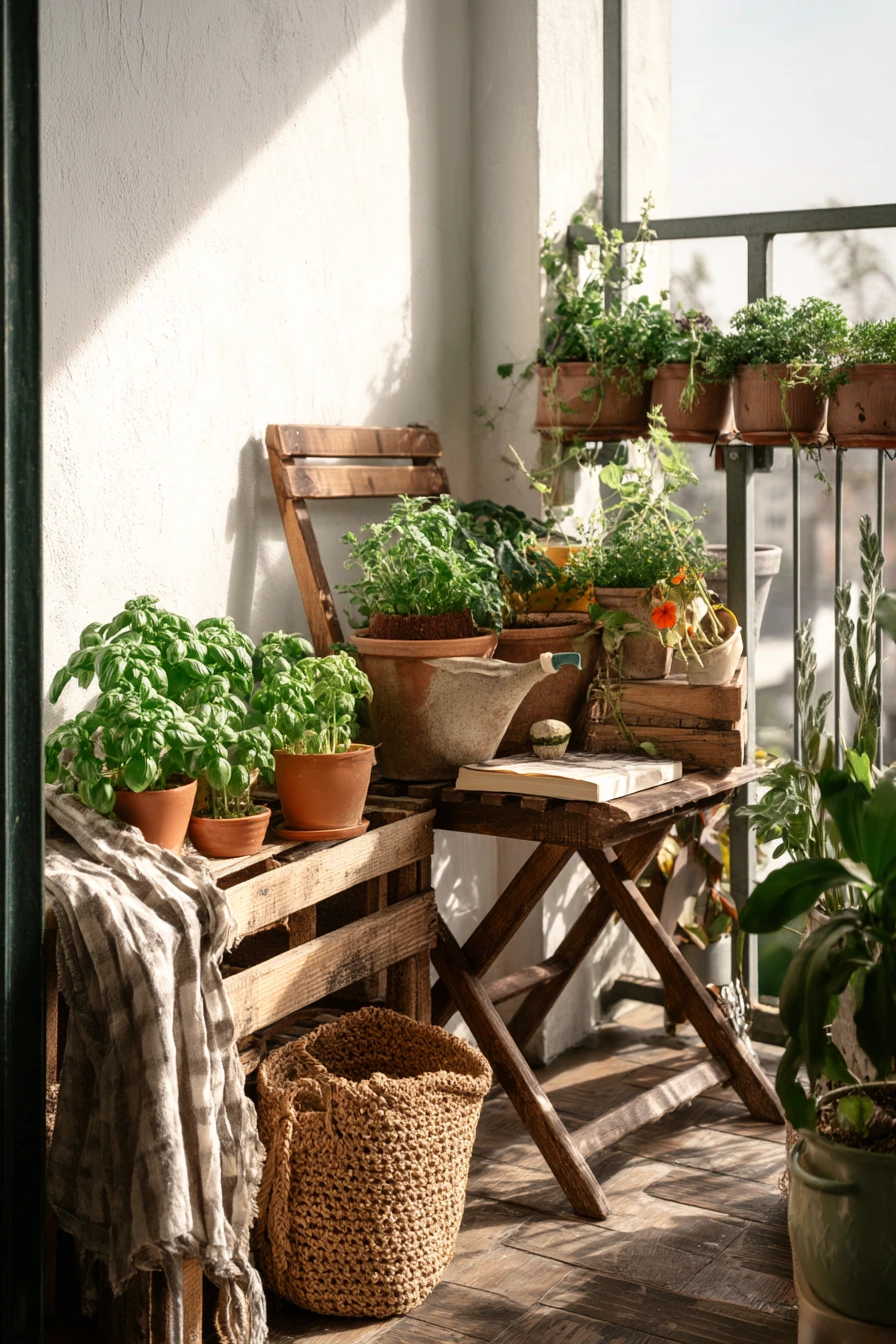

Herb garden ideas can make cooking easier, even if you live in a small apartment or a rental. A few pots of basil, thyme, mint, or rosemary can fit on a windowsill, balcony, or a tiny shelf.
This guide shares real-life setups you can copy: a farmhouse sink windowsill, renter-friendly balcony planters, vertical racks in a studio, and a simple grow light corner for low light homes. Each idea includes styling notes so your herbs look neat and still feel lived-in.
You will also get practical care tips like how to water, where to place pots for good window light, and how to keep labels, tools, and seed packets organized. These small changes help herbs last longer and taste better.
Use the sections like a checklist. Pick one spot in your home, start with two or three herbs, and build from there.
1 Sunny Kitchen Windowsill Herb Garden
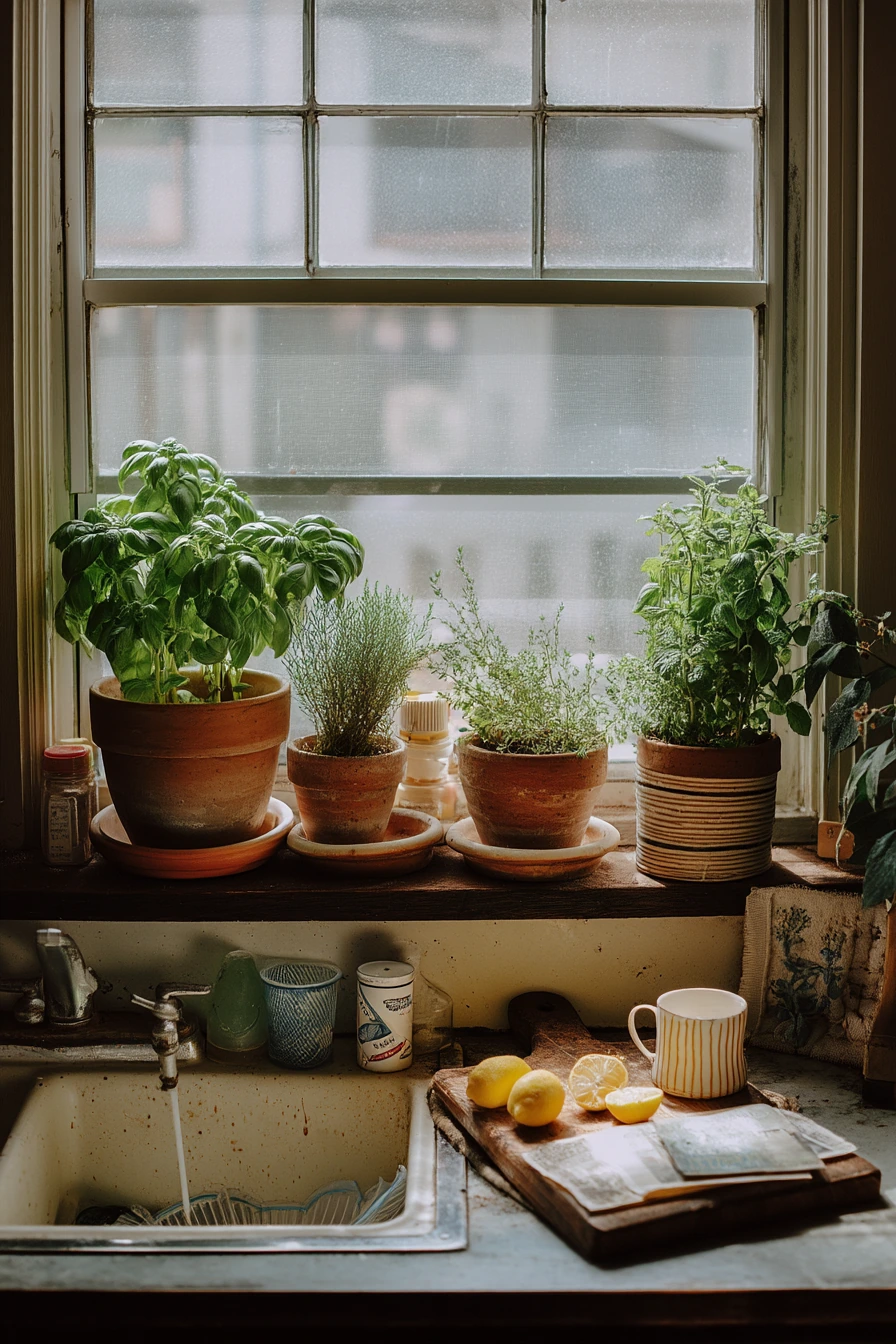
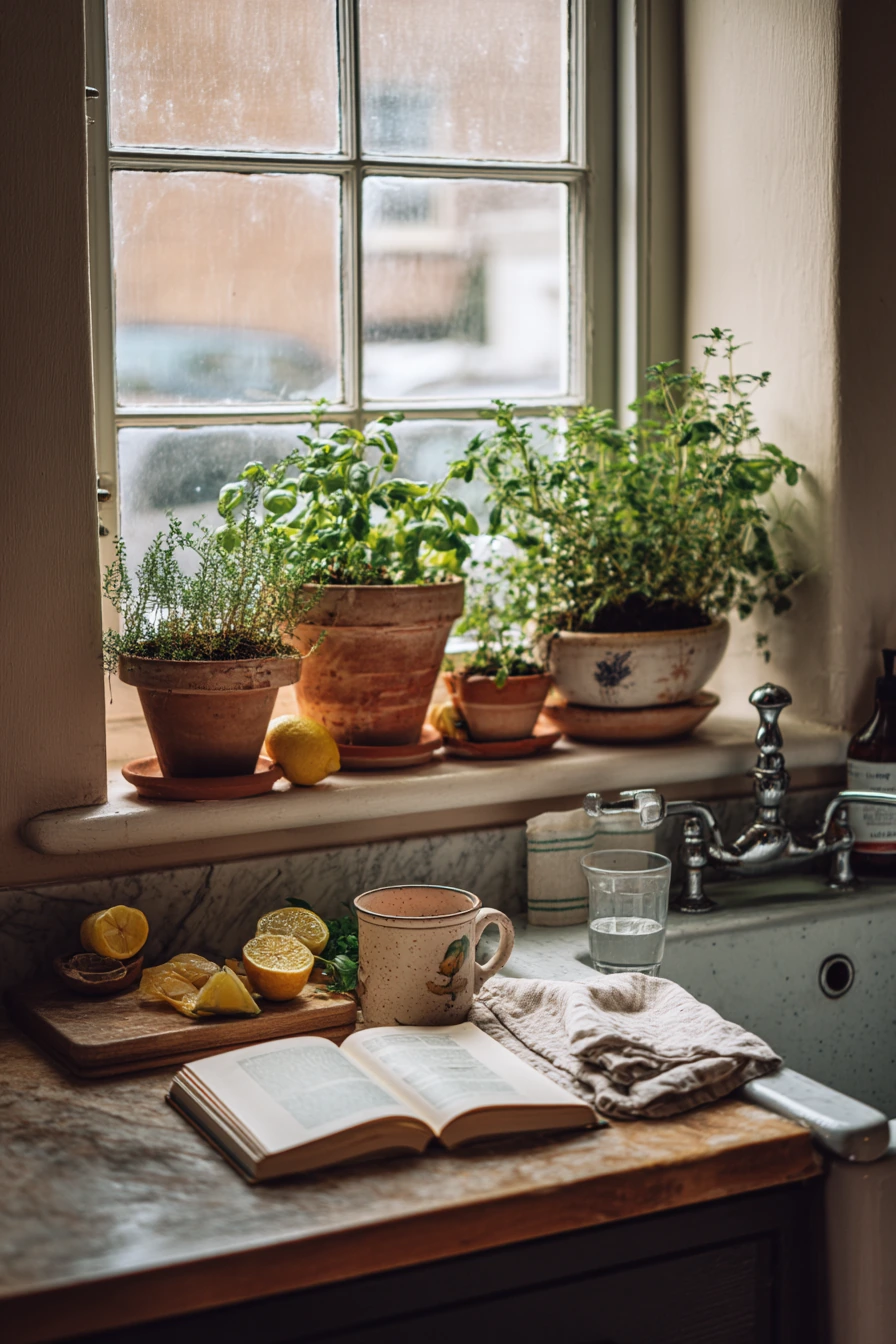
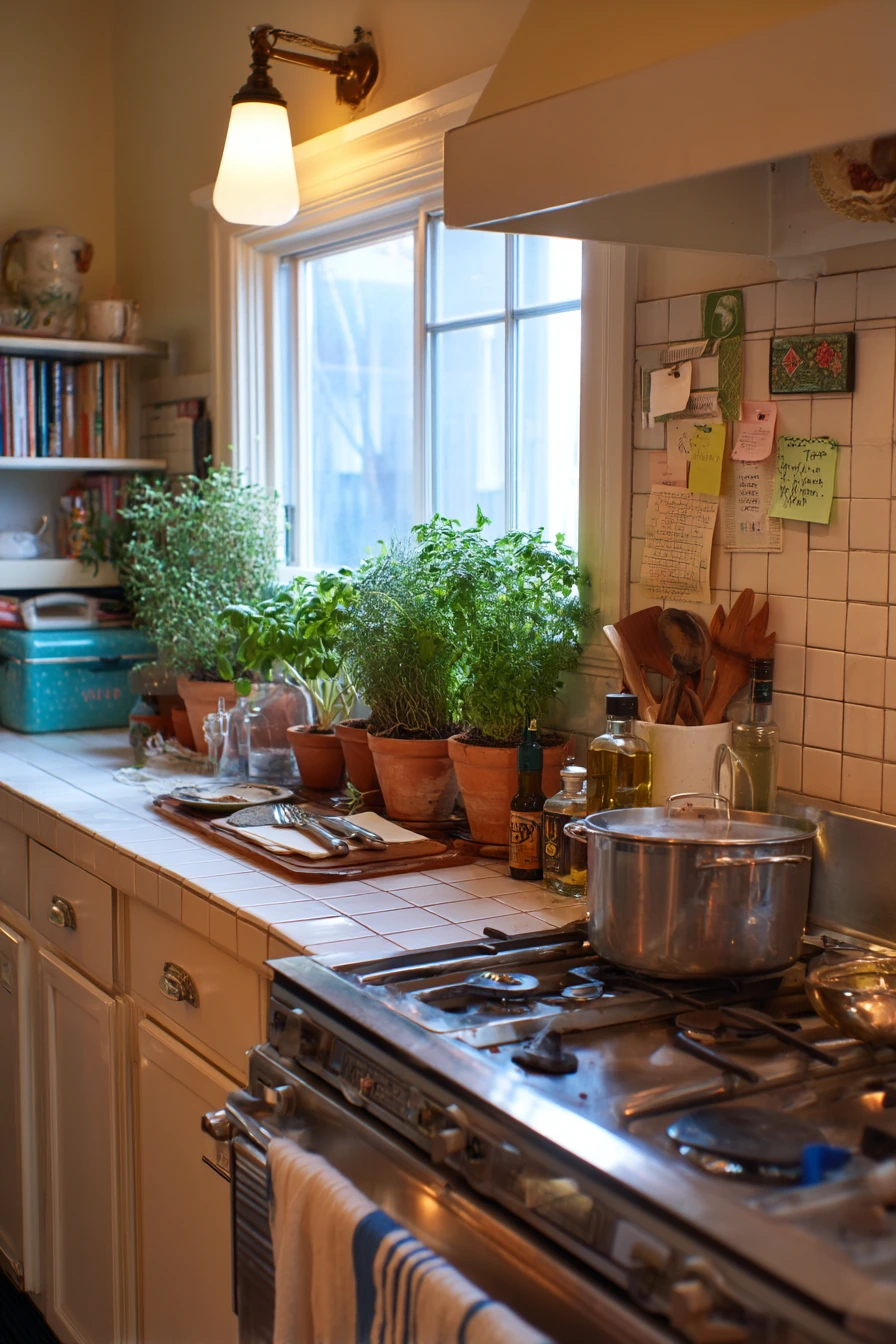
A windowsill herb garden beside a farmhouse sink is one of the easiest ways to keep herbs within reach. This setup works well for basil, thyme, and mint because you can water fast and snip leaves while you prep food. Mismatched terracotta pots look relaxed and homey, especially when paired with a cutting board, lemon halves, and an open cookbook on the counter.
To keep it practical, group pots on a shallow tray so drips do not stain the sill. Rotate each pot every few days so plants grow straight toward the soft morning window light. Keep mint in its own container because it grows fast and can crowd other herbs. If your sink area gets splashes, move the pots a few inches back and use a slightly wrinkled tea towel as a simple barrier under the tray.
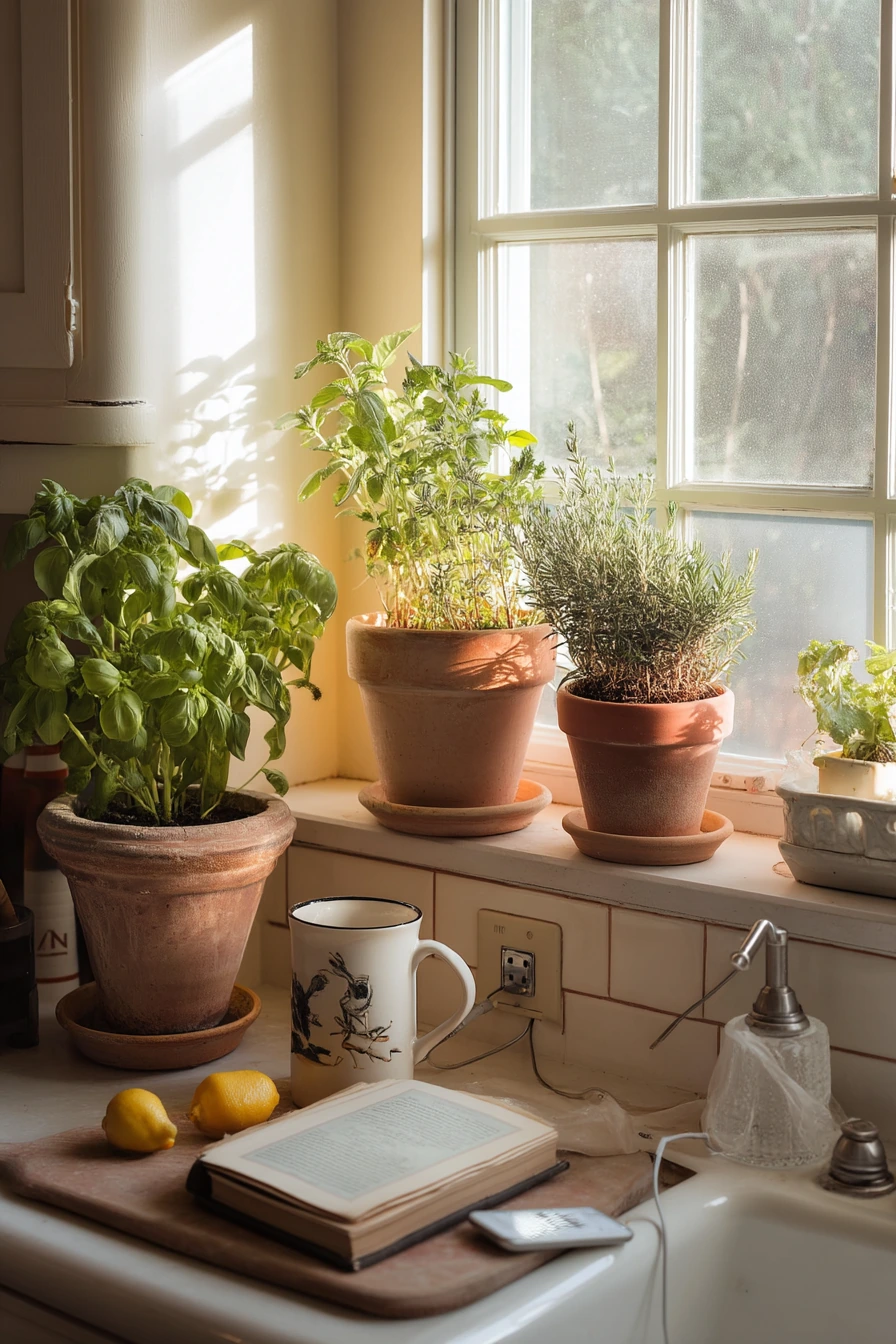
Style this spot like a real cooking zone. A ceramic mug, water glass, and a phone charging cable can stay, but tuck them to one side so the plants are the focus. Keep shears in a small cup and snip stems above a leaf set, so the herb branches out instead of getting tall and weak. When basil gets leggy, pinch the top often and harvest a little at a time.
- Choose 3 small pots so you can lift them to water in the sink.
- Use terracotta for better airflow, but add saucers to protect surfaces.
- Place basil in the brightest spot; thyme can handle a bit less light.
- Water when the top inch of soil feels dry, not on a strict schedule.
- Keep a small cutting board nearby for quick snip-and-chop meals.
Pro Design Tip: Use one long tray in a warm neutral color to visually tie mismatched terracotta pots together and make the windowsill look tidy.
Budget Considerations: Thrift stores often have saucers, trays, and small mugs you can repurpose as plant catchers and tool holders.
2 Small Balcony Herb Planter Nook
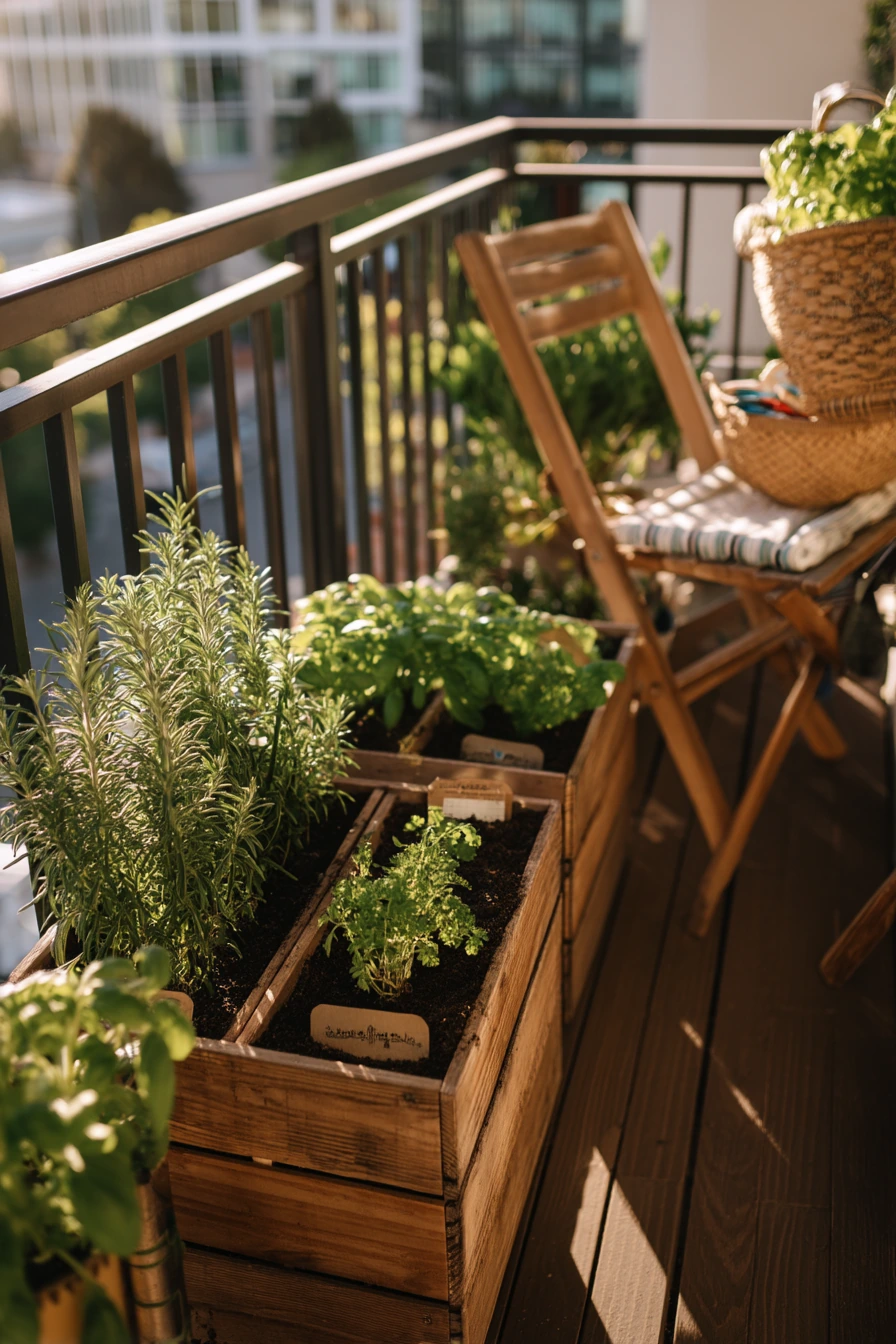
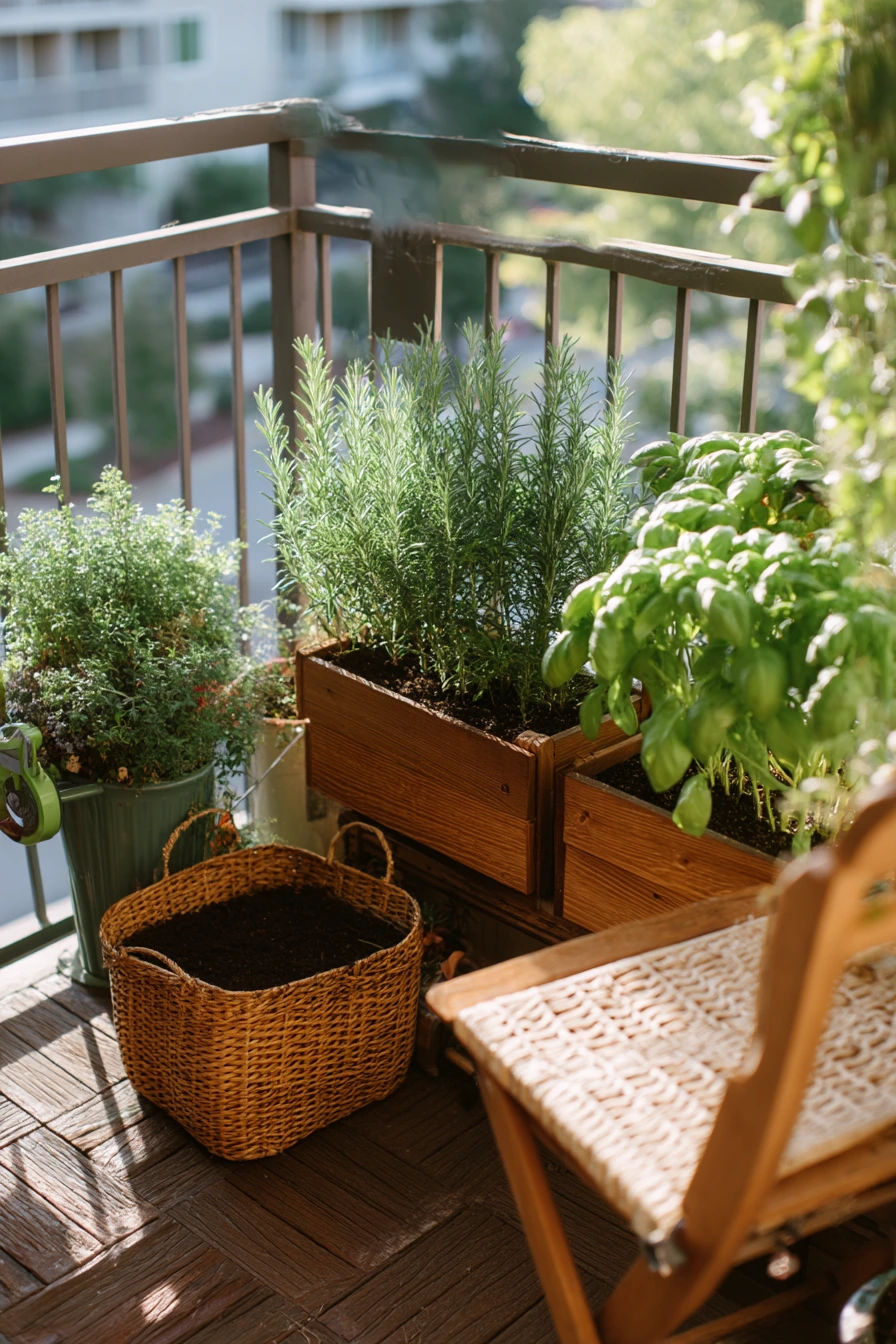
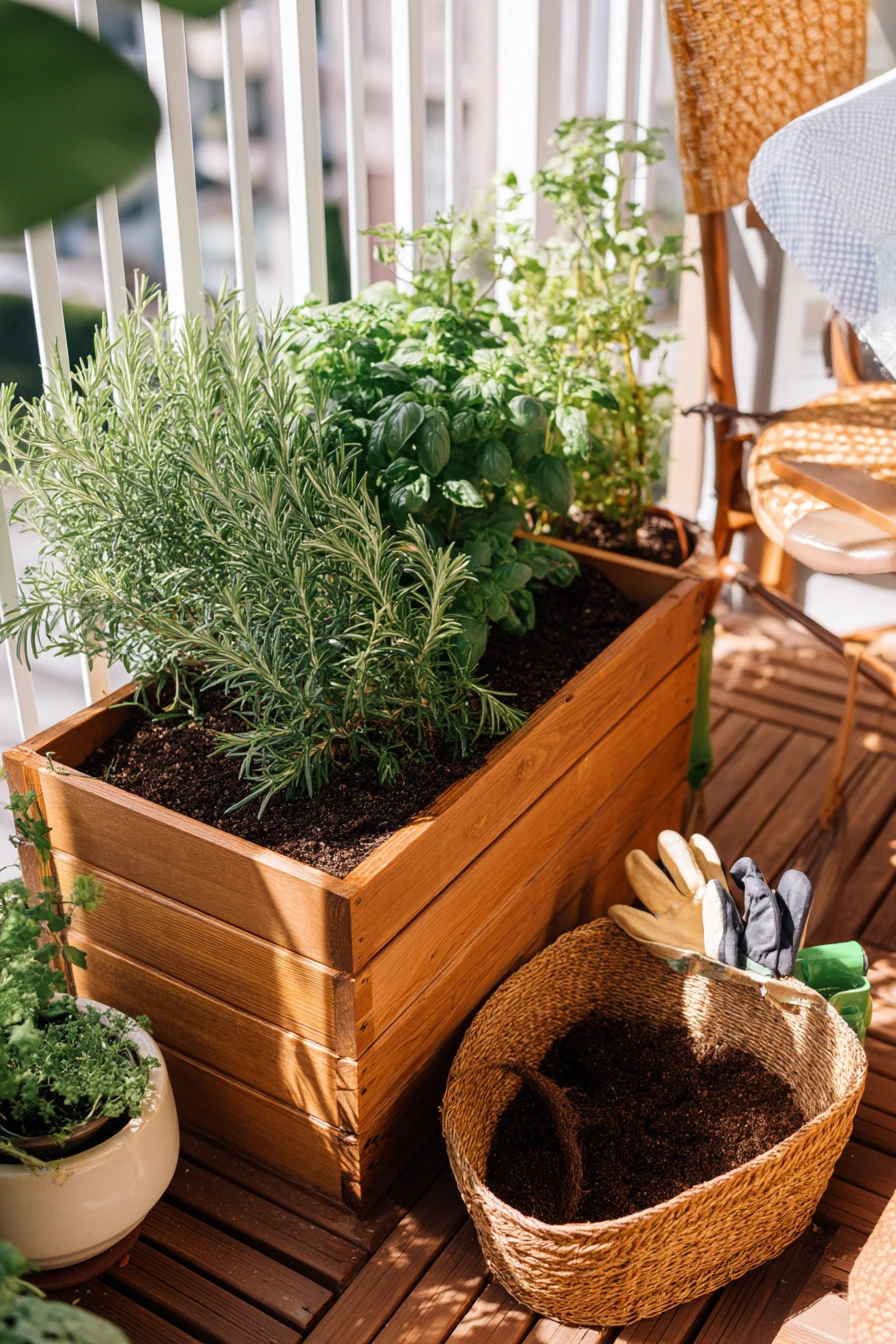
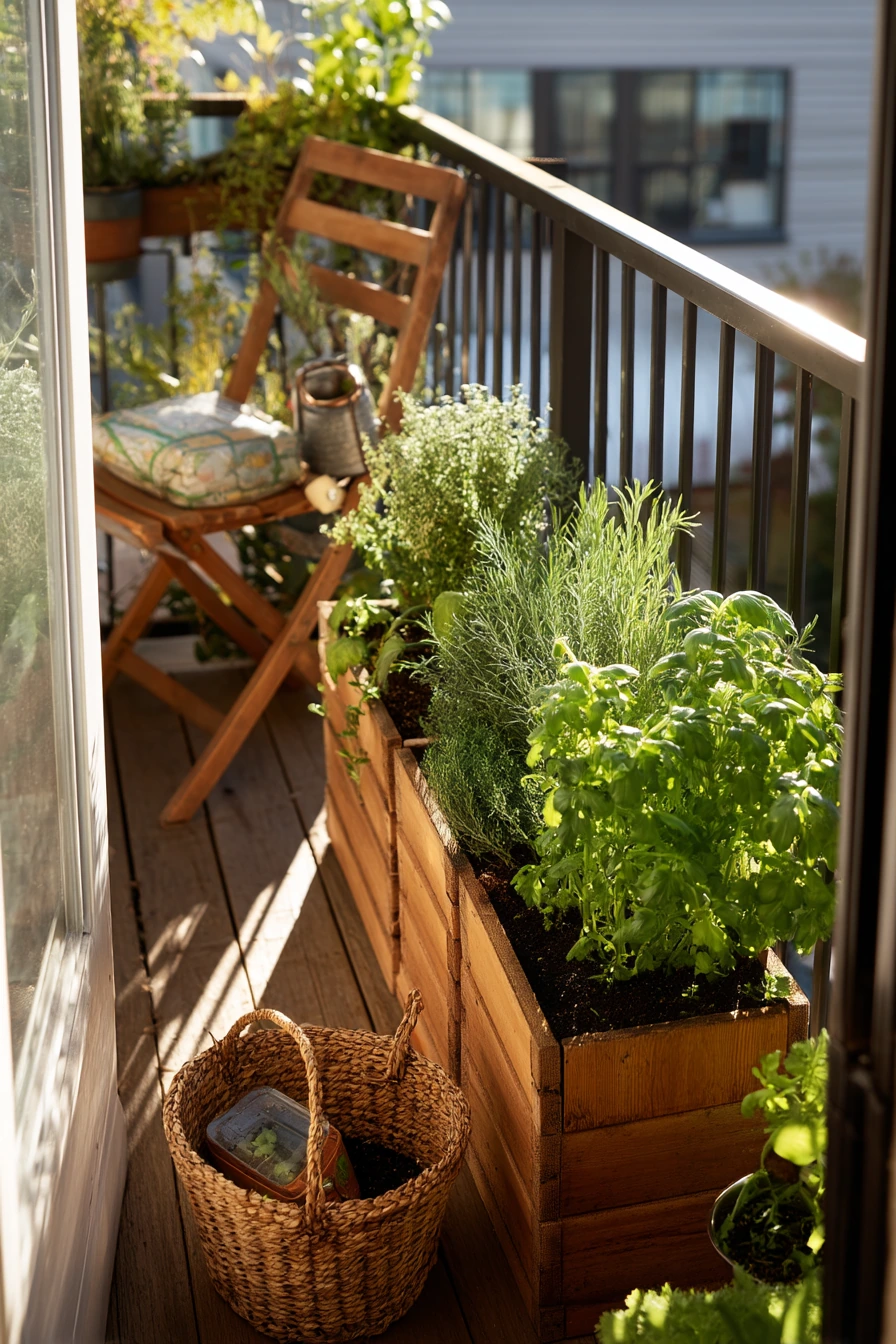
A balcony herb garden is a smart choice if your indoor light is limited. Compact cedar planters can hold rosemary, parsley, and cilantro without taking up much floor space. A folding bistro chair keeps the balcony usable, and it gives you a place to set down gloves, clipped plant labels, and a woven basket of potting soil.
For renters, focus on things you can move easily. Use freestanding planters instead of railing brackets if your lease is strict. Pick herbs that handle sun and wind. Rosemary likes bright light and drier soil, while parsley and cilantro prefer a bit more moisture. Water in the late afternoon when the sun is softer, so the soil does not dry out right away. If you have kids, keep sharp tools up high and let a toy truck or small outdoor toy live in a corner so the space still feels family-friendly.
To style it, keep colors simple. Cedar, terra-cotta, and green leaves look clean and warm in late-afternoon sun. Add plant labels so you can harvest fast when dinner simmers inside. If the balcony gets breezy, place taller herbs against the wall and shorter herbs toward the open edge to reduce snapping. A small saucer under each pot helps you water without making a mess near the door.
- Use compact planters that fit along one wall or railing line.
- Mix one woody herb (rosemary) with soft herbs (parsley, cilantro).
- Keep a small basket for soil, labels, and gloves so clutter stays contained.
- Water deeply, then let the top layer dry a bit before the next watering.
- Harvest often to keep herbs full and to prevent cilantro from bolting.
Pro Design Tip: Repeat one material, like cedar or terracotta, across all containers to make the balcony look organized even with different plant sizes.
Budget Considerations: If cedar planters are pricey, use basic plastic pots inside a cheap wooden crate for the same grouped look.
3 Apartment Shelf Herb Setup
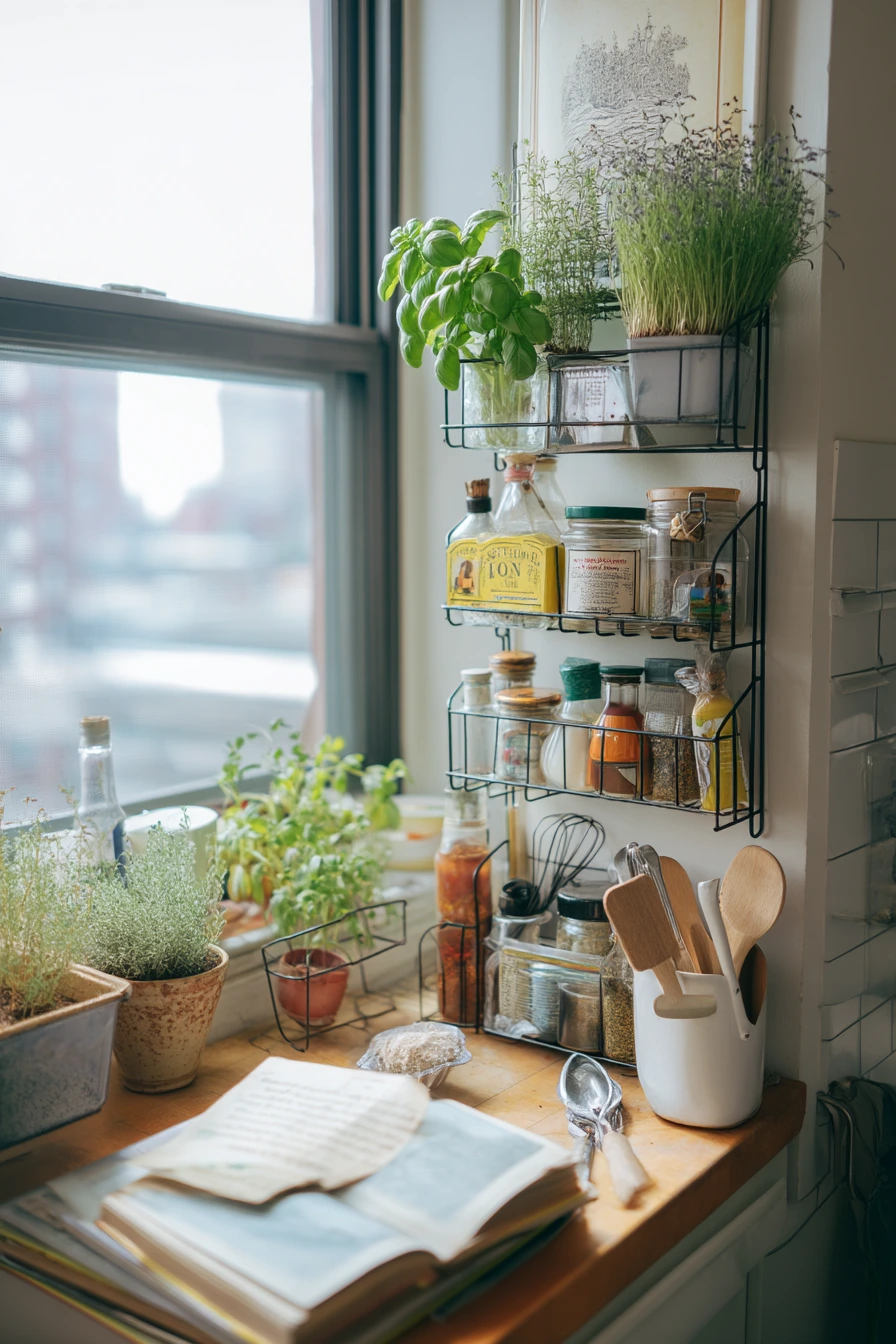
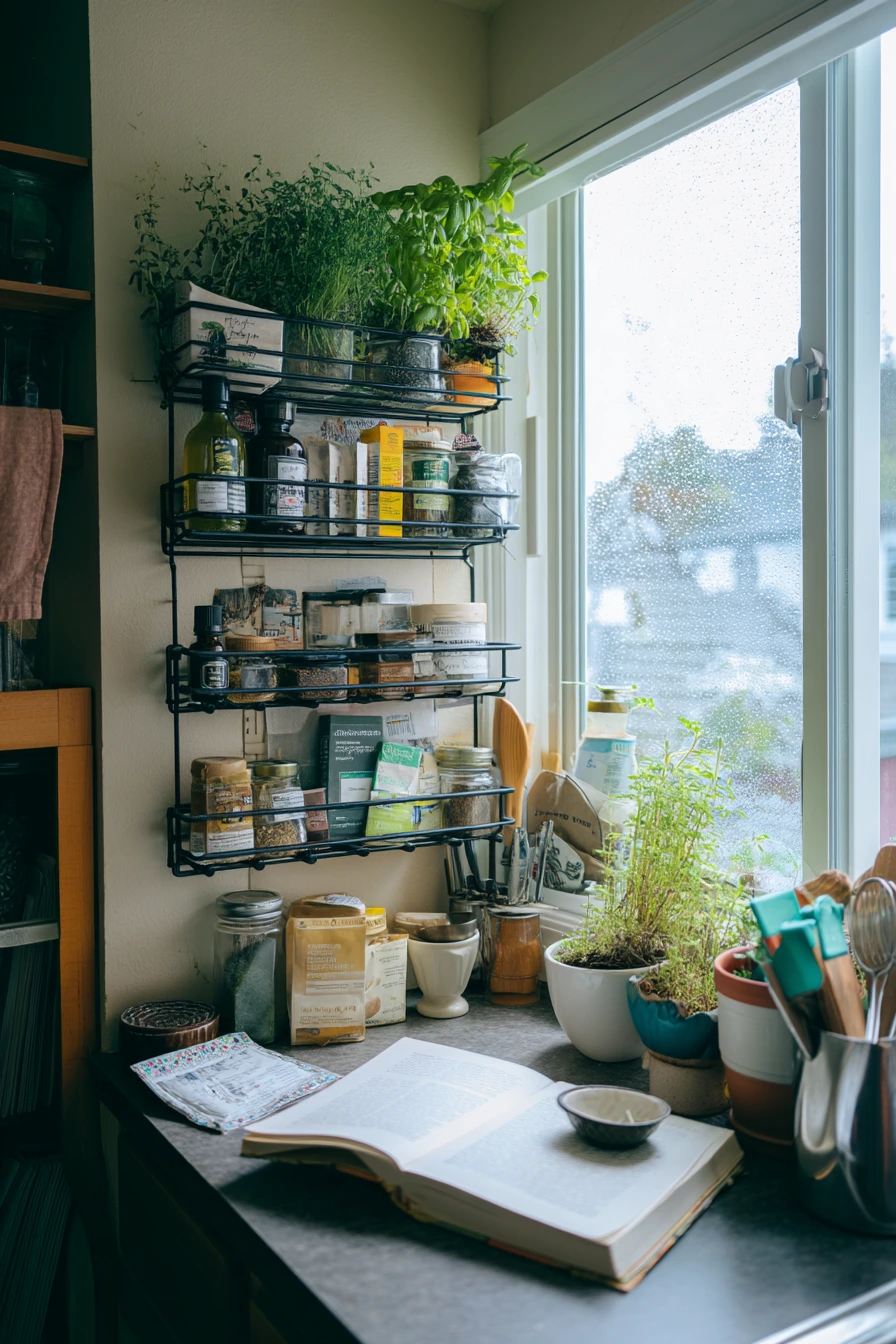
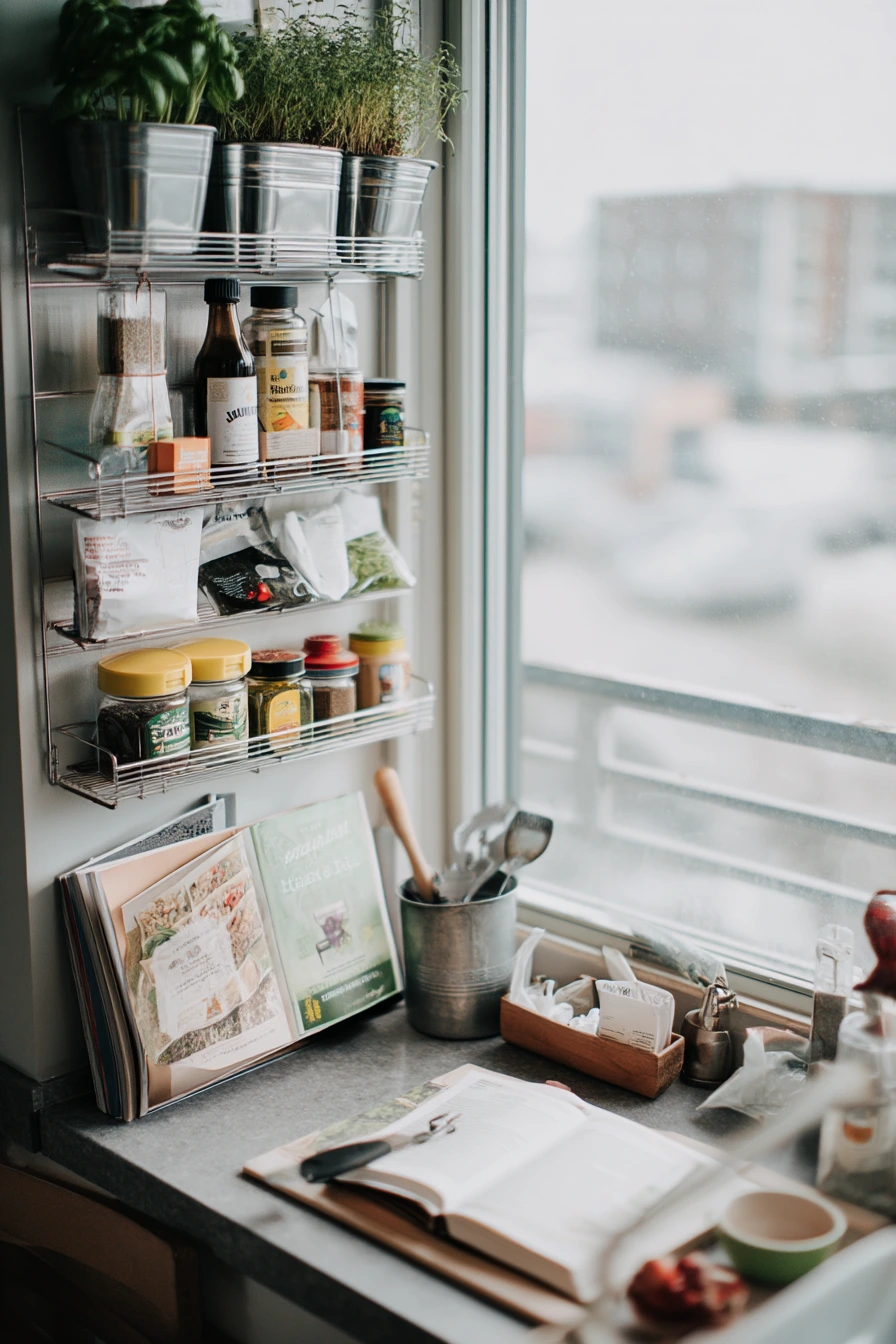
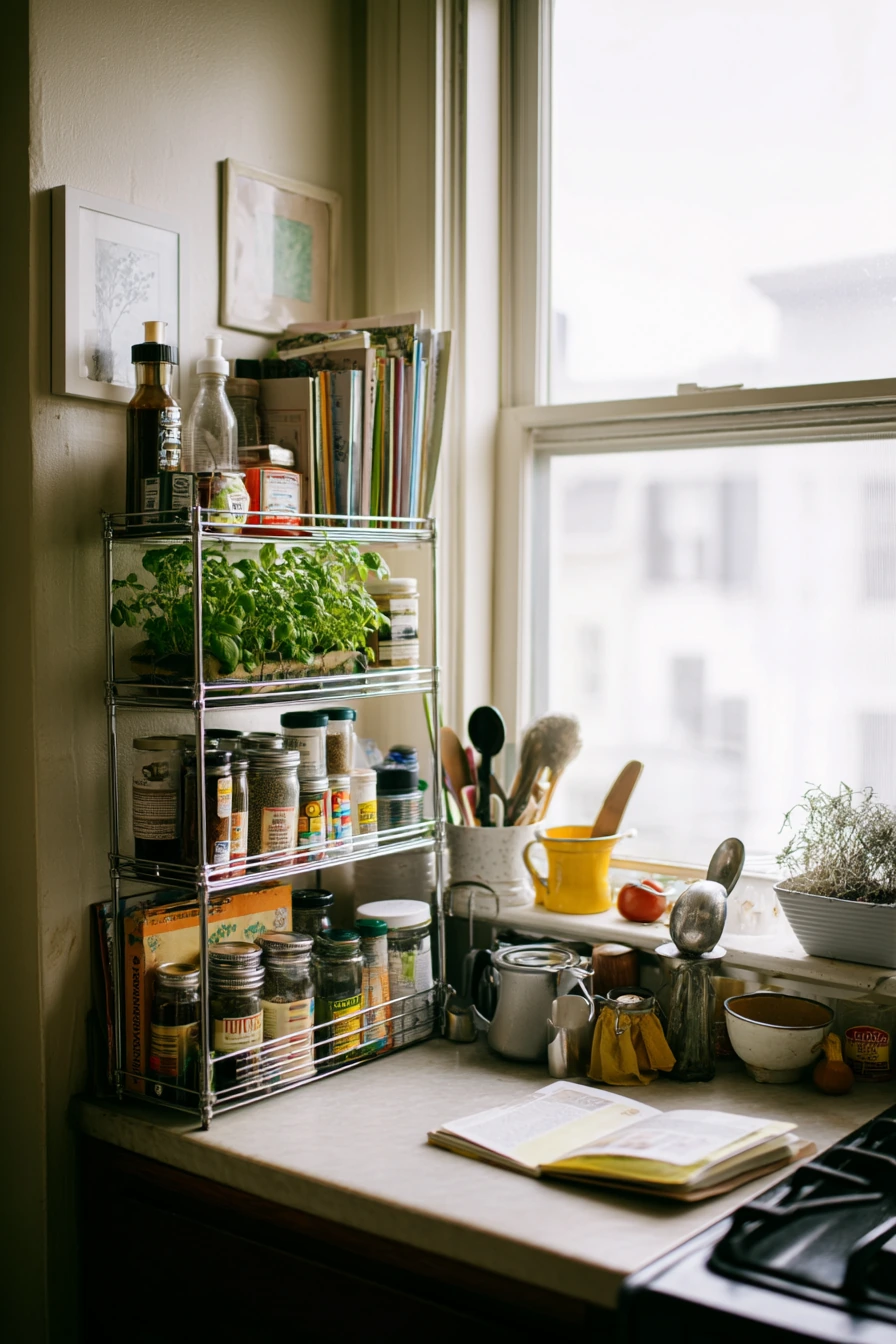
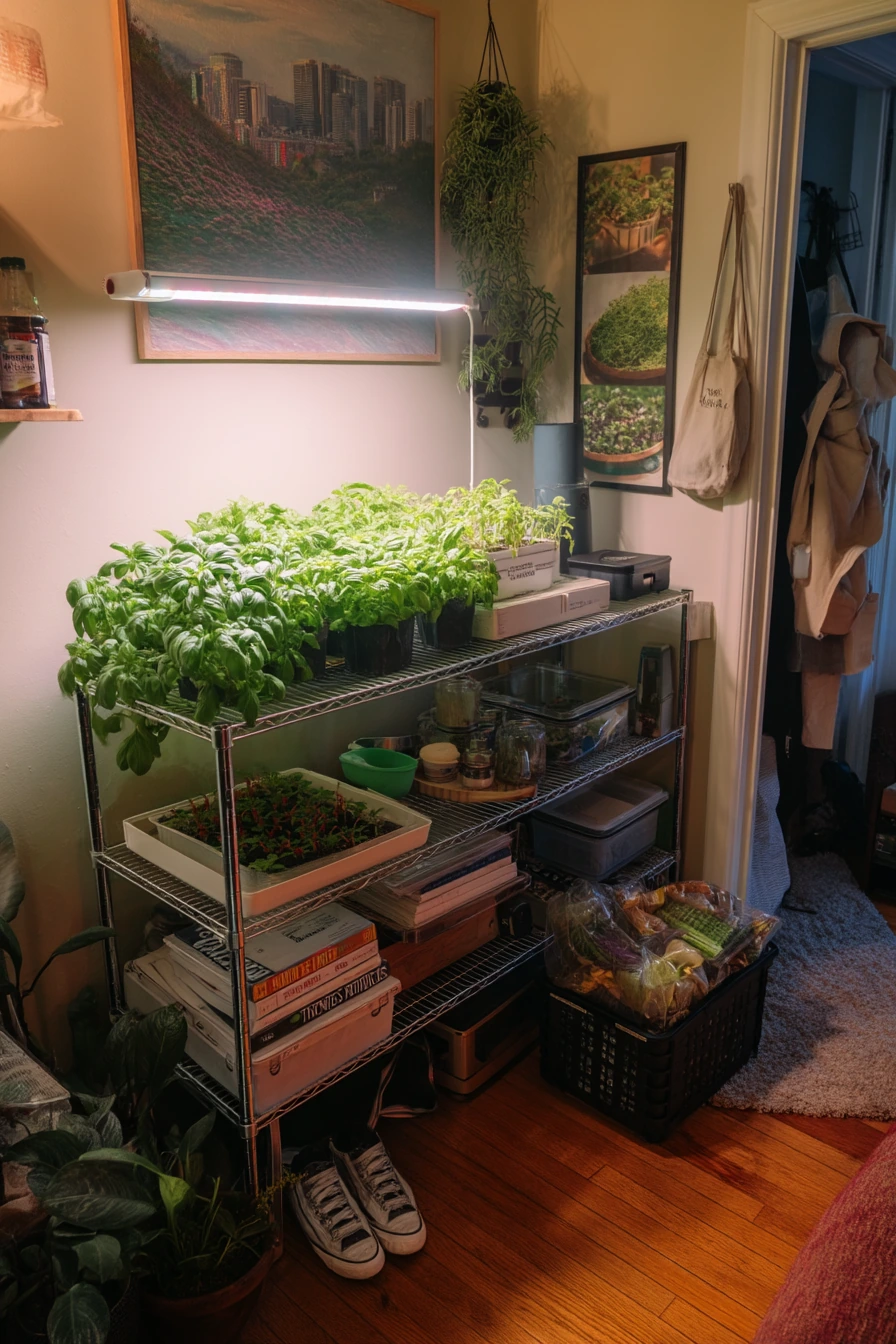
Vertical shelving is one of the best herb garden ideas for a tiny studio kitchen because it uses wall height instead of counter space. Stacked metal racks can hold basil, chives, and oregano, plus the small items you already use, like spice jars, seed packets, and a cookbook propped open. It can still feel lived-in with a half-read novel and a small mail pile nearby, as long as the plant area stays clear.
Start by picking one shelving unit close to a window with soft overcast light. Put herbs on the brightest shelf and keep heavier items lower for safety. Use lightweight pots with drainage holes and place each one on a tray so you do not drip on books or paper. An amber spray bottle is useful for misting seedlings, but most mature herbs prefer watering at the soil. Keep a chipped measuring cup as a dedicated watering scoop, so you can give small amounts without overwatering.
For styling, group items by function. Herbs on one shelf, cooking items on another, and garden supplies like starter trays and labels in a small bin. This makes the setup look calm and resourceful, not messy. Use simple jar labels and keep only a few seed packets out at a time. If you want a softer look, add one small wooden board or tray on a shelf to break up the metal and make the green leaves stand out.
- Choose a rack with adjustable shelves so plants can grow taller.
- Place herbs near the window and rotate pots weekly for even growth.
- Use trays under pots to protect cookbooks, mail, and counters.
- Store seed packets and tools in one bin to reduce visual clutter.
- Keep chives and oregano trimmed to encourage new growth.
Pro Design Tip: Use matching containers on the plant shelf and hide mixed items like mail in a lidded box so the greenery looks like a planned feature.
Budget Considerations: Metal shelving is often cheap at discount stores; you can improve the look with peel-and-stick shelf liner or thrifted trays.
4 Renter-Friendly Mason Jar Herb Station
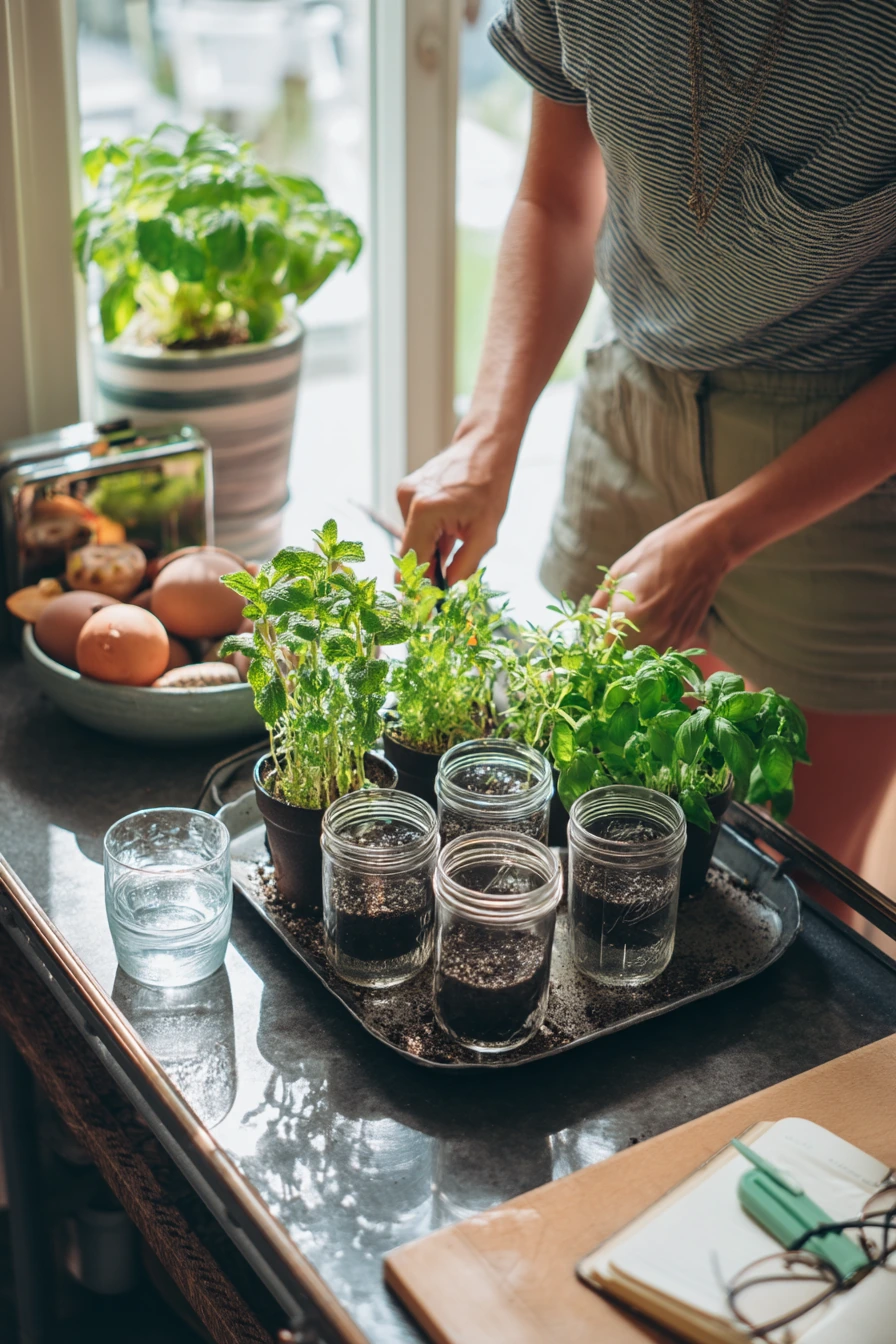
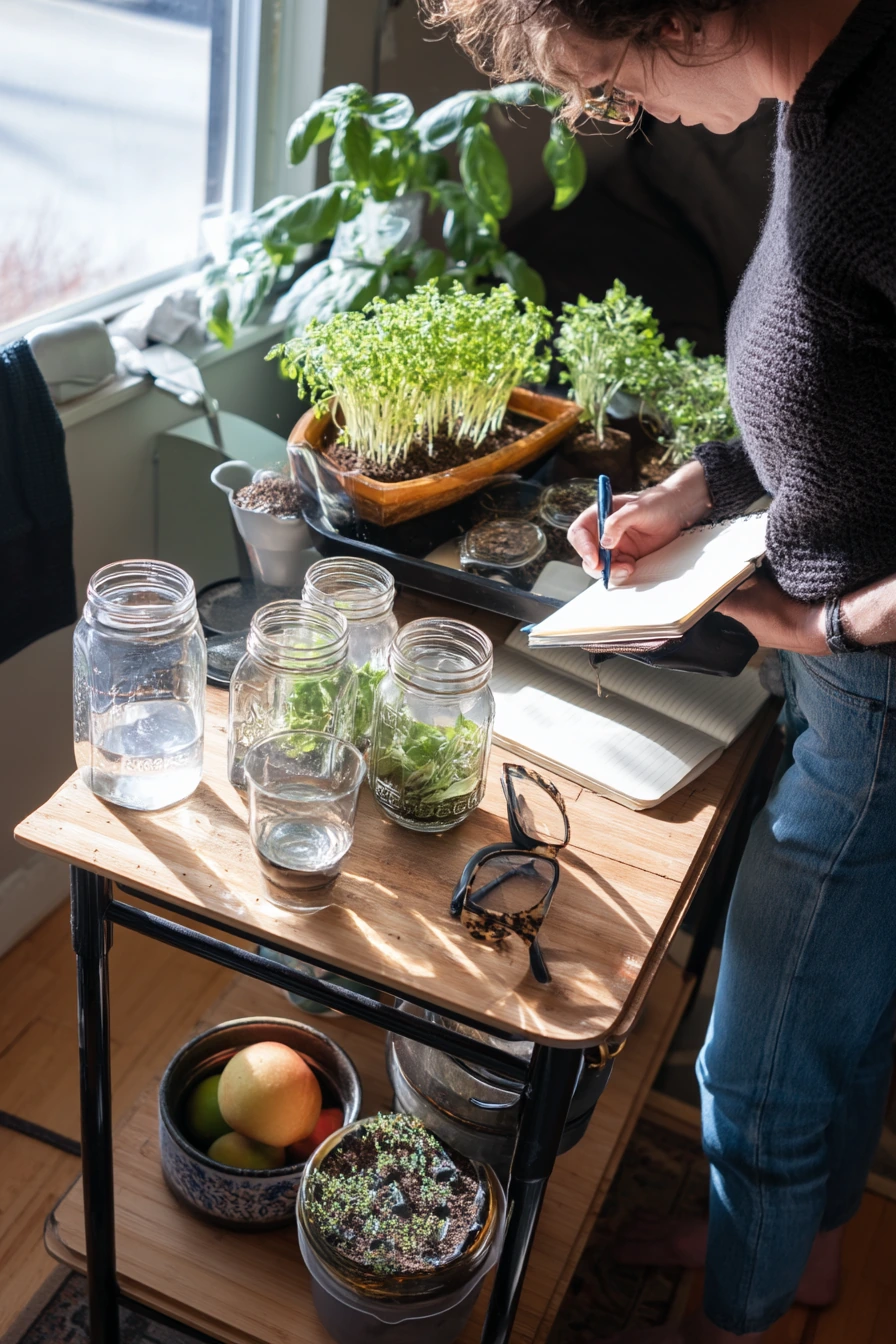
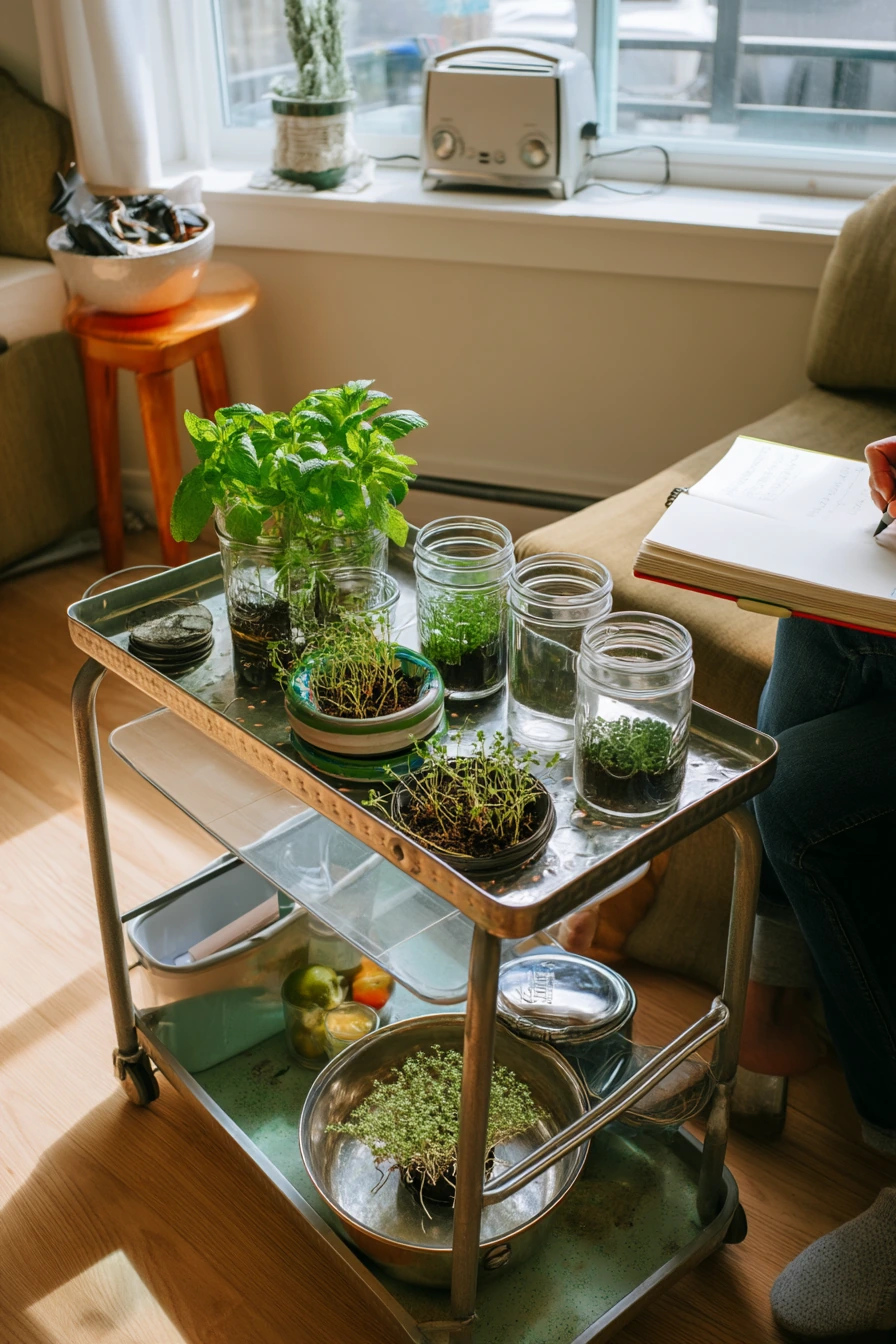
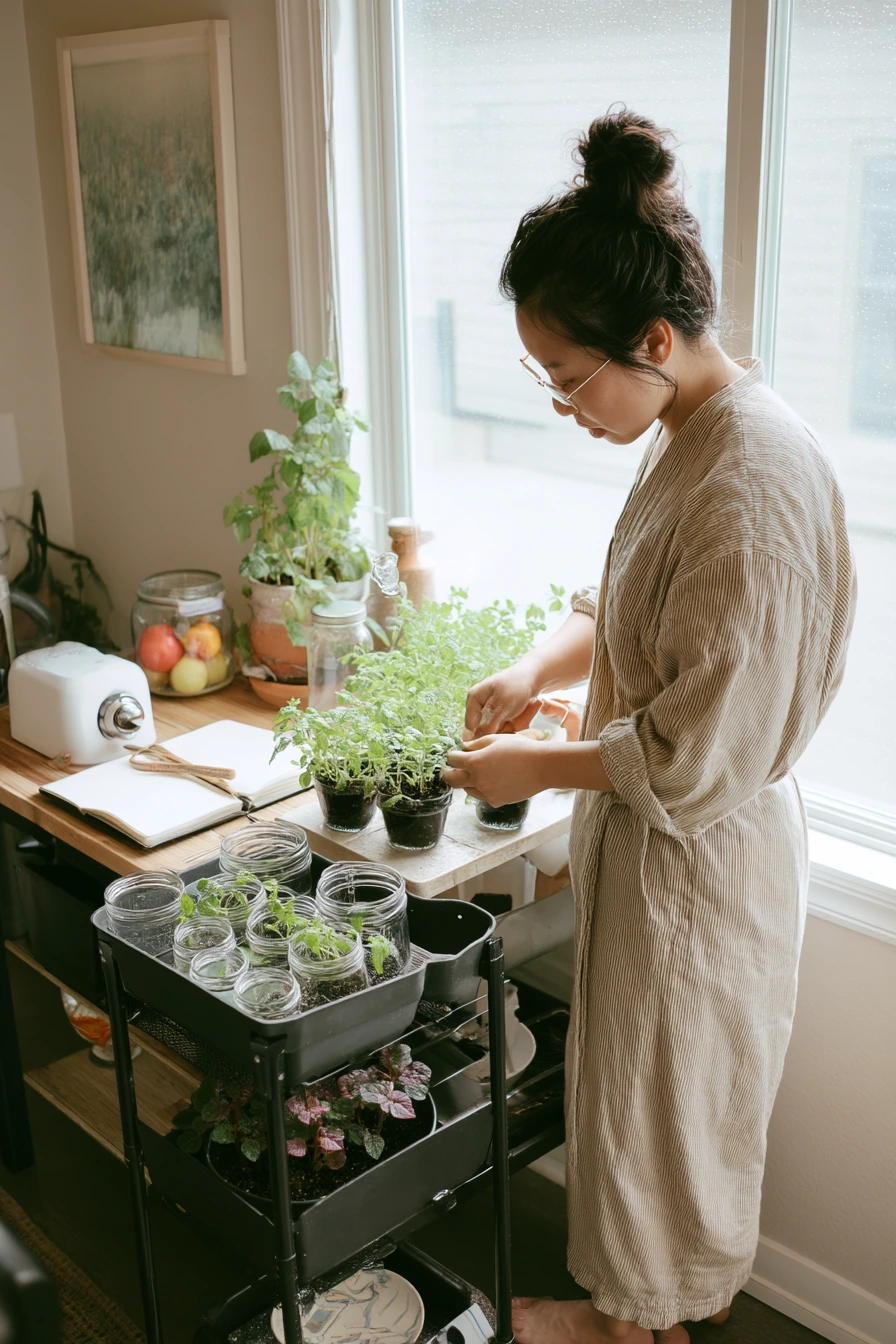
A kitchen cart herb garden is great when your counters are full. You can roll it toward the window for light and roll it back when you need space. A budget-friendly version can use mason jars, peat pots, and a cheap grow tray. Mint stems in water are a simple way to start, and basil seedlings are easy to grow if you keep them warm and bright.
Set up the cart with zones. Put plants on the top shelf for the best light. Keep watering items, thrifted saucers, and extra soil on the lower shelf. Mason jars work well for rooting cuttings, but once roots form, move them into soil so they grow stronger. If you keep mint in water too long, it can get weak. Place the cart near your toaster and fruit bowl if that is your main prep spot, but leave a little breathing room so heat and crumbs do not land in the pots.
Styling can be simple and real. A notebook, reading glasses, and a half-full water glass can stay nearby, as long as the plant area has a clear surface. Use one or two matching saucers to make the cart look pulled together, even if the pots are mixed. When trimming leaves before dinner, take small cuts often. Basil does best when you pinch above a pair of leaves. This keeps the plant bushy and gives you more harvest over time.
- Use the top of the cart for herbs and the lower shelf for supplies.
- Root mint in mason jars, then pot it up once roots are 2 to 3 inches long.
- Add saucers under every container to protect the cart surface.
- Start seedlings in a cheap grow tray, then transplant to larger pots.
- Roll the cart to the brightest window during the day for better growth.
Pro Design Tip: Keep the top shelf mostly green and clear, then corral supplies in one basket below so the cart looks neat in a small kitchen.
Budget Considerations: Mason jars and saucers are easy to find secondhand; you can also reuse food jars as temporary rooting containers.
5 Cooking-First Herb Garden by the Stove
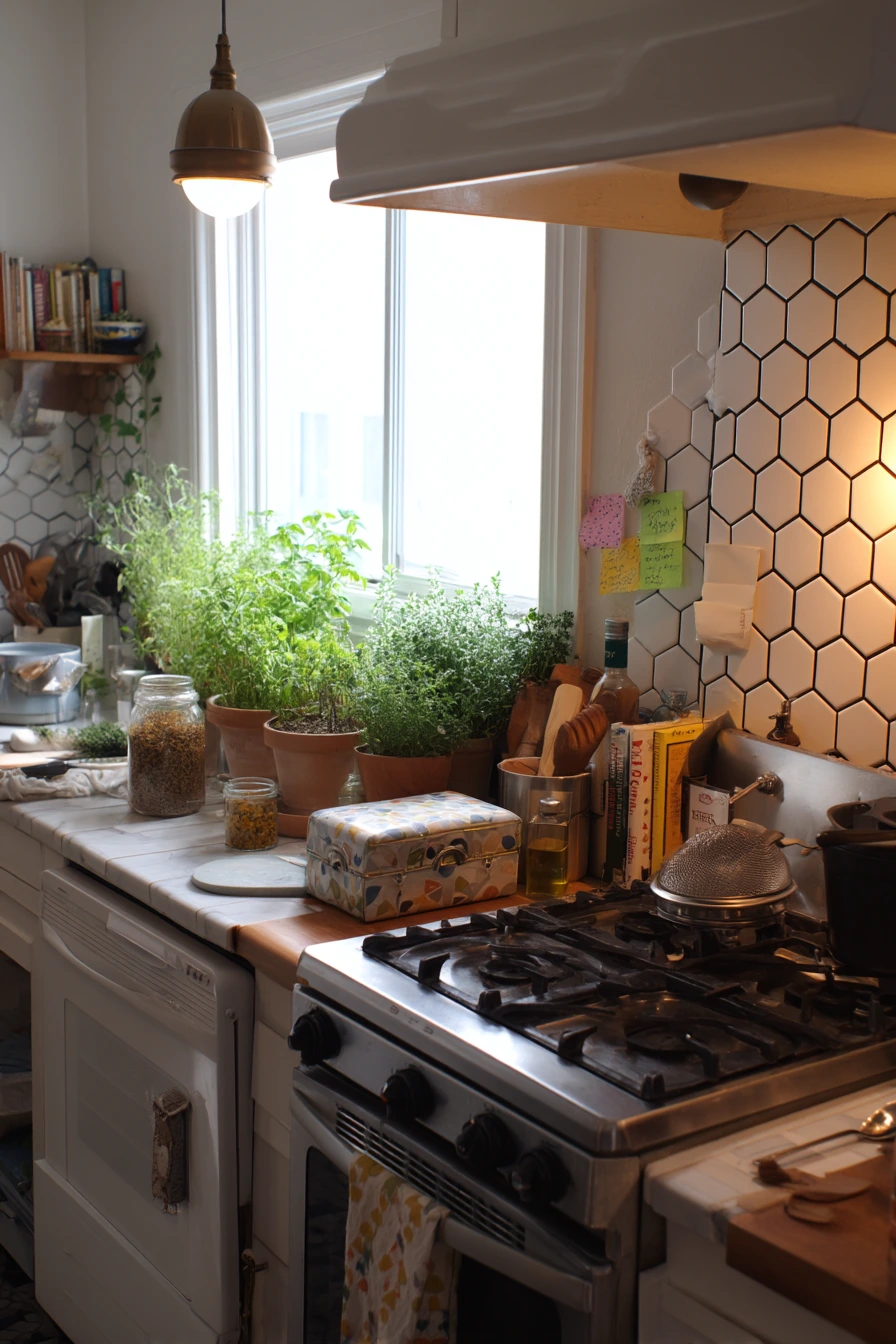
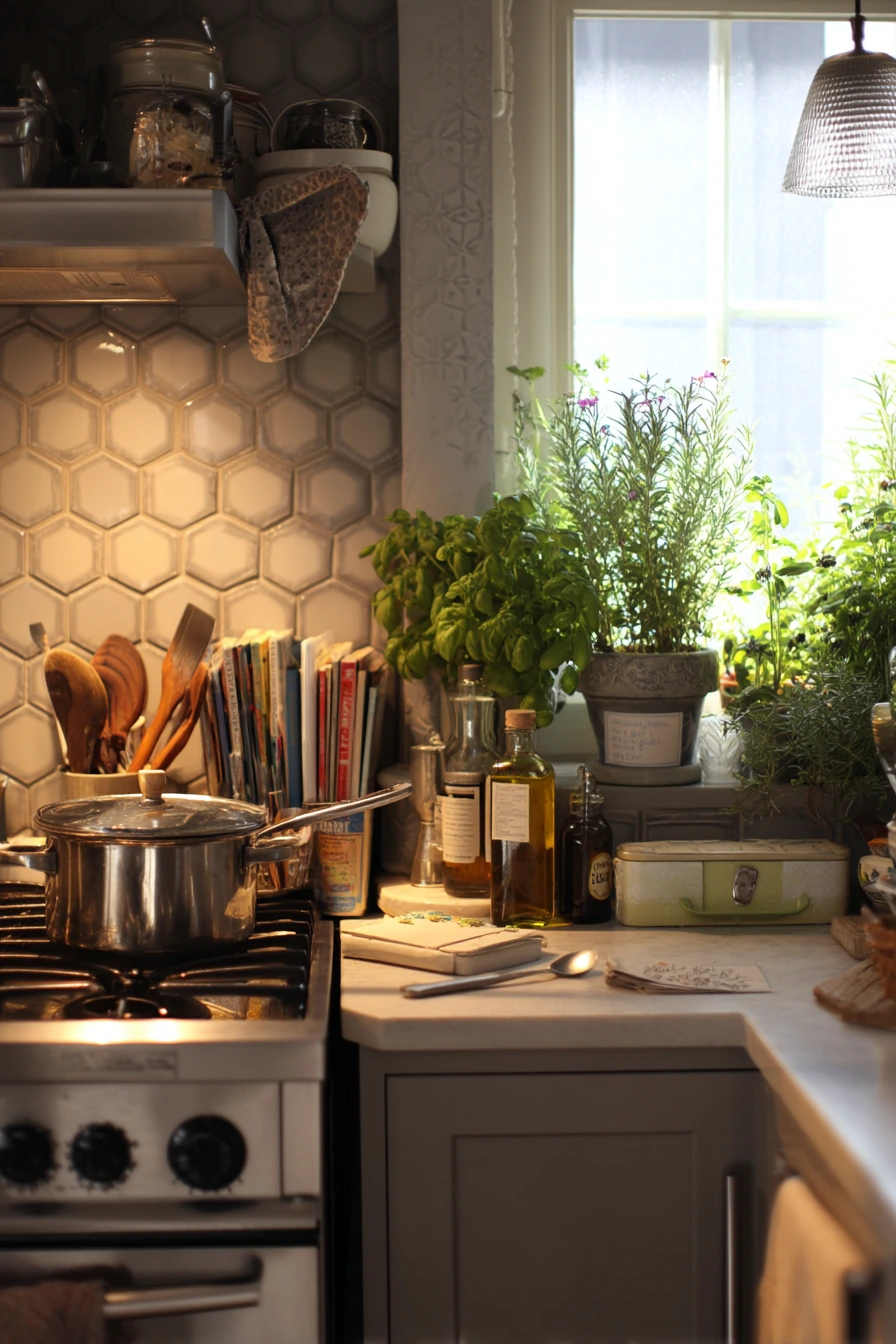
A functional herb garden near the stove helps busy families cook faster. Small pots of thyme, sage, and parsley lined along the backsplash keep flavor close to the action. This works well when you are stirring a pot and need a quick pinch of herbs. Warm pendant light mixed with soft window light also makes this area feel cozy without being fussy.
For safety and plant health, keep herbs a short distance from direct heat and steam. If your stove runs hot, place the pots at the far end of the counter or on a narrow riser so they are not right next to burners. Choose containers with drainage and use a liner tray so water does not sit on the counter. In a real family kitchen, you may have a lunchbox, a sticky note grocery list, and a child’s spoon on the counter. That is fine. Just create one clear strip where pots stay in a straight line, so you can wipe behind them quickly.
Style this zone with everyday cooking items: an olive oil bottle, wooden spoon, colander, and a dish towel over the oven handle. Keep the look grounded by sticking to two or three pot colors. Parsley likes more even moisture, while thyme and sage prefer drying a bit between waterings. Harvest thyme by snipping small stems. For parsley, cut outer stems near the base so new growth keeps coming from the center.
- Line pots along the backsplash, but keep them away from direct burner heat.
- Use a long tray so you can move all pots at once for cleaning.
- Pick sturdy herbs that handle indoor conditions: thyme, sage, parsley.
- Teach kids a simple rule: look and smell, but only touch with an adult.
- Trim weekly to prevent woody stems and to keep plants compact.
Pro Design Tip: Place herbs in a single row on a slim riser or tray to create a clean visual line that still feels like part of the kitchen routine.
Budget Considerations: Use small nursery pots set inside thrifted bowls or crocks so you get a nicer look without paying for matching planters.
6 Herb Garden for a Breakfast Nook
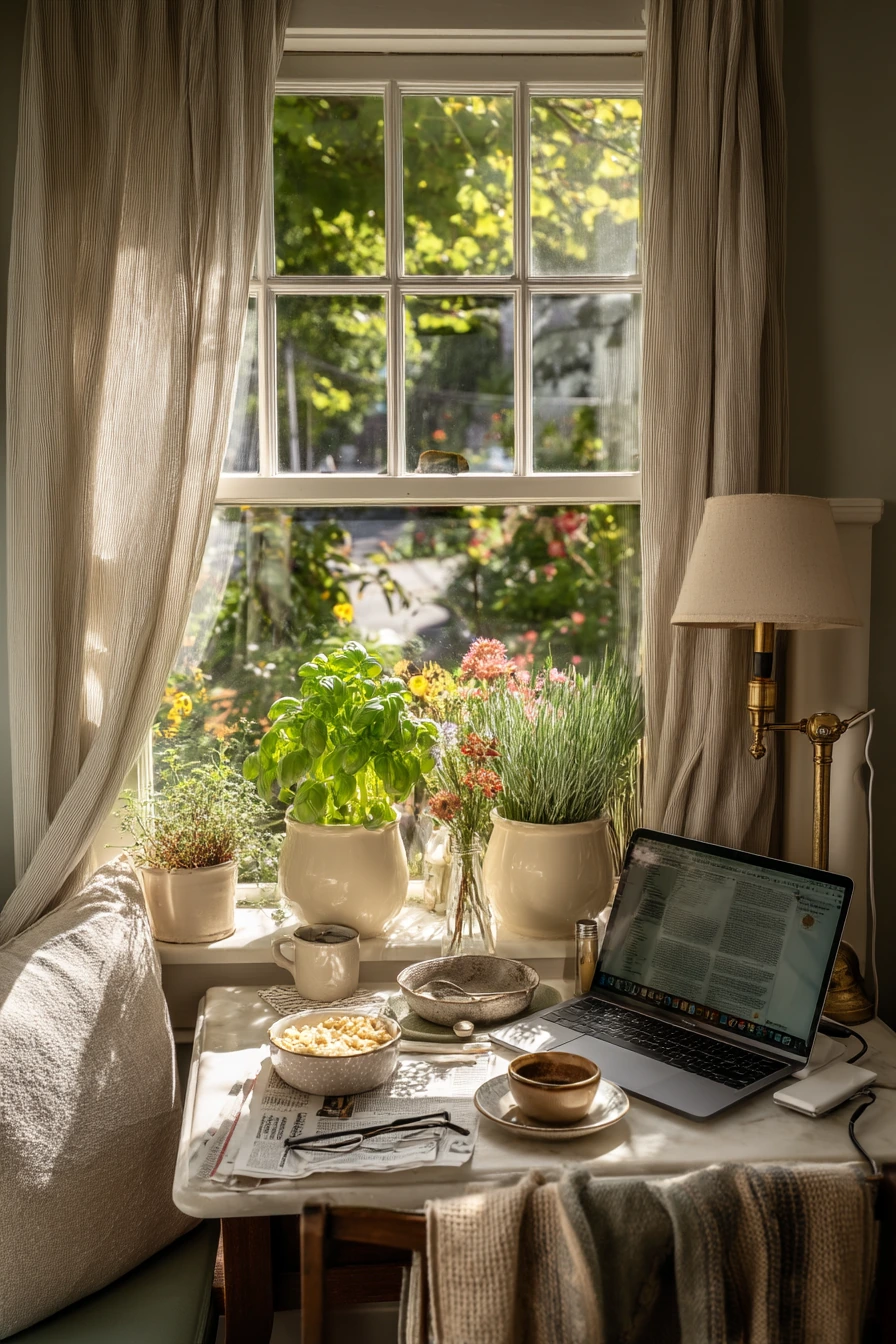
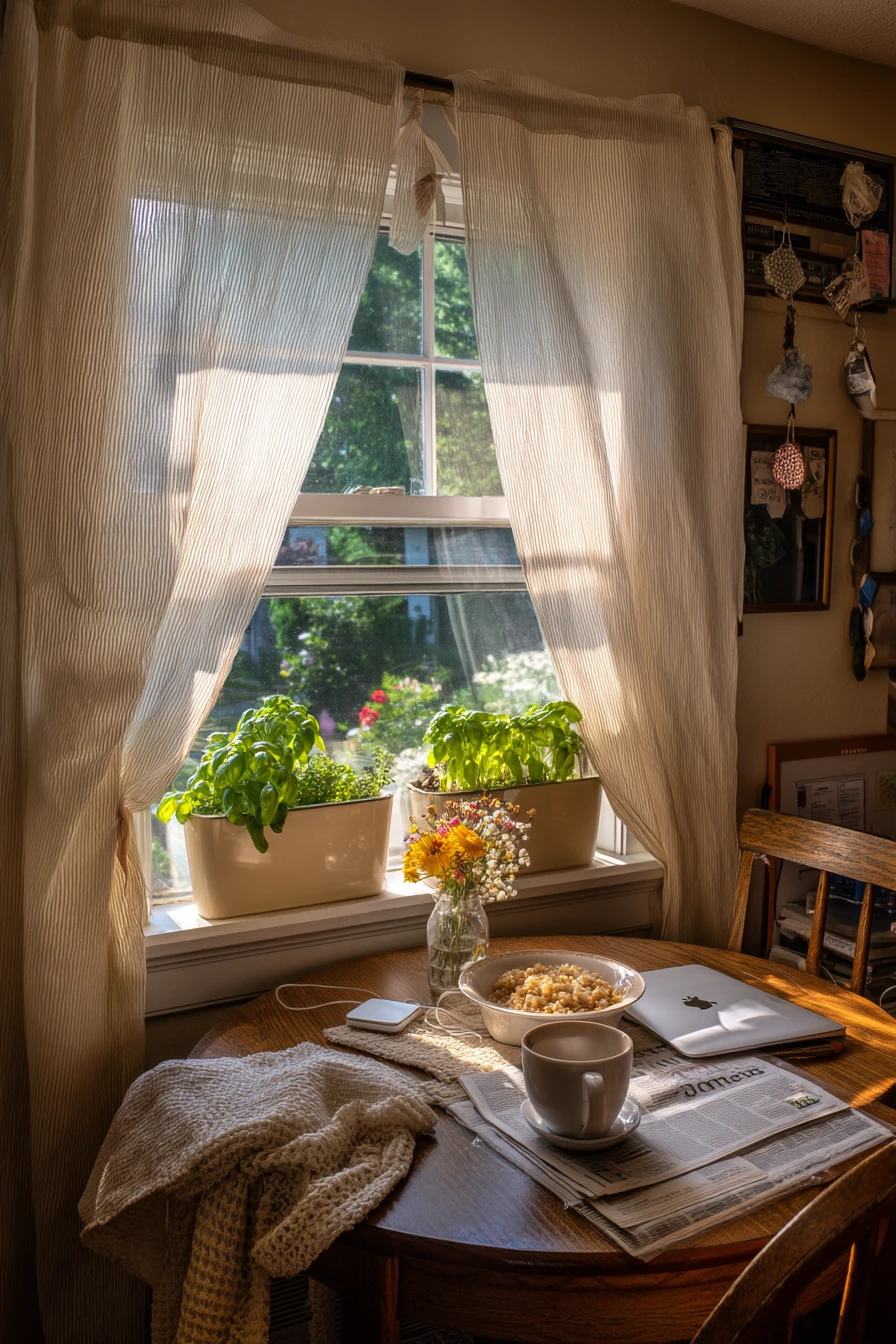
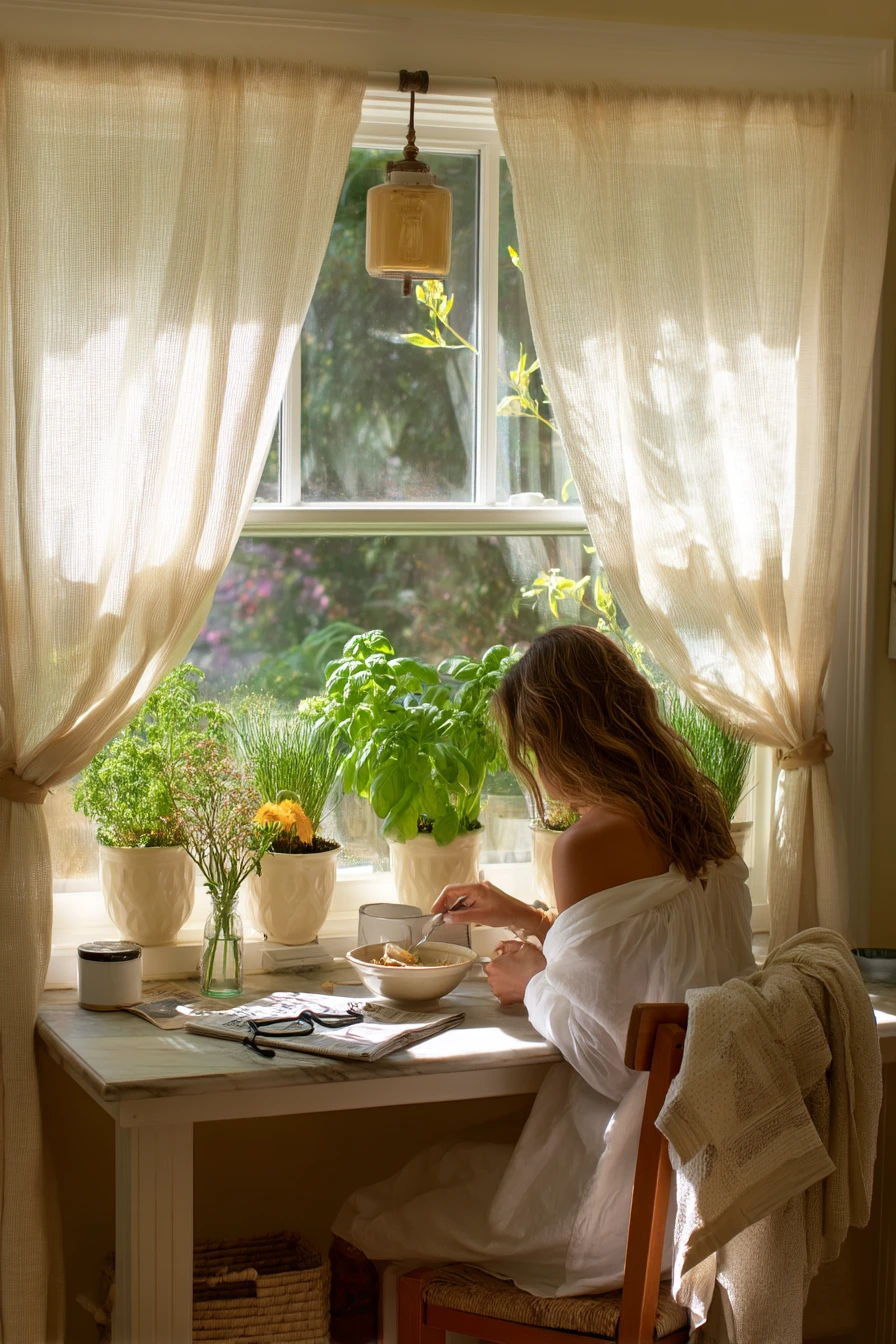
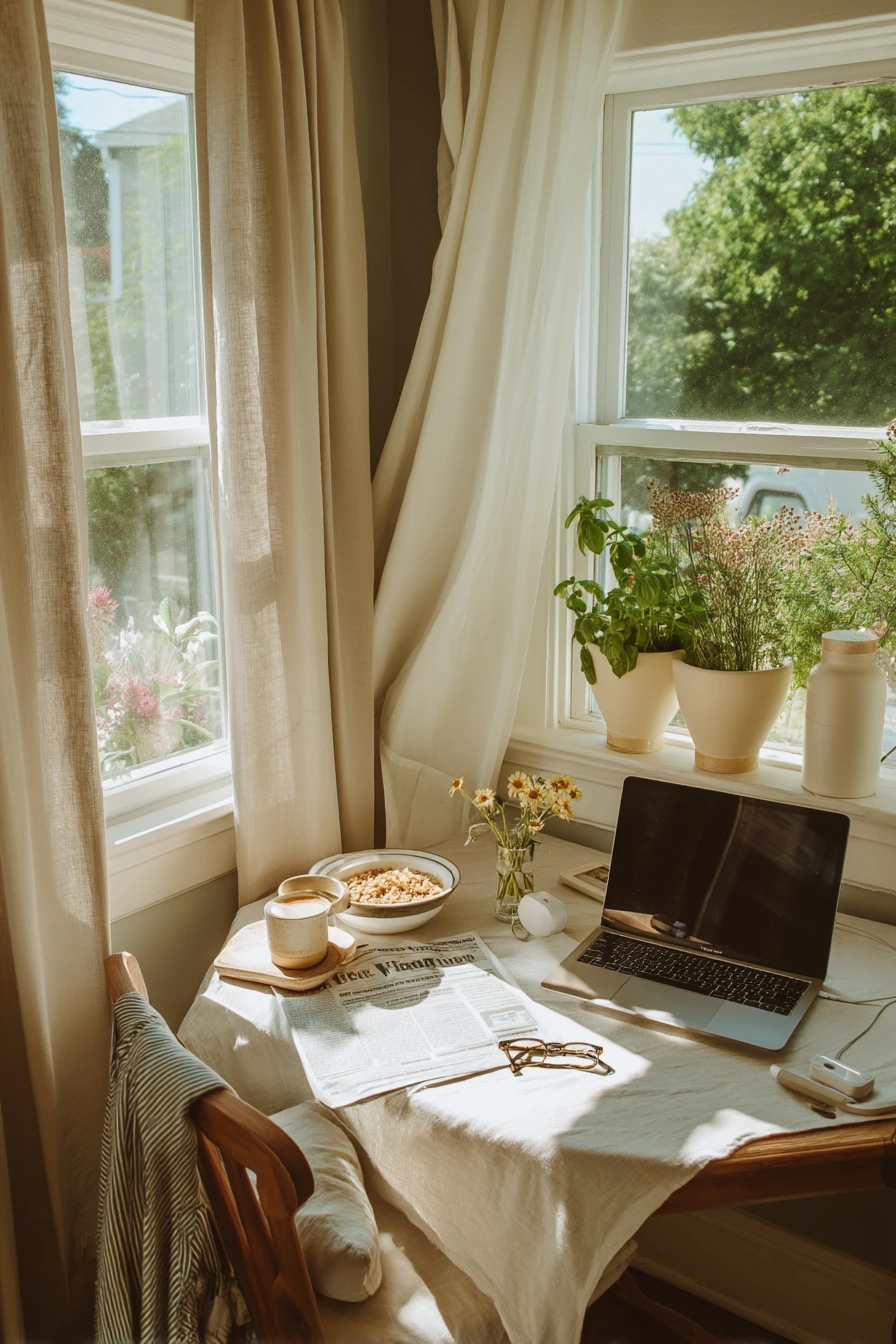
A breakfast nook herb garden on the sill adds green color where you sit every day. Basil, chives, and mint do well in compact planters, especially in soft dawn light. Cream planters and sunlit linen curtains keep the look light and simple, and small details like a cereal bowl, newspaper, and butter dish make it feel like a real home.
To make it work, pick herbs you use often in quick meals. Chives are easy to snip into eggs, potatoes, and cottage cheese. Mint is great for water or tea, but keep it contained because it spreads fast. Basil needs the most light, so place it closest to the brightest part of the window. Water when the soil surface is dry and lift the pot to check weight. If it feels light, it is time. If it feels heavy, wait a day or two.
For styling, keep the nook useful for work too. If you have a laptop charger and reading glasses on the table, use a small tray to hold them so cords do not drape across the planters. Add a tiny vase of wildflowers for height, but keep it small so the herbs stay the star. When you harvest, use clean scissors and take a little from each plant. This keeps the planters looking full and helps herbs grow evenly.
- Use compact planters that fit the sill without blocking the window.
- Place basil in the brightest spot and rotate pots for balanced growth.
- Snip chives low and often to keep them tender.
- Keep mint in its own pot so it does not crowd other herbs.
- Use a small tray for chargers and glasses to avoid clutter near plants.
Pro Design Tip: Choose planters in one soft color, like cream, so the greenery reads as a clean accent against curtains and table linens.
Budget Considerations: Basic plastic pots can look nicer inside simple cachepots or thrifted bowls, as long as you still have drainage.
7 Indoor Grow Light Herb Corner
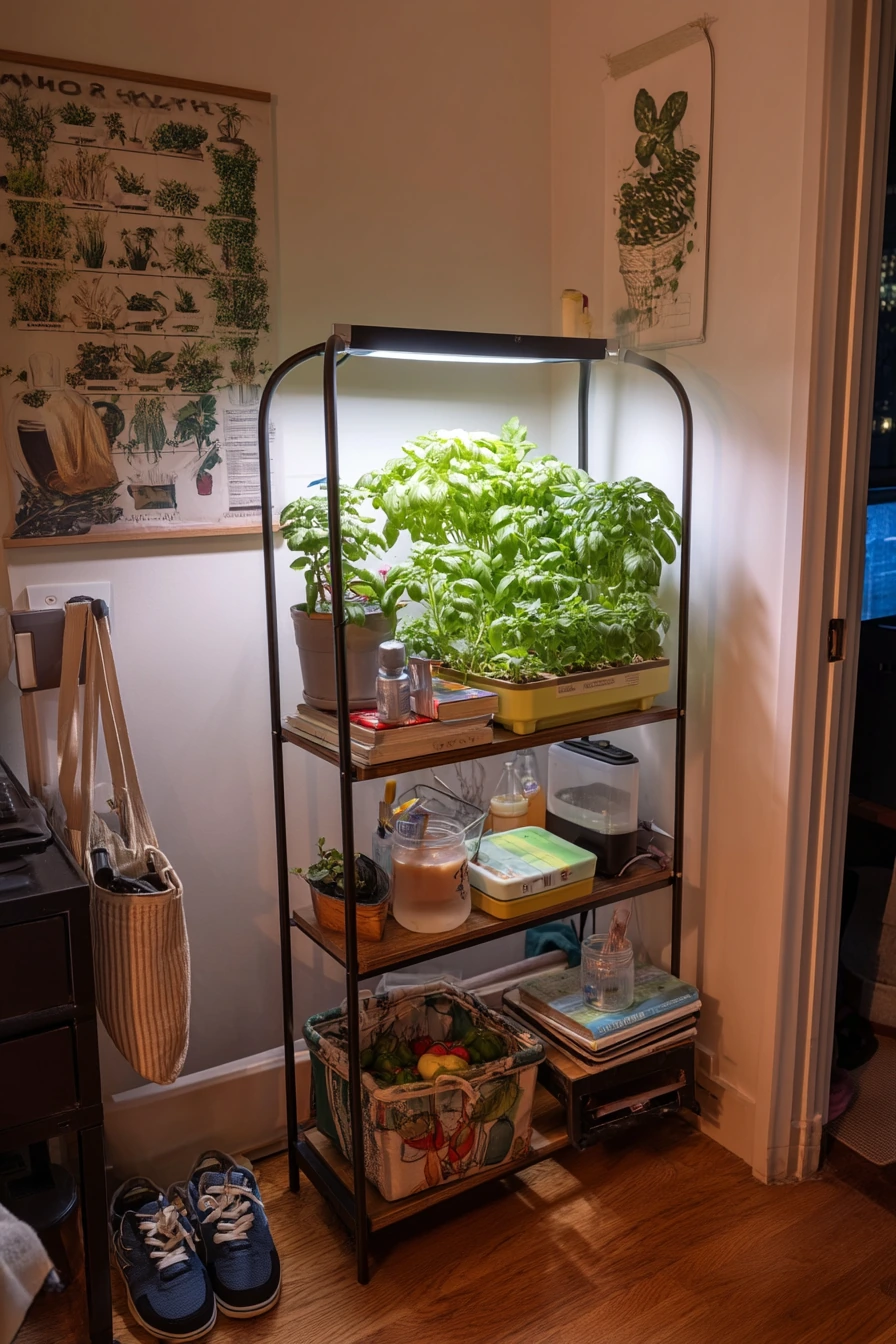
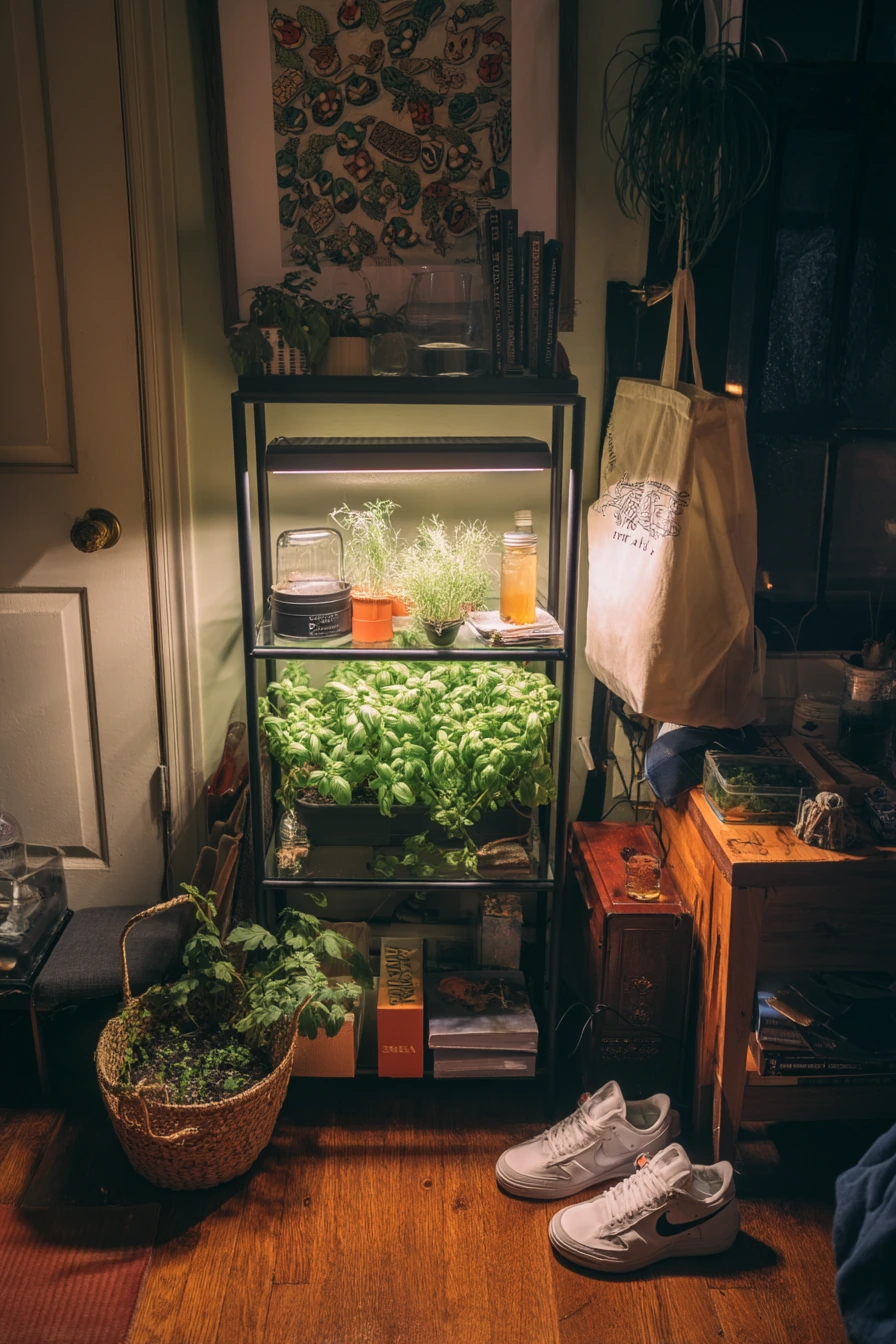
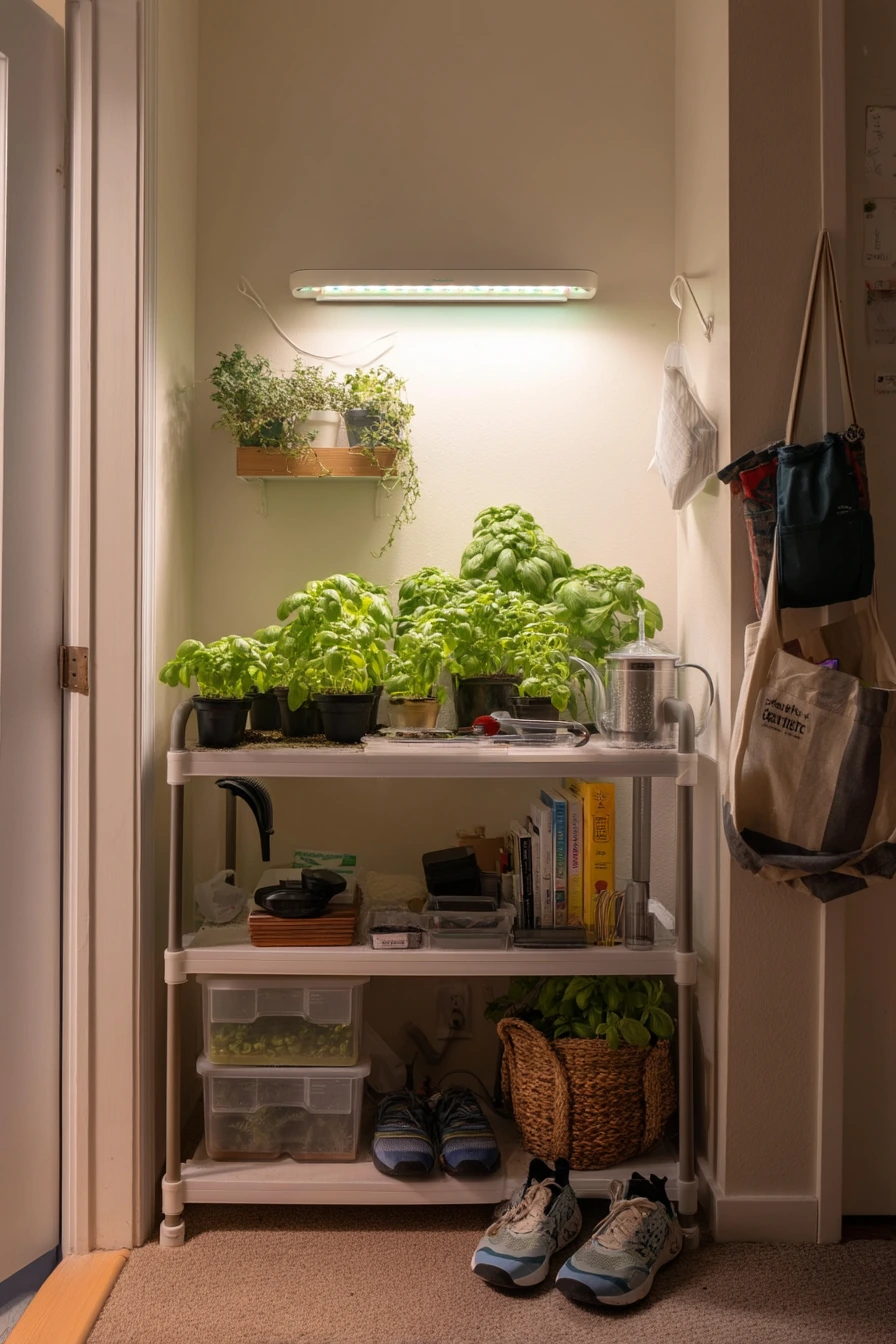
If your apartment is dark, a grow light herb corner can keep basil and cilantro healthy year-round. A slim grow light on a shelving unit is easy to fit near a wall, and it works well with seed starter trays, a small watering can, and a stack of cookbooks. Evening lamp glow can make this spot feel modern and useful, not like a lab.
Set the shelf up so the light is close enough to the leaves, but not touching. Many herbs stretch when light is too far away, so keep the fixture adjustable. Use a timer so the plants get steady light each day, which makes growth more predictable. Keep humidity in mind. If the area feels slightly humid, make sure there is airflow and do not let water sit in saucers. A basket of reusable produce bags and measuring spoons can live here too, but keep soil and seeds in closed containers to avoid mess.
For a lived-in look, it is okay if sneakers and a tote bag sit by the wall. Just keep a clear boundary so the plants do not get bumped. Style the shelf with one or two matching trays and a simple label system. Cilantro prefers cooler temps and even moisture, while basil likes warmth. If basil struggles, move it closer to the light and pinch the tips weekly. If cilantro bolts, harvest more often and consider growing it from seed in small batches.
- Use a slim grow light with a timer for steady daily light.
- Keep the light close to prevent leggy, weak stems.
- Water at the soil line and empty saucers so roots do not sit in water.
- Store seeds and starter trays in one bin to keep the shelf tidy.
- Grow cilantro in stages so you always have fresh leaves.
Pro Design Tip: Hide clutter by using matching baskets on the lower shelves and keeping the top shelf only for plants and the light.
Budget Considerations: Affordable LED grow lights work well for herbs; start with one strip light before buying a full plant stand system.
8 Starter Herb Garden on a Back Steps
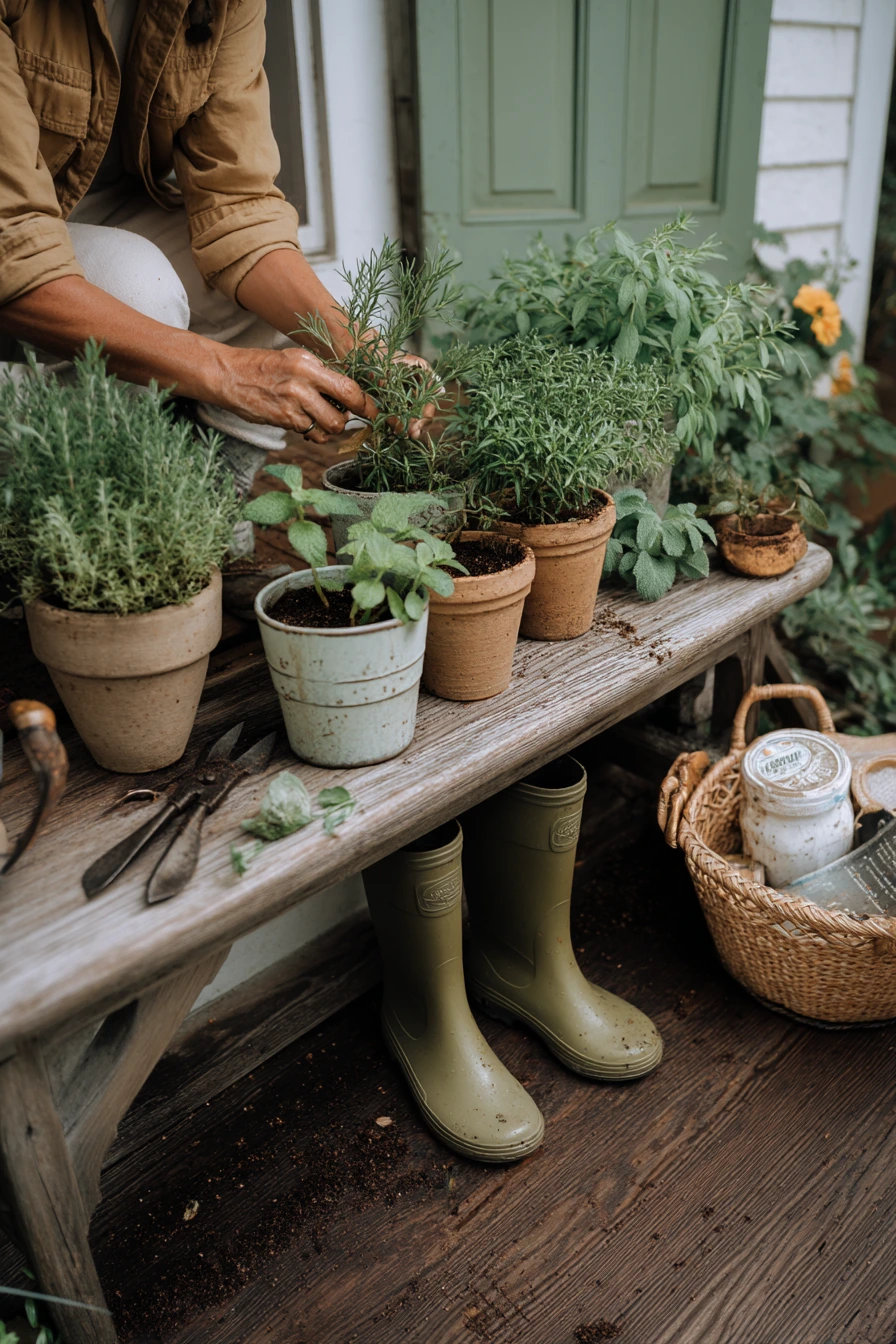
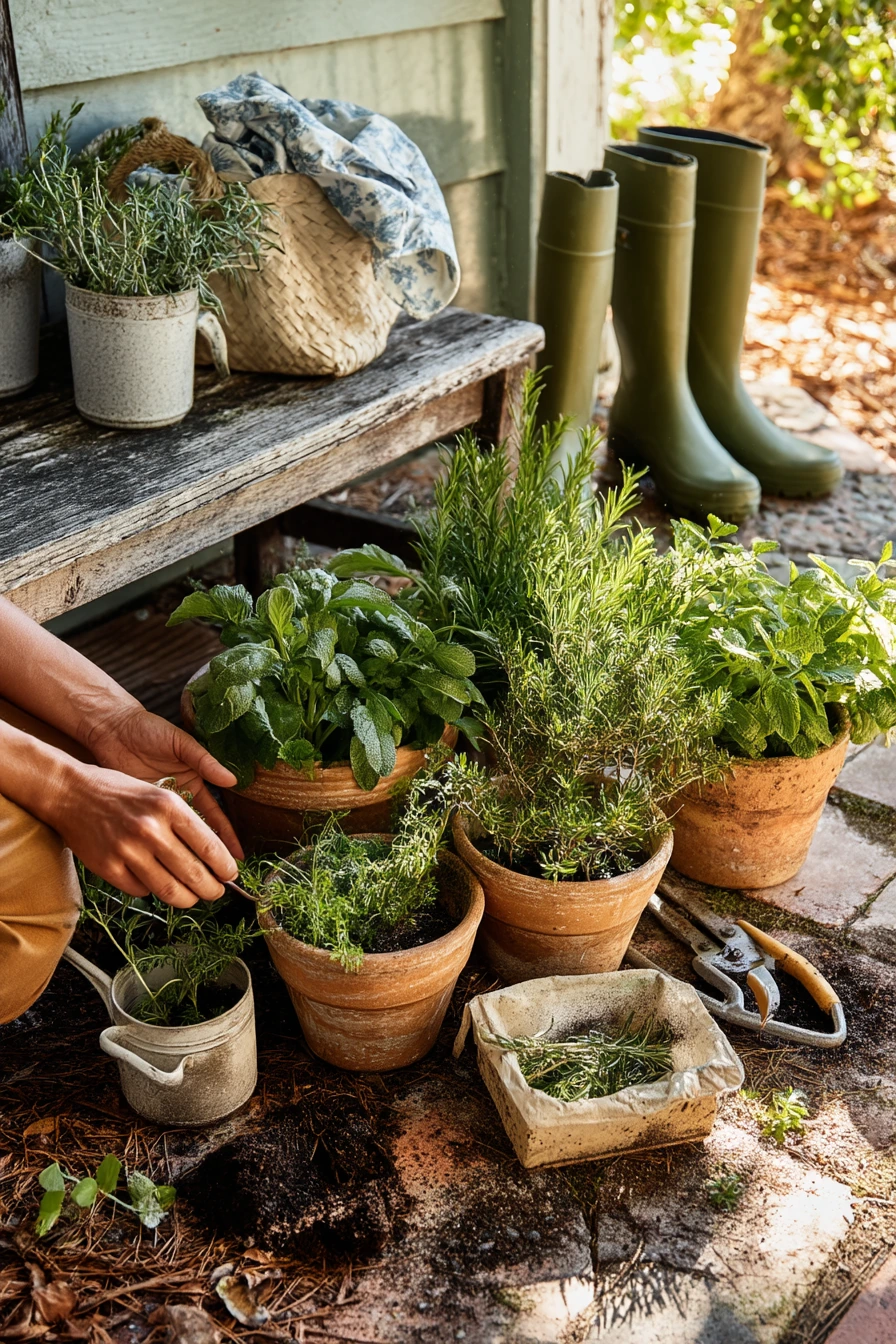
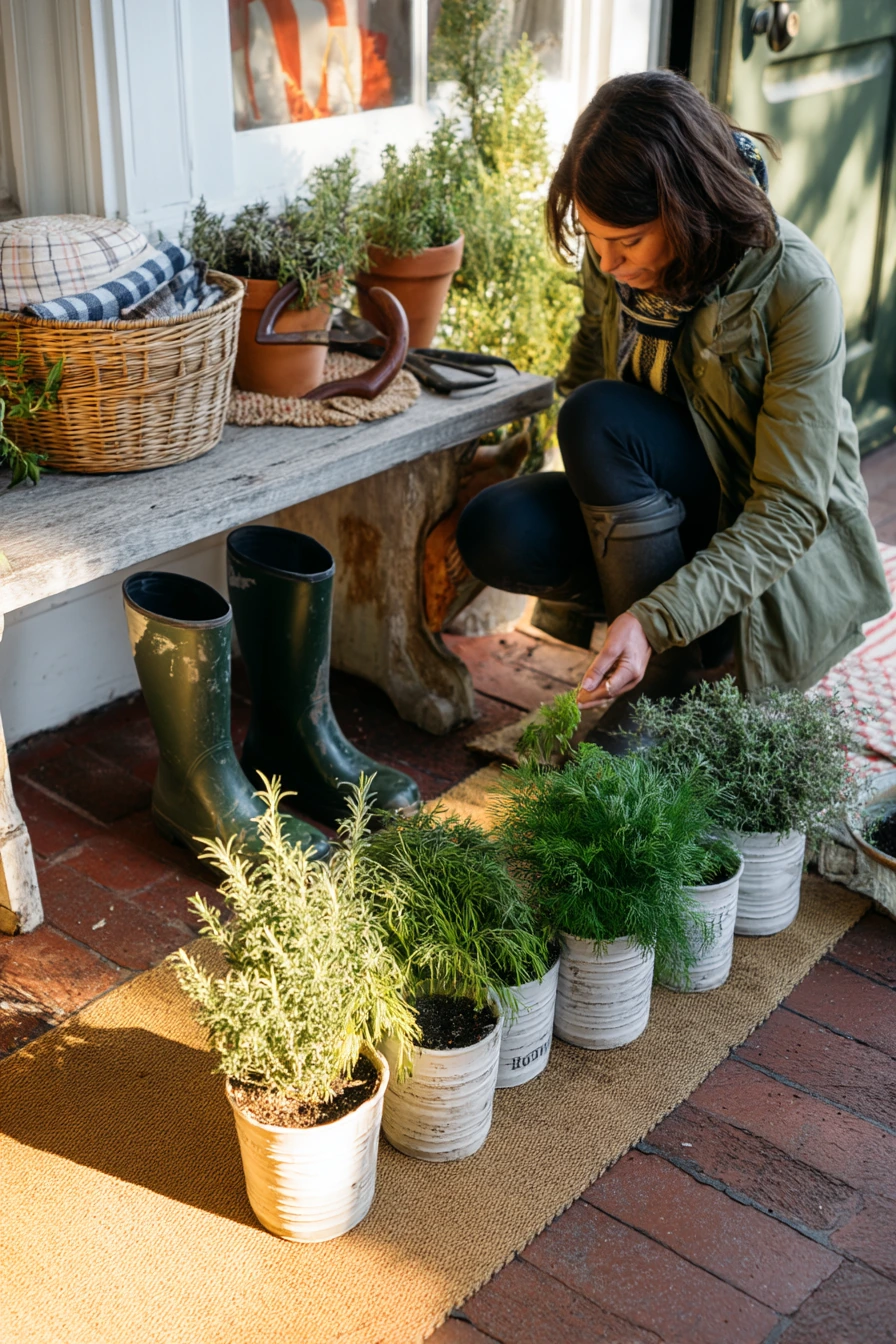
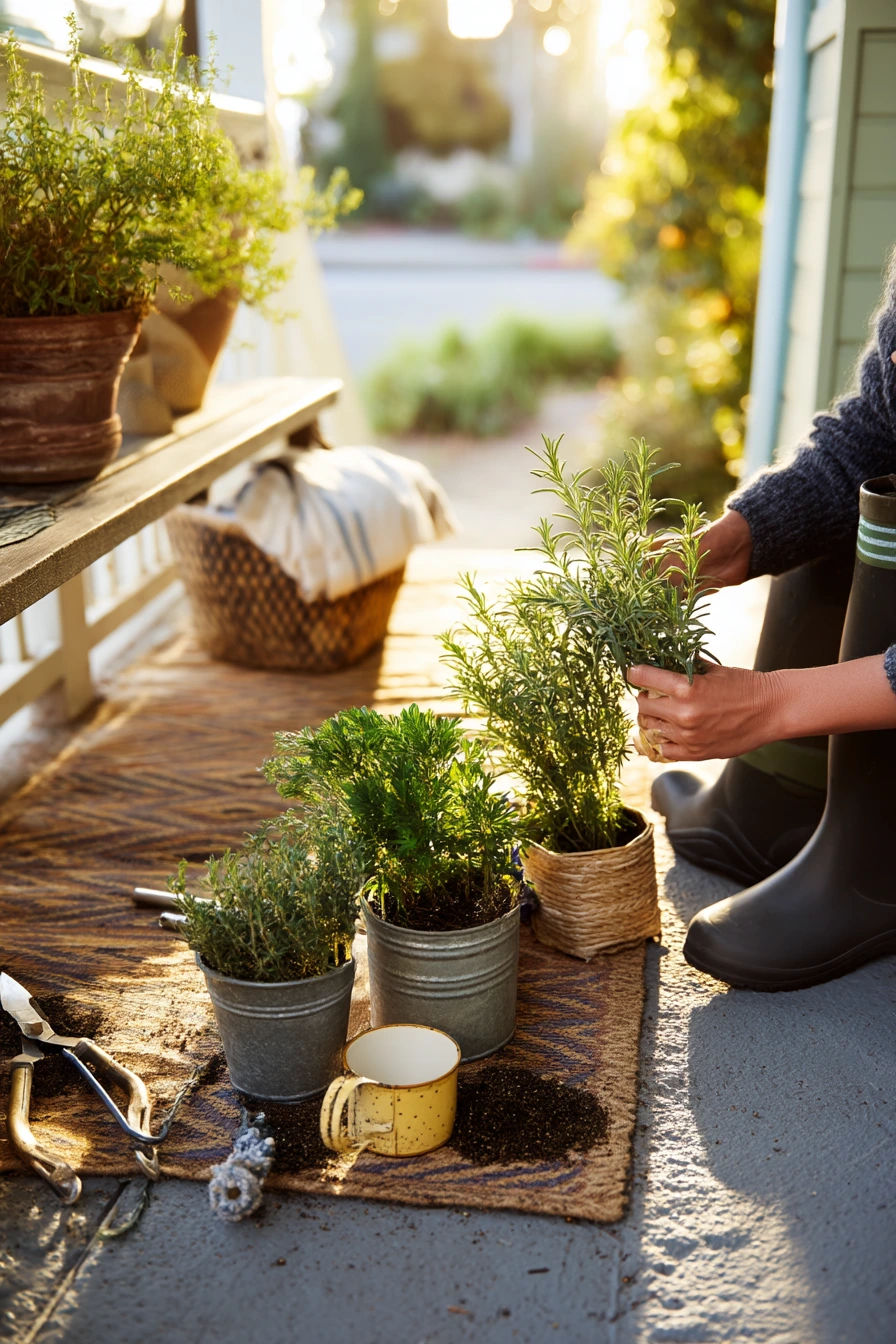
A back steps herb garden is perfect for a suburban rental because it uses a small outdoor spot you already pass every day. Clay pots of rosemary, dill, and basil look natural beside a weathered bench. Garden shears, potting mix, and rain boots can stay nearby for quick care. Soft golden hour light is ideal for photos, but the real win is easy access for daily pinching and watering.
Start by arranging pots in a loose triangle so each plant gets light and airflow. Put taller rosemary toward the back and lower herbs like dill and basil in front. If your steps get rain, make sure pots drain well and do not sit in puddles. Use a saucer only if you need to protect the surface. If you have a porch mat, keep it clean so soil does not track inside. A folded laundry basket near the door is real life. Just keep it off to the side so you do not knock plants over when carrying things in and out.
Style this space with simple textures. A chipped enamel mug can hold small tools, and the bench can store extra pots underneath. When you harvest, pinch basil tips and snip dill fronds often. Rosemary can be trimmed lightly, but avoid cutting into old woody stems. If the area gets hot, water in the morning and add a bit of mulch on top of the soil to slow drying.
- Use clay pots for good airflow and stable outdoor weight.
- Arrange pots by height so each herb gets sun and space.
- Keep tools in a mug or small bucket so they are easy to grab.
- Water early on hot days and check soil moisture with a finger test.
- Trim herbs often so plants stay full and do not get tall and sparse.
Pro Design Tip: Group pots in odd numbers and vary heights with a bench or step levels for a relaxed, balanced look.
Budget Considerations: Weathered benches and clay pots are often cheap secondhand; you can also use leftover bricks to lift pots for better drainage.
9 Urban Chef’s Kitchen Herb Tray
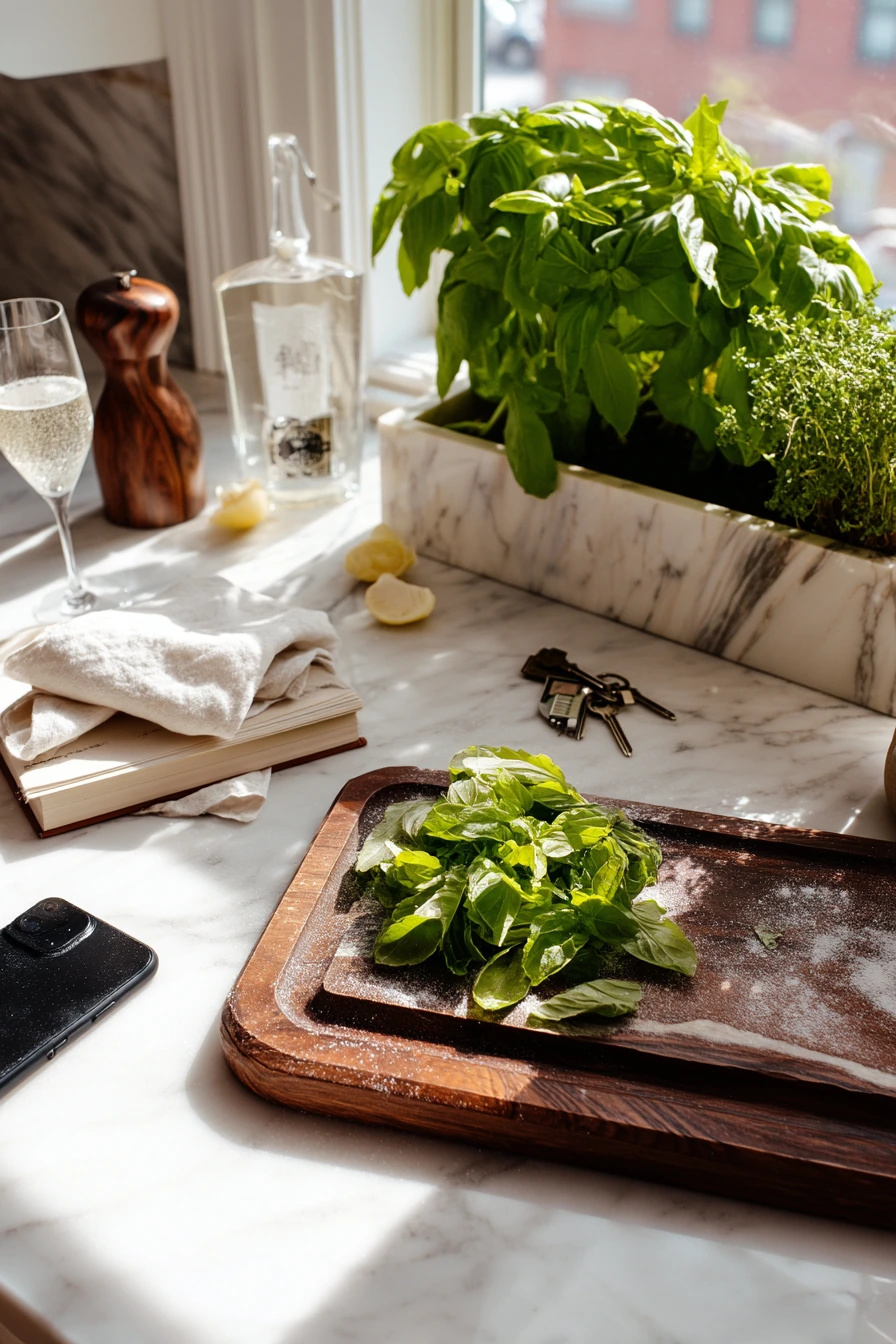
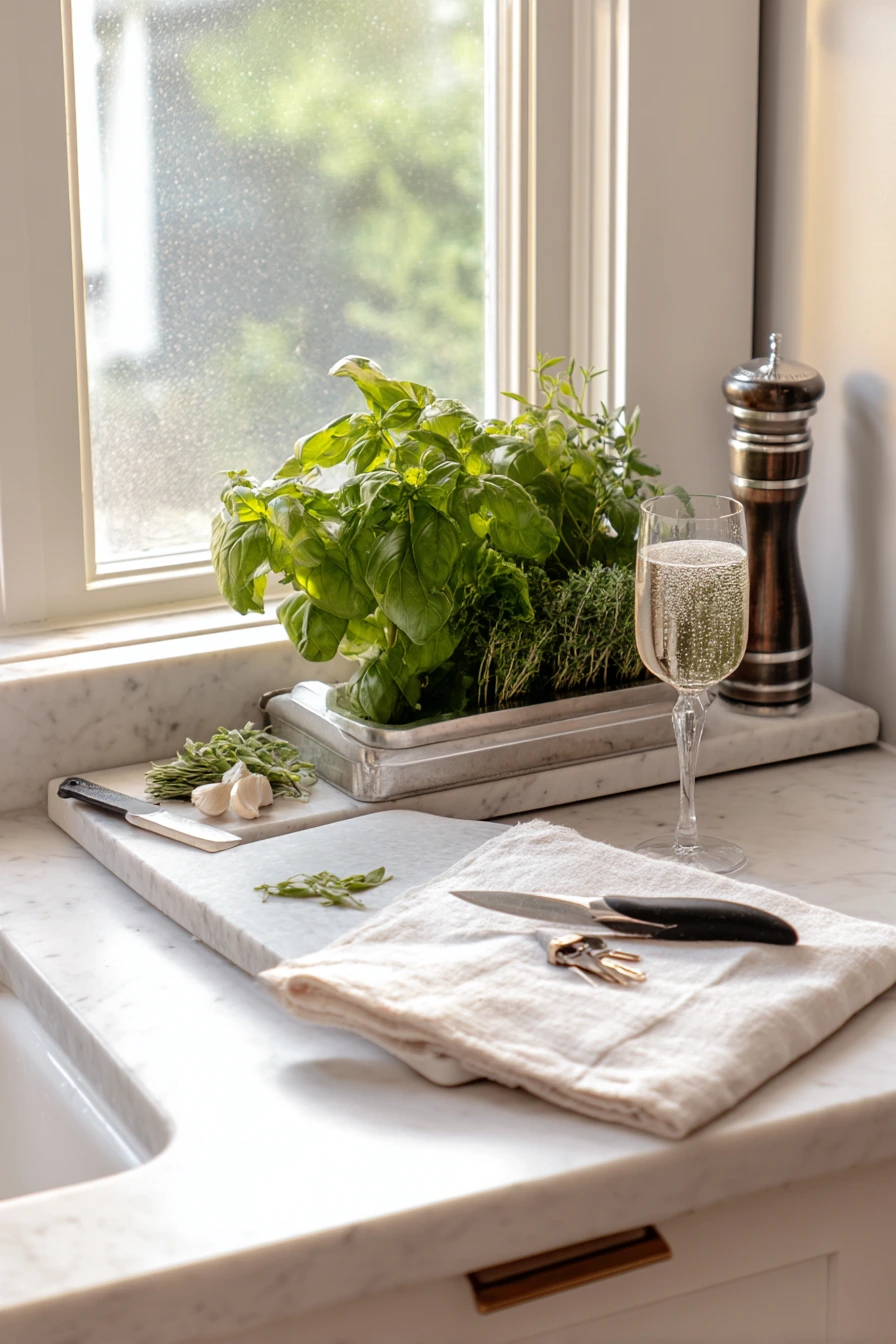
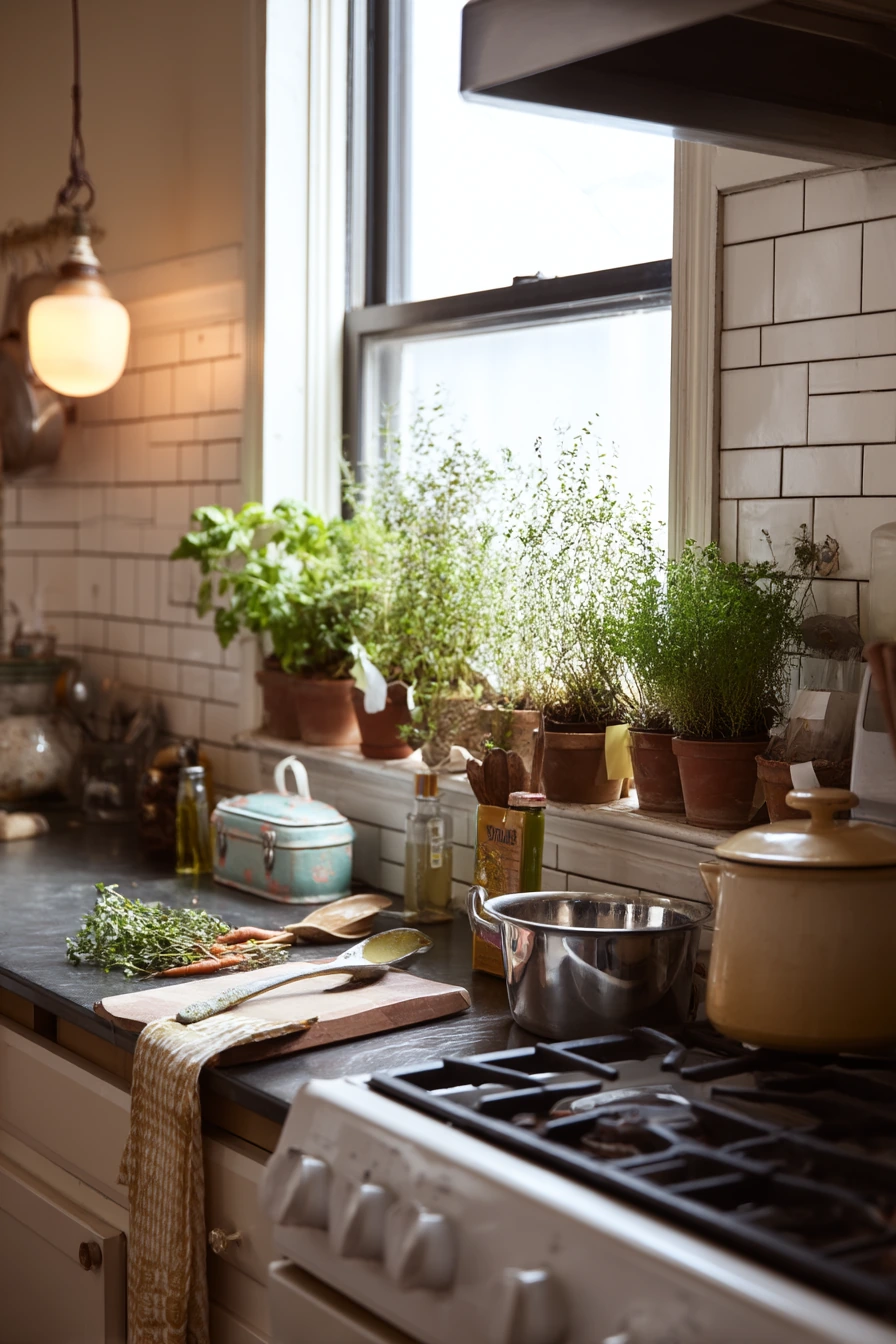
A movable herb tray is a clean solution for a polished city kitchen. It keeps basil, tarragon, and mint together near the prep counter, but you can move the whole set for cleaning or for better light. This works well with a marble cutting board, pepper mill, citrus peels, and a towel with a light dusting of flour. It looks tidy, yet it still feels like someone is cooking.
Choose a tray with a low lip to catch spills. Place pots with drainage holes inside, and add thin cork or felt pads under the tray if you have delicate counters. Soft side window light is great for herbs, but rotate the tray so plants do not lean. Keep mint separate if possible, even on the same tray, so it does not crowd other plants. Tarragon likes bright light and moderate water. Basil needs warmth and steady light. If the kitchen is cool at night, move the tray away from the coldest part of the window.
For styling, keep the surrounding items minimal. A glass of sparkling water, phone, and keys can sit nearby, but put them on a second small dish so the herb tray reads as one clear feature. When harvesting for dinner, take a few stems and leave enough leaves for the plant to recover. For basil, pinch tips to encourage branching. For tarragon, snip tender stems and avoid cutting the plant too low.
- Use one tray so you can move herbs in seconds for cleaning.
- Pick a tray that is easy to wipe and has a low rim for water drips.
- Place the tray near side window light and rotate weekly.
- Keep mint contained and trim often to prevent it from taking over.
- Pair the herb tray with one prep zone so it feels intentional, not random.
Pro Design Tip: Match the tray finish to one kitchen element, like your pepper mill or cabinet hardware, to make the herbs look built-in.
Budget Considerations: You can use a simple baking sheet or thrifted serving tray; add a washable liner to protect it from water stains.
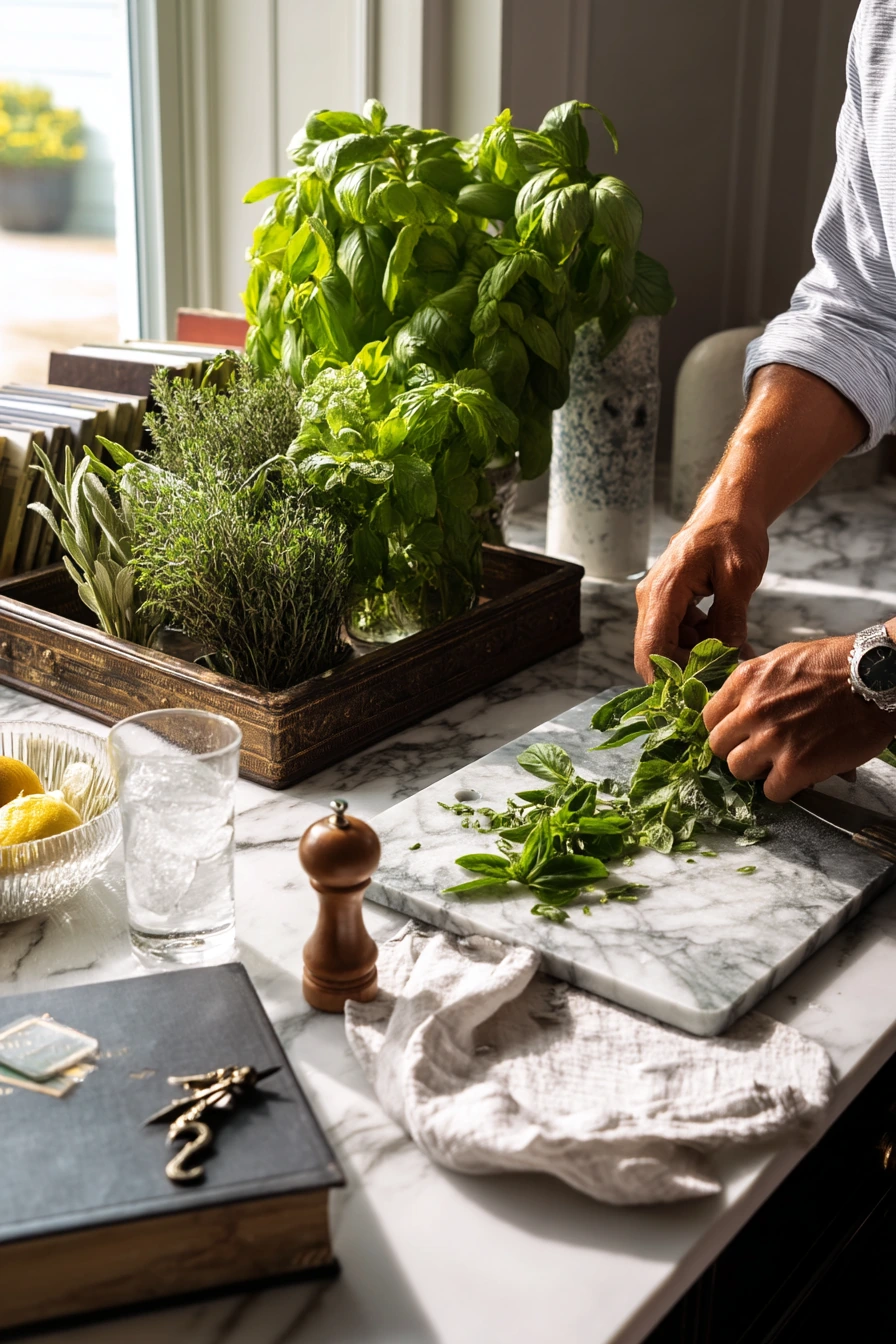
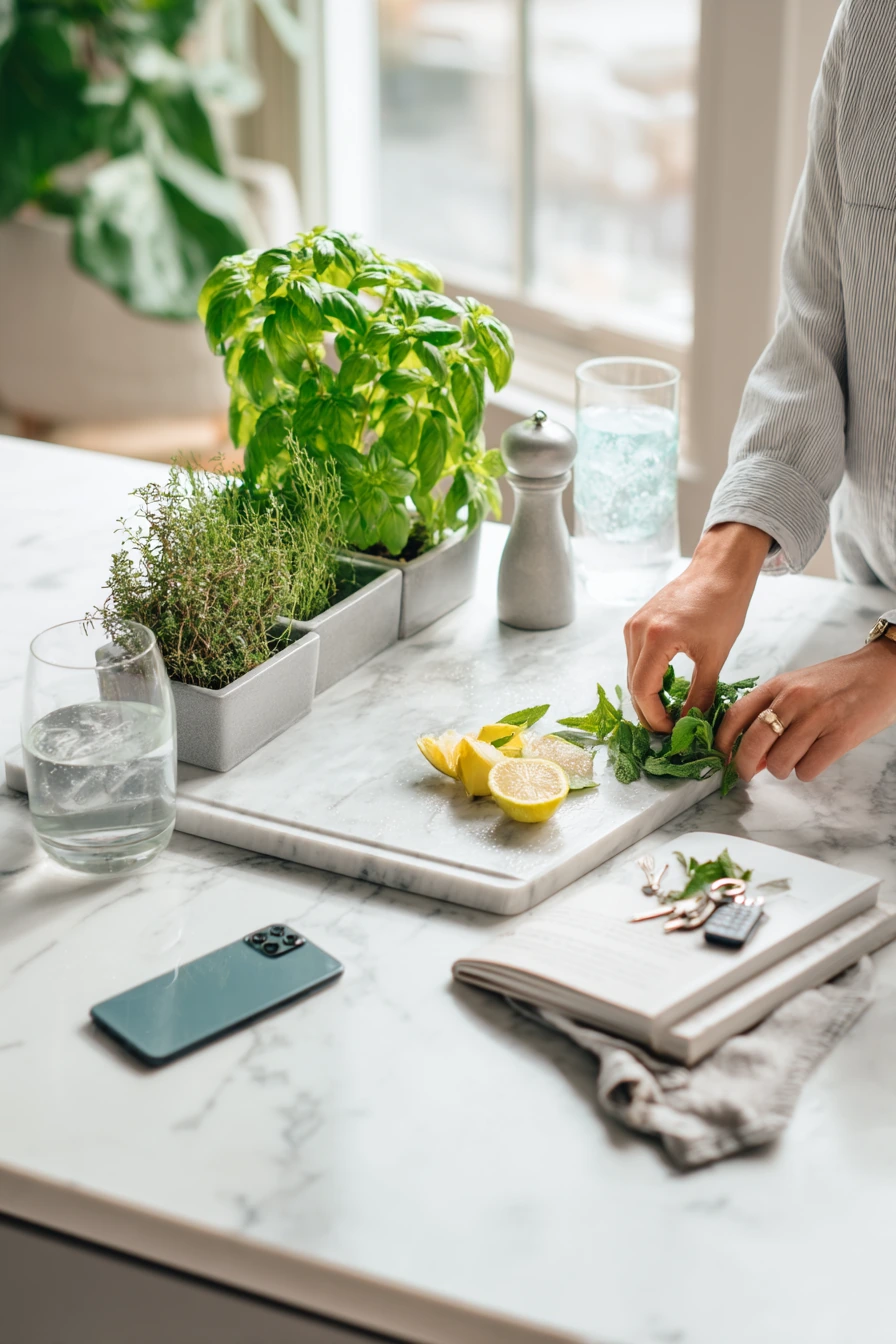
10 Weekend DIY Herb Potting Moment
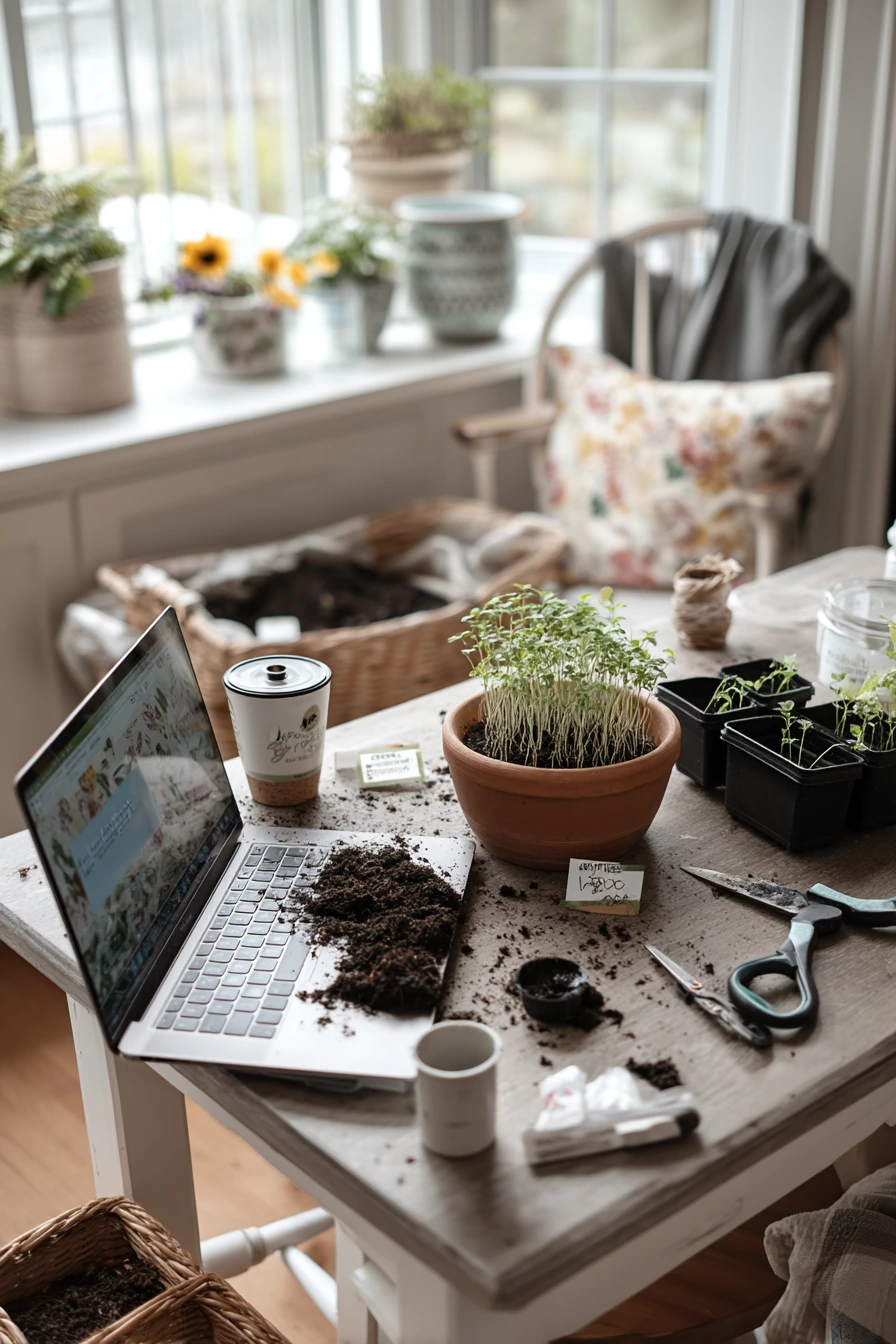
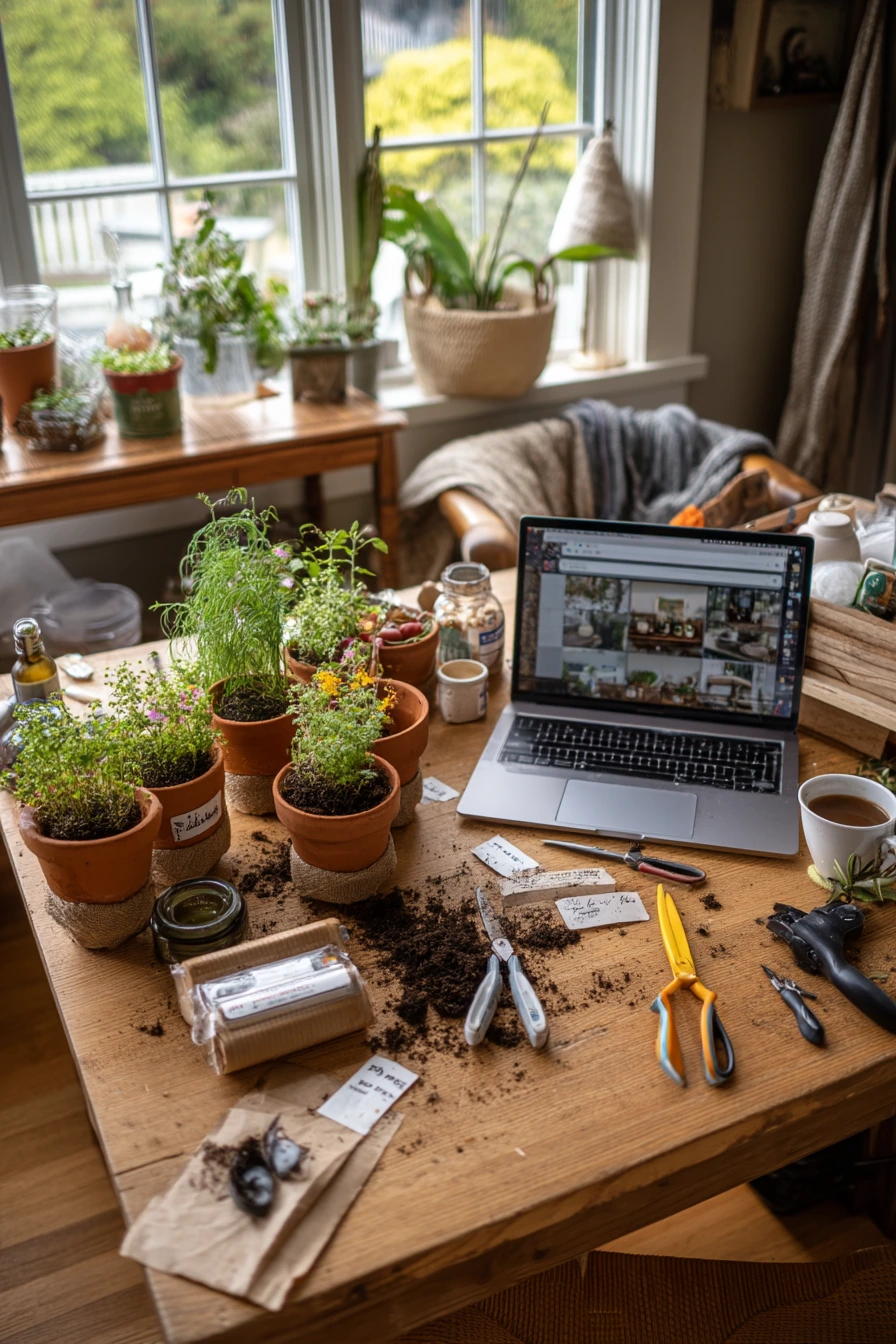
A weekend DIY repotting station helps you refresh your herb garden and keep plants growing strong. Repotting seedlings into terra-cotta pots is a good step once roots fill the starter cells. A bright kitchen table works well for this, especially with natural window light. Labels, twine, pruning snips, and an open laptop paused on a how-to video make the process easy to follow.
Set up your work area so cleanup is quick. Lay down newspaper or a washable cloth, and keep a bowl for extra soil. If you have real-life clutter like a coffee ring on a coaster, a dog toy basket, or a sweater on a chair, just shift it to one side so you have a clean center space. Pre-moisten your potting mix so it is damp, not muddy. When you move seedlings, hold them by the leaves, not the stem, to avoid crushing the plant. After potting, water gently and let the plants drain well.
For styling, keep all tools in one shallow tray so the table still looks calm. Use simple labels so you do not mix up similar seedlings. Place finished pots together in a line, then move them to their growing spot near a window or under a grow light. Over the next week, watch for drooping. A little droop is normal after repotting, but steady wilt can mean too much sun, not enough water, or damaged roots.
- Repot when seedlings have several true leaves and roots fill the cell.
- Use damp potting mix and pots with drainage holes.
- Label each pot right away to avoid mix-ups.
- Water after potting, then let the soil dry slightly before watering again.
- Keep tools and twine in one tray so cleanup is fast.
Pro Design Tip: Create a simple assembly line on the table: empty pots, soil, seedlings, then labeled finished pots in a neat row.
Budget Considerations: Starter pots, labels, and snips can be found at dollar stores; you can also reuse yogurt cups as temporary nursery pots with drainage holes.
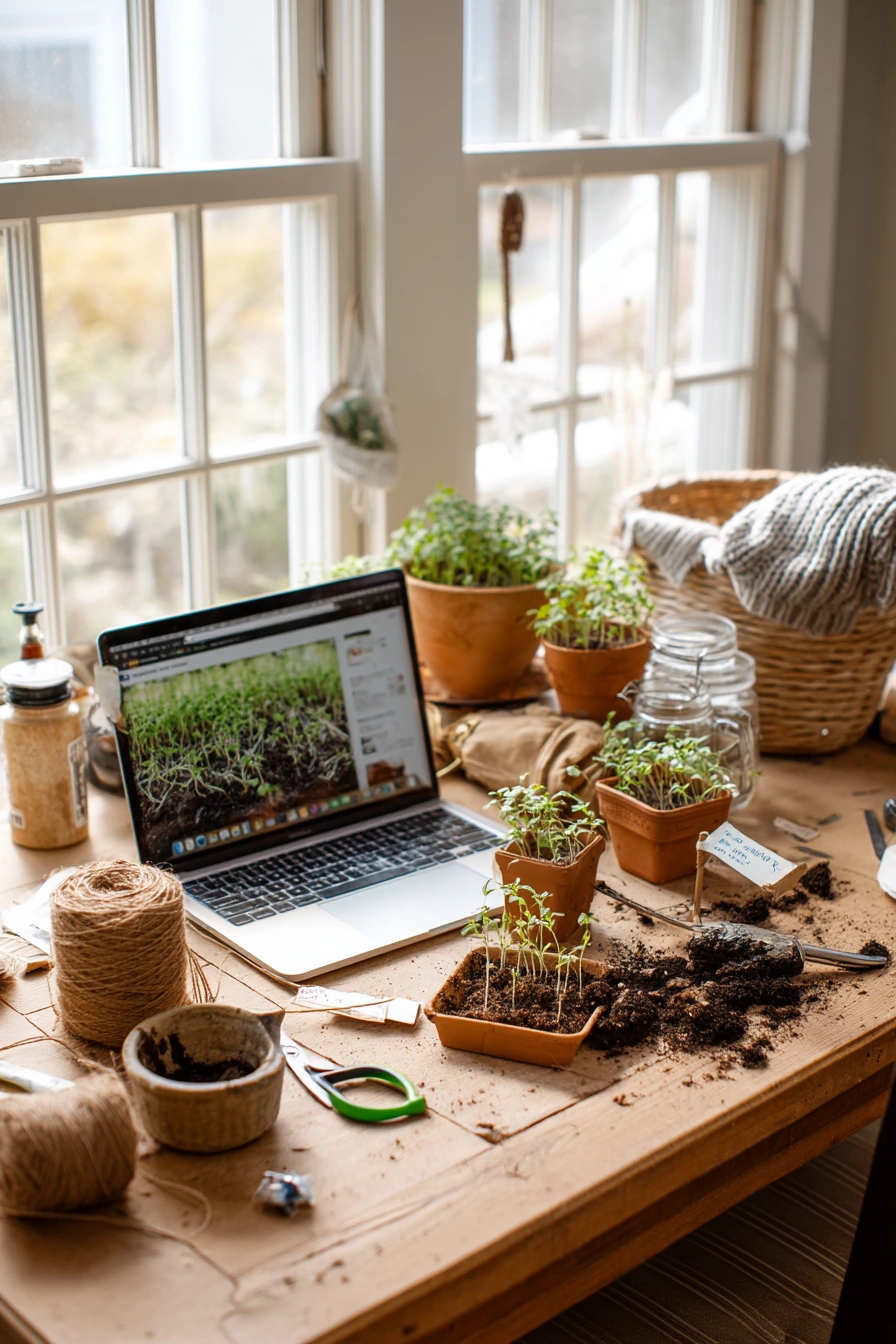
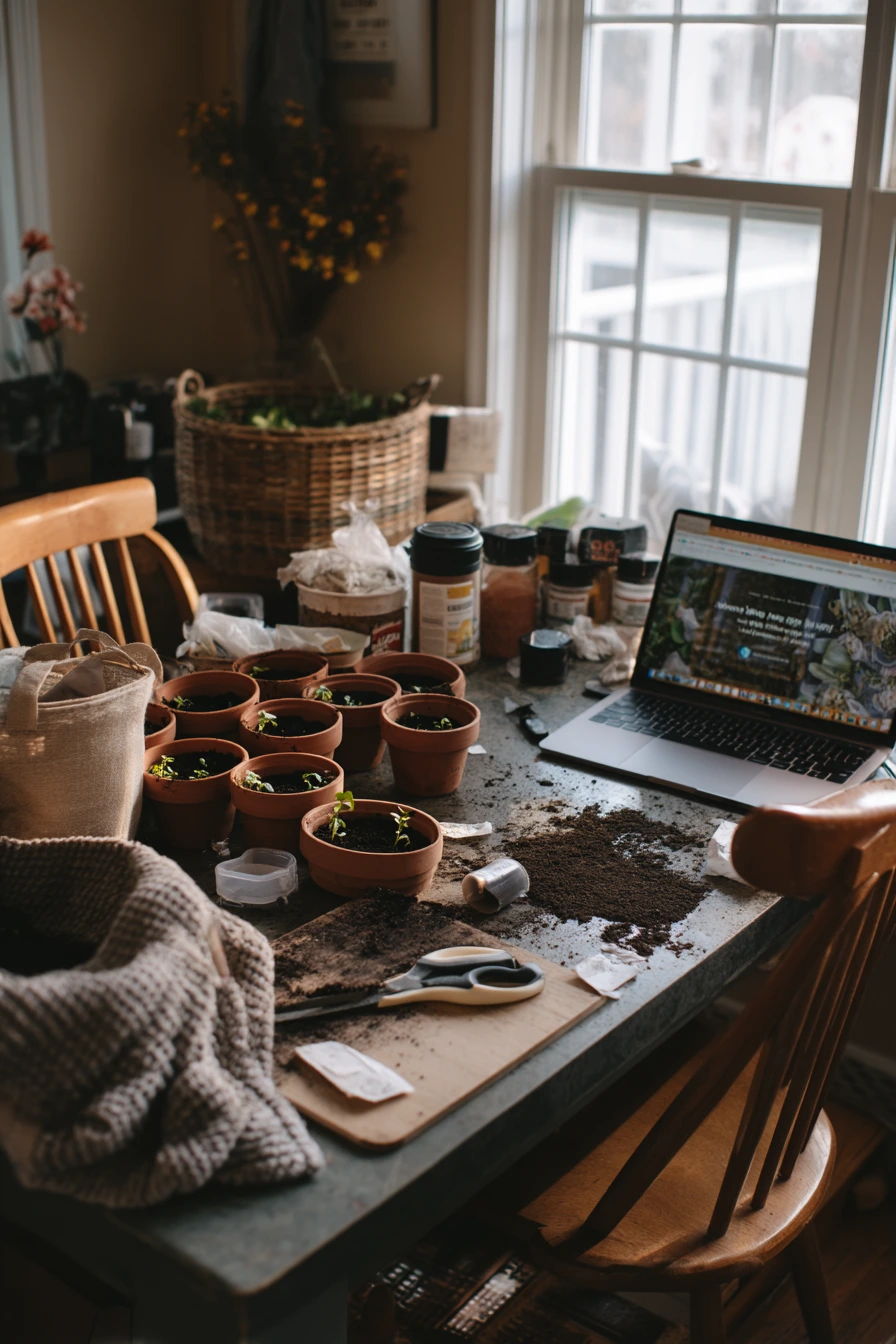
Good herb garden ideas fit into real life, not perfect rooms. A windowsill, a balcony, a rolling cart, or a small shelf with a grow light can all work when you match the setup to your light and your habits.
Start small with two or three herbs you cook with often, then expand as you learn what grows best in your space. Keep watering simple, harvest a little each week, and use trays and labels to stay organized.
FAQ
What are the easiest herbs to grow indoors? Basil, chives, mint, parsley, and thyme are good starters. They handle small pots and regular harvesting.
How much light do indoor herbs need? Most herbs do best with bright window light for several hours a day. If your home is dark, a grow light on a timer helps a lot.
How often should I water my herb pots? Water when the top inch of soil feels dry. The schedule changes with season, pot size, and light.
Should I use terracotta or plastic pots? Terracotta breathes and helps prevent soggy soil. Plastic holds moisture longer, which can help if you forget to water, but it needs good drainage.
Can I grow herbs in water only? Some herbs like mint can root in water, but most grow better long-term in soil with nutrients.
Why are my herbs tall and weak? They likely need more light. Move them closer to a brighter window or use a grow light, and pinch tips to encourage branching.
How do I keep my herbs from attracting bugs? Do not overwater, remove dead leaves, and give plants airflow. If needed, rinse leaves and use a mild soap spray made for plants.
With a small plan and a clear spot to grow, fresh herbs can become part of your daily cooking routine.