
Spring garden ideas do not need a big yard or a big budget. You can grow herbs, flowers, and early vegetables on a patio, balcony, porch, or even a kitchen windowsill.
This guide uses real-life layouts like terracotta herb pots on a narrow townhouse patio, railing planters on a renter balcony, and raised garden beds in a busy family backyard. Each section includes easy styling ideas that also help your garden work better.
You will also get practical steps for watering, soil, and plant choices, plus small details that make the space feel calm and lived-in, like a folding bistro chair, seed packets, and simple labels.
Pick one setup that matches your space, then copy the checklist. Small changes now can lead to stronger plants and a nicer outdoor routine all season.
1 1. Small Patio Herb Corner
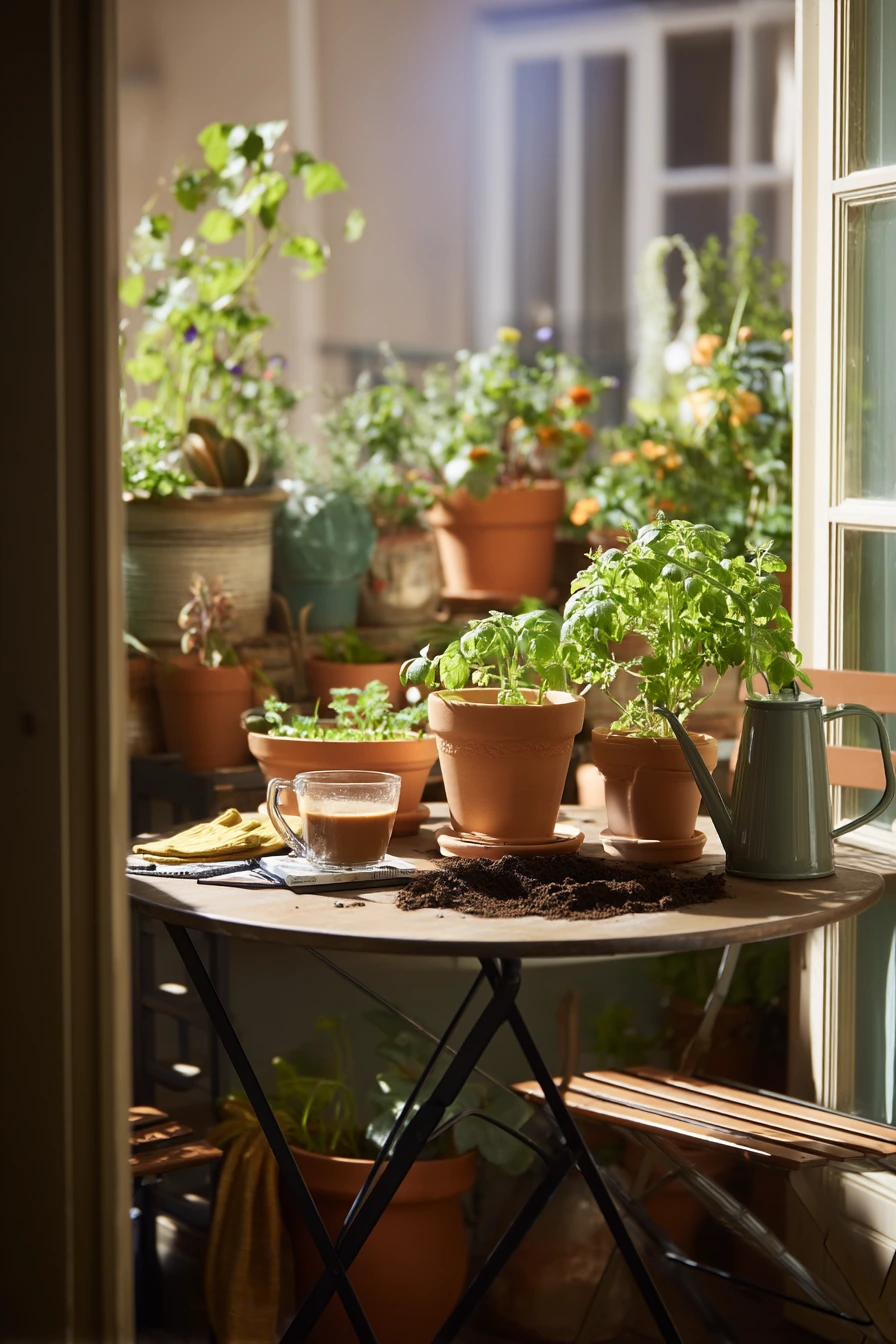
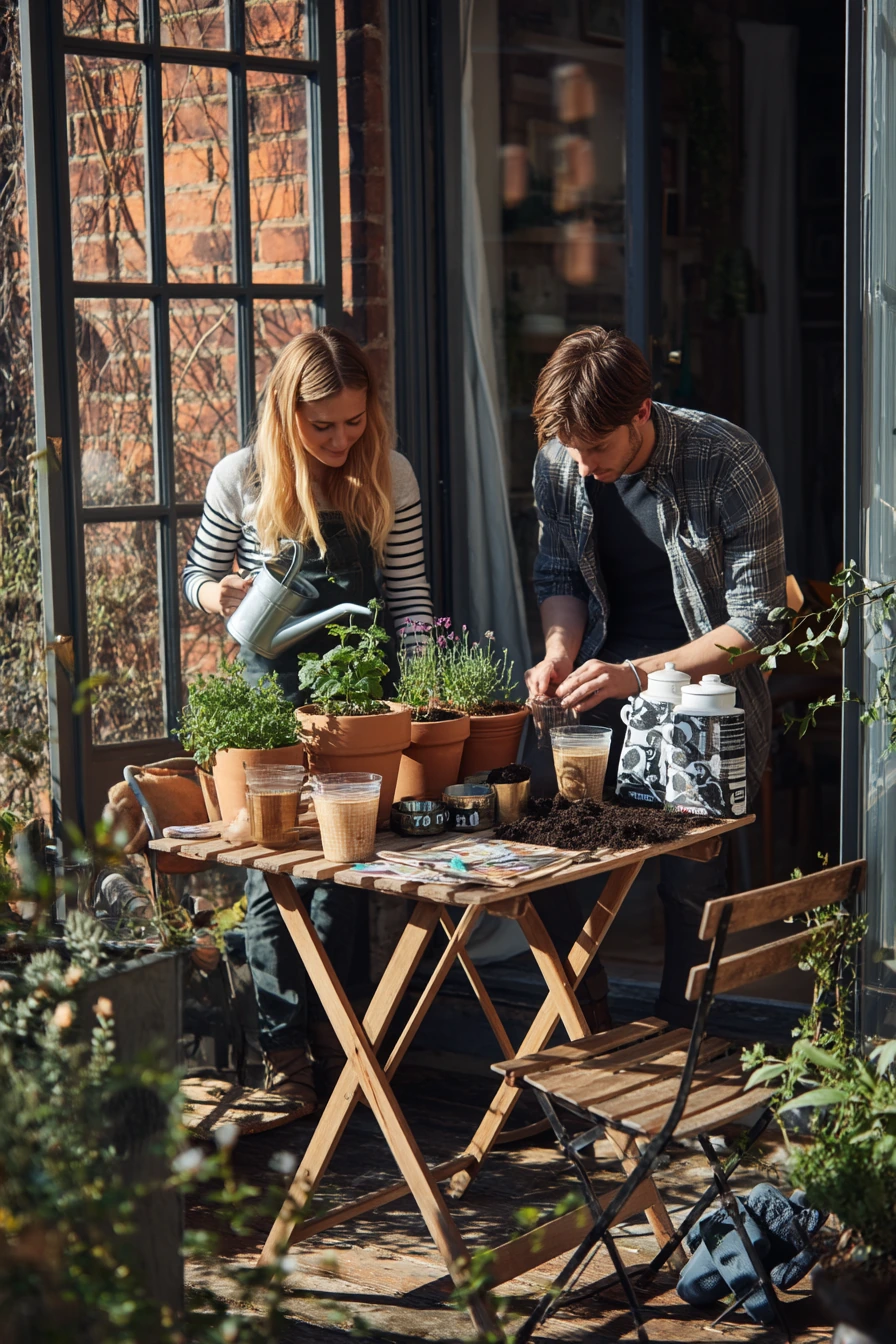
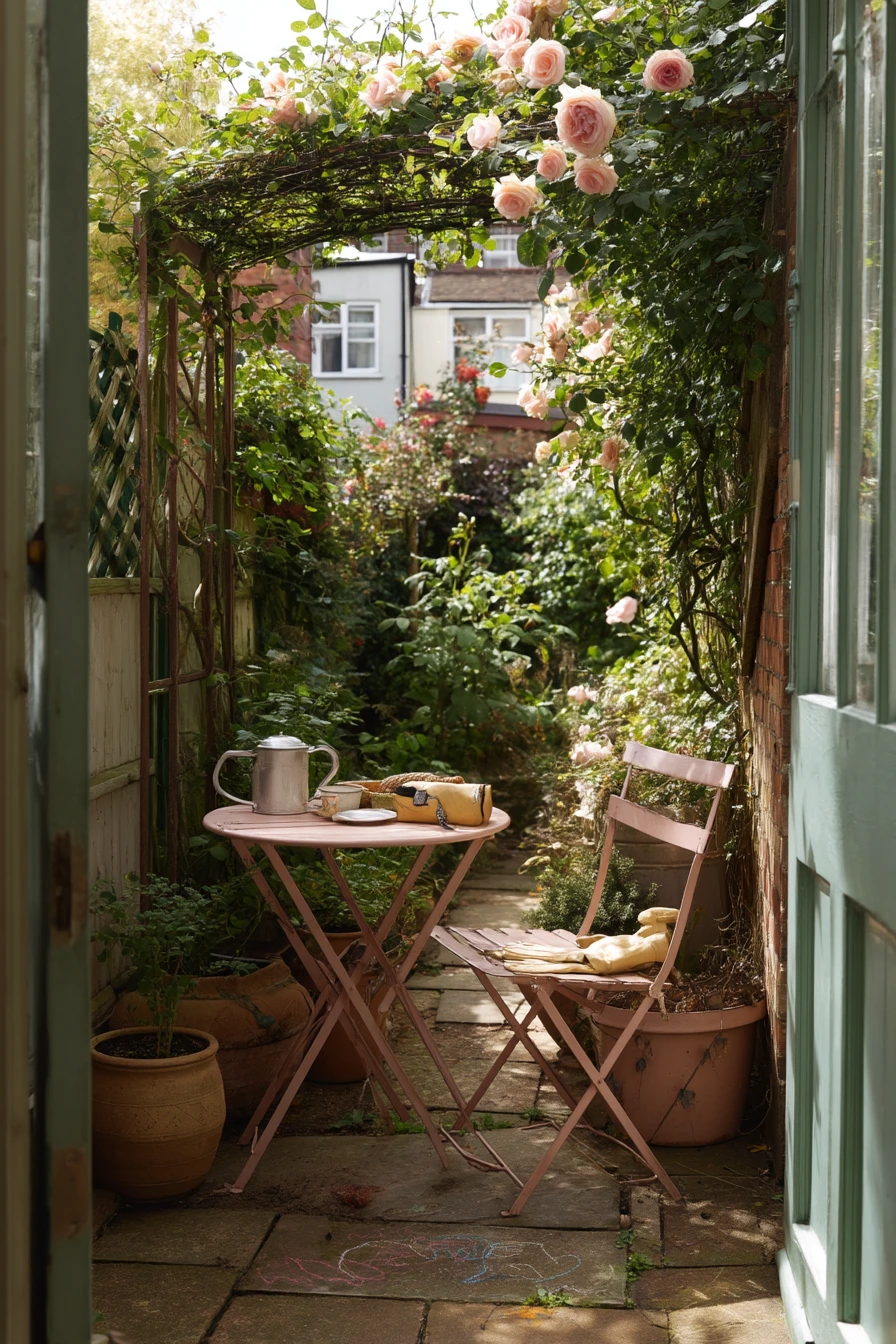
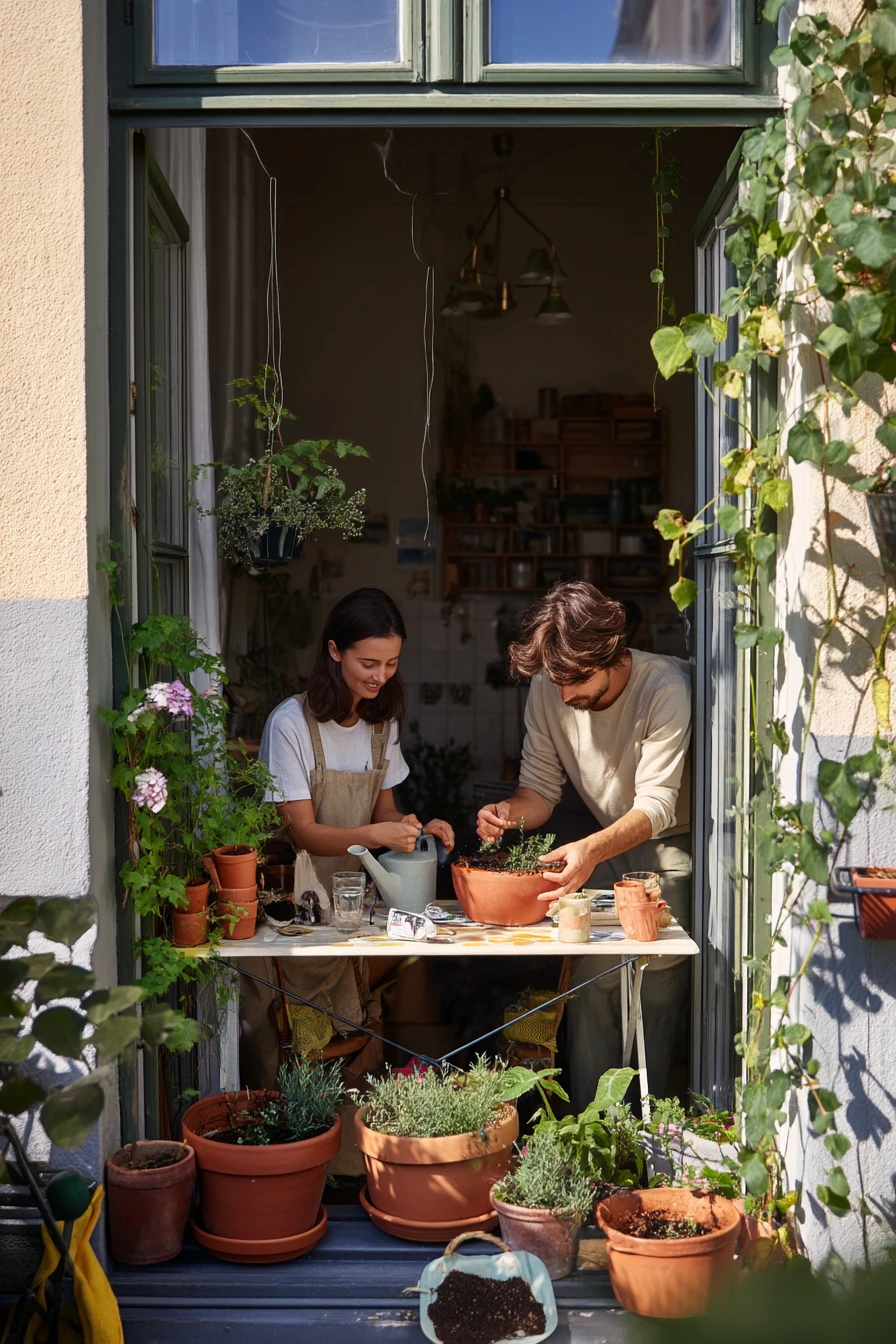
A narrow townhouse patio can still hold a strong spring garden if you treat it like a small outdoor room. Start with terracotta herb pots because they breathe and help roots stay healthy. Place them where you can reach them fast from the kitchen door, since you will water and snip herbs often. A watering can stored near the door makes the habit easy.
Use vertical space to keep the floor clear. A climbing jasmine on a trellis or railing adds scent and soft leaf shadows without taking much room. Add one folding bistro chair so the patio is usable, not just a storage spot. A small saucer can hold seed packets and plant tags, so you do not lose them.
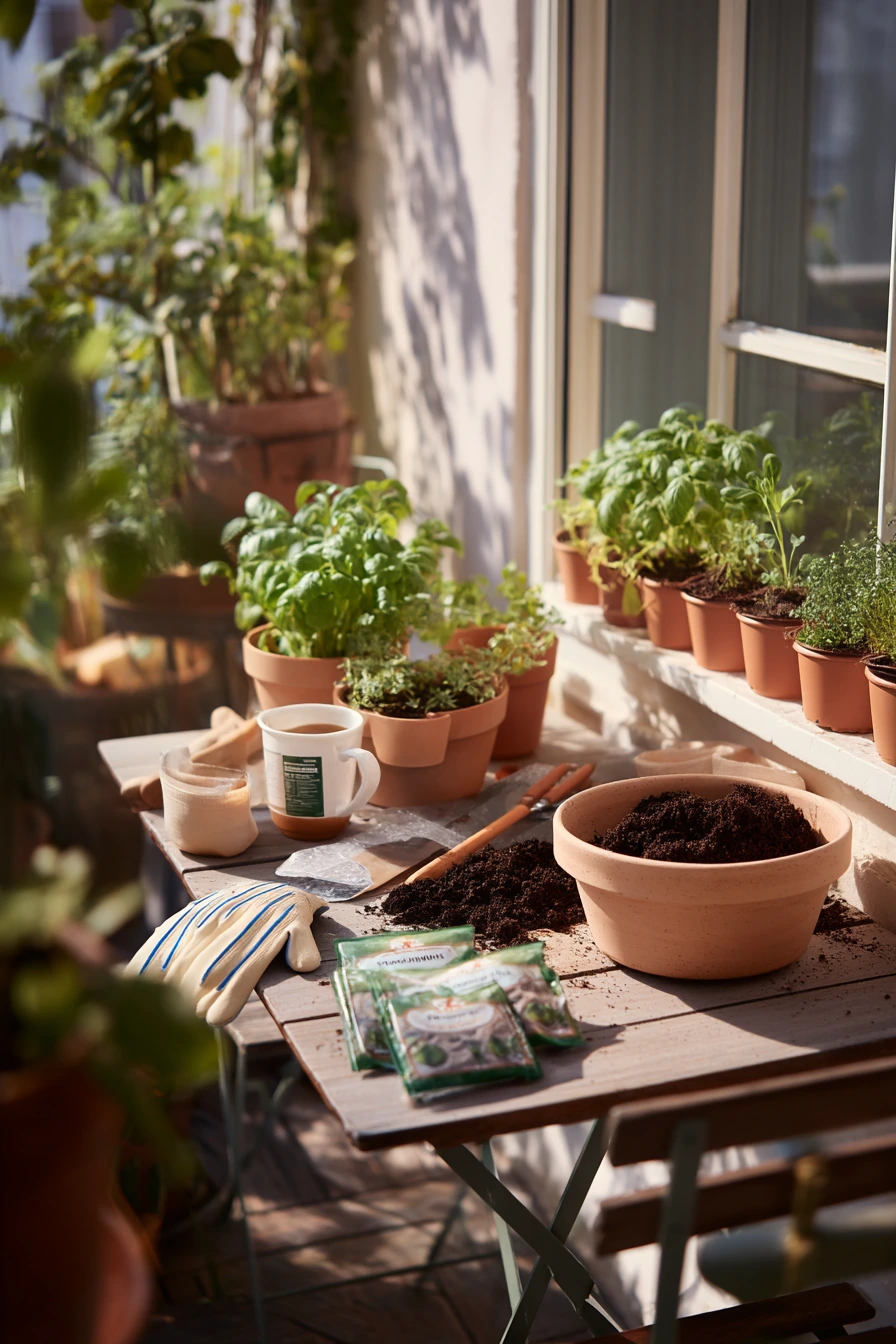
Keep the setup tidy but real. A single garden glove on the table, a half-finished iced coffee, and a bit of fresh potting soil make the space feel like daily life. For plant choices, grow basil, chives, parsley, and mint in separate pots. Mint should always stay contained so it does not spread. If light is limited, choose herbs that handle part sun and rotate pots every few days.
- Group terracotta pots on one tray to catch drips and protect the patio surface.
- Pick 3 to 5 herbs you cook with each week to avoid wasted plants.
- Label each pot and add sowing dates on a small card by the door.
- Train jasmine upward and tie stems with soft twine to prevent breaks.
- Water in the morning and check soil with your finger before adding more.
Pro Design Tip: Use one material story, like terracotta plus one wood tone, so the small patio looks calm and not crowded.
Budget Considerations: Terracotta can add up; mix in nursery pots inside simple clay covers, and reuse saucers from thrift stores.
2 2. Balcony Pollinator Setup
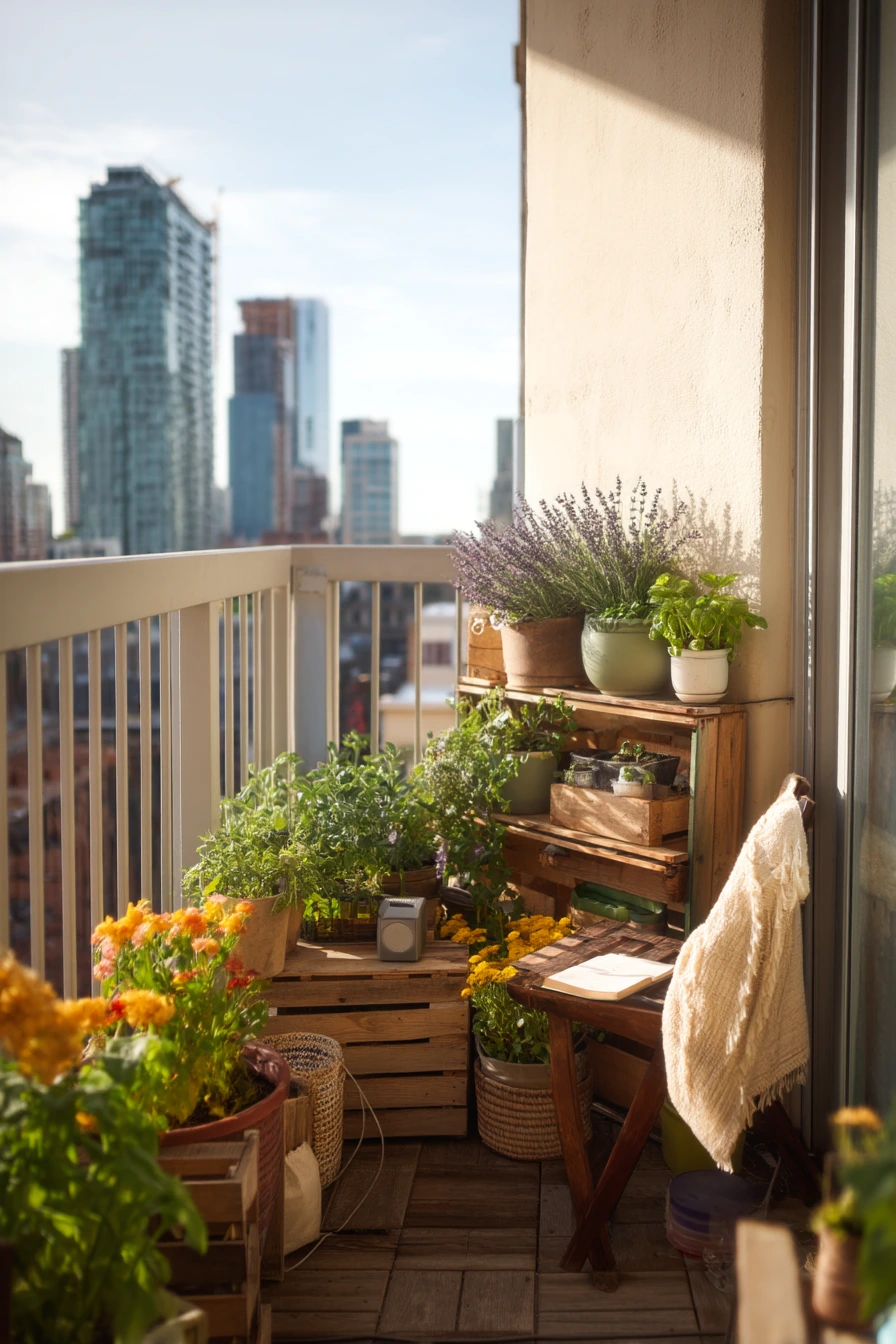
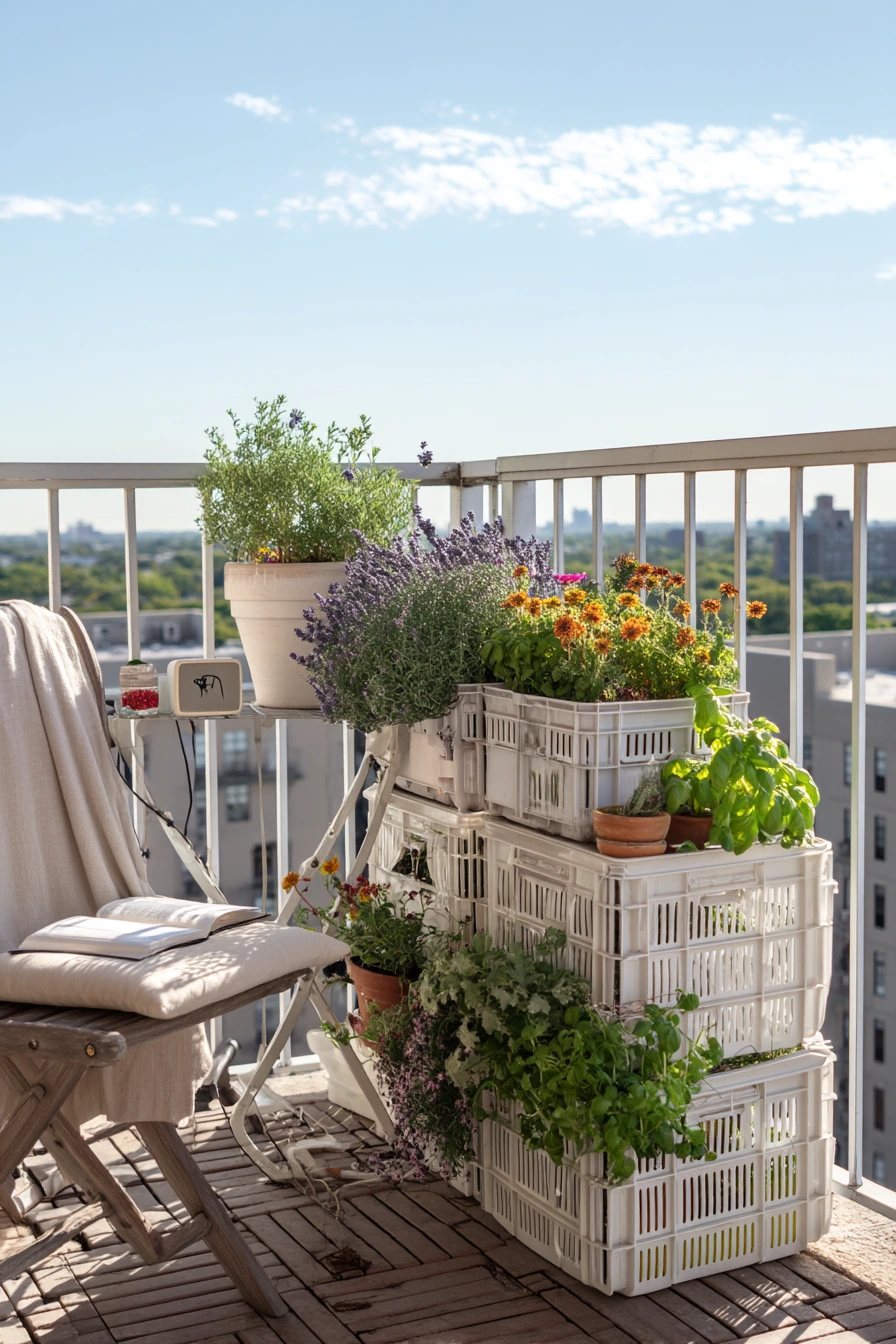
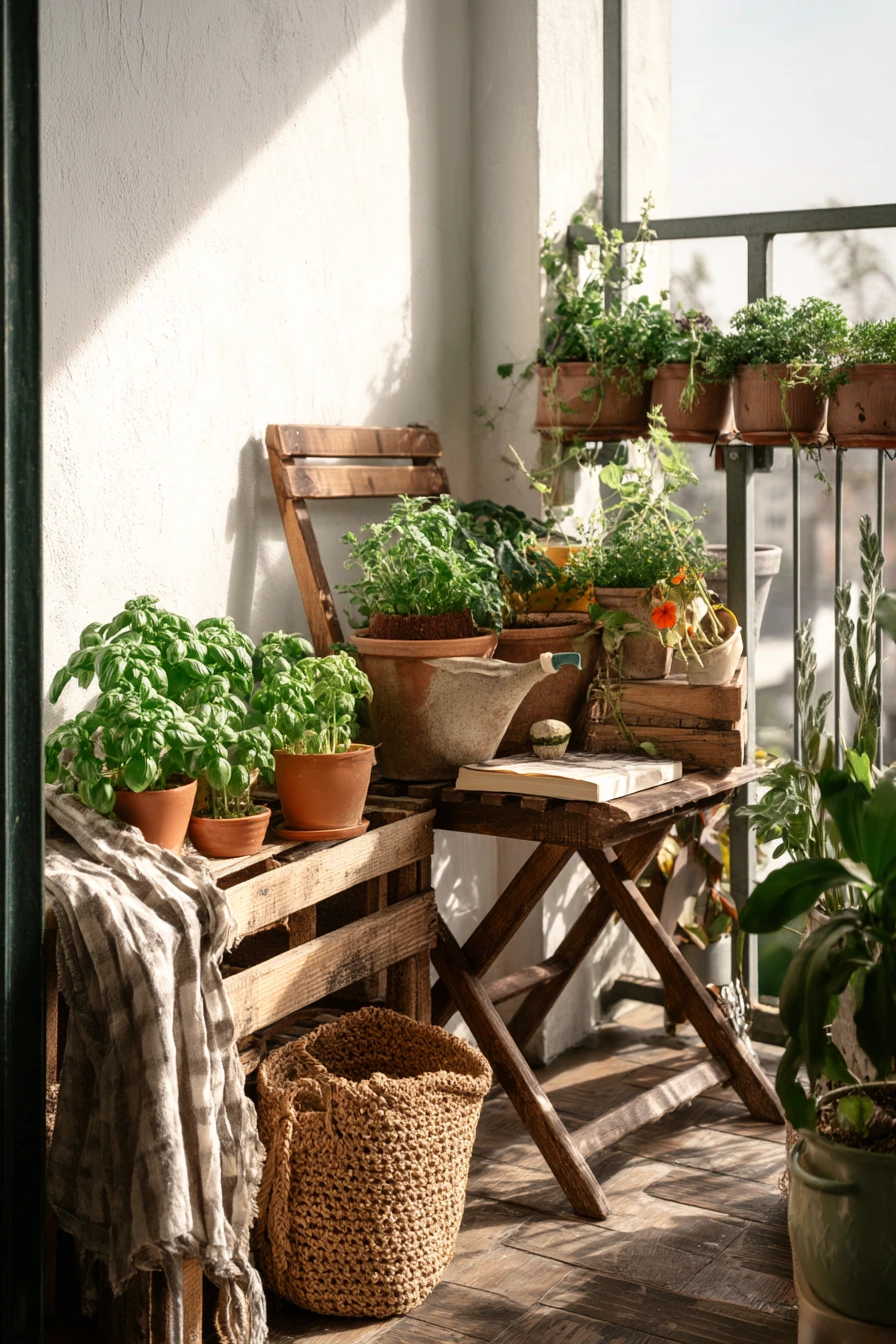
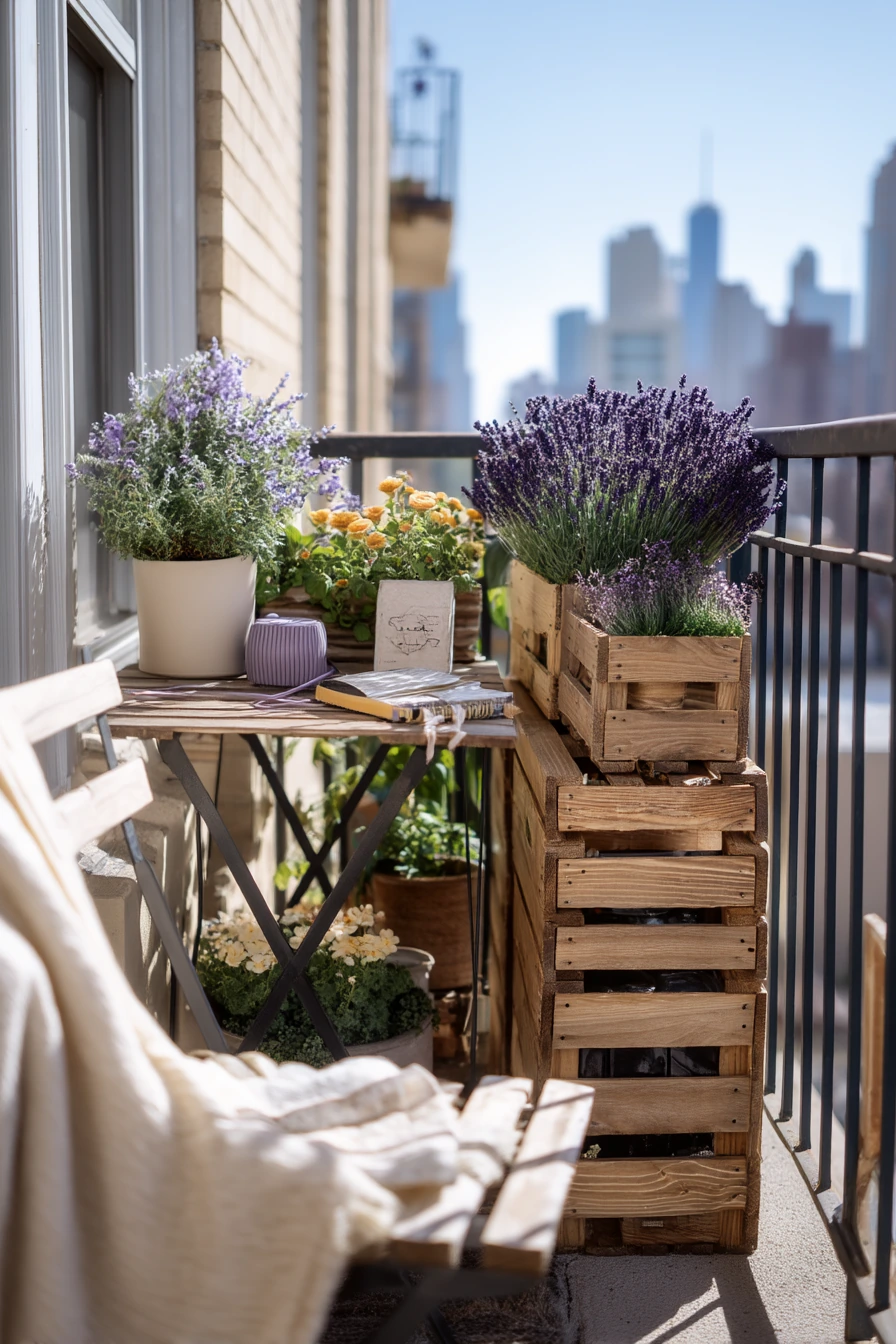
A renter-friendly balcony spring garden works best when every item is light and easy to remove. Start with railing planters packed with lavender, marigolds, and nasturtiums. These give scent, color, and long bloom time. Nasturtiums also spill nicely and soften hard rail lines.
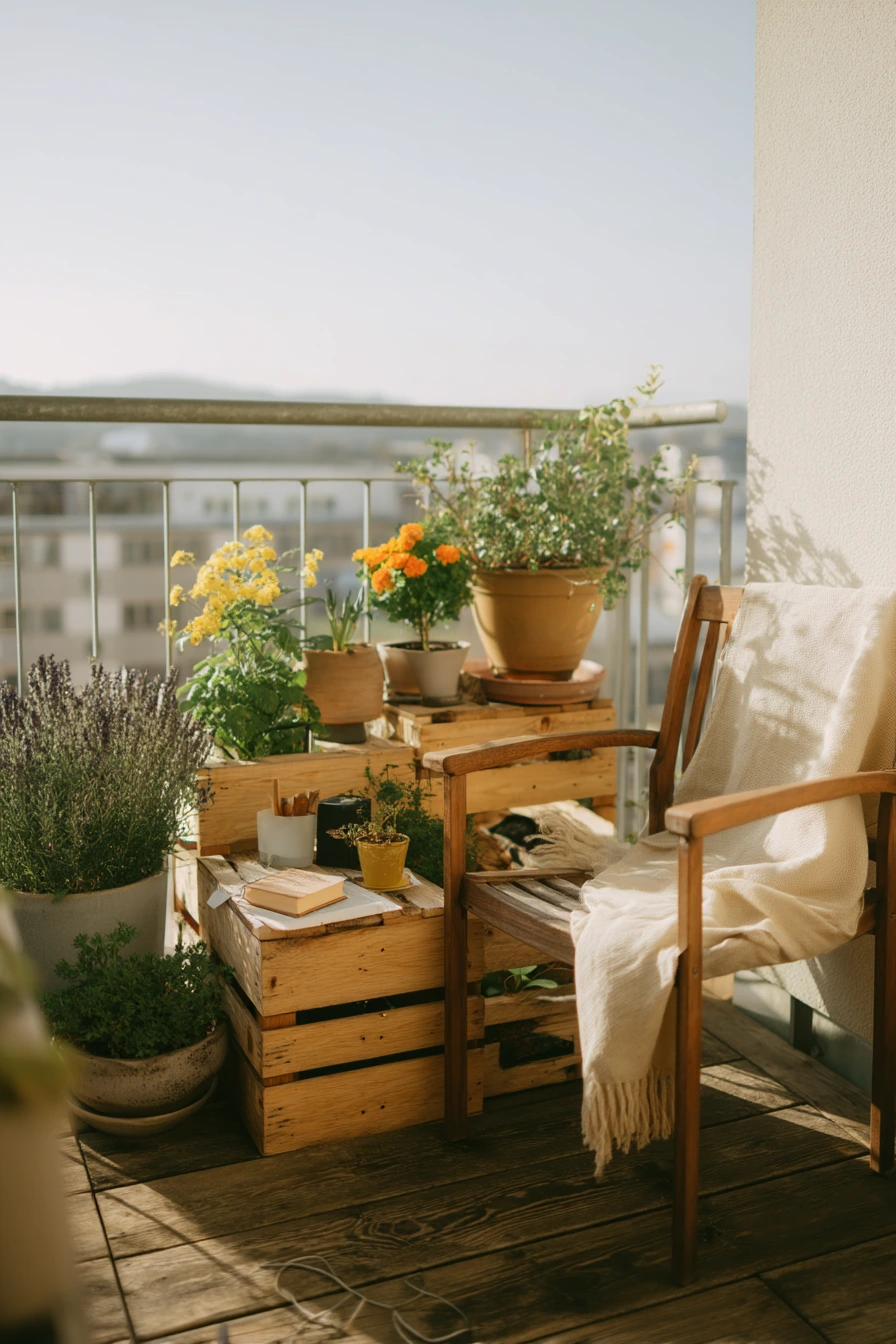
Add lightweight crate shelves for extra pots, a clay saucer stack, and a compact compost bin if your building allows it. Keep it simple so it does not smell or attract pests. A small open notebook with planting dates helps you stay on track. Put it in a zip pouch so wind and water do not ruin it. A chair with a slightly wrinkled throw makes the balcony feel like a place to sit, not just a plant zone.
Style it like a lived-in corner. Tuck a charging cable and a small Bluetooth speaker on a shelf so you can stay outside longer. In afternoon light, check how shadows fall. Place taller plants toward the wall side so they do not block the skyline view. Choose a few matching pots to reduce visual clutter, then let the flowers do the talking.
- Use railing planters with secure brackets and check weight limits before filling with wet soil.
- Combine one upright plant (lavender) with one bright bloomer (marigold) and one trailer (nasturtium).
- Set saucers under pots to protect balcony flooring and reduce water runoff.
- Keep a small hand brush to sweep soil off the floor after potting.
- Record watering and fertilizer days in your notebook to avoid guesswork.
Pro Design Tip: Repeat one accent color, like marigold yellow, in a cushion or throw so the balcony looks planned.
Budget Considerations: Skip built-in shelving; stack sturdy crates or use a used metal cart that can roll inside during storms.
3 3. Family Backyard Raised Beds
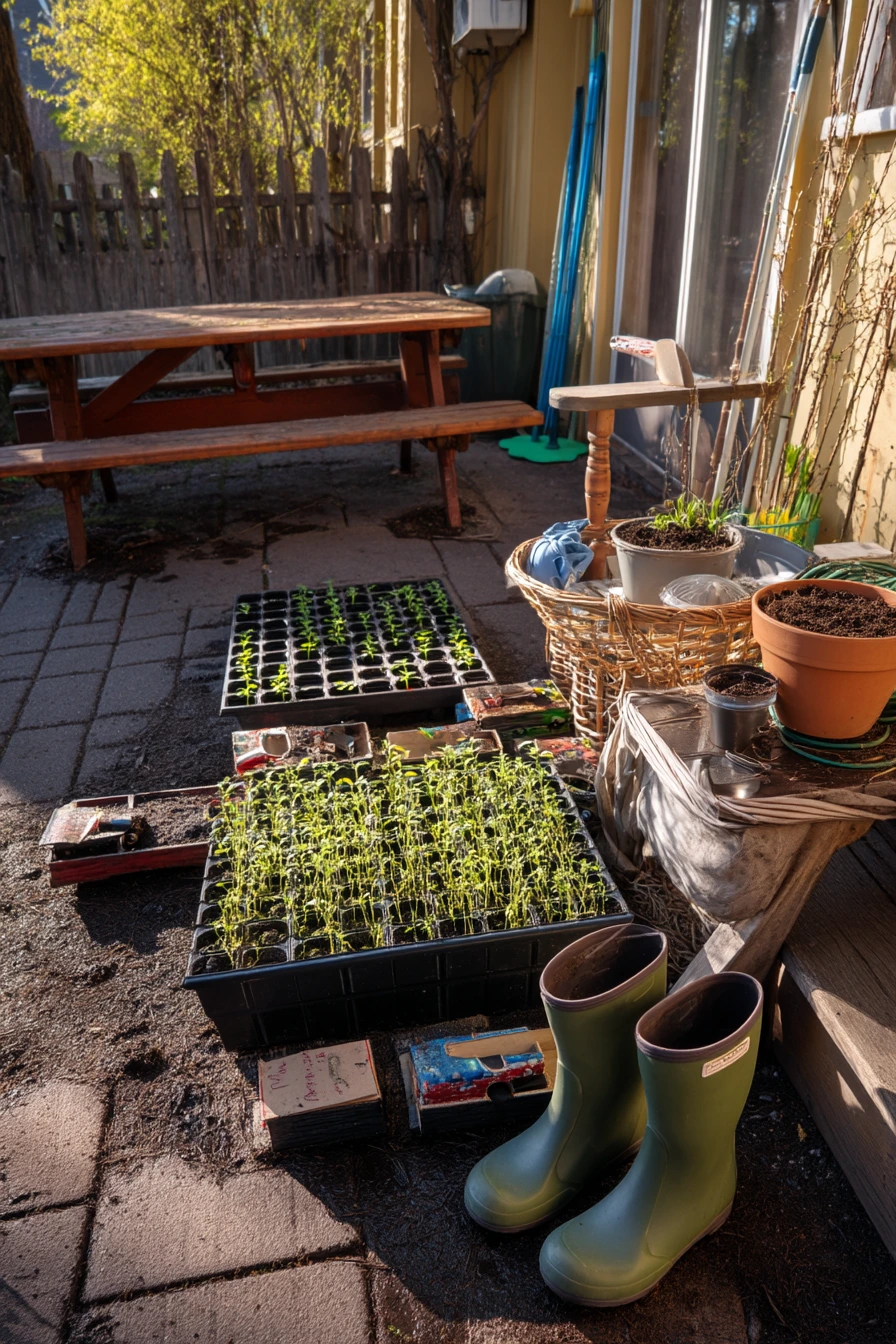
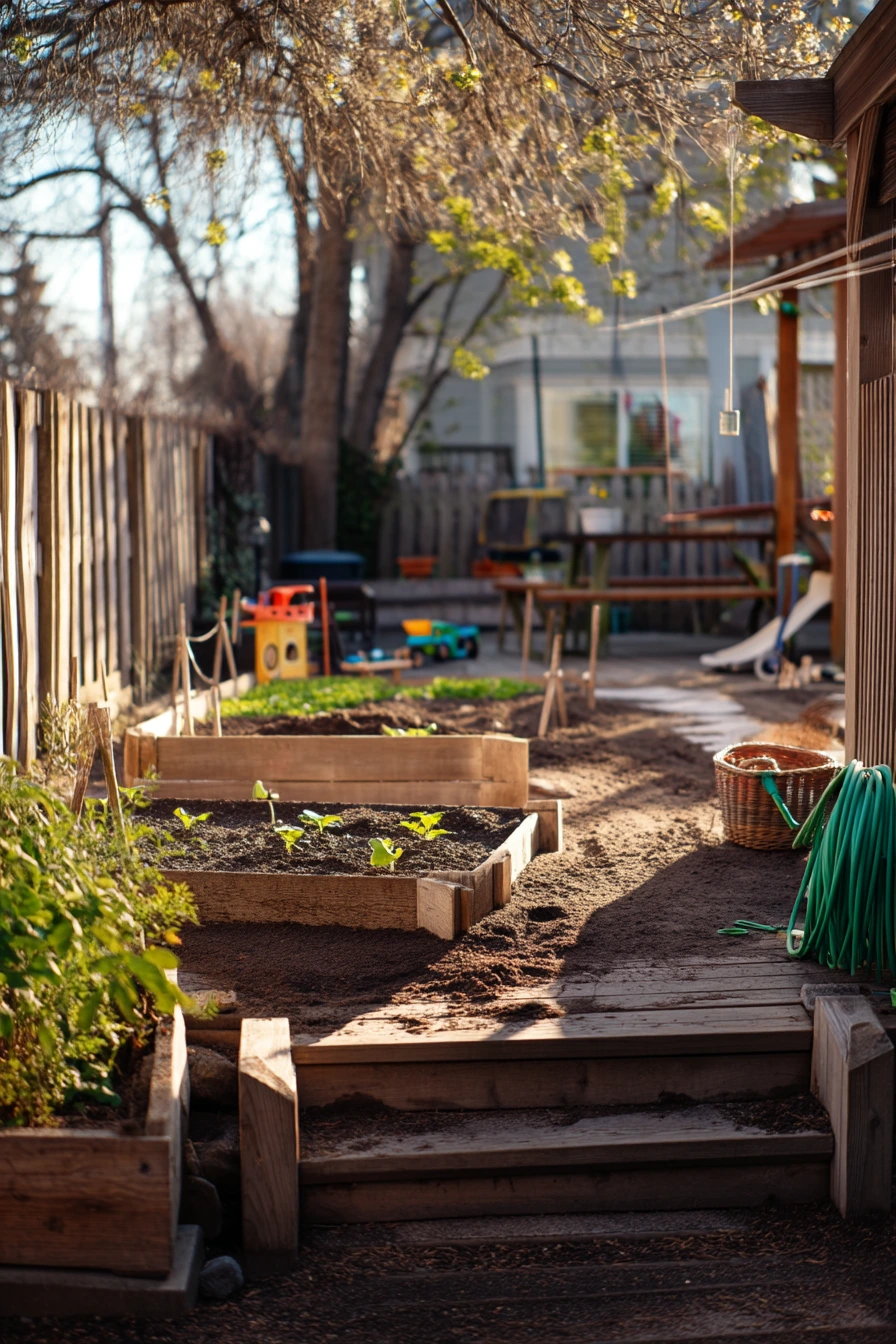
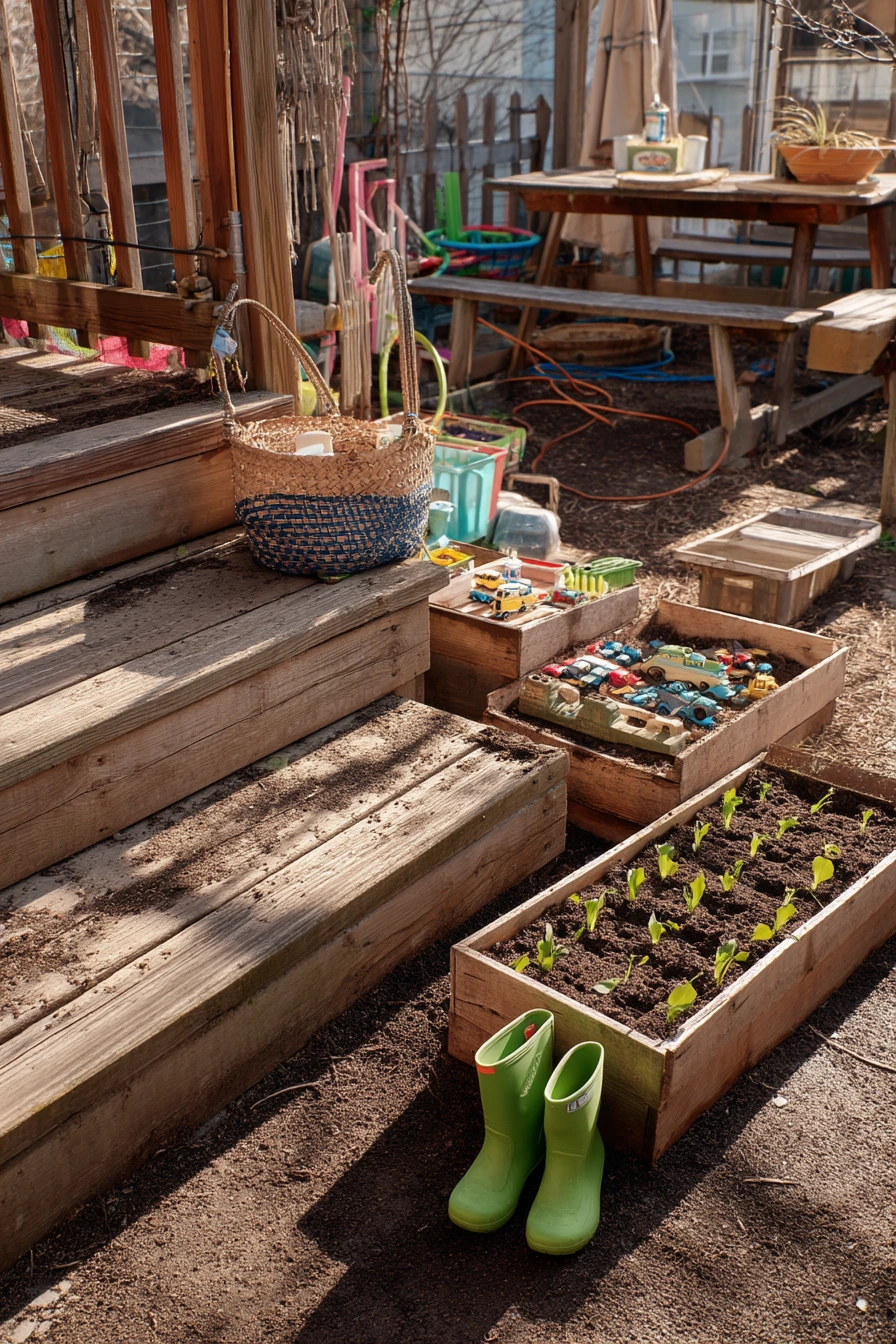
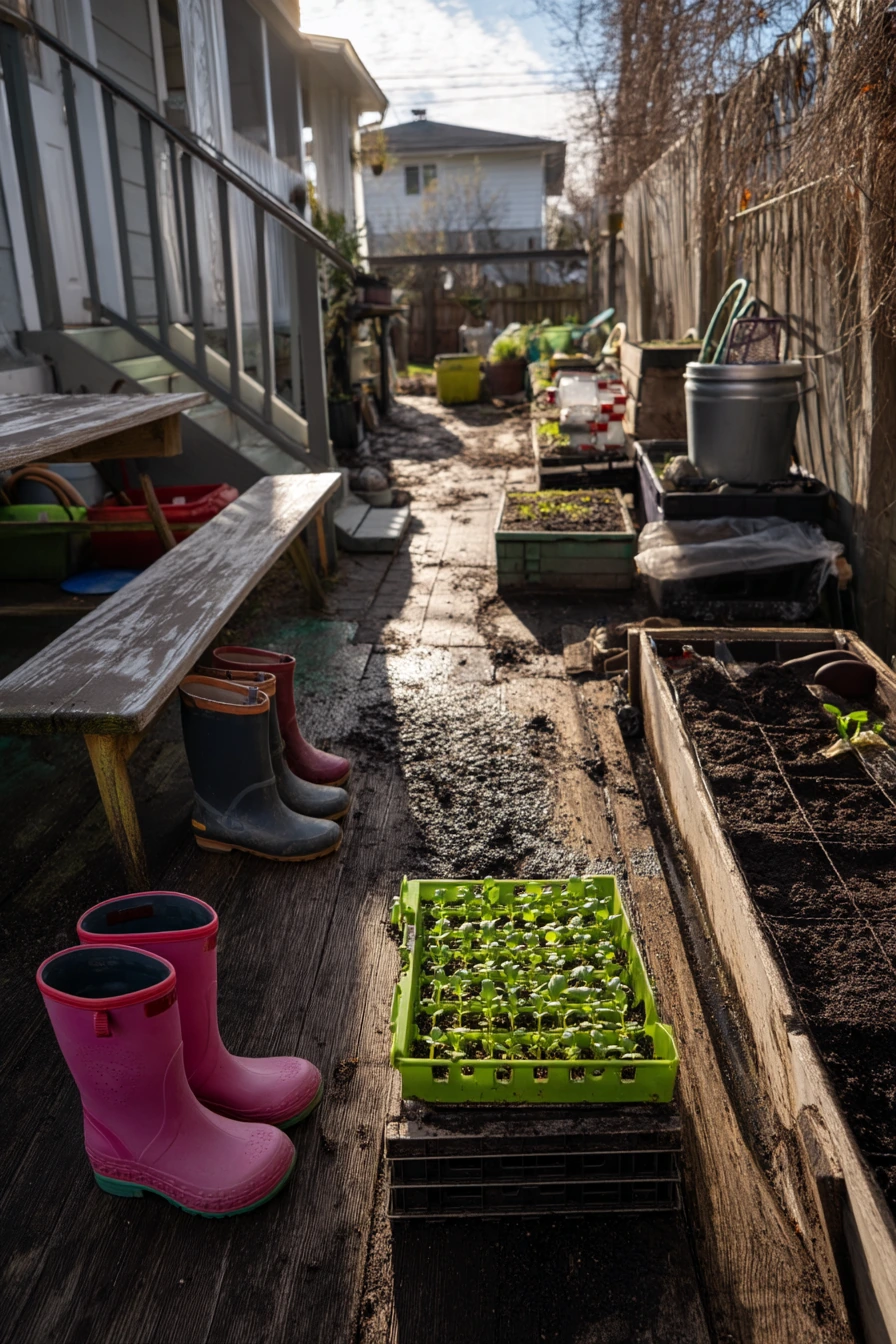
A busy family backyard can still support raised garden beds in early spring if you set up a simple routine. Keep seed trays and a small shovel in one spot so you do not waste time hunting tools. Expect mud on the patio in spring, so place a boot tray by the steps. Kids’ rain boots nearby is normal, and it helps if you plan for it.
Raised beds warm up faster than in-ground soil, which is helpful when nights are still cool. Start with pea sprouts, spinach, and lettuce. Place tomato cages beside the bed now, even if tomatoes go in later, so you are ready when the weather turns. A watering hose coiled loosely is safer than a tight pile that kinks and trips people.
Make the garden kid-friendly so it stays part of family life. Put a basket of chalk and toy cars near a picnic table to keep children close while you work. Give them one small bed corner for easy wins like radishes. Keep the path wide enough for quick movement and for a wheelbarrow later. If you only do one styling move, add a simple bin for tools so the space looks cared for, even on messy days.
- Plant cool-season crops first: peas, greens, and onions are good starters.
- Use a row cover at night if temperatures dip, and remove it in the morning.
- Assign one bed section as a “kid plot” with fast growers like radishes.
- Set tomato cages and stakes early to avoid damaging roots later.
- Keep a rinse bucket near the hose for muddy hands and tools.
Pro Design Tip: Edge beds with one consistent material and keep paths clear so the whole yard looks organized, even when toys are out.
Budget Considerations: If new lumber is costly, build one bed this year and add more later, or source untreated boards from local reuse stores.
4 4. Front Porch Container Garden
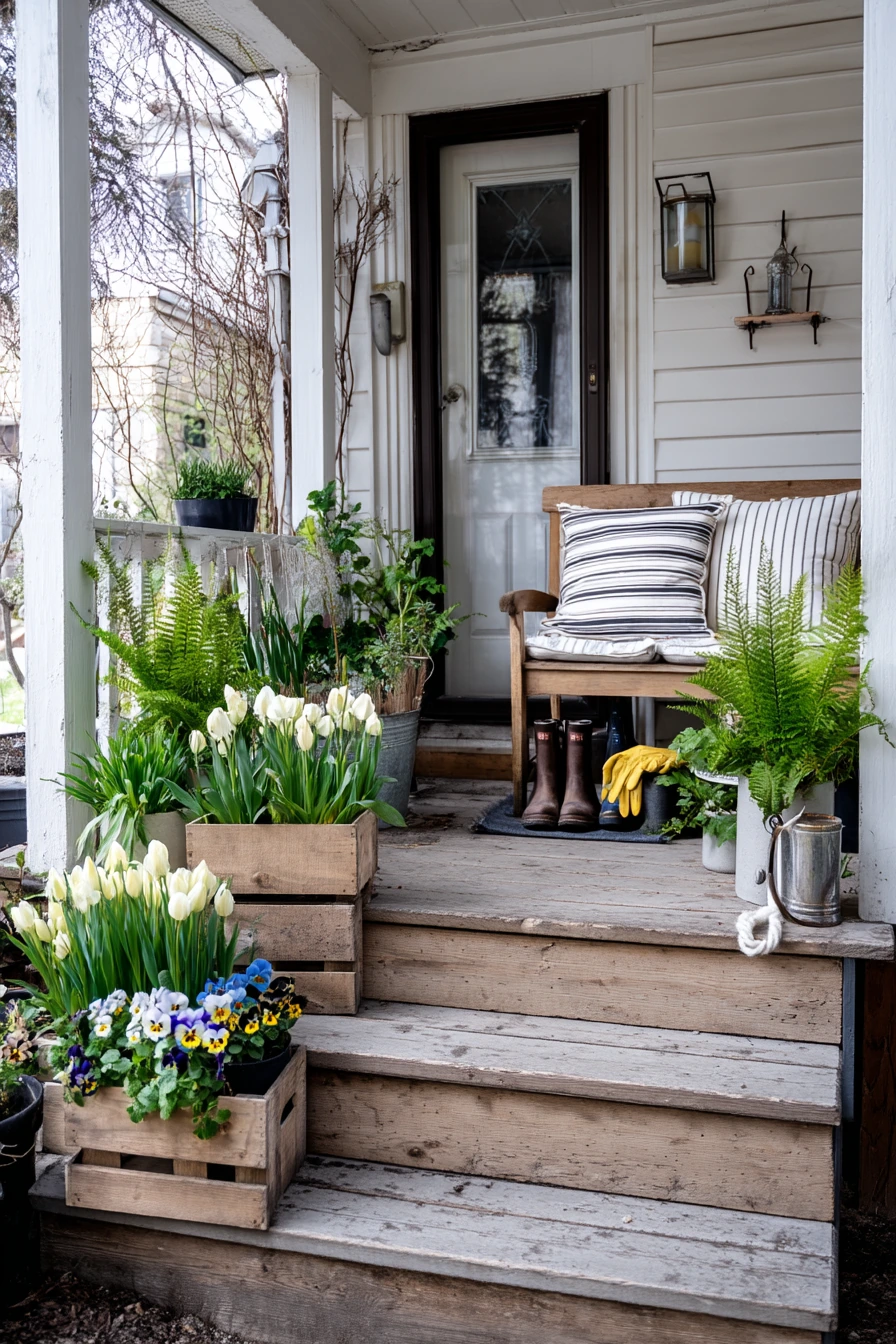
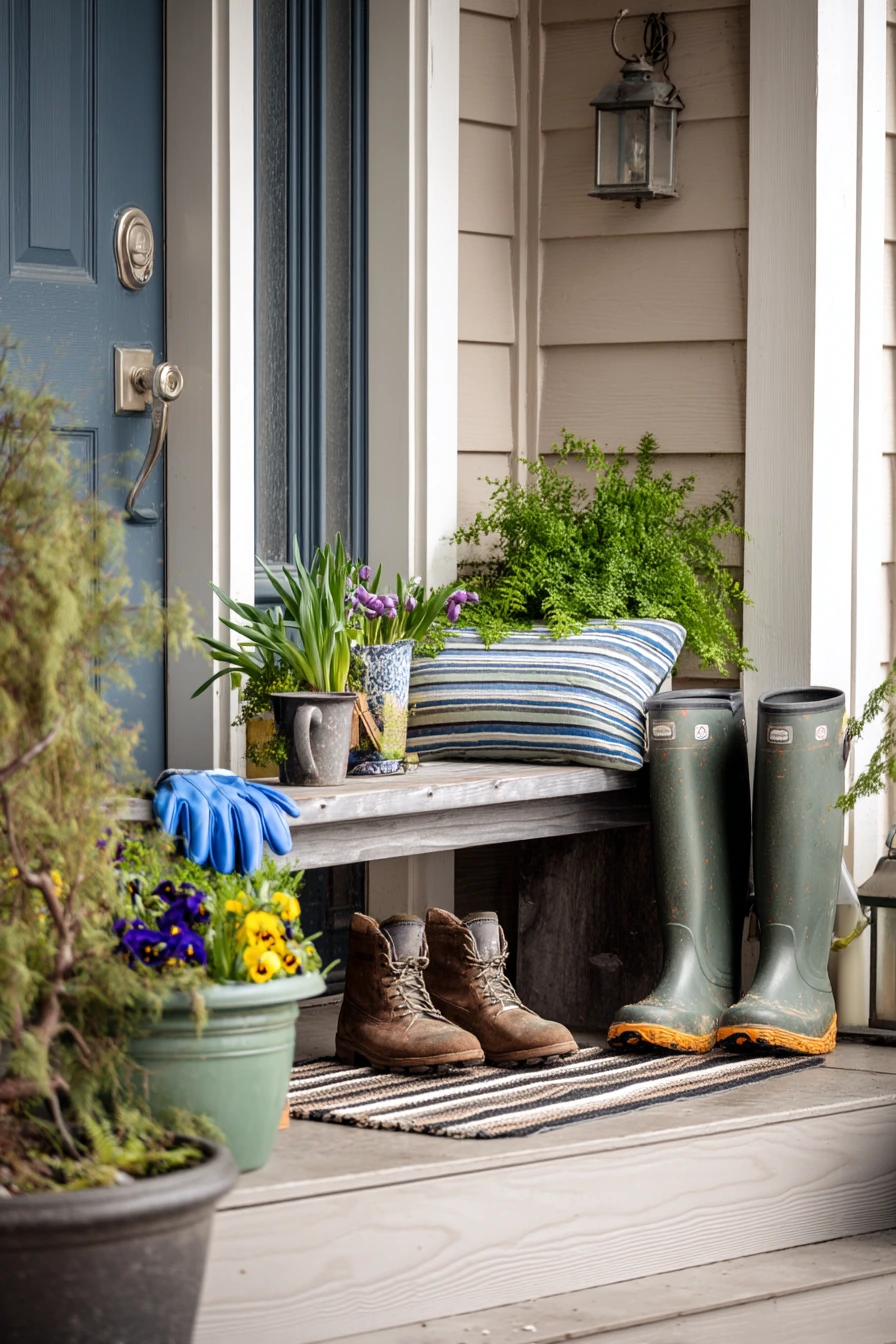
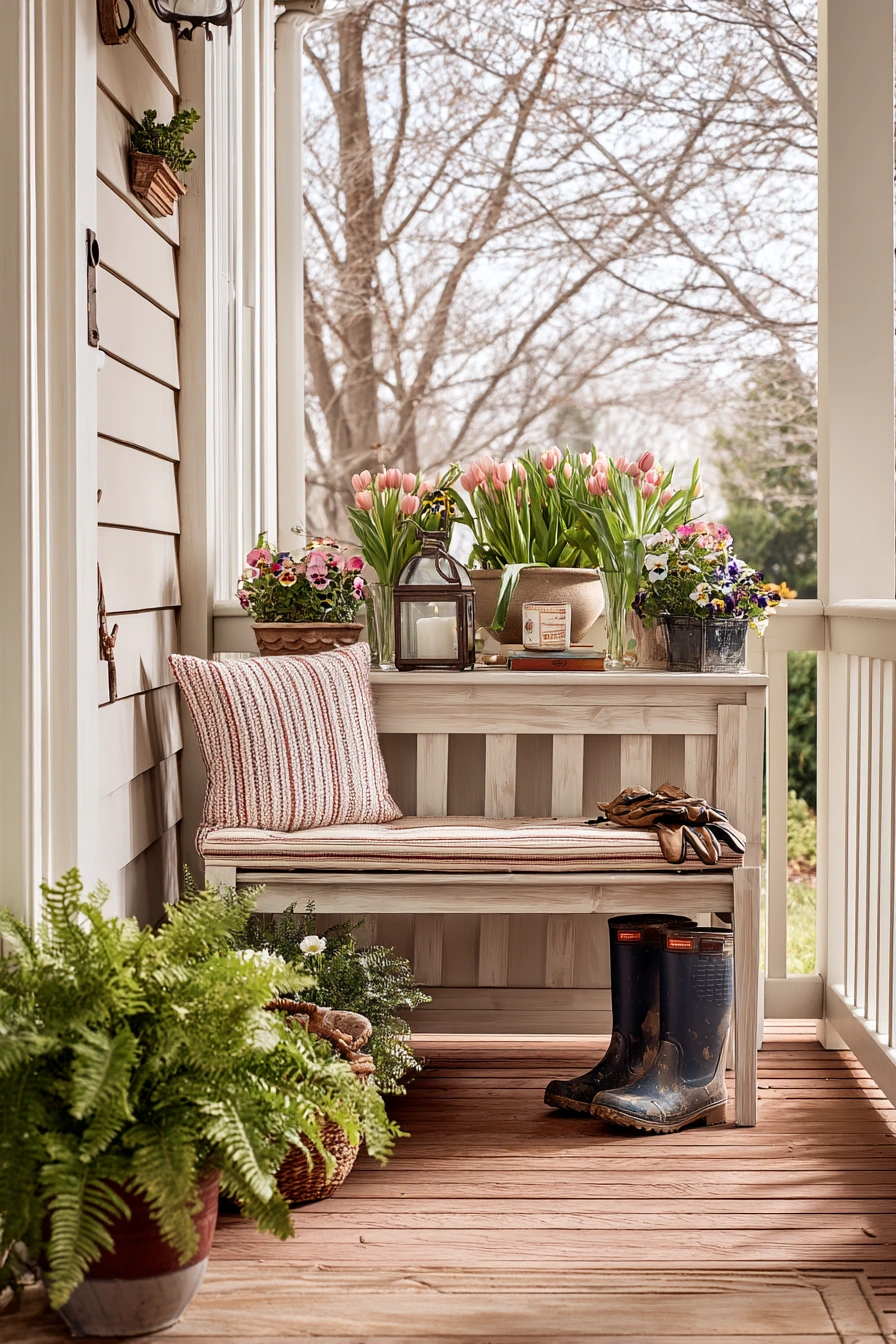
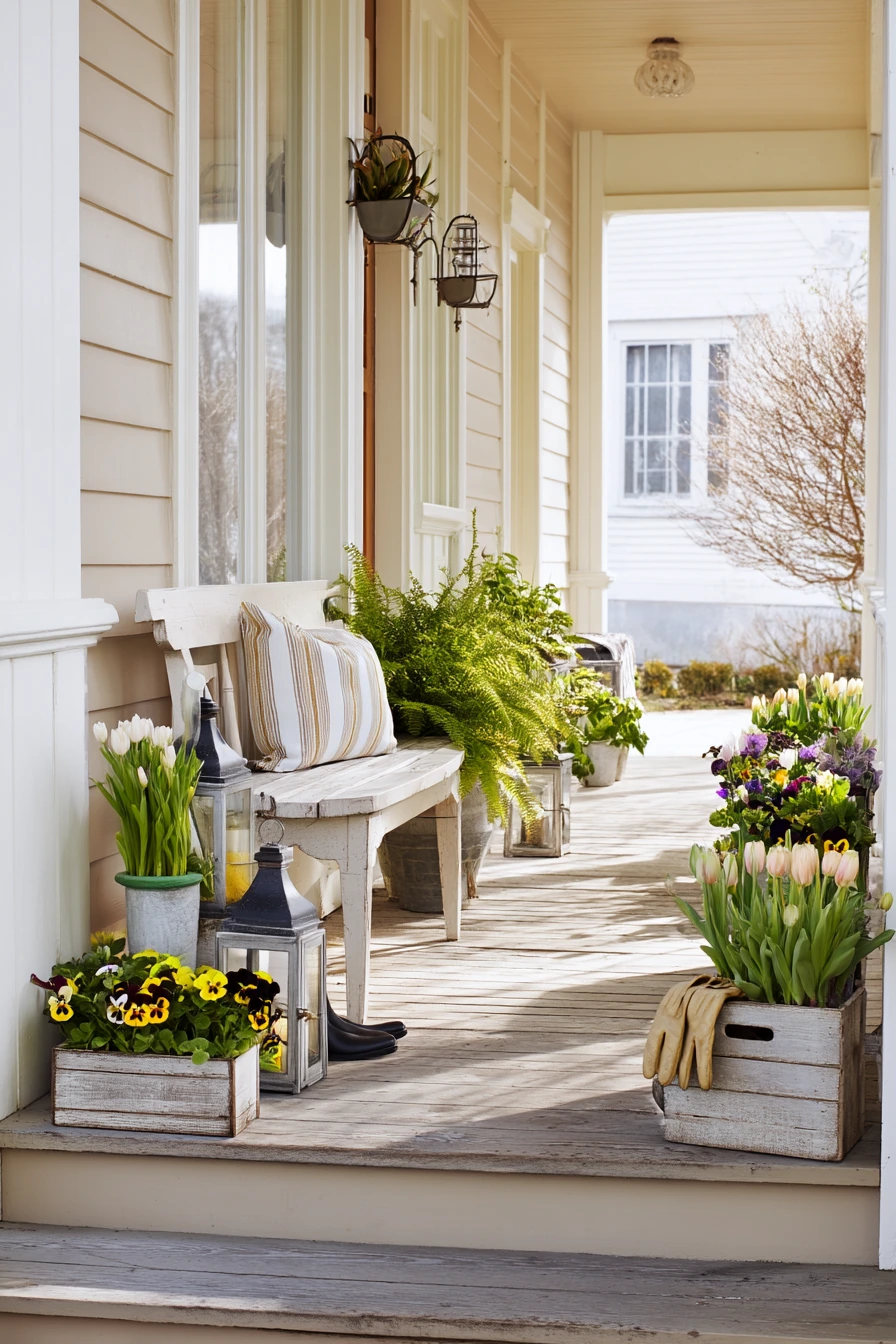
A welcoming front porch spring garden is a fast way to refresh your home’s entry. Use layered containers with tulips, pansies, and ferns for height, color, and soft texture. Place taller pots near the door and lower bowls toward the steps to guide the eye. Add lanterns for evening curb appeal without needing hardwired lights.
Keep the porch practical. A striped bench cushion creates a clear sitting zone. Put gardening gloves on the step in a small basket so they do not look like clutter. A mail stack and a dog leash by the door are real life, so give them a home, like a wall hook and a tray. Muddy boot prints happen in spring, so use a washable doormat and a boot tray to keep things neat.
For plant care, choose a quality potting mix and water when the top inch is dry. Tulips in pots need steady moisture but not soggy soil. Pansies handle cool days well, and ferns like shade, so place them where they get gentle light. If your porch is windy, use heavier pots at the corners to anchor the setup. A single ceramic mug on the rail can make the space feel warm, but keep it out of reach of pets and kids.
- Use 2 to 3 pot sizes to create layers without overfilling the porch.
- Pair one bright color (pansies) with one calm green (ferns) for balance.
- Place a tray near the door for mail and keys to reduce visual mess.
- Add a hook for the dog leash so it does not end up on the floor.
- Rotate containers weekly so blooms grow evenly toward the light.
Pro Design Tip: Match container colors to your door or trim so the entry looks tied together in photos and in person.
Budget Considerations: Use inexpensive plastic pots inside larger planters, and buy mixed pansy packs instead of single plants.
5 5. Kitchen Windowsill Seed Start
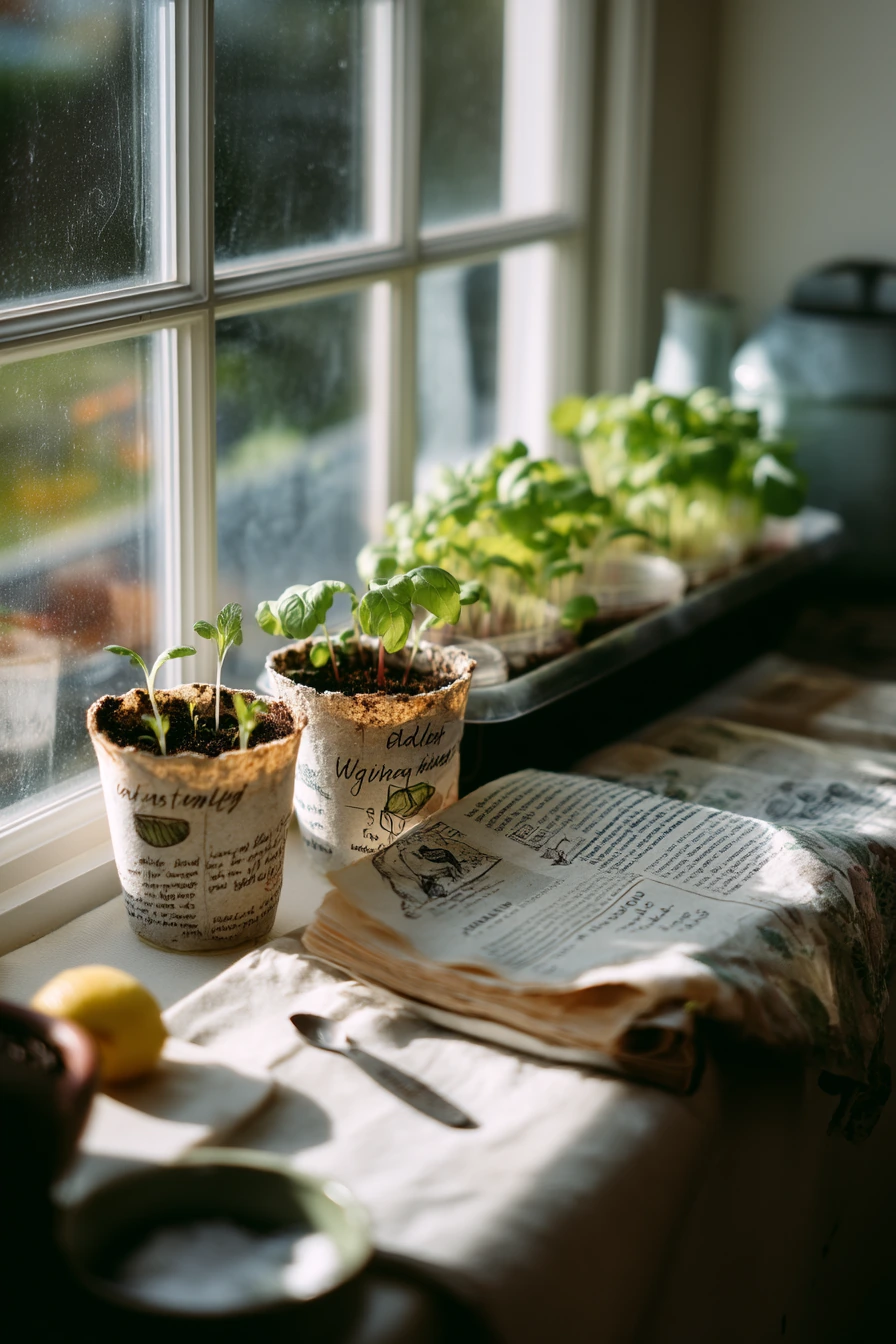
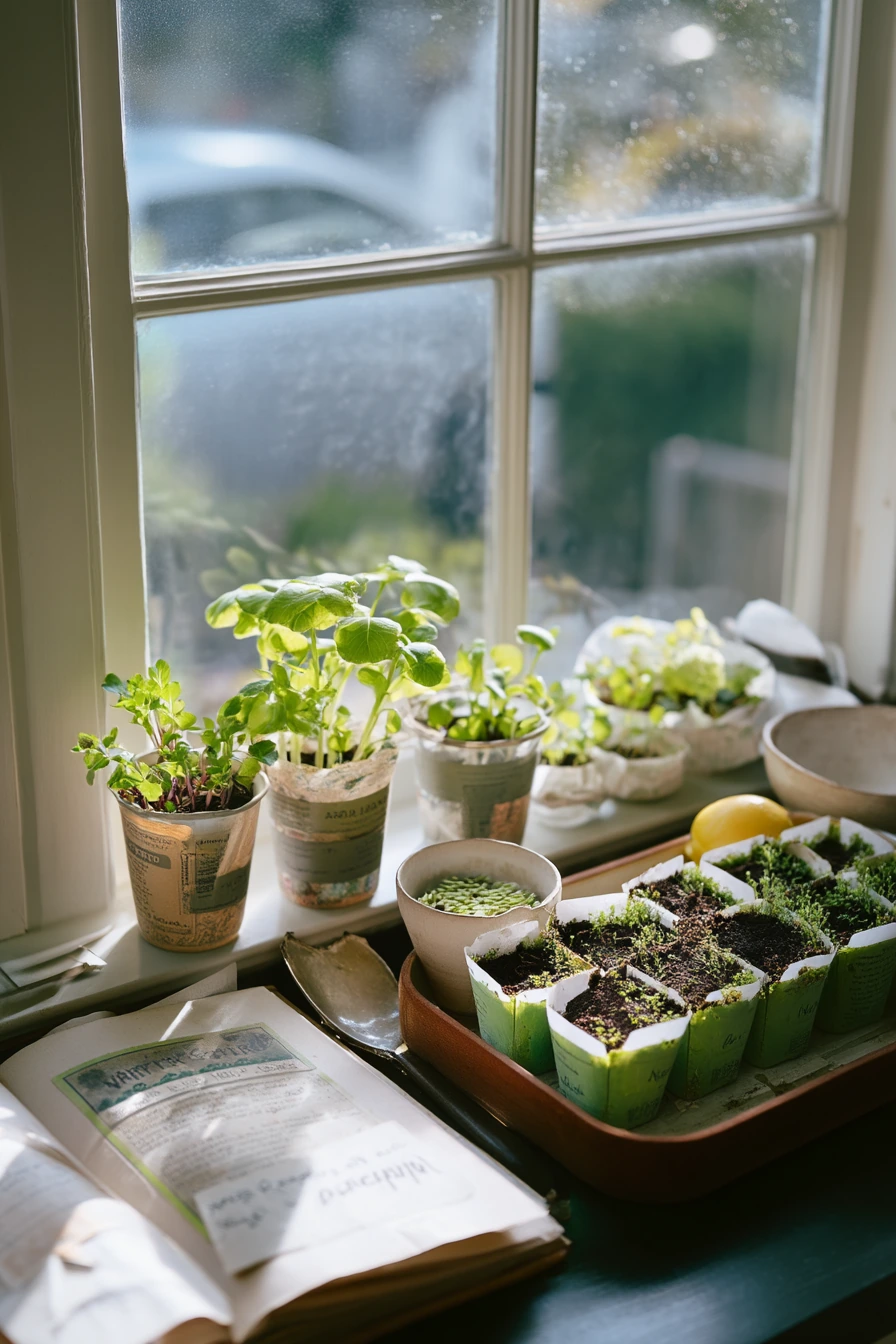
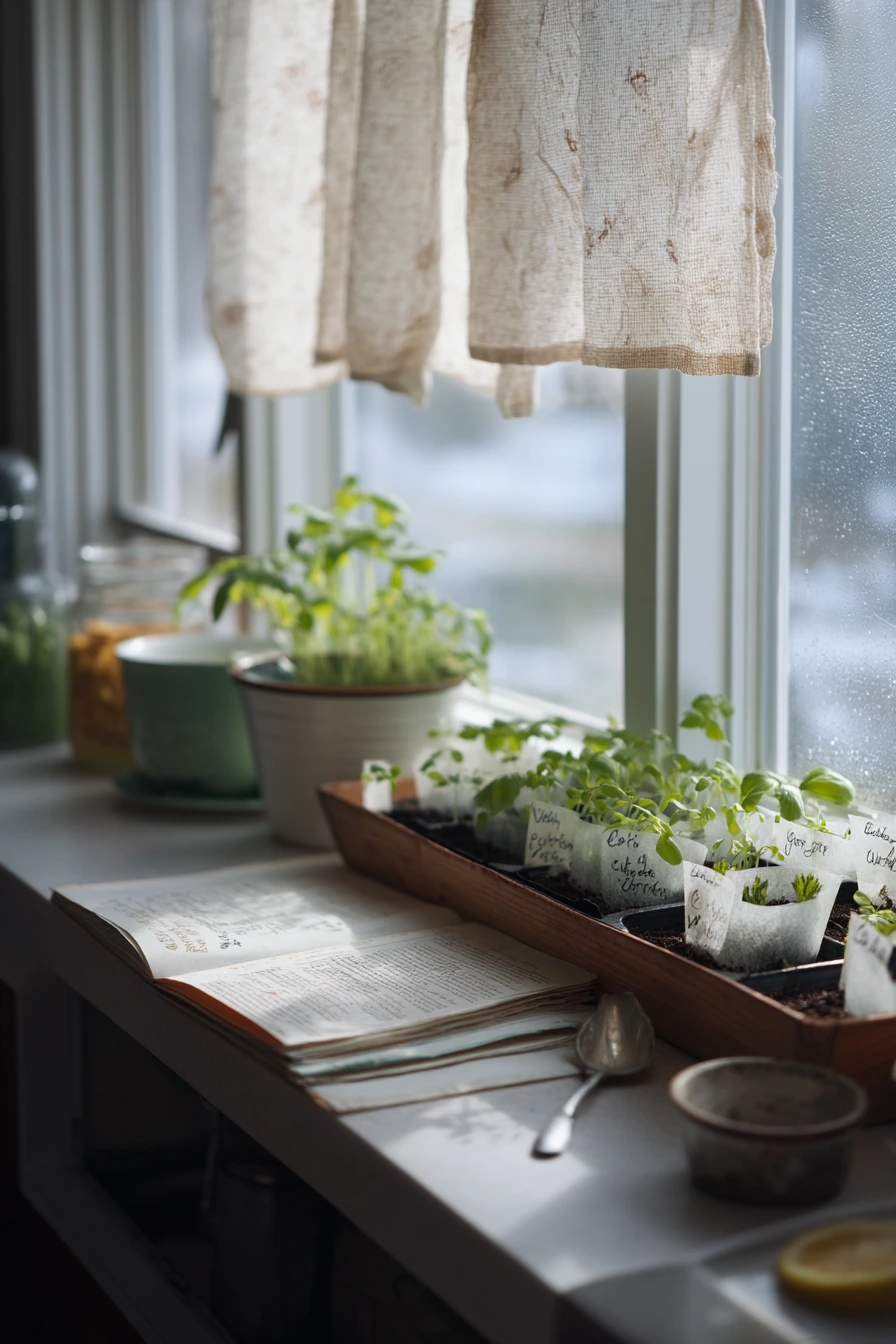
A kitchen windowsill can act like a mini greenhouse in spring. Start seedlings in recycled yogurt cups with drainage holes poked in the bottom. Place them on simple trays to catch water. Grow basil, snapdragons, and lettuce because they germinate well indoors and move outside later. Handwritten plant labels keep you from mixing up seedlings once they sprout.
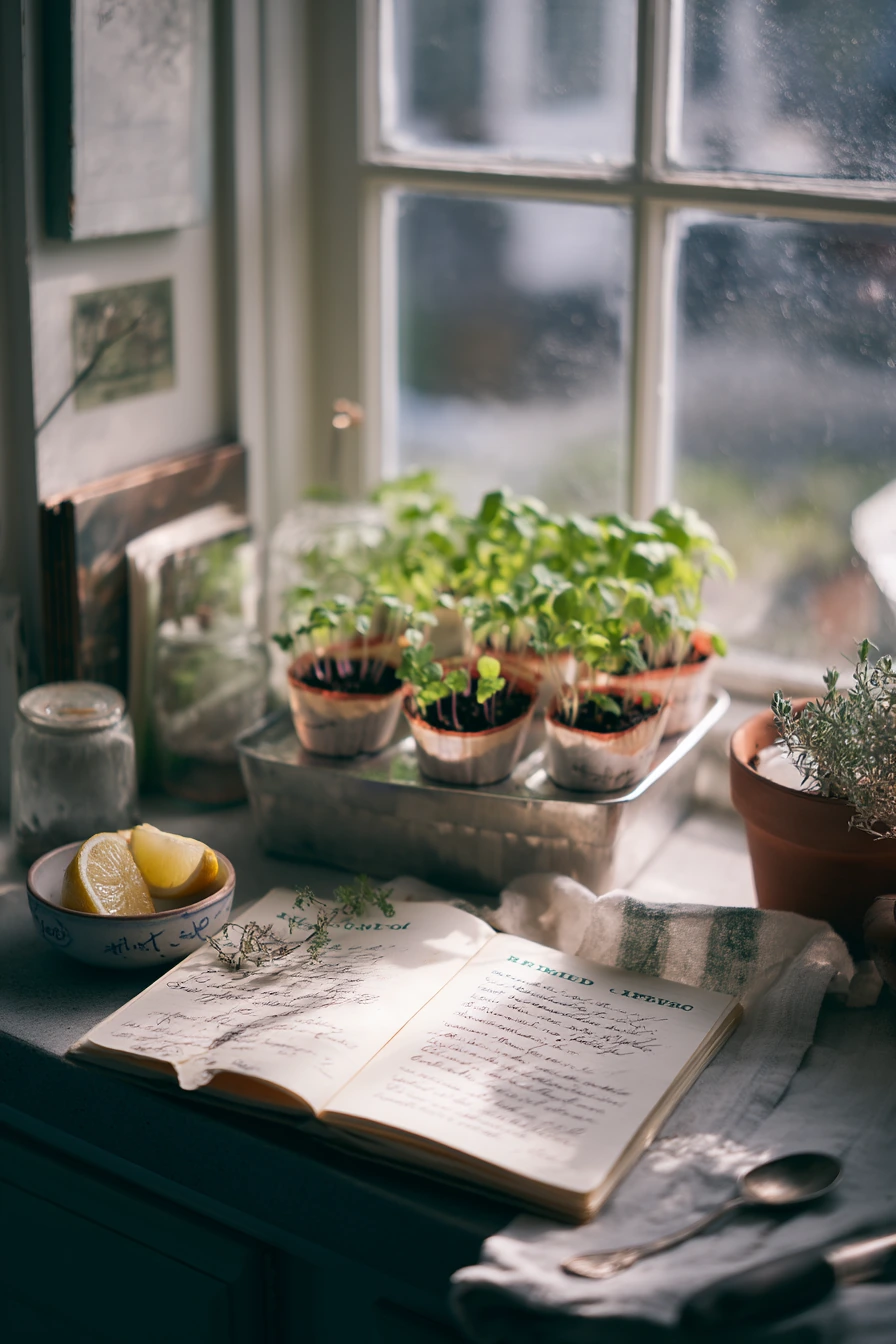
Keep the setup clean and useful. A tea towel under the tray helps with drips. An open recipe book on salad pages is a good reminder of why you are growing greens. Fingerprints on the glass are normal, but clean the window once a week to let in more light. If seedlings stretch, turn the tray every day so stems stay straight.
Make care easy and quick. Water with a spoon or small cup so you do not flood tiny roots. A lemon wedge and spoon on the counter fits real kitchen life, but keep soil away from food prep zones. If light is weak, move seedlings to the brightest window and keep them close to the glass, but not touching cold panes on chilly nights. When plants have two to three true leaves, thin them so the strongest ones grow well.
- Label each cup with plant name and start date using a waterproof marker.
- Use a spray bottle for the first week to avoid washing seeds out.
- Turn trays daily so seedlings do not lean toward the window.
- Thin crowded sprouts early so you do not damage roots later.
- Harden off seedlings before moving outdoors by giving them short outdoor trips.
Pro Design Tip: Keep all cups in matching trays and use one label style so the windowsill looks tidy even when it is full.
Budget Considerations: Reuse cups and trays from takeout, and make labels from cut-up cereal boxes instead of buying plant markers.
6 6. Budget Side-Yard Bloom Strip
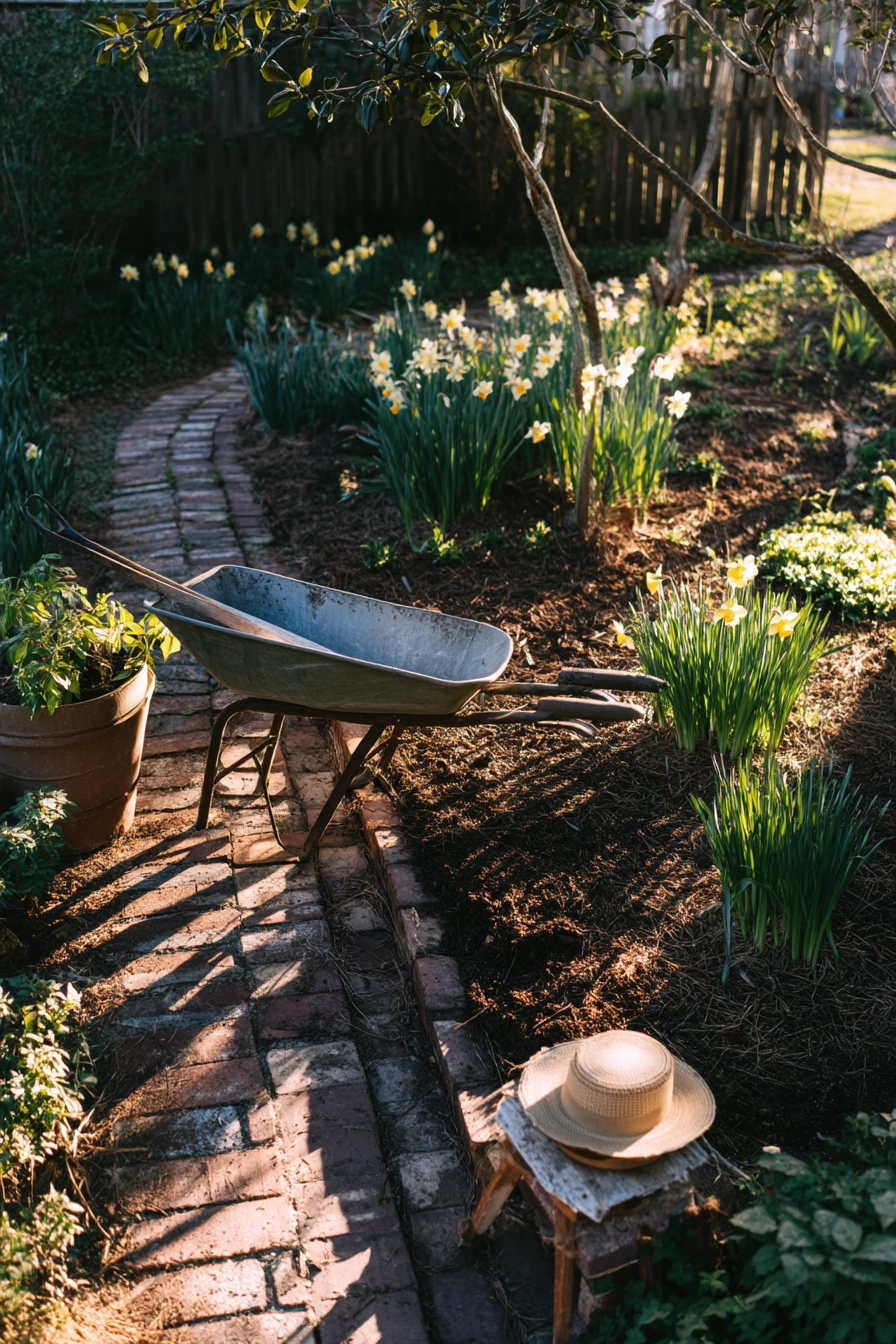
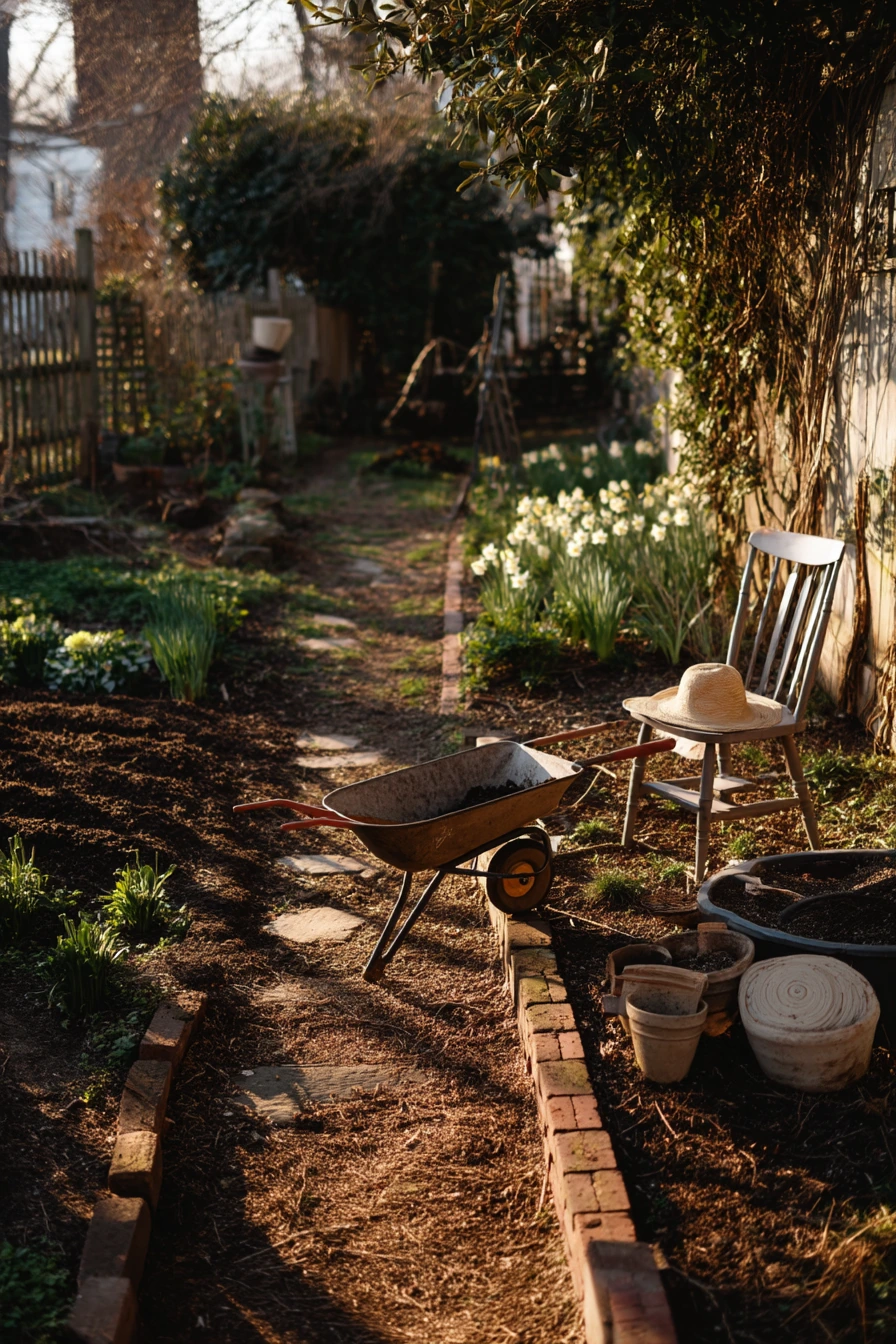
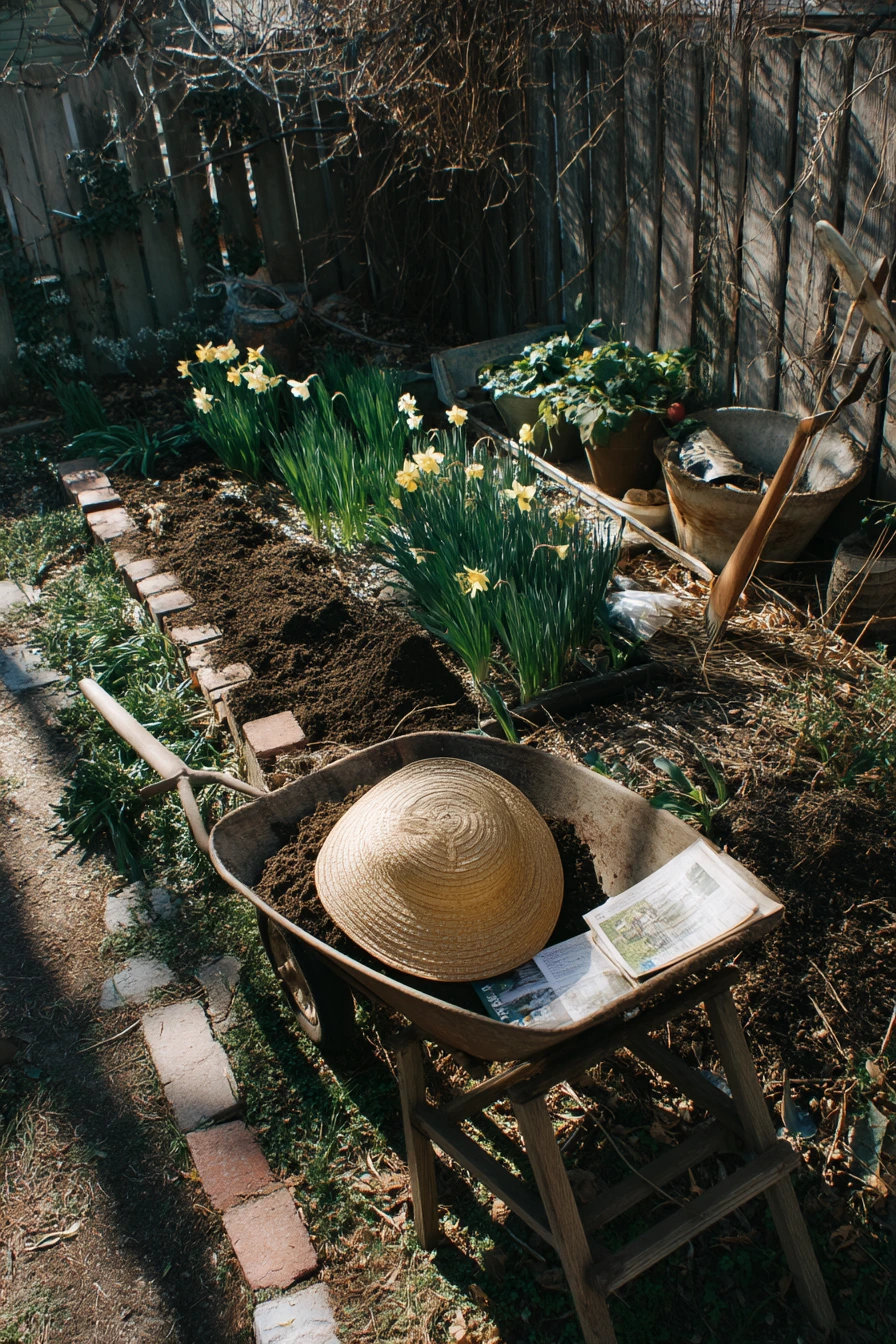
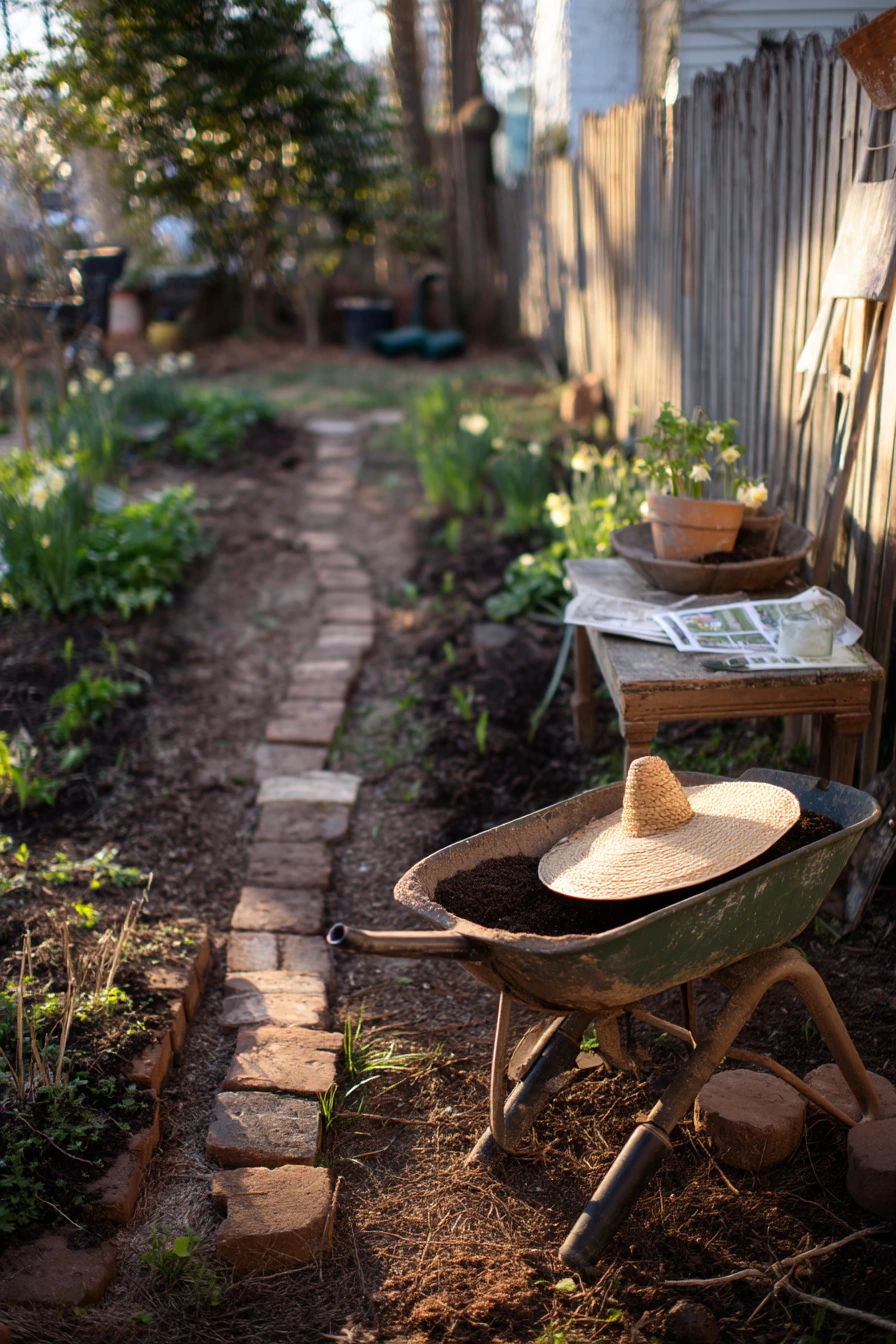
A modest side-yard can become a clear, simple spring garden with a mulched border bed and a clean path. Start by defining edges. Repurposed bricks along the path instantly make the space look finished, even before plants fill in. Add mulch to reduce weeds and help soil hold moisture.
Choose plants that feel fresh in spring and are easy to care for. Daffodils bring early color, salvia adds long-lasting blooms later, and low boxwood gives year-round structure. Place boxwood in a line or small clusters to guide the eye down the side yard. Keep a wheelbarrow nearby while you work, and store twine and empty nursery pots in one bin so the area stays usable.
This is a great setup for a first-time homeowner because it is forgiving. You can add plants in stages and still have a tidy look. A worn sun hat on the fence and a garden catalog on a folding stool makes it feel personal, but keep the walking path clear. Water new plantings deeply, then less often, so roots grow down. Check sun patterns before planting salvia, since it prefers more light than boxwood.
- Lay bricks dry first to test the line, then set them in place once you like the curve.
- Place boxwood first for structure, then fill around it with flowers.
- Mulch 2 to 3 inches deep, keeping it away from plant stems.
- Use twine to tie tall stems so wind does not snap them.
- Keep a small stool nearby so planting and weeding is easier on your back.
Pro Design Tip: Repeat one shape, like round boxwood mounds, to make a narrow side yard feel calm and planned.
Budget Considerations: Ask neighbors for leftover bricks and pots, and buy smaller boxwood that will grow over time.
7 7. Cottage Window Box Scene
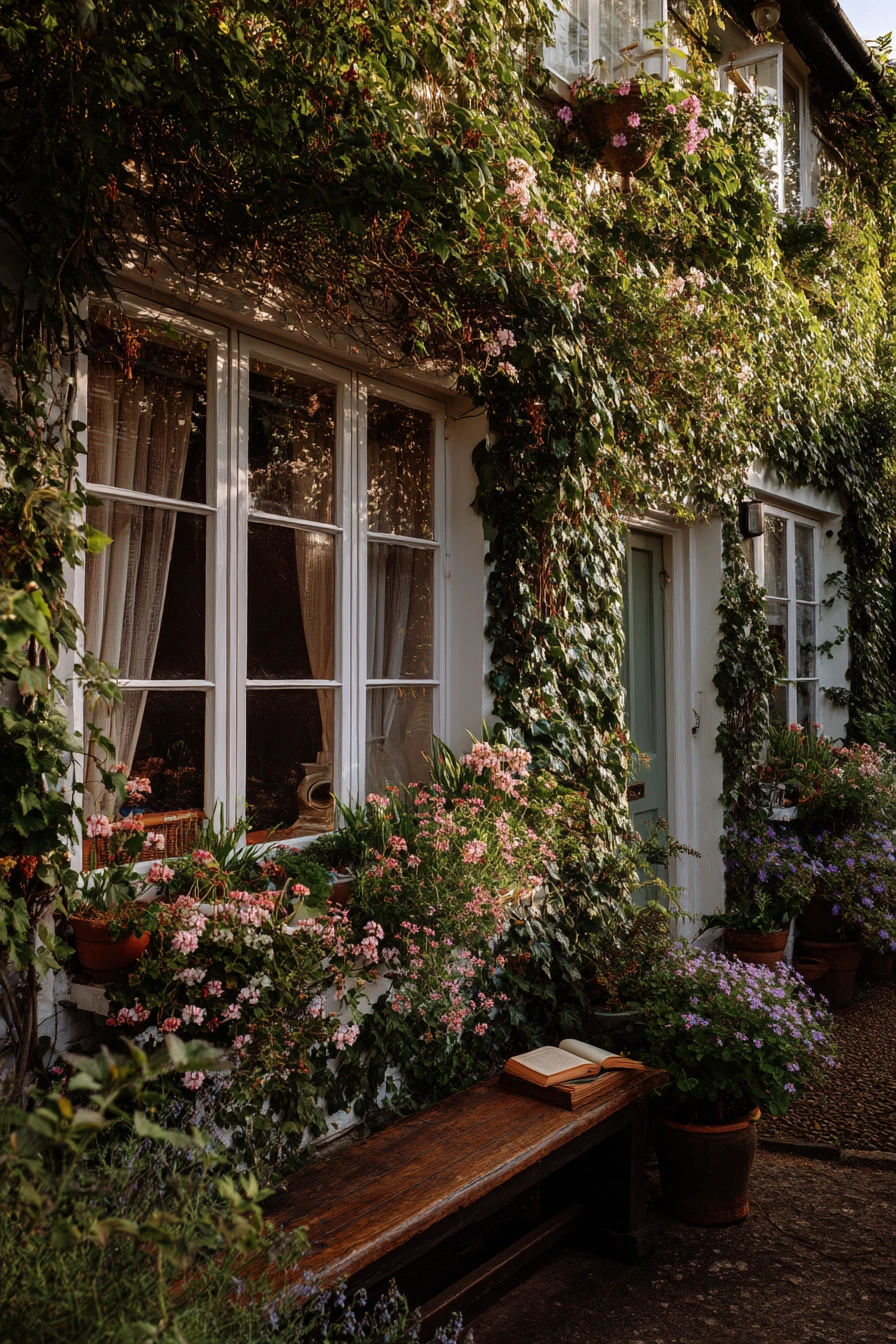
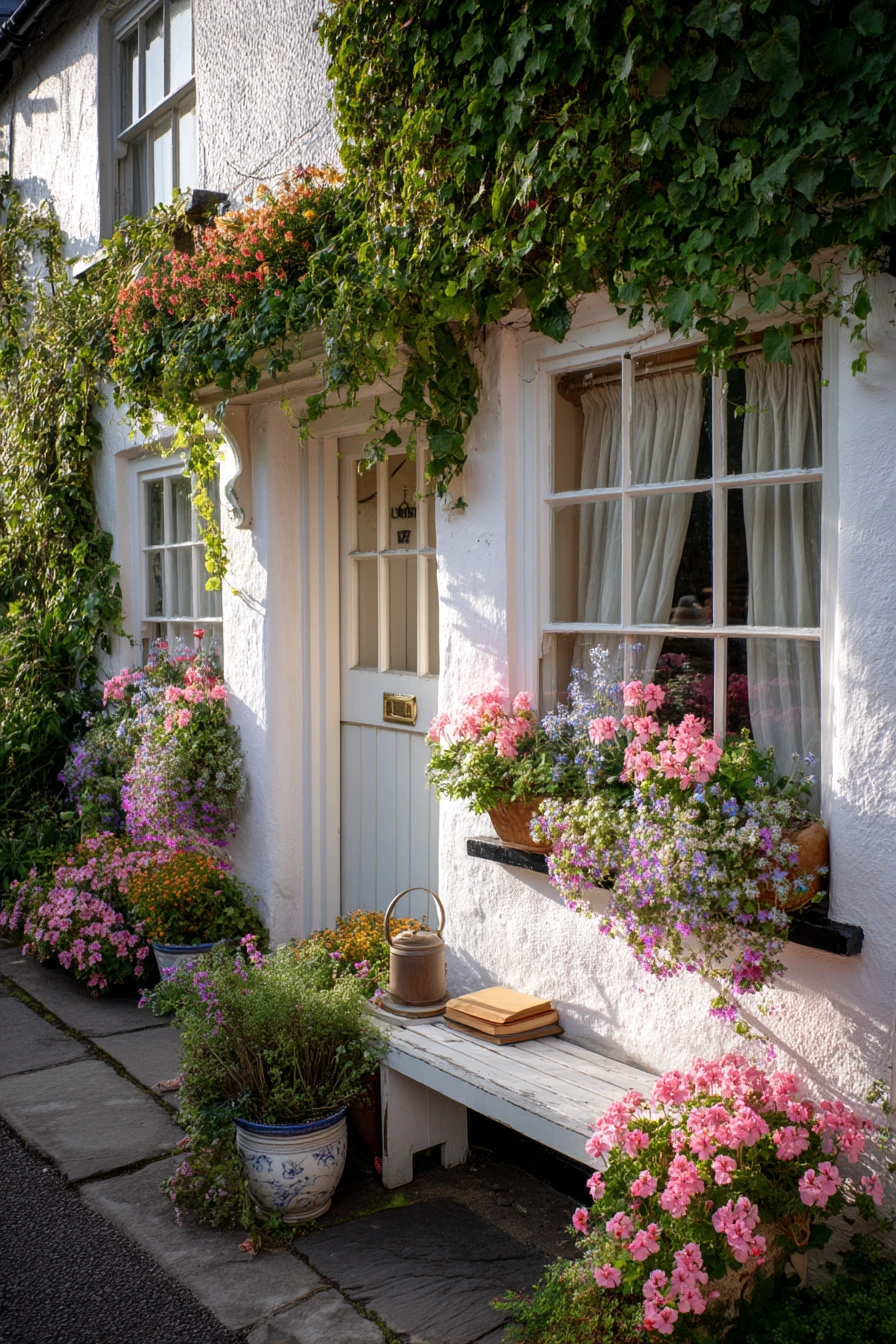
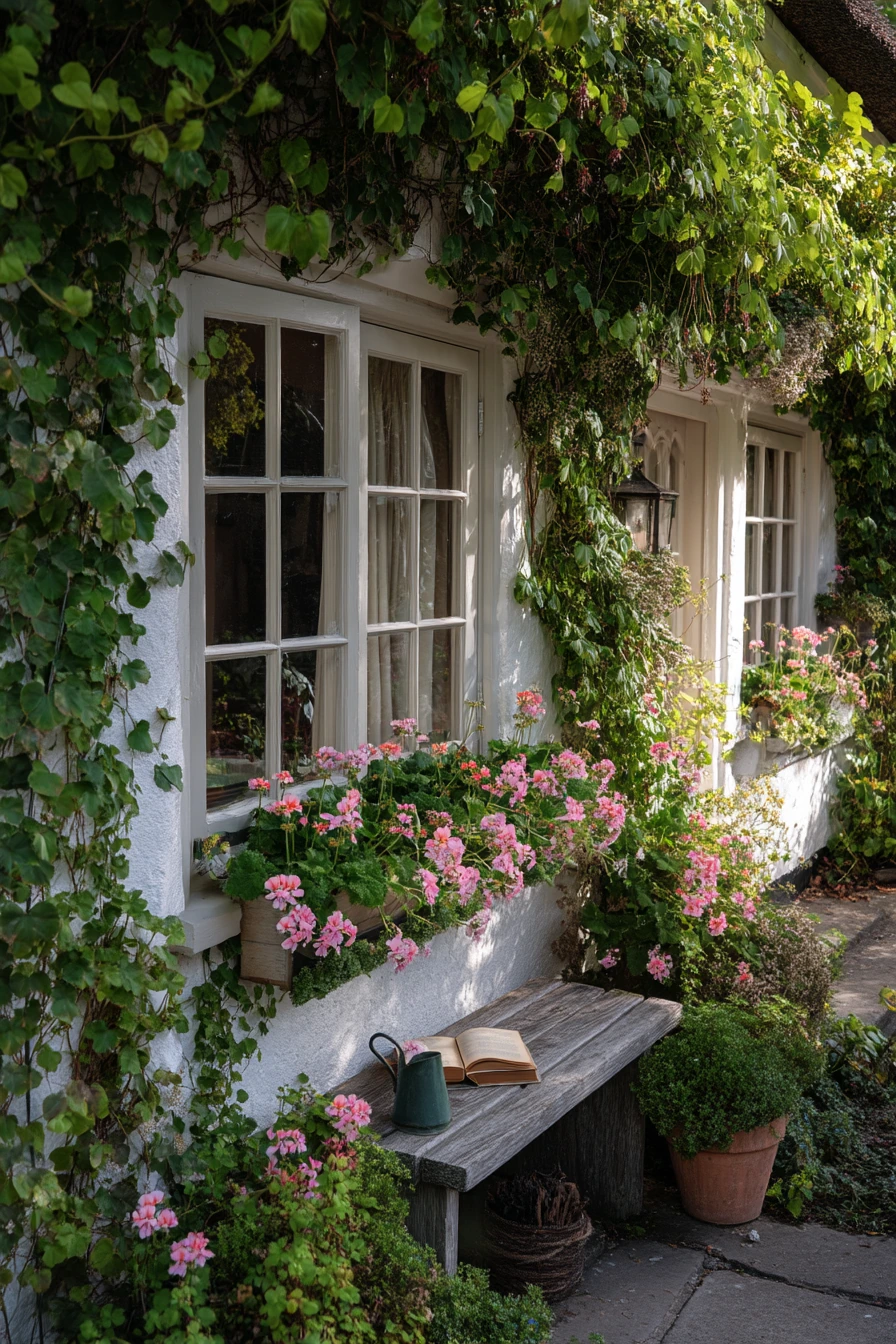
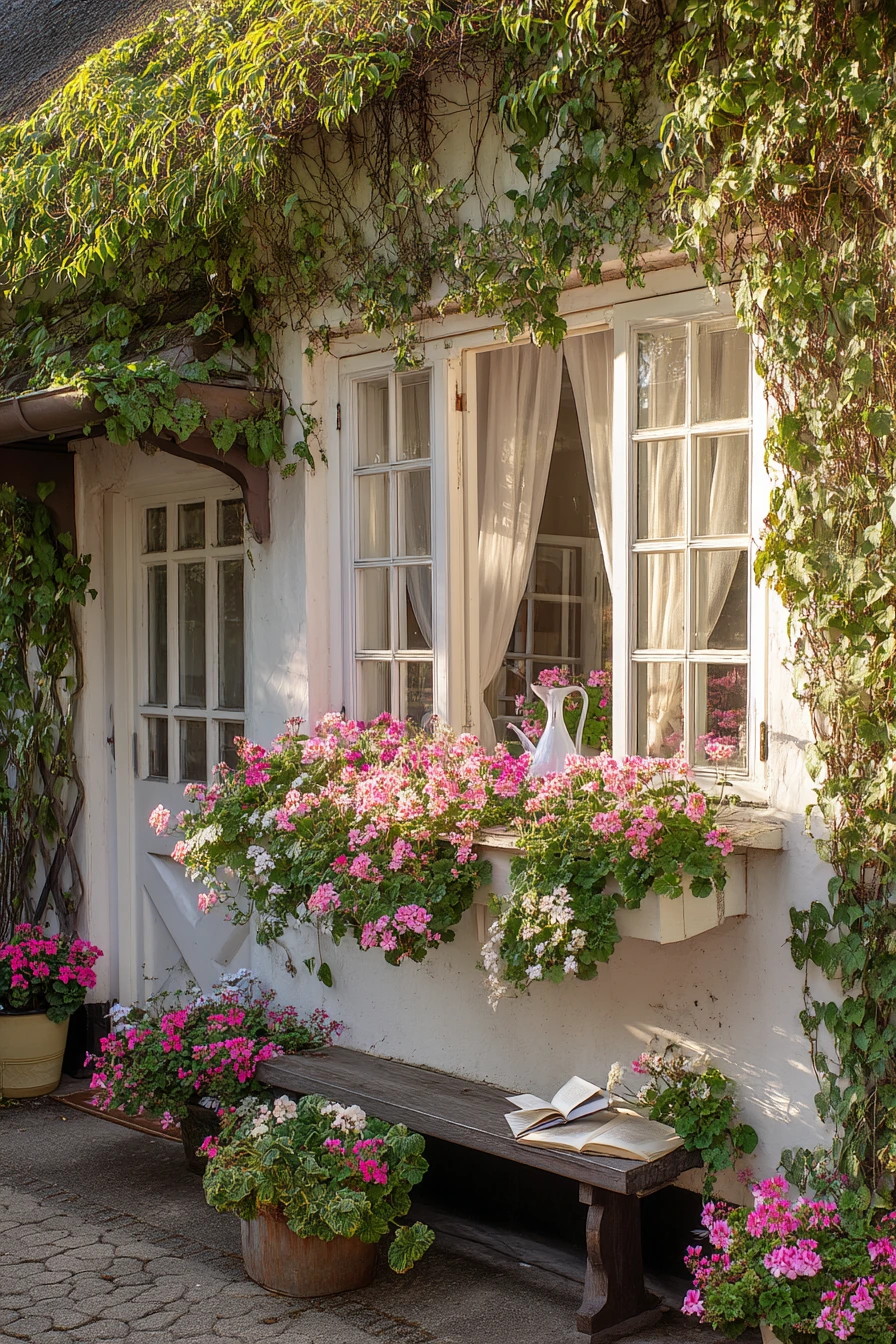
Spring window boxes are a quick way to add charm to a cottage exterior. Start with a strong box and good drainage so roots stay healthy. Use a mix of trailing ivy, pink geraniums, violas, and trailing lobelia. This blend gives you height, mid-level color, and spill-over at the edges.
Think about what you see from inside, too. Open casement windows and simple linen curtains make the view soft and bright. Keep a watering jug on the sill so you actually water on schedule. Since window boxes dry out faster than ground beds, check moisture every day when the weather warms. Water until you see it drain, then stop.
Style the area like a small outdoor moment. A bench with a book and reading glasses makes the entry feel lived-in. If you have pets, muddy paw prints by the back door are likely, so place a tough doormat and keep a towel nearby. For plant care, pinch violas and lobelia to keep them blooming. Deadhead geraniums to push new flowers. If your window boxes get strong sun, pick lighter colors for the box and add extra compost to help hold water.
- Use the “thriller, filler, spiller” method to plan your window box mix.
- Add slow-release fertilizer to reduce weekly feeding.
- Water in the morning to lower stress on plants and reduce mildew.
- Trim ivy ends so it trails without blocking windows.
- Keep a small brush by the door to sweep soil and petals off the step.
Pro Design Tip: Choose one main flower color, then repeat it across all window boxes for a clean, classic look.
Budget Considerations: Buy small starts and let them fill in, and propagate ivy cuttings instead of purchasing new trailing plants.
8 8. Apartment Courtyard Picnic Garden
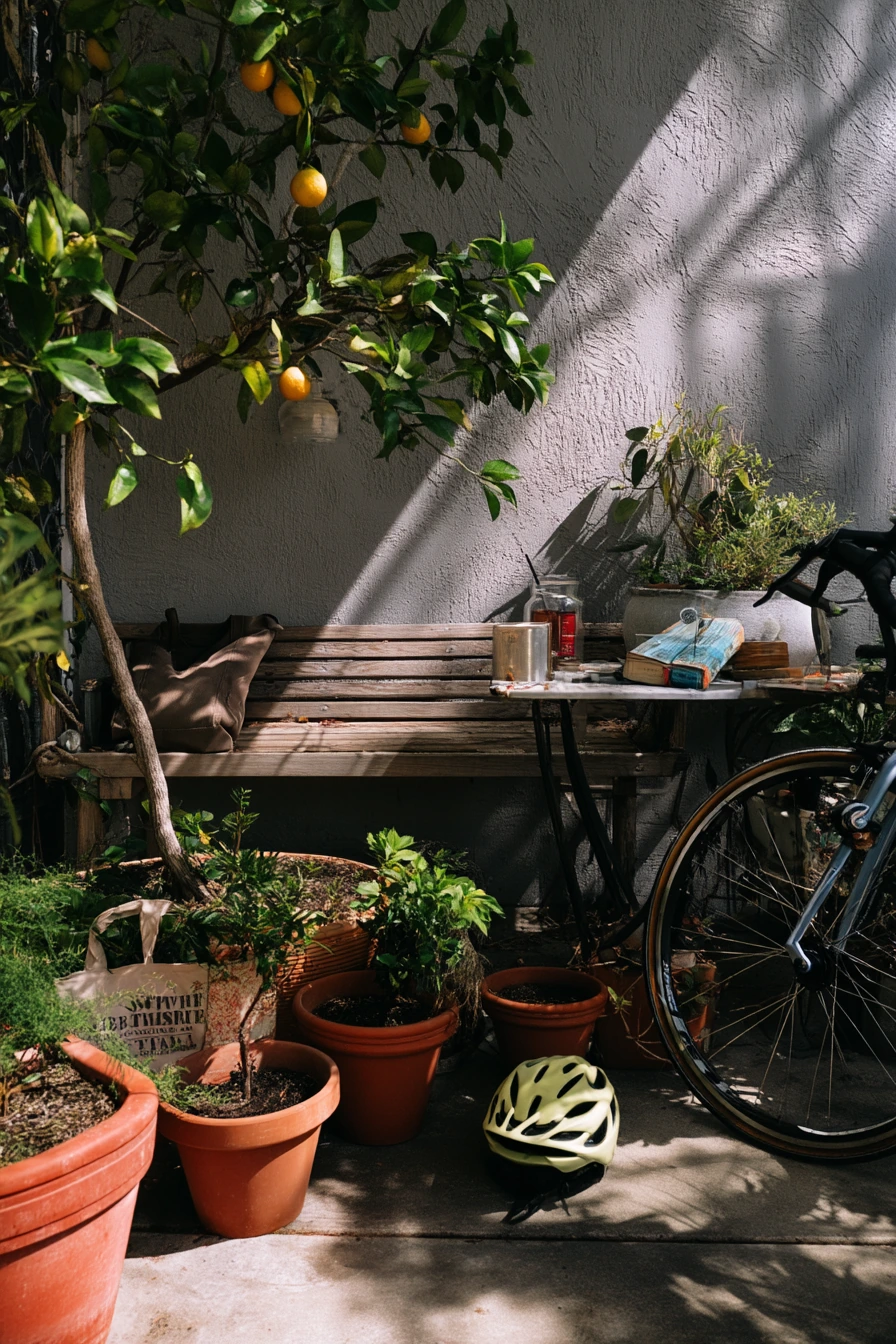
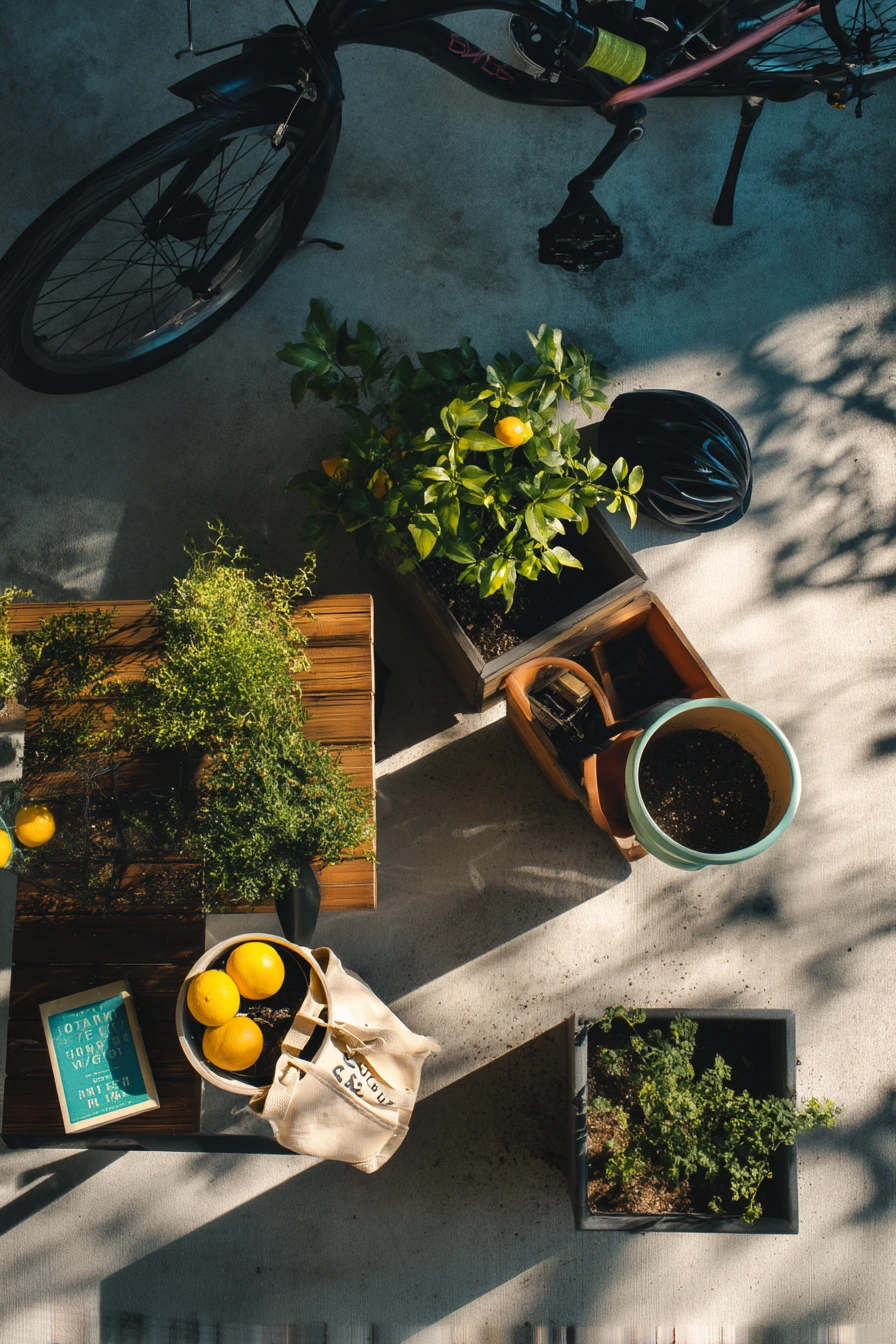
A small shared courtyard spring garden needs flexibility. Movable planters let you shift plants for sun, events, and cleaning days. Start with citrus in pots if you get enough light. Citrus adds scent, glossy leaves, and a clear focal point. Use sturdy saucers or plant stands to protect concrete and improve airflow.
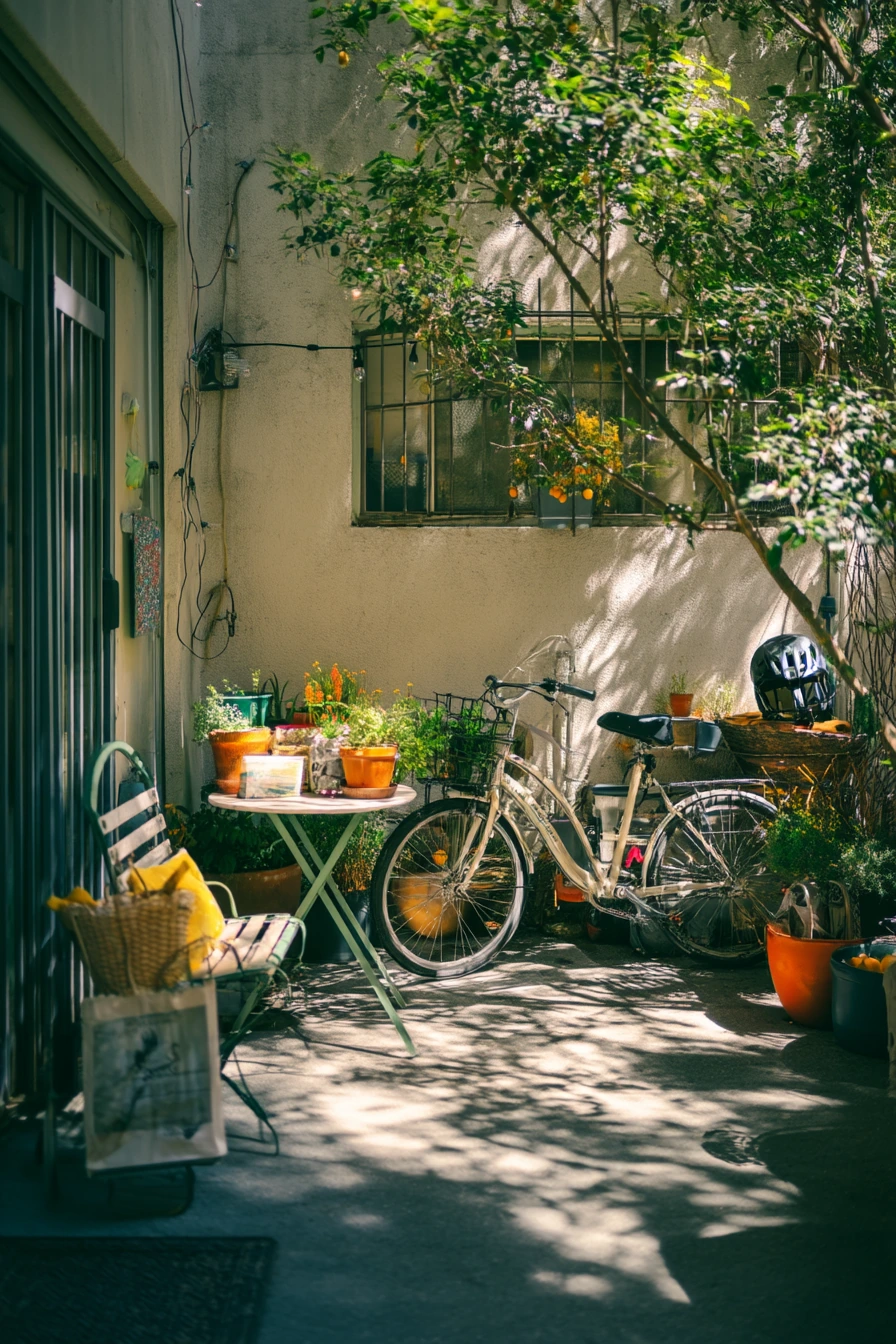
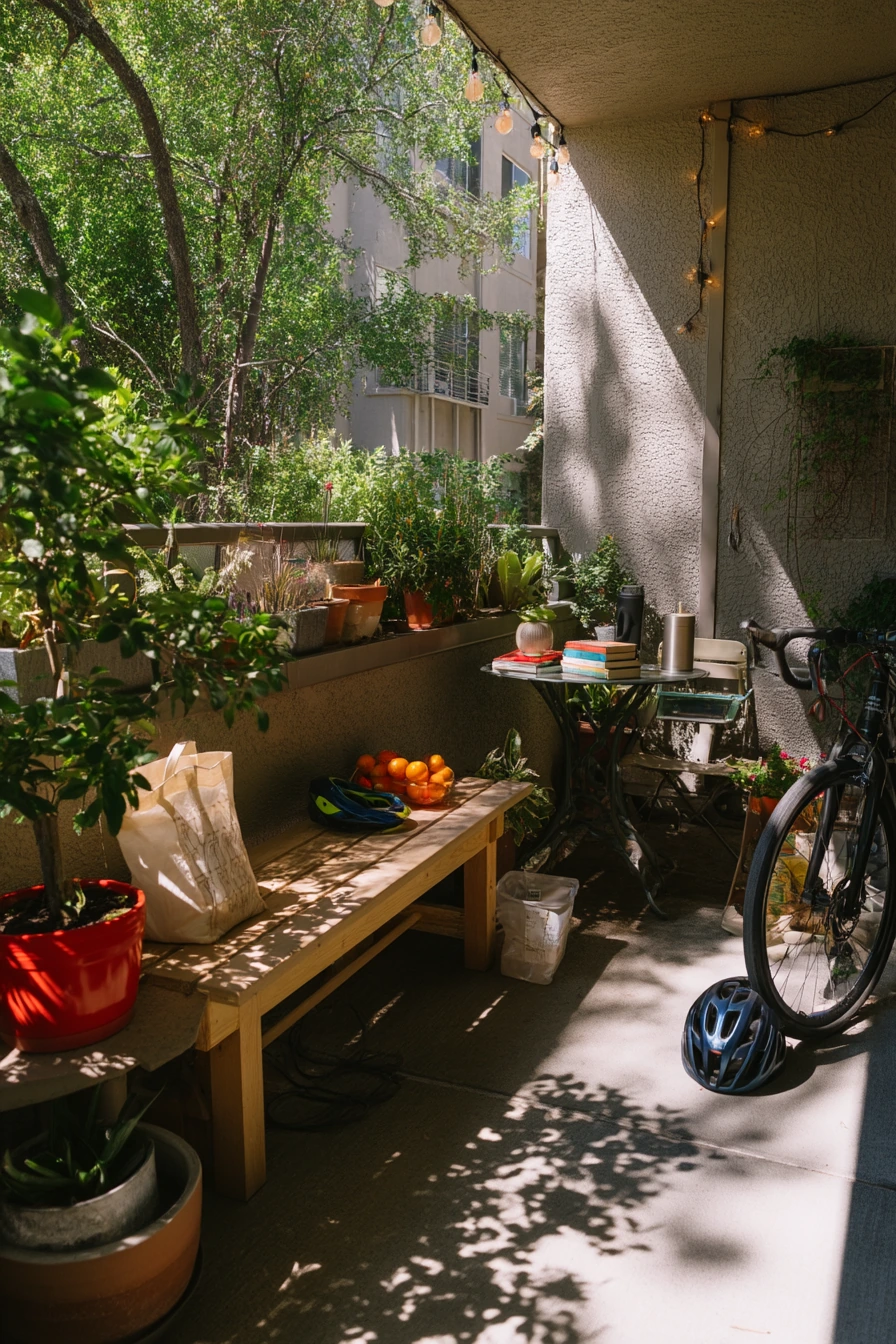
Create a simple seating zone with a tiny bistro set so the courtyard feels welcoming. Keep personal items neat. A tote bag, reusable cup, paperback novel, and bicycle helmet can live on a bench hook or small basket. String lights can stay unlit during the day, but they add texture and can make the space useful in the evening. Keep a bag of fresh potting mix in a sealed bin so it does not spill or attract pests.
Because it is shared, keep plants low-maintenance and tidy. Choose a few planters with herbs and tough flowers like calendula or marigolds. Avoid plants with thorns near walkways. Water early so leaves dry before night. If wind tunnels through buildings, place heavier pots at corners and lighter planters closer to the wall. Add a small sign or tag so neighbors know which pots are shared and which are not.
- Use planters with wheels or plant caddies so you can rearrange quickly.
- Group pots in clusters to reduce scattered clutter and make watering faster.
- Pick one “feature” plant, like citrus, and keep the rest simple.
- Store potting mix and tools in a sealed container to keep the courtyard clean.
- Add soft lighting for evenings, but keep cords and hooks secure and out of paths.
Pro Design Tip: Arrange planters in a U-shape around the bistro set to create a clear outdoor room without blocking shared walkways.
Budget Considerations: Use basic nursery pots inside thrifted baskets or covers, and split the cost of string lights with neighbors.
9 9. Backyard Dinner Garden Nook
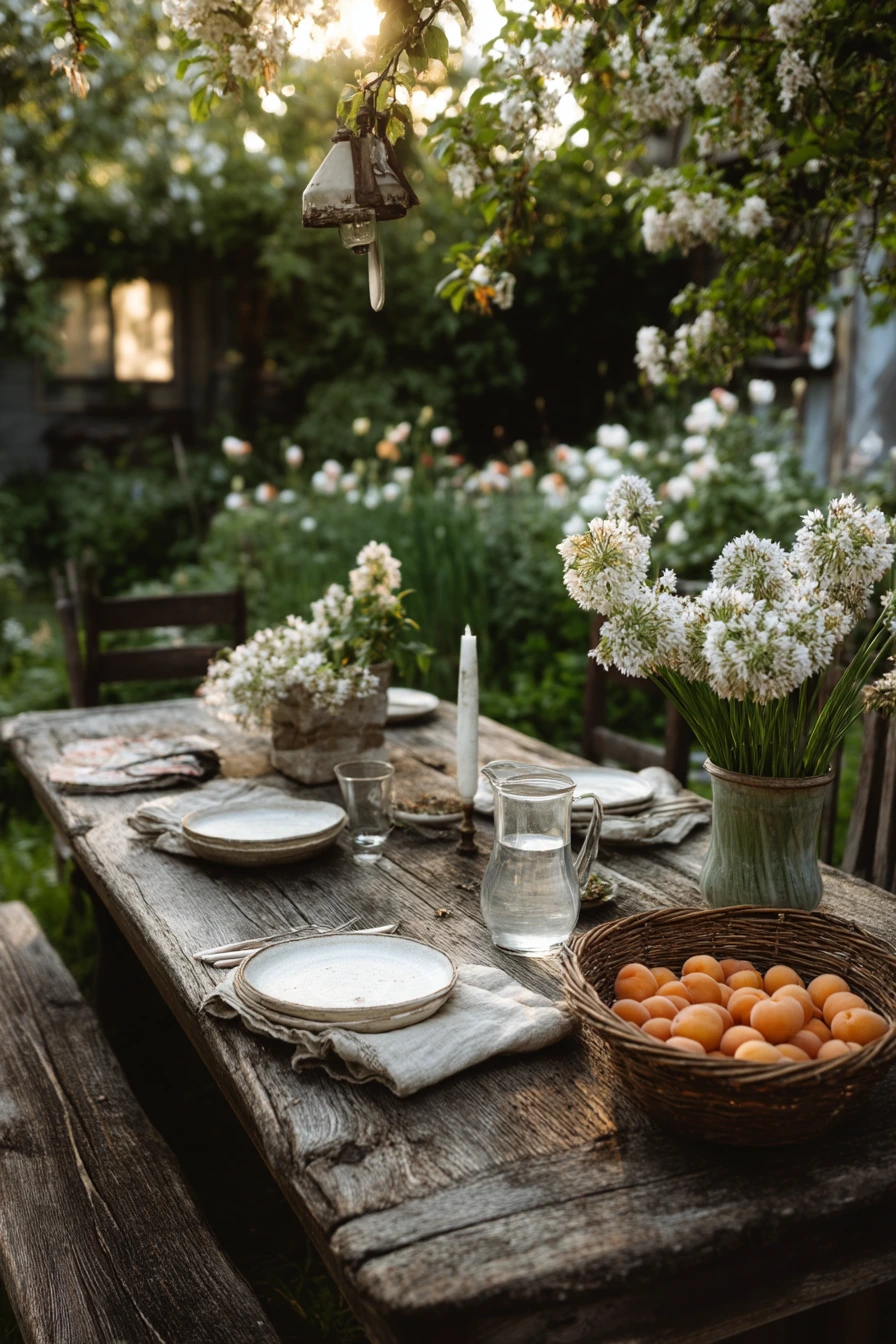
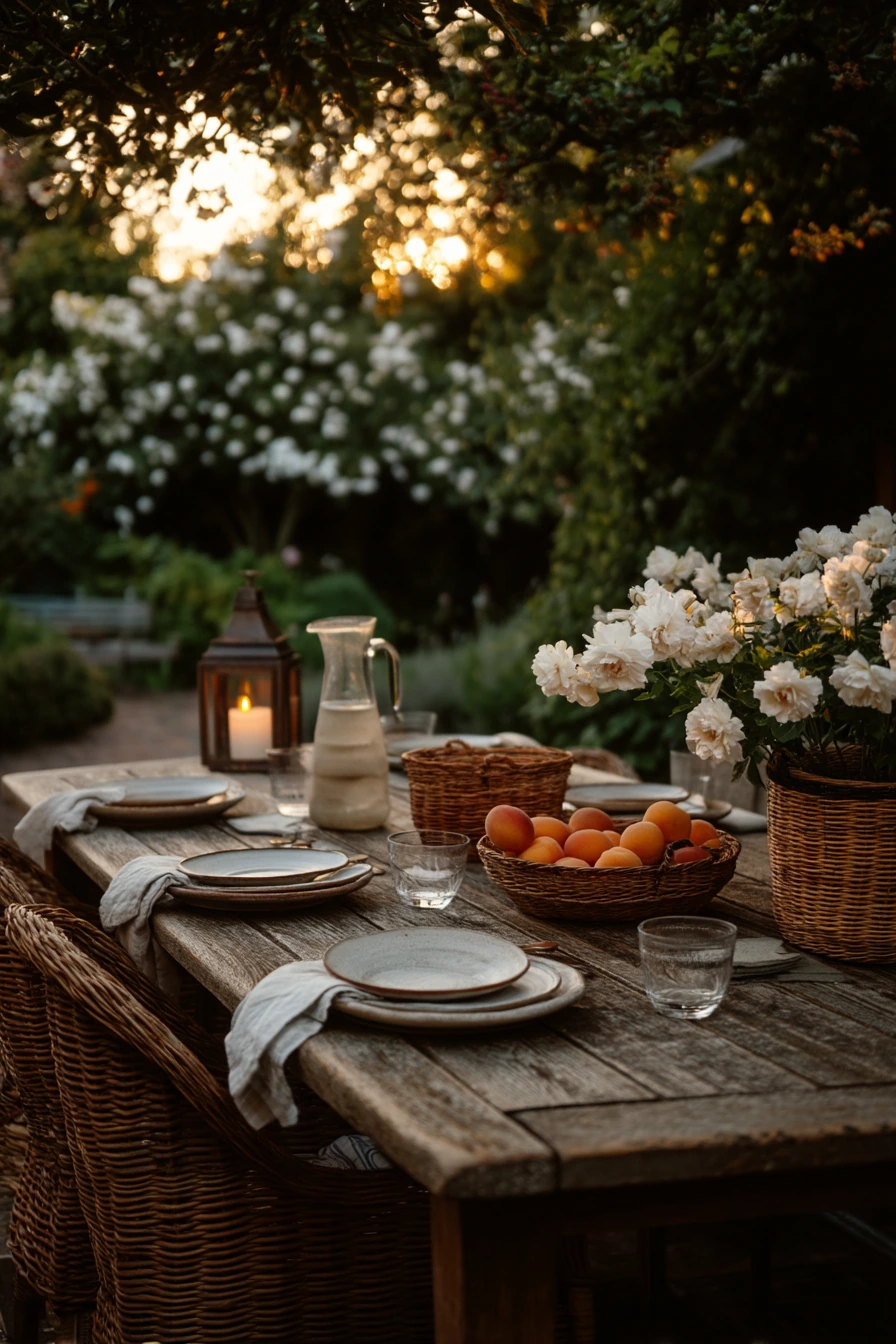
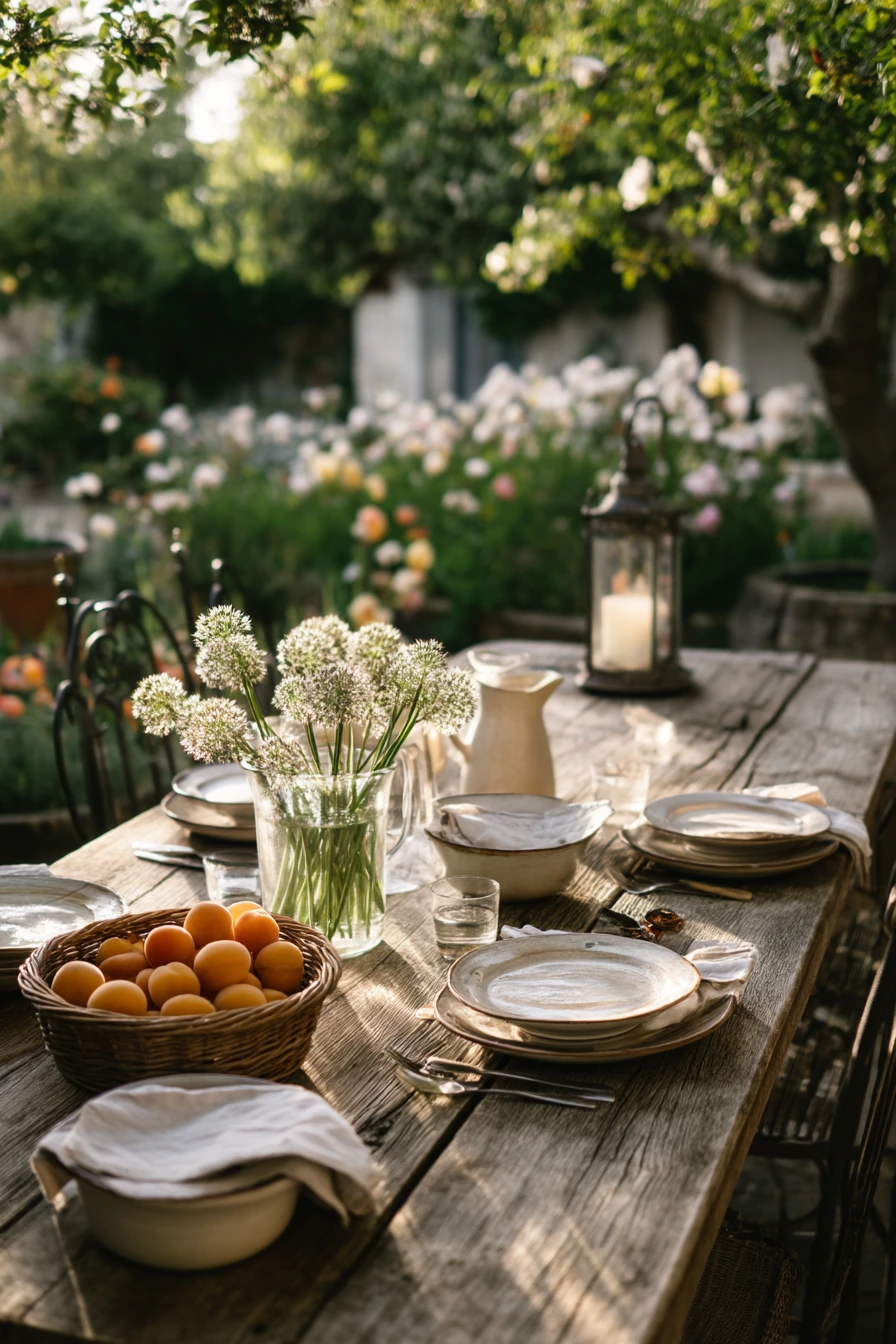
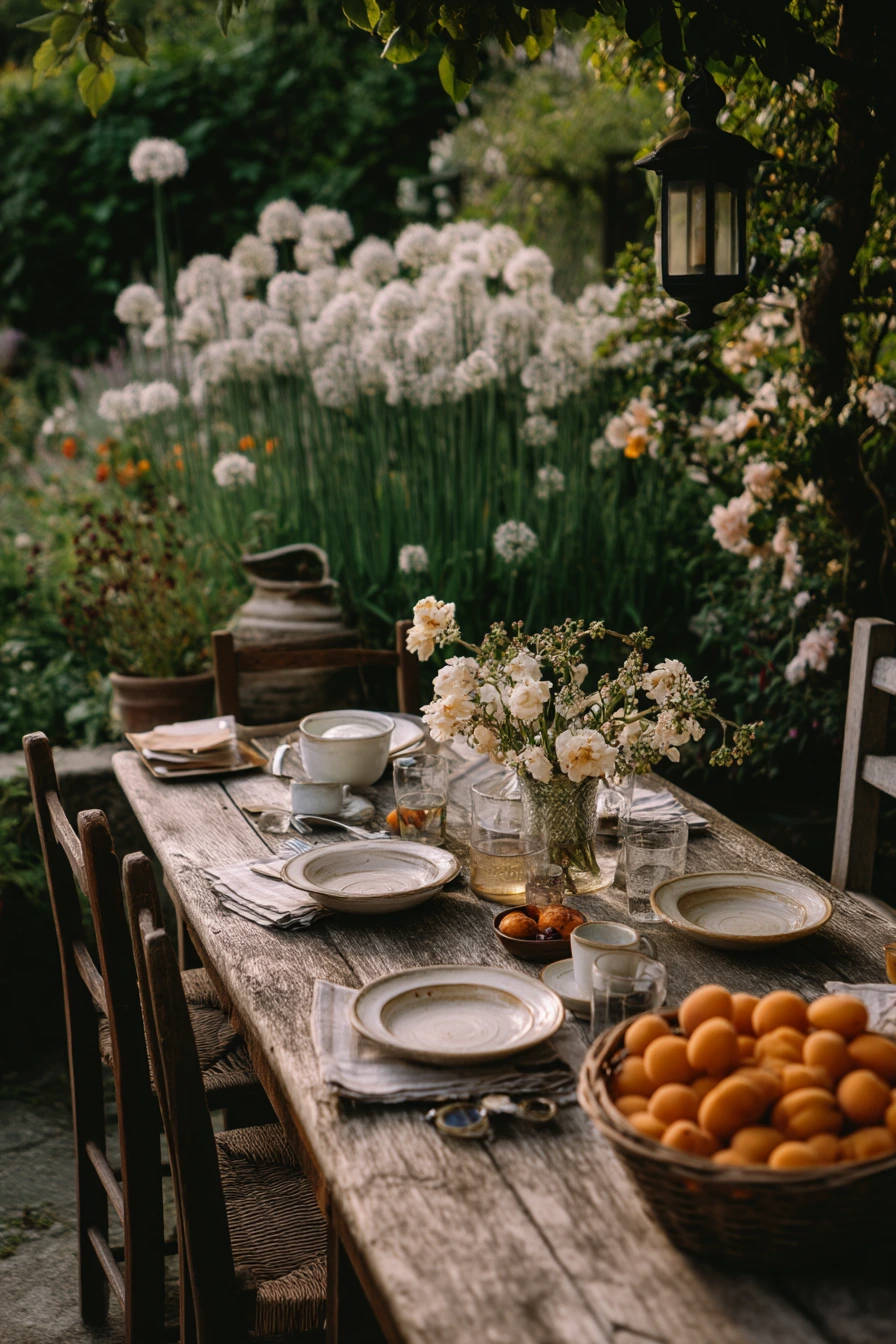
A spring garden nook for dinner can be simple and calm, even in a small space. Place a long wooden table beside blooming beds so guests feel close to the flowers. White alliums and roses just opening look good without extra decor. Keep the table setting plain with ceramic plates and linen napkins that can handle a little dirt and wind.
Lighting matters most here. Use warm lantern light as the sun fades, then add one candle for a soft glow. A pitcher of water on the table is both useful and a clean styling piece. A candle stub and reading glasses add a real, relaxed feel. A basket of apricots works as a centerpiece you can eat, and it keeps the table from feeling staged.
Make the area easy to use. Keep a clear path from the house to the table, and place the table where you will not step on tender stems. If bugs are a problem, keep food covered until serving and add a small fan or citronella-free option like moving air and clean surfaces. After dinner, have a bin for napkins and plates so cleanup is quick. This is also a good way to enjoy your spring garden more, which keeps you motivated to care for it.
- Set the table near blooms, but leave at least 2 feet of space from the bed edge.
- Use washable linens in neutral colors to match flowers and hide small stains.
- Choose lanterns over bright overhead lights for softer shadows.
- Use a fruit basket as decor and dessert in one step.
- Keep a small tray for matches, a lighter, and extra napkins so the table stays neat.
Pro Design Tip: Use one repeating texture, like linen and wood, to let spring flowers be the main focus.
Budget Considerations: Borrow extra chairs, use mismatched plates in the same color family, and swap expensive flowers for what is already blooming.
10 10. Sustainable Compost-to-Bloom Corner
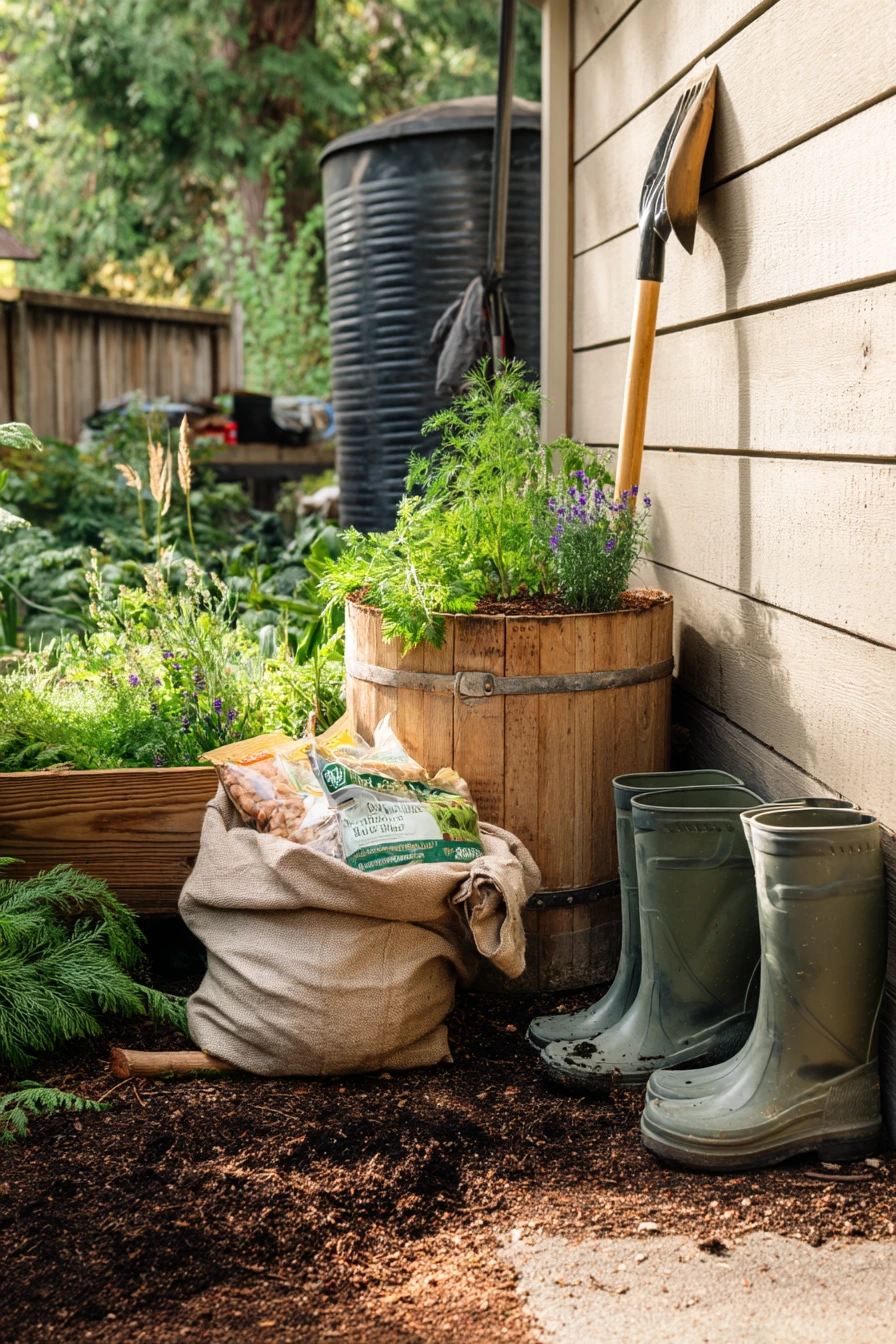
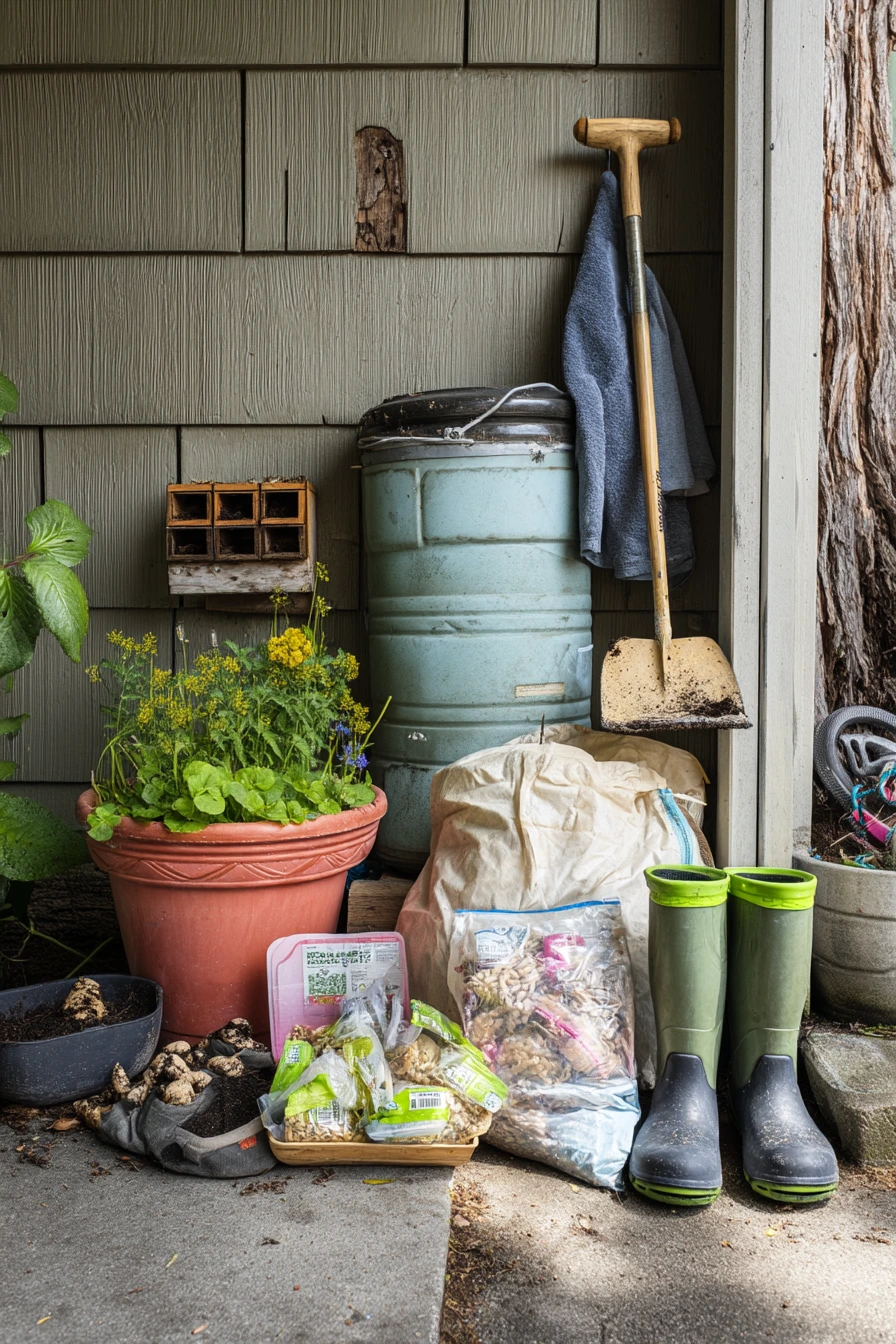
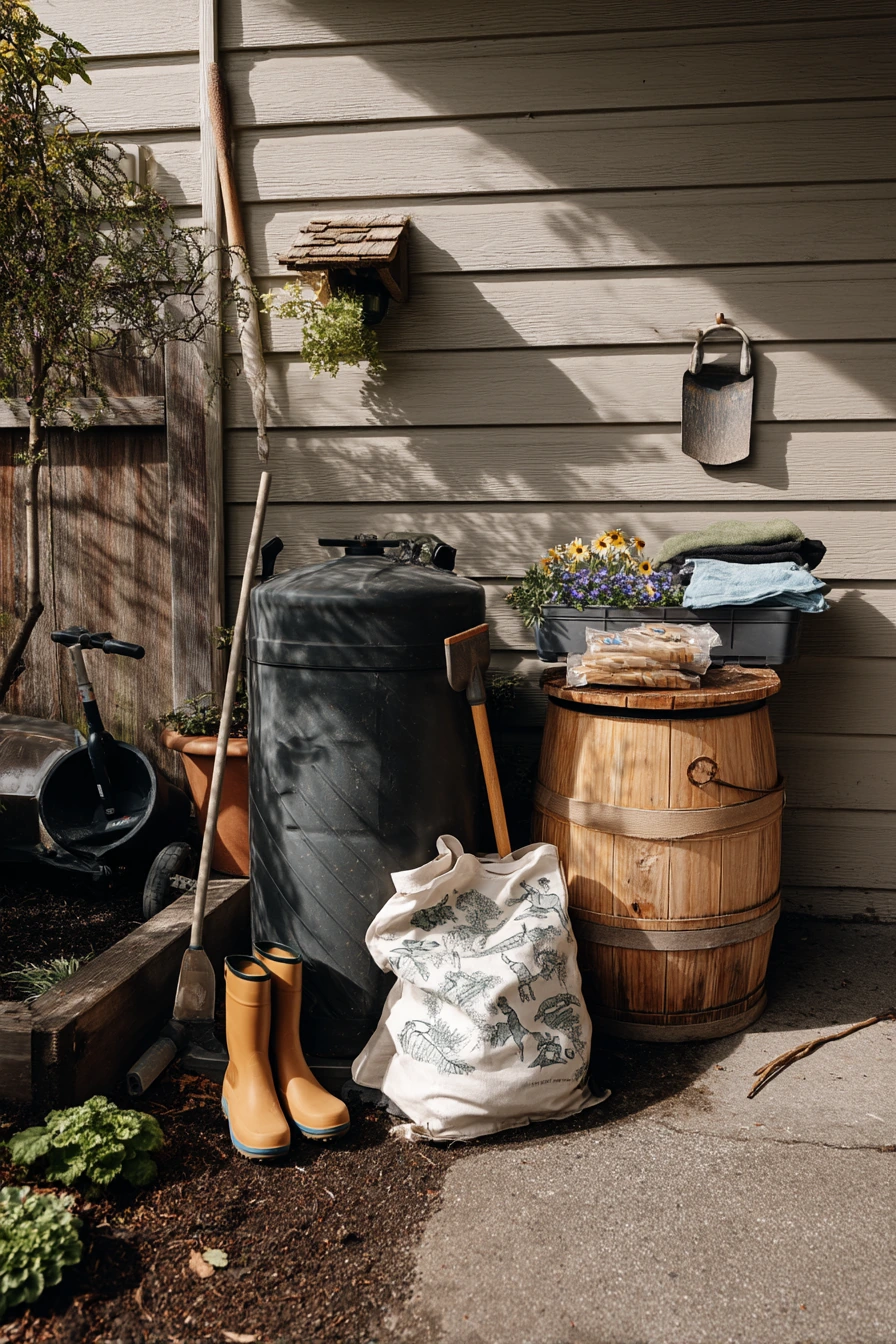
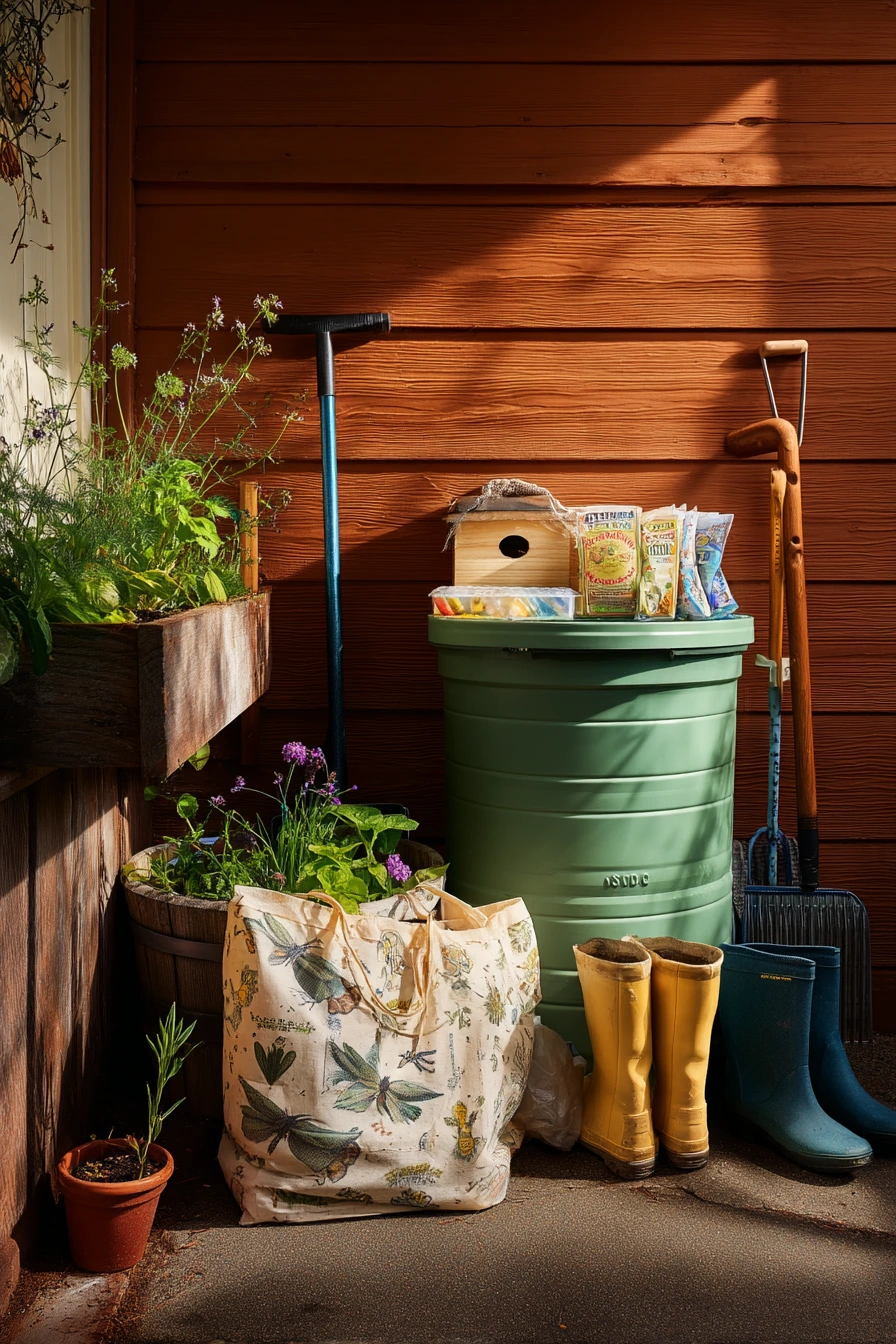
A practical spring garden corner behind a family home can improve your whole yard. Start with the basics: a compost bin, a rain barrel, and reusable nursery trays for seedlings. This creates a small work zone where you can handle soil, starts, and cleanup without making a mess on the patio.
Add function and habitat. Native wildflowers support pollinators, and a bee house can be a simple way to invite helpful insects. Keep a shovel leaning on cedar siding on a hook so it is off the ground. Store garden boots in a tray. A damp towel nearby is useful for wiping hands and tools. A grocery tote with seed packets helps you keep everything in one grab-and-go place.
Plan for family traffic. A kid’s scooter nearby means this area must be safe. Keep sharp tools up high, and do not place the rain barrel where it blocks a path. If your compost bin is close to the house, use a lid and balance greens and browns to reduce odor. Use cloudy-day time to set this corner up, then enjoy easier garden care all season. Once this zone is working, the rest of your spring garden tasks will feel faster and less stressful.
- Place the compost bin on bare soil for drainage and easier access for worms.
- Connect the rain barrel to a downspout and add a screen to block debris.
- Plant native wildflowers in a simple strip for low-care color and bees.
- Keep seed packets and labels in a tote so they do not get damp or lost.
- Create a “no ride” line for scooters with a small edge or marker for safety.
Pro Design Tip: Hide the work zone with one tall planter or a slim trellis so the corner looks neat from the main yard.
Budget Considerations: Start with one bin and one barrel, and use DIY pallets or free buckets for storage before buying matching organizers.
Good spring garden ideas fit real life. A few pots, a small bed, or a simple work corner can make your space greener and easier to manage.
Choose one setup from this list and copy the layout. Keep tools close, label plants, and focus on plants that match your light and time.
Once the routine is set, your spring garden will feel less like a project and more like part of your day.