
Brick edging ideas are one of the easiest ways to make a yard look neat without rebuilding the whole landscape. A simple line of bricks can clean up the edge of a front walkway, keep mulch in place, and give beds a clear shape.
In this post you will see brick borders used in real spaces like a suburban front path, a compact city backyard patio, and a rental courtyard with raised vegetable beds. Each idea is practical, with small styling tips you can copy fast.
You will also learn what to watch for so the border lasts, like base prep, curves, and how to handle runoff near a downspout. If you are coming from Pinterest, you can use these examples to plan your layout before you buy materials.
Each section ends with a Pro Design Tip and a Budget Consideration so you can pick the look that fits your yard and your wallet.
1 Front Walk Garden Border Refresh
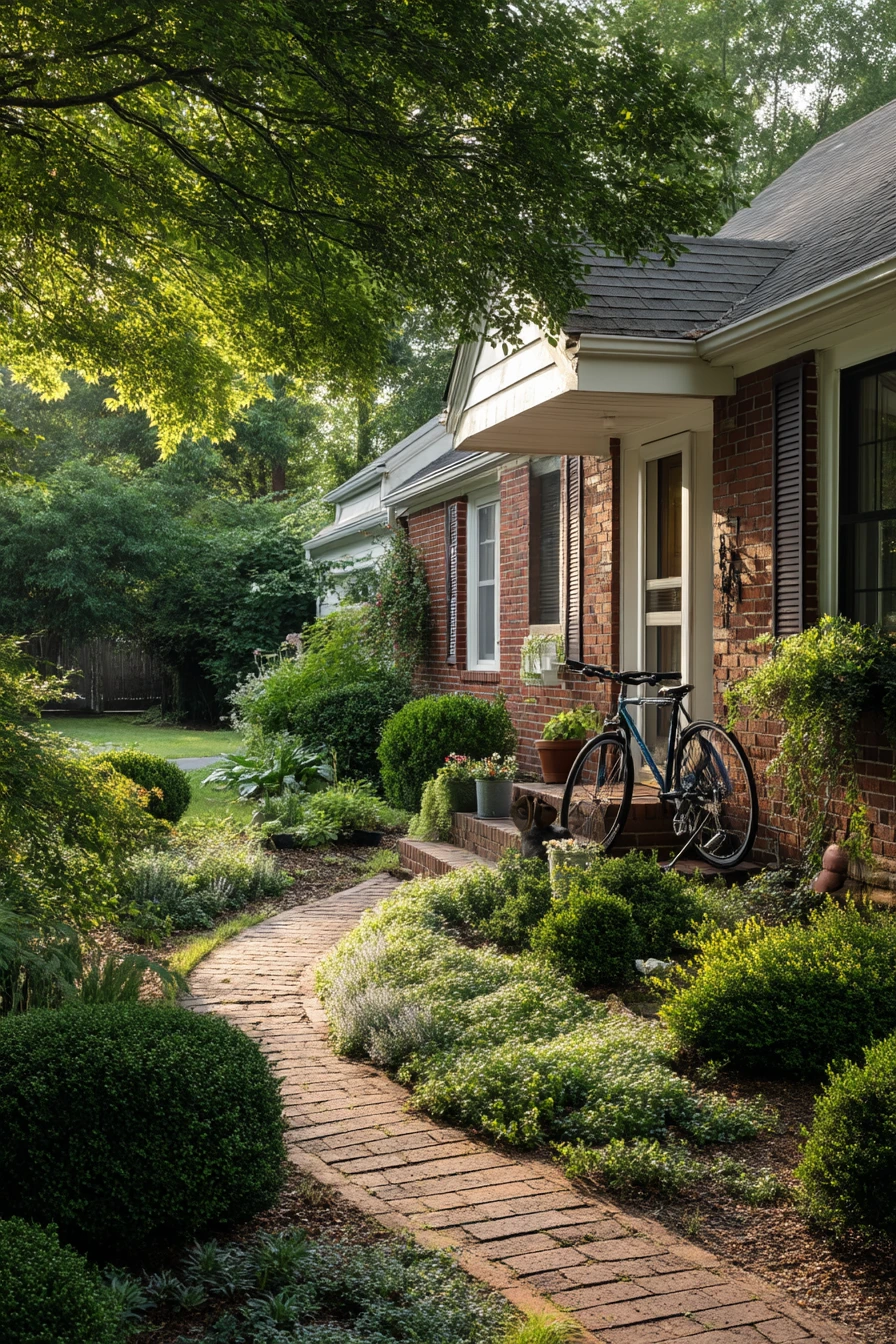
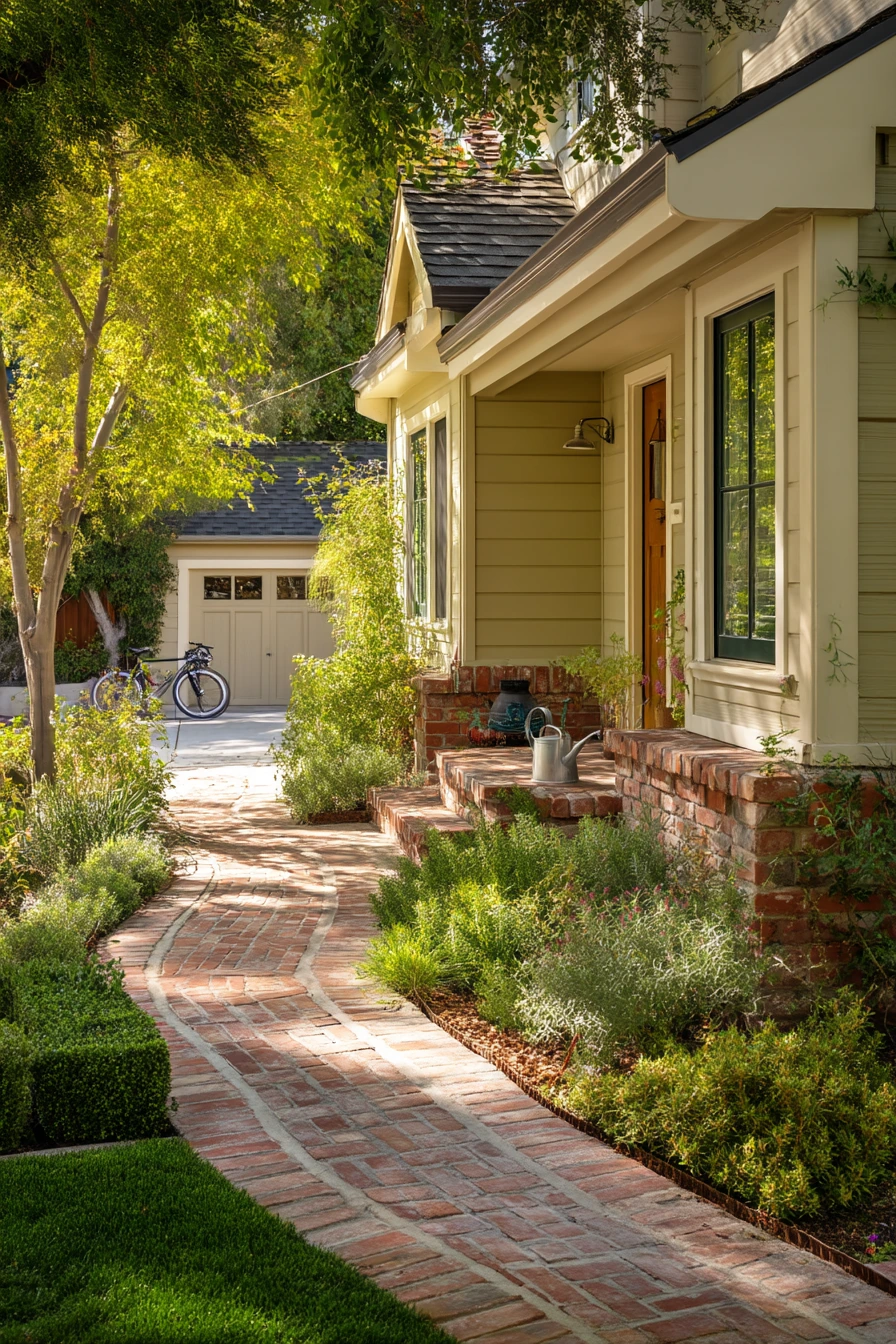
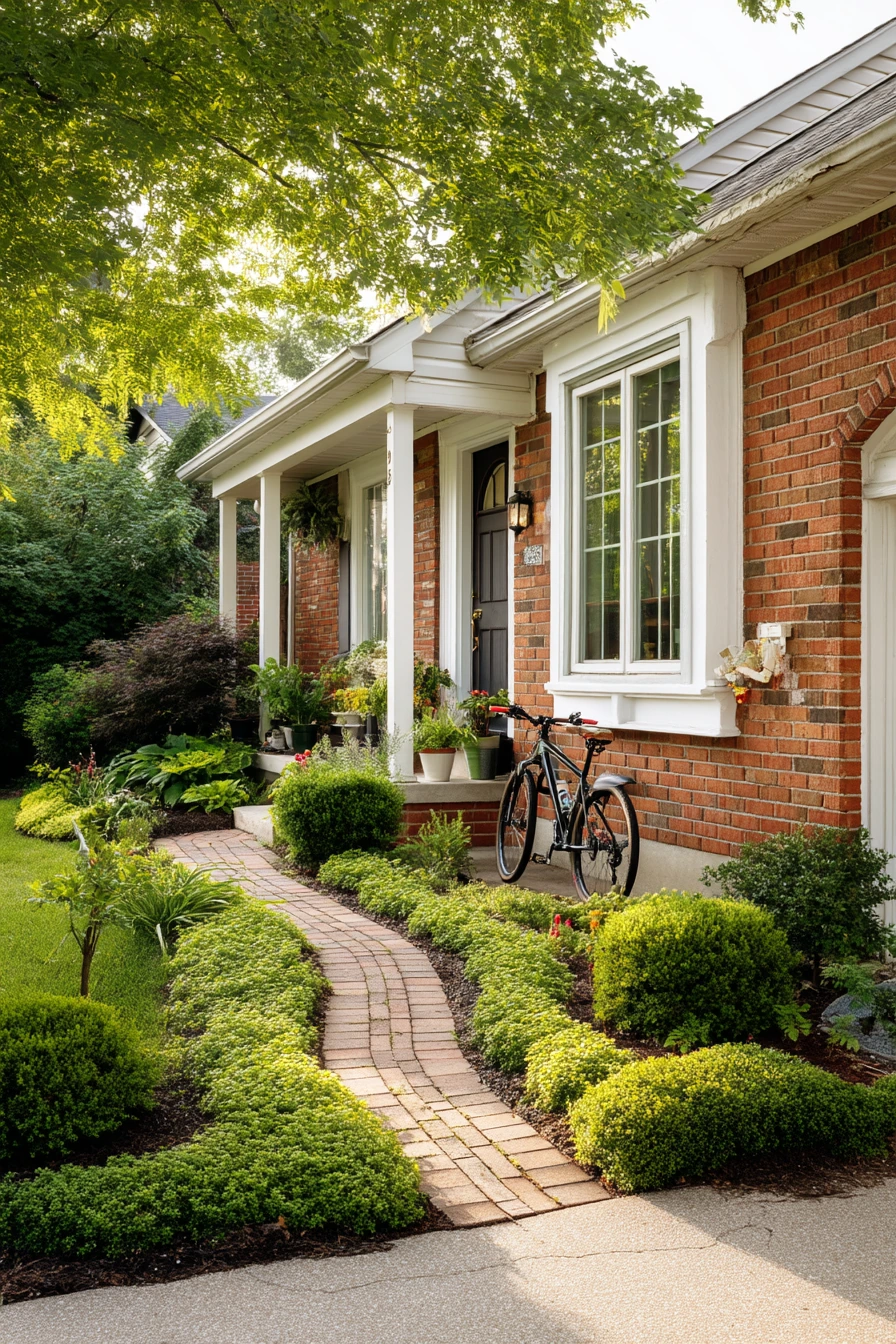
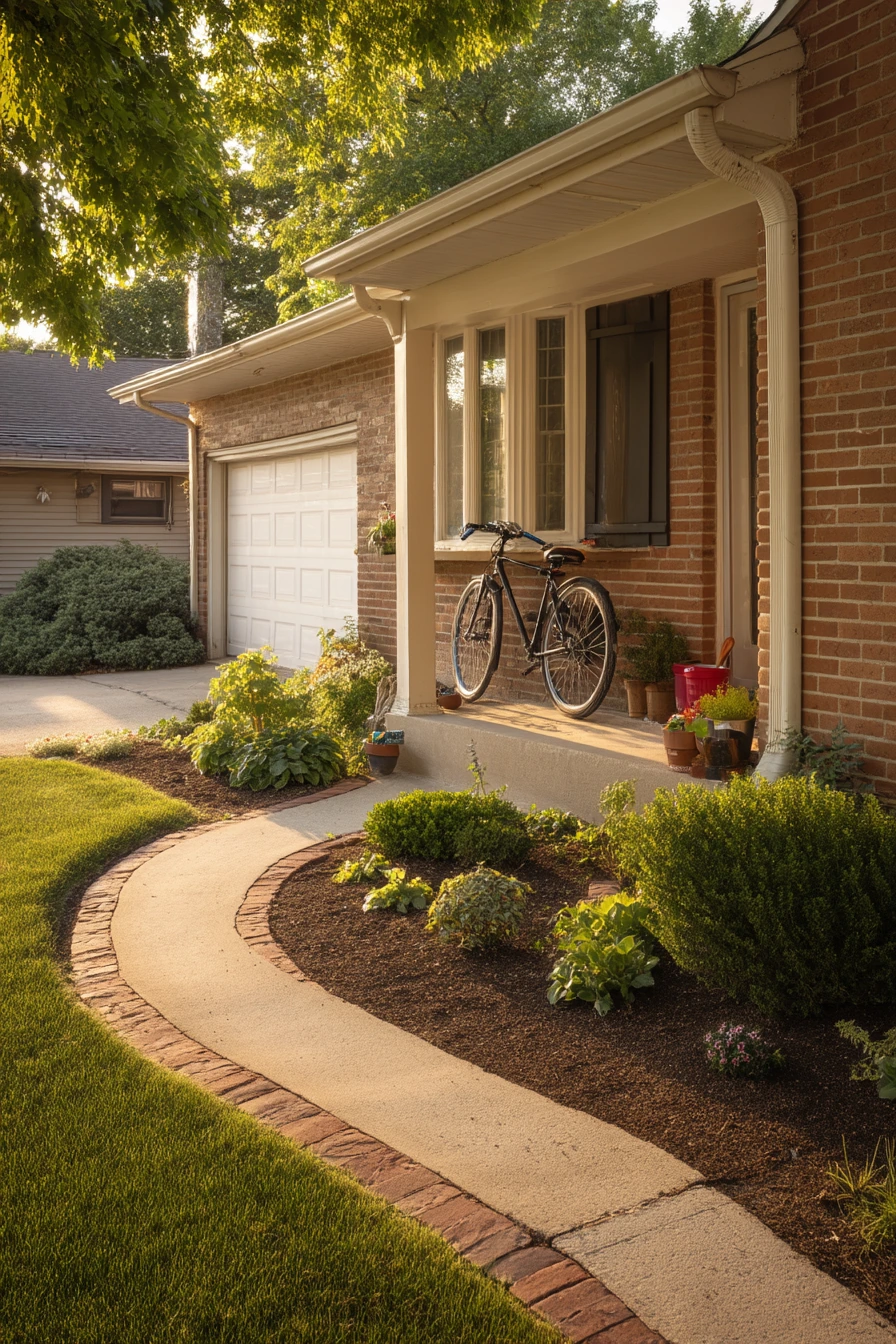
A narrow front walkway can look messy when lawn and mulch blur together. Brick edging gives the path a clean edge and makes the curve feel planned. In a real suburban home setup, a low brick border can frame mulched curves and low perennial beds, with clipped boxwood keeping everything tidy. It also makes the walkway feel wider because the line is crisp and easy to see.
For a lived-in look, keep the border simple and use everyday items as styling cues. Garden gloves on a step and a watering can by the porch fit the vibe, and they also remind you to water new plants. If you have a bike near the garage, the edging helps protect the bed from tires cutting corners. Soft morning light and gentle shadows make the brick color read warm, so choose brick that matches your house tones.
To install, set the brick top just a bit above the soil so mulch stays in and grass stays out. Use a string line for straight sections and a garden hose to map out curves. Compact the soil well, then add a thin layer of sand so bricks sit flat and do not rock when you walk past them.
- Use a soldier course (bricks standing up) for a taller edge on a narrow path.
- Keep boxwood a few inches back so it does not cover the brick line as it grows.
- Repeat one curve shape on both sides of the walkway for a calm look.
- Pick low perennials that spill slightly over the edge, like creeping thyme or small sedum.
- Refresh mulch after you set the border so it covers the base and looks finished.
Pro Design Tip: Match the brick edge height to your mower wheels so you can trim less and keep the line sharp all season.
Budget Considerations: New brick costs more, so check local salvage yards for used bricks and mix tones for a natural, “always been there” look.
2 Small Backyard Patio Edge Definition
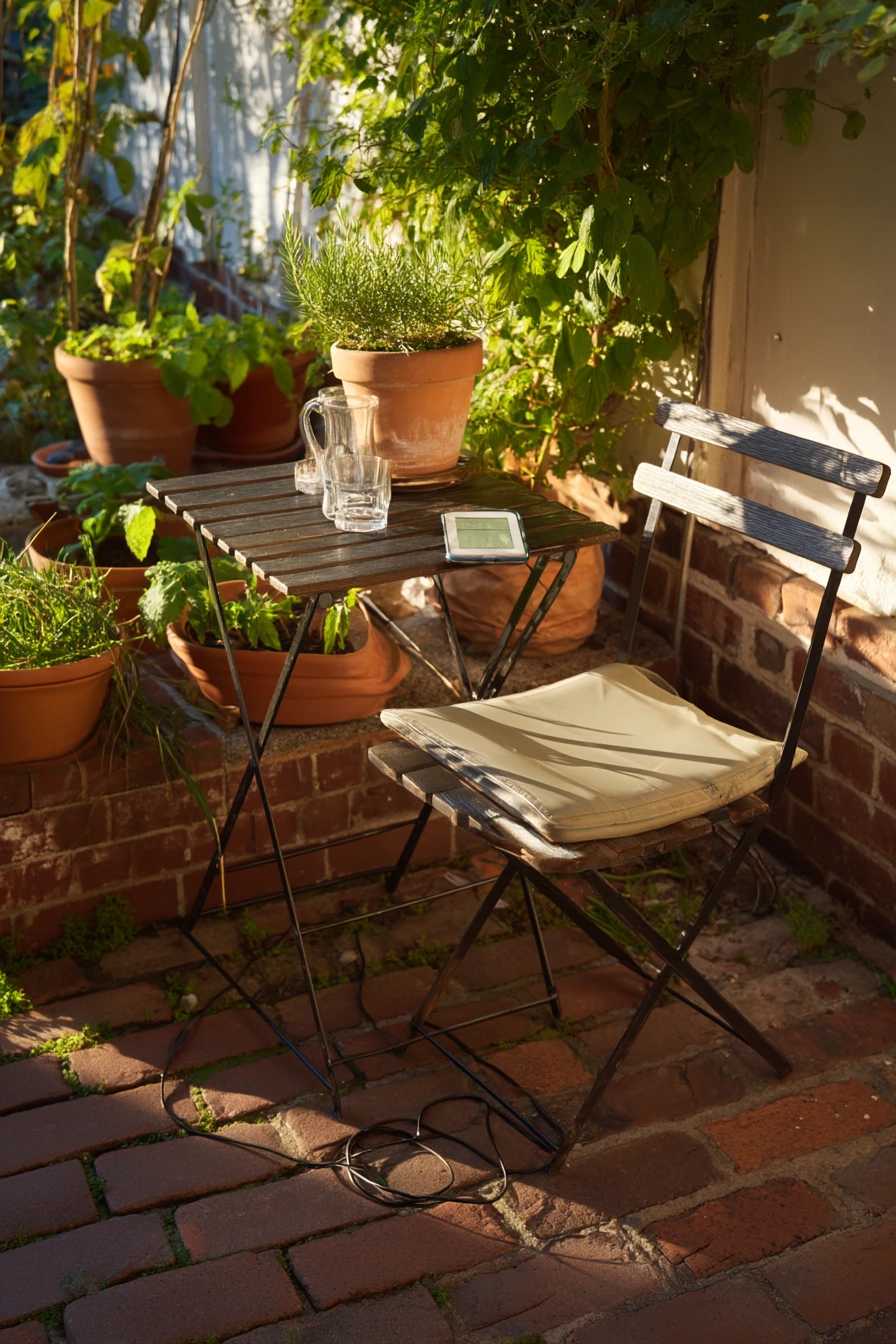
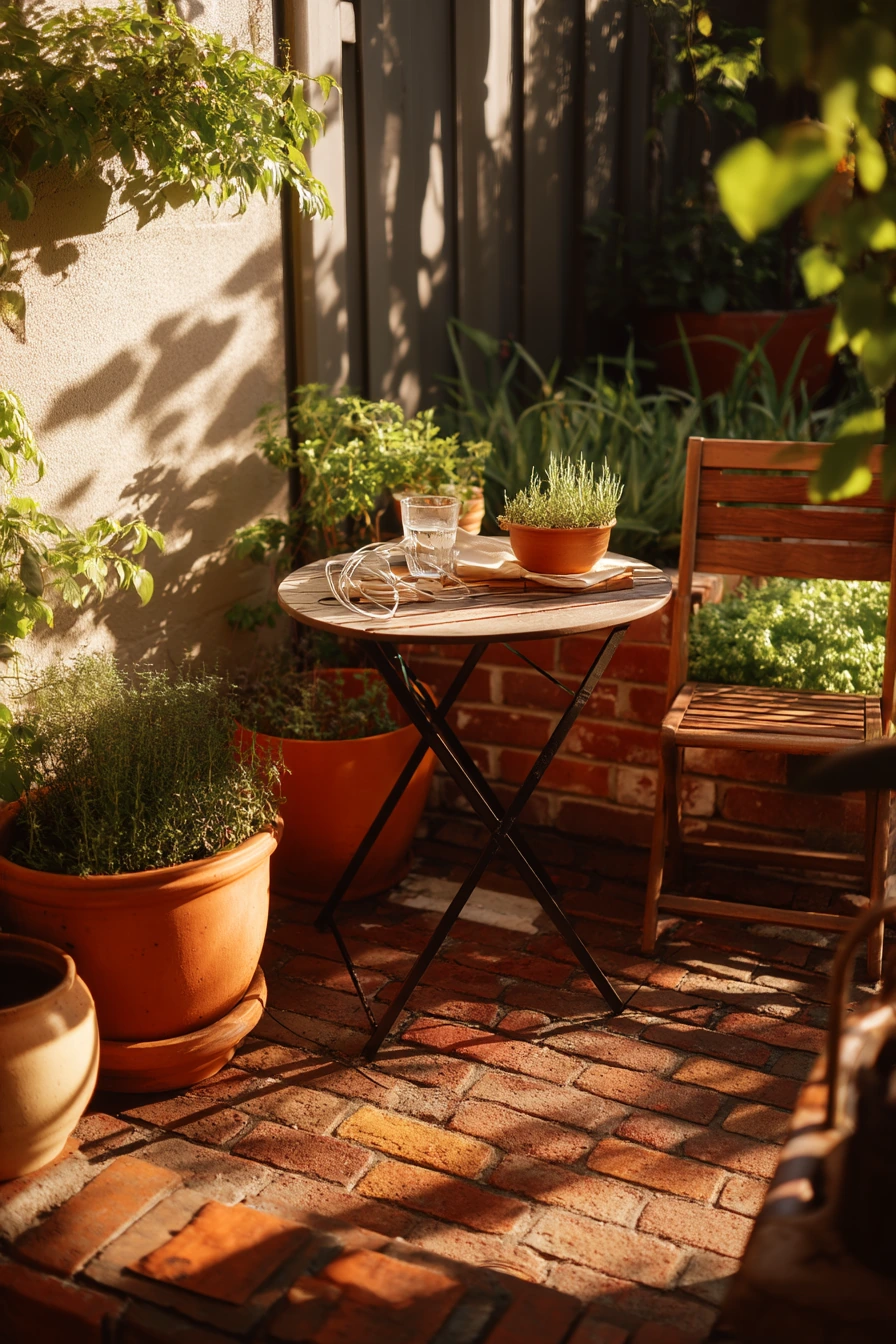
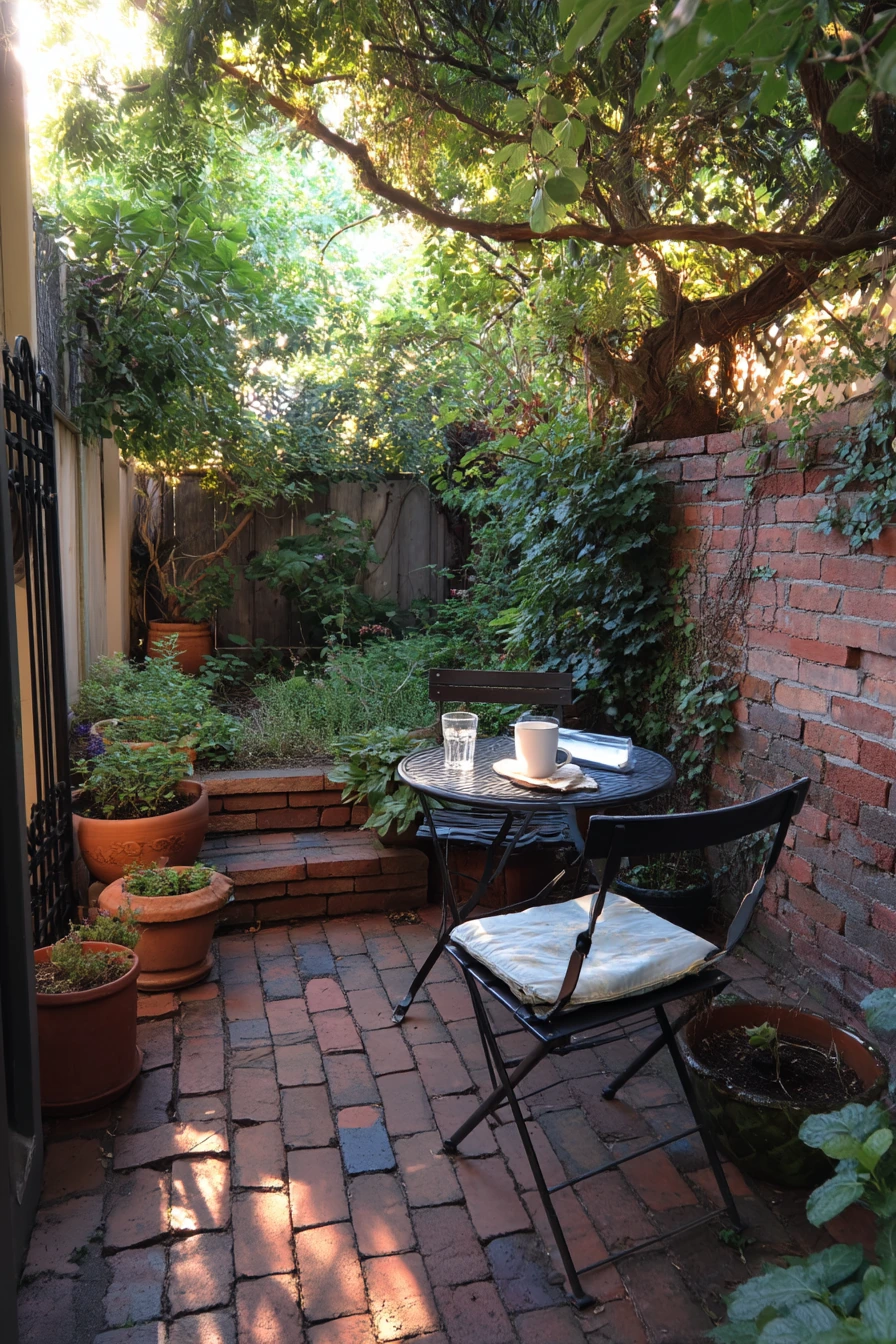
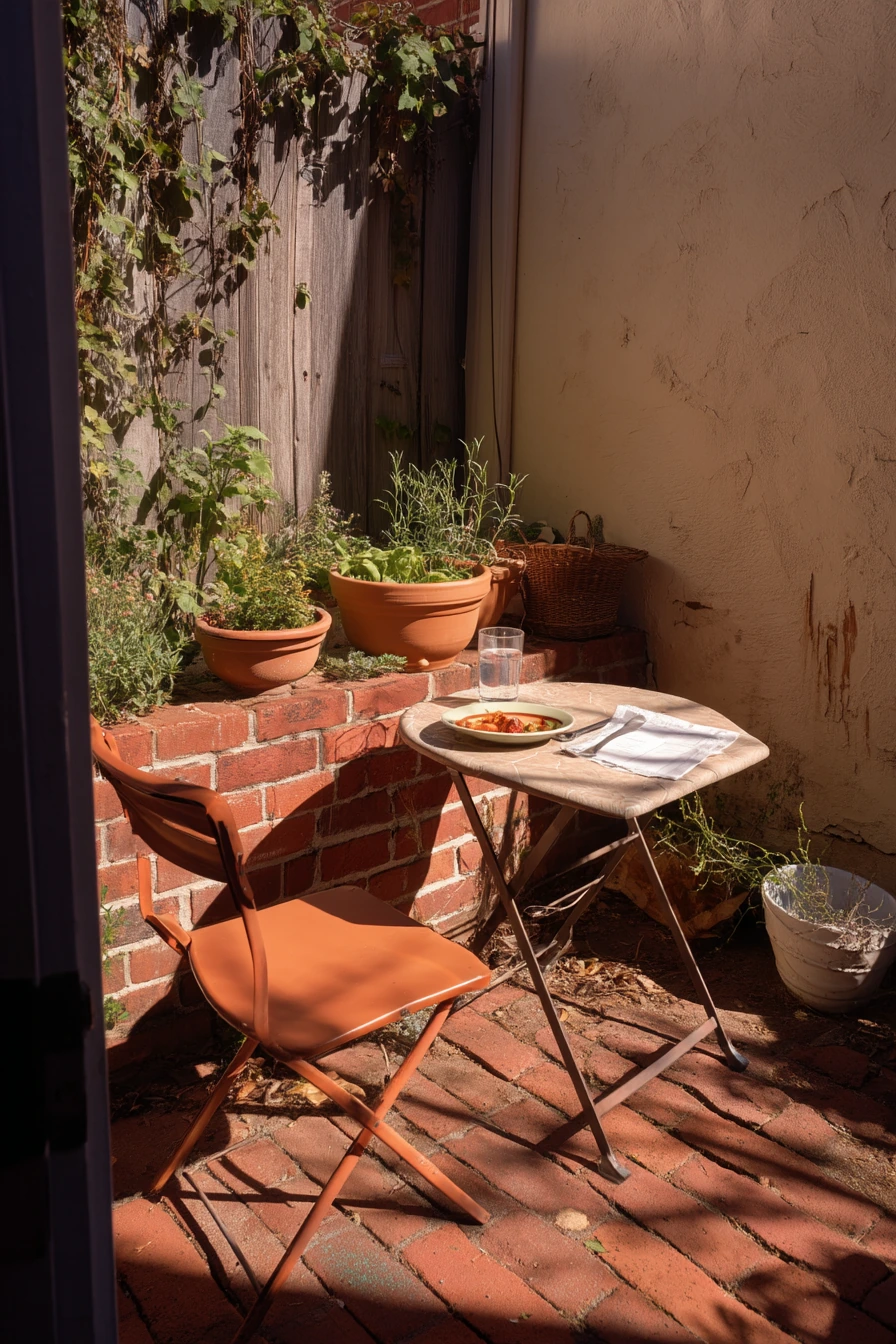
In a compact city backyard, the hardest part is making a tiny patio feel separate from a patchy lawn. Brick edging is a simple border that creates a clear break between spaces without adding bulky walls. It works well around a small café table used for weeknight dinners, and it helps keep grass from creeping into your patio area.
Because the space is small, details matter. Terracotta pots and herb planters look right next to brick because the colors are related. Warm late-afternoon light can make the edge glow, and leaf shadows crossing the bricks add texture. Keep the look honest and usable: a half-full water glass, a folded napkin, and even a charging cable on a chair feel real, and they tell visitors this is a lived-in spot, not a staged one.
For layout, keep the brick line simple. A straight edge is easiest to cut and maintain, but a gentle curve can soften a hard patio corner. Set bricks on a compacted base and check the height so water drains away from the patio, not toward it. If your lawn is uneven, a brick border also gives you a fixed guide for leveling the edge over time.
- Use brick pavers that match or complement your patio surface for a connected look.
- Place herb planters near the border so you can harvest without stepping into beds.
- Add a slim gravel strip on the patio side to reduce mud and weeds.
- Keep terracotta pots grouped in threes to avoid visual clutter.
- Choose one small table and two chairs so the border has breathing room.
Pro Design Tip: Run the brick edge in a continuous line with no breaks to make the small yard feel larger and more organized.
Budget Considerations: If you already have leftover bricks, use them as a border first, then upgrade to a deeper base later when you know the final shape.
3 Renter-Friendly Raised Bed Border
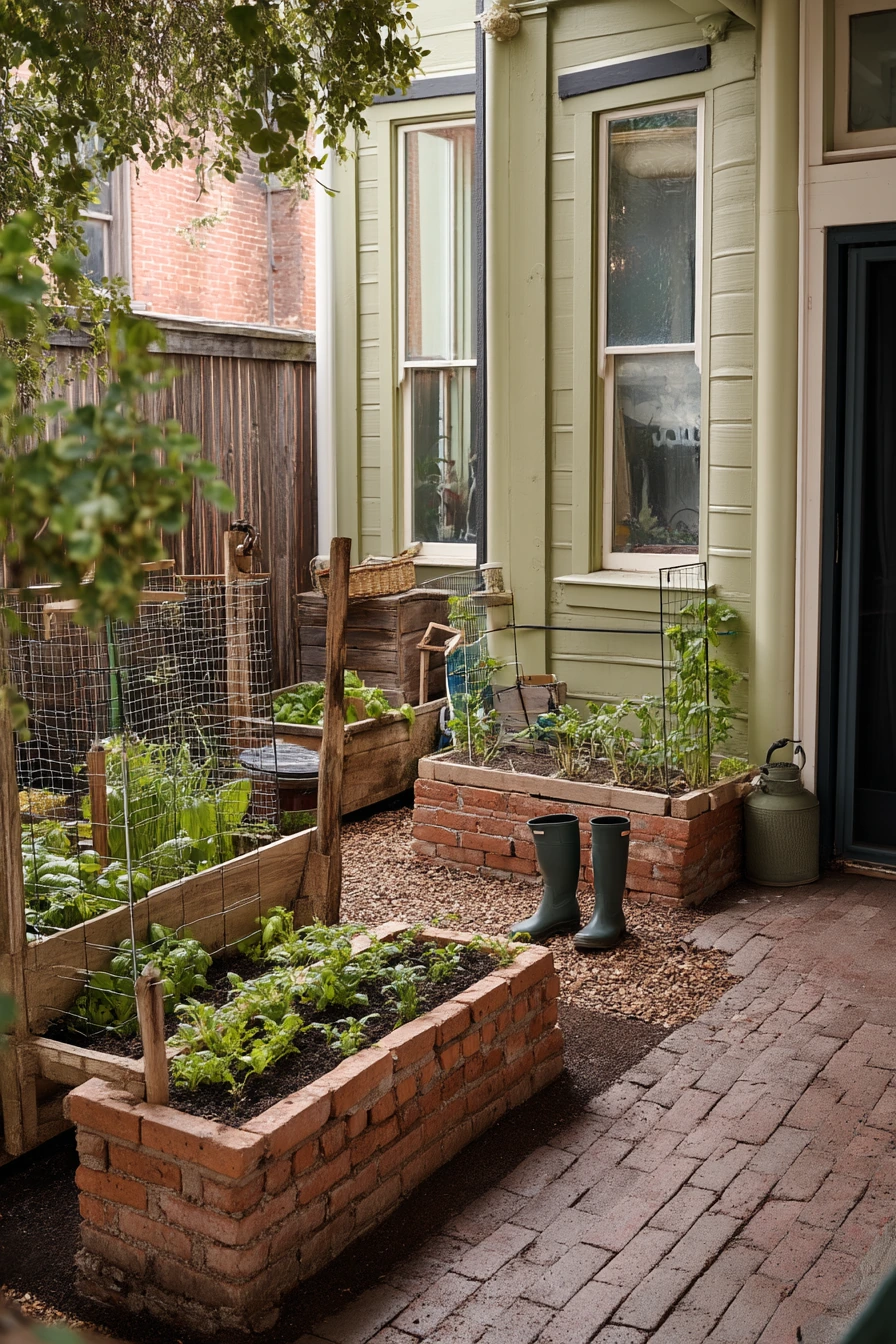
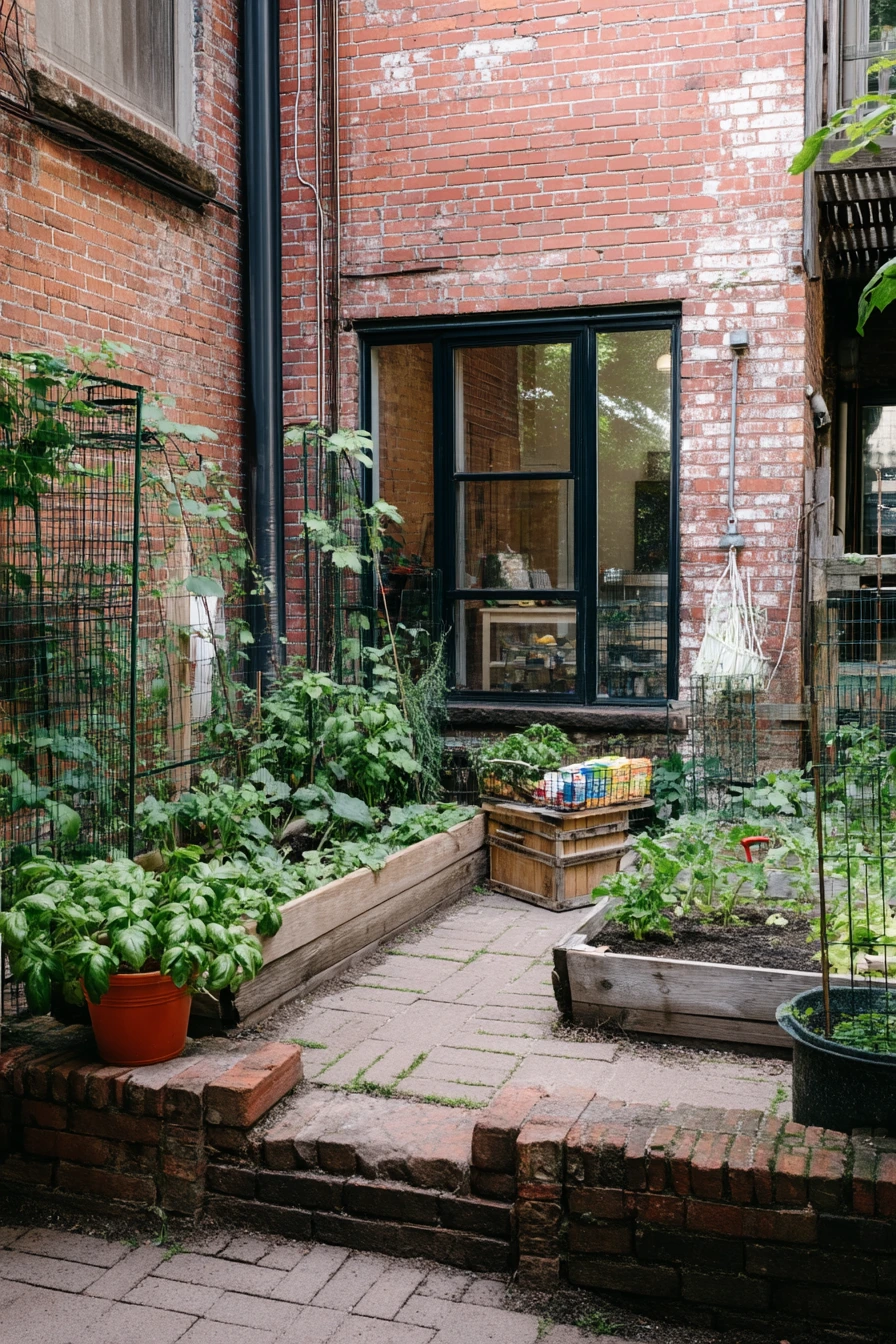
A rental courtyard can still have a neat garden, but you may not want to pour concrete or dig deep. A temporary-looking brick edging around raised vegetable beds is a smart middle ground. It gives structure around tomatoes, basil, and salvaged planters set on pavers, and it can be moved when you leave. It also keeps soil and mulch from spilling onto the walking area.
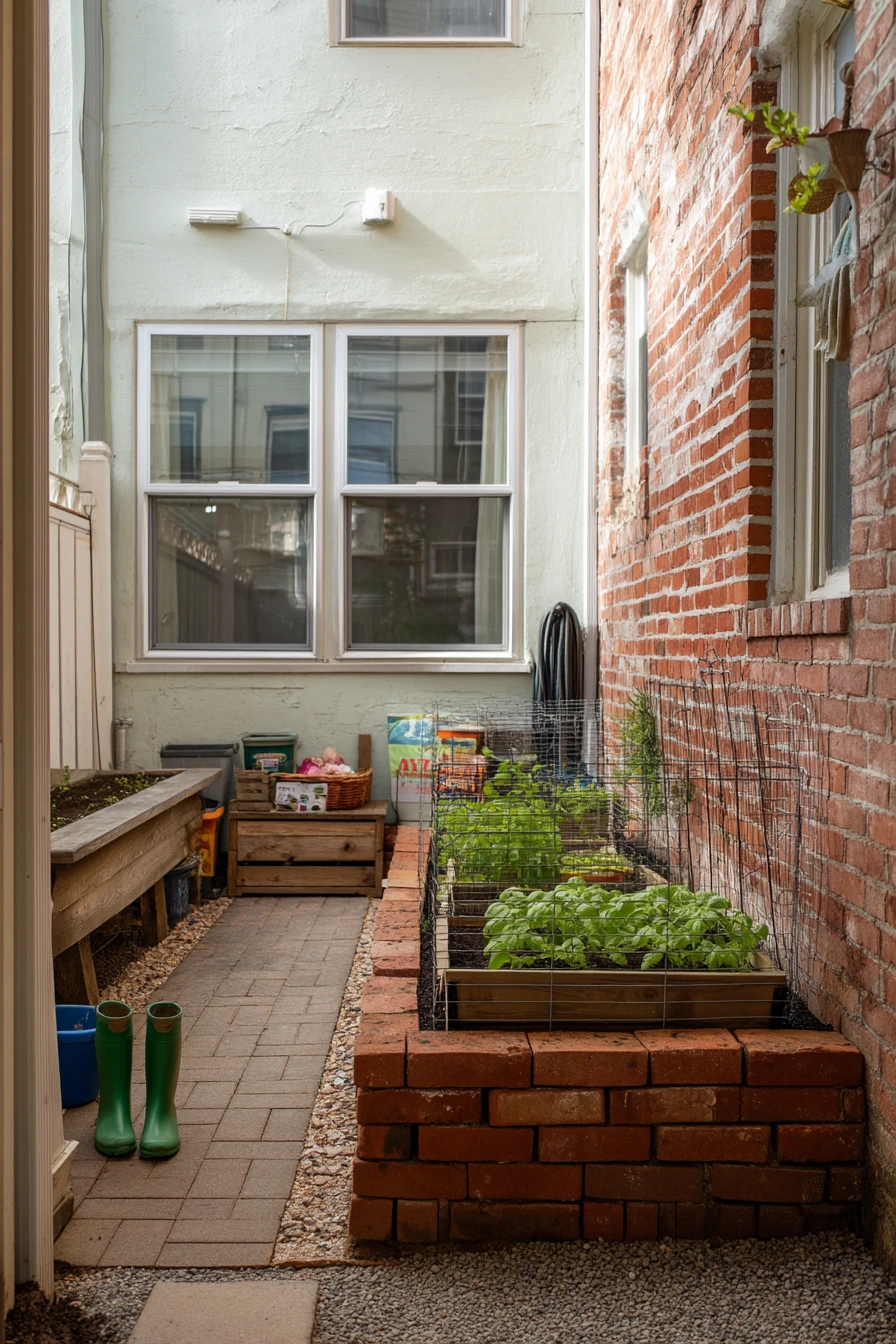
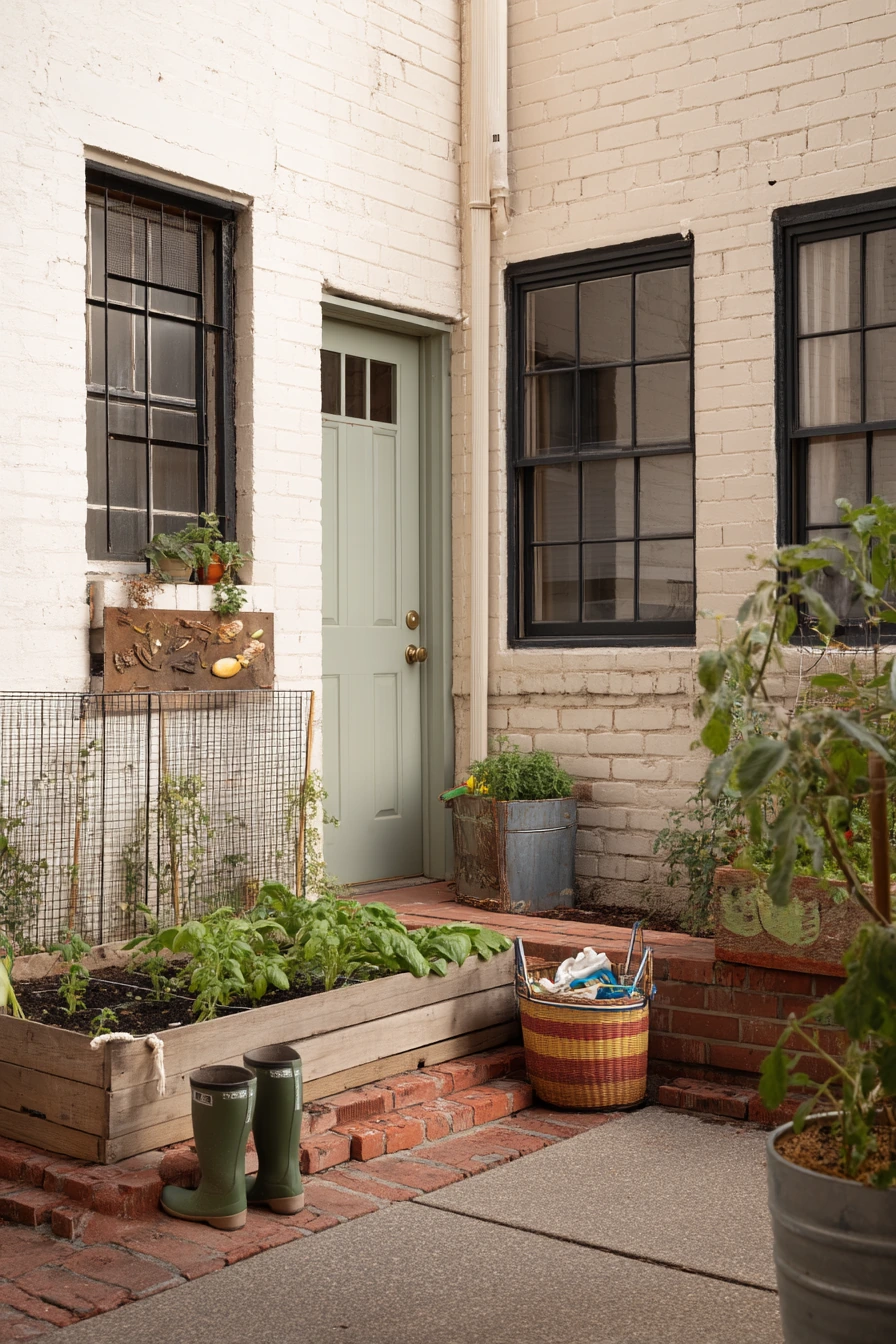
In a modest space, function comes first. Rubber boots by the hose bib, seed packets on a crate, and a kid’s toy basket near the back door all fit into daily life. Brick edging helps these areas feel less chaotic because the garden zone has a clear outline. Bright but diffused window light keeps the space calm, and the brick adds warmth without needing extra decor.
For a removable setup, skip mortar. Set bricks tightly together on tamped soil or a thin sand layer, then backfill with mulch or gravel to lock them in. If you are edging around raised beds, keep the brick line slightly outside the bed footprint so you can kneel and work without bumping the edge. Leave a wider opening where you roll a small cart or carry watering cans.
- Use standard bricks laid flat for a low, trip-safe border.
- Edge only the visible sides of the beds if space is tight.
- Group salvaged planters near the corner so the rest stays open for walking.
- Place tomato cages inside the bed line so they do not shade the edge plants.
- Add a small paver “landing” near the hose bib to keep mud down.
Pro Design Tip: Choose a simple rectangle or L-shape edge so you can reuse the same bricks in a new yard without odd cuts.
Budget Considerations: Look for free bricks on local swap groups; even mismatched colors work in a kitchen garden where the focus is on herbs and veggies.
4 DIY Weekend Path Reset
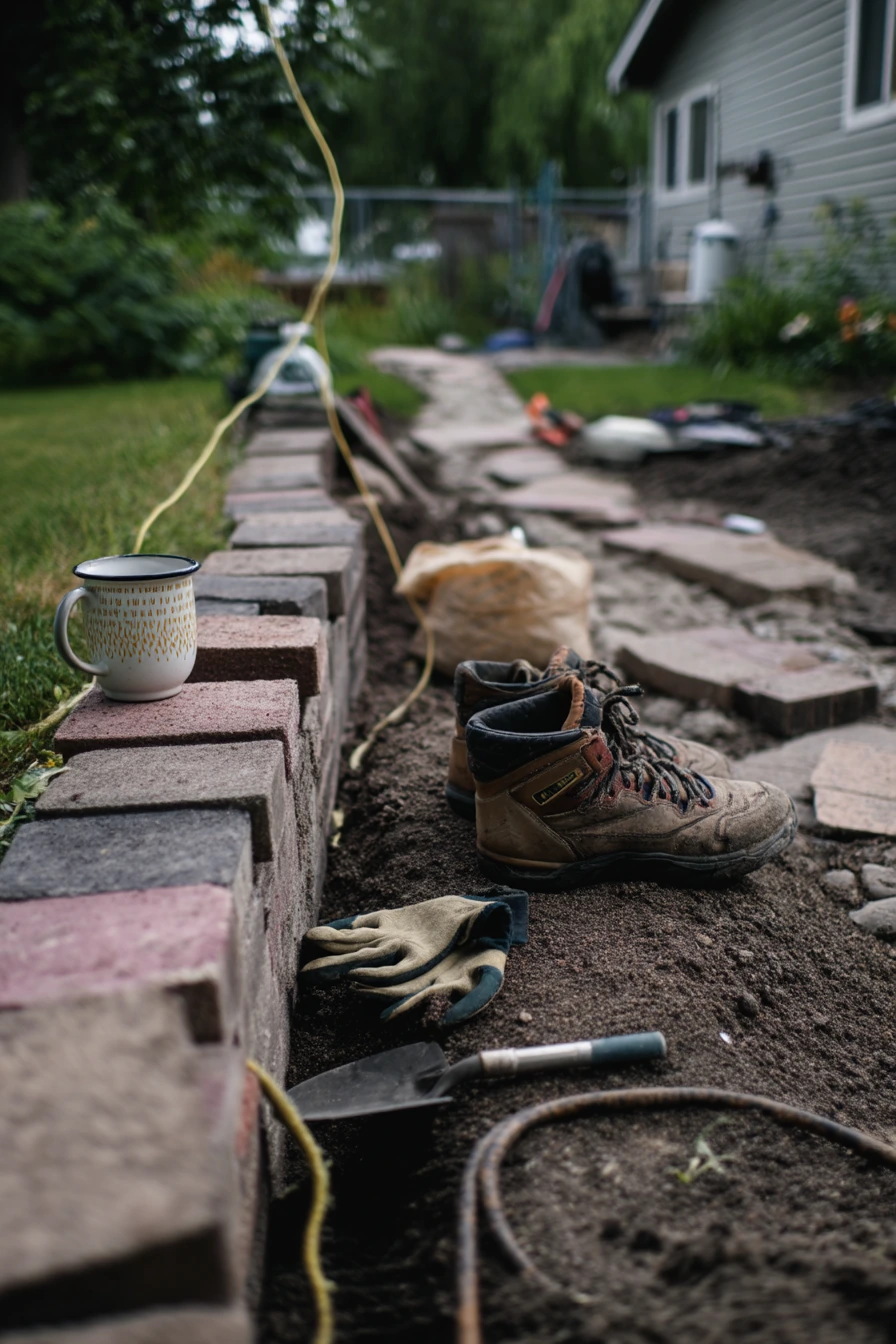
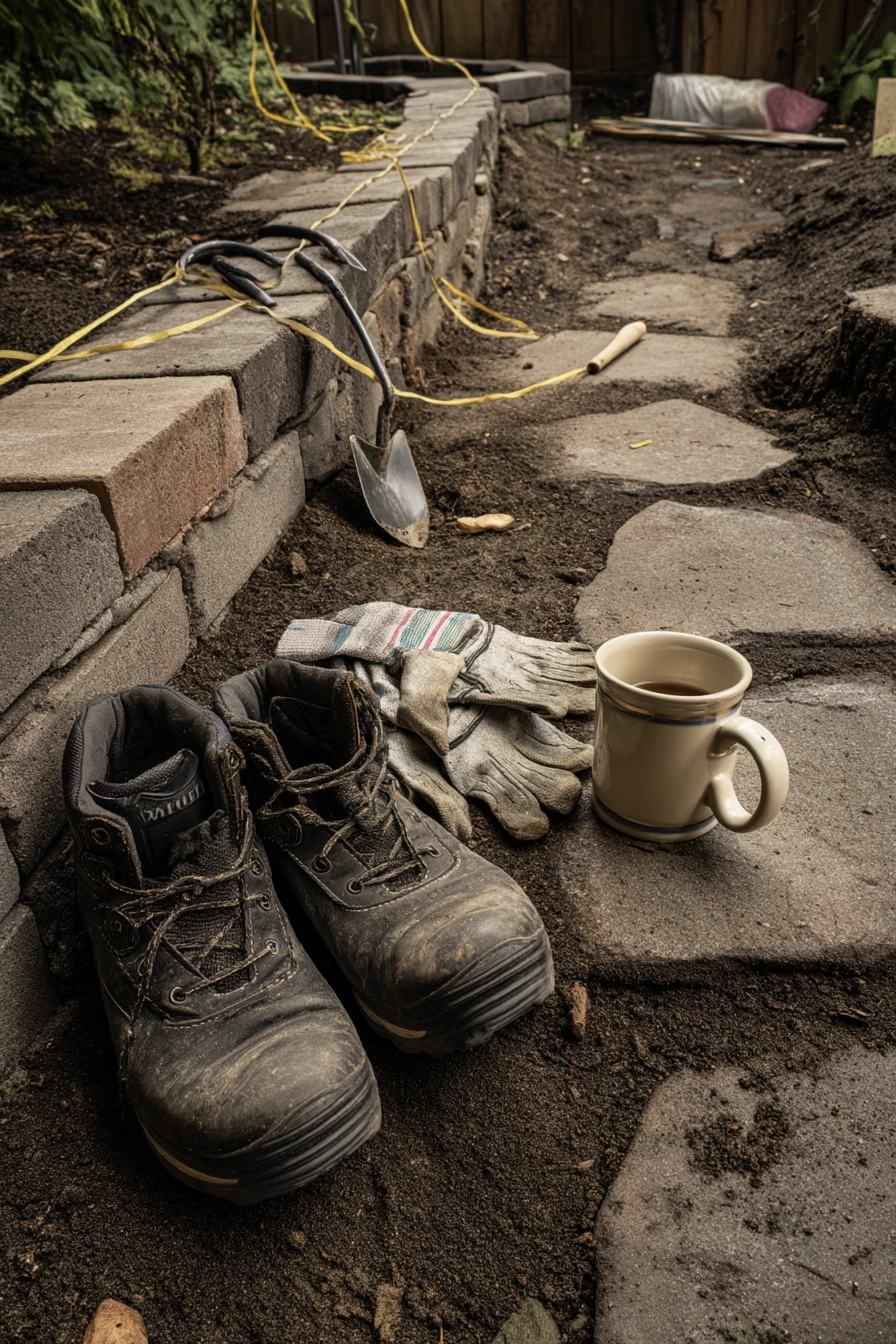
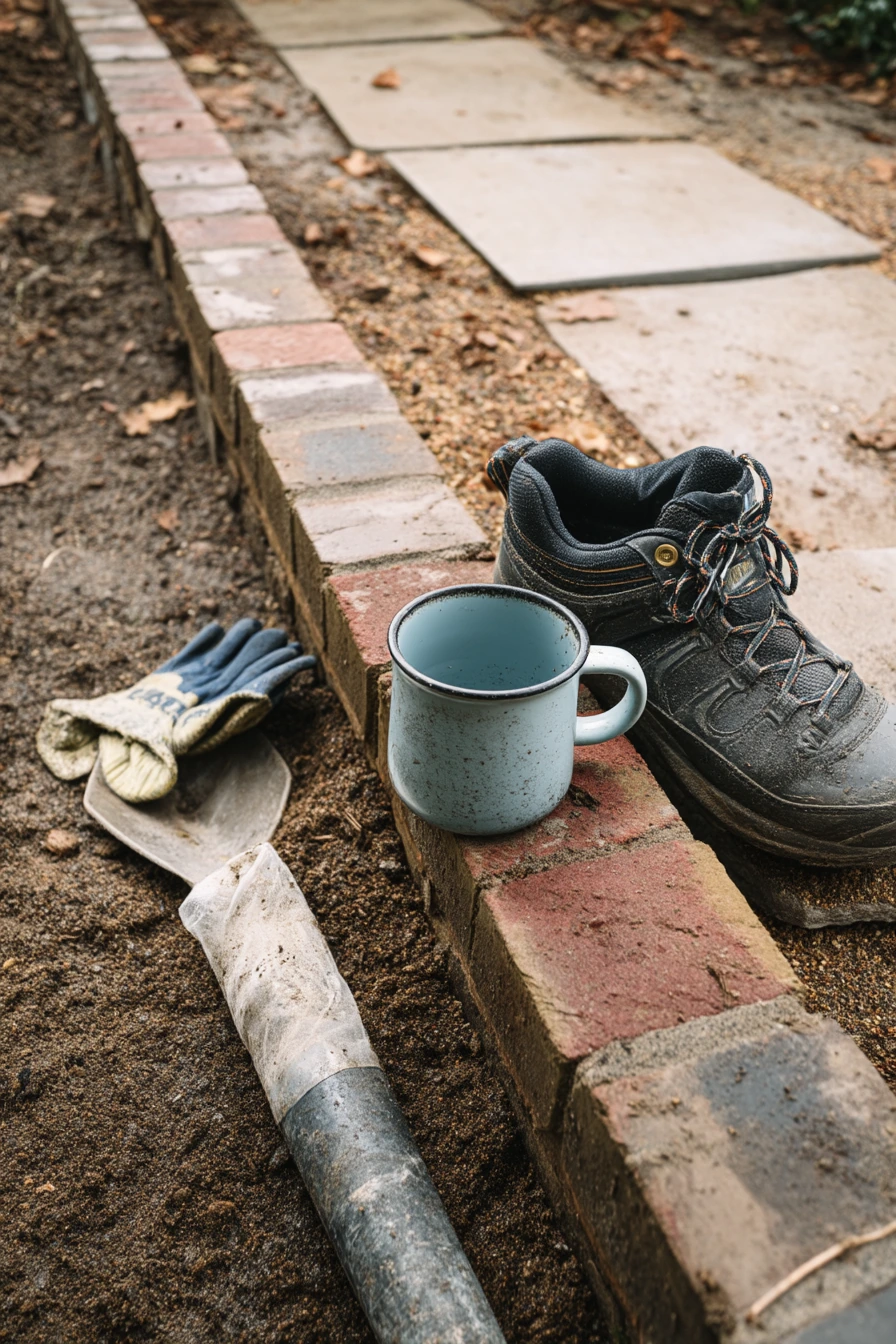
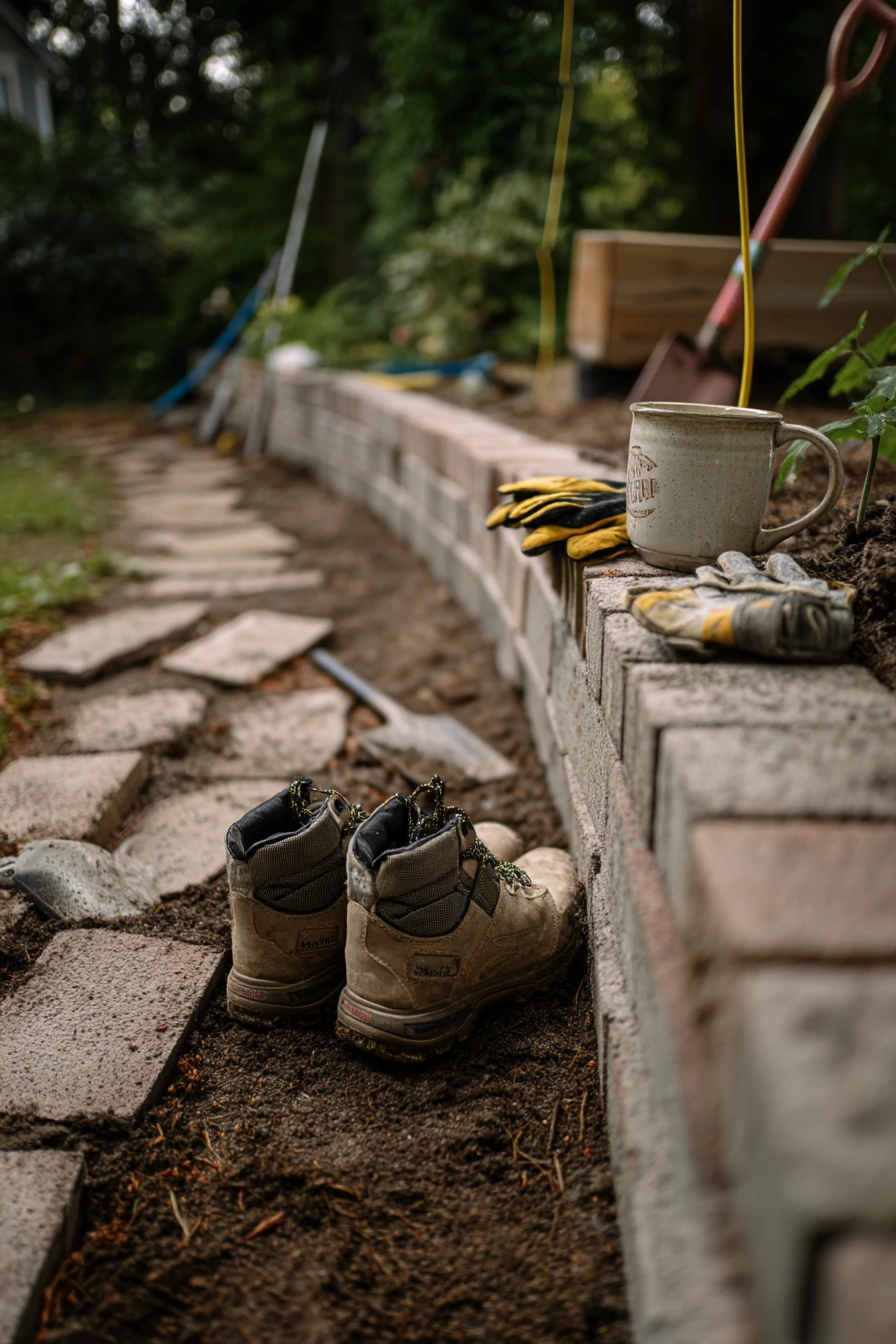
A family side yard often becomes a mix of stepping stones, hose storage, and quick fixes. Brick edging can pull it together fast, even if the project is still in progress. Bricks newly set beside a stepping-stone path make the route feel clear and help keep soil from washing onto the stones. Seeing a shovel, string line, and a half-used sand bag nearby is normal for a weekend DIY moment.
This type of edging is about doing it right, not making it perfect on day one. Work gloves, muddy sneakers, and a coffee mug on a retaining wall fit the hands-on feel. Soft overcast daylight is ideal for installing because you can take your time without heat stress. The key is getting the base level so bricks do not tilt after the first hard rain.
Start by setting a string line to guide the edge. Dig a shallow trench, then add a compacted layer of crushed stone or paver base, topped with leveling sand. Tap each brick down with a rubber mallet and check level every few feet. If you have curves, cut bricks only when needed and use shorter pieces near tight turns. Finish by sweeping sand into gaps so the row locks in place.
- Keep the brick top slightly above the soil to stop mulch from spilling onto the stones.
- Use the stepping stones as your reference line so the edge stays consistent.
- Stack unused bricks near the work area to avoid carrying them back and forth.
- Rinse dirt off the bricks at the end so you can see low spots early.
- Plant low groundcover on the outside edge for a softer look.
Pro Design Tip: Lay a long level across several bricks at once to avoid a wavy line that shows up when the light hits it.
Budget Considerations: You can use basic paver base and sand from a home store; renting a hand tamper is cheaper than buying tools you may not use again.
5 Cottage Garden Curve Border
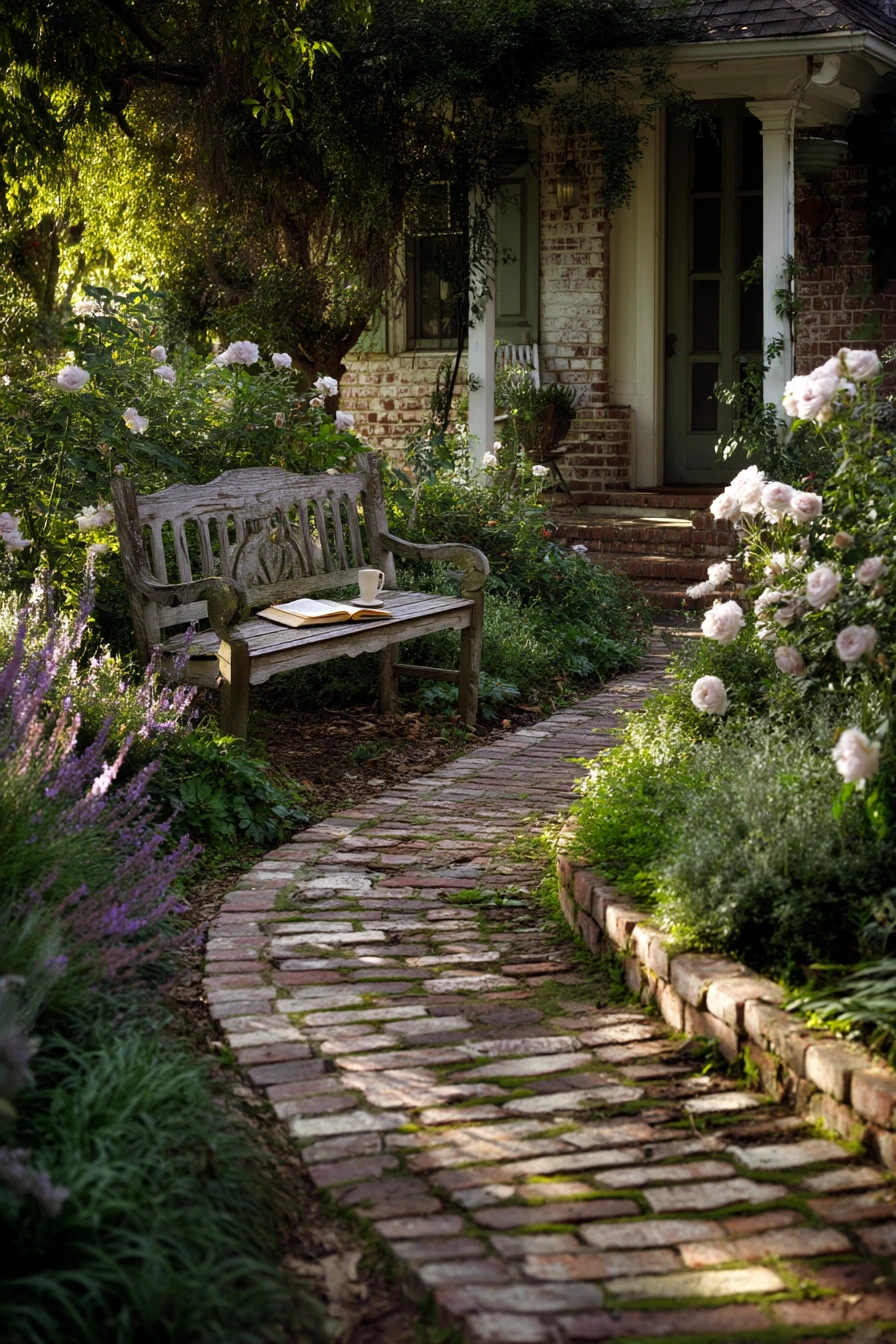
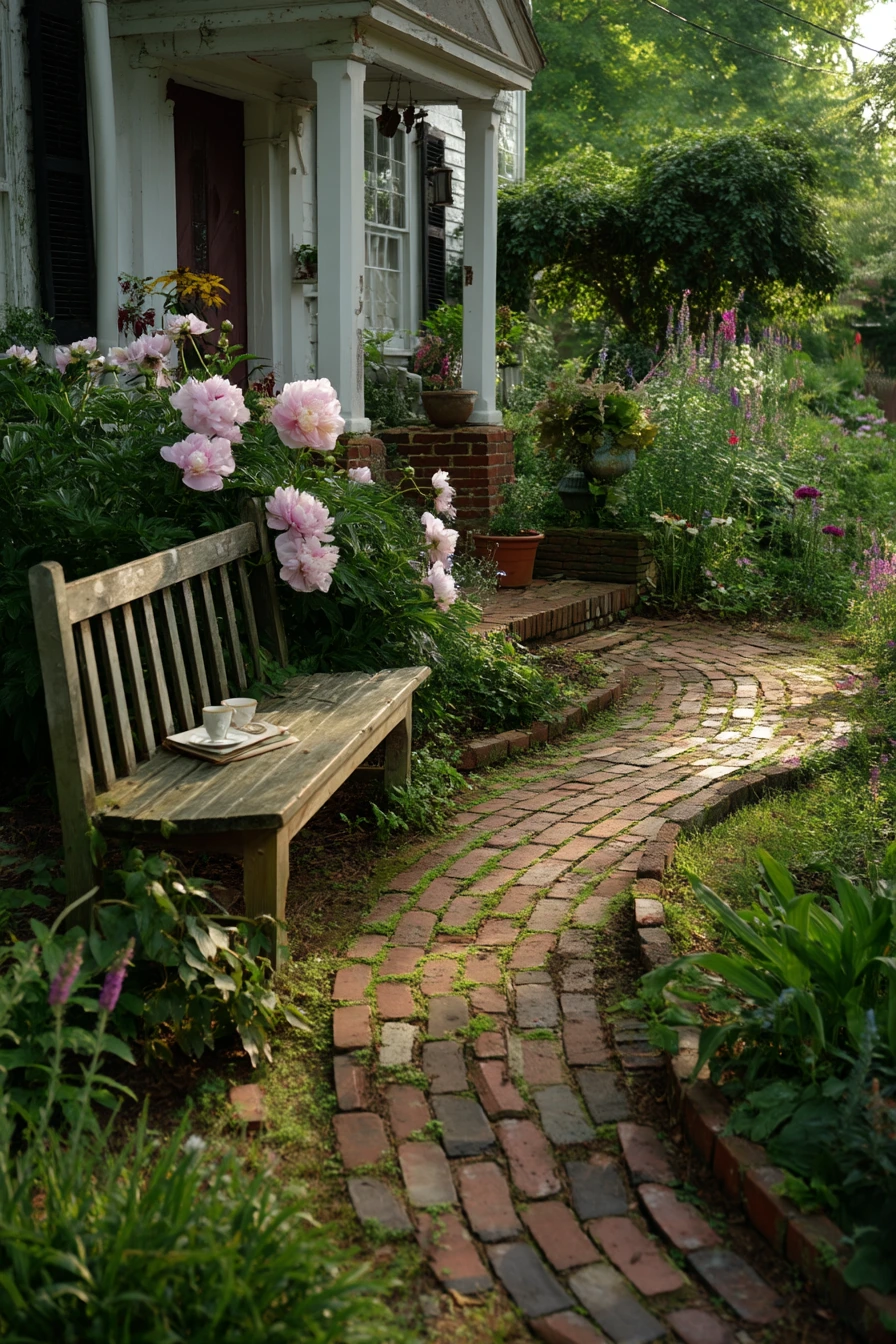
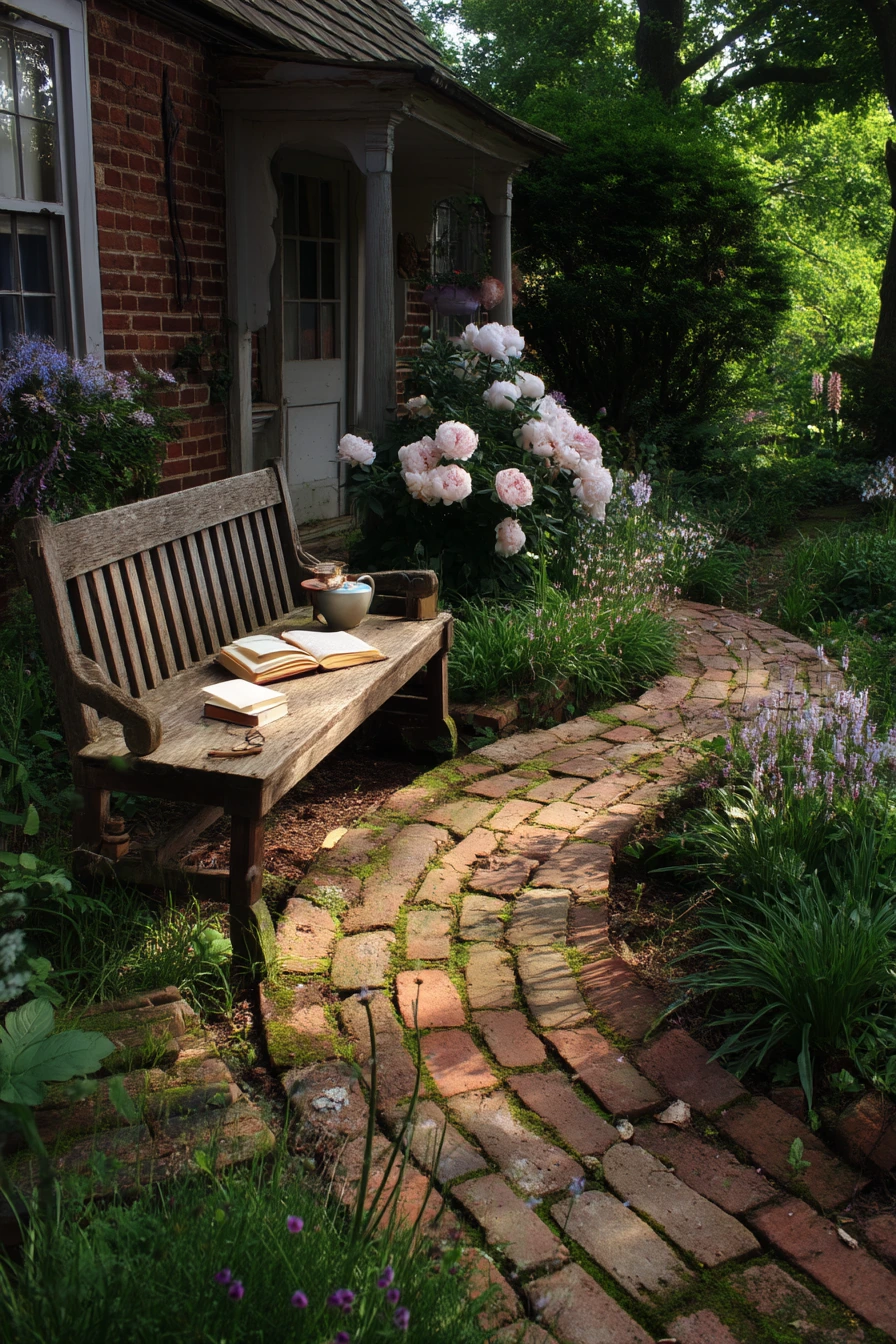
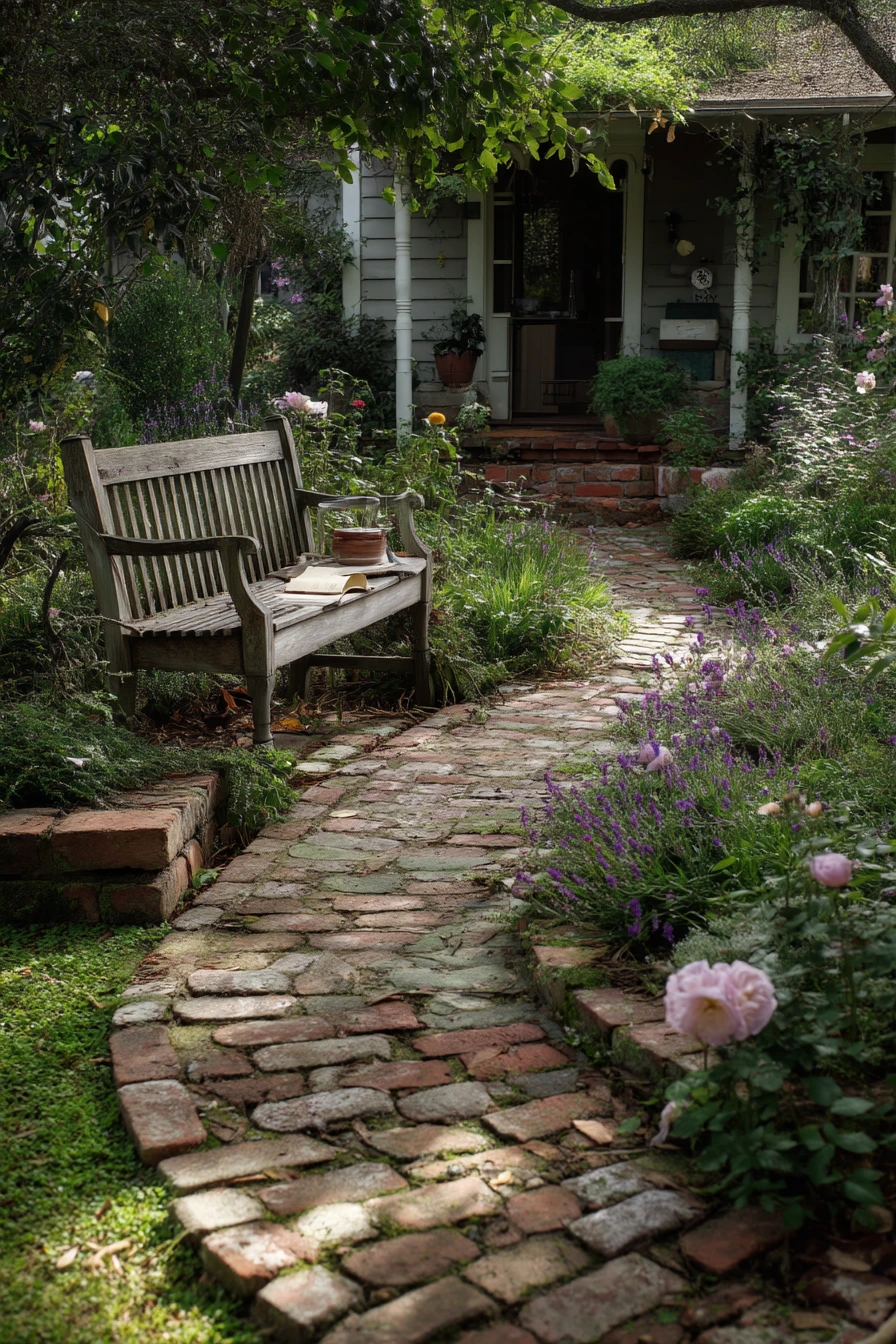
A cottage garden looks best when the edging feels relaxed, not rigid. Brick edging tracing a loose curve around peonies, lavender, and foxglove gives the bed a boundary but keeps the planting soft. Older bricks with a bit of moss between them add age and texture, which fits a timeworn porch scene with a weathered bench nearby.
Small personal items make this style feel real: a novel left open, reading glasses, and a tea cup on the seat suggest you actually use the space. Gentle morning light and plant shadows on the path bring out the brick’s uneven color. If your bricks are new, you can still get a cottage feel by mixing tones and allowing tiny gaps where thyme or moss can settle.
For installation, avoid perfect straight lines. Mark the curve with a hose and step back to check it from different angles. Set the bricks slightly irregular, but keep the top surface level so it is safe to walk near the edge. Use mulch in the bed and a fine gravel or packed soil path on the outside, so the border reads clearly. Prune perennials so they lean over the brick a little, not bury it.
- Use a gentle S-curve instead of sharp turns for a natural border.
- Plant lavender near the edge so the scent hits as you walk by.
- Add a few flatter bricks as “toe rests” near the bench area.
- Let moss or creeping thyme fill small joints for a softened line.
- Repeat brick edging in one more spot, like around a porch bed, to tie the yard together.
Pro Design Tip: Keep one consistent reveal height along the curve so the edging looks intentional even when the bricks are aged and varied.
Budget Considerations: Reclaimed bricks often cost less per piece; if supply is limited, use reclaimed on the front edge and cheaper new brick on hidden sides.
6 Modern Minimal Entry Border
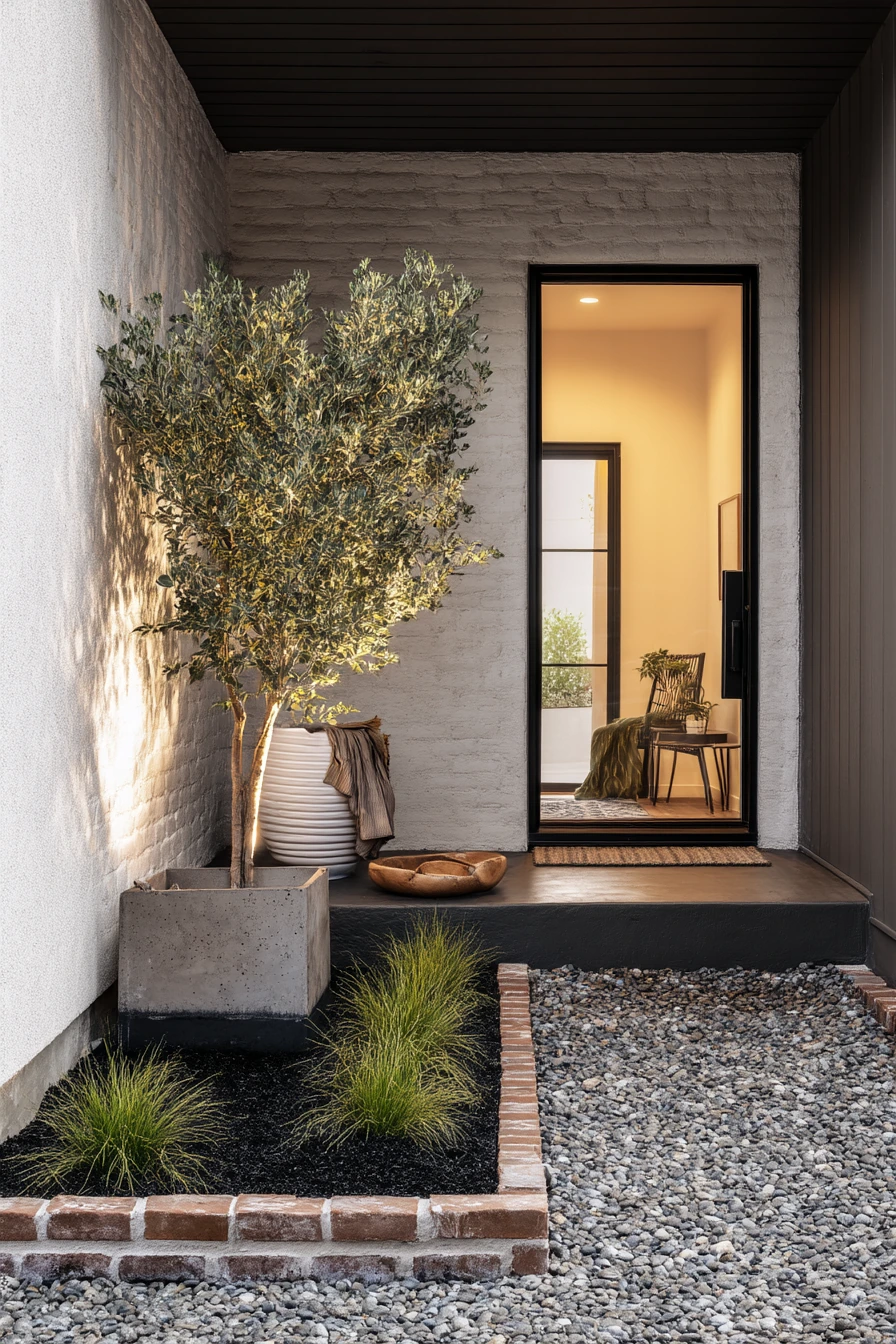
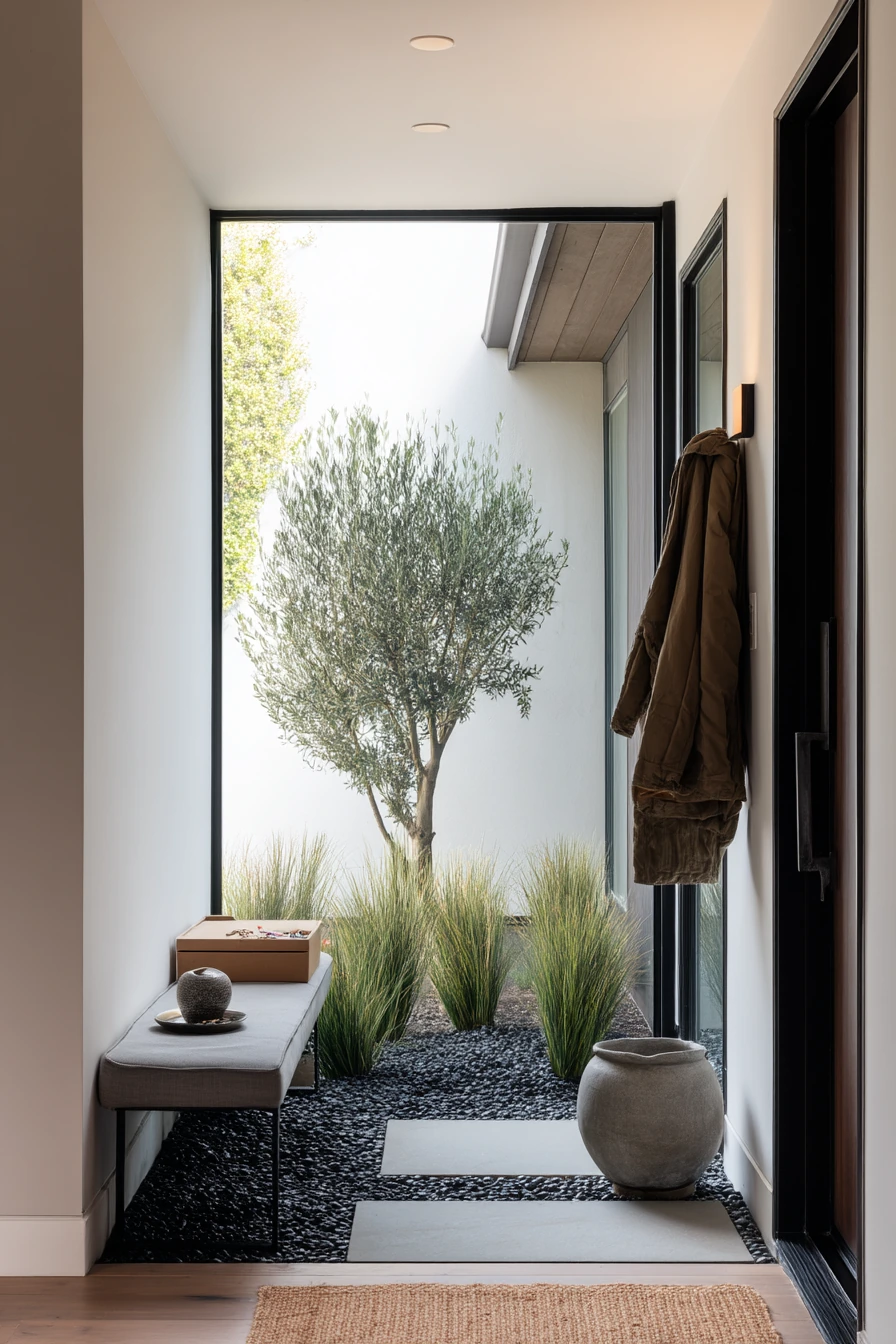
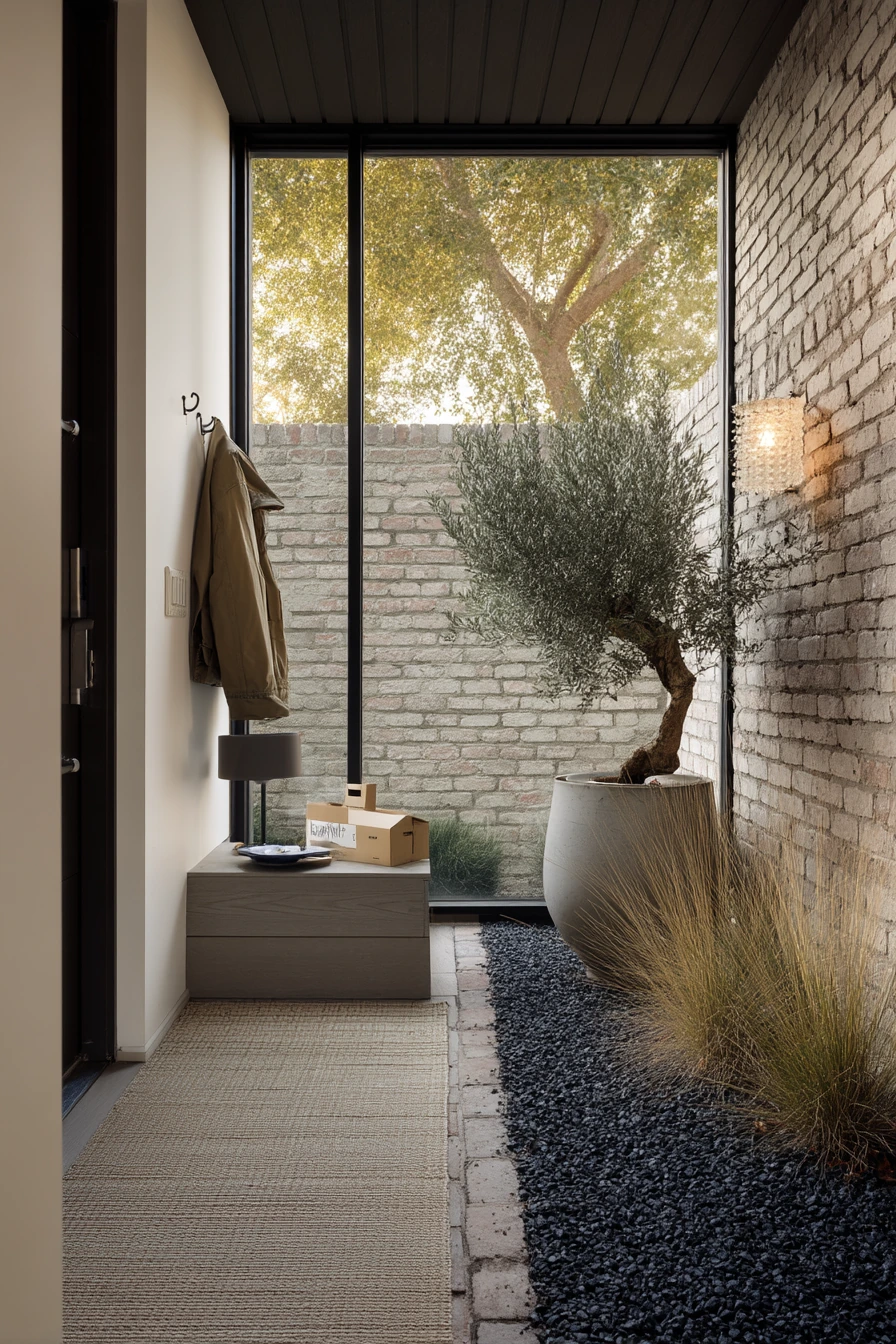
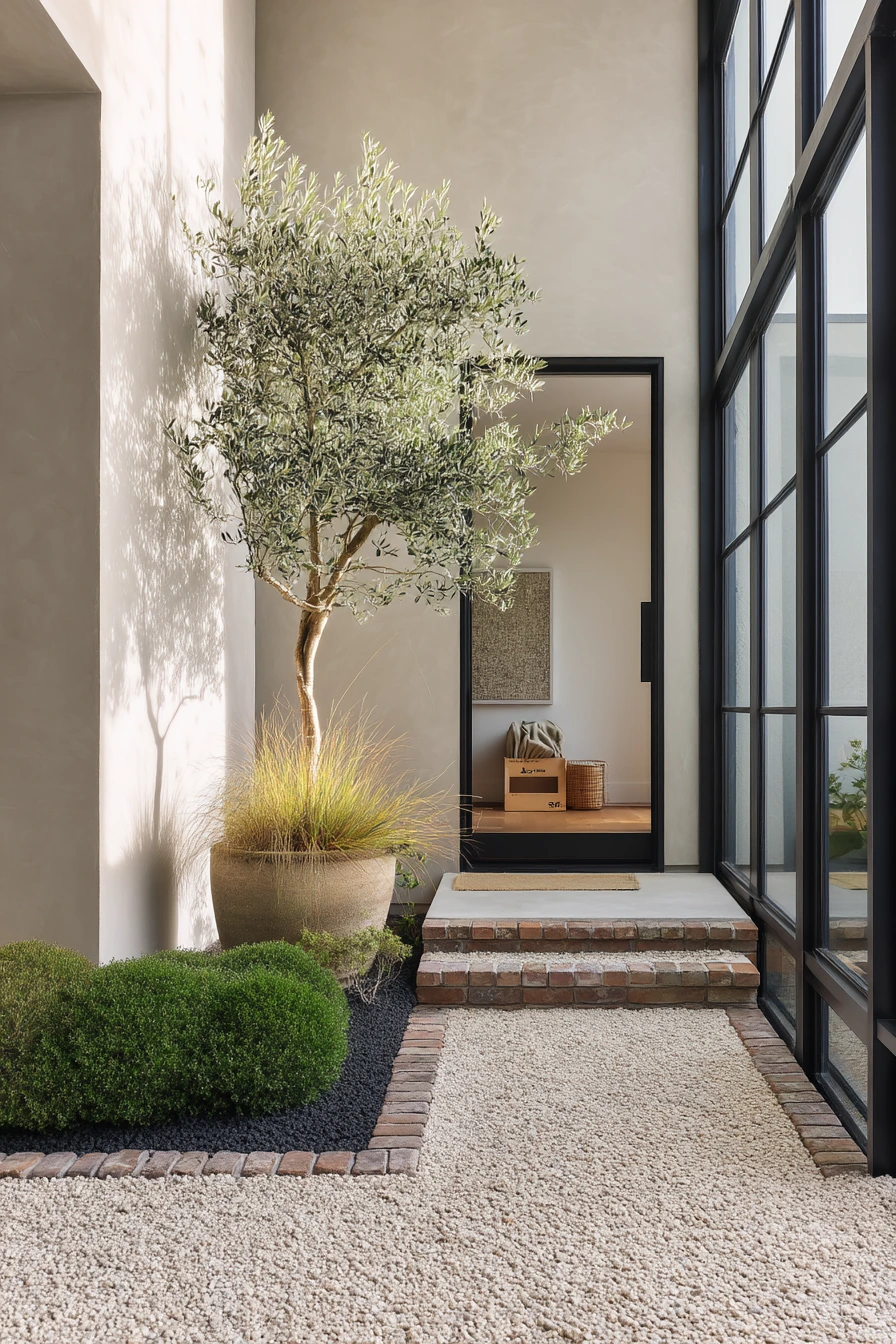
Brick is not only for traditional yards. In a clean contemporary entryway, slim brick edging can frame black gravel and ornamental grasses with a crisp line. The contrast between warm brick and dark stone looks modern, especially near a sculptural olive tree by the door. This approach is restrained and calm, and it suits a real-home entry with a delivery box on the step and keys in a ceramic dish.
To keep the look current, use a tight layout and a simple shape. Straight runs and sharp corners feel clean. Natural side light plus a soft lamp glow from indoors makes the brick color richer, so consider a brick with a muted, earthy tone rather than bright red. Keep the edging low so it does not compete with the plants; the goal is a frame, not a wall.
For performance, set the brick edge on a solid base so gravel does not spill into the planting area. Install landscape fabric under the gravel to reduce weeds, then use a narrow strip of metal edging behind the brick if you want extra separation. Keep gravel level just below the top of the bricks, and leave a small gap around the olive tree for watering.
- Choose long, thin bricks or brick pavers for a sleek profile.
- Use black gravel or dark river rock to highlight the brick line.
- Plant grasses in repeating groups for a simple rhythm.
- Add one sculptural plant, like an olive or dwarf evergreen, as the focal point.
- Use a minimal outdoor mat and one planter to avoid clutter.
Pro Design Tip: Align the brick edge with architectural lines like the door frame or porch slab to make the entry feel professionally planned.
Budget Considerations: Black gravel and an olive tree can raise the cost; save money with smaller plants and standard pea gravel, then upgrade later.
7 Busy Family Yard Divider
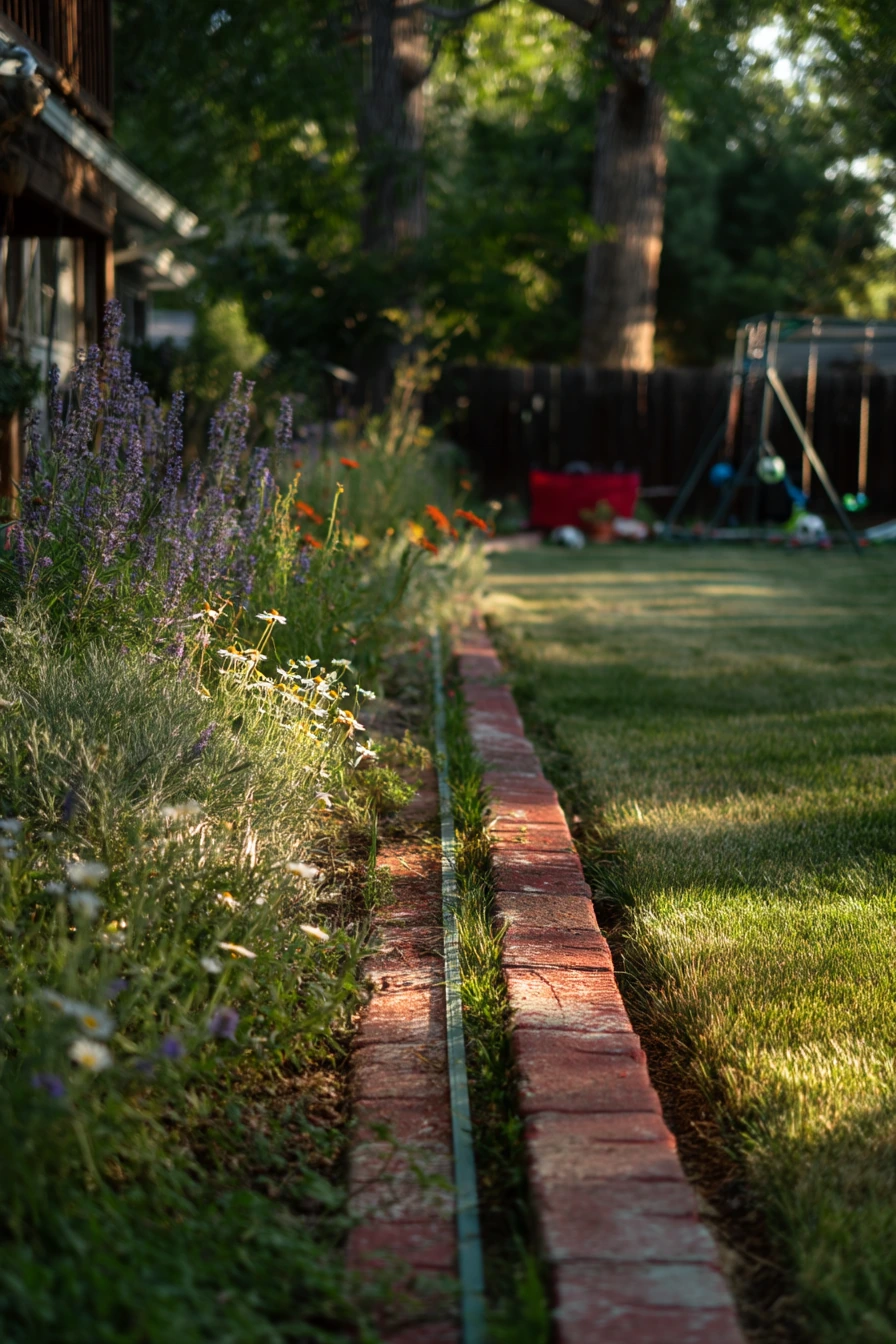
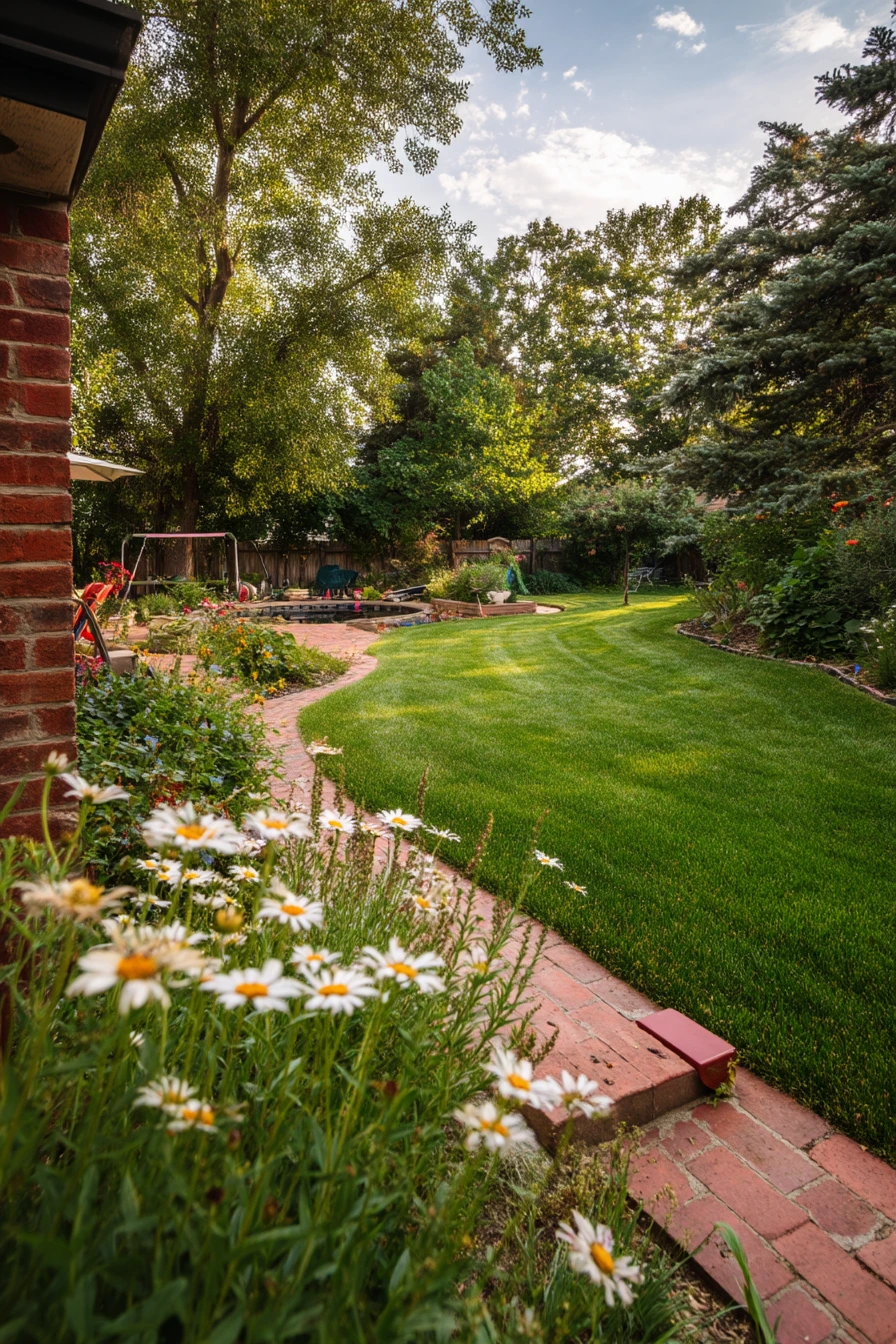
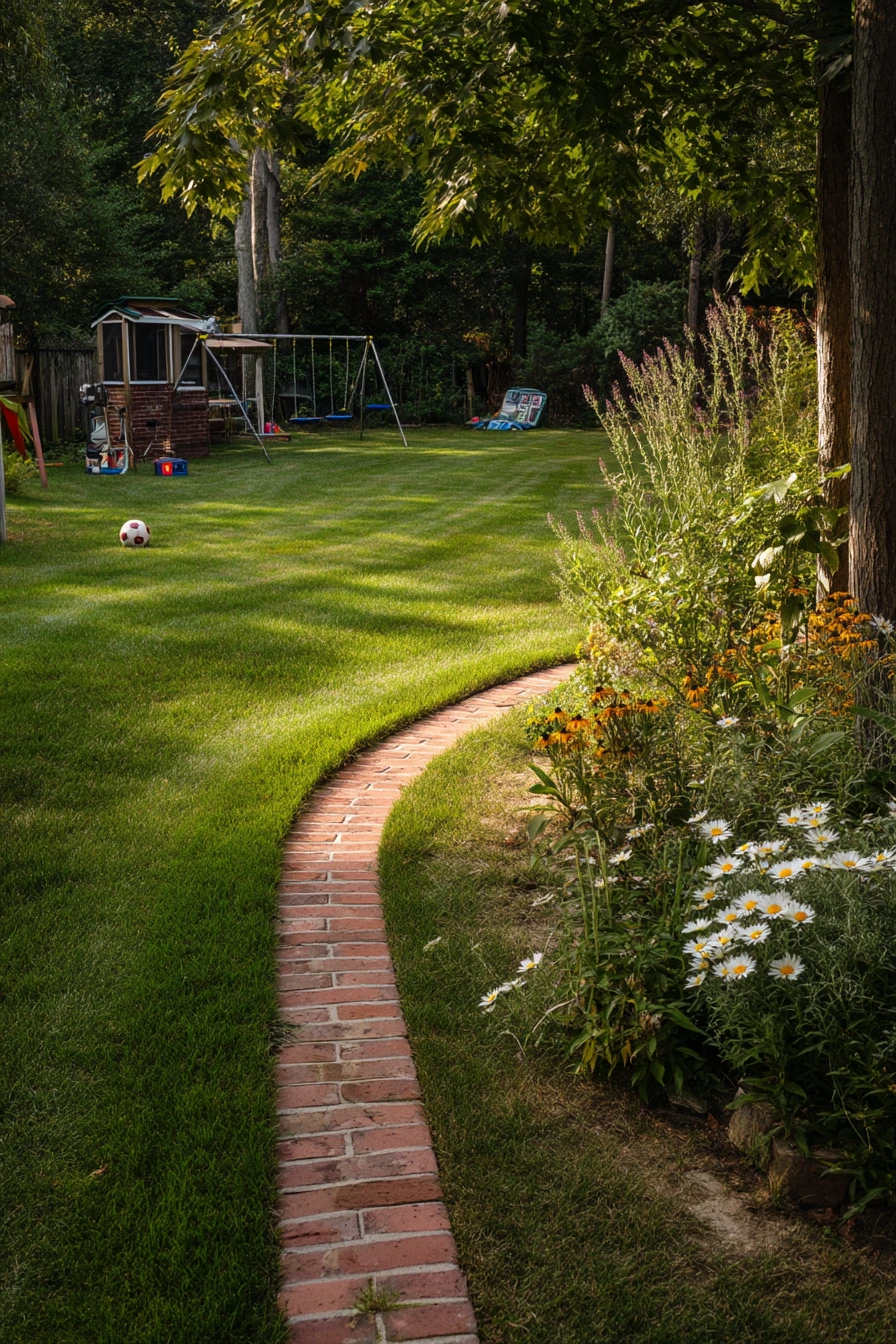
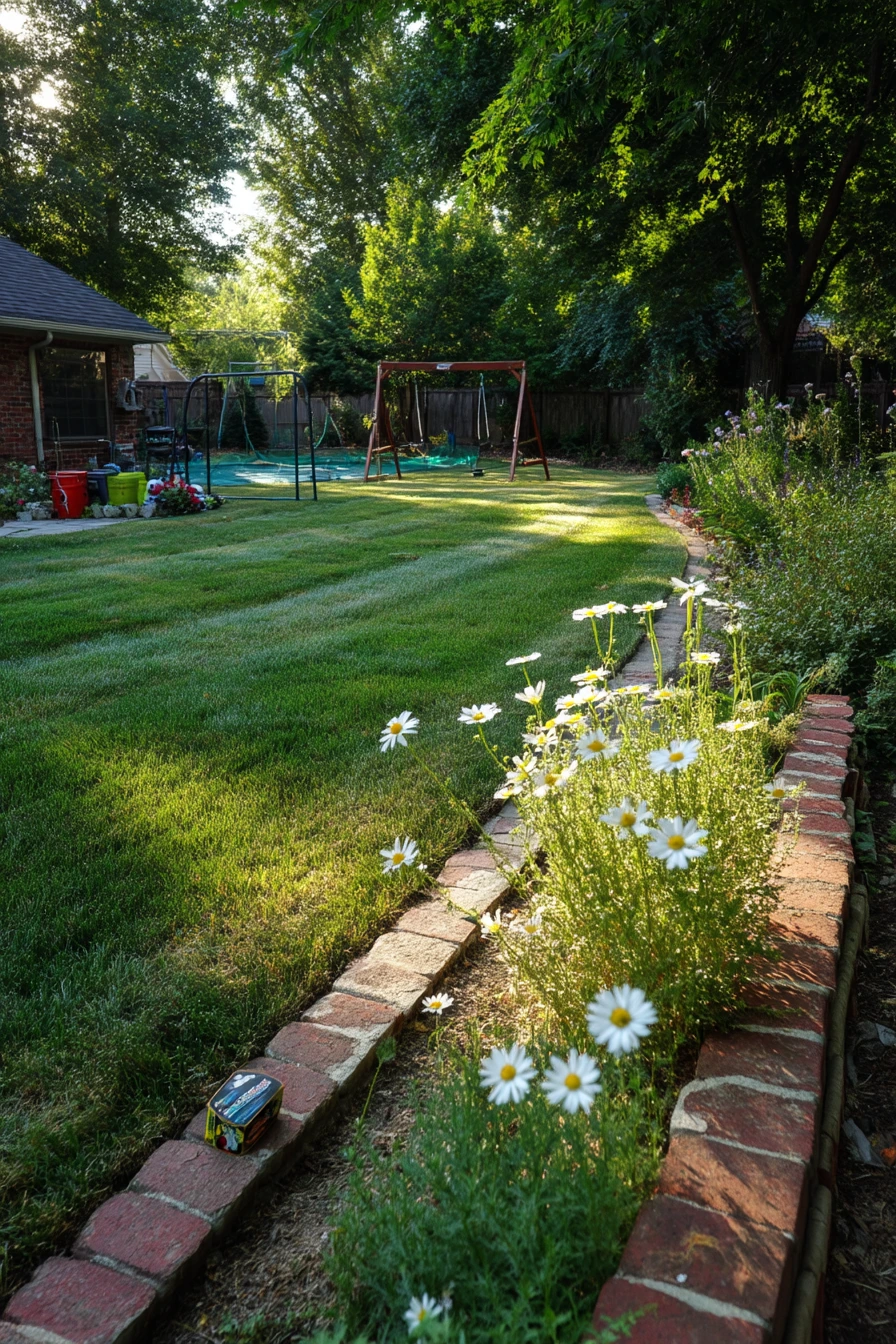
In a family backyard, you need clear zones. Brick edging is a low barrier that separates a play lawn from a planted border without blocking kids or pets. It keeps grass from creeping into flower beds and helps mulch stay put. With a swing set in the distance and a small grill corner nearby, this border also helps you keep pathways open and safe.
The best part is it still feels lived-in. A soccer ball, chalk marks, and a forgotten juice box can exist without the yard looking messy, because the border holds the line. Late afternoon sun filtered by trees makes brick look warm and soft, and flowers like daisies and salvia add color along the edge without taking up much space.
For a kid-friendly install, keep the top of the brick close to ground level to reduce tripping. Lay bricks flat in a single course and make sure they are stable. If you mow often, set the edge so the mower wheels can ride along it. In the planted border, place tougher plants near the front so they can handle a stray ball. Leave a little extra width near the grill area so you can step around safely.
- Use a straight edge for long lawn runs; it is easier to mow.
- Plant salvia and daisies in clumps for simple, bold color.
- Add a small gravel patch near the grill corner to reduce mud.
- Keep toys in one basket or bin to avoid scattering across the border.
- Refresh the bed line each spring by topping up mulch to the brick edge.
Pro Design Tip: Create a continuous mowing strip by keeping the brick border level and using the same depth of mulch along the entire line.
Budget Considerations: If you have a large lawn edge, use brick only where it shows most, and use a cheaper trench edge for the back sections.
8 Garden Room Courtyard Frame
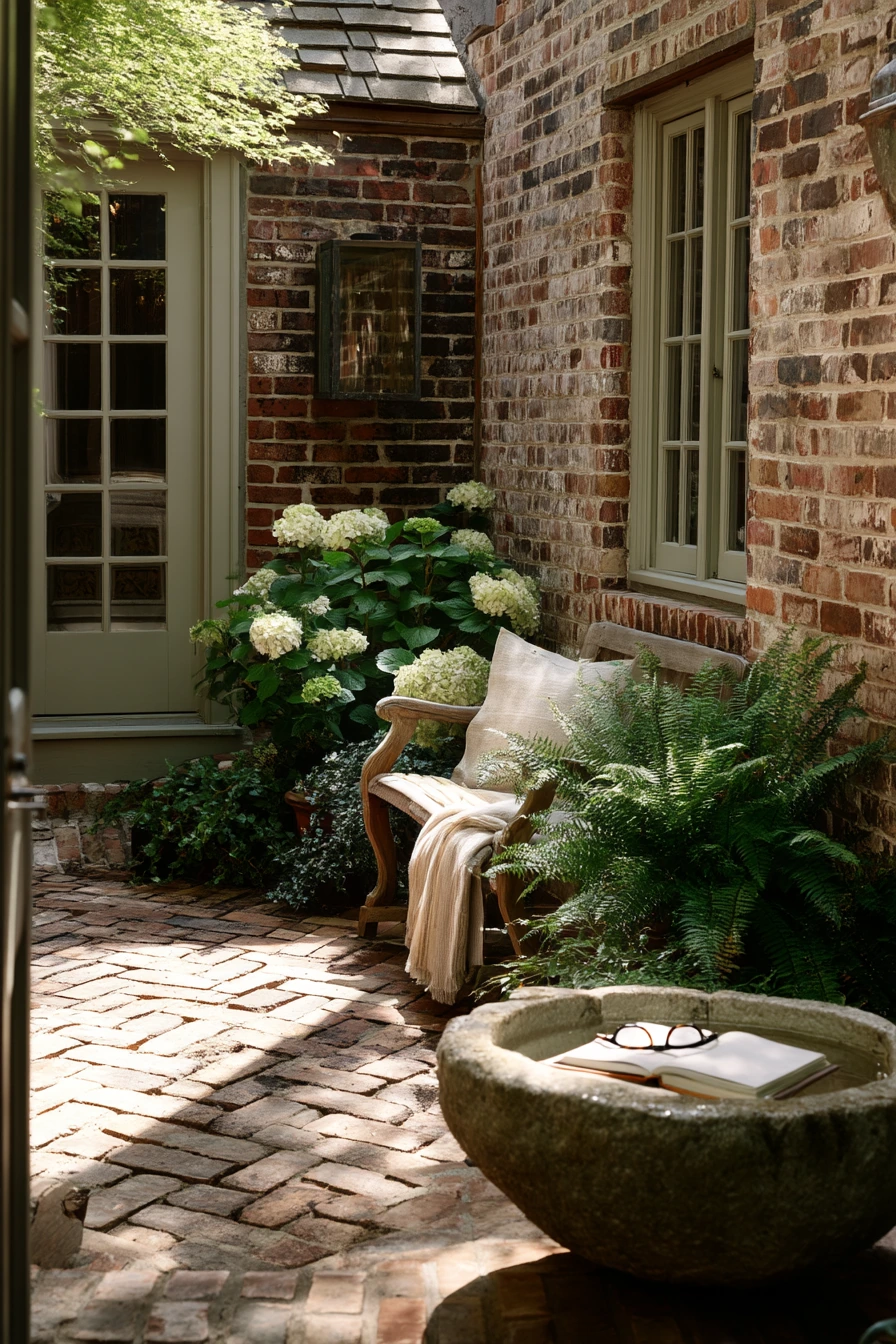
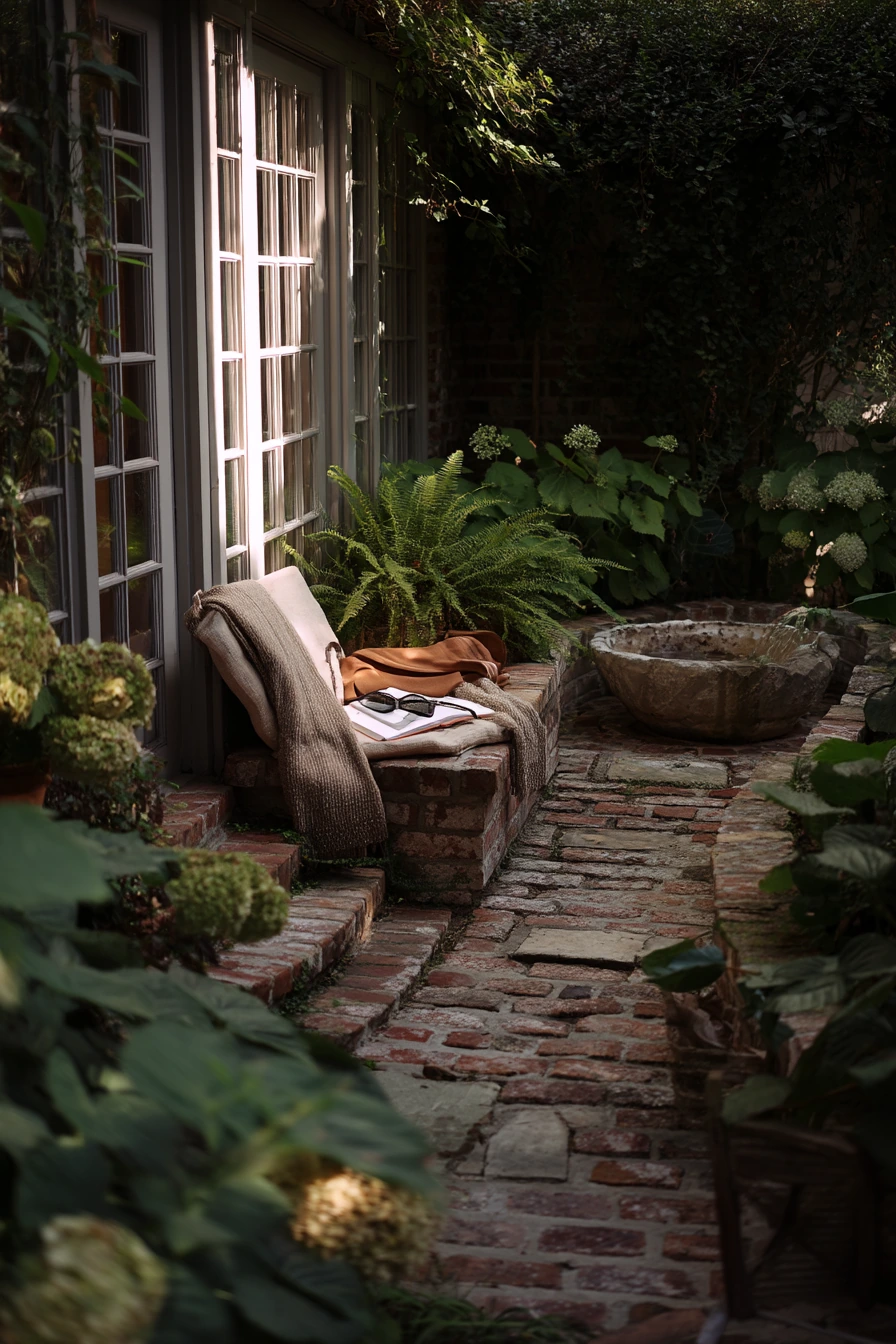
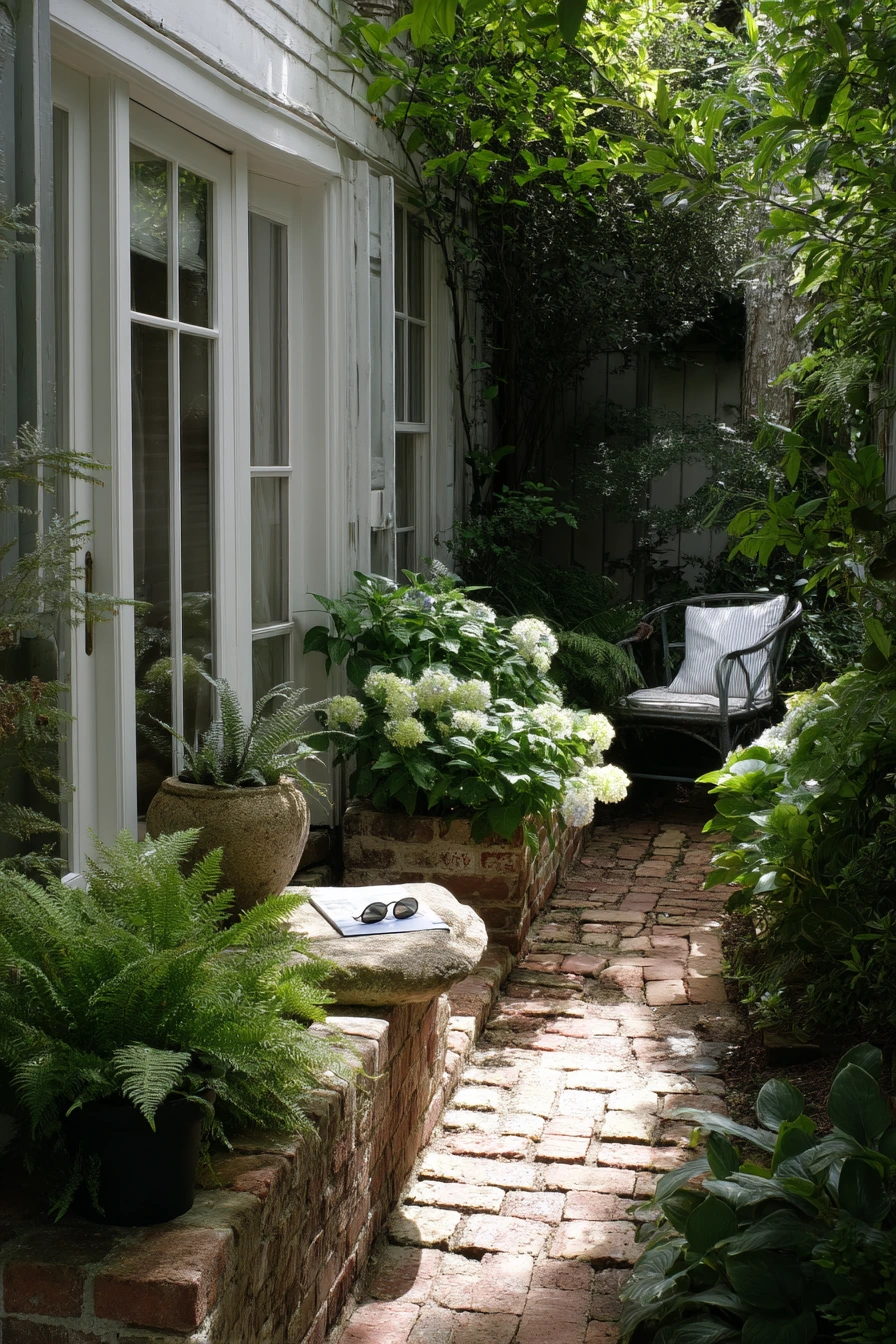
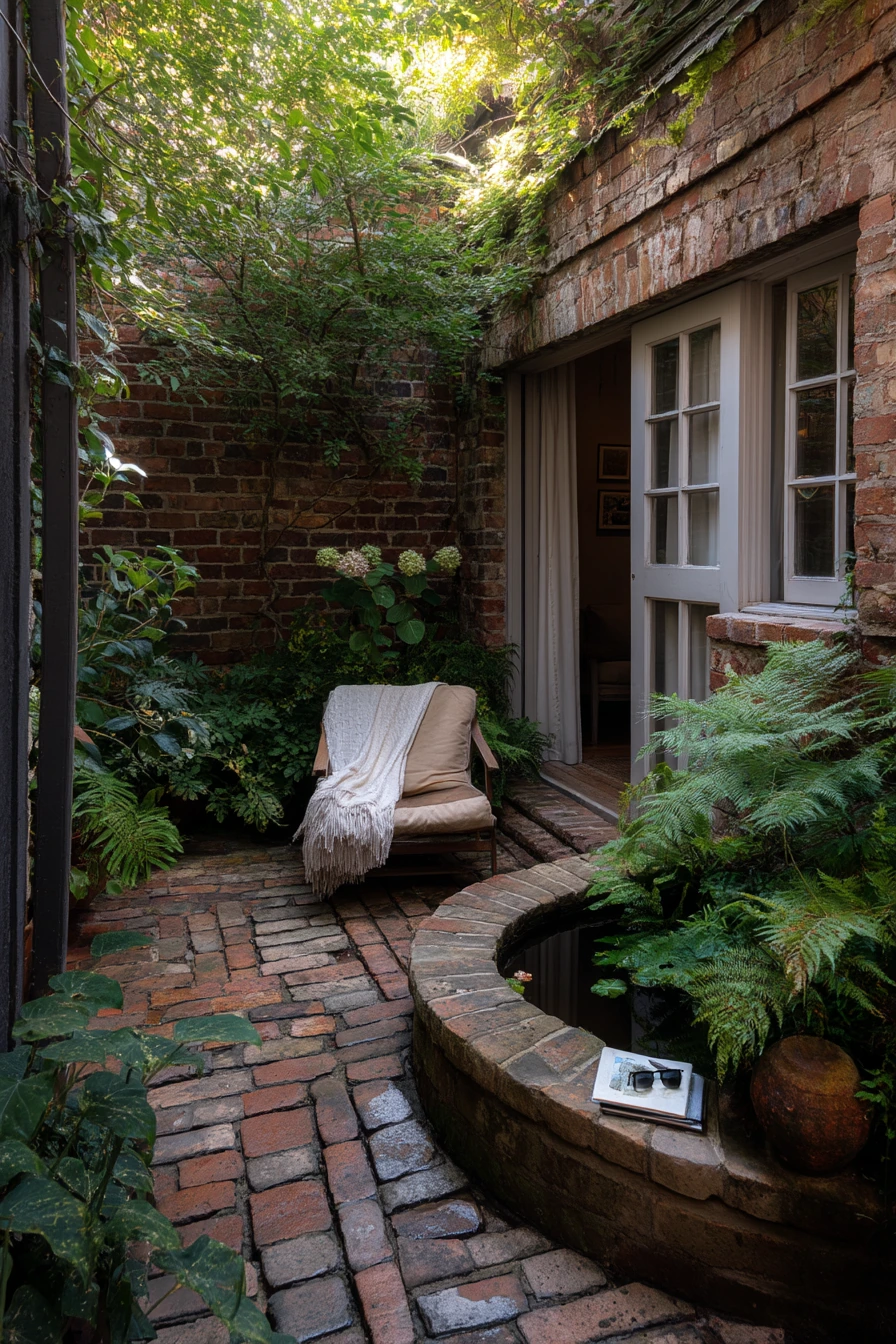
A tucked-away courtyard feels like a small garden room when the edges are clear. Brick edging can outline seating and planting zones so the space feels calm and contained. With ferns, hydrangeas, and a simple stone basin, a brick border adds warmth and a tactile surface underfoot. Soft window light from nearby French doors keeps the look cool and serene.
This style is about comfort. A paperback, sunglasses, and a slightly wrinkled throw on a chair make the space feel used, not staged. Brick edging also helps keep mulch out of your seating area, which matters in a small courtyard where every step counts. If the courtyard is shady, brick can brighten the ground plane and make plants stand out.
Plan the border like a frame around the seating. Use a rectangle or gentle curve that follows the furniture layout. Keep the inside area stable with gravel, pavers, or compacted decomposed granite. On the planting side, use rich mulch and choose plants that look full in shade, like ferns and hydrangeas. Check drainage so water does not pool against the brick line near door thresholds.
- Place brick edging to create a clear “room” around chairs and a small table.
- Use one focal feature, like a stone basin, to anchor the planting.
- Layer shade plants by height: low ferns, mid hydrangeas, taller shrubs if needed.
- Add one soft throw and one outdoor pillow in calm colors for comfort.
- Keep the brick clean by brushing off soil after watering.
Pro Design Tip: Use the same brick edging line to guide your furniture placement so the seating always feels centered and balanced.
Budget Considerations: A stone basin can be pricey; use a simple bowl fountain or a large pot with water to get a similar quiet courtyard feel.
9 Side Yard Drainage Fix
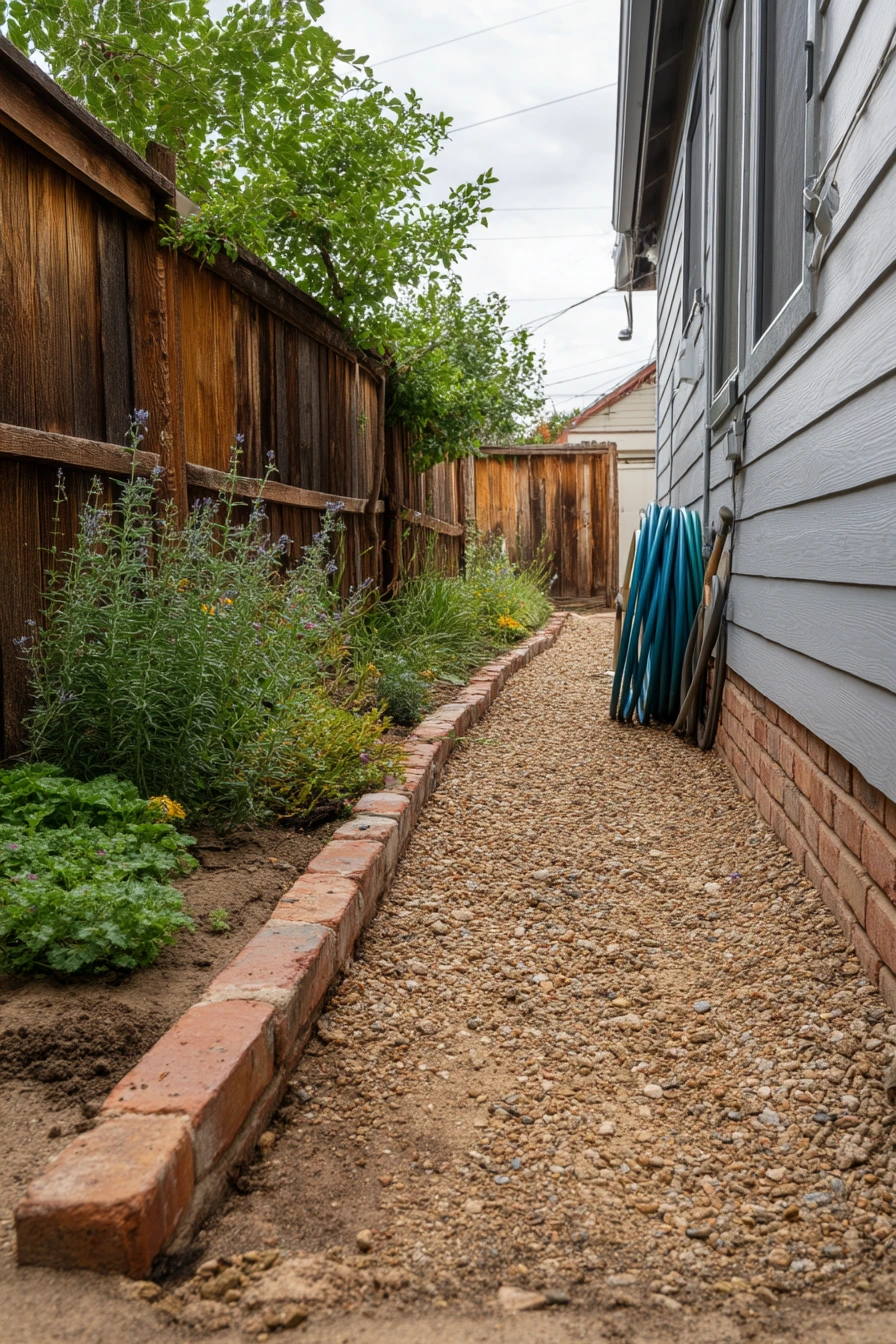
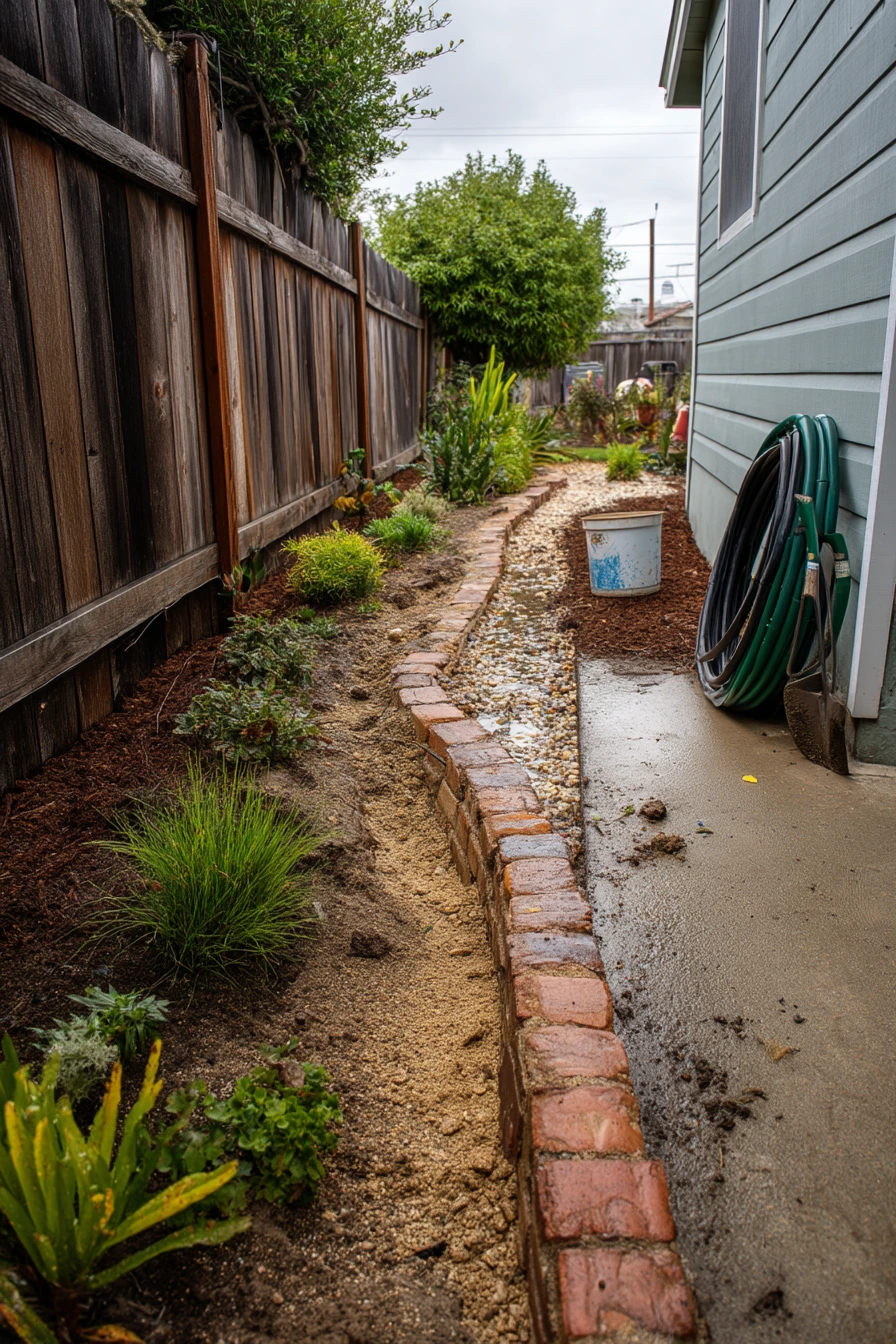
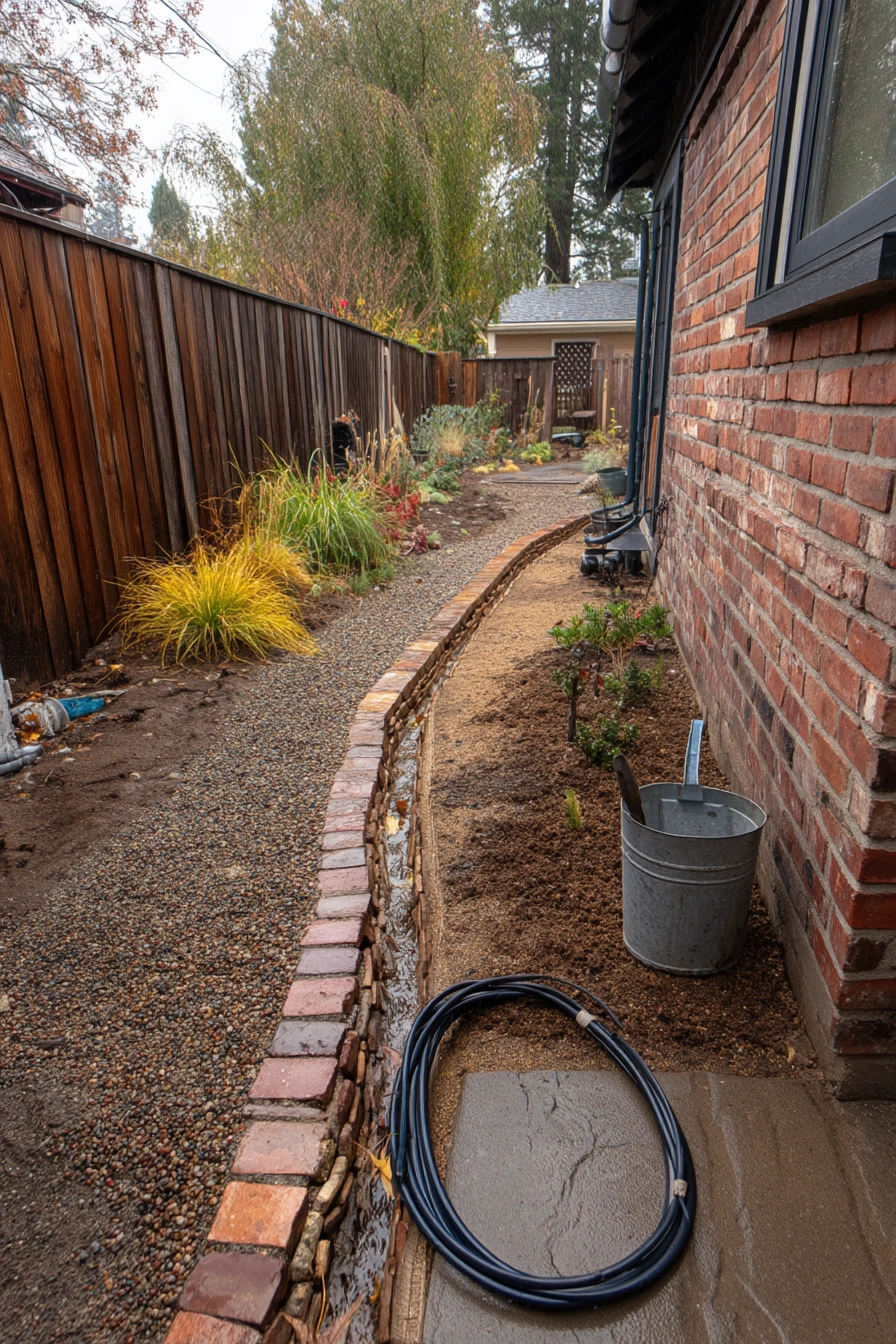
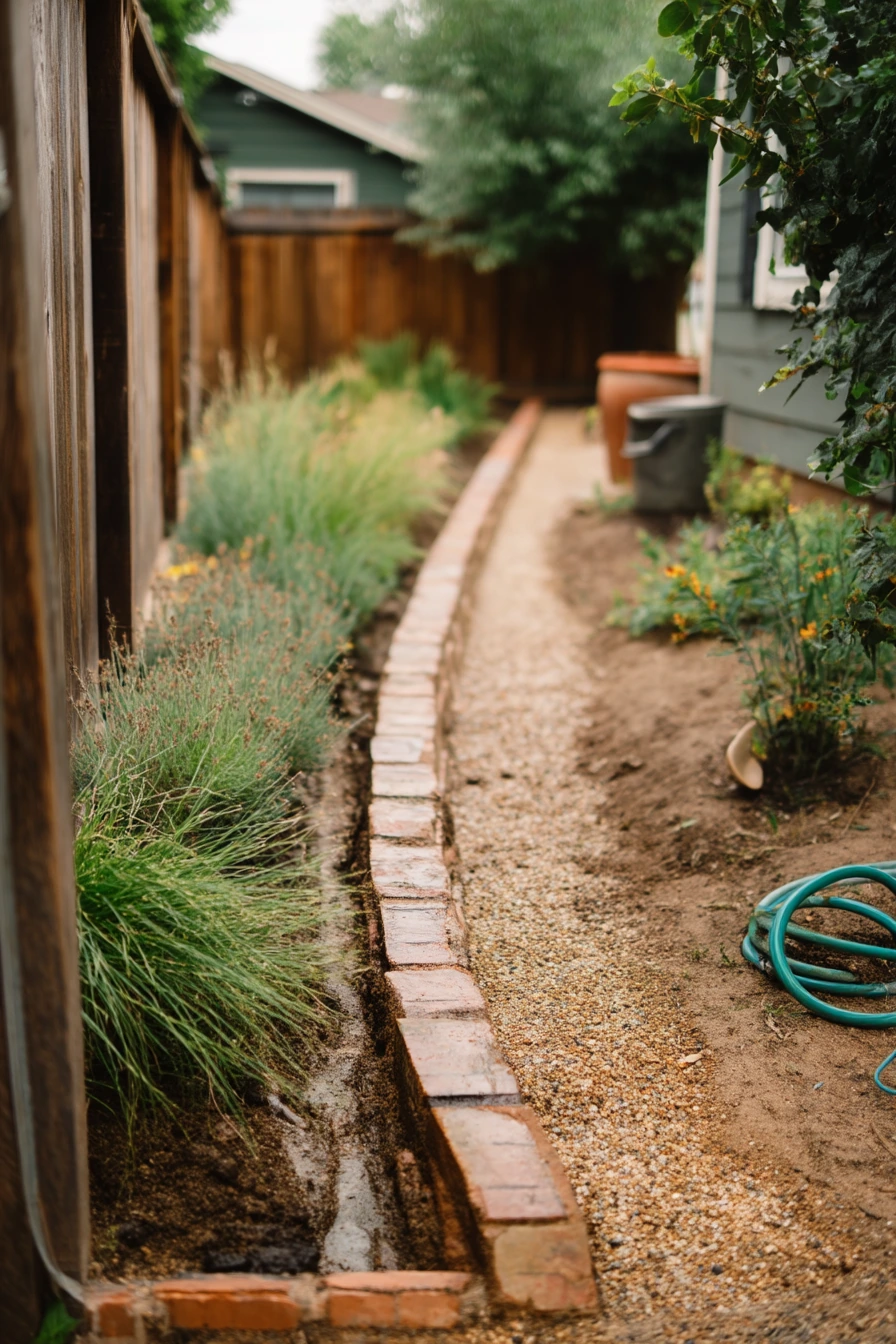
A side yard often has practical problems, and drainage is a big one. Brick edging can be part of a simple runoff plan by guiding water beside a narrow gravel strip. When paired with drought-tolerant plants and a downspout extension tucked near the fence, it can reduce mud and help keep water moving away from the house. This is not about looking fancy, it is about a clean, utilitarian fix.
In a real side yard, you may see a hose coiled loosely, muddy footprints, and a garden trowel left on a bucket. That is normal. The brick edge gives you a stable boundary so the gravel strip stays in place, even when water rushes through during storms. Overcast daylight is common during wet weather, so choose a layout you can maintain without constant rework.
Start by checking the slope. You want water to move away from the foundation and toward a safe exit point. Dig a shallow channel for gravel, then place the brick edging along the garden side to keep gravel contained. Use landscape fabric under the gravel to limit weeds and reduce sinking. Connect your downspout extension to the gravel run, and add a splash block if needed. Finish by planting tough, drought-friendly options like sedum, yarrow, or small ornamental grasses on the bed side.
- Confirm the slope with a level before you set any brick.
- Use a gravel strip as a mini dry creek for runoff.
- Place bricks on a compacted base so they do not shift in wet soil.
- Keep the downspout extension easy to remove for cleaning.
- Choose plants that handle both dry spells and occasional splash.
Pro Design Tip: Hide the drainage work by keeping the brick line straight and the gravel size consistent, so the solution looks tidy and planned.
Budget Considerations: If cost is tight, start with the downspout extension and gravel, then add the brick edging later to lock the edges in.
10 Seasonal Planter Border Swap
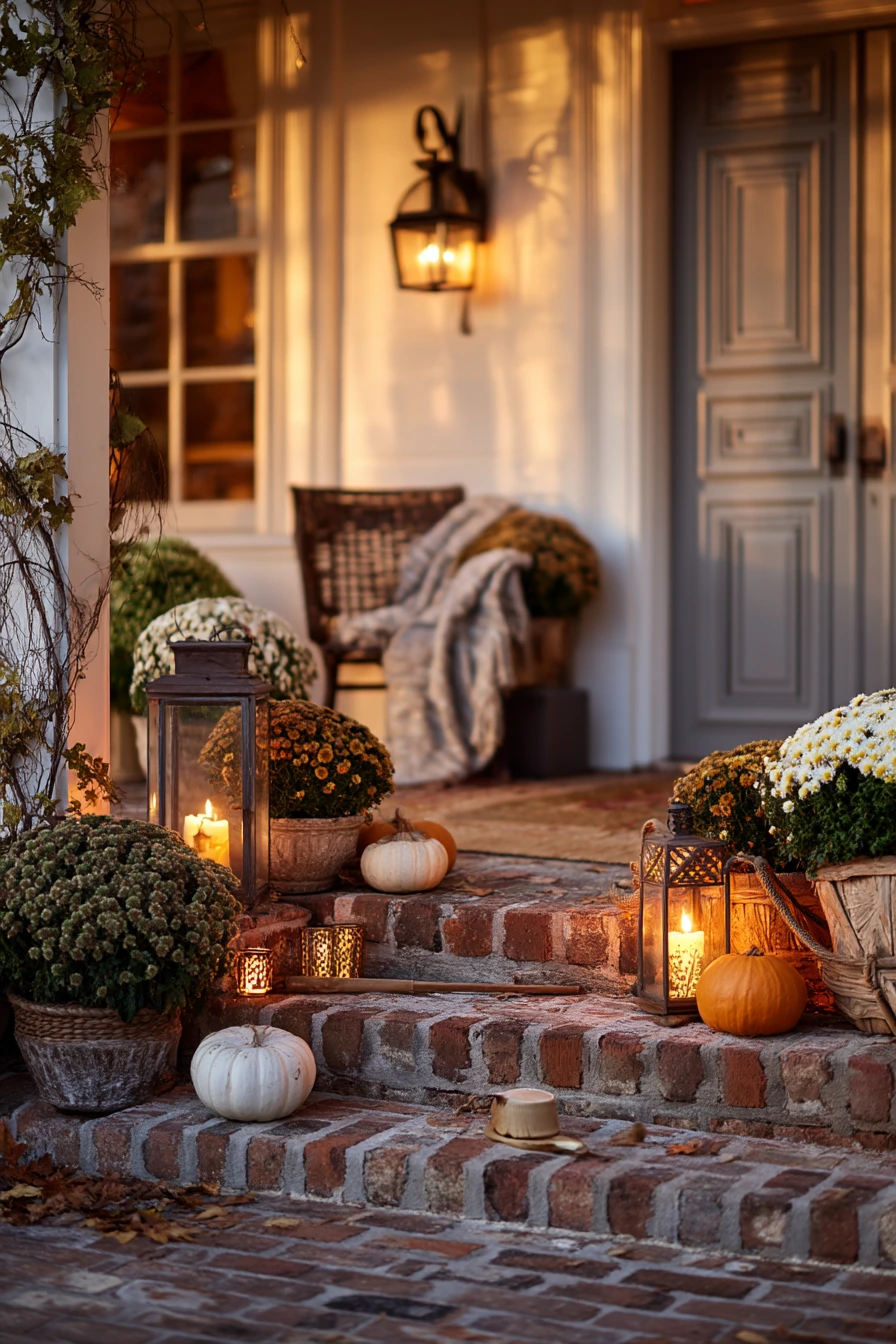
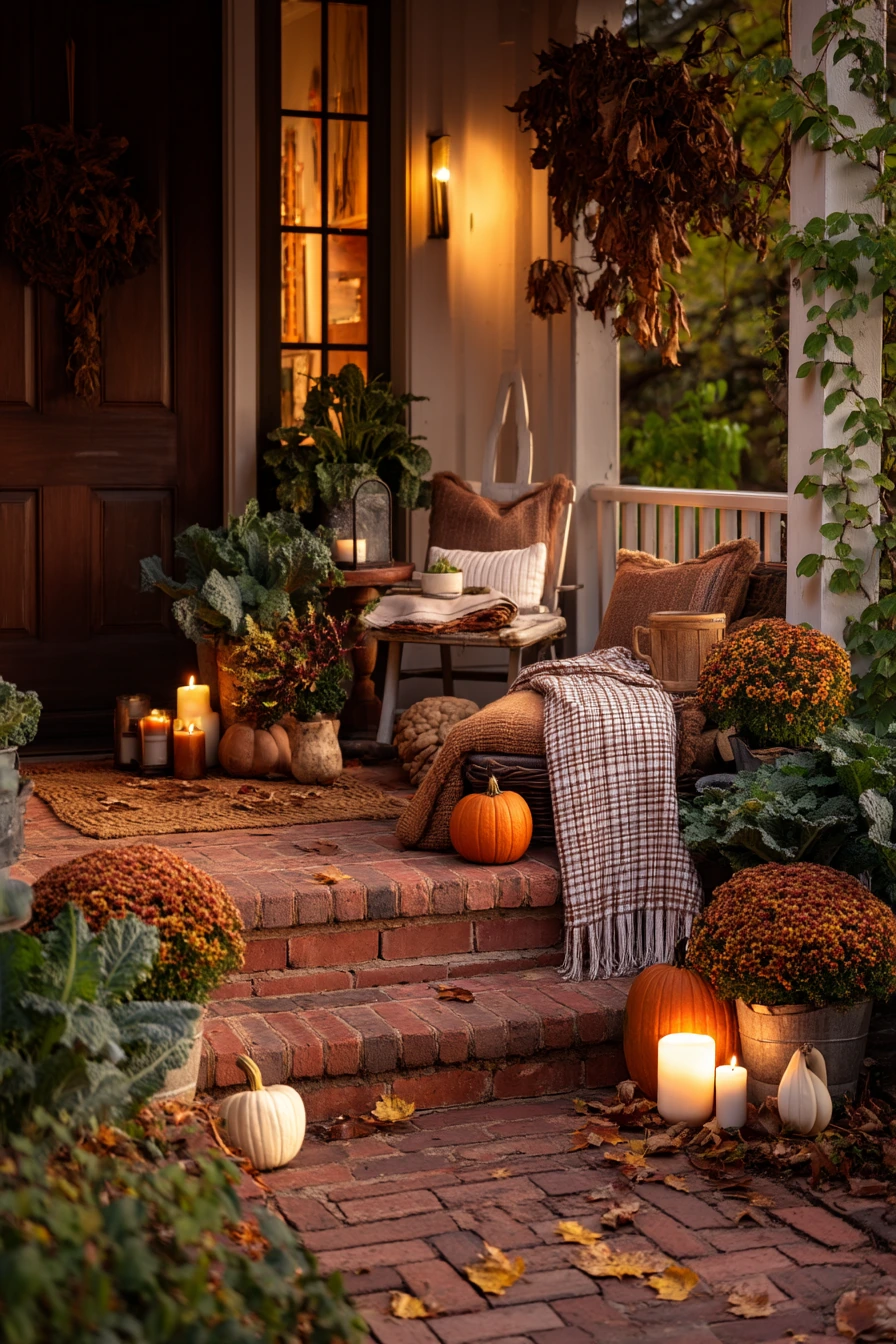
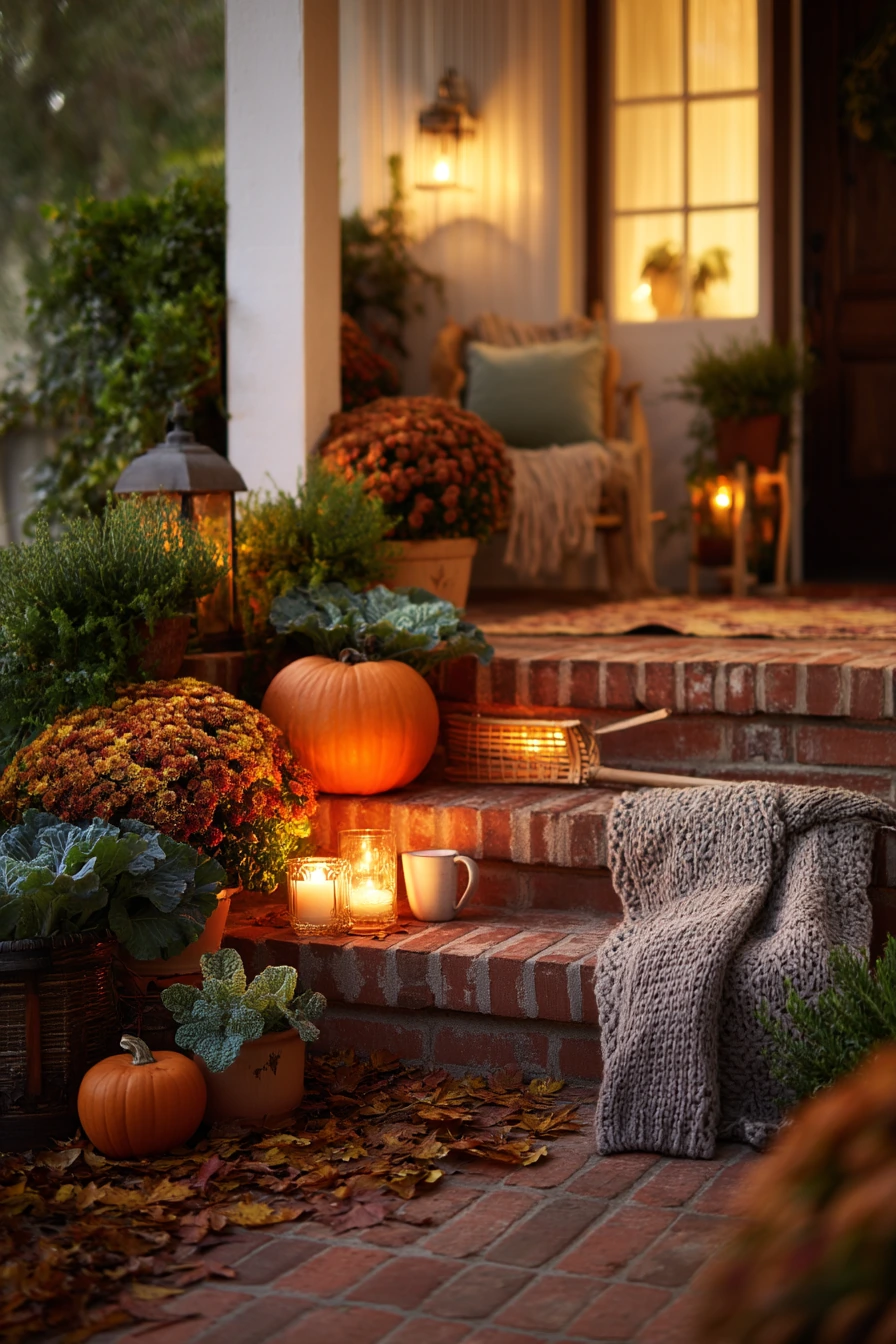
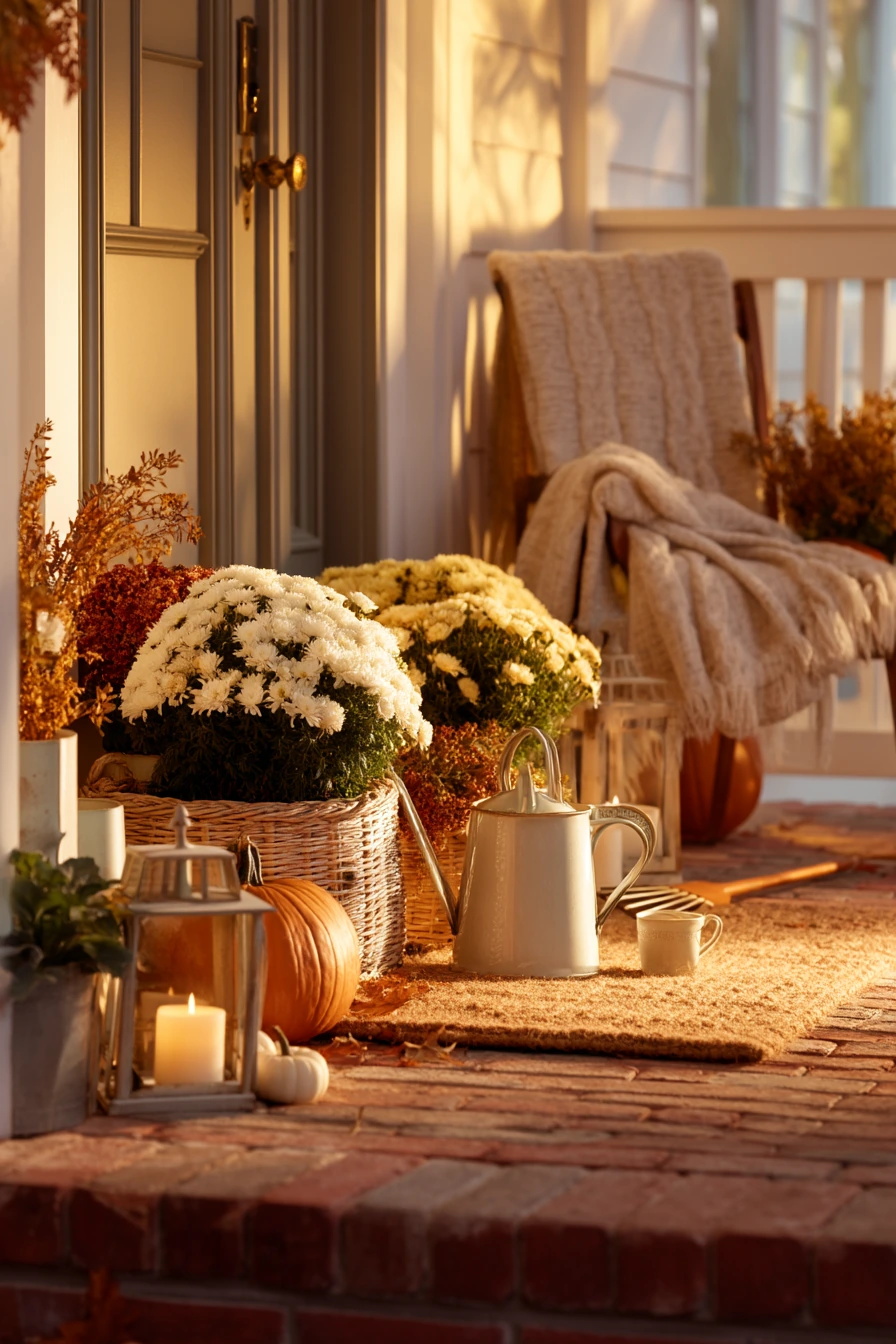
Brick edging near a front porch is a simple place to style for the season. A low brick border beside the steps creates a neat bed line for mums, ornamental kale, and a row of pumpkins. It also keeps mulch from washing onto the porch walk. With lanterns along the bed, the brick acts like a base that makes the whole display look grounded.
The lived-in details sell it. A dropped leaf rake, a wool scarf on the porch chair, and a mug of cider near the door make the scene feel like a normal evening at home. Soft golden light from inside and outside brings out warm brick tones, so even basic decorations look better. If your porch is small, edging helps you keep the display in one zone so the steps stay clear.
For a clean setup, weed the bed first and top up mulch so it meets the brick line. Place taller mums toward the back and lower kale and pumpkins near the front. Use odd numbers for groupings, like three pumpkins or five mums, so it looks natural. If you want the display to last, keep plant pots slightly sunk into mulch so they do not tip, and move lanterns in during heavy rain.
- Pick mum colors that match your door or shutters for a pulled-together look.
- Use mixed pumpkin sizes to add height without blocking the steps.
- Set lanterns on the brick edge where they will not sink into mulch.
- Add one cozy textile, like a scarf or small blanket, on a porch chair.
- Keep the rake and broom nearby so the entry stays neat as leaves fall.
Pro Design Tip: Repeat the same brick edging line with matching planters on both sides of the steps for a balanced porch view from the street.
Budget Considerations: Buy smaller mums and group more of them, or use hardy kale and reused lanterns to keep the seasonal look affordable.
Brick edging is a practical way to make paths, patios, and garden beds look clean and easy to maintain. It can be casual for a cottage border, simple for a rental, or sharp and modern for a contemporary entry.
Pick the idea that matches how you use the space, then focus on a solid base and a clear line. Once the border is set, styling is simple with the right plants, a few everyday items, and seasonal touches.
FAQ
1. Do I need to use mortar for brick edging?
No. Dry-laid brick edging is common for gardens and is easier to repair. Mortar can crack outdoors if the base moves.
2. How deep should I dig for a brick border?
For most yards, dig deep enough for a compacted base layer plus sand, with the brick set so the top sits slightly above soil level.
3. What is the best base for brick edging?
A compacted layer of crushed stone or paver base topped with leveling sand helps prevent shifting and wobble.
4. How do I keep grass from growing into the brick line?
Keep joints tight, add polymeric sand if allowed in your area, and edge the lawn side regularly. A clean mowing strip also helps.
5. Can I use brick edging for drainage control?
Yes. Brick can help contain a gravel strip and guide runoff, but it should be part of a plan that includes proper slope and downspout routing.
6. What brick pattern is easiest for beginners?
A single row of bricks laid flat in a straight line is the simplest. Curves take more time because spacing and cuts are harder.
7. How do I make new bricks look less bright?
Mix bricks from different batches, choose muted tones, and let plants spill slightly over the edge. Over time, dirt and weather will soften the color.