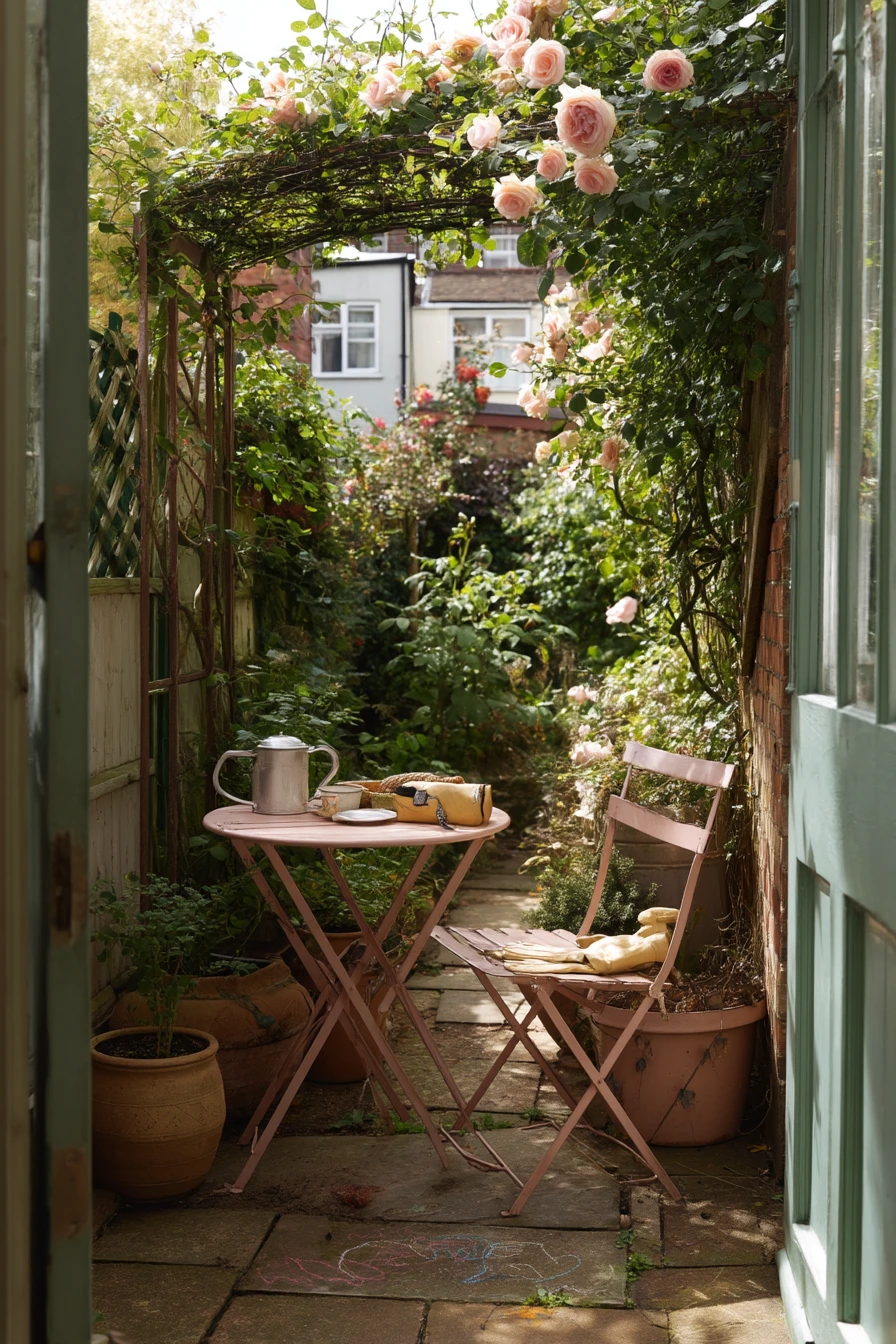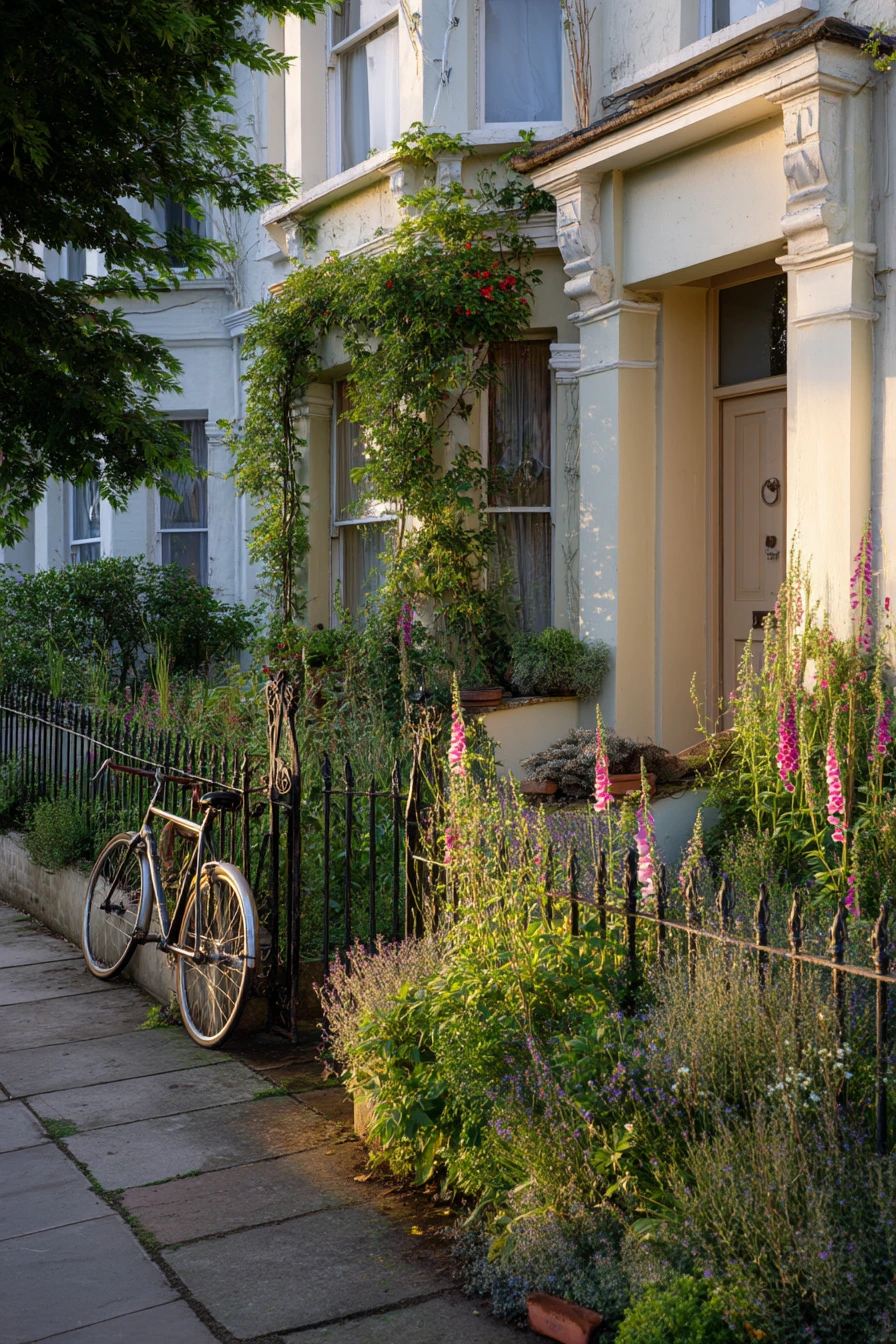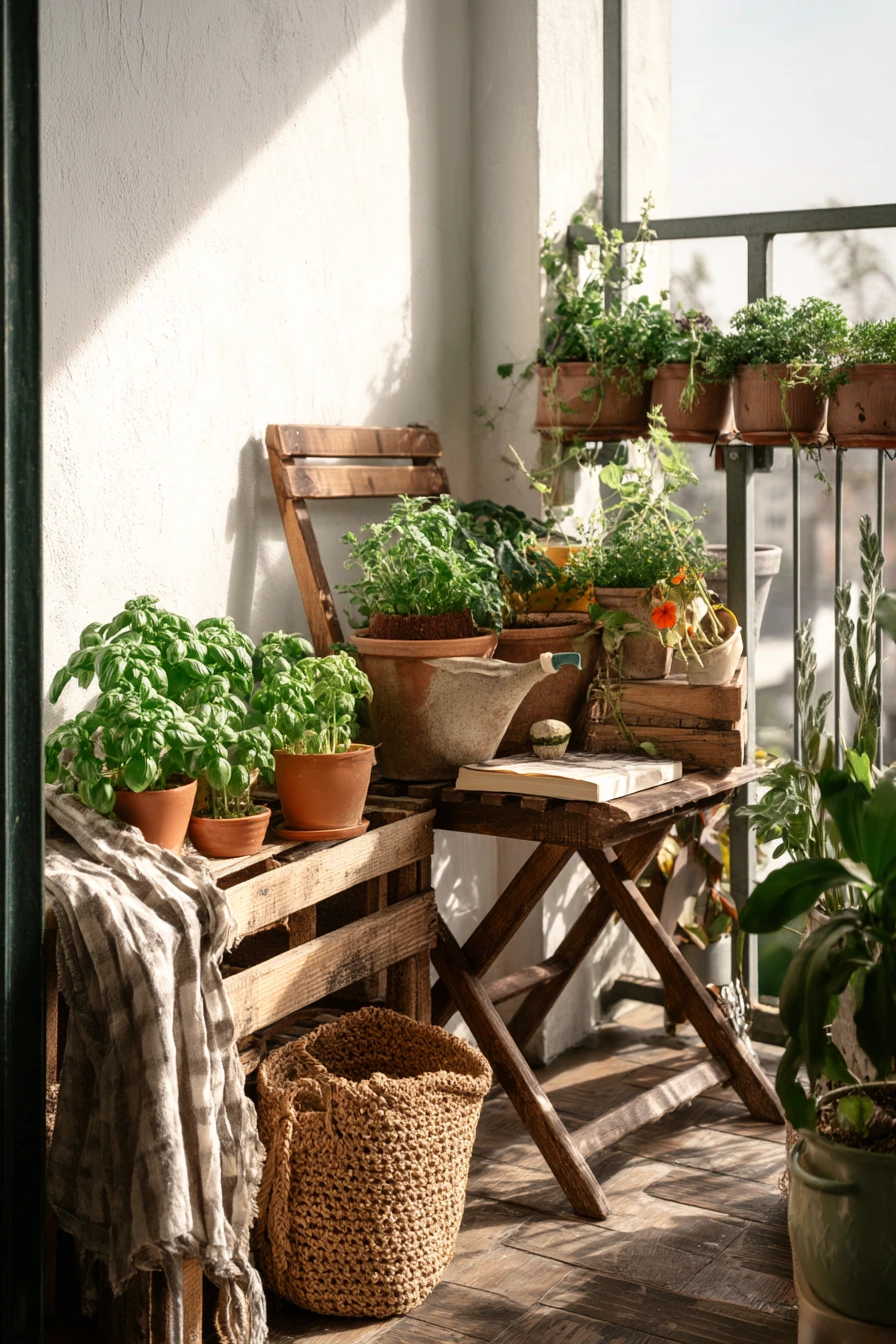

Garden sleeper ideas are a simple way to add structure to an outdoor space. Sleepers can form raised planters, edging, steps, and seats using sturdy timber that looks good with gravel paths, terracotta pots, and everyday tools.
This post shares real-life layouts that suit small patios, urban courtyards, family lawns, and veggie patches. Each idea includes easy styling details, plus a pro design tip and a budget note so you can plan with confidence.
If you came from Pinterest, use this as a checklist. You will see where sleepers work best, how high to build, what to plant, and what small details make the area feel finished and lived-in.
You will also find an FAQ near the end that covers common questions like drainage, timber types, and how to keep sleepers level.
1 Raised Sleeper Border Around a Family Patio
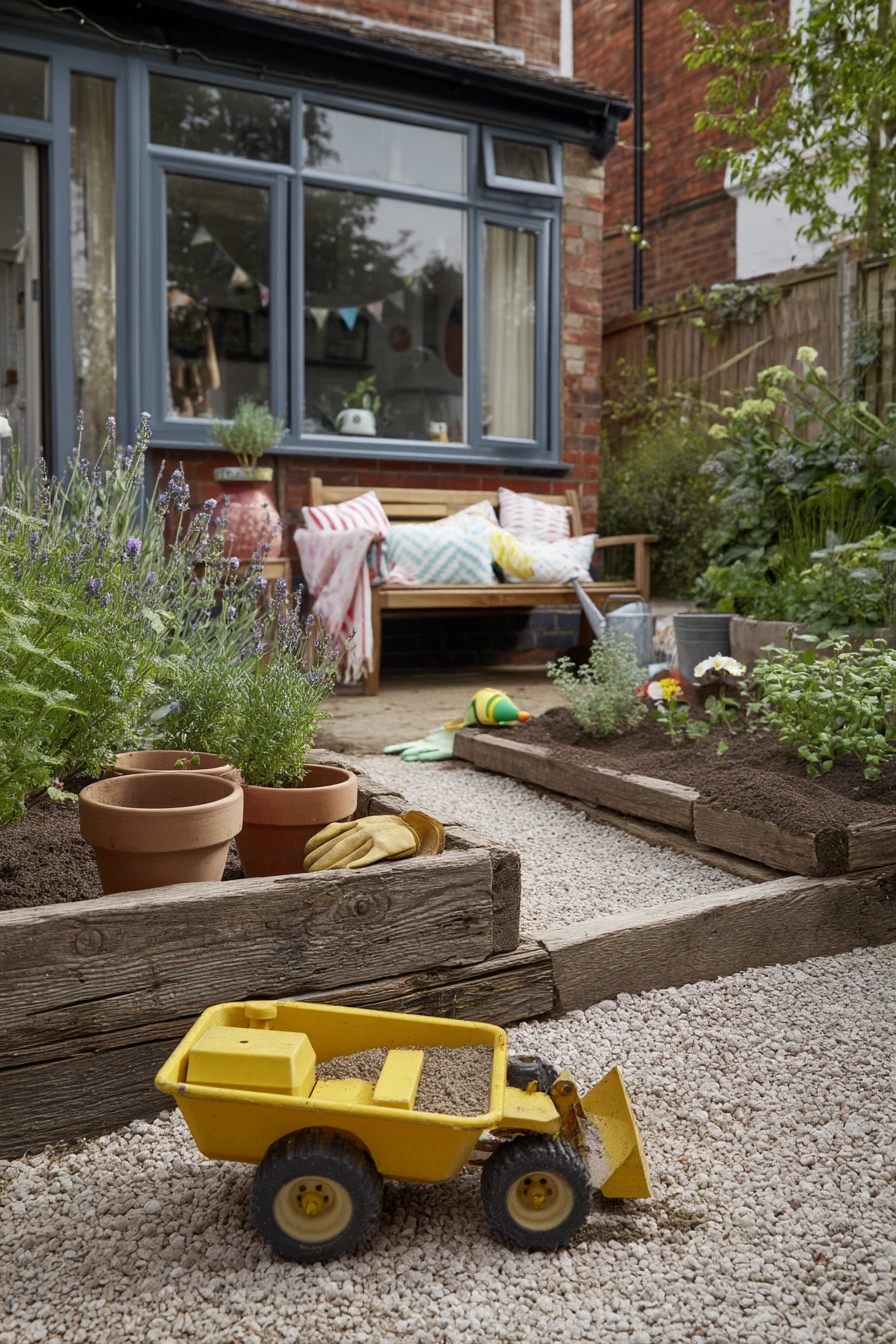
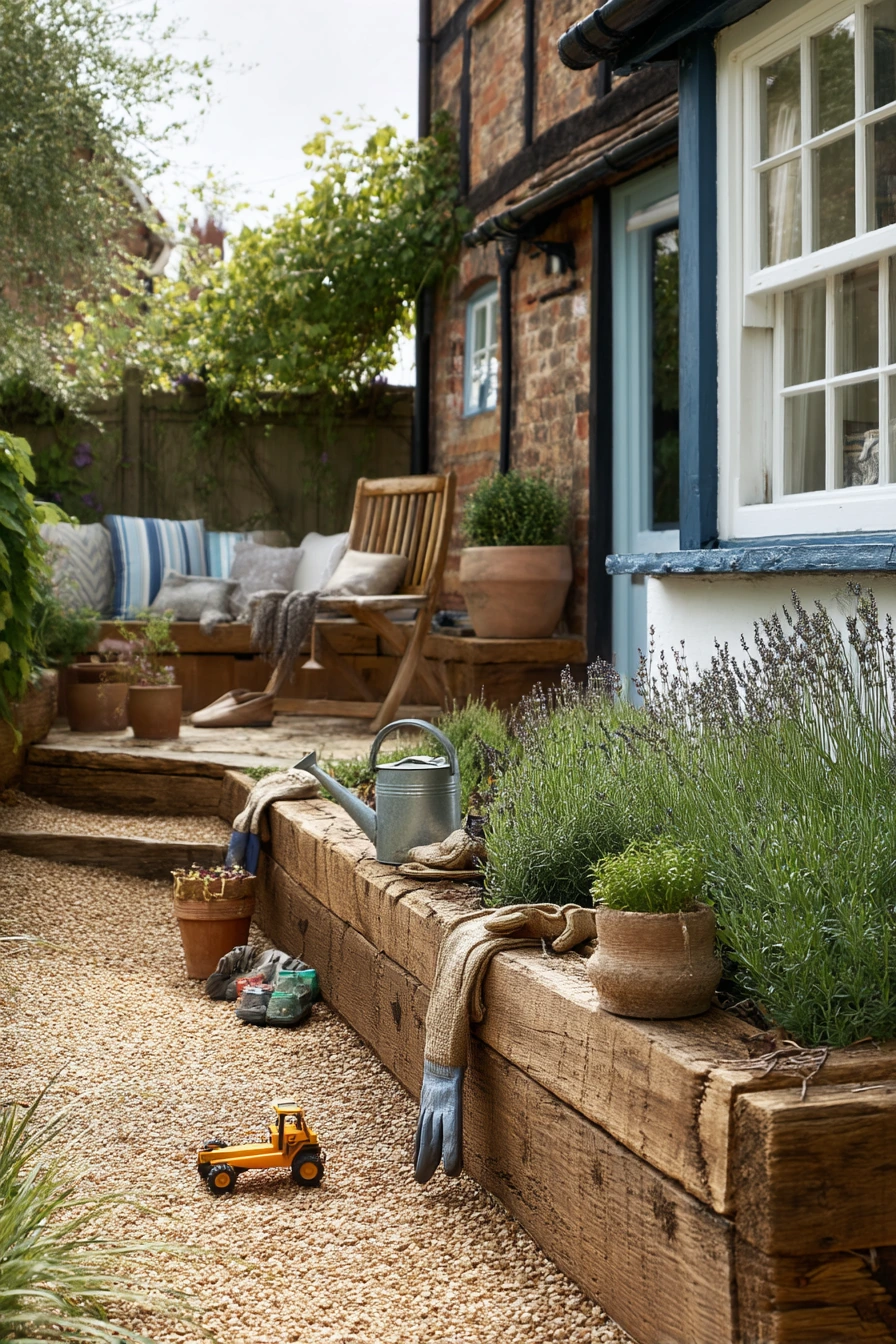
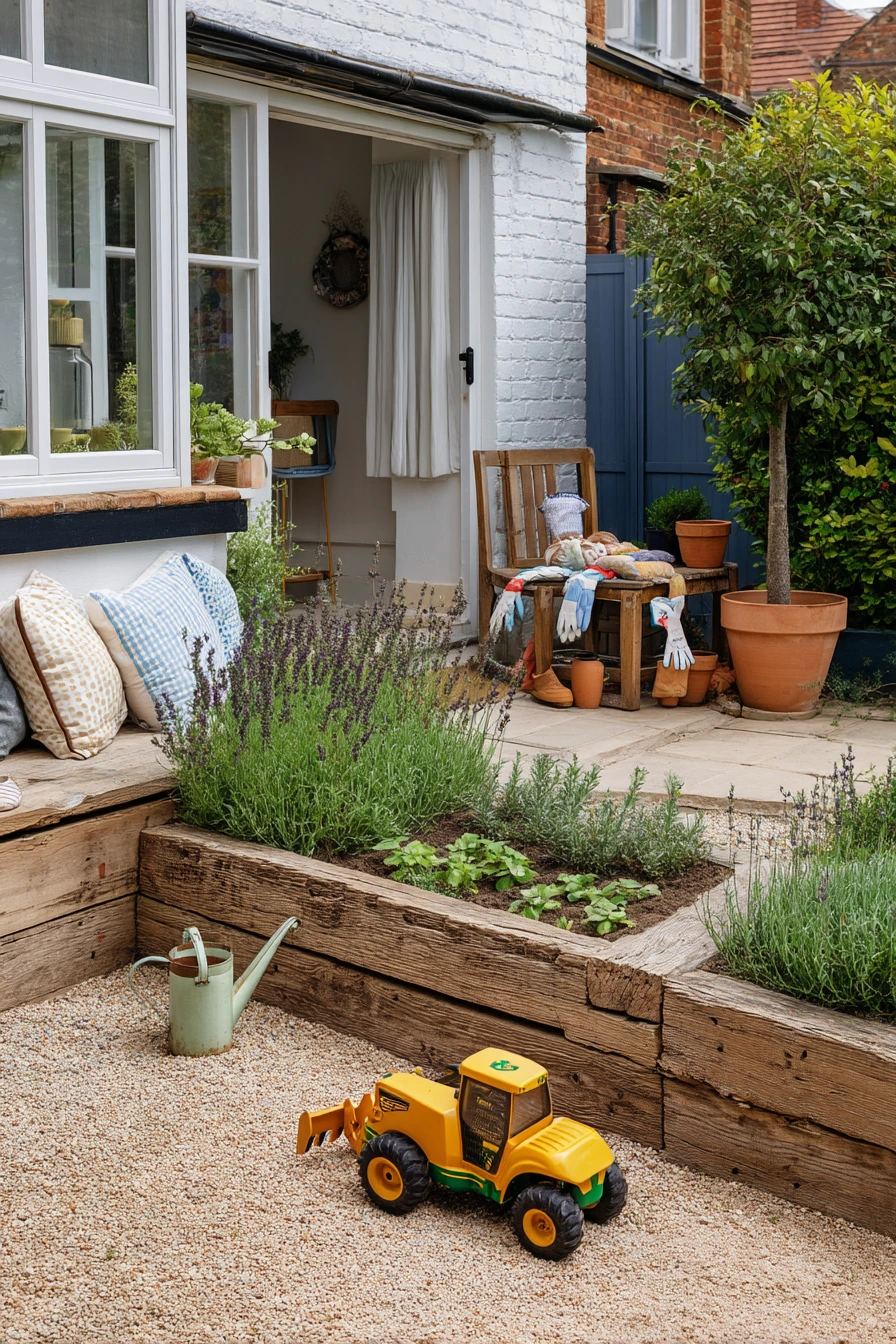
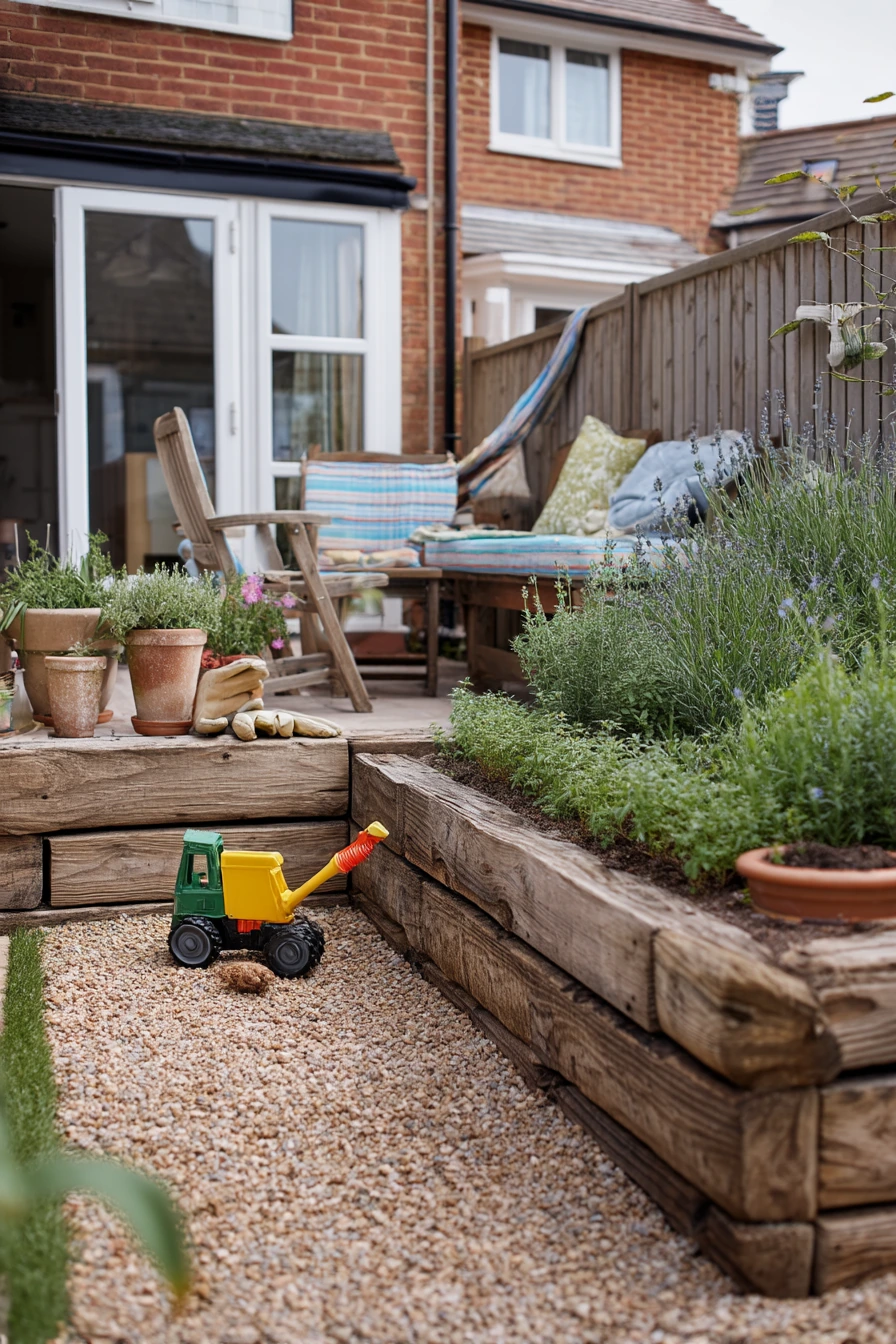
A raised planter wrapped in reclaimed timber sleeper edging can make a small patio feel planned, not messy. In a suburban family garden, this works well when the bed sits right next to the seating area, so herbs and lavender are close to the kitchen door. The sleeper edge also helps keep soil off the patio and gives you a clean line against a tactile gravel path.
Keep the look “weekend real” by mixing practical items with a few soft touches. Terracotta pots, a watering can, and garden gloves on a chair make the space feel used. Weathered outdoor cushions and a slightly wrinkled throw over a bench add comfort without looking fussy. If you have kids, a toy digger left nearby still fits the scene and shows the garden is for living.
How to style it: plant the back of the bed with taller lavender, then tuck low herbs like thyme and chives at the front edge so they spill slightly over the sleeper. Use gravel as a buffer strip between the bed and paving to reduce mud. If you get soft window spill from the house, place the bench where the light hits in the evening so the planter becomes a view from indoors.
- Choose reclaimed sleepers with firm edges and minimal rot for long life.
- Set sleepers on a compacted base so the edge stays level.
- Line the inside with a heavy-duty membrane to protect the timber from wet soil.
- Add gravel along the outside edge to improve drainage and reduce weeds.
- Group terracotta pots in threes to make the patio corner look tidy.
Pro Design Tip: Use one sleeper height (or two at most) around the patio so the planter reads as one strong shape and the seating area feels bigger.
Budget Considerations: Reclaimed timber varies in price. Check local salvage yards and ask for offcuts for short runs, then use new sleepers only where you need full lengths.
2 Small Courtyard Sleeper Seating Nook
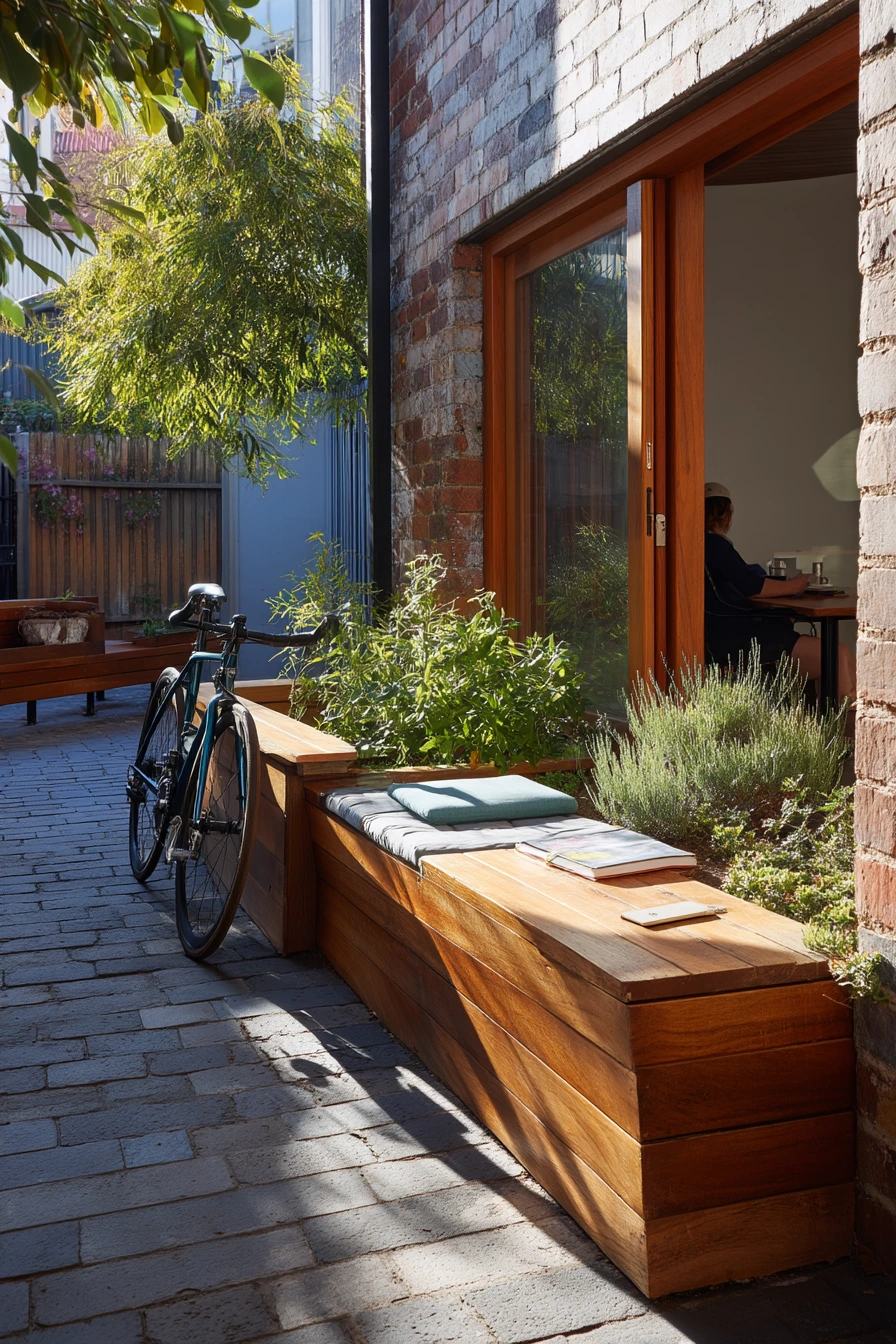
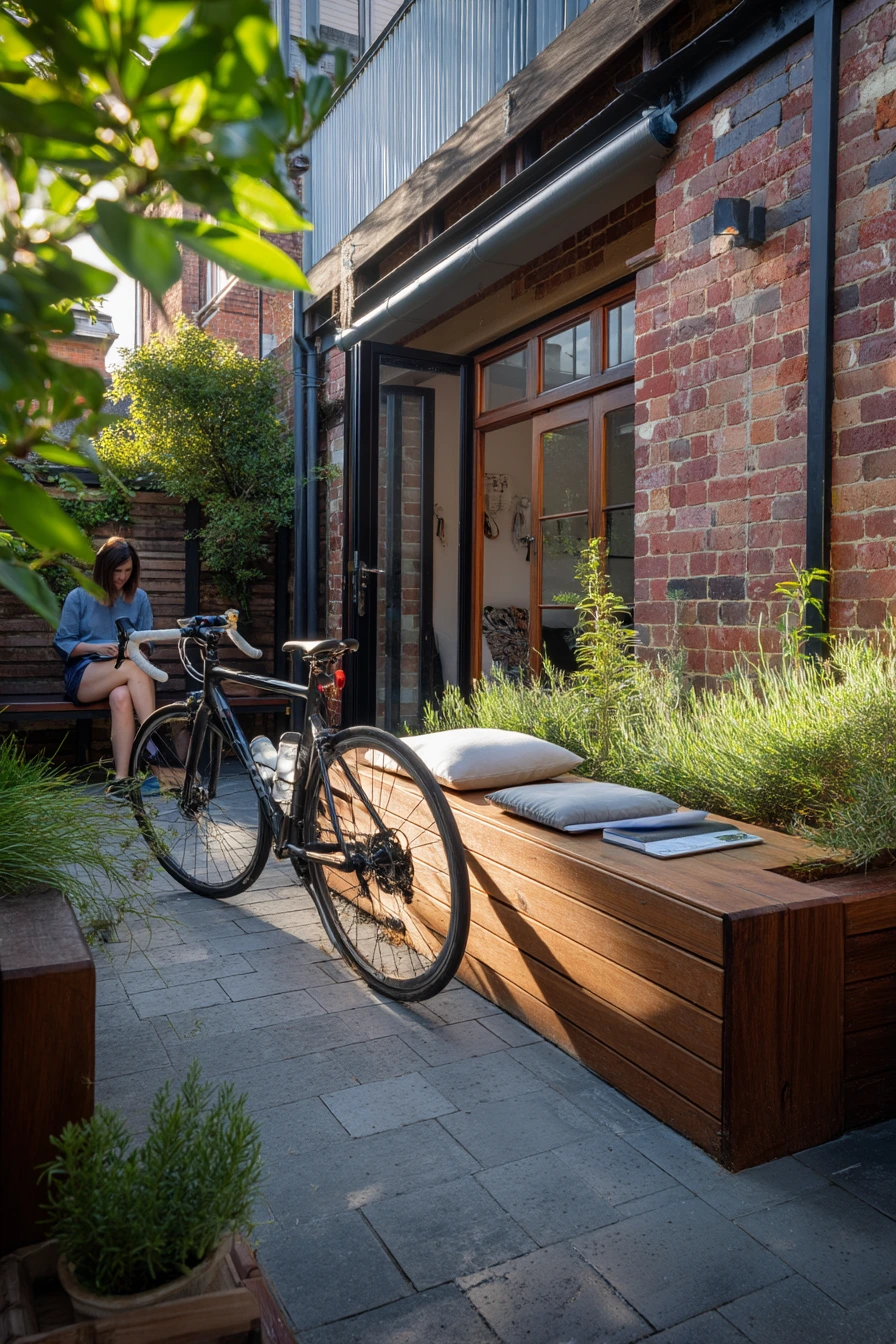
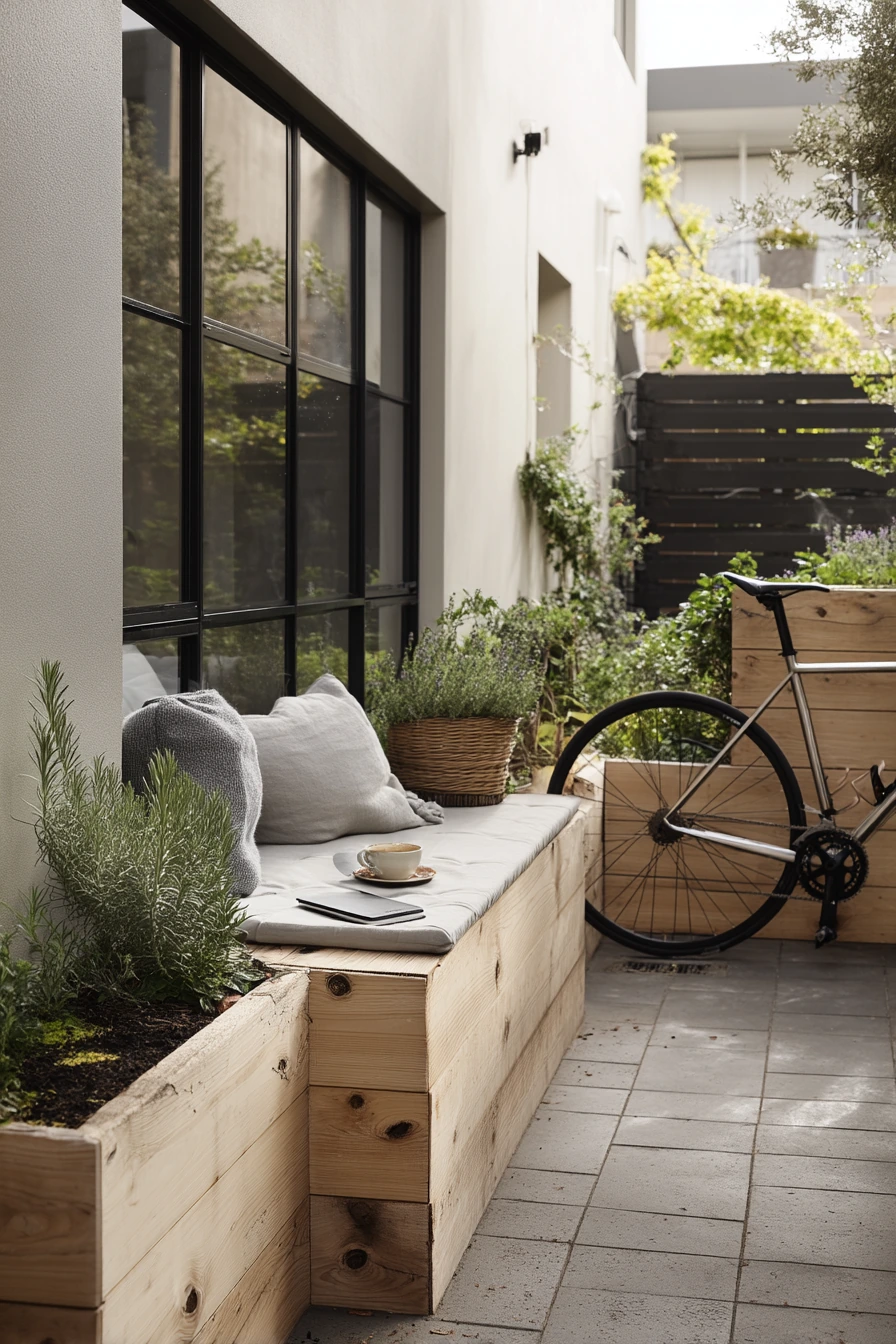
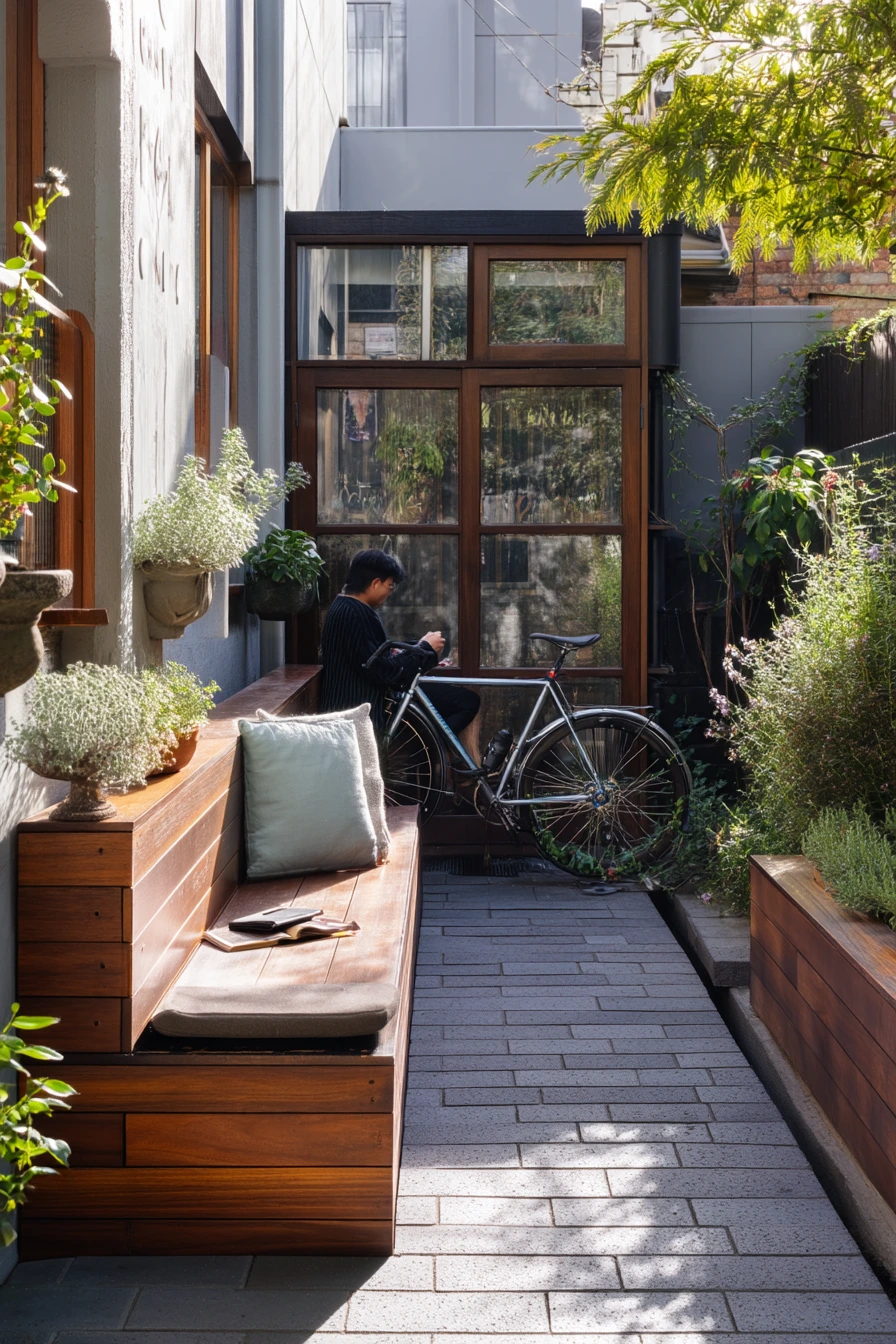
In a compact urban courtyard, sleepers can do double duty as bench seating and low retaining walls. This is ideal when you want a narrow herb bed but you still need a place to sit with coffee. A simple sleeper bench also keeps the space flexible, since you can slide pots of rosemary and other herbs along the top until it feels right.
To keep it calm and functional, treat the bench like a real spot you use every day. Leave a notebook and a phone charging cable on the seat, and do not worry if one cushion is slightly askew. Rain-dark timber and mossy joints can add character, especially in shaded corners. If you have kitchen doors facing the courtyard, soft morning window light will highlight the grain and the plant shadows on the paving.
How to style it: keep the planting tight and useful. A slim strip of thyme, parsley, and chives looks neat and is easy to harvest. Place the bike by the fence so it becomes part of the layout, not clutter. Add one warm-toned cushion to balance the cool timber, and put a small tray on the bench to hold mugs so rings do not stain the wood.
- Build the bench at a comfortable seat height, around chair height.
- Leave a small gap behind the bench for airflow and easier sweeping.
- Seal the sleeper tops to reduce water marks from mugs and planters.
- Use a narrow gravel or stone strip at the base of walls for drainage.
- Choose low, tidy herbs so the courtyard does not feel crowded.
Pro Design Tip: Run the sleeper lines parallel to the longest wall to make the courtyard look wider and more “built-in.”
Budget Considerations: A bench uses fewer sleepers than a full set of raised beds. Start with one seating run and a short retaining wall, then extend later if your budget allows.
3 DIY Sleeper Path to the Vegetable Patch
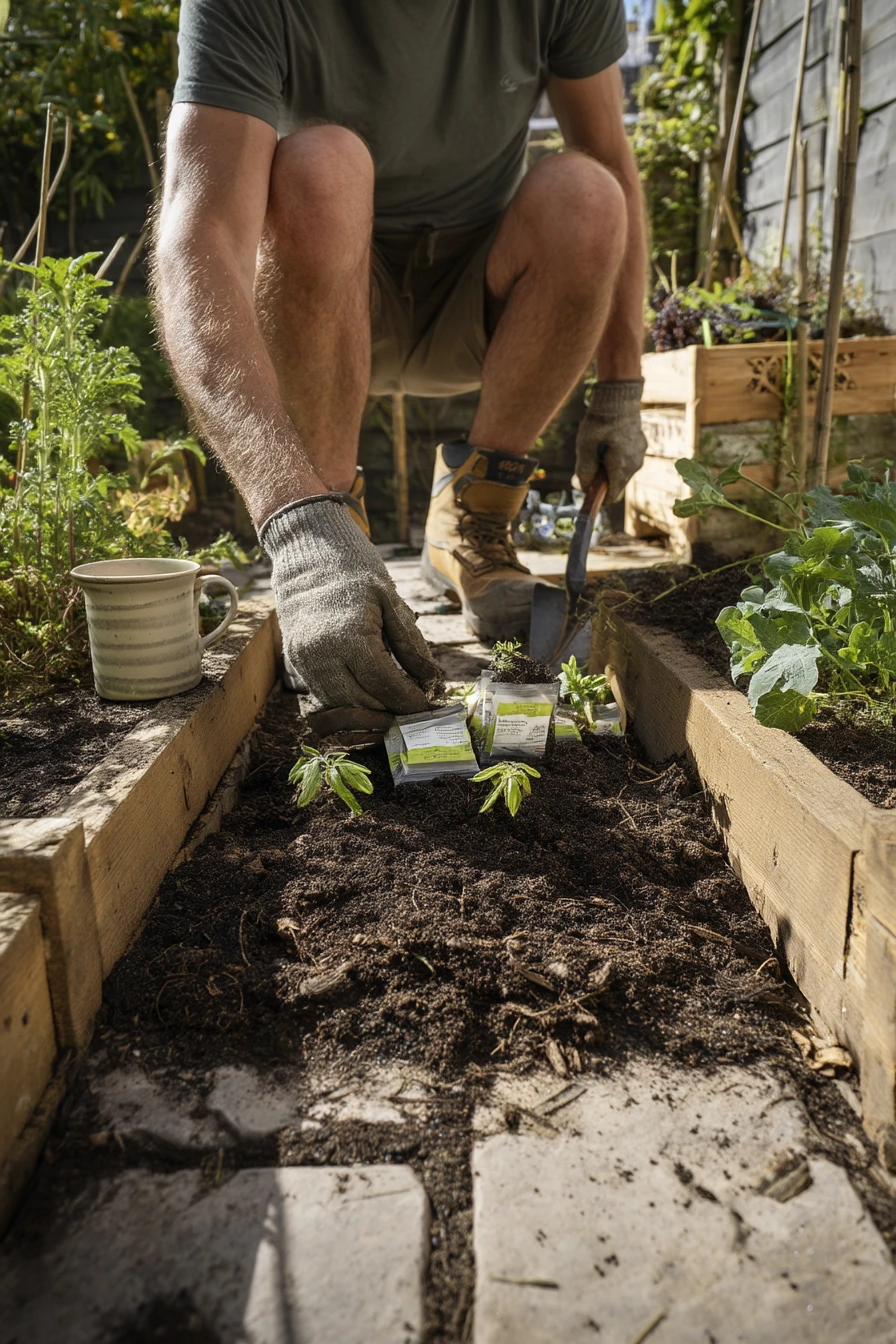
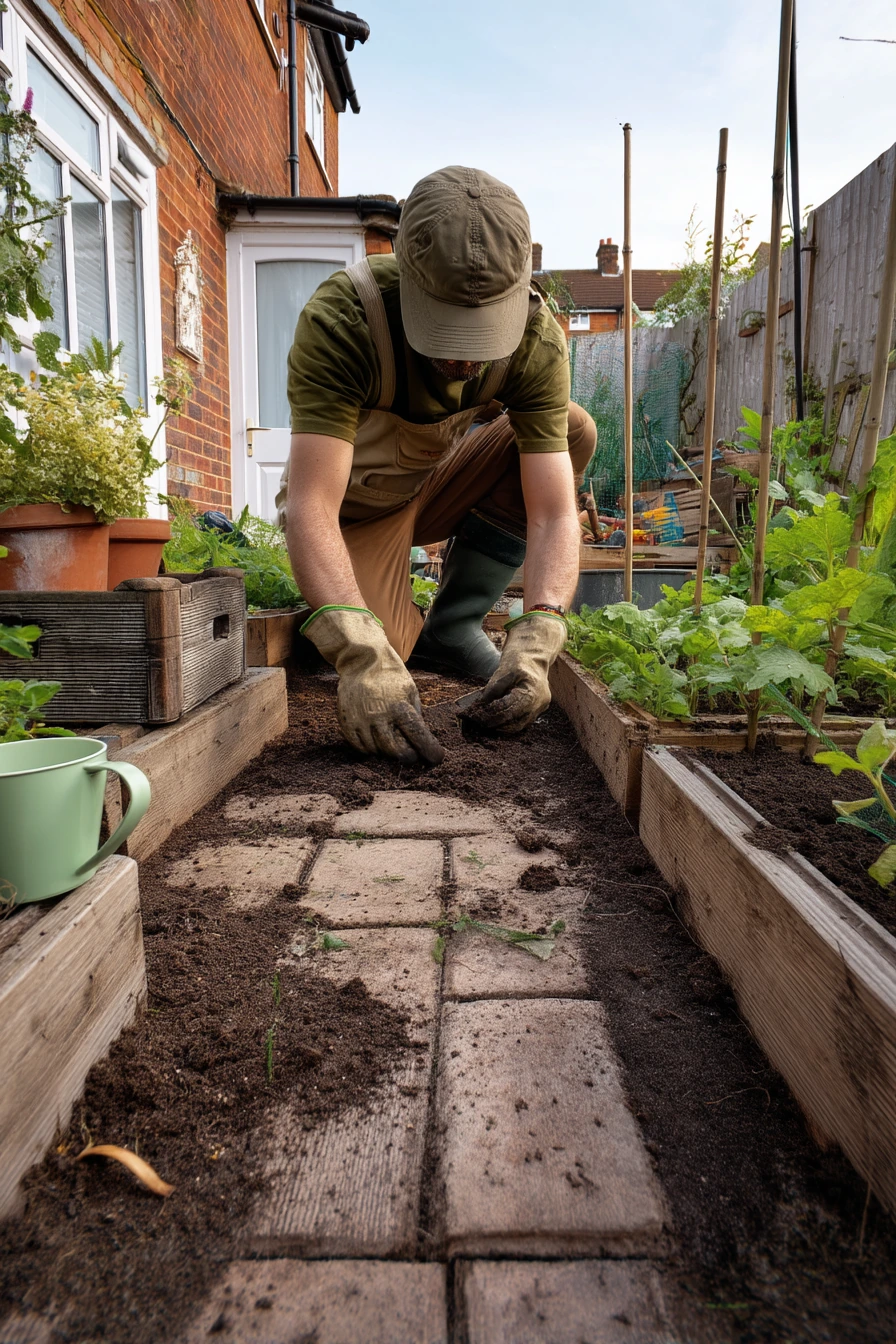
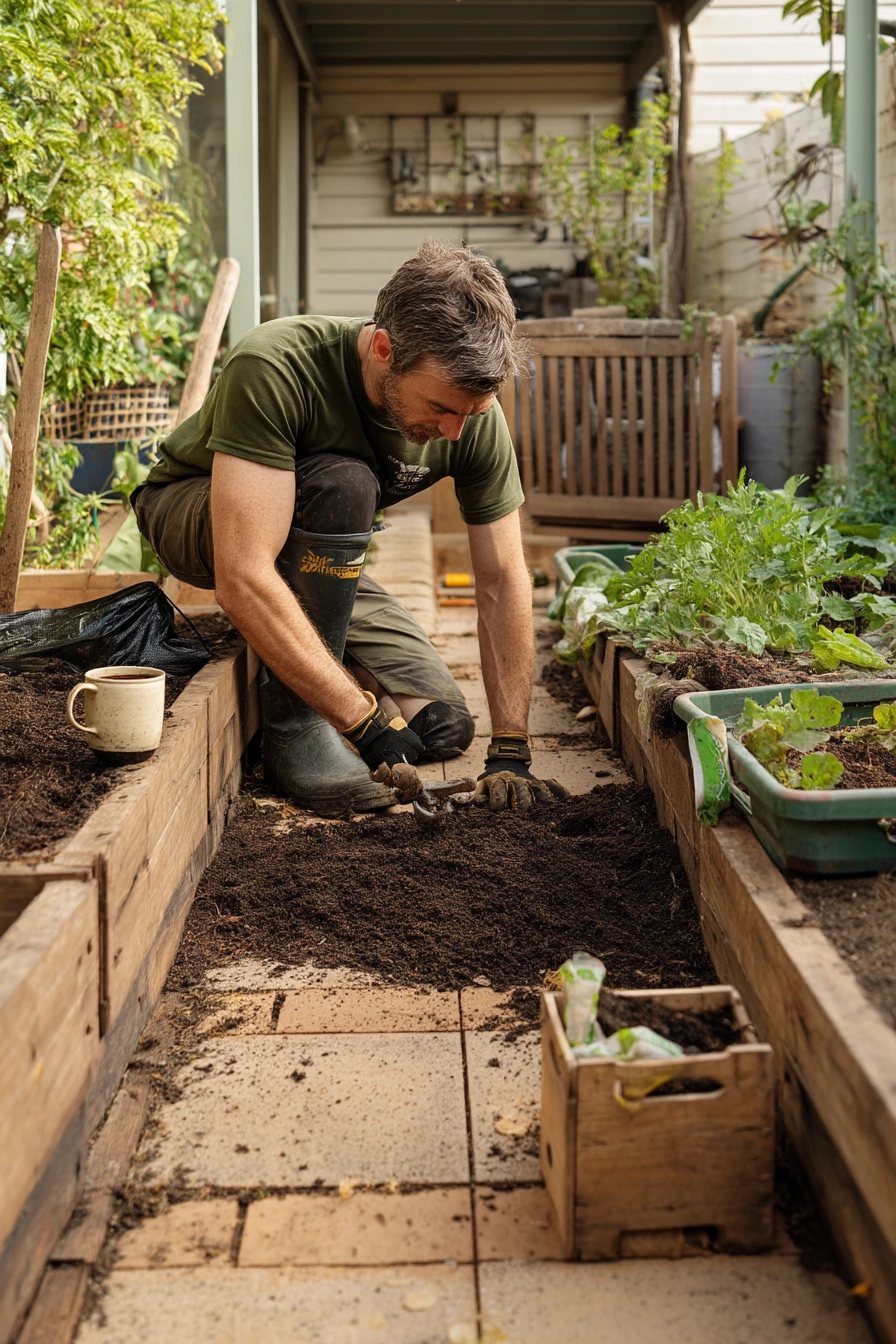
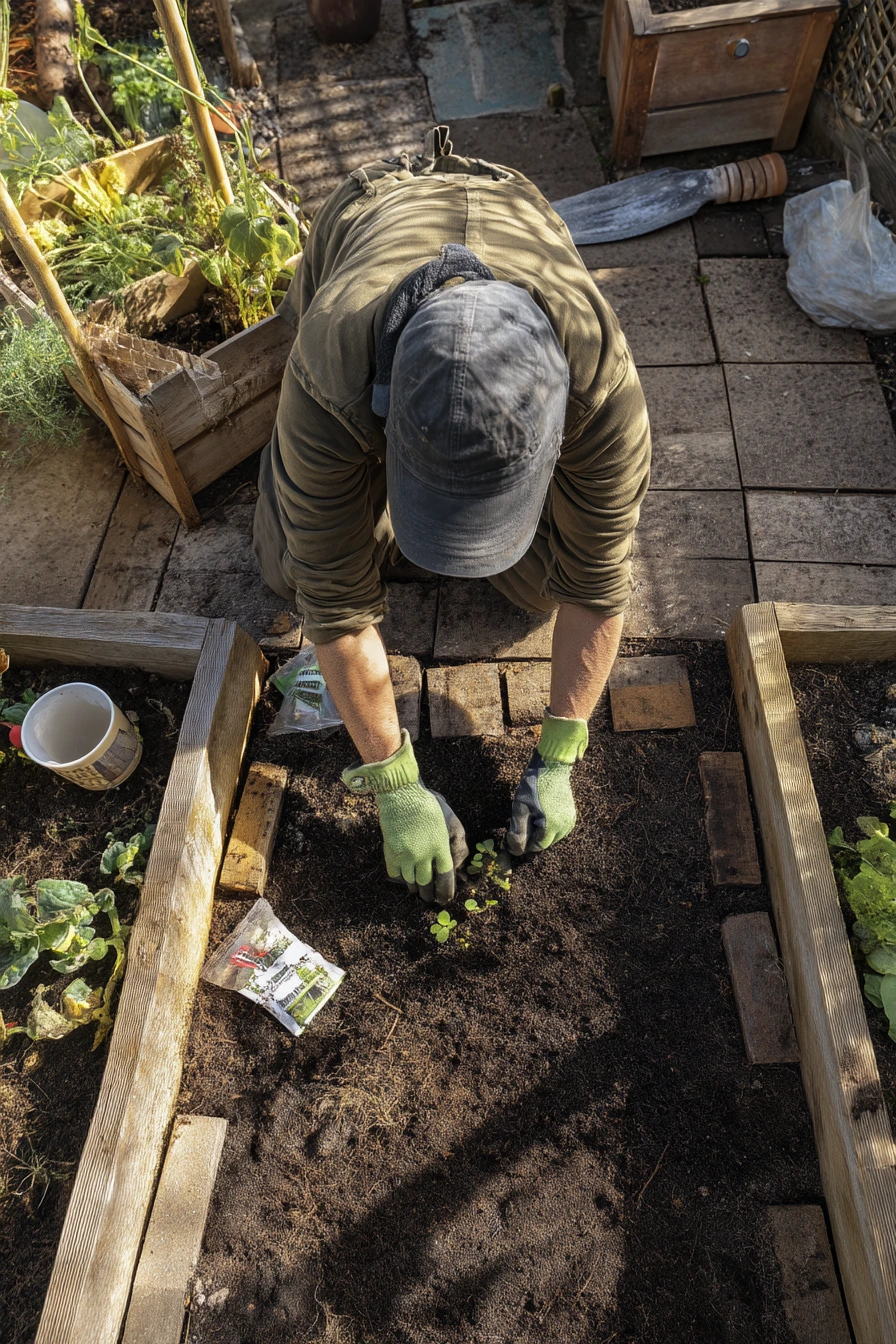
A back garden vegetable patch can look organized without feeling perfect. A sleeper stepping path gives you a solid route between beds, and rough timber borders stop soil from sliding onto the pavers. This is especially helpful when you are working in boots with a trowel and seed packets, and the area gets a bit muddy.
Let the space stay honest and useful. A compost bag nearby, muddy gloves, secateurs, and even a half-full mug on a crate fit the look of a working garden. The key is to keep the mess in the right places. Make the path wide enough for a wheelbarrow, and keep tools together so you are not stepping over things when you water or harvest.
How to style it: use the sleepers as both path pads and bed edges so everything ties together. Fill gaps between stepping sleepers with compacted gravel or bark to reduce slipping. Add a small hook board or a lidded storage box near the patch for seed packets and twine. Gentle afternoon light will make the soil tones and timber feel warm, even if the garden is slightly untidy.
- Place stepping sleepers on a firm base so they do not rock.
- Keep path spacing comfortable for a normal walking stride.
- Use rough timber borders to define bed edges and keep mulch in place.
- Add a simple compost corner near the beds to cut down on trips.
- Choose one tool “parking spot” like a crate or shelf to reduce clutter.
Pro Design Tip: Angle the stepping path slightly instead of making it perfectly straight, so it feels natural and helps guide you through the patch.
Budget Considerations: If full sleepers are too costly, use shorter cut sections for stepping pads and save full lengths for the bed borders where strength matters most.
4 Sleeper Retaining Wall for a Sloped Garden
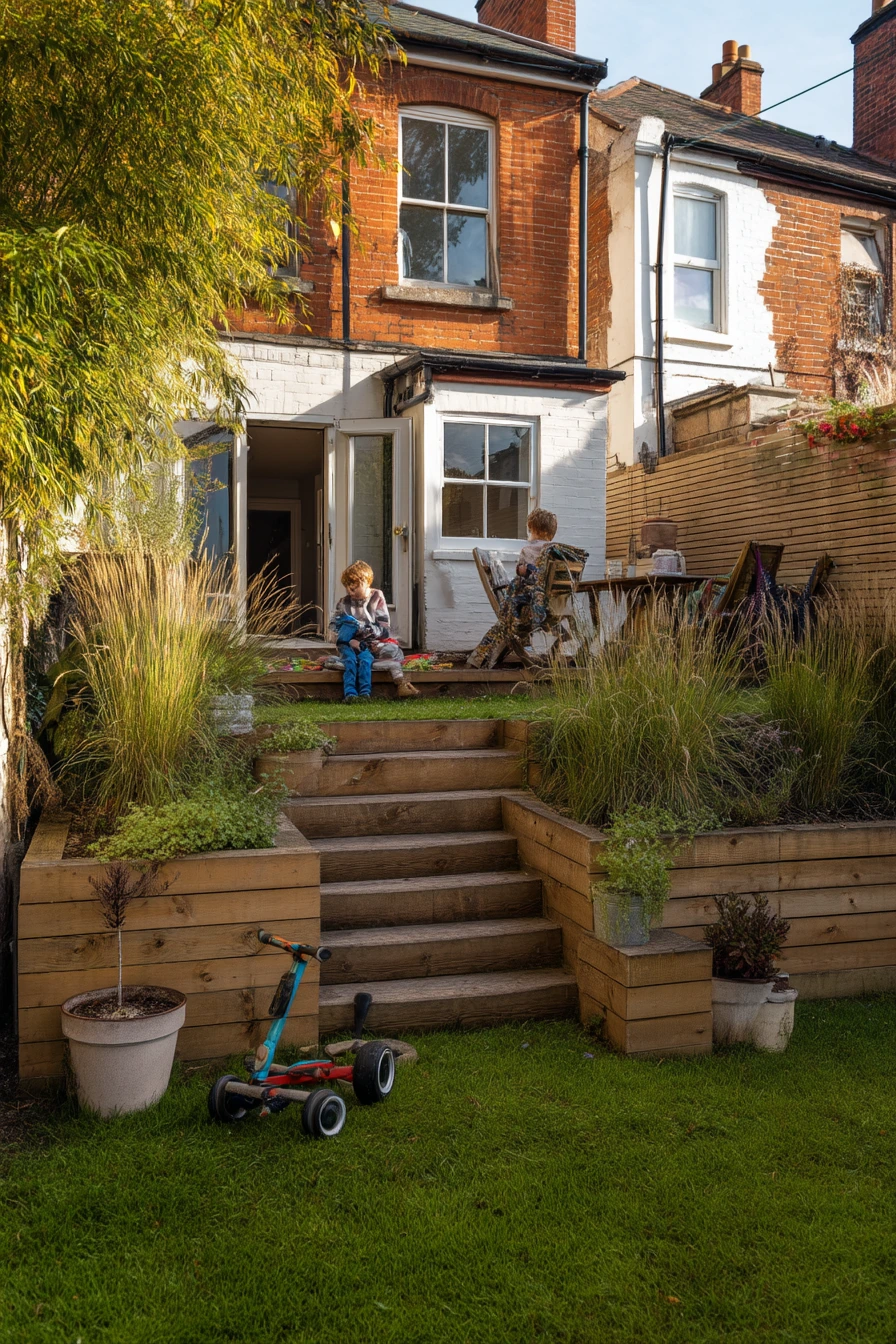
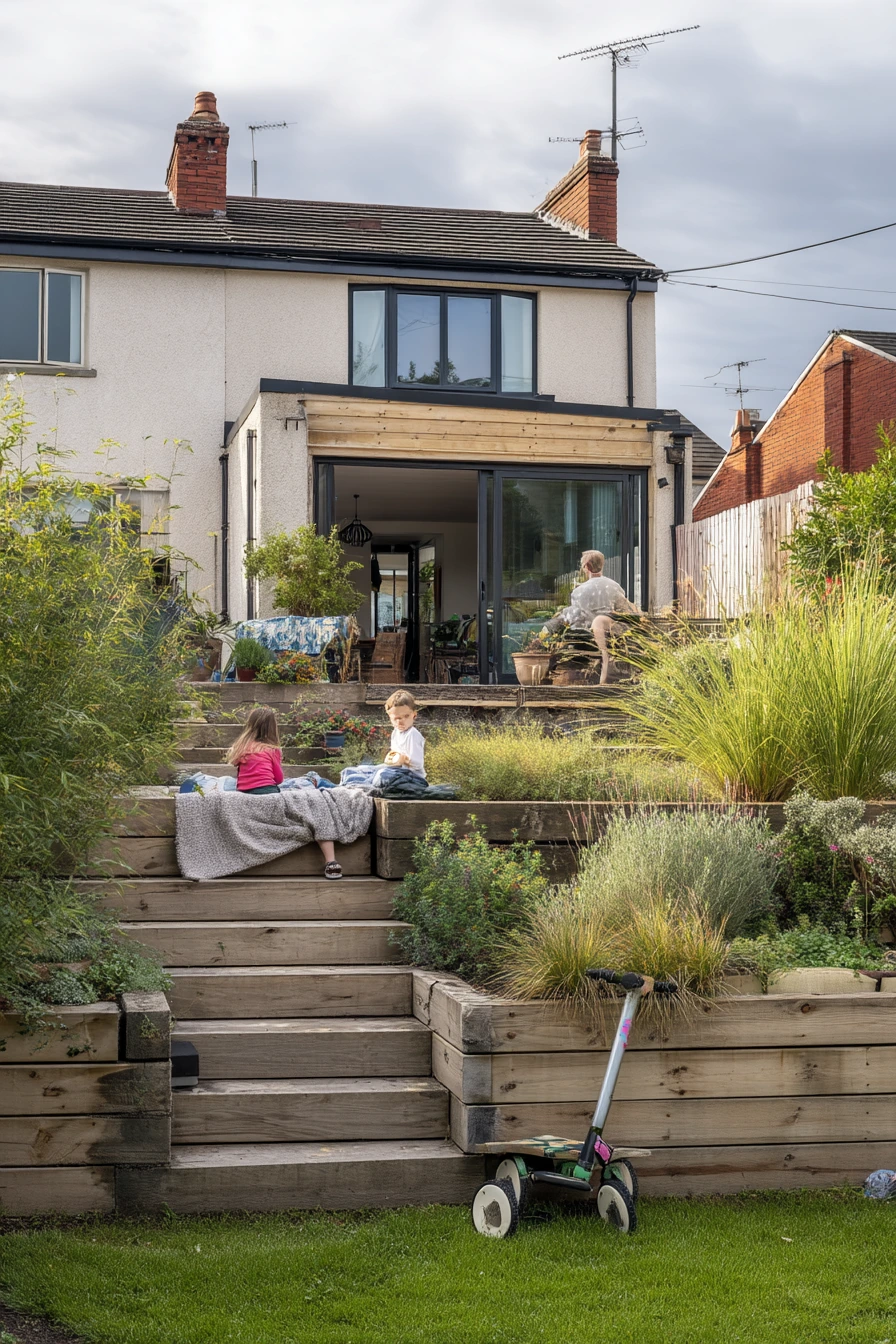
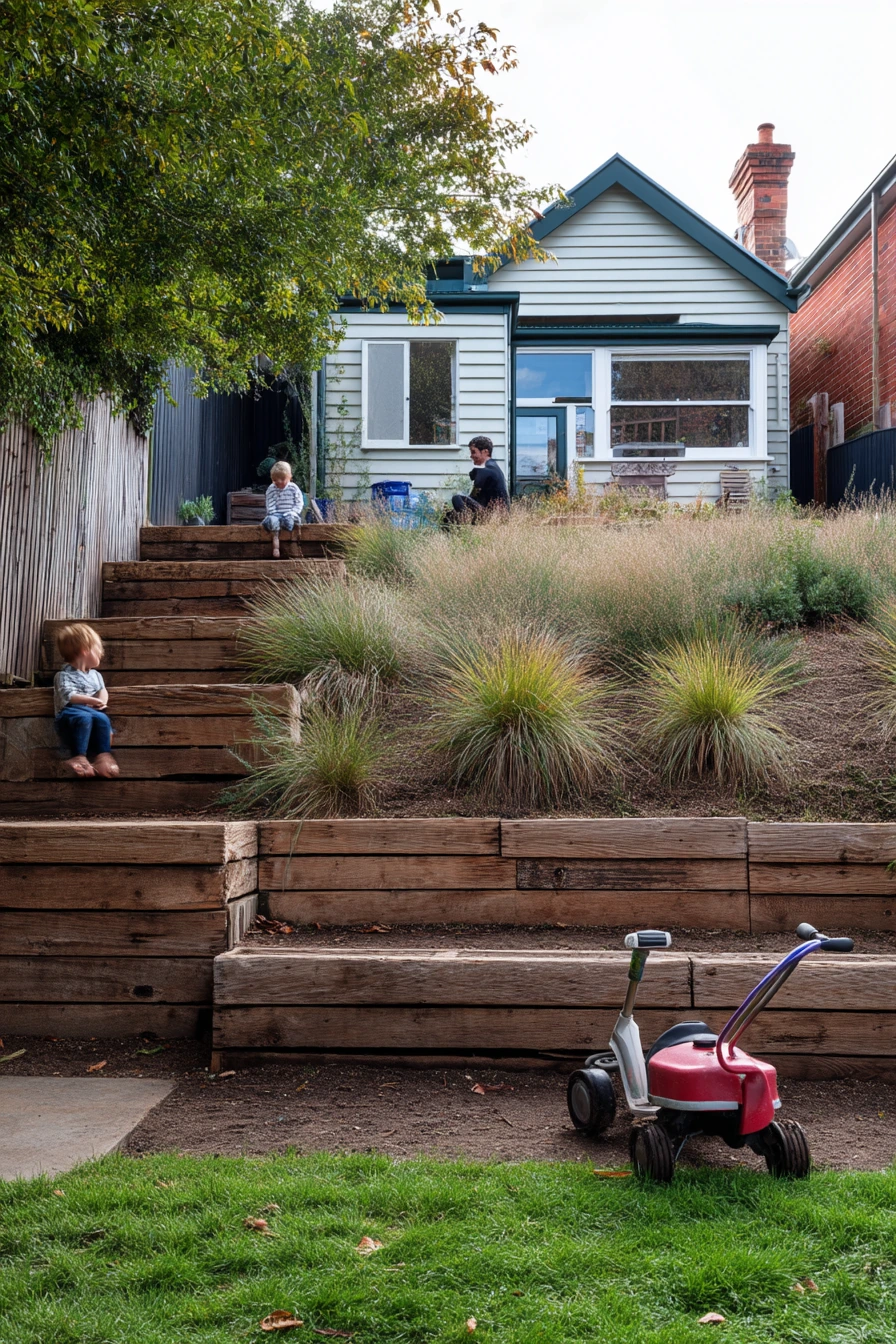
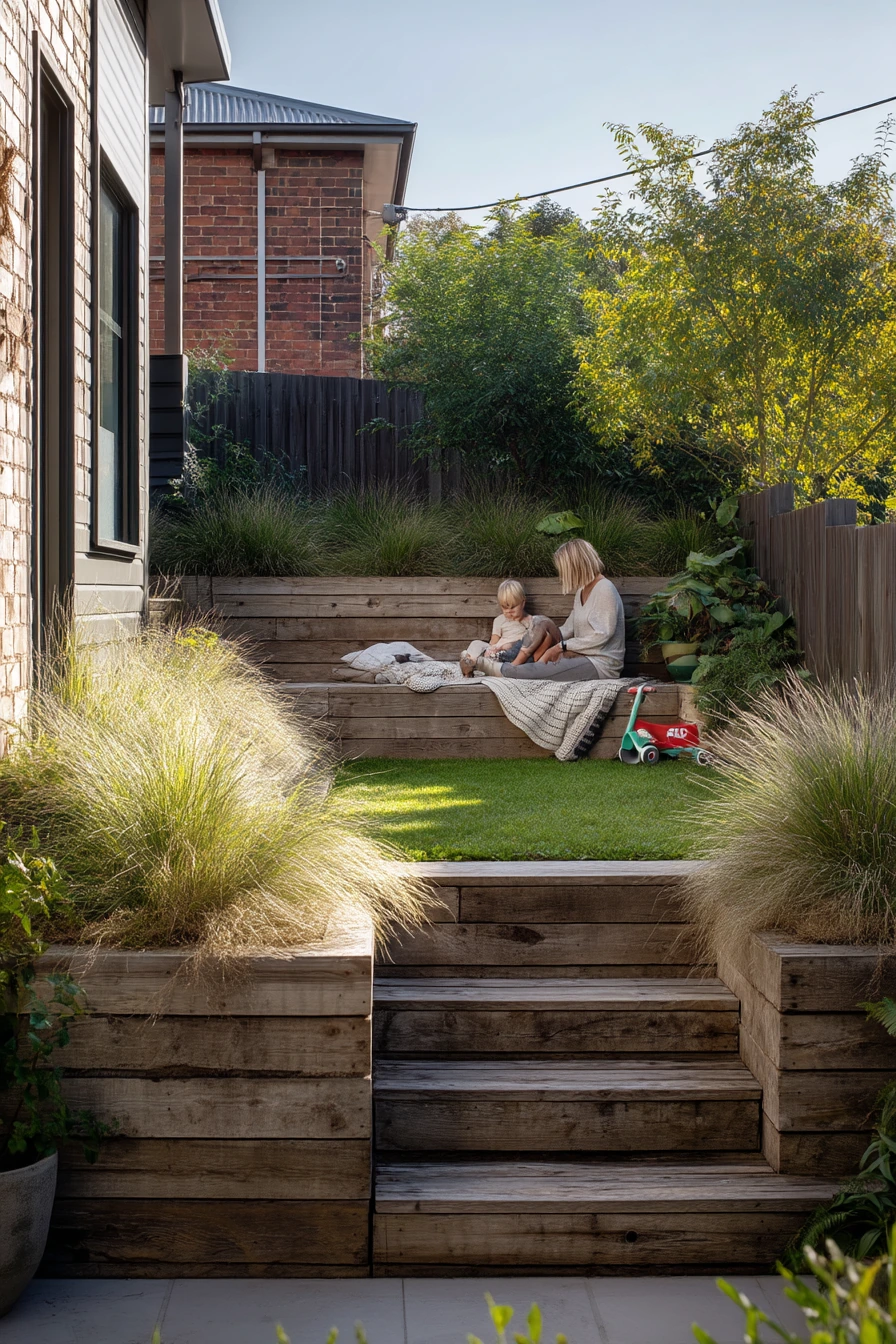
On a sloped rear garden, terracing with timber sleeper retaining walls can turn a hard-to-use hill into flat zones. You can create steps up to a small lawn, then add planting pockets with ornamental grasses and ceramic planters. The result feels calm and sturdy, even if the renovation is still in progress.
This setup works well for families because each terrace becomes a “room.” One level can be for sitting, another for play, and another for planting. Real-life details like a laundry basket by the back door or a kid scooter parked crookedly help you see how the space will work day to day. Damp earth is normal on slopes, so plan for drainage and safe step edges.
How to style it: keep the top terrace simple, with a small lawn and one bench. Add a blanket with a soft fold on the seat edge so it looks inviting. Use grasses on the terrace edges to soften the timber lines and reduce the “wall” feel. If late-day window light hits the steps, place lighter pots or pale gravel there so the path reads clearly in shade.
- Build retaining walls with proper posts or pins for strength.
- Include drainage gravel and a perforated pipe behind taller walls.
- Make steps wide with even rises to prevent trips.
- Plant deep-rooted grasses to help hold soil on slopes.
- Add a handrail or sturdy edge if the slope is steep or used by kids.
Pro Design Tip: Repeat the same sleeper height on each terrace so the slope looks intentional and the steps feel balanced.
Budget Considerations: Terracing can add labor and materials. Reduce costs by starting with one main retaining wall and a short set of steps, then add lower tiers as you save.
5 Budget Sleeper Planter with Pollinator Planting
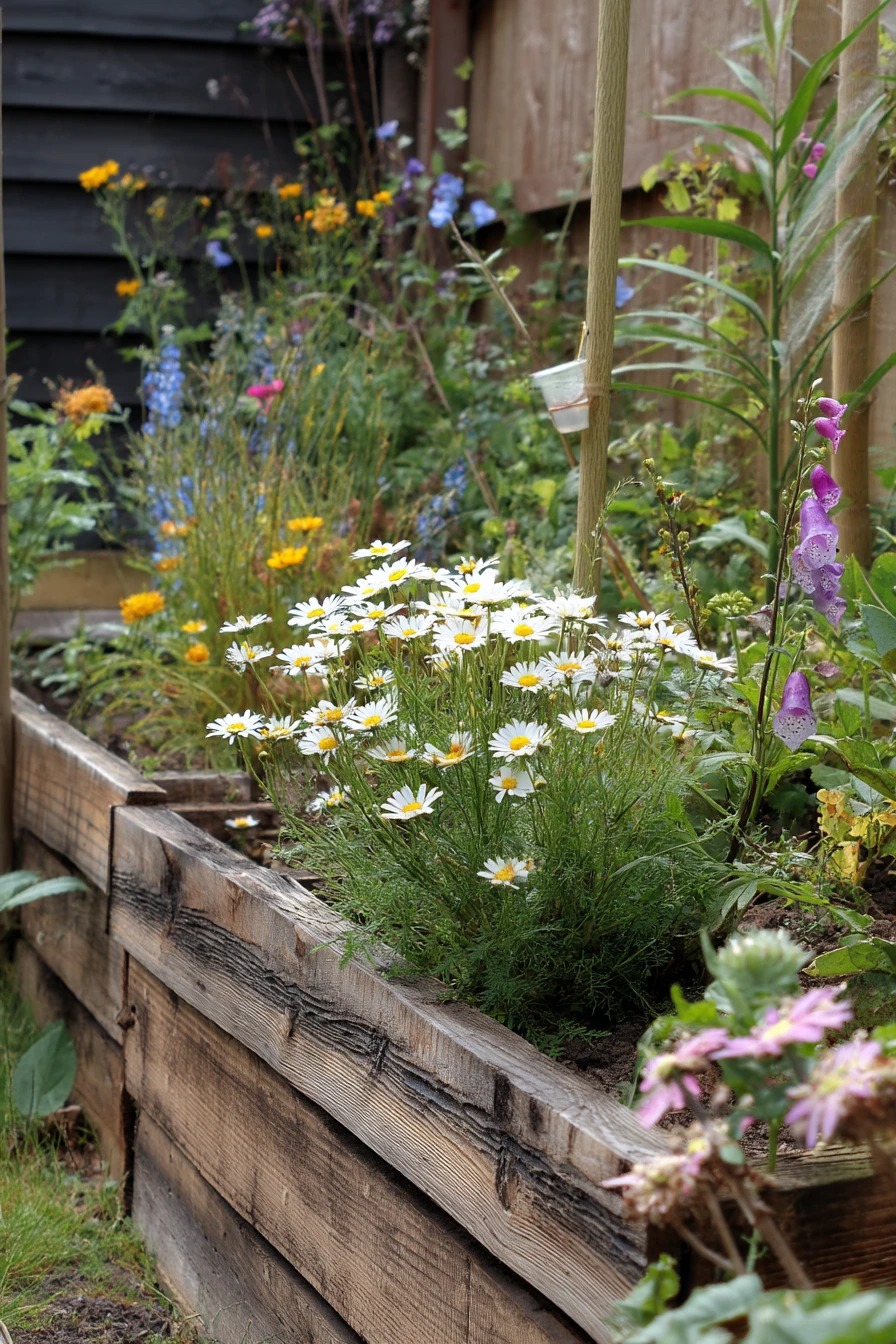
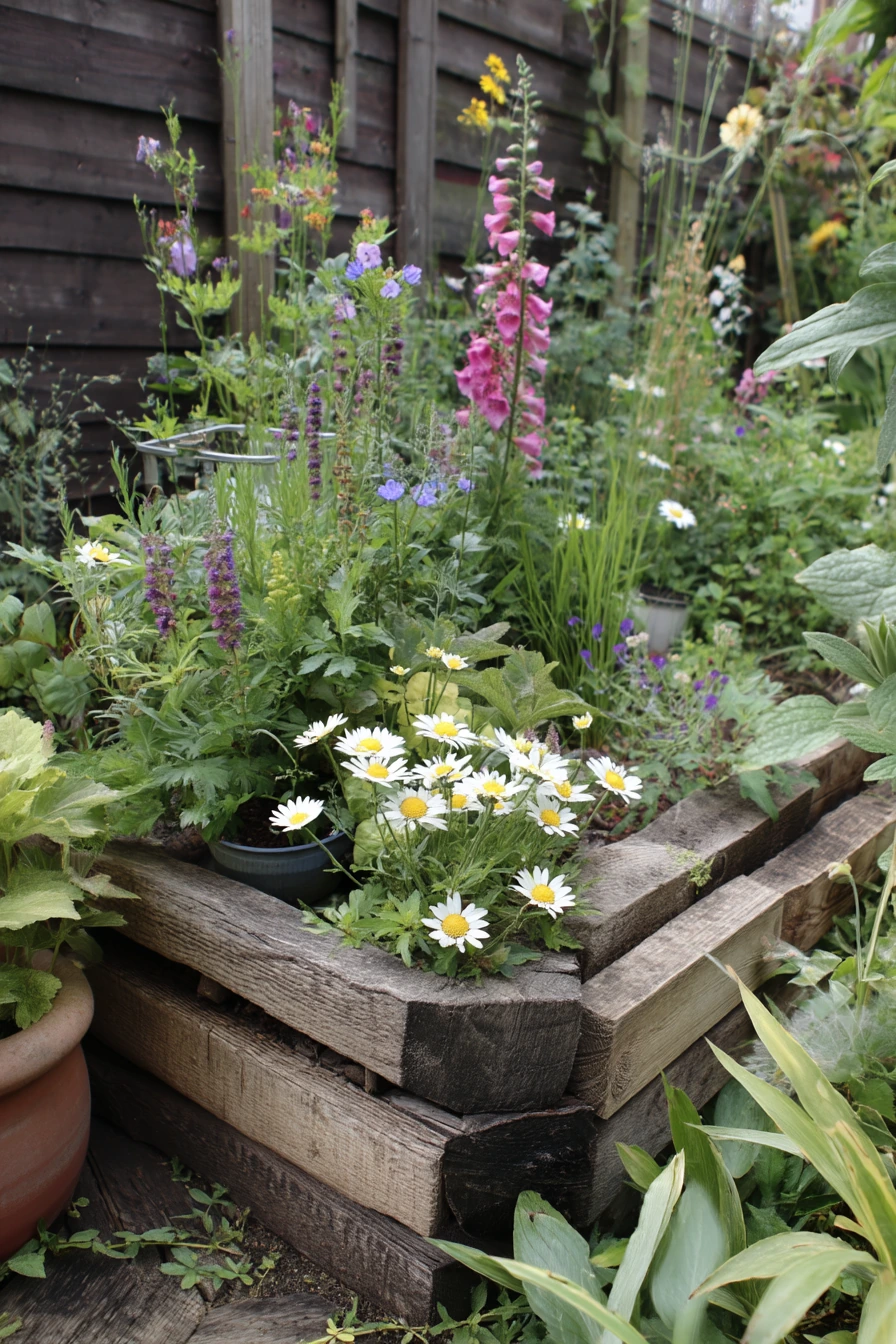
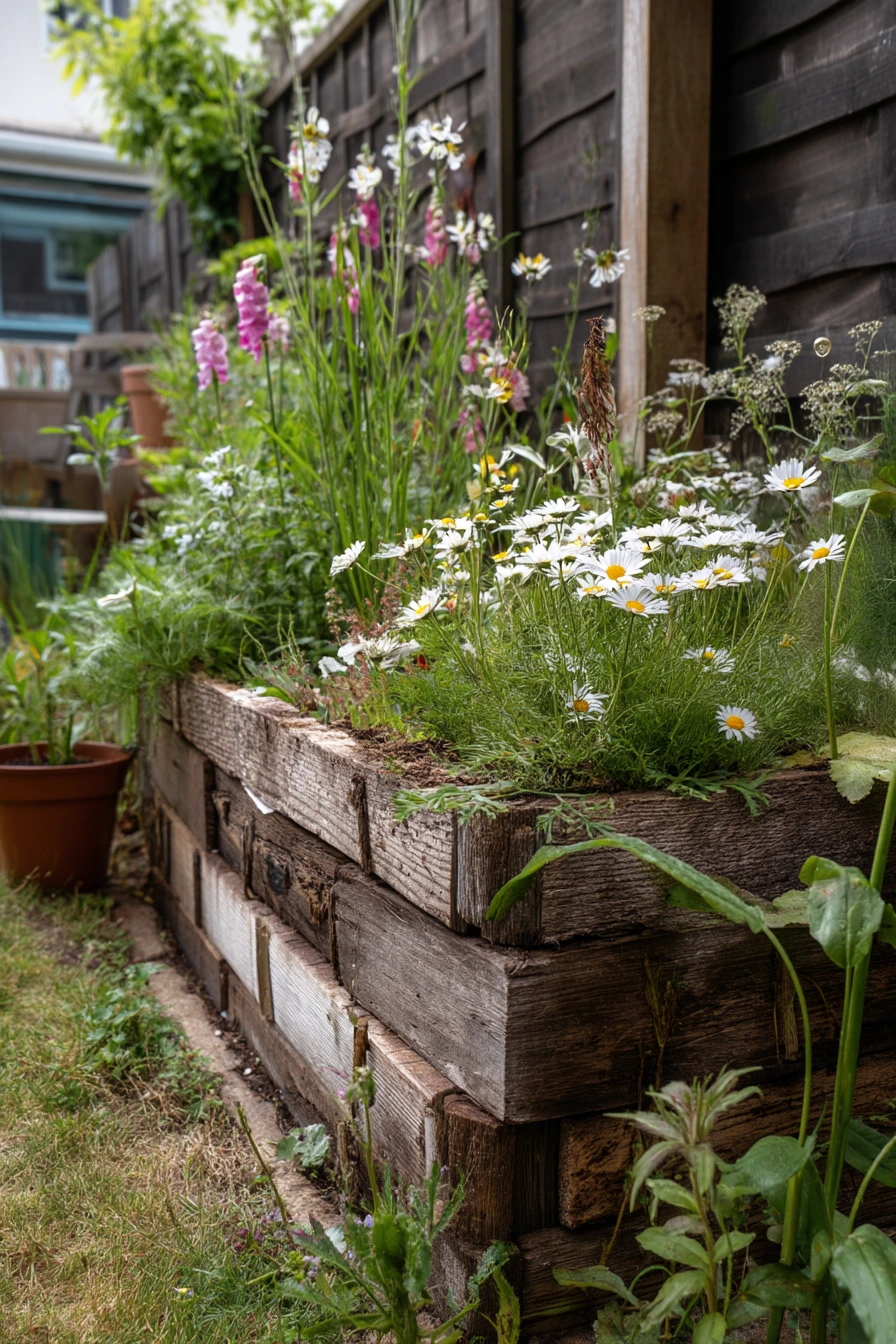
A simple raised planter made from stacked sleepers is one of the most affordable upgrades for a basic garden corner. It suits a rented-house back garden because it is easy to place, quick to fill, and it instantly adds height for planting. Slightly weathered timber looks natural and does not need to be perfect.
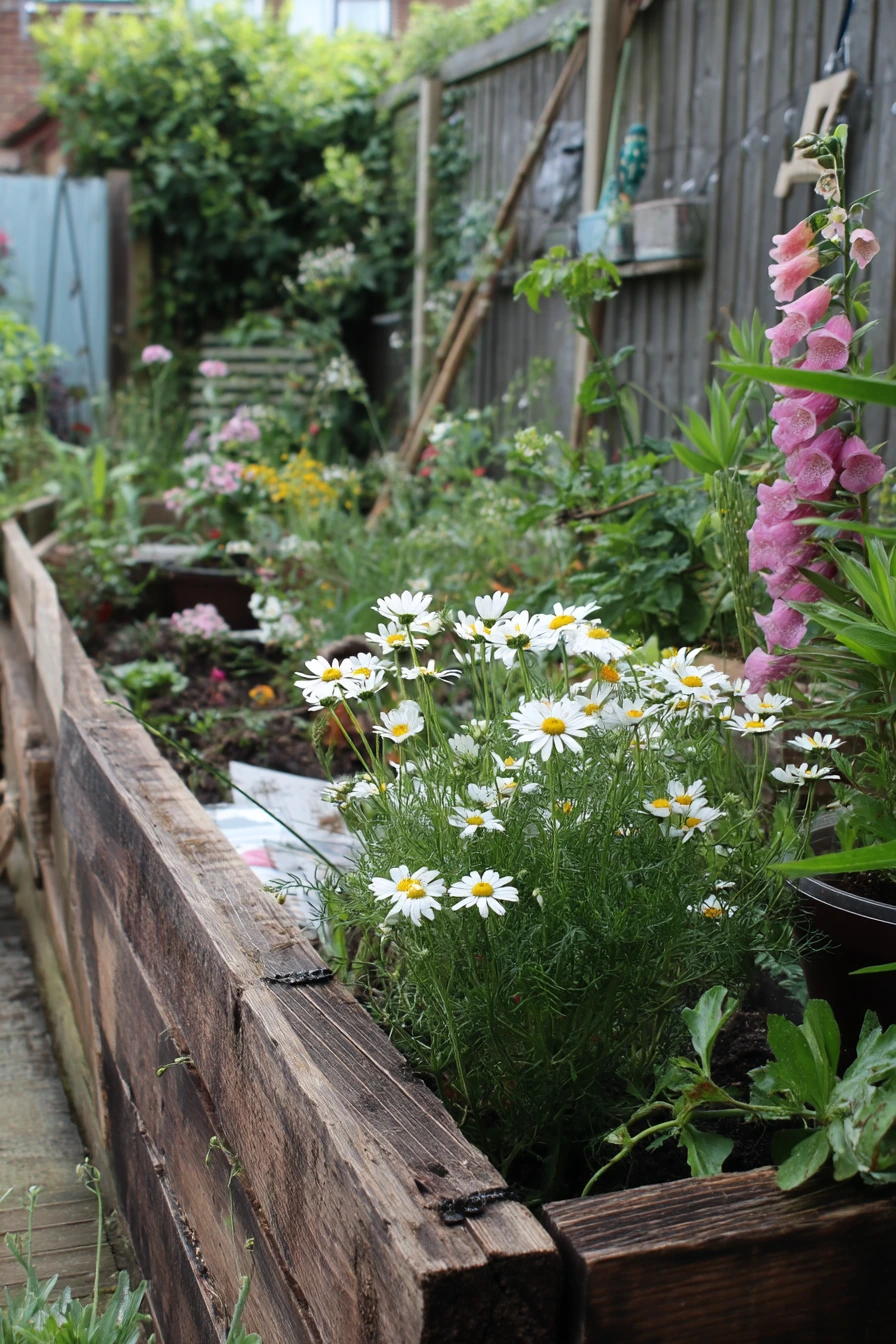
This kind of bed is great for cheerful flowers like daisies, salvia, and foxglove. You can build it near a fence where you have a ledge for a water glass or small tools. Everyday items like a faded kneeler pad, garden twine, and newspaper under pots make it feel like a real weekend project, not a showroom.
How to style it: keep the planting loose and layered. Put taller foxgloves at the back, mid-height salvia in the center, and daisies along the front. Tuck a few self-seeders into corners so the bed changes through the season. If you want it to look more finished, add a small gravel border around the outside and one or two plain pots on the ground nearby to echo the timber tones.
- Choose a sunny corner so flowers stay strong and upright.
- Line the inside with membrane to slow timber decay.
- Fill the bottom with sticks or broken pots to reduce soil needed.
- Water deeply at first so roots settle through the full depth.
- Cut back spent blooms to keep the bed tidy with little effort.
Pro Design Tip: Keep the planter width narrow enough to reach the center from either side, so you can weed and deadhead without stepping into the bed.
Budget Considerations: Use reclaimed sleepers or seconds-grade timber for hidden sides. You can also lower costs by filling the bottom third with cheap bulk material before adding compost.
6 Sleeper Firepit Lounge for Evenings Outside
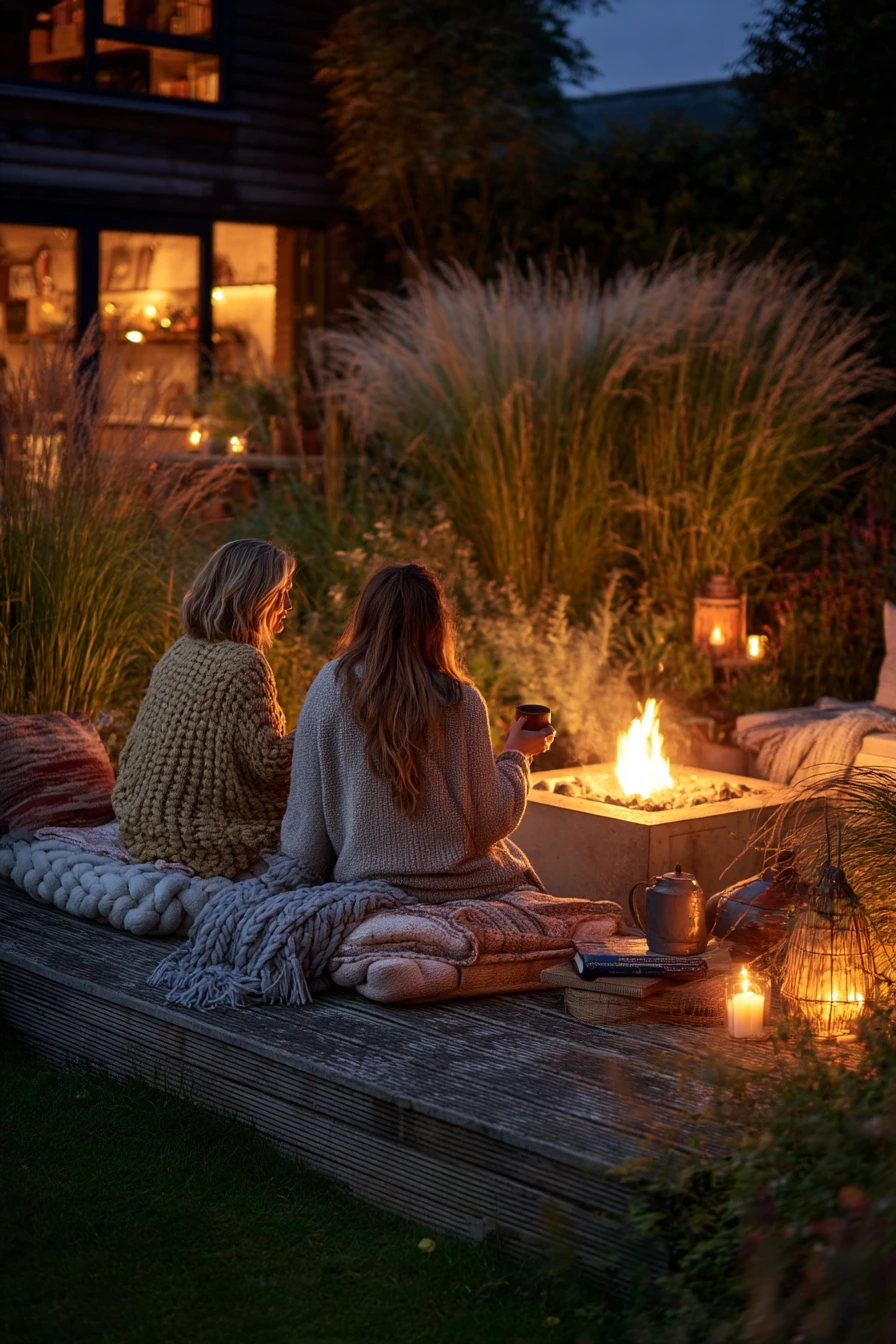
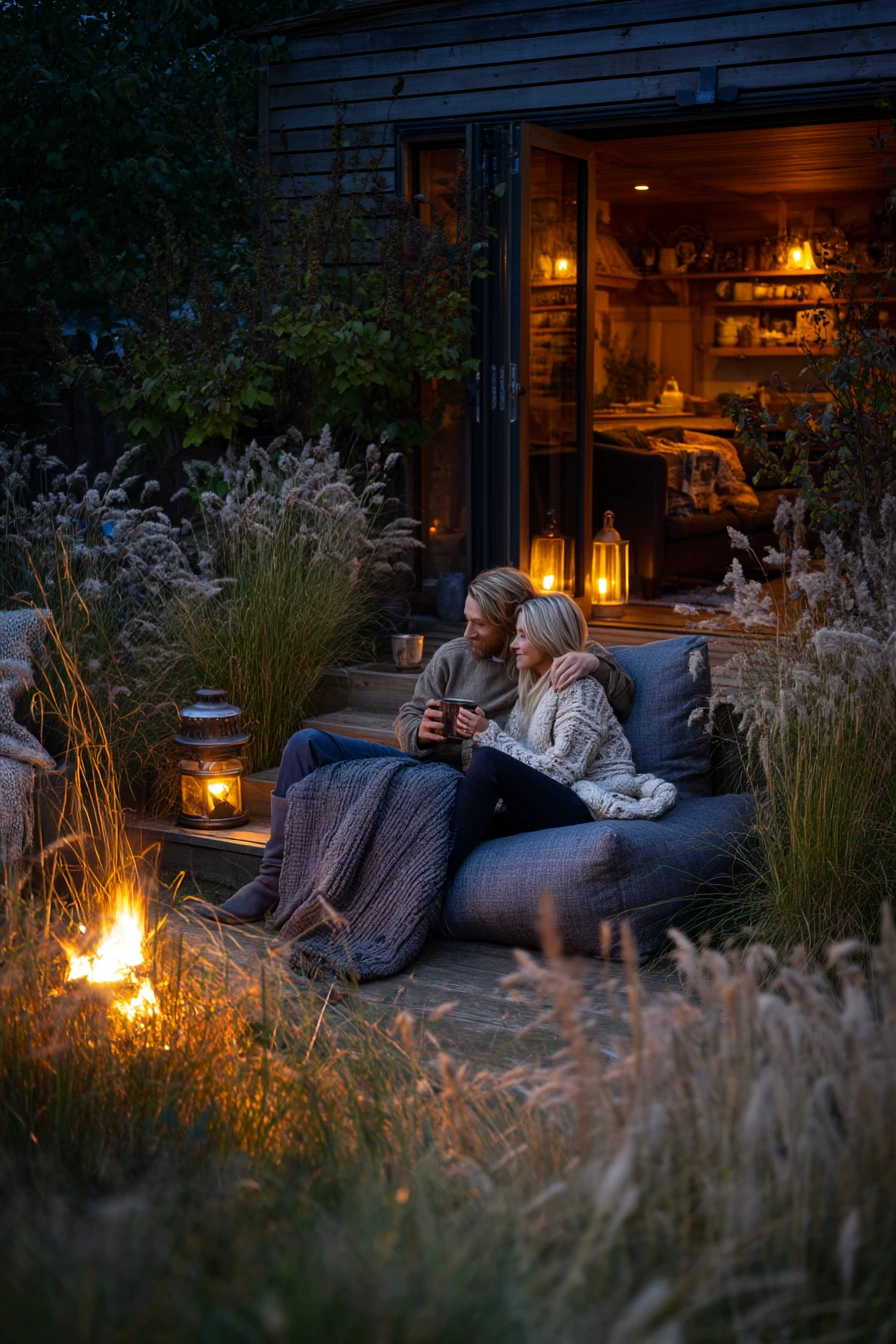
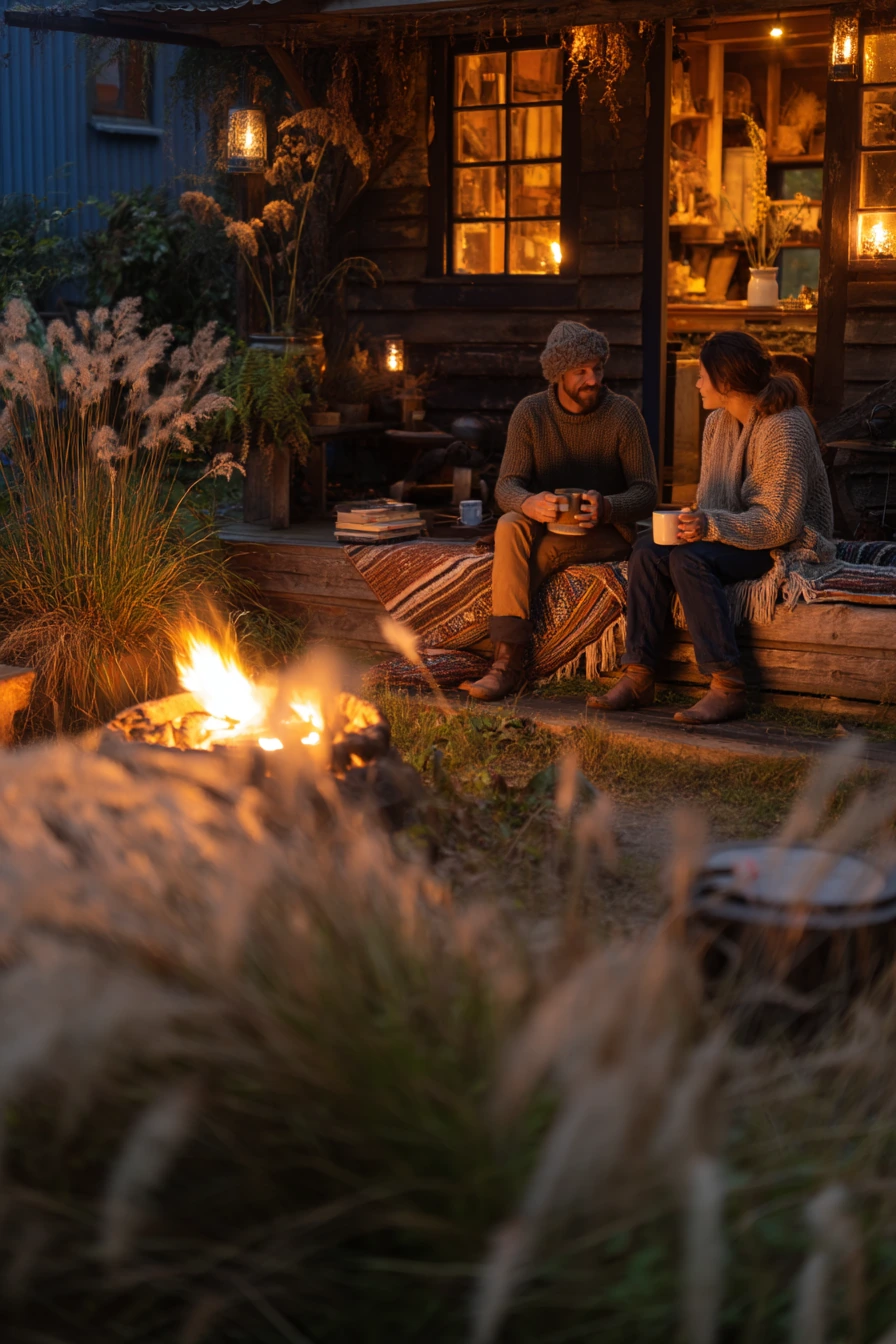
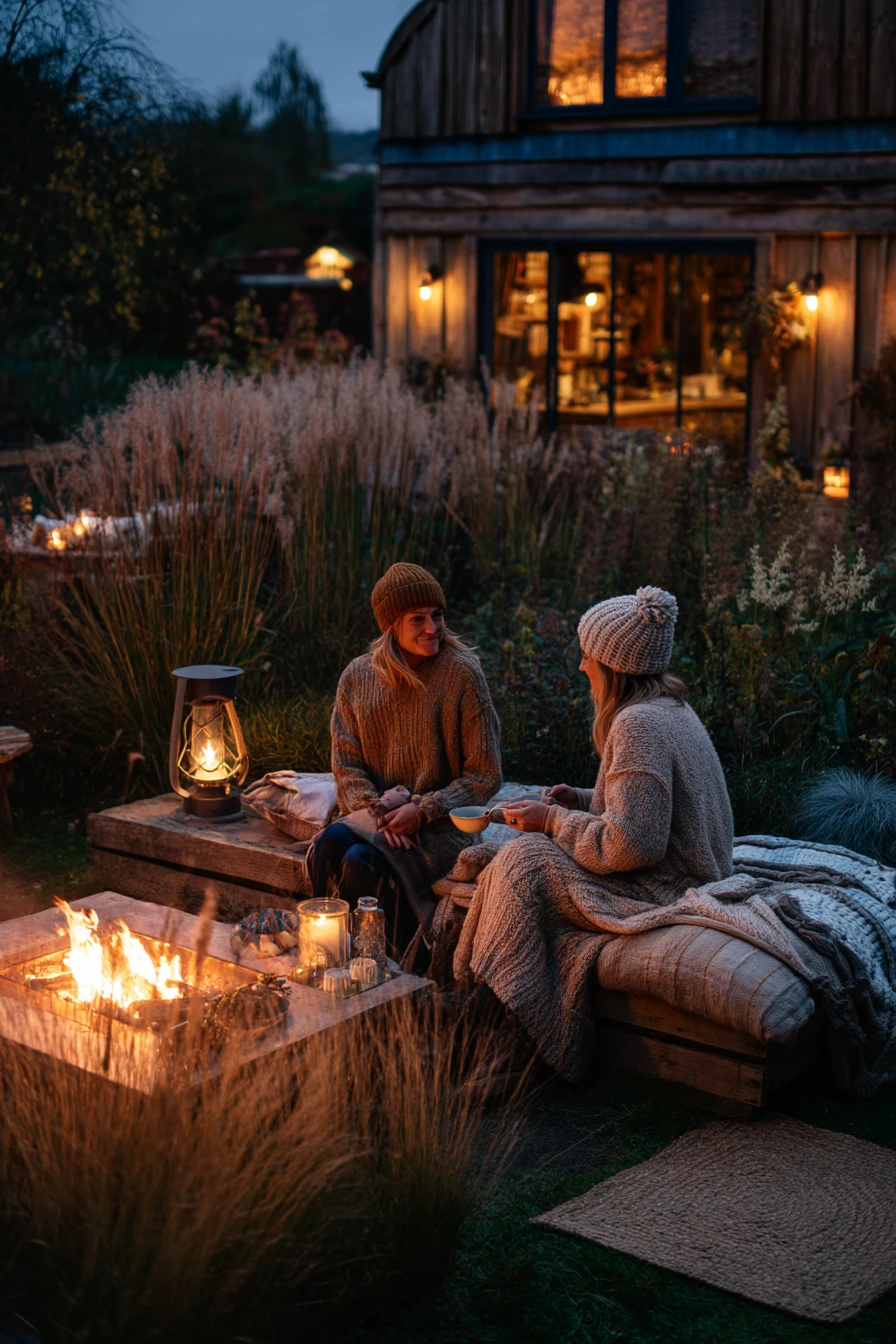
Sleeper-built seating around a small firepit turns a plain patio into an evening garden lounge. The timber adds weight and warmth, and it pairs well with planted grasses that glow at the edges in ember light. This is a good choice if you want a social spot that still feels simple and practical.
Make it look lived-in, not staged. A wool throw draped unevenly, a lantern, books, matches, and a mug ring on the timber are all believable details. Knit layers on cool nights and warm light from the kitchen doors help the space feel connected to the house. Keep the firepit small so it does not overpower the seating.
How to style it: use two layers of comfort. Add seat pads for the first layer, then place one thicker throw for legs and shoulders. Set a low side table or a timber offcut near the bench for mugs so people are not balancing drinks. Plant grasses in simple clumps, not scattered, so the edges look clean. If you have neighbors close by, choose low-smoke fuel and keep the firepit positioned away from fences.
- Leave enough space to walk behind benches without squeezing.
- Add a heat-safe base under the firepit, like stone or gravel.
- Seal the sleeper tops to reduce staining from drinks.
- Use lanterns for soft light instead of bright overhead lighting.
- Store matches and fire tools in a lidded box to keep the area neat.
Pro Design Tip: Build one seat with a slightly higher backrest so the lounge has a “best seat” and the layout feels designed.
Budget Considerations: Firepits range widely in price. Start with a basic steel bowl on a gravel pad, then upgrade to a built-in option later if you use it often.
7 Modern Sleeper Deck Edge with Pots and Herbs
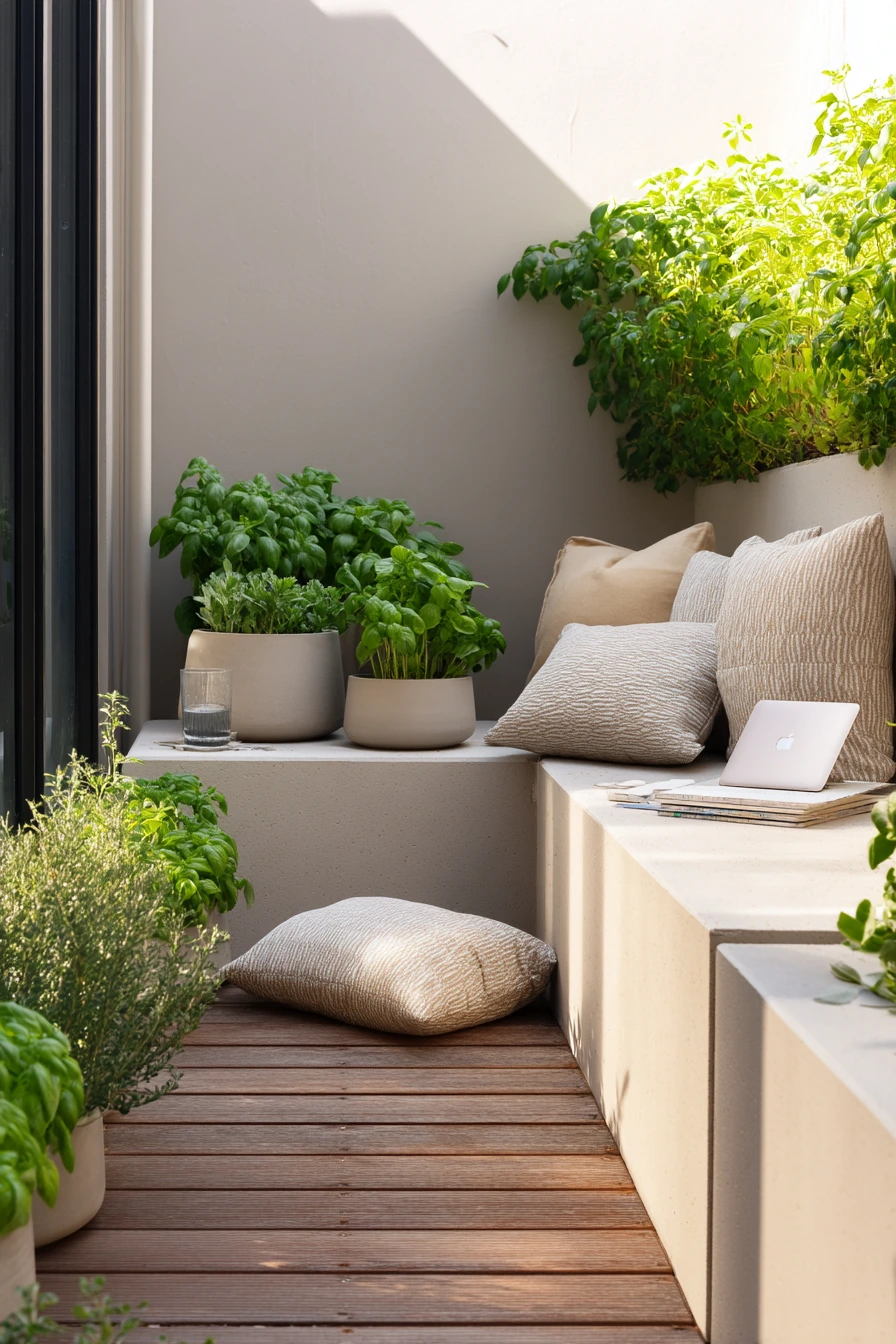
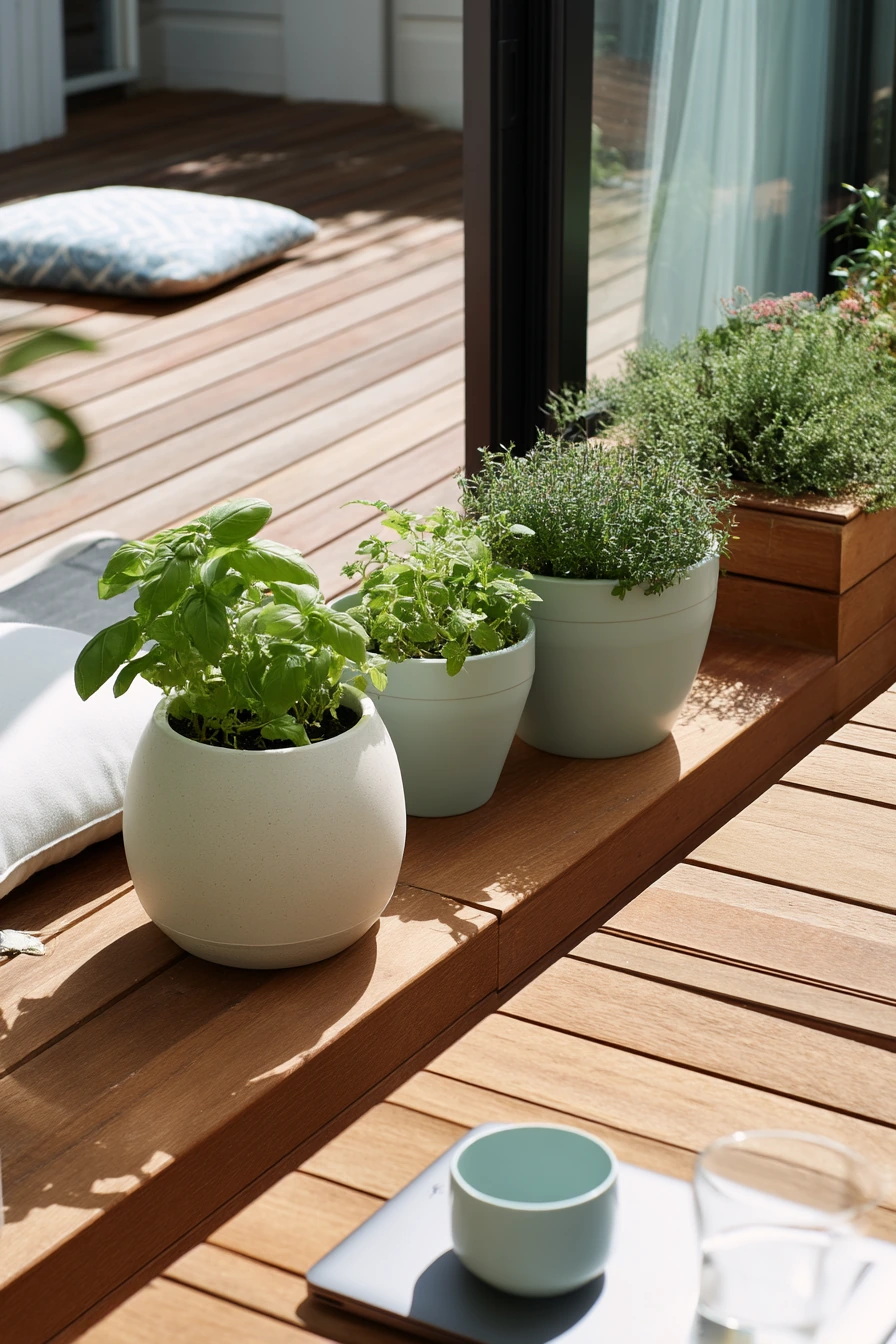
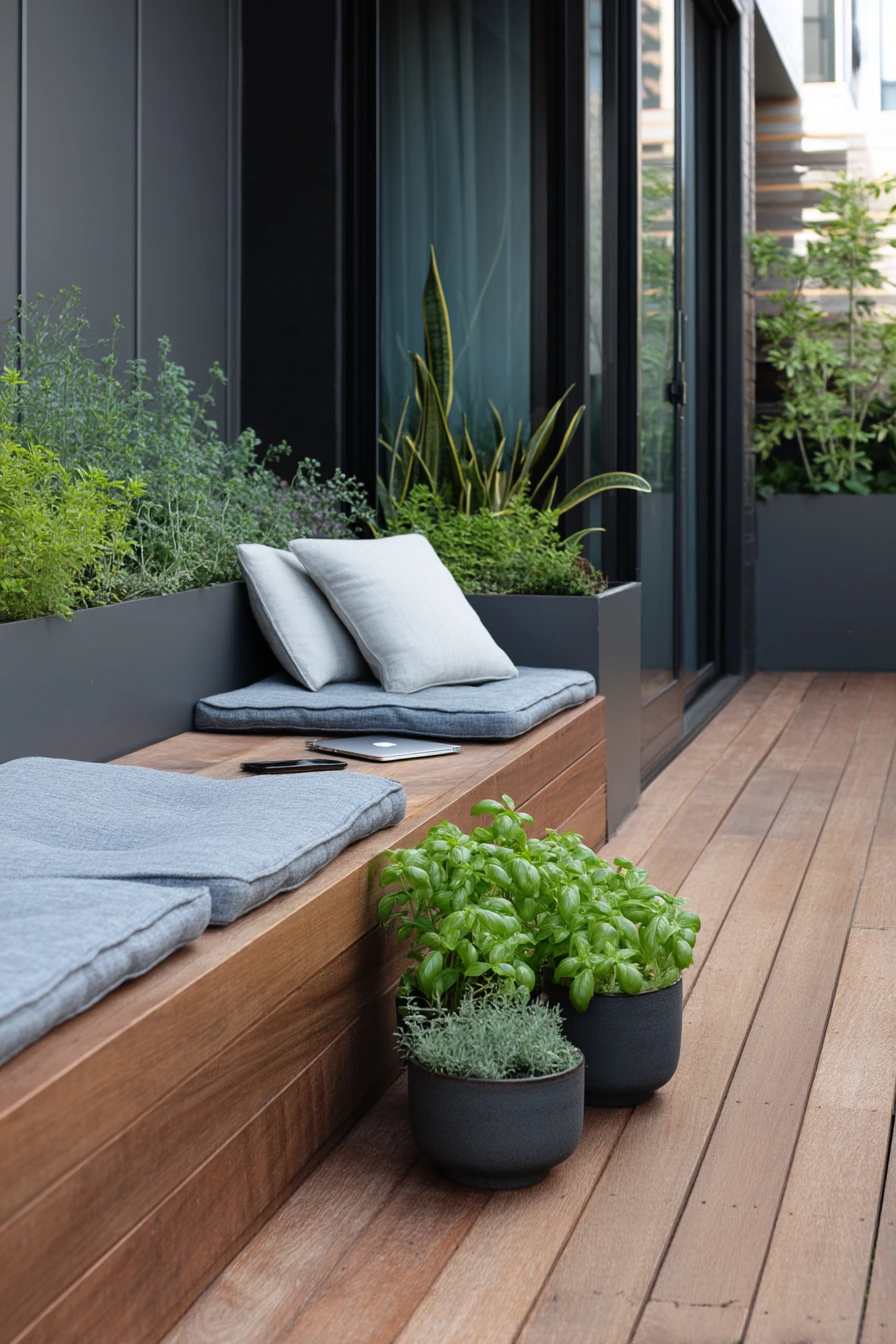
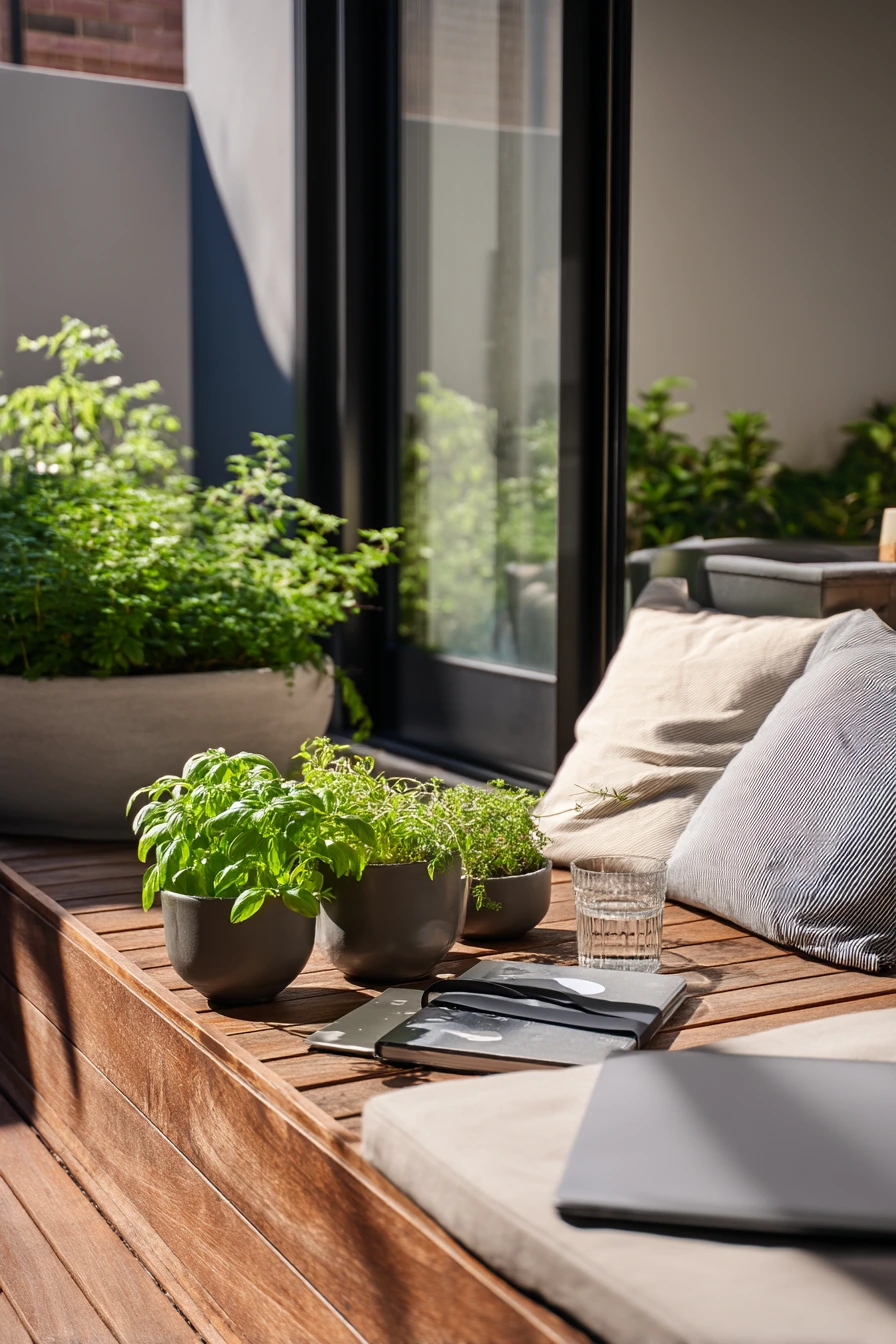
In a clean-lined townhouse garden, sleeper edging can frame a timber deck and make the whole space feel finished. The sleepers give a strong border for planting without adding visual clutter. This works well when you like a refined look but still want it to feel like a real home, with cushions that have a soft crease and everyday items nearby.
A simple herb setup fits this style. Arrange basil, thyme, and mint in matte pots and keep them close to the sliding doors for easy picking. A closed laptop beside a water glass, a phone cable, and a folded garden catalogue show how the space is used. Soft afternoon light from the house will highlight the deck lines and keep the space feeling fresh, not glossy.
How to style it: stick to a tight color palette. Choose two pot colors and repeat them. Use one taller plant, like a small bay tree, to add height without clutter. Keep the sleeper edging straight and squared to the deck so the lines match. If the deck meets soil, use a gravel strip behind the sleeper edge to reduce splashback and keep the deck cleaner after rain.
- Match sleeper height to the deck edge so the transition looks planned.
- Use a weed barrier and gravel behind borders for low upkeep.
- Group herbs by watering needs to avoid overwatering mint.
- Add one storage bench cushion in a neutral fabric for a calm look.
- Keep cables and small items in a box so the deck stays tidy.
Pro Design Tip: Align the sleeper edging with deck boards and door frames to create straight sight lines that make a small garden look larger.
Budget Considerations: If you already have a deck, adding sleeper edging is a lower-cost update than rebuilding. Use shorter runs to frame only the key planting areas.
8 Sleeper Play Zone Beside the Lawn
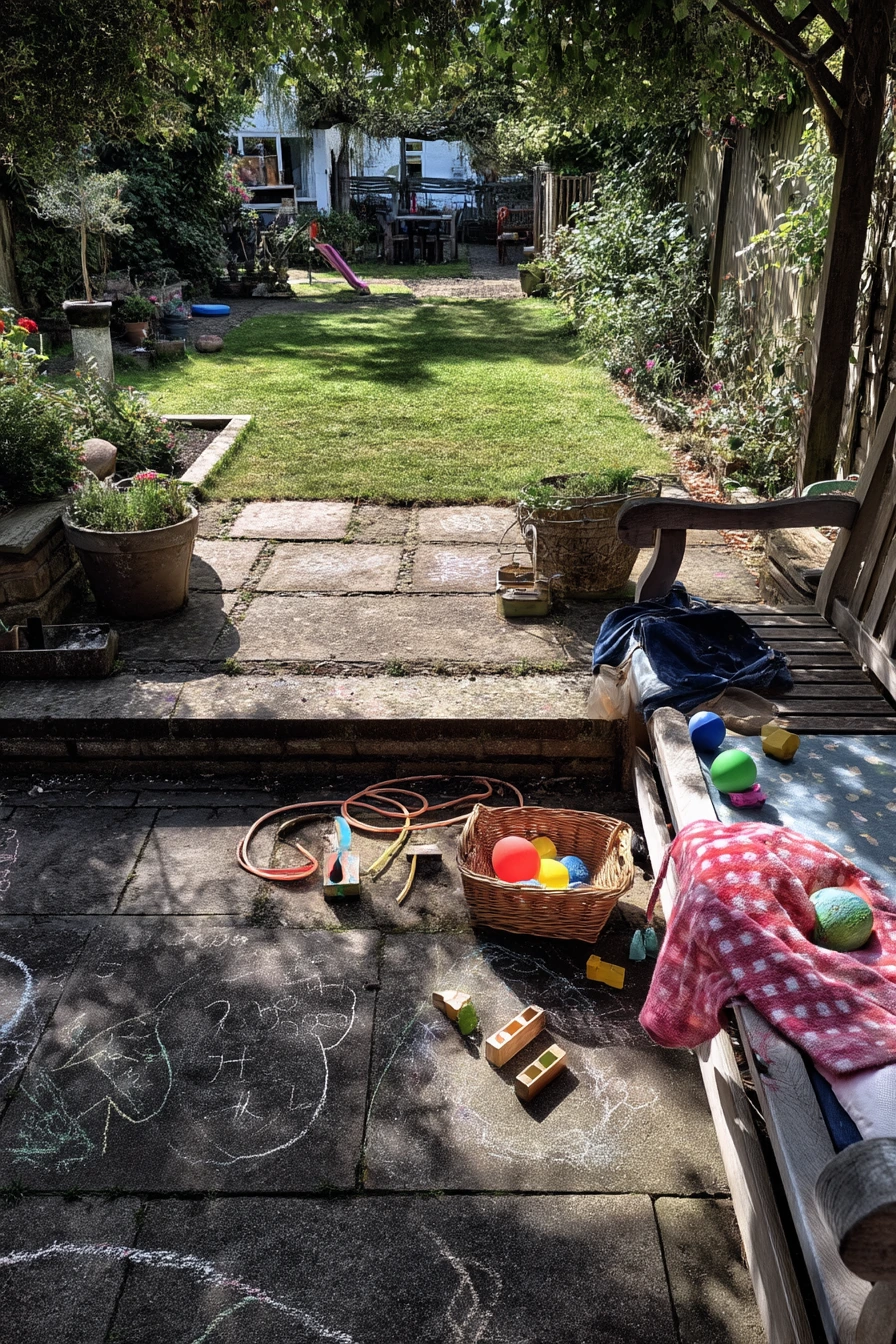
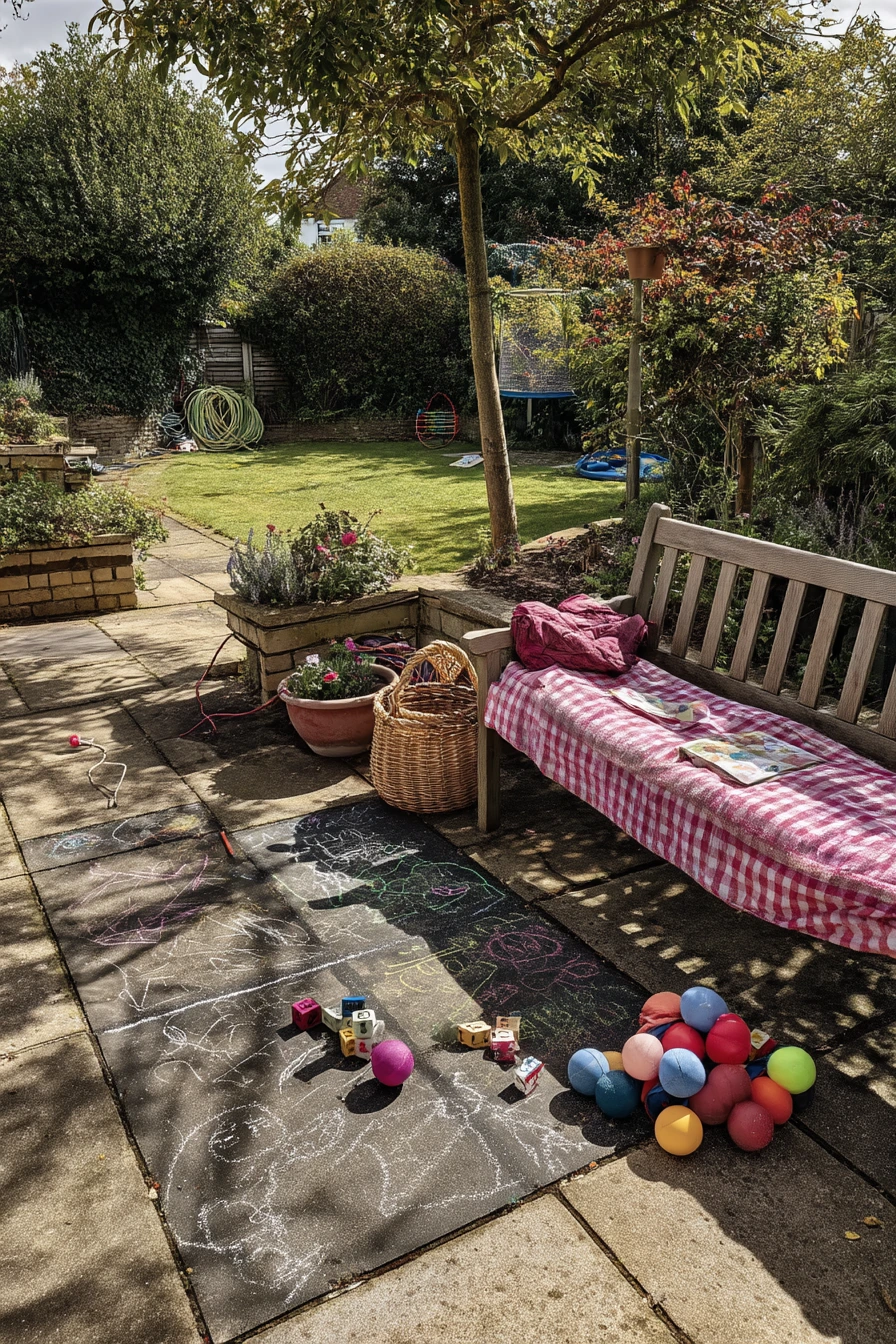
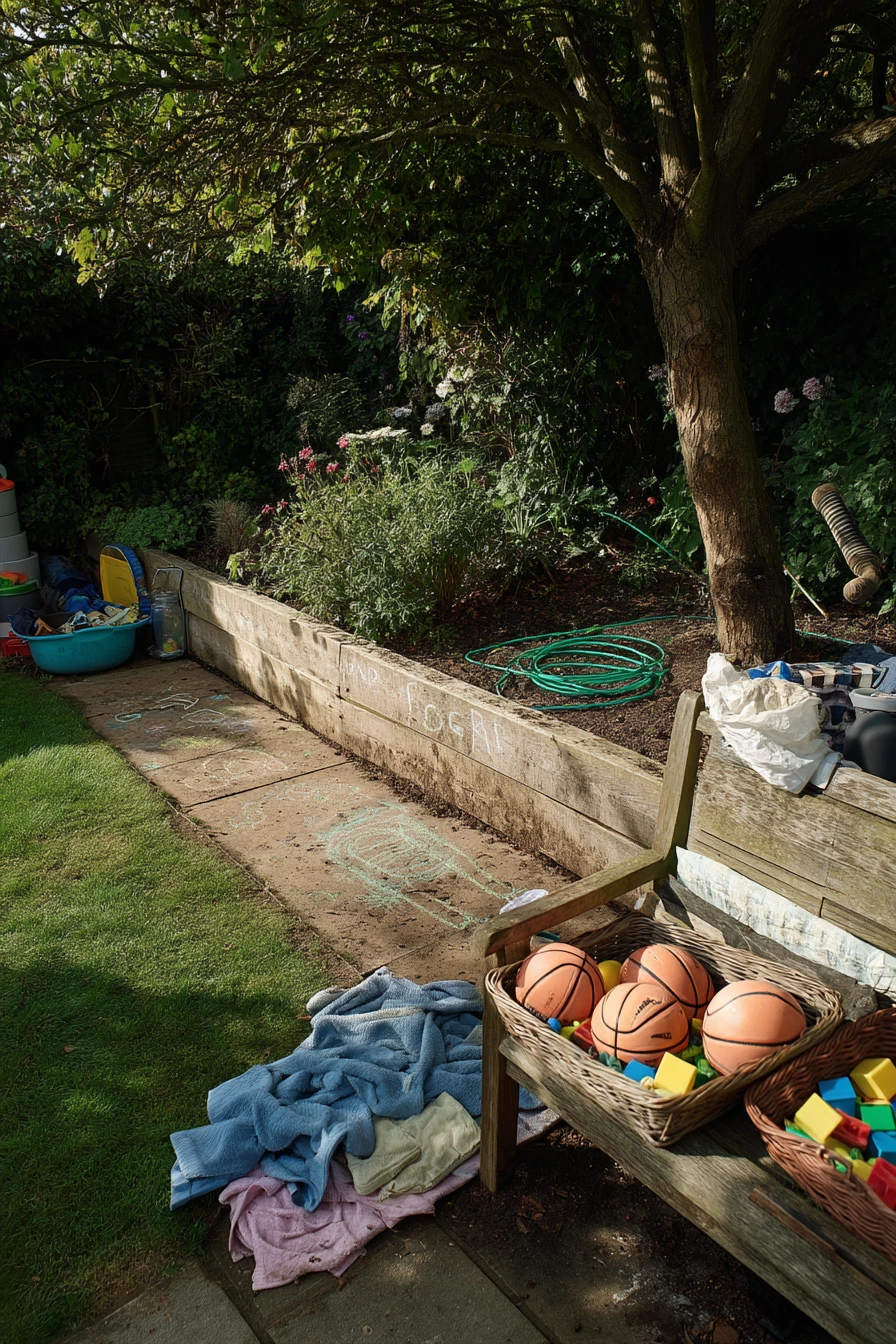
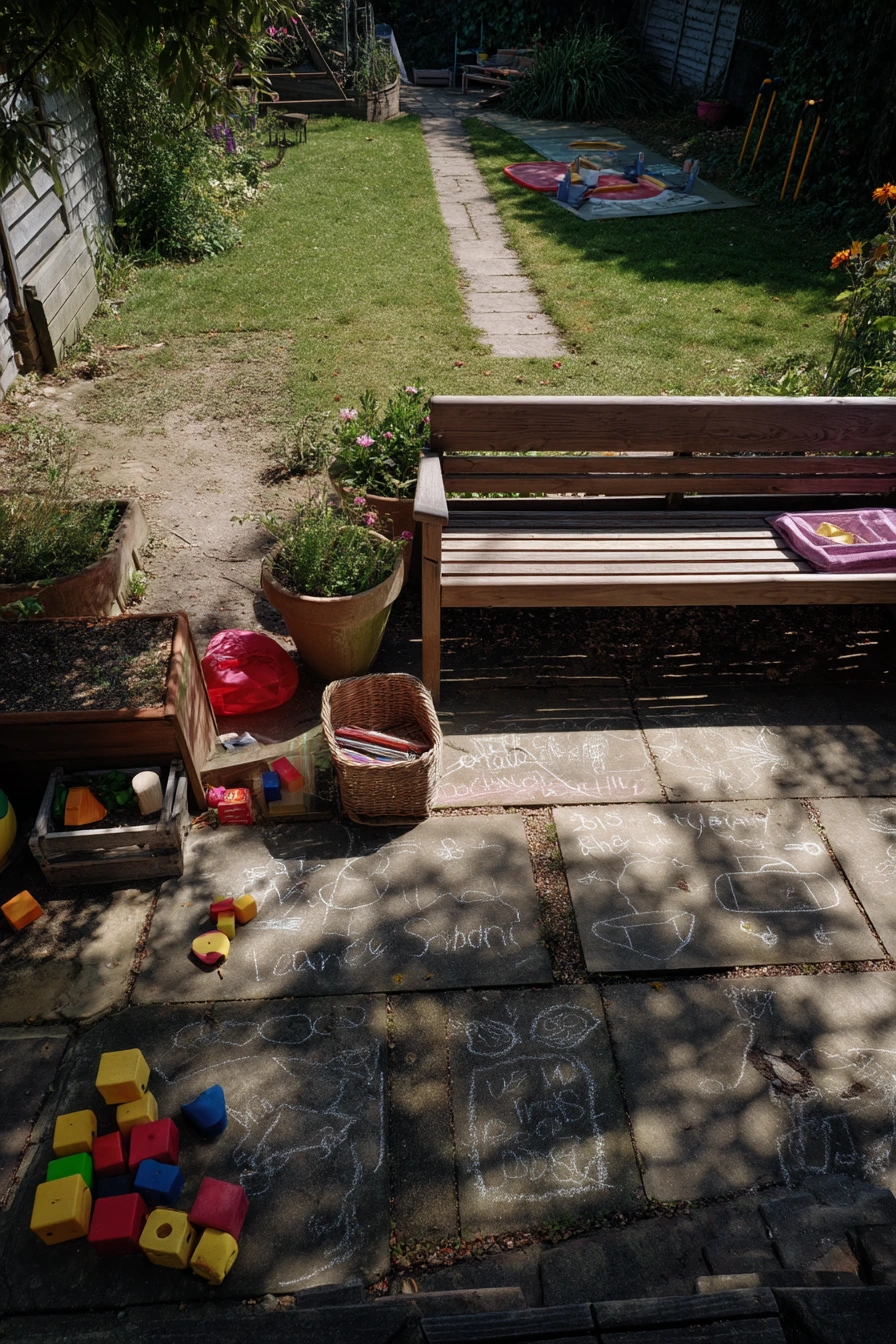
Sleepers are great for family gardens because they can divide spaces without fencing everything off. A sleeper border can separate a small play zone from the lawn, keeping balls, blocks, and chalk mess in one area. The border also helps contain bark or gravel if you use a softer surface for play.
The best part is how practical it feels. Children’s chalk drawings on paving, a basket of toys, and picnic crumbs can exist without the garden looking chaotic. A parent folding a picnic blanket on the bench edge adds a real-home touch. Keep a hose coiled neatly and accept that planter faces get smudged. With gentle morning light and dappled tree shadows, the space feels warm and easy.
How to style it: make the play side bright and the lawn side calm. Use a couple of colorful storage baskets on the play side, then keep planting simple on the lawn side, like grasses or tough perennials. Add one bench that faces both areas so you can watch kids and still enjoy the garden. If you use gravel, choose a tactile, rounded type that is kinder on feet and easier to rake flat.
- Keep the sleeper border low enough for kids to step over safely.
- Round off sharp corners or cap them for safer play.
- Use bark or rubber mulch in the play zone to soften falls.
- Add a bench near the border for supervision and snacks.
- Place toy storage close to the edge for quick tidy-ups.
Pro Design Tip: Use the sleeper border as a “landing strip” for planters so the divide looks like a design choice, not a rule.
Budget Considerations: A simple border needs fewer sleepers and less digging than a full raised bed. Reuse existing paving or leftover gravel to keep costs down.
9 Sleeper Steps Leading to a Cottage Door
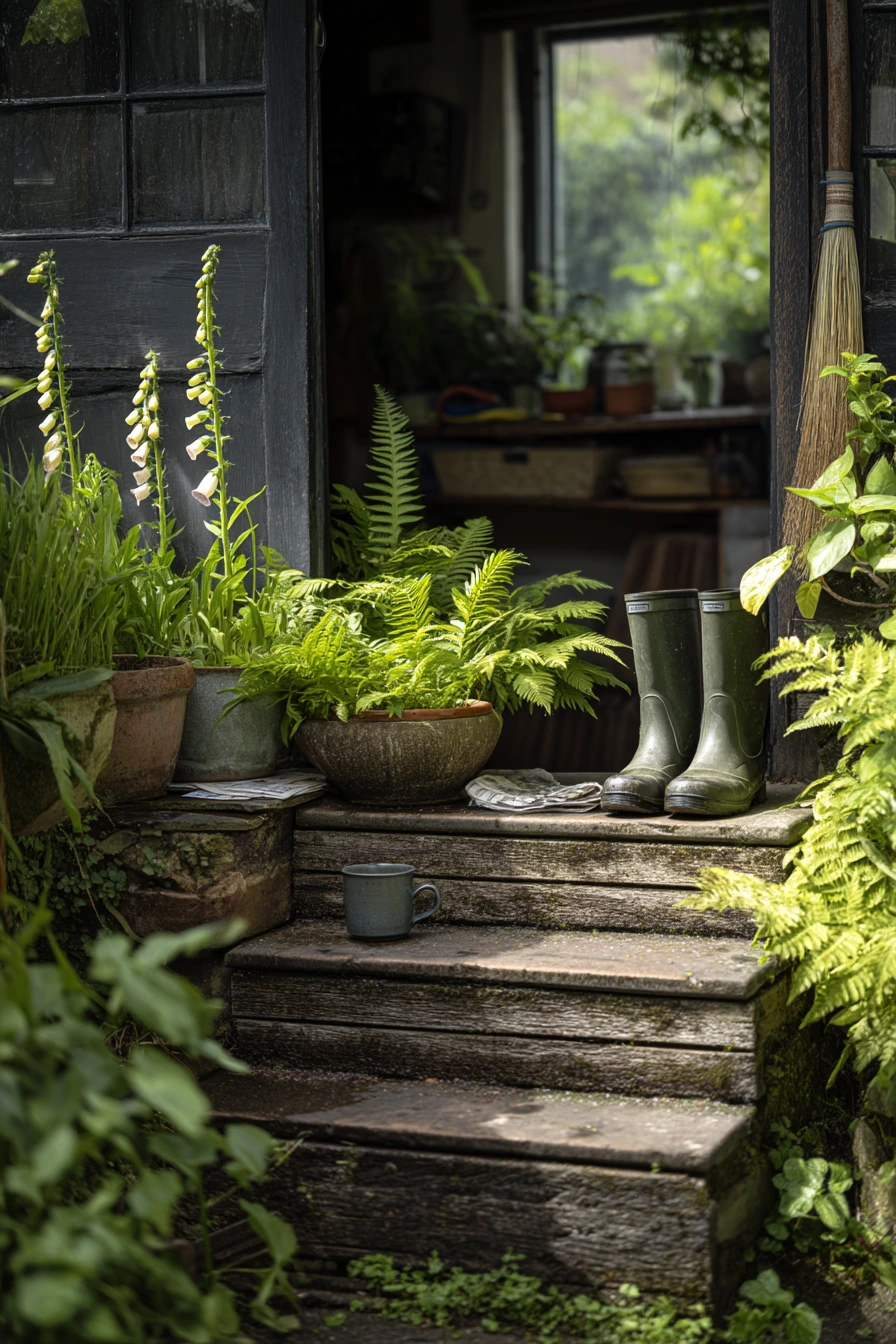
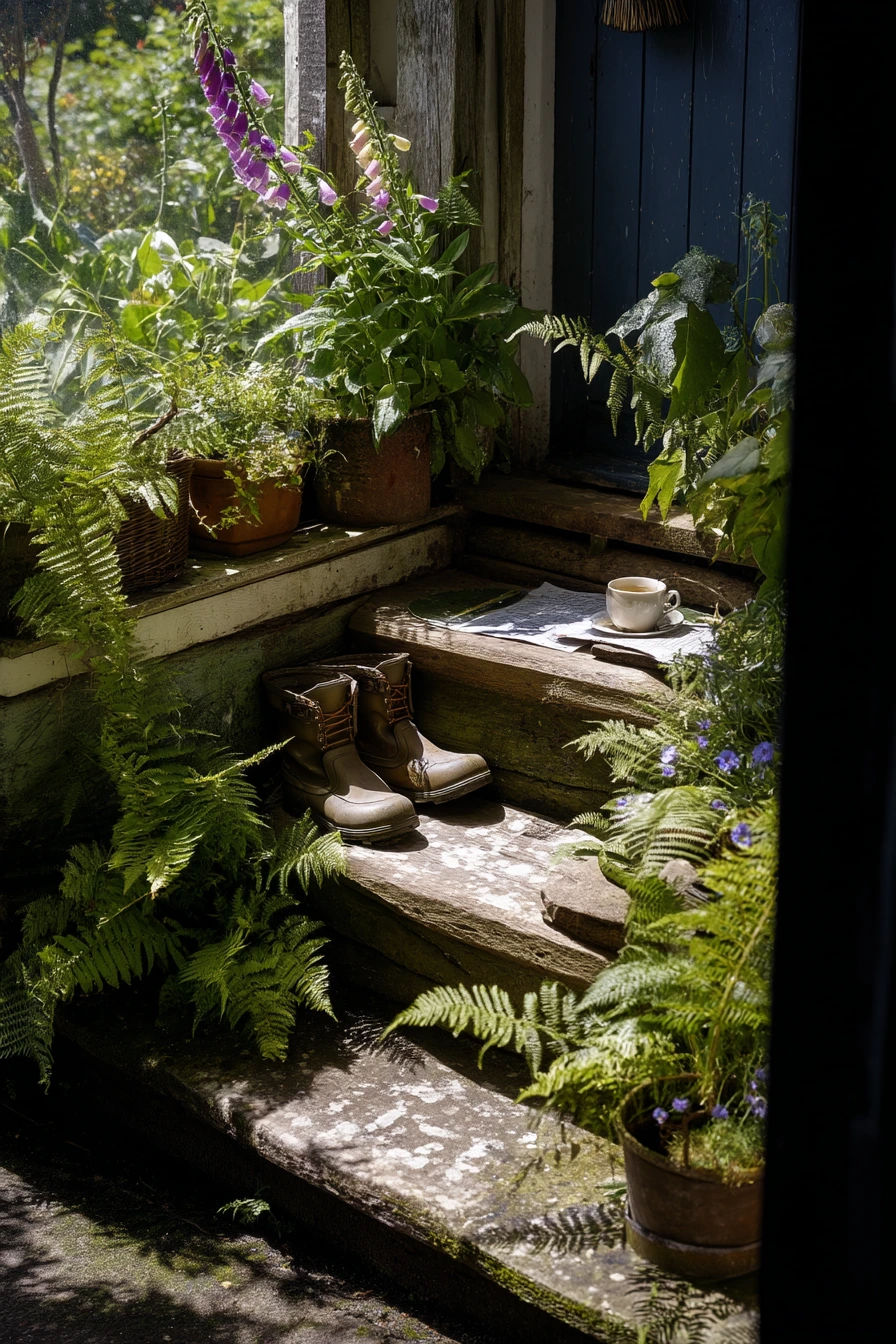
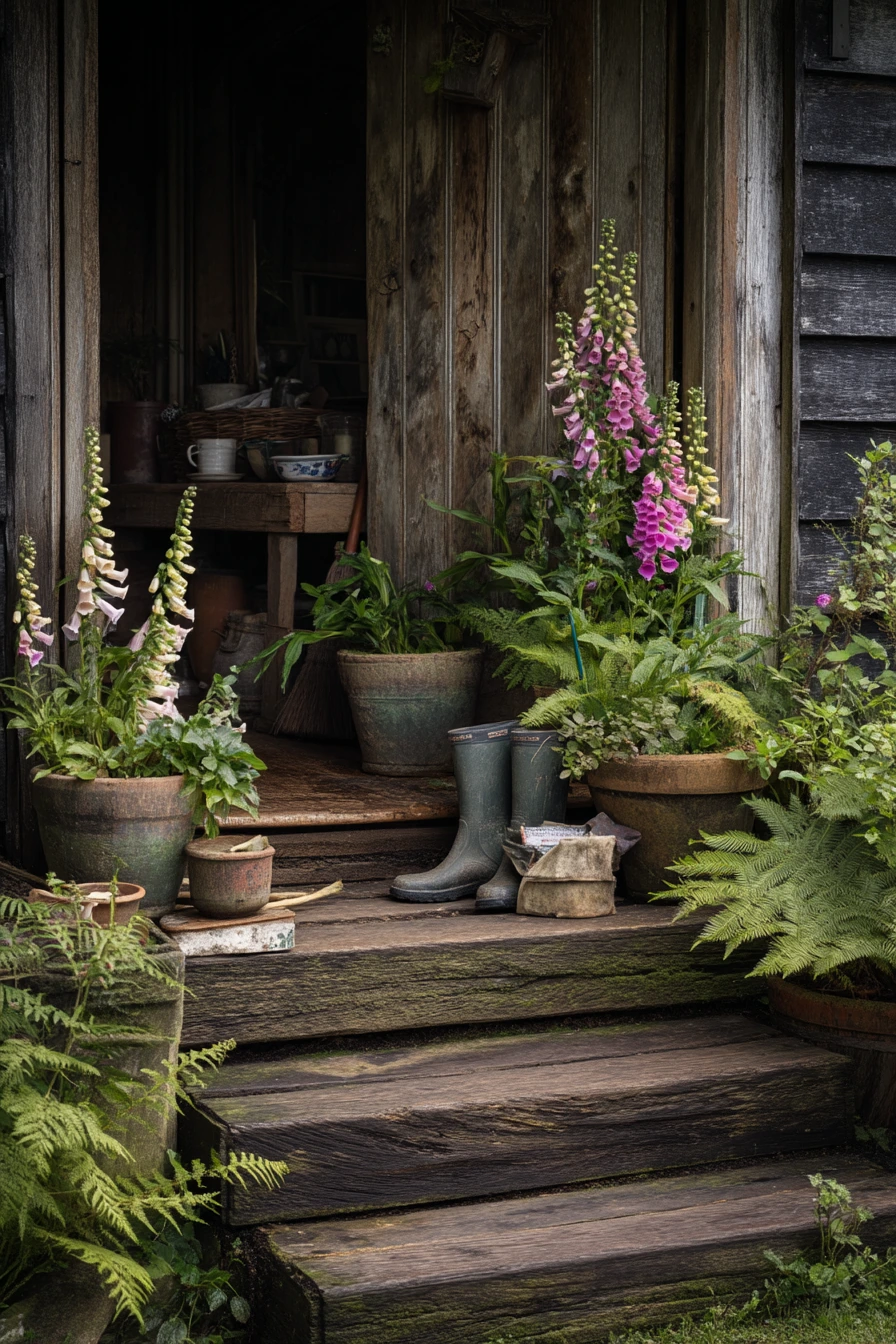
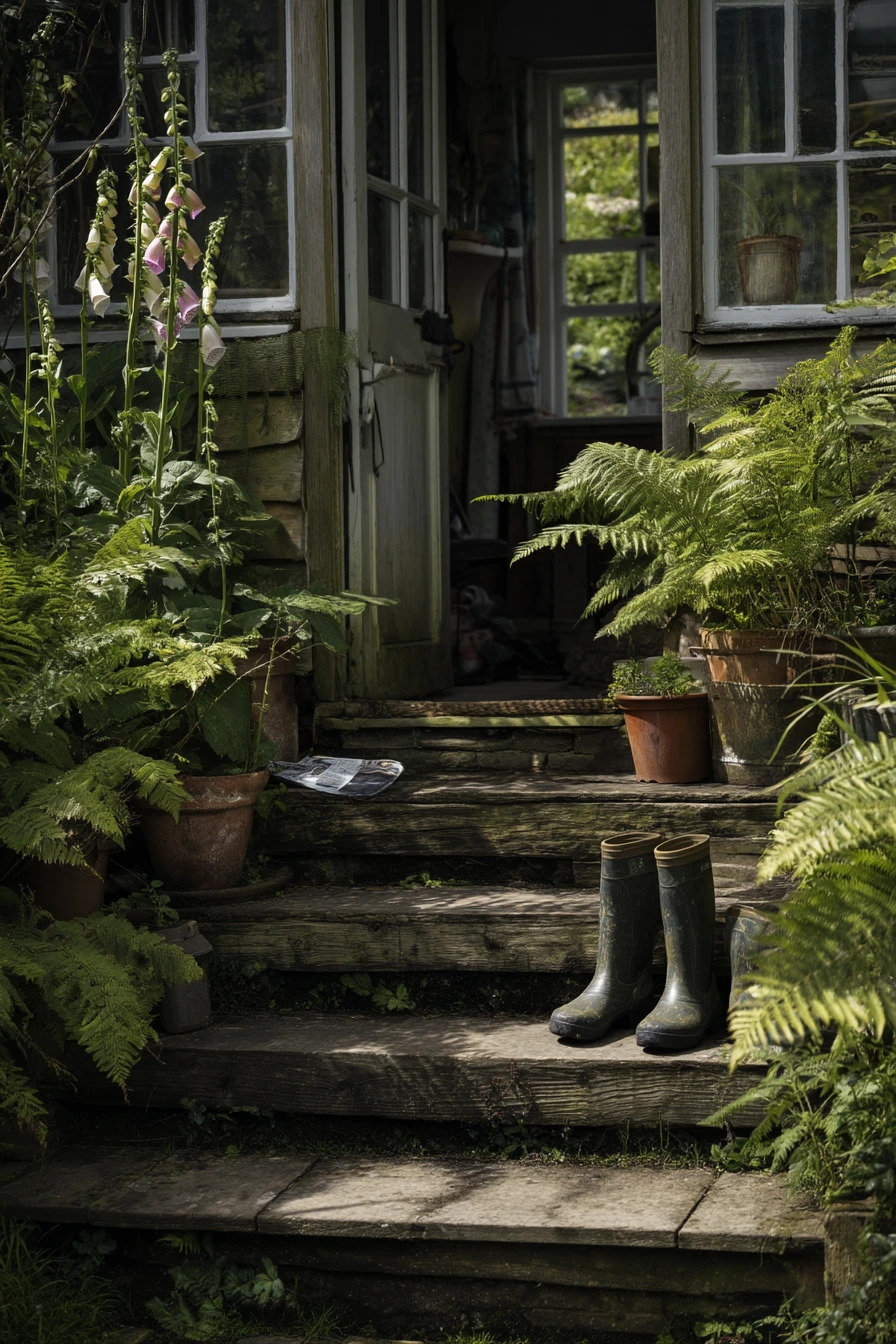
Chunky sleeper steps can make a cottage garden entry feel sturdy and welcoming. They work well on a gentle slope up to a back door, especially when the surrounding planting is lush, like foxgloves and ferns. Softened timber grain fits the timeworn look and hides small scuffs from daily use.
This area often becomes a drop zone, so plan for real-life items. Muddy boots at the threshold, a broom leaning nearby, a newspaper on the step, and a tea cup on the sill all make sense. Dewy foliage and cool spring sunlight with window bounce can make the entry feel calm, but you still need safe footing in wet weather.
How to style it: keep the steps wide and add pots to one side only, so there is still a clear route. Use a mix of pot heights, but keep materials simple, like terracotta and plain ceramic. Tuck ferns into shaded corners and place foxgloves where they catch light. If you want a neater look, add a small gravel strip beside the steps to reduce mud. A doormat and a boot tray help the whole scene feel cleaner without losing the cottage feel.
- Set steps on a solid base to stop sinking and wobble.
- Add a rough anti-slip strip or textured gravel at the tread edge.
- Keep planting back from step corners to prevent trips.
- Use matching pots to reduce visual clutter at the doorway.
- Check drainage so water does not pool on the lowest step.
Pro Design Tip: Make the top step deeper than the others to create a small pause point by the door for pots, parcels, or muddy boots.
Budget Considerations: Steps can use a lot of timber. If costs are high, build fewer, deeper steps with gravel landings between them to reduce sleeper numbers.
10 Sleeper Border Reveal After a Weekend Build
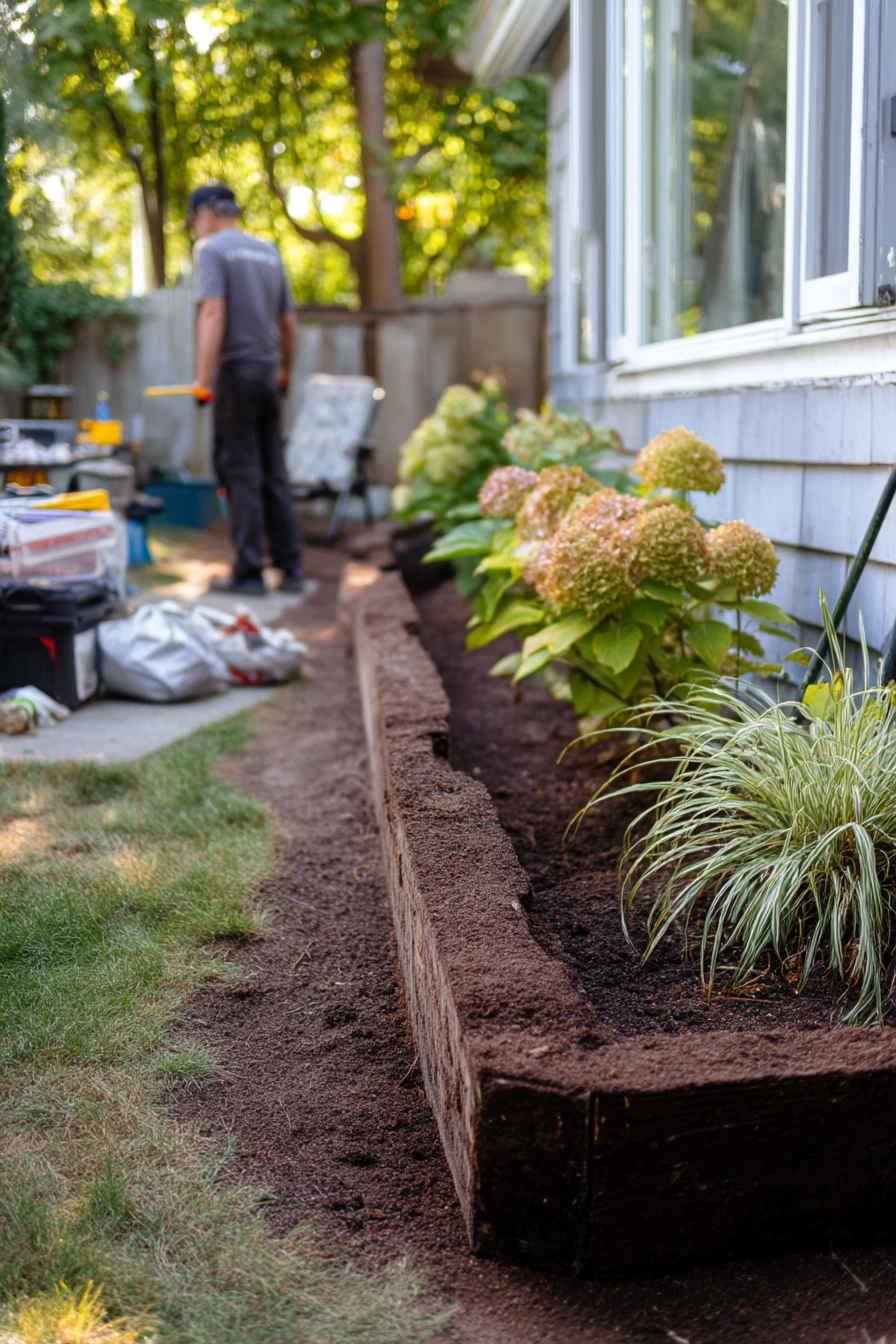
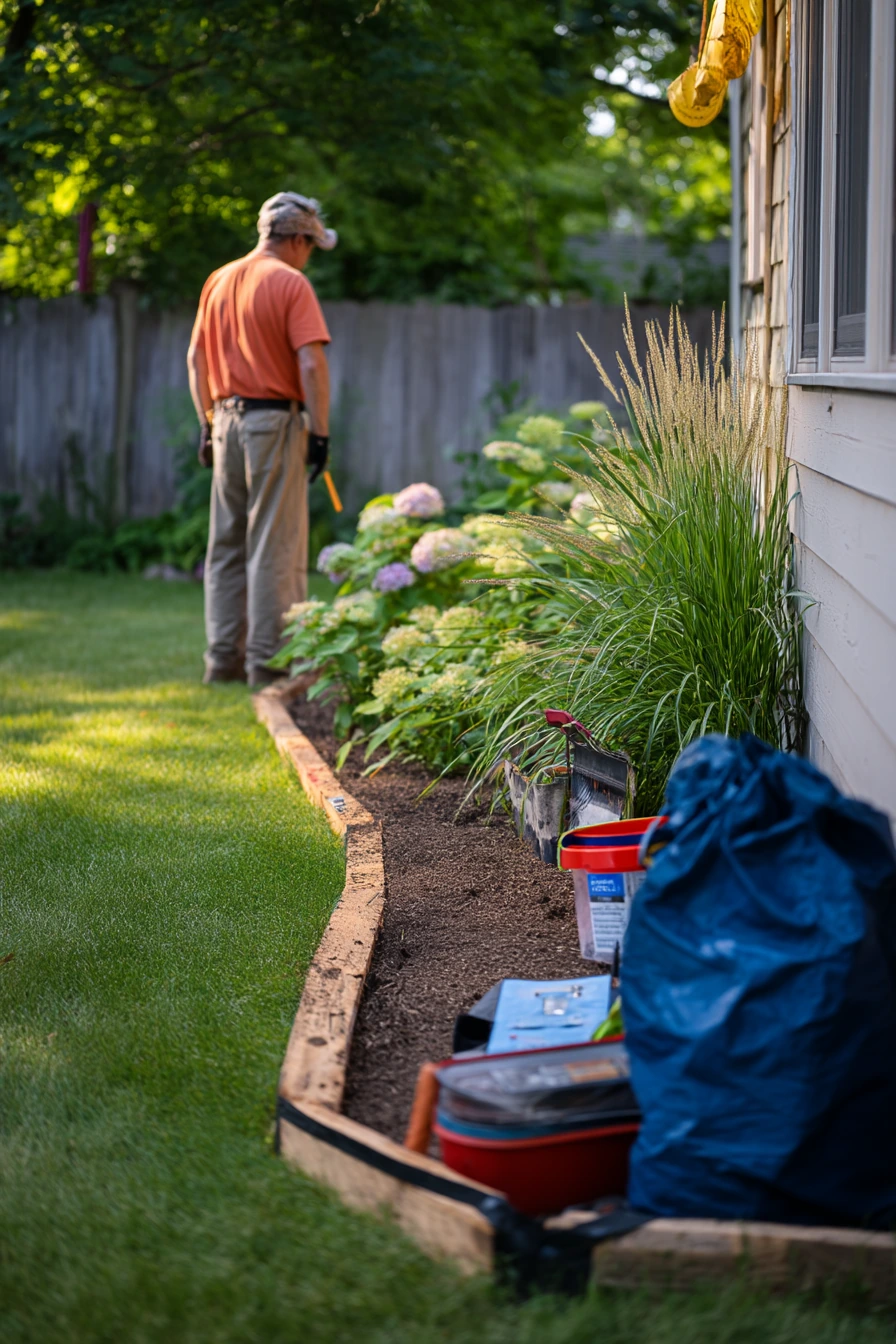
A freshly finished garden sleeper border is perfect for defining a new flower bed and making a yard look cared for. It is also a satisfying DIY project because the change is clear right away. You can picture the moment: standing back with a tape measure, a pencil tucked behind your ear, and smudged hands from moving soil and bark mulch.
This type of border works best when it is straight, level, and planned around mature plant size. Hydrangeas and grasses are a strong mix because the hydrangeas give full shape and the grasses add movement. A half-open toolbox nearby and a chair with a slightly wrinkled towel feel real and remind you to build comfort into the process, not just the result.
How to style it: keep the bed edge crisp, then soften inside the bed. Spread mulch evenly to reduce weeds and to help the planting read as “new but settled.” Place hydrangeas in a simple rhythm, then fill gaps with grasses and a few groundcovers. Use the border line to guide the eye from one end of the yard to the other. If the bed is near the house, check how it looks from the main window, since that is the view you will see most often.
- String-line the border before digging to keep it straight.
- Level sleepers carefully so the top edge looks clean.
- Add a gravel base under sleepers to improve drainage and stability.
- Mulch after planting to lock in moisture and reduce weeds.
- Leave space for hydrangeas to grow without crowding the border.
Pro Design Tip: Use one consistent reveal (the visible height of the sleeper) around the whole bed so the border looks professional, even in a simple garden.
Budget Considerations: New sleepers and bulk mulch add up fast. Price the project by linear meter first, then phase the planting by starting with key shrubs and filling the rest with smaller plants over time.
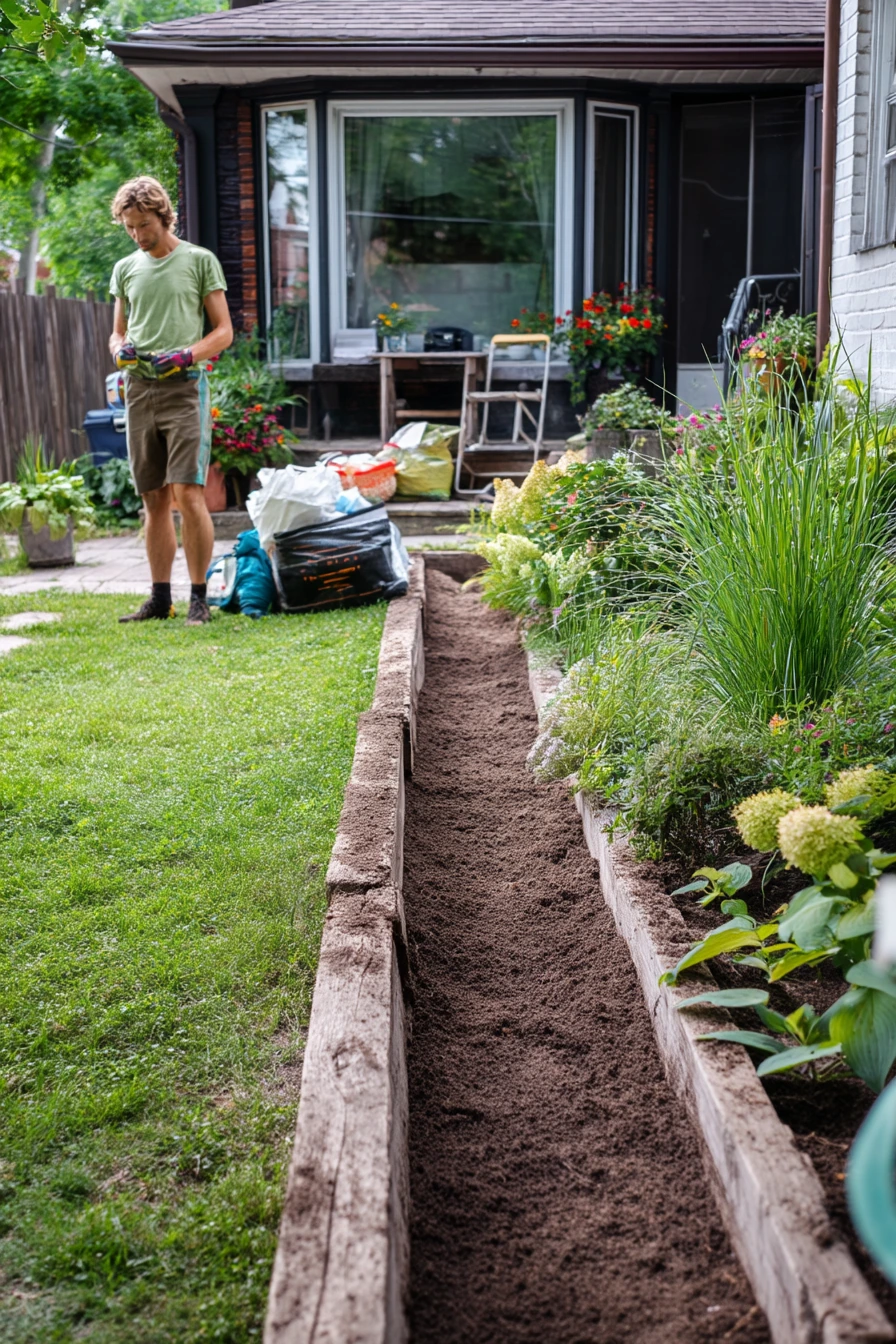
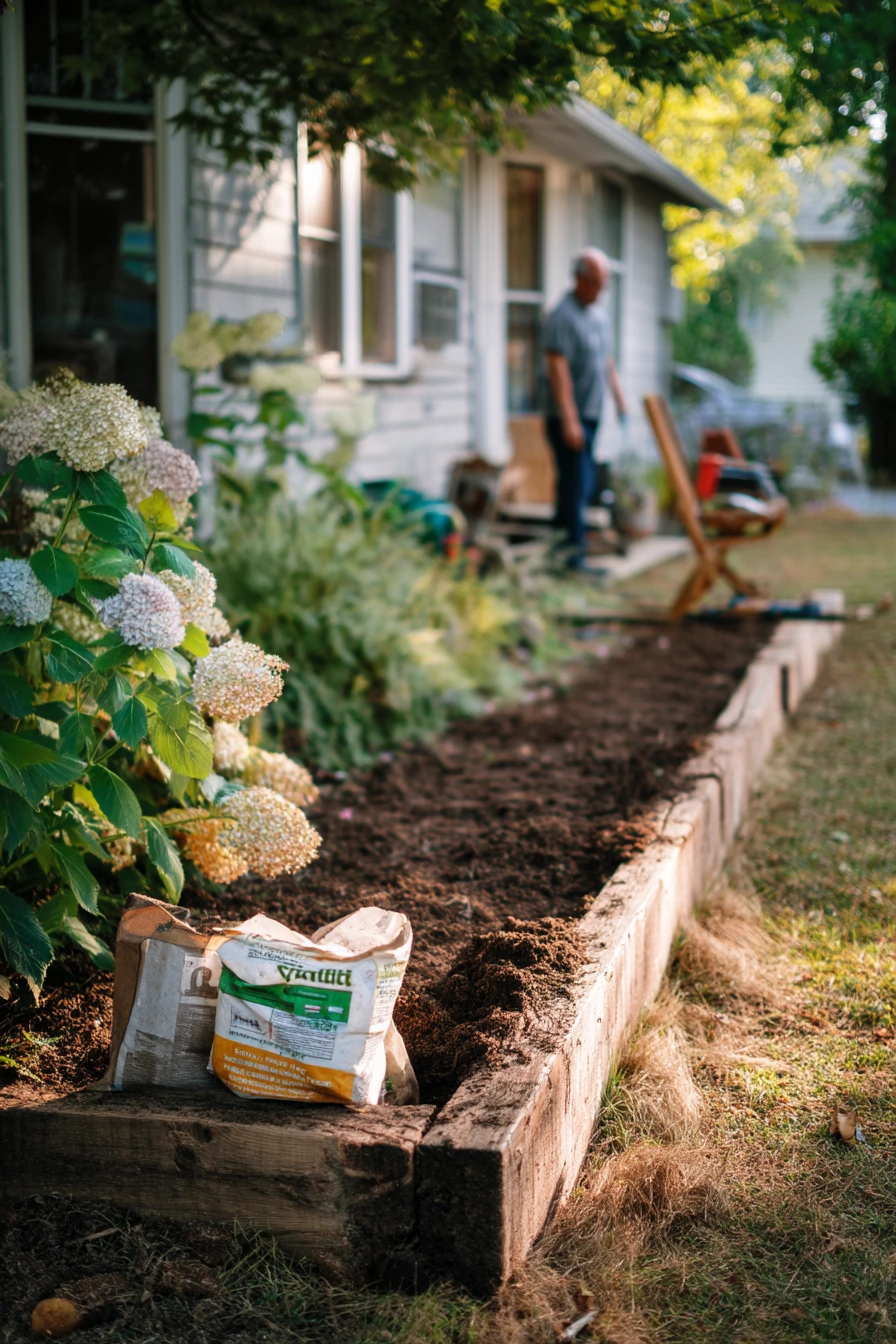
Garden sleeper ideas work because they solve real problems: messy edges, uneven slopes, and a lack of seating or structure. With a few sleepers, you can build borders, raised planters, paths, steps, and benches that fit how you actually use your yard.
Start with one zone, like a patio planter or a small herb bench, and keep the lines level and the drainage simple. Add soft details like cushions, throws, and pots to make the timber feel welcoming.
FAQ
1) What timber is best for garden sleepers?
Hardwood lasts longer, but treated softwood is common and easier to source. Check local rules for treated wood use, especially near edible plants.
2) Do I need to line a sleeper raised bed?
Lining helps protect the timber from wet soil and can extend life. Use a heavy-duty membrane and leave drainage gaps at the base.
3) How do I stop sleepers from moving over time?
Set them on a compacted base, pin or bolt corners, and use posts for taller retaining walls. Recheck levels after the first wet season.
4) Can I use sleepers for steps in a wet garden?
Yes, but add anti-slip texture and make sure water drains away. Keep steps even and avoid smooth finishes that get slippery.
5) How high can I build a sleeper retaining wall?
Low walls are often fine for DIY, but taller walls need proper engineering, posts, and drainage. If in doubt, ask a local professional.
6) What is the easiest sleeper project for beginners?
A straight border for a new flower bed or a small stacked raised planter. Both use fewer cuts and are easy to level.
7) How do I style sleepers so they look less harsh?
Soften edges with grasses, trailing herbs, and grouped pots. Mix in gravel, terracotta, and natural fabrics like cotton or wool for warmth.