
Painted pot ideas are an easy way to add color and order to your home without buying new decor. A simple terracotta or clay pot can become a herb planter, a cute catchall, or a small storage bin with just a few coats of paint.
This post shares painted planter designs that fit real spaces like a kitchen shelf, a small apartment windowsill, a bedroom dresser, and even a bathroom shelf. Each idea is based on lived-in scenes with everyday details like cookbooks, tea towels, charging cables, and weekend craft mess.
You will also get practical tips for paint choice, sealing, drainage, and how to style the finished pots so they look intentional. These ideas work for beginners, renters, and families who want a project that feels calm and useful.
Use the sections below to match a look you like, then copy the colors, patterns, and setup at home. Each section includes a Pro Design Tip and a Budget Consideration to keep things simple.
1 1. Minimal Ceramic Trio on a Kitchen Shelf
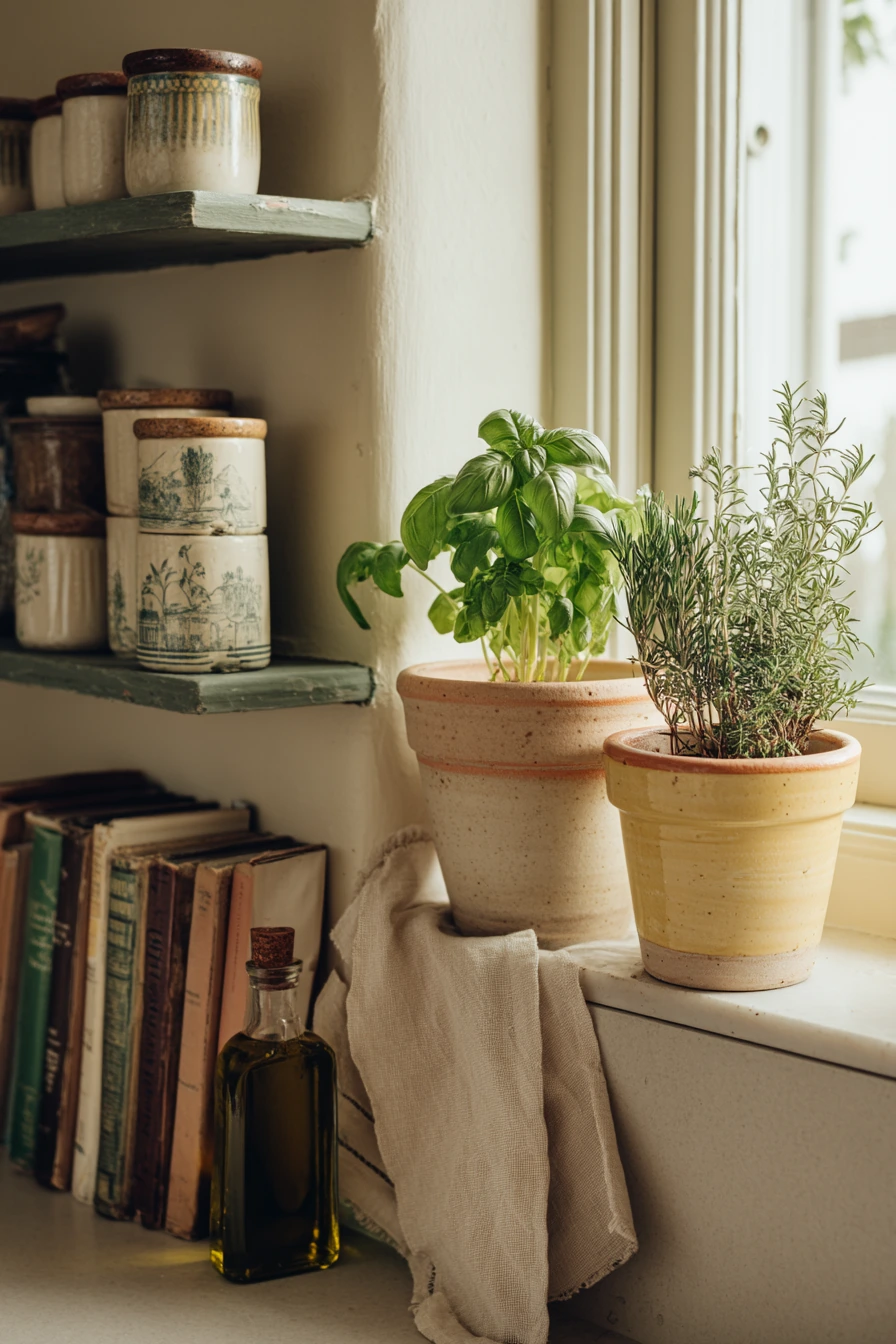
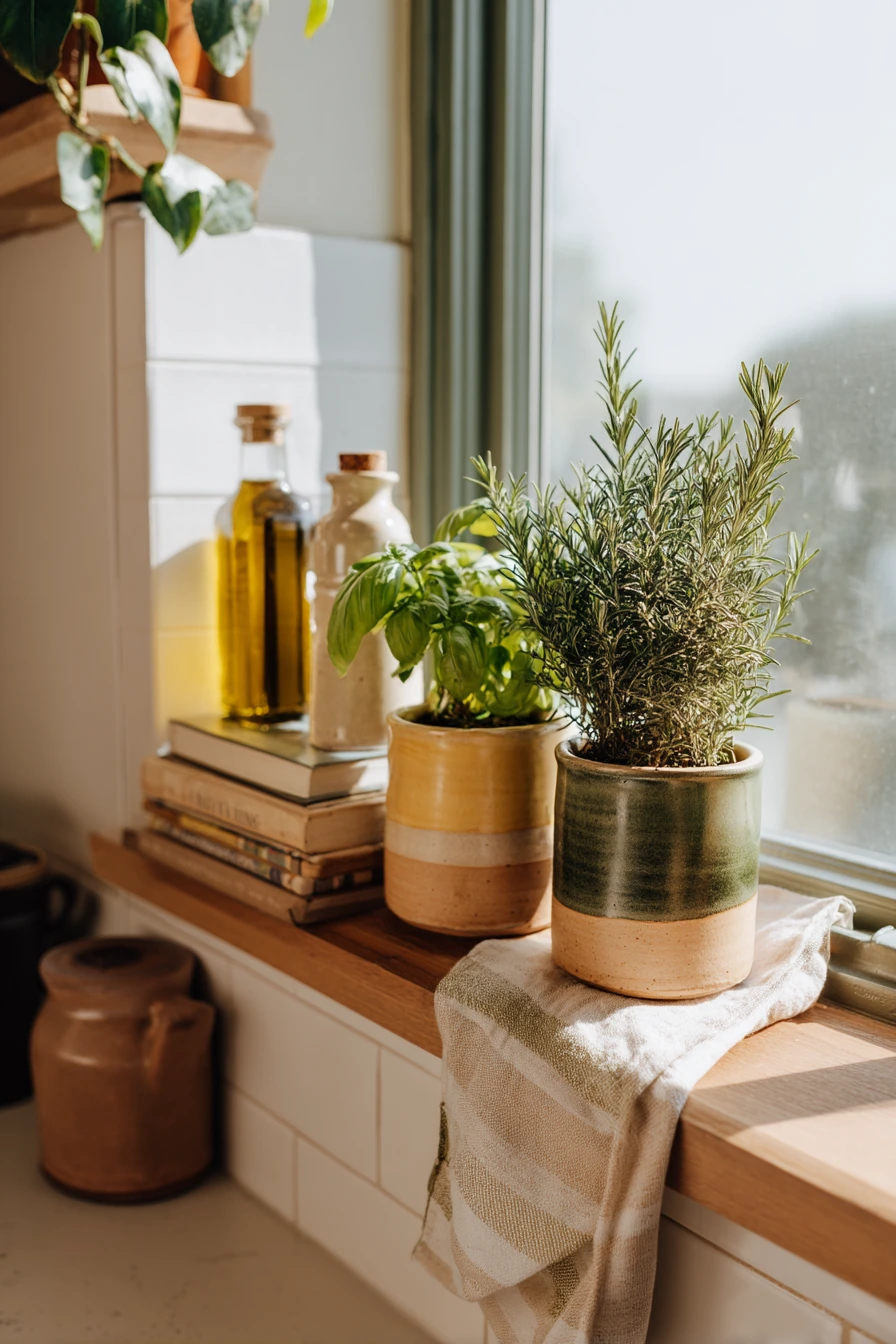
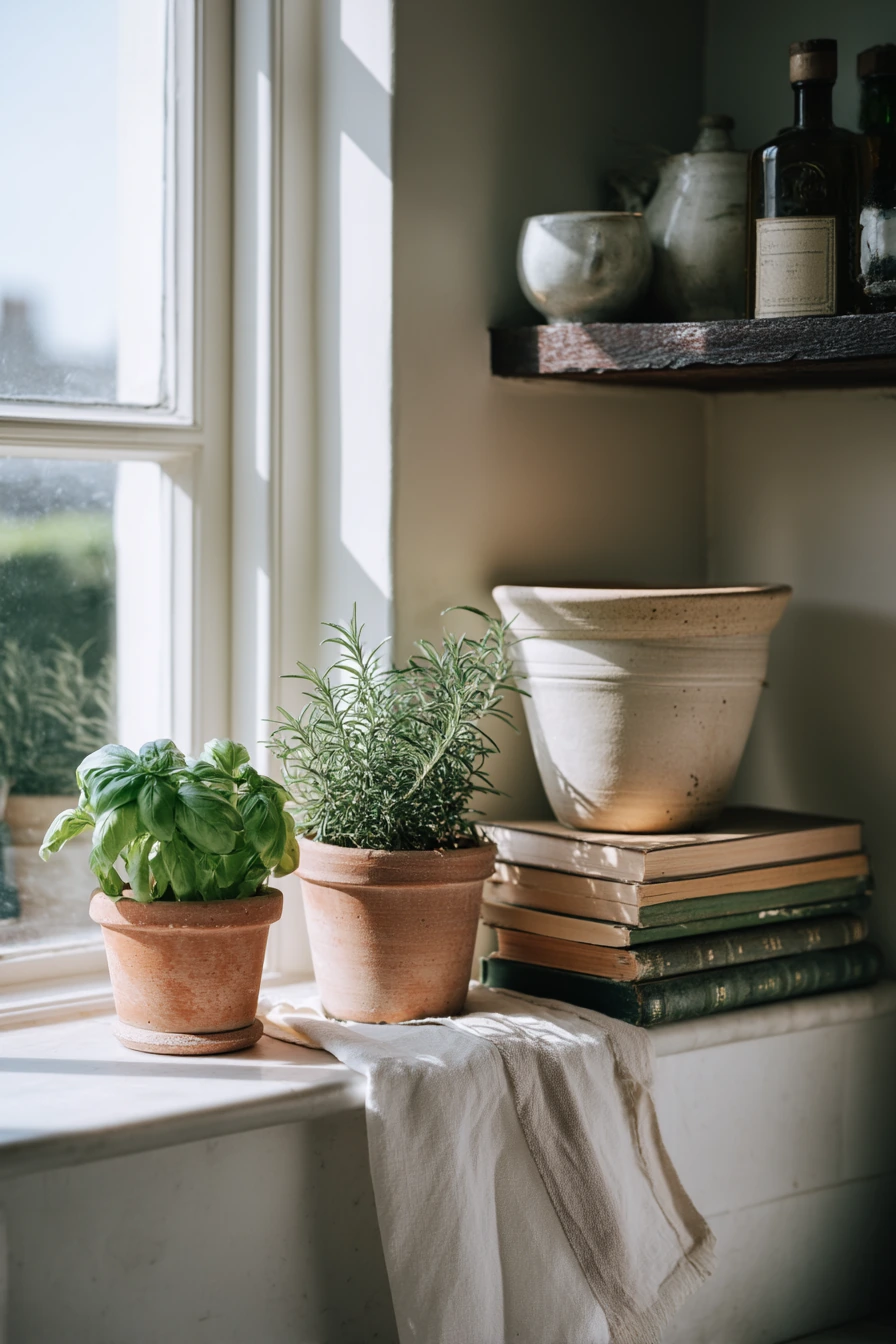
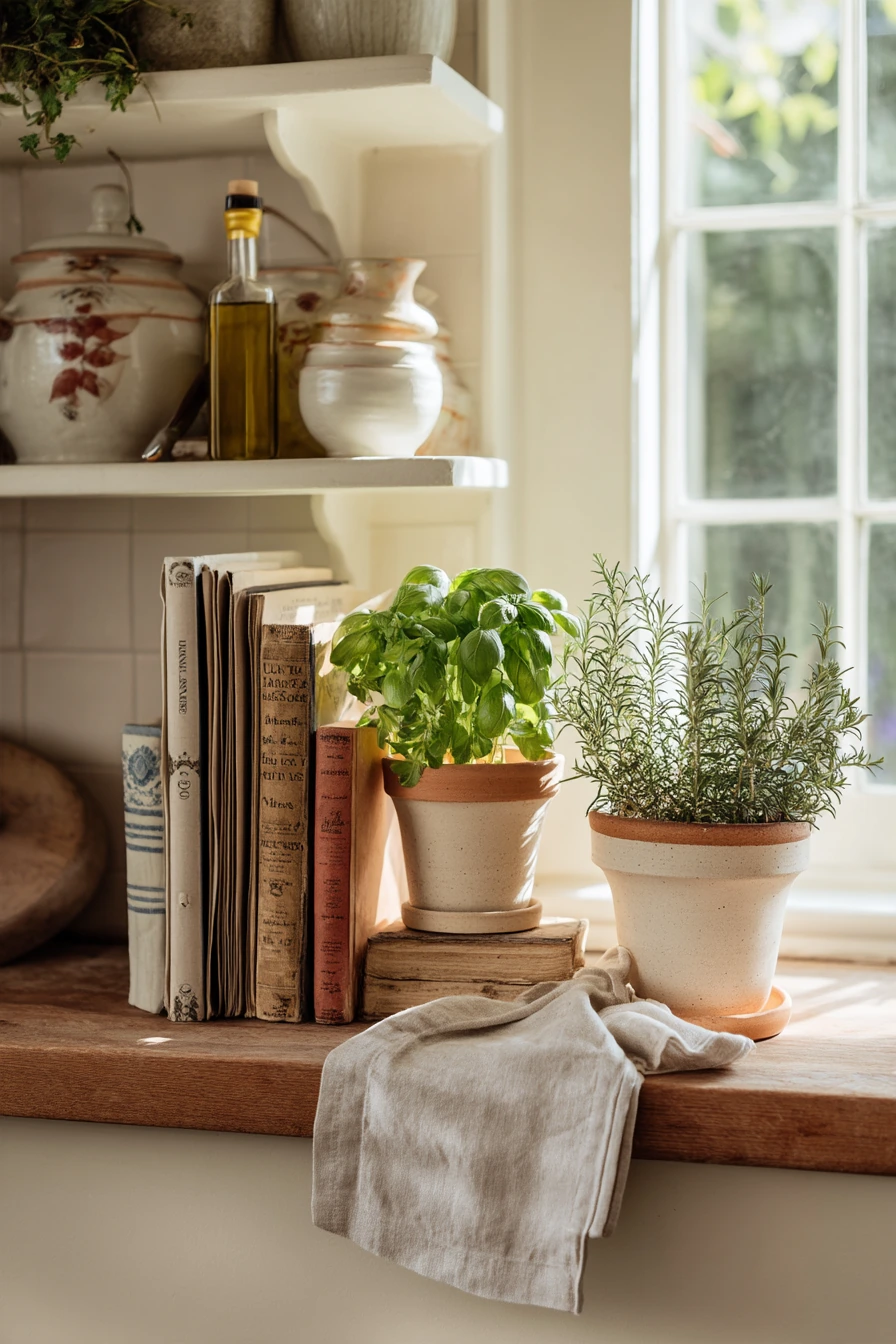
A row of hand-painted terracotta pots looks right at home on a kitchen shelf, especially in muted sage, ochre, and cream. These colors feel calm in morning window light and pair well with everyday items like stacked cookbooks, a chipped olive oil bottle, and a tea towel on the counter. Use the pots for basil, thyme, and rosemary so they are close to where you cook.
Start with clean, dry terracotta. Paint the outside with matte acrylic or mineral paint, then let it cure. Keep the rim and a thin band near the bottom unpainted if you want a more natural look. If the herbs will be watered often, add a clear water-based sealer on the painted area only, so the pot can still breathe.
How to style it: group the three pots tight together to look like a set, then place them next to a bottle or a small cutting board for height. If your shelf is deep, add a saucer under each pot to protect wood. Rotate the herbs every few days so each plant gets even light and stays full.
- Choose a soft, low-contrast palette so the plants stand out.
- Label the herbs with a small paint pen on the saucer, not the pot.
- Use matching terracotta saucers to catch water drips.
- Keep one pot for extra stems, like rosemary for drying later.
- Wipe the pots with a damp cloth instead of scrubbing the paint.
Pro Design Tip: Repeat one color from the room, like sage from a tea towel or backsplash, so the painted pots look built-in instead of random.
Budget Considerations: Terracotta pots are usually the cheapest option; use sample paint pots or leftover wall paint for color, and seal only the painted bands to save on supplies.
2 2. Kid-Friendly Paint Party on the Dining Table
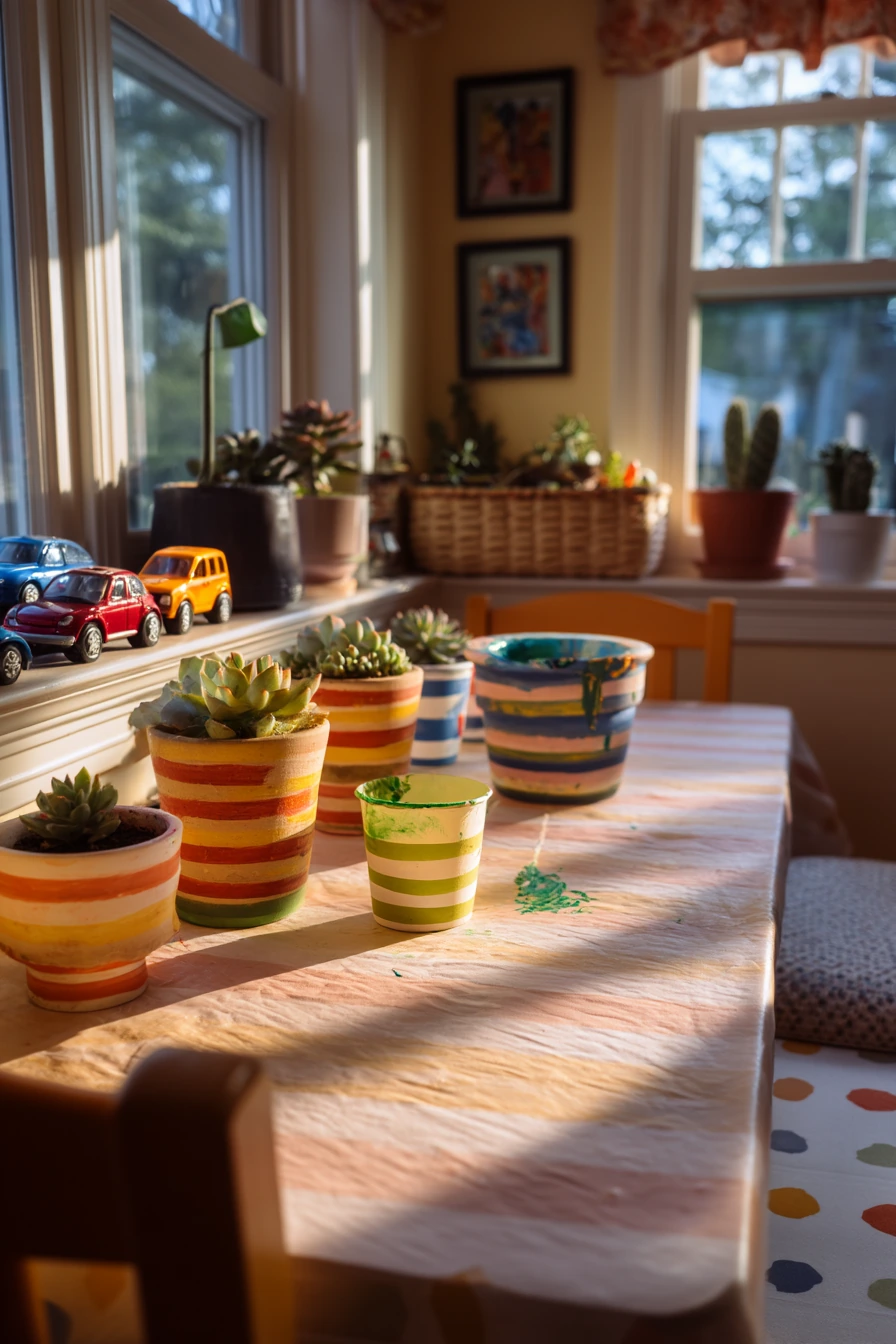
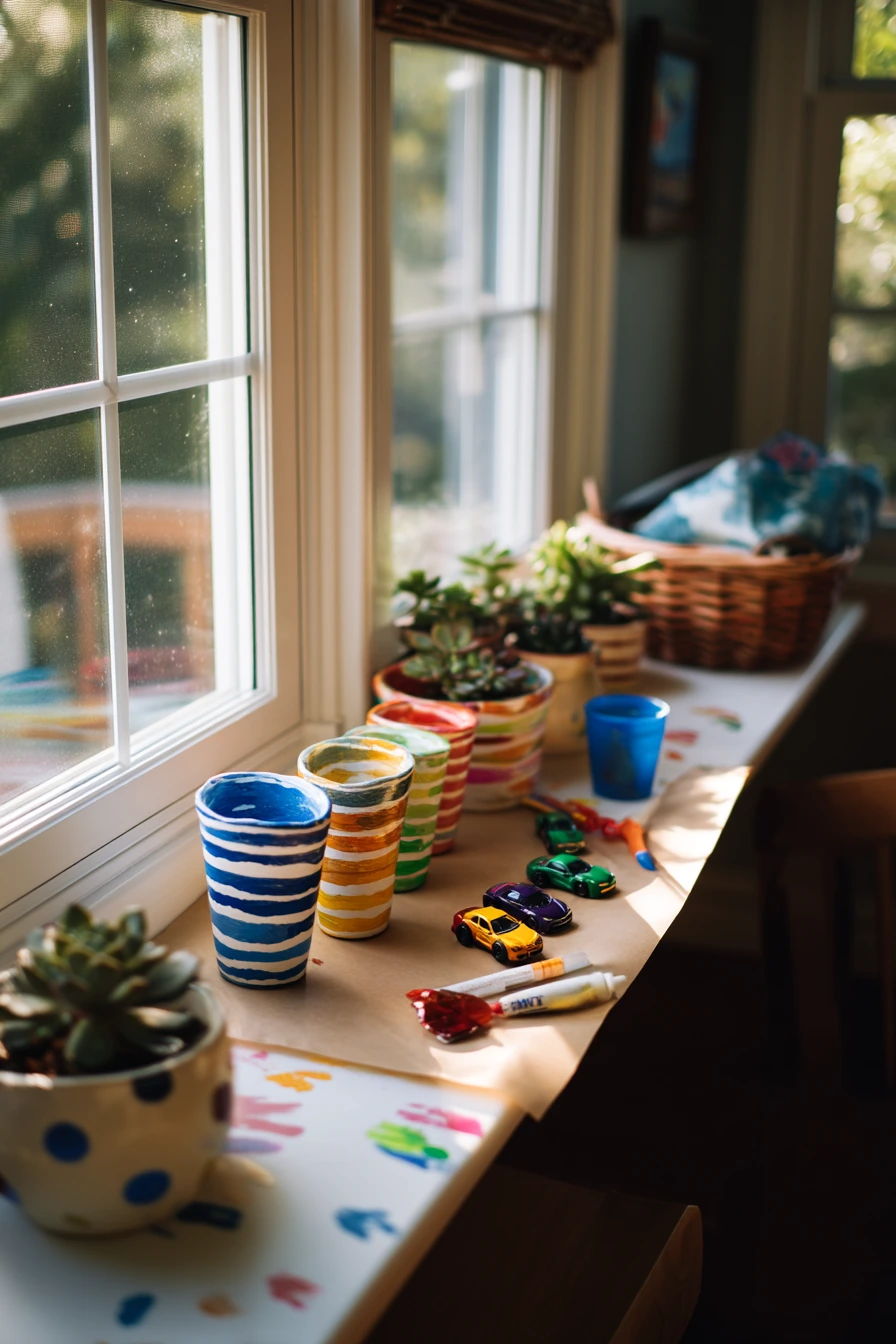
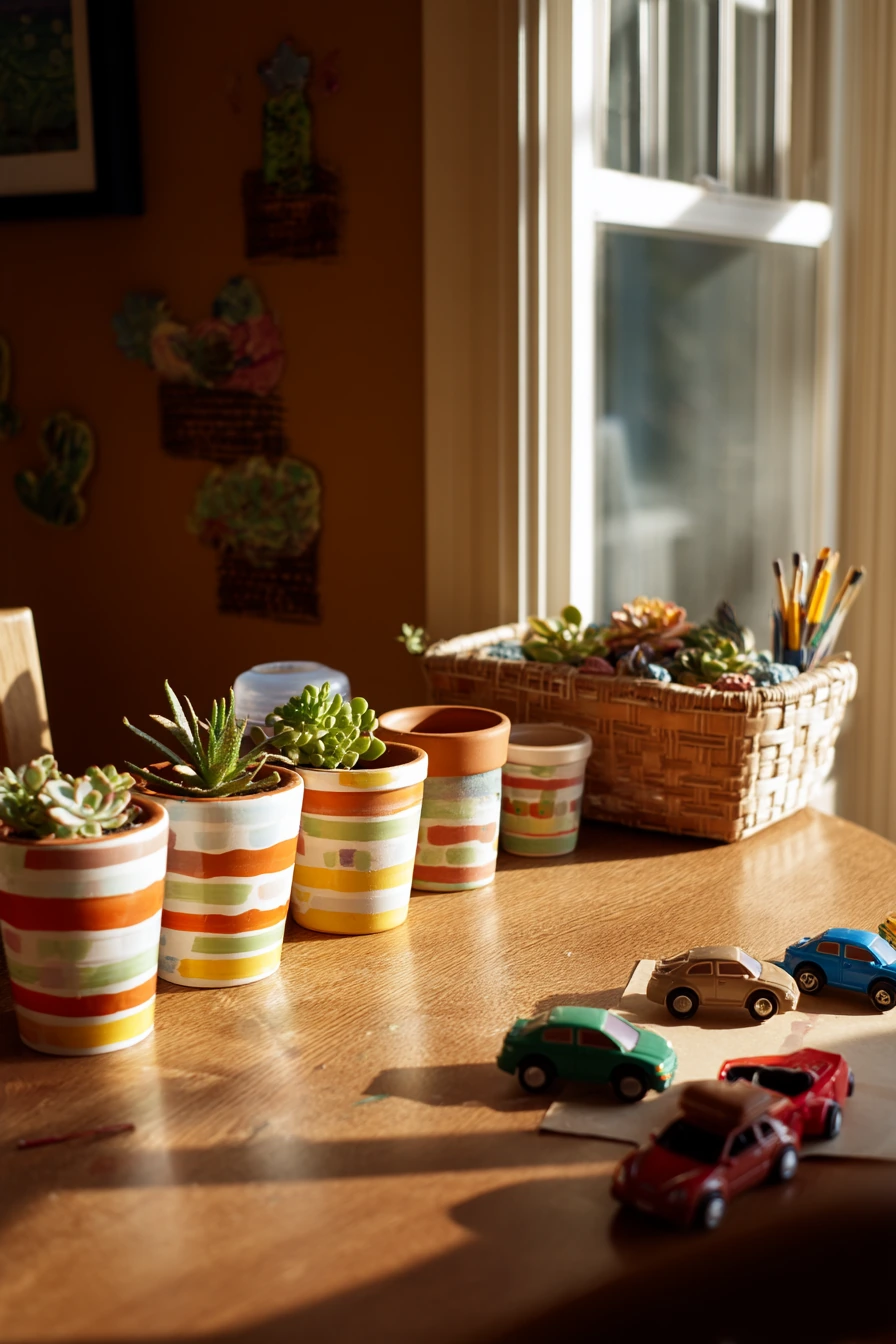
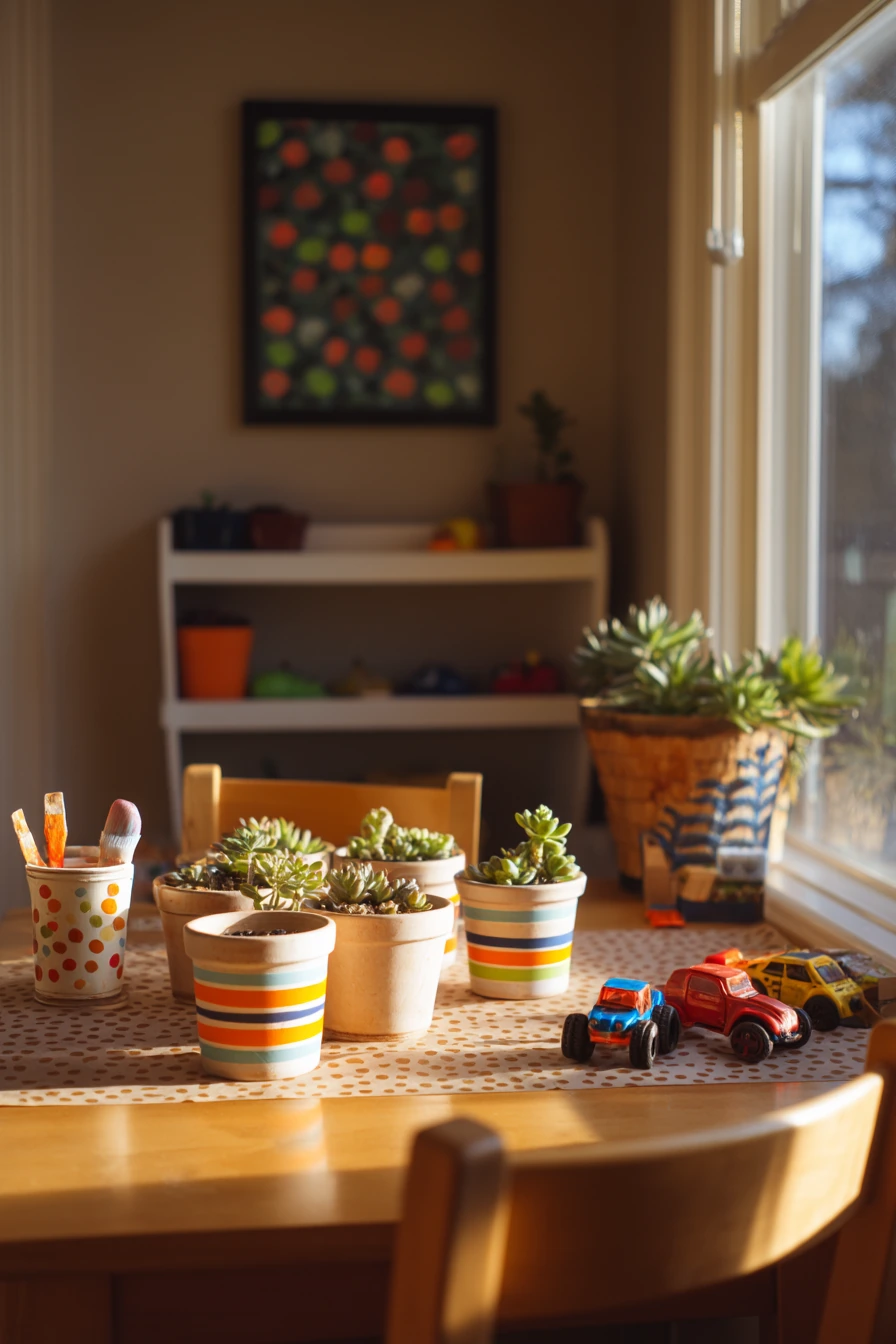
Playful painted clay pots with stripes and polka dots are perfect for a family dining nook after a weekend DIY project. A little mess makes it feel real, like brown paper on the table, a child’s paintbrush and water cup, and a tiny handprint that did not wash off. These pots work well for small succulents because they do not need much water.
Pick two to three bright colors and one neutral so the set looks tied together. For stripes, wrap painter’s tape around the pot once the base coat is dry. For polka dots, use the end of a brush handle or a cotton swab to stamp dots. Let kids paint one pot each, then you can add one simple detail to unify them, like a matching rim color.
How to style it: line the pots in a row as a centerpiece, then add one small tray under them to catch soil. Keep the succulents nearby while the paint dries, then plant them once everything is fully cured. If toy cars are often on the table, place the pots to one side so they do not get bumped during meals.
- Use washable paint for the first layer if kids are helping, then topcoat later.
- Keep patterns larger and simple so they look neat from far away.
- Write the date under each pot as a sweet keepsake.
- Choose hardy succulents like haworthia or jade for beginners.
- Seal the outside so fingerprints wipe off easily.
Pro Design Tip: Limit the palette to three colors across all pots, then mix patterns, so the group looks fun but still coordinated.
Budget Considerations: Buy a small multi-pack of craft paints and split it with a friend; dollar-store brushes and a thrifted tray work well for this project.
3 3. Renter-Friendly Windowsill Herb Setup
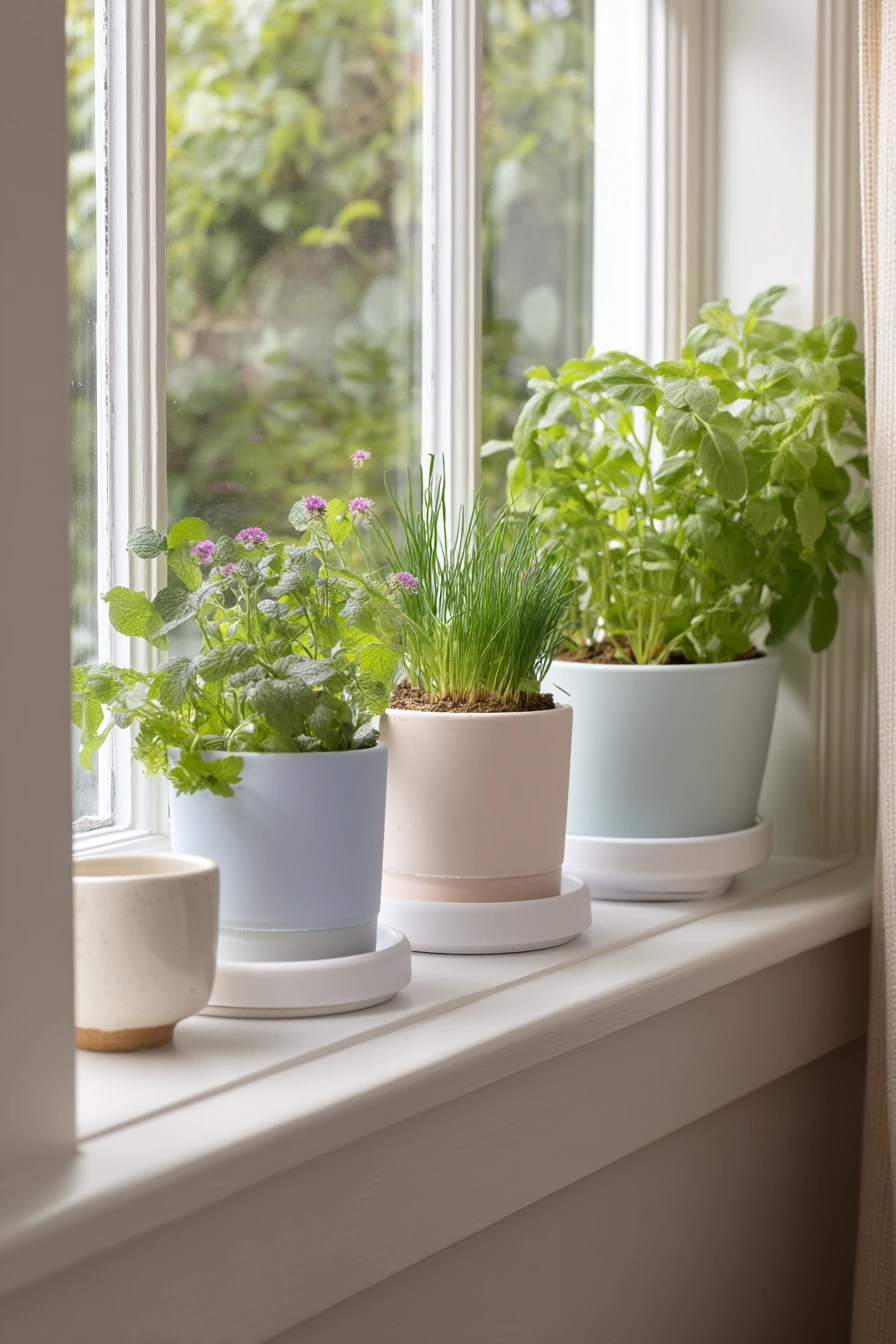
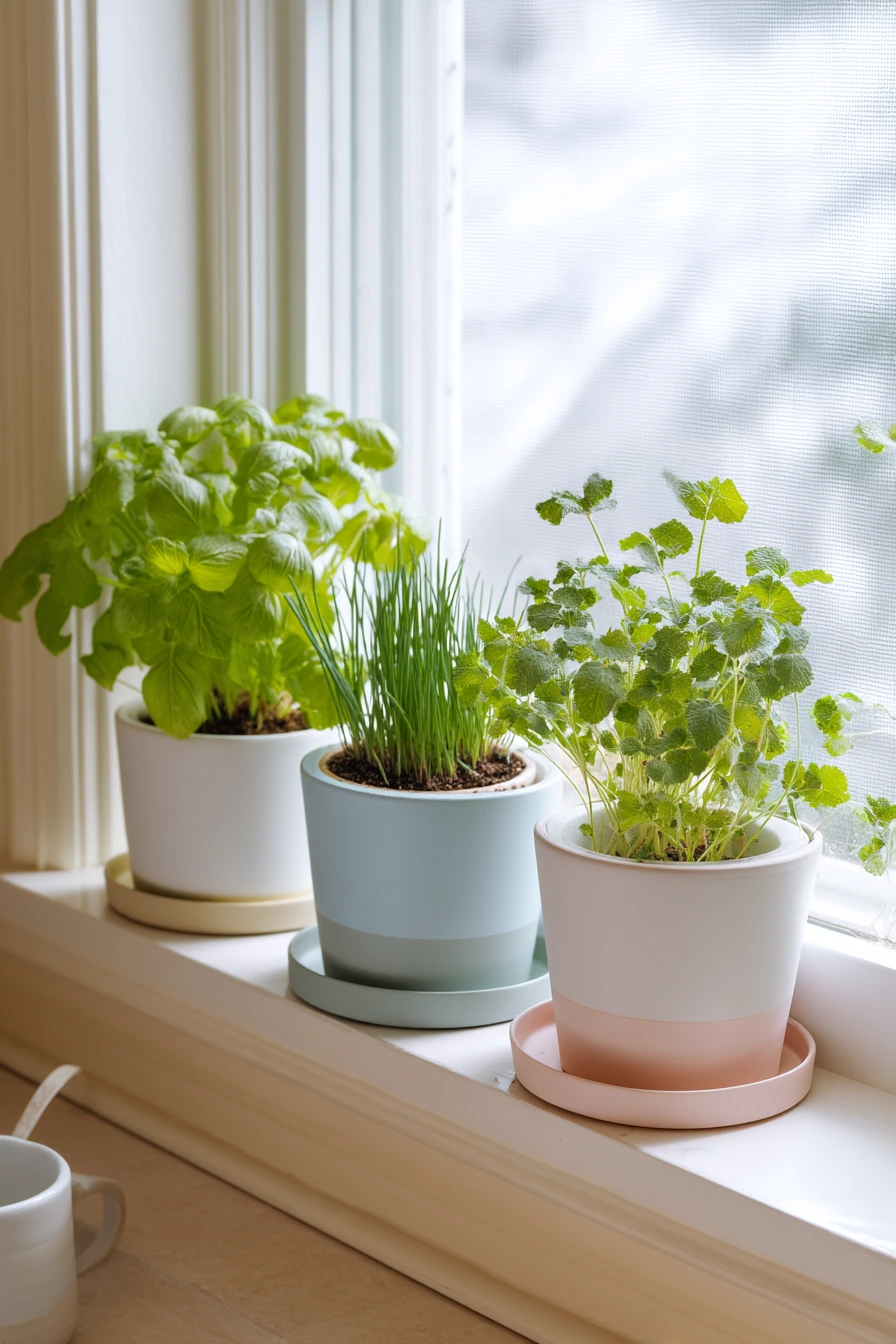
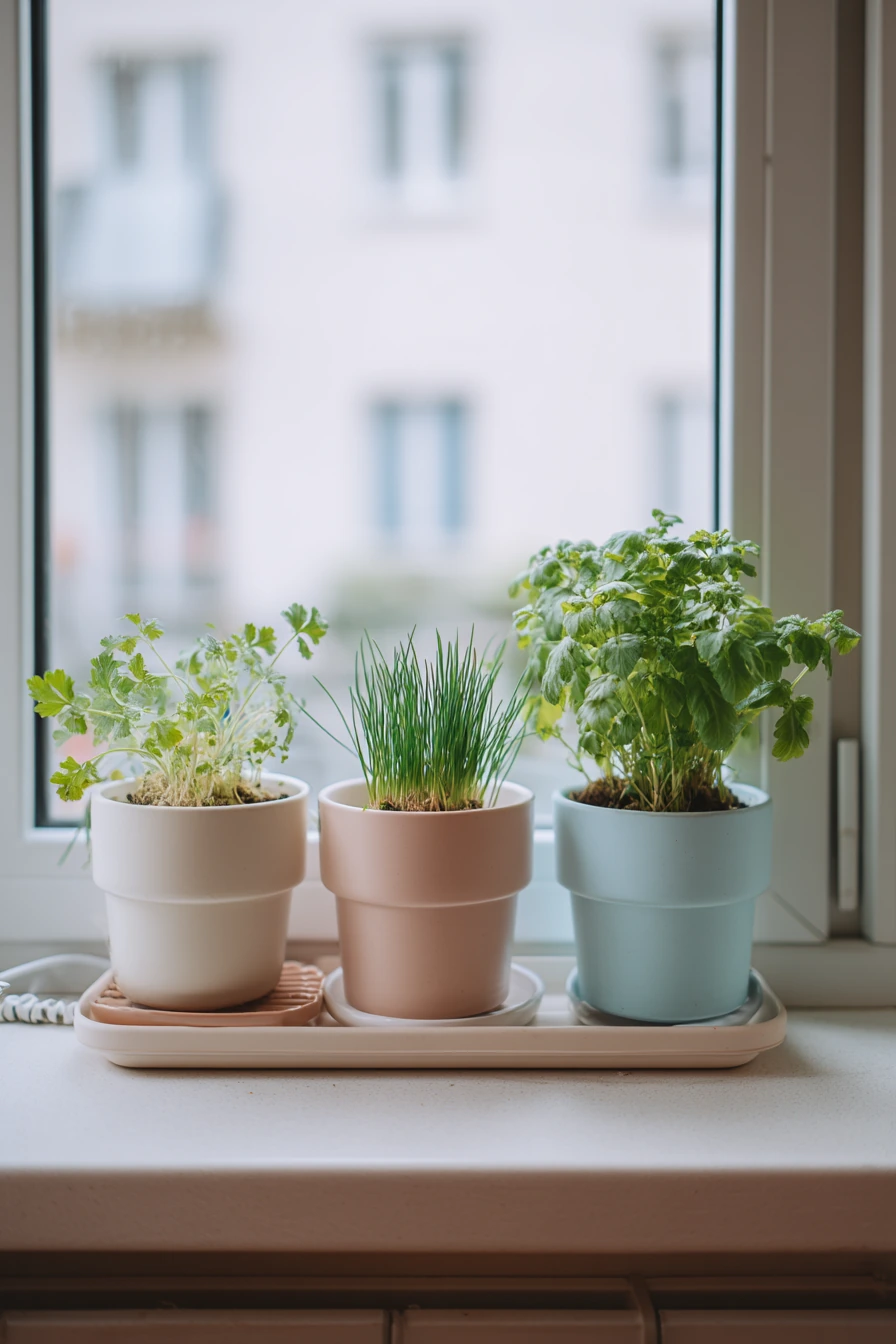
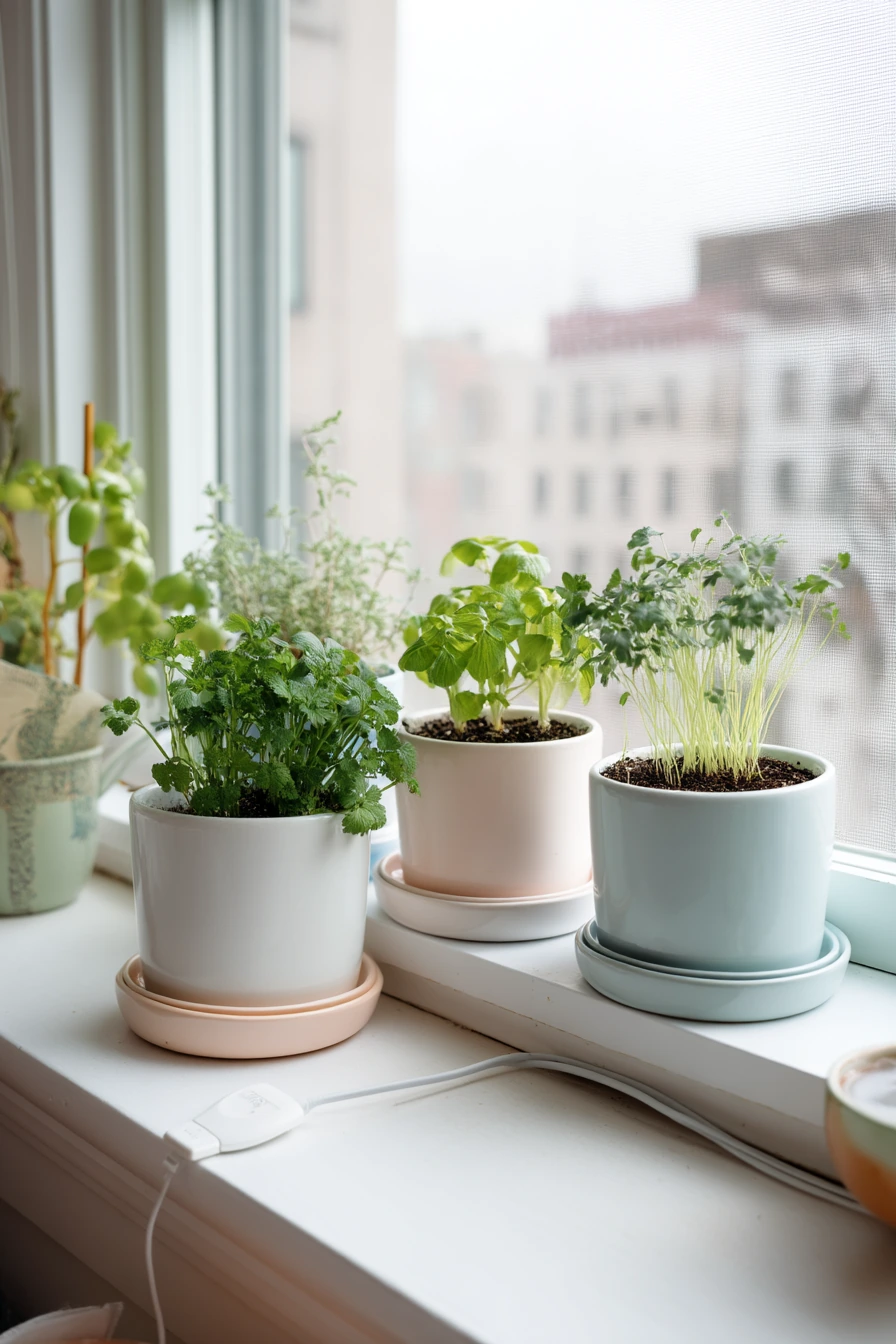
A small apartment windowsill can still hold a useful herb setup with four painted pots in soft white, clay blush, and pale blue. This look is clean and practical, which matters when your kitchen also has a charging cable curling beside a mug and a grocery tote on the floor. Choose chives, mint, and parsley since they do well in bright window light.
For a renter-friendly setup, use removable saucers and keep the paint job simple. A solid color with a thin top stripe looks tidy and does not overwhelm a small space. If you want a more modern feel, paint each pot a different soft tone, but keep the finish the same, like matte or eggshell. Use a clear sealer on the outside to handle splashes from washing dishes.
How to style it: place the tallest herb, like chives, in the back corner and shorter pots toward the front. Leave a small gap so air can move and leaves do not press against the glass. If your sill gets cold in winter, add a thin cork mat under the pots. It protects the surface and keeps the roots warmer.
- Use lightweight plastic nursery pots inside painted cachepots to reduce mess.
- Add a small scoop or spoon nearby for quick soil top-ups.
- Pick matching saucers so the set looks planned.
- Trim herbs often to keep them compact on the sill.
- Turn pots weekly so plants grow straight.
Pro Design Tip: Paint the pots in the same undertone as your walls or cabinets, then let the herb greens provide contrast for a calm, high-end look.
Budget Considerations: Use basic clay pots plus a single quart of paint mixed into three tints; you can also wrap the inner pot in a cheap plastic liner to avoid buying expensive sealers.
4 4. Boho Bedroom Dresser with Painted Cachepots
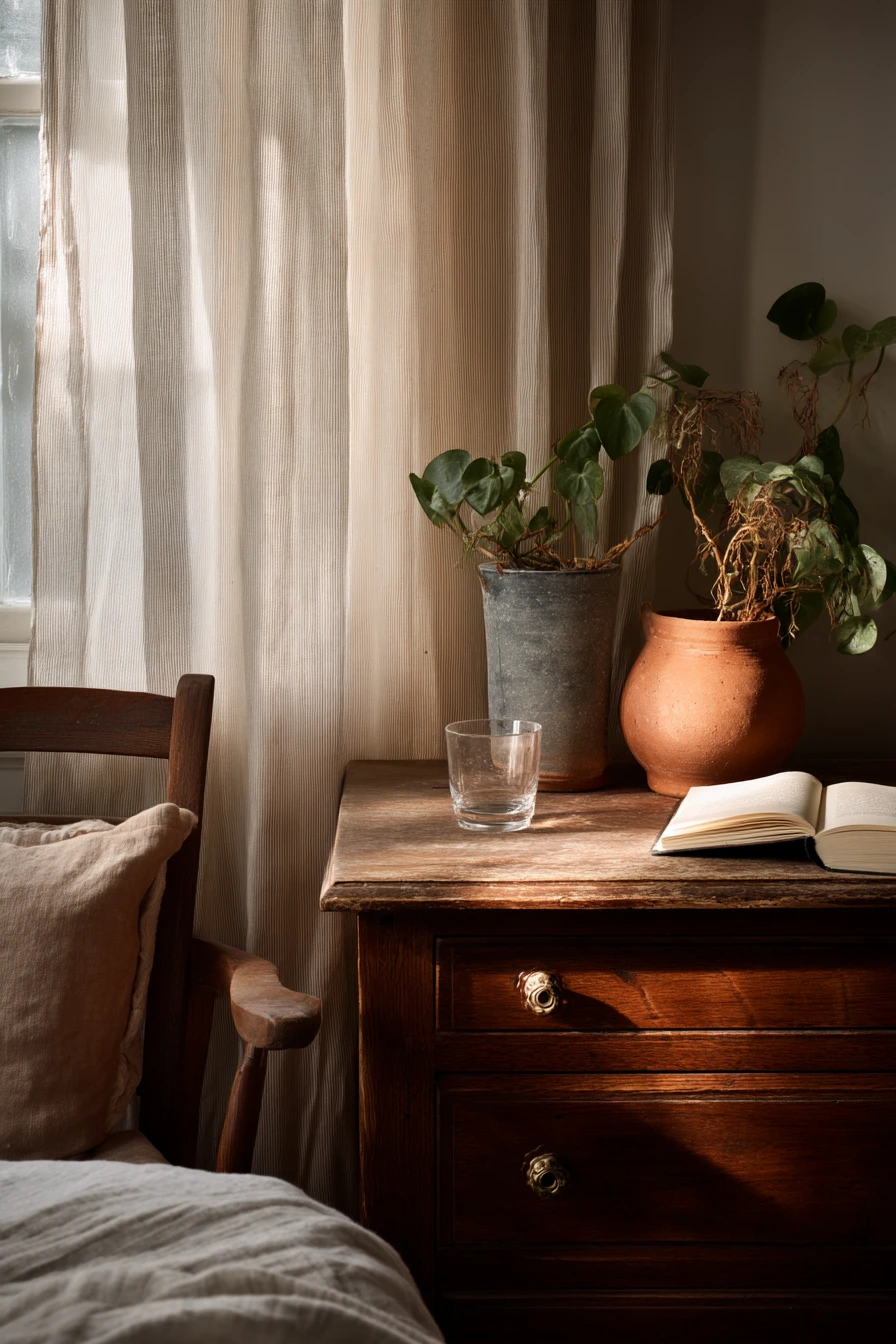
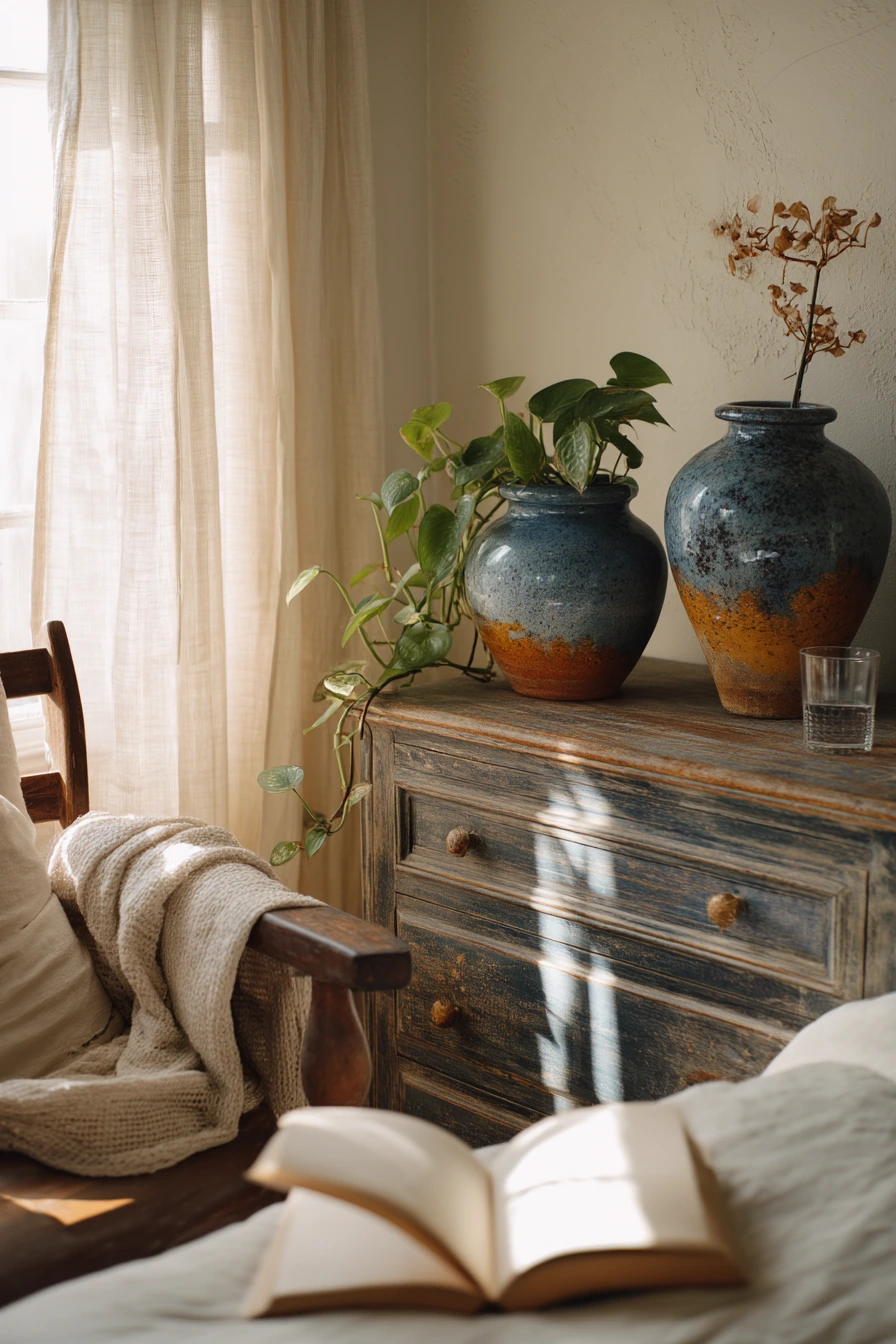
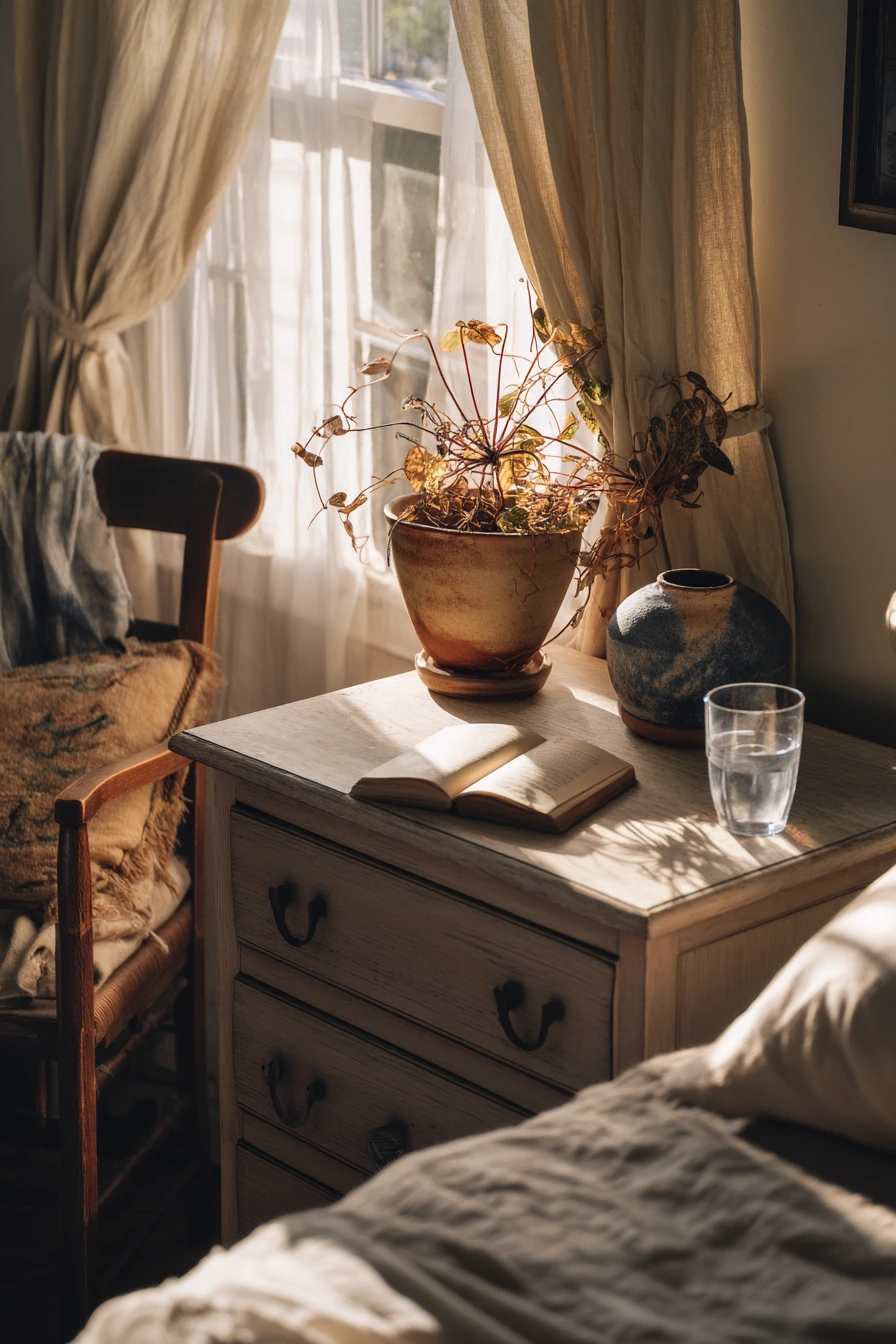
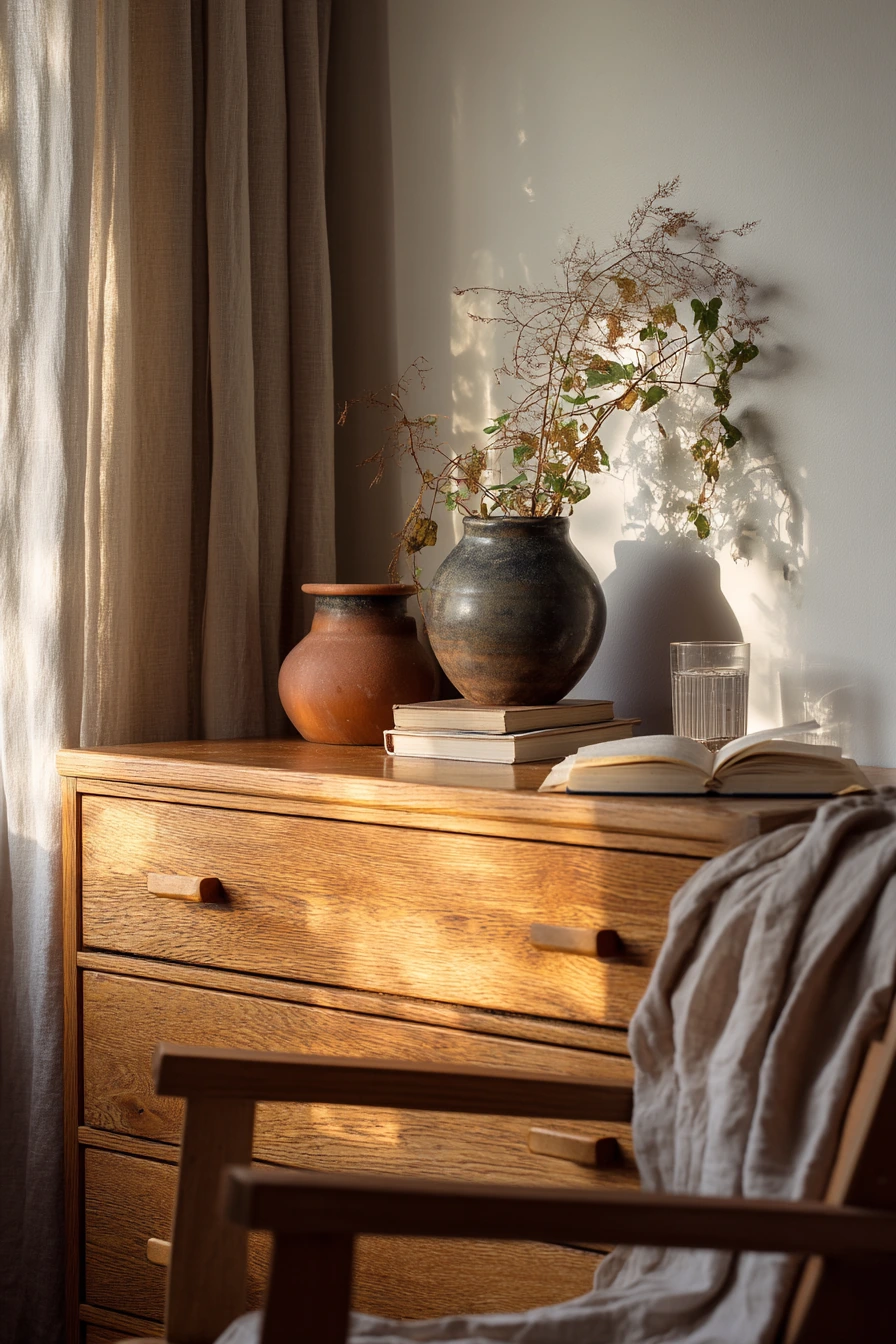
Painted ceramic pots can soften a bedroom dresser and add texture without adding clutter. Sun-faded terracotta and deep indigo look good in gentle morning light through linen curtains. Pair one pot with dried stems for height and keep another for a trailing pothos that drapes over the edge near an open novel and a water glass on the nightstand.
For this style, choose a slightly worn finish instead of a perfect coat. You can dry-brush the top color over a base to create a faded look, or lightly sand edges after the paint cures. If you use a ceramic pot without a drainage hole, keep the plant in a plastic liner pot and remove it for watering. That keeps your dresser safe from water rings.
How to style it: keep the pair slightly off-center and leave breathing room around them. Add one small object, like a candle or a shallow dish, but avoid too many items. The pothos looks best when it has a clear path to trail, so do not block it with tall decor. For dried stems, swap them seasonally so the bedroom looks fresh without a full redo.
- Use indigo as an accent color that matches denim, navy bedding, or framed art.
- Pick dried stems with simple shapes, like bunny tails or eucalyptus.
- Set pots on a small tray to protect wood from dust and water.
- Wipe leaves weekly so the plant stays glossy in soft light.
- Keep the color palette to two main tones for a restful feel.
Pro Design Tip: Use one dark pot and one warm pot, then repeat that contrast in one other spot, like a pillow and a throw, to make the room feel balanced.
Budget Considerations: Thrift stores often have plain ceramic pots for low cost; dried stems can be gathered and air-dried at home instead of buying pre-made bundles.
5 5. Entryway Catchall with Painted Pots
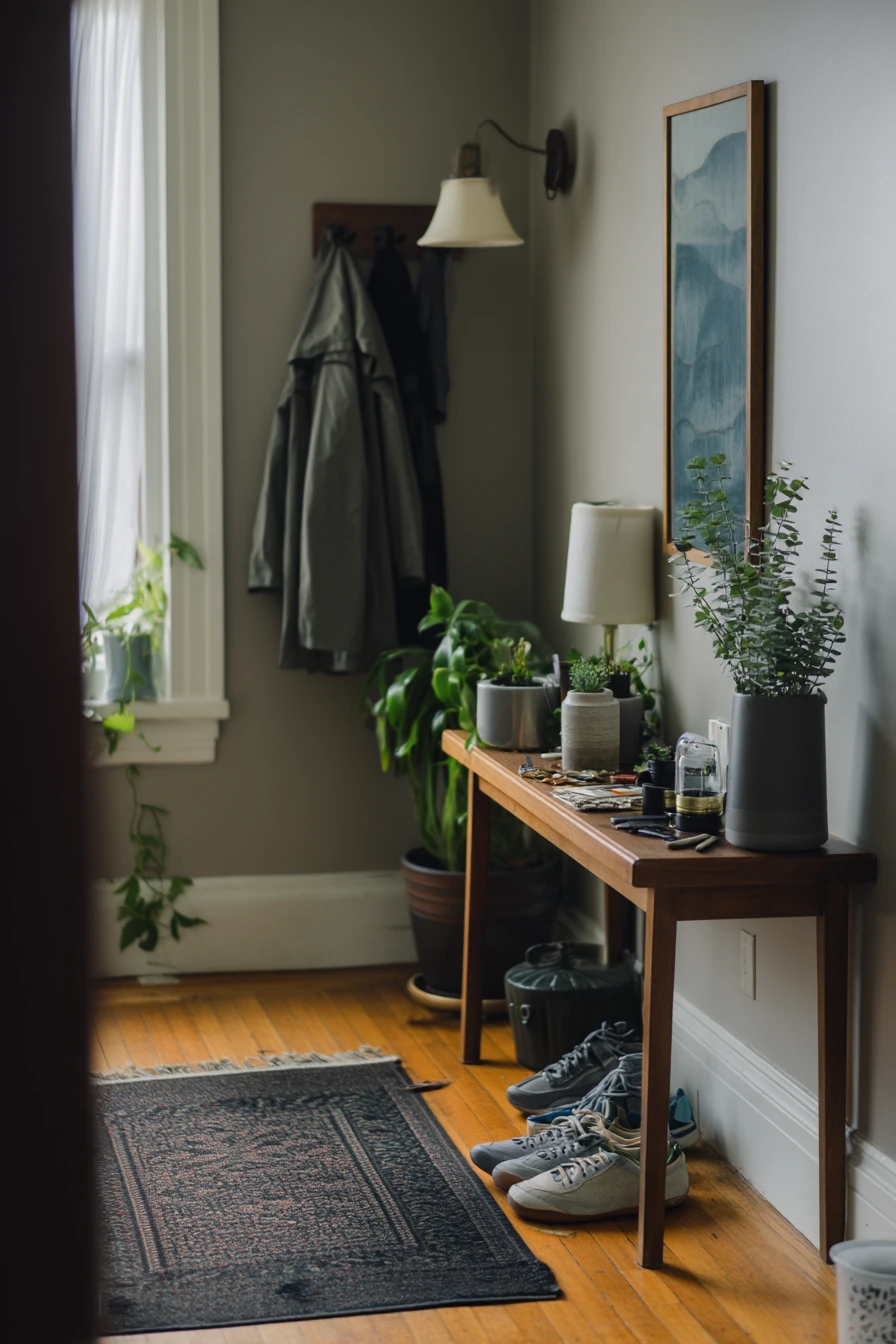
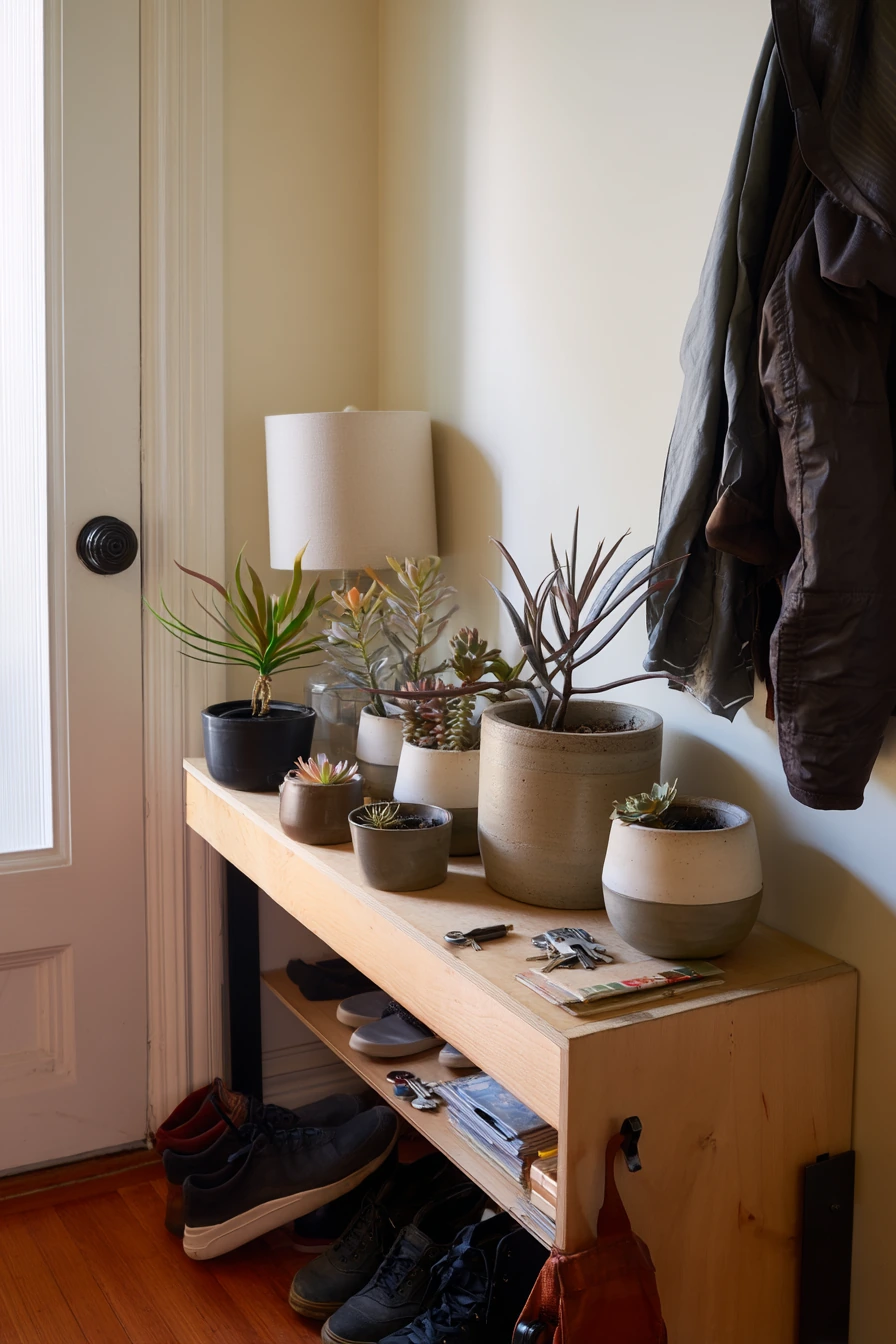
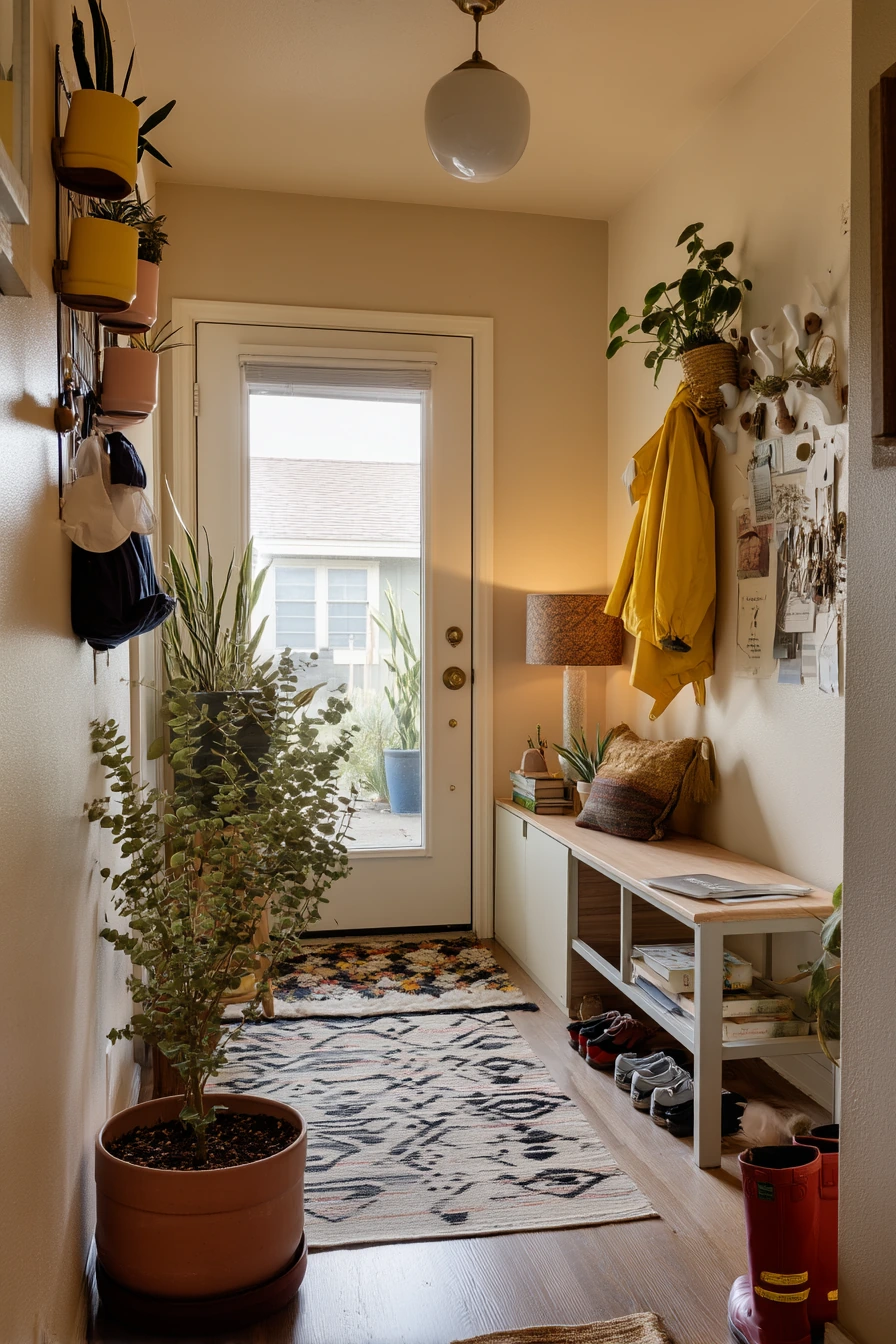
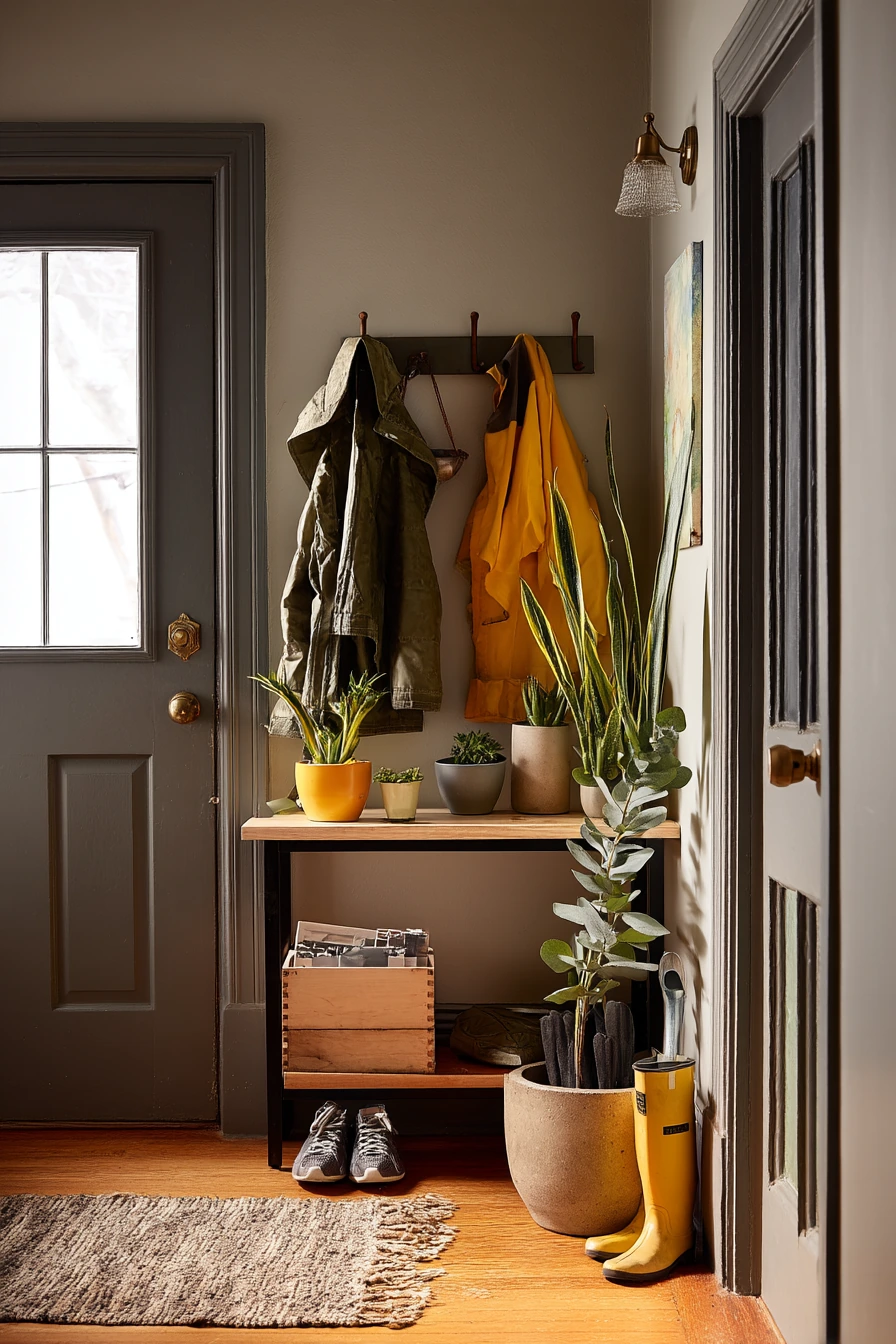
Painted pots are not only for plants. In a compact entryway, they work as catchalls for keys, spare change, and small air plants. A larger painted pot can also hold eucalyptus on a slim console, which helps the space feel welcoming even when there are sneakers by the door, a mail stack, and a kid’s raincoat on a hook.
Choose durable paint and a wipeable finish since entryway items are handled often. Neutral colors with one deeper accent look good in warm lamp light mixed with dusk window glow. For catchalls, pick wider pots with a stable base so they do not tip when someone drops keys in quickly. Add felt pads under the pots to prevent scratches on wood or laminate.
How to style it: assign one pot per person, or one for keys and one for coins. Place the largest pot in the center for eucalyptus, then flank it with smaller catchall pots. Keep one empty spot on the console for mail sorting so paper does not spill into the pots. For air plants, add a small layer of pebbles inside the pot so they sit neatly and can be lifted out for misting.
- Pick a wide-mouth pot for keys so you can grab them fast.
- Use one labeled pot for outgoing mail to reduce piles.
- Add a small scent element like eucalyptus or dried lavender.
- Choose a semi-gloss topcoat so fingerprints wipe off.
- Keep pot heights varied for a nicer silhouette on the console.
Pro Design Tip: Match the pot colors to your entryway hardware, like black hooks or brass handles, so the console area looks intentional.
Budget Considerations: Use mismatched thrifted pots and paint them in one color family to make them look like a set; air plants are optional, and pebbles can come from a low-cost garden bag.
6 6. Kitchen Island Herb Garden, Weekend Brunch Mood
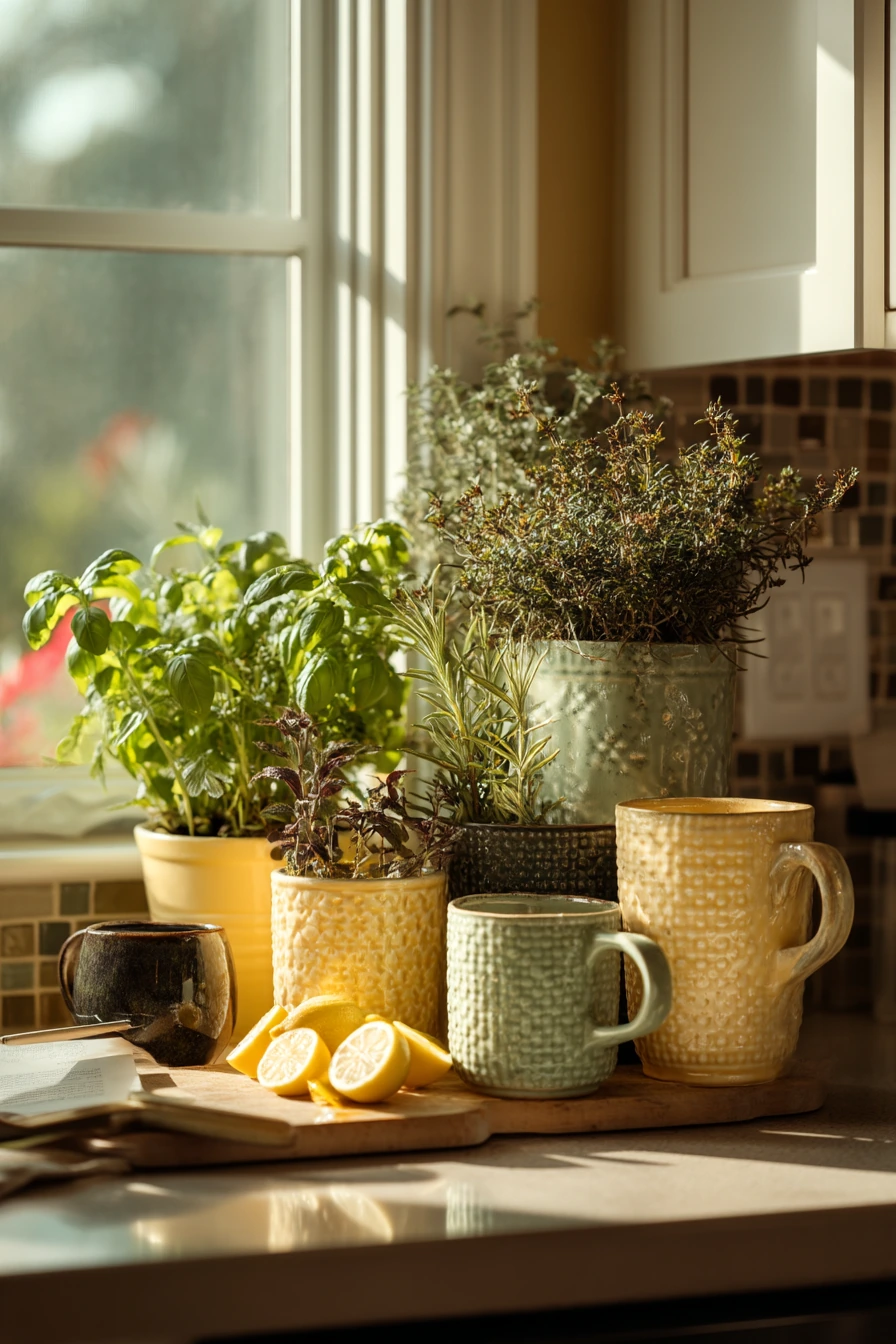
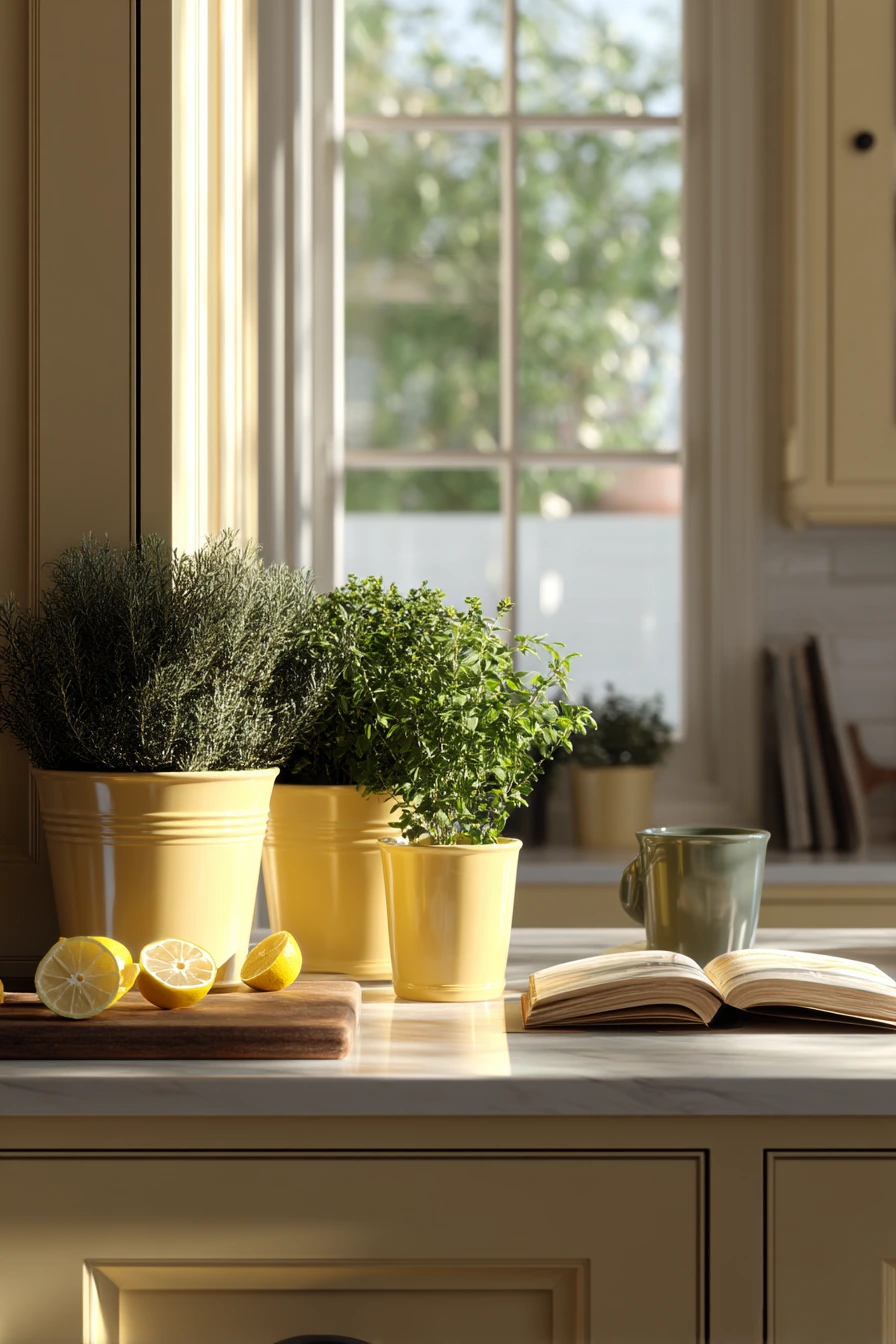
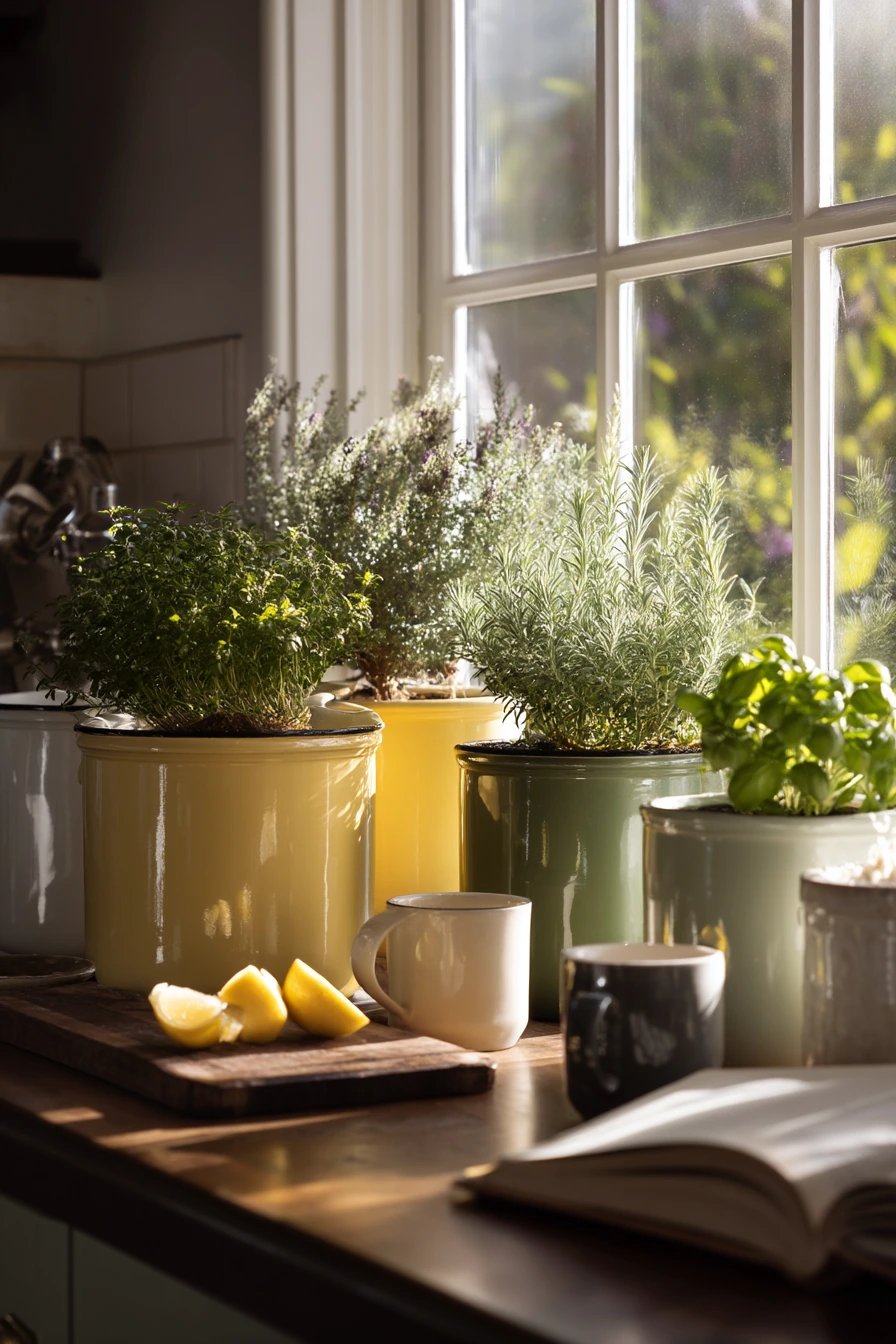
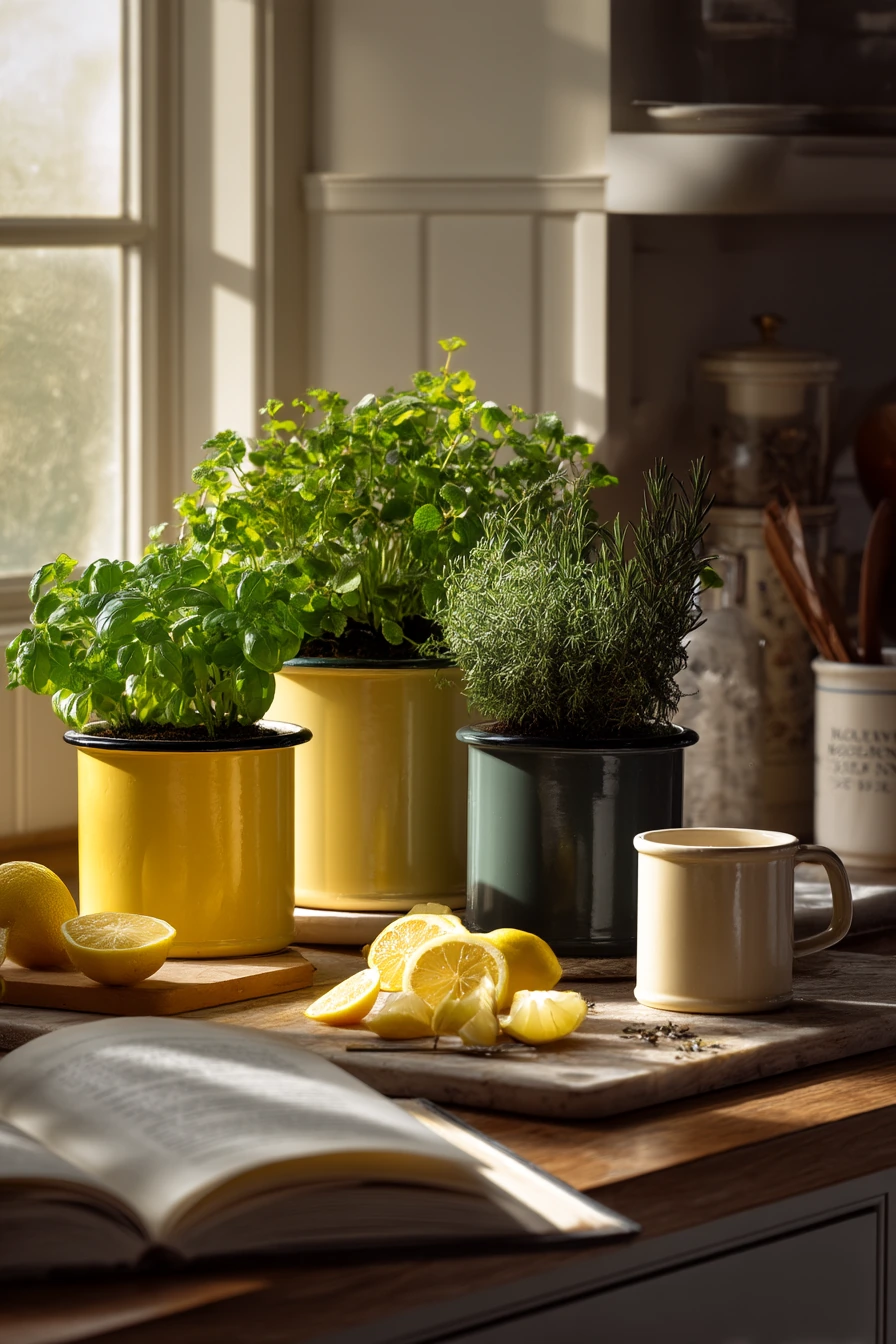
A sunny kitchen island is a great place for a small cluster of painted pots in creamy yellow, moss green, and charcoal. This color mix feels warm and modern, and it looks good next to a cutting board with lemon slices, an open cookbook, and a half-finished coffee mug. Use the pots for brunch herbs like chives, dill, parsley, and basil.
Because an island gets splashes, choose paint that can handle wiping. A satin finish works well and still looks soft in side window light. If you want a clean look, paint each pot one solid color and keep the rims crisp. If you like a hand-made feel, add a small painted brush stroke band near the top. Keep drainage in mind. Herbs need regular water, so make sure each pot has a hole and a saucer.
How to style it: group pots in a triangle so they do not look like a straight line of clutter. Place darker charcoal in the back to ground the group, with lighter creamy yellow in front. Add one small tray or board under the pots so you can move them aside when you need prep space. Snip herbs with kitchen shears and keep them in a drawer nearby for quick use.
- Use matching saucers to protect your island surface.
- Keep herbs trimmed so they stay compact and full.
- Place pots away from direct heat vents to prevent drying out.
- Water in the sink, then return to the tray once drained.
- Add a small plant tag on a stick for easy ID.
Pro Design Tip: Create a three-color set with one dark anchor shade, one mid-tone, and one light tone to make the group look styled from any angle.
Budget Considerations: Buy herbs as small starter plants and repot them; using a simple wood cutting board as a tray can replace a more expensive planter stand.
7 7. Thrifted Pot Makeover on a Craft Table
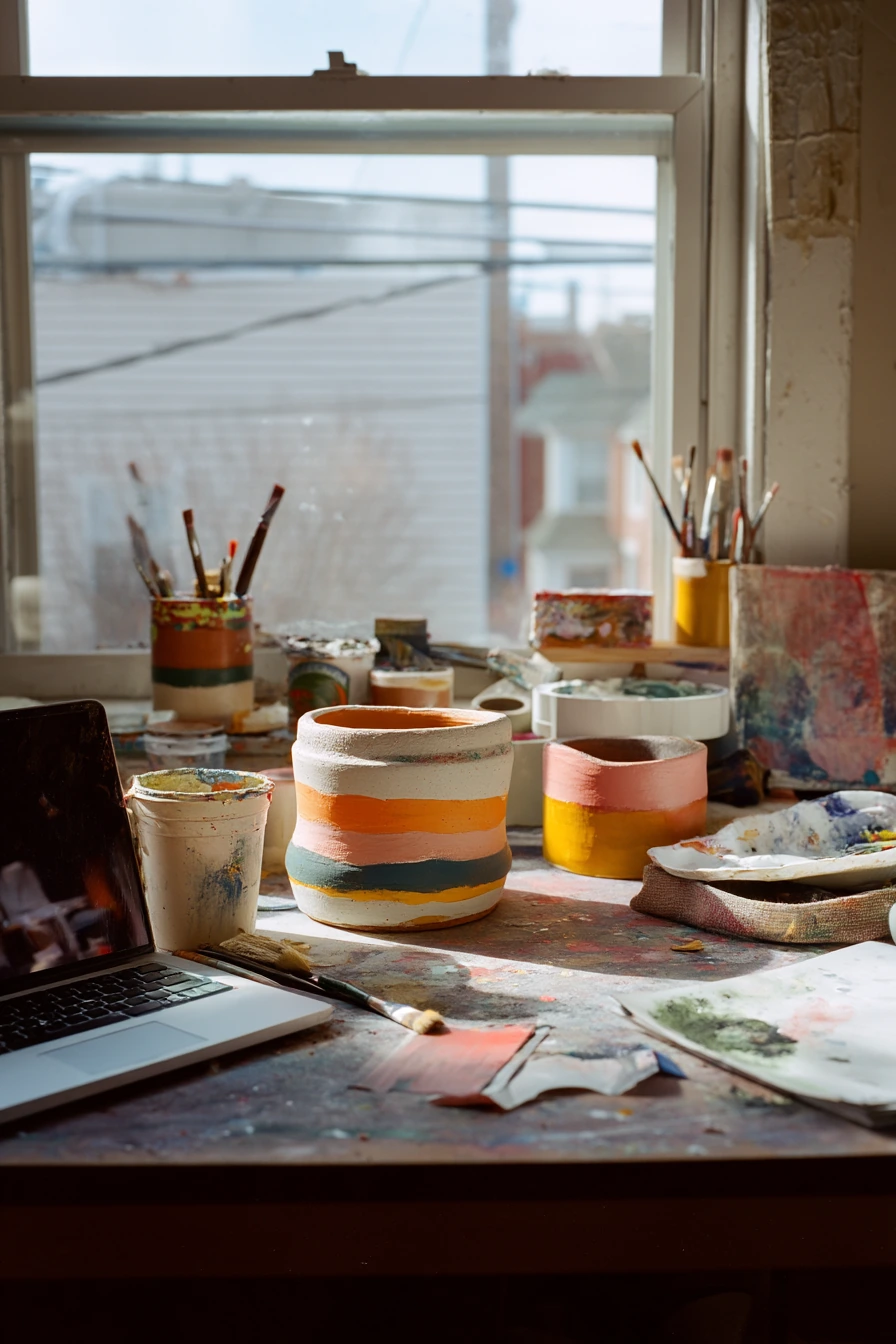
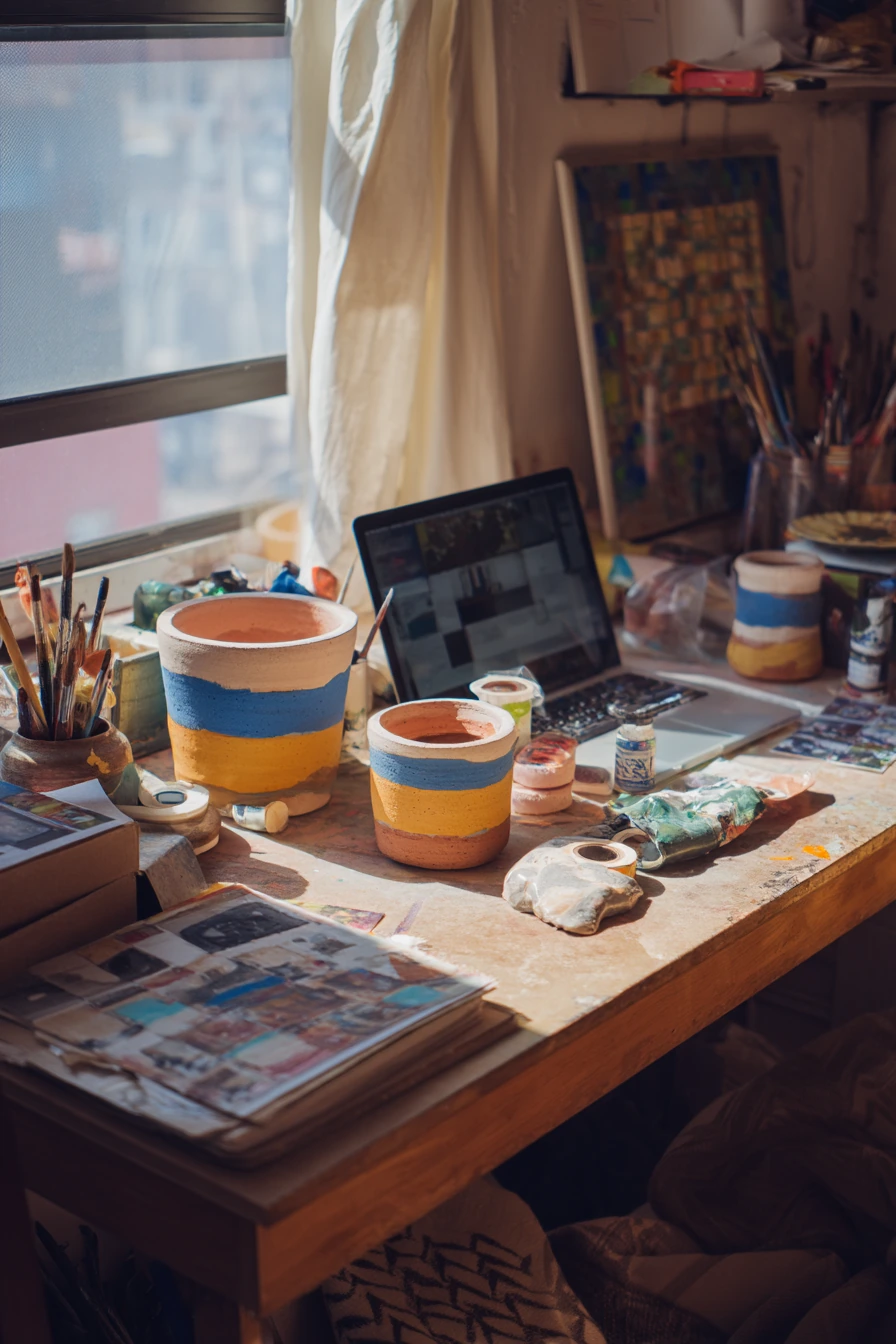
Thrifted clay pots are perfect for painted pot ideas with bold bands and abstract color blocks. On a small craft table, the tools become part of the scene, like painter’s tape, a ragged brush cup, dried paint flecks, and a laptop open to inspiration images. This style looks creative and modern, and it is forgiving if lines are not perfect.
Start with a base coat in a neutral, then add blocks in two to three colors. Use painter’s tape for sharper edges, but do not stress about tiny bleeds. They add character. For a matte, high-end look, choose chalk-style paint or a matte acrylic and apply two thin coats. Let each layer dry fully before taping. Finish with a clear matte sealer so the surface does not scuff when you move the pots around.
How to style it: keep the finished pots in a group on a shelf above the desk, or use them to hold supplies like pens, scissors, and small rulers. If you plant them, choose low-maintenance options like snake plant pups or small pothos cuttings. Mix heights by stacking a few books under one pot, or place one on a small coaster to lift it.
- Use tape to create clean bands around the pot’s widest point.
- Repeat one color in every pot so the set feels connected.
- Try a half-dipped look for quick color blocking.
- Keep a damp cloth nearby to wipe paint smudges fast.
- Seal the outside so the paint does not rub off on hands.
Pro Design Tip: Make the pattern larger than you think you need, since small shapes can look busy from across the room.
Budget Considerations: Thrifted pots and leftover paint keep costs low; painter’s tape is the only must-have tool, and you can reuse it for multiple pots if you apply it carefully.


8 8. Neutral Bathroom Shelf with Spa-Like Painted Pots
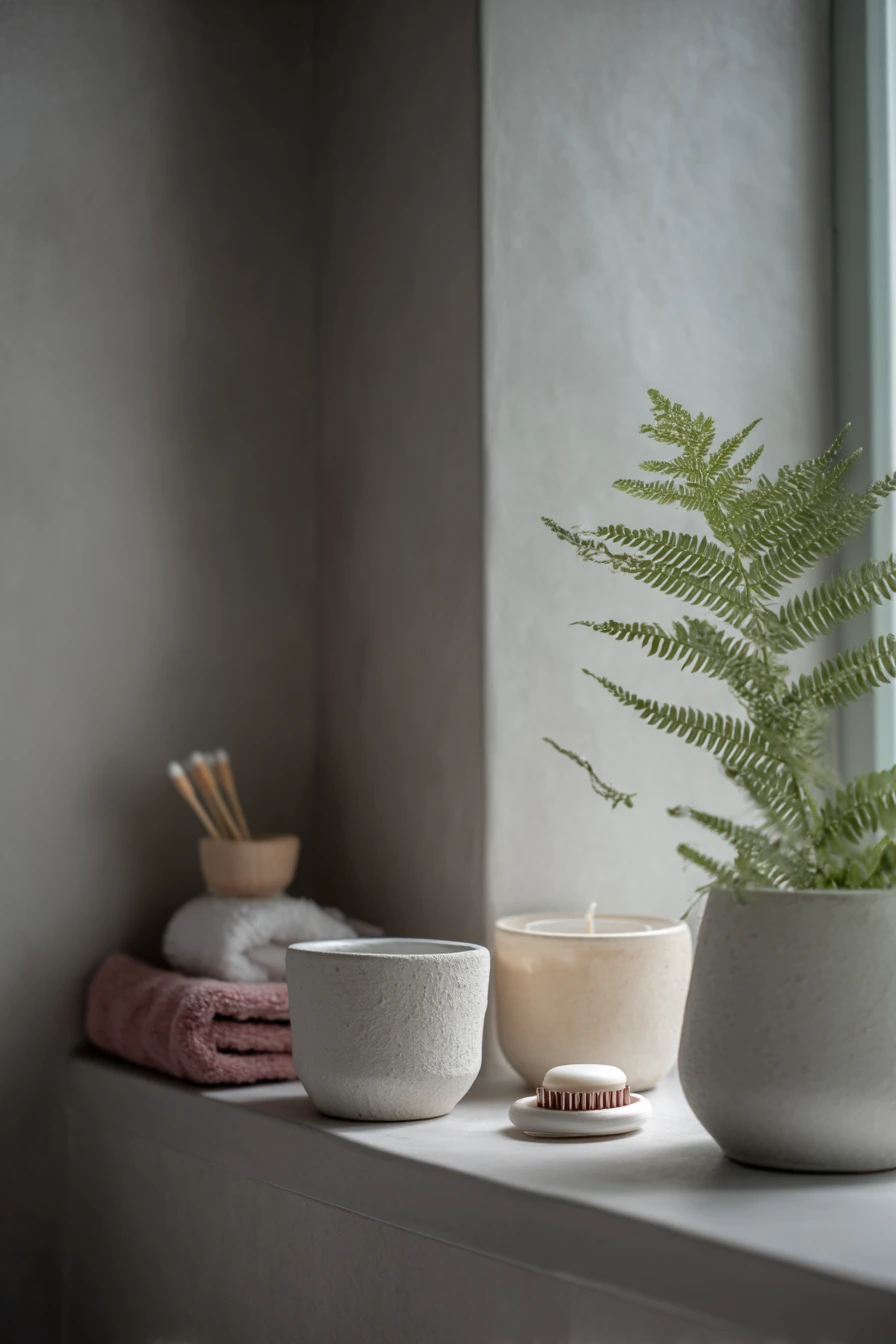
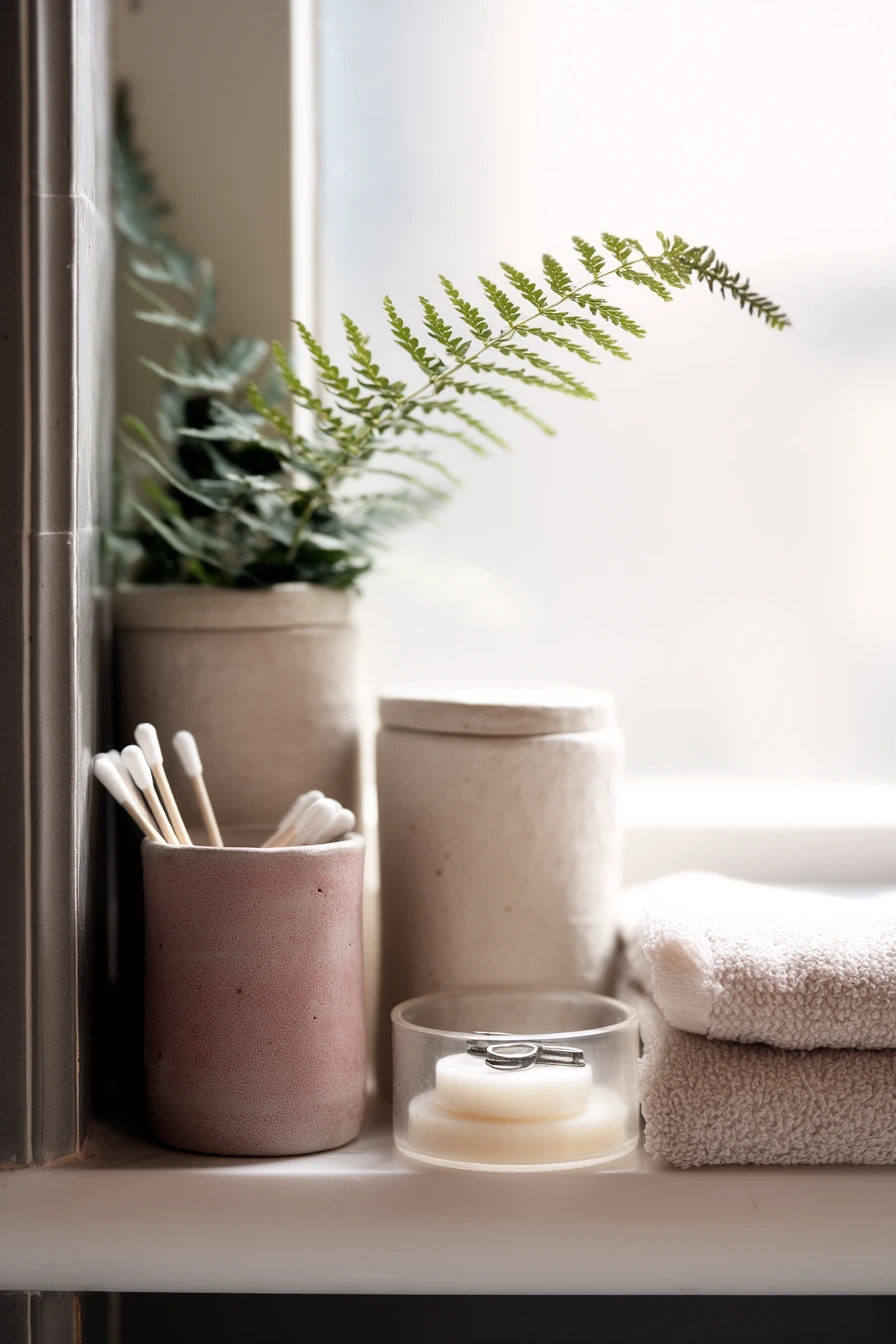
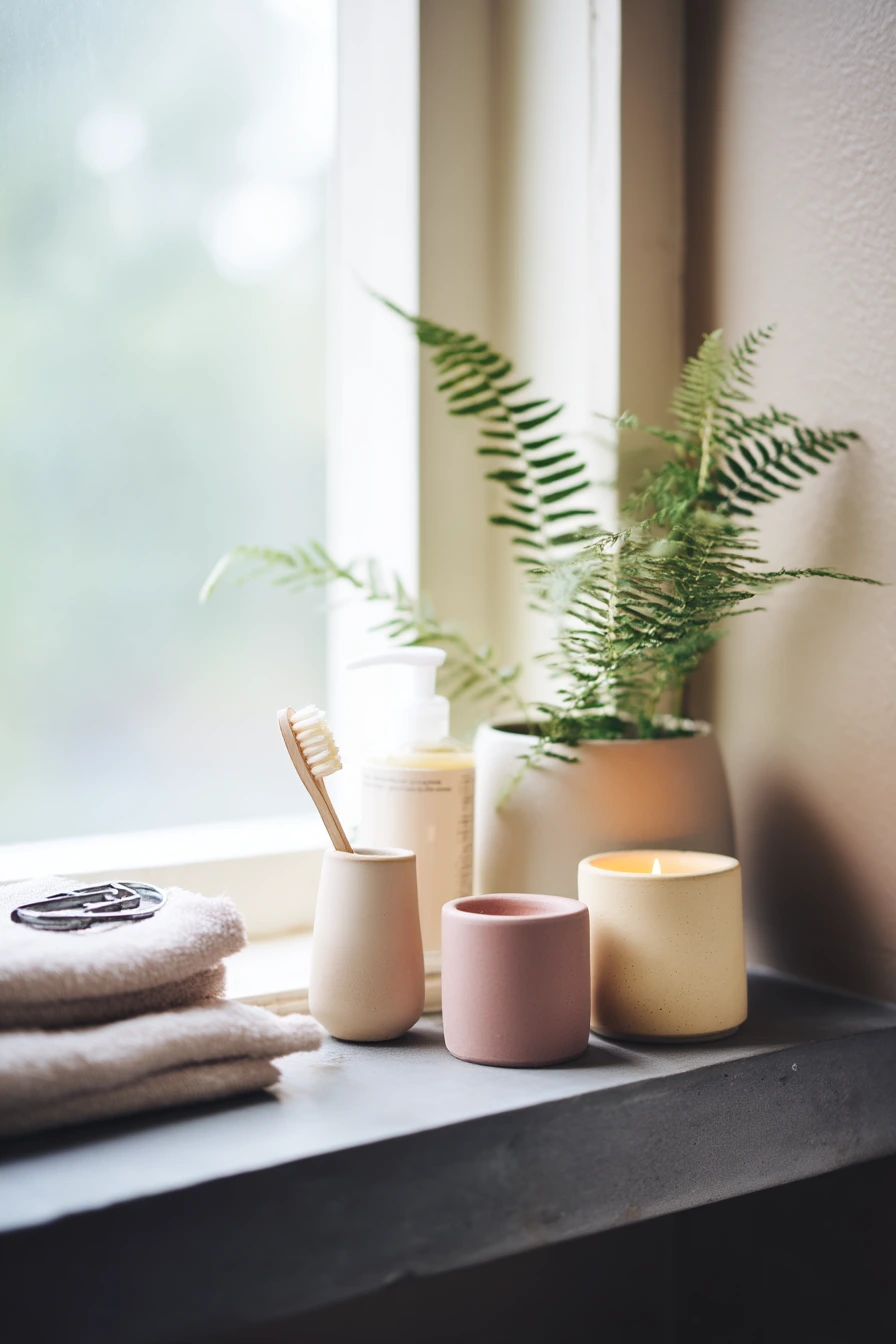
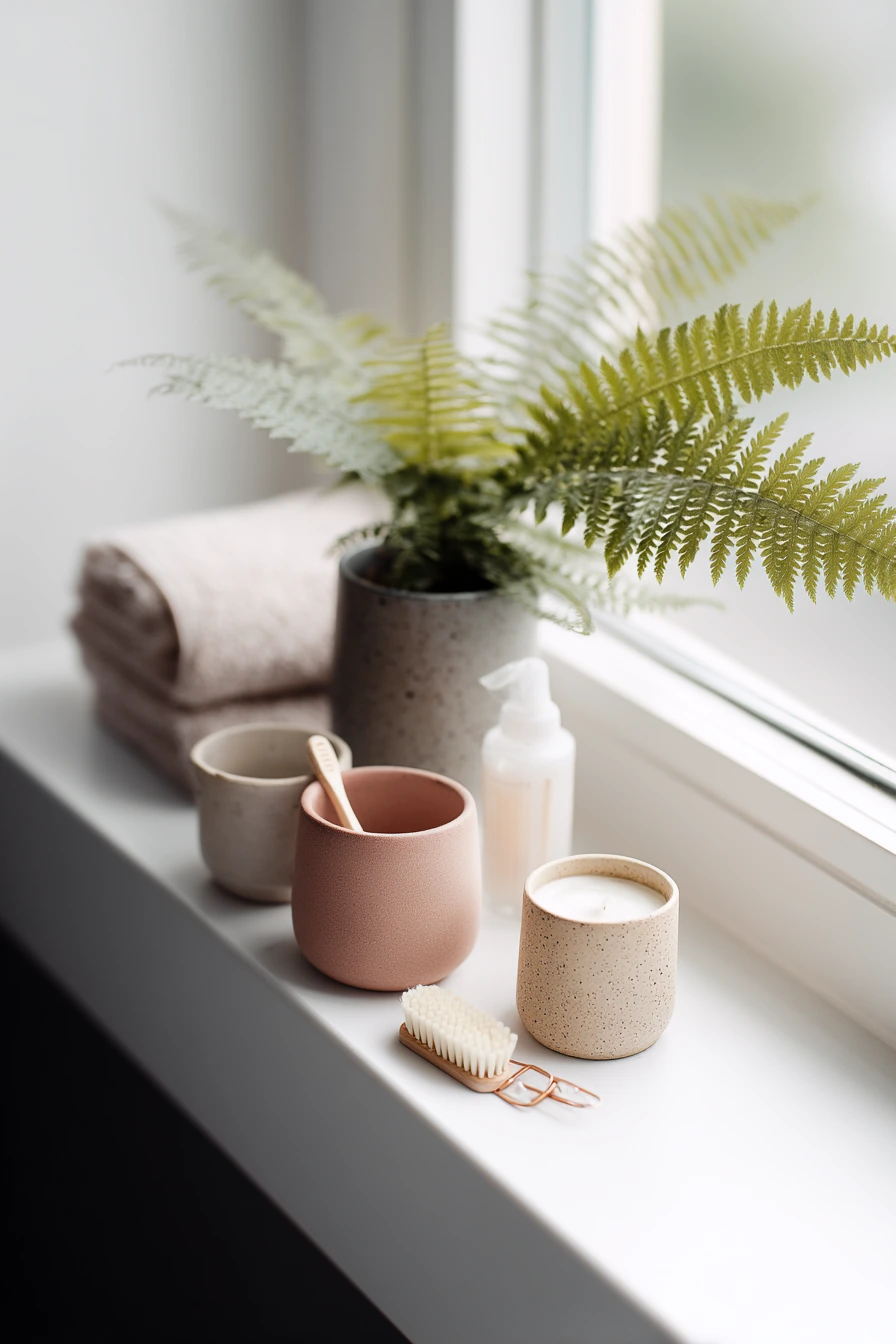
A tiny bathroom shelf can look calmer with painted pots in stone, oat, and dusty rose. Use them as soft storage for cotton swabs, hand soap, or a small fern. This setup feels tidy but real, with a towel slightly askew and a hair clip near a candle. Diffused window light makes these muted colors look gentle and clean.
Bathroom humidity matters, so pick a paint and sealer that can handle moisture. Paint the outside and let it cure fully, then apply a water-based polyurethane or a clear acrylic sealer. If a pot will hold soap, consider using it as a holder for a pump bottle, not a direct soap dish, to avoid constant wetness. For cotton swabs, choose a pot that is tall enough so items do not spill when you grab one.
How to style it: group two pots together and keep one item outside the group, like a candle, to avoid a crowded shelf. Add a small fern in a pot with a drainage liner, or use a faux fern if there is not enough light. Keep the color palette close to your towel and tile tones so the shelf looks like part of the bathroom, not an afterthought.
- Use a small tray under the pots to catch water and dust.
- Pick a dusty rose accent to warm up white bathrooms.
- Add cork or felt pads under pots to prevent sliding.
- Keep cotton items in a lidded container if the bathroom gets steamy.
- Choose a narrow pot for tight shelves to save space.
Pro Design Tip: Use three related neutrals and one soft accent color, then keep all containers the same finish for a spa-like look.
Budget Considerations: Repurpose food jars for cotton pads and use one painted pot as the main accent; a small sample-size sealer is usually enough for bathroom pieces.
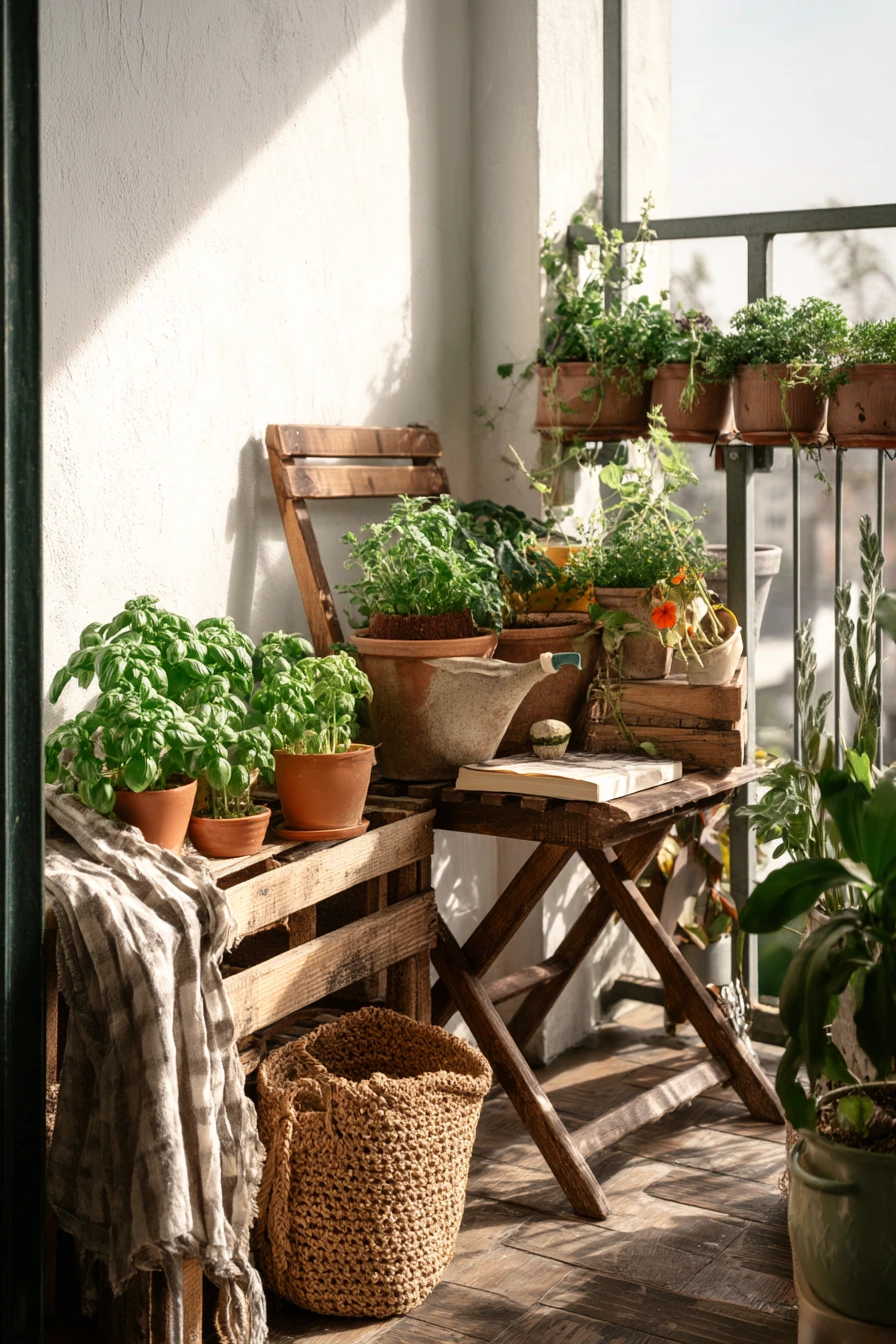
9 9. Balcony Corner with Weathered Painted Planters
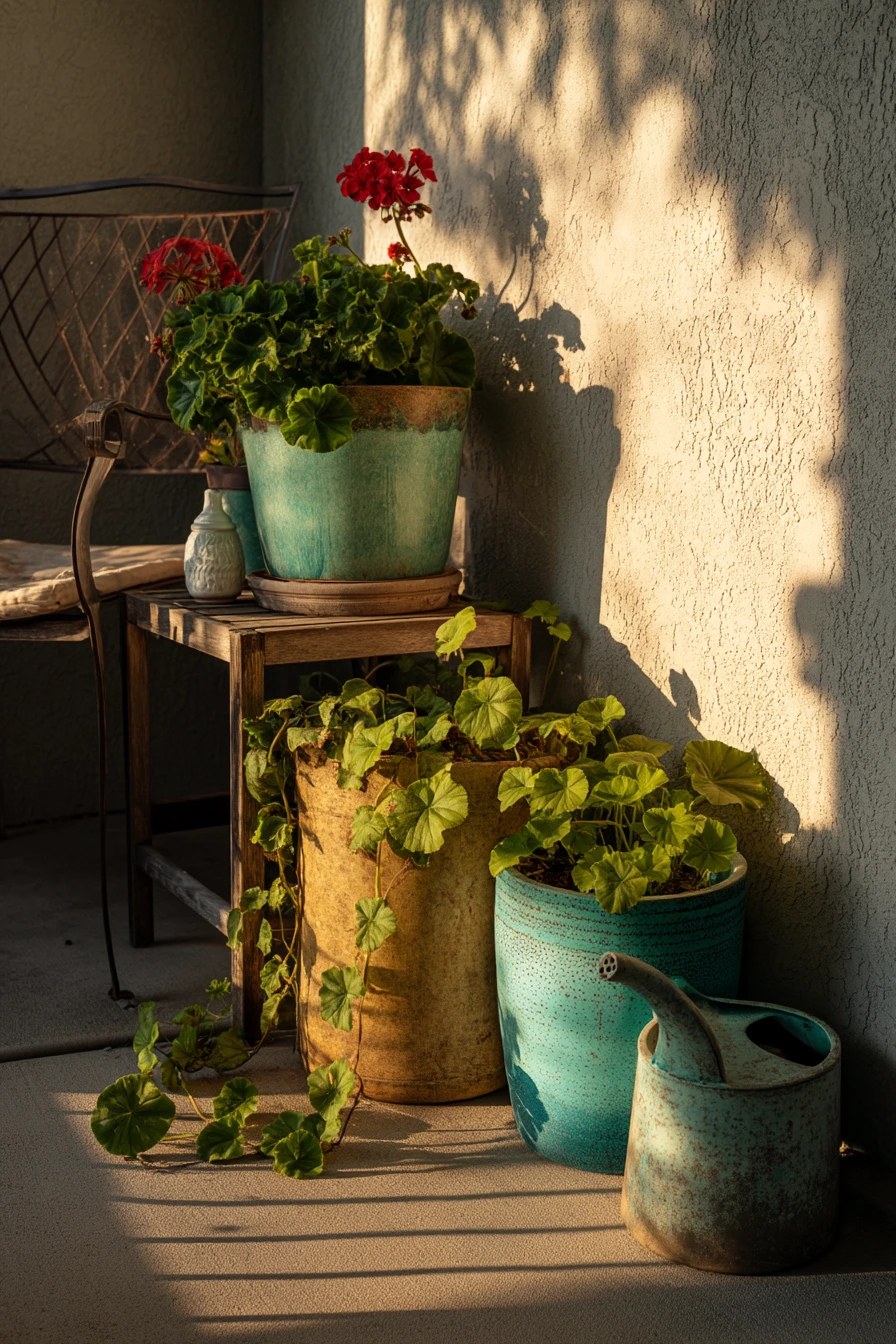
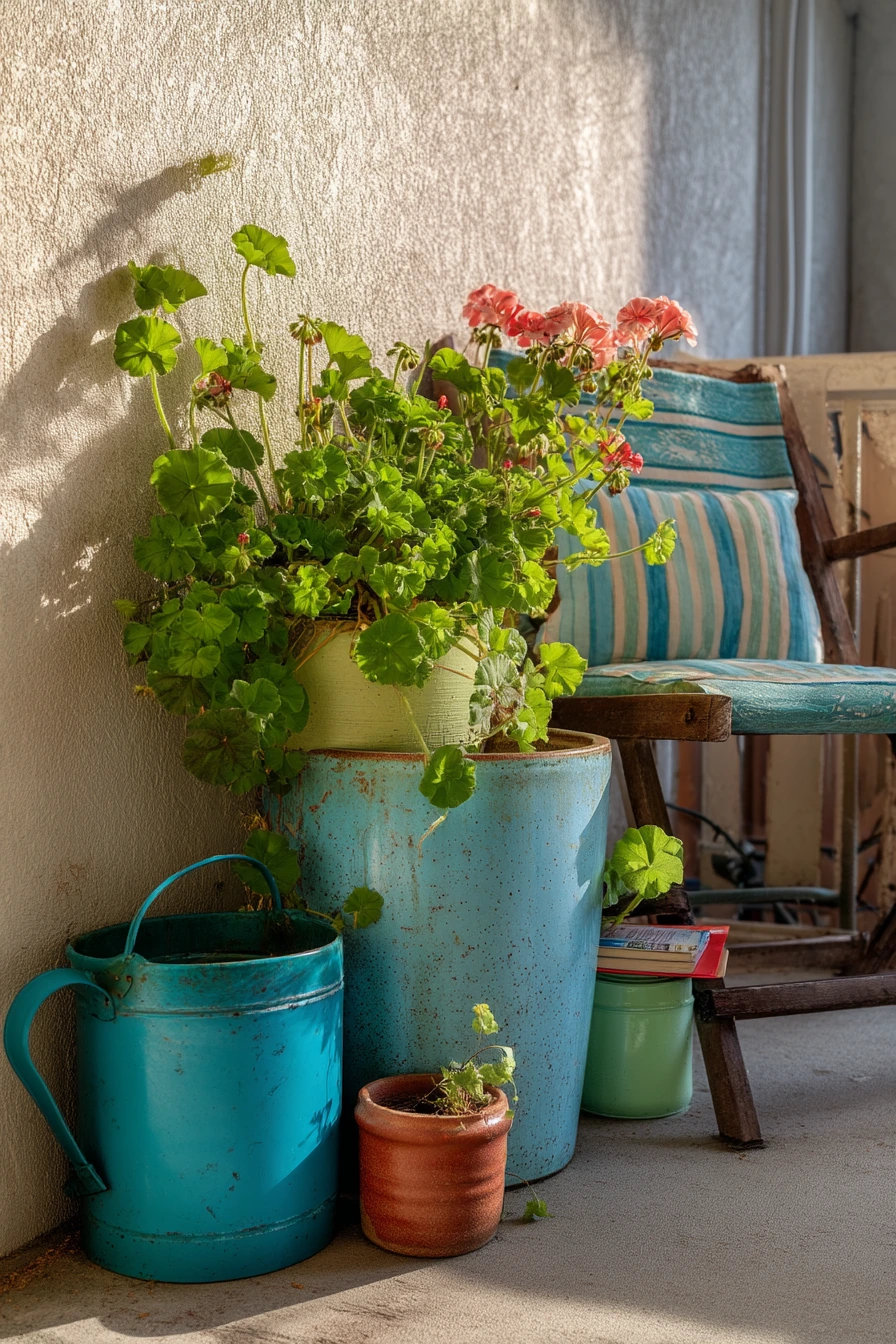
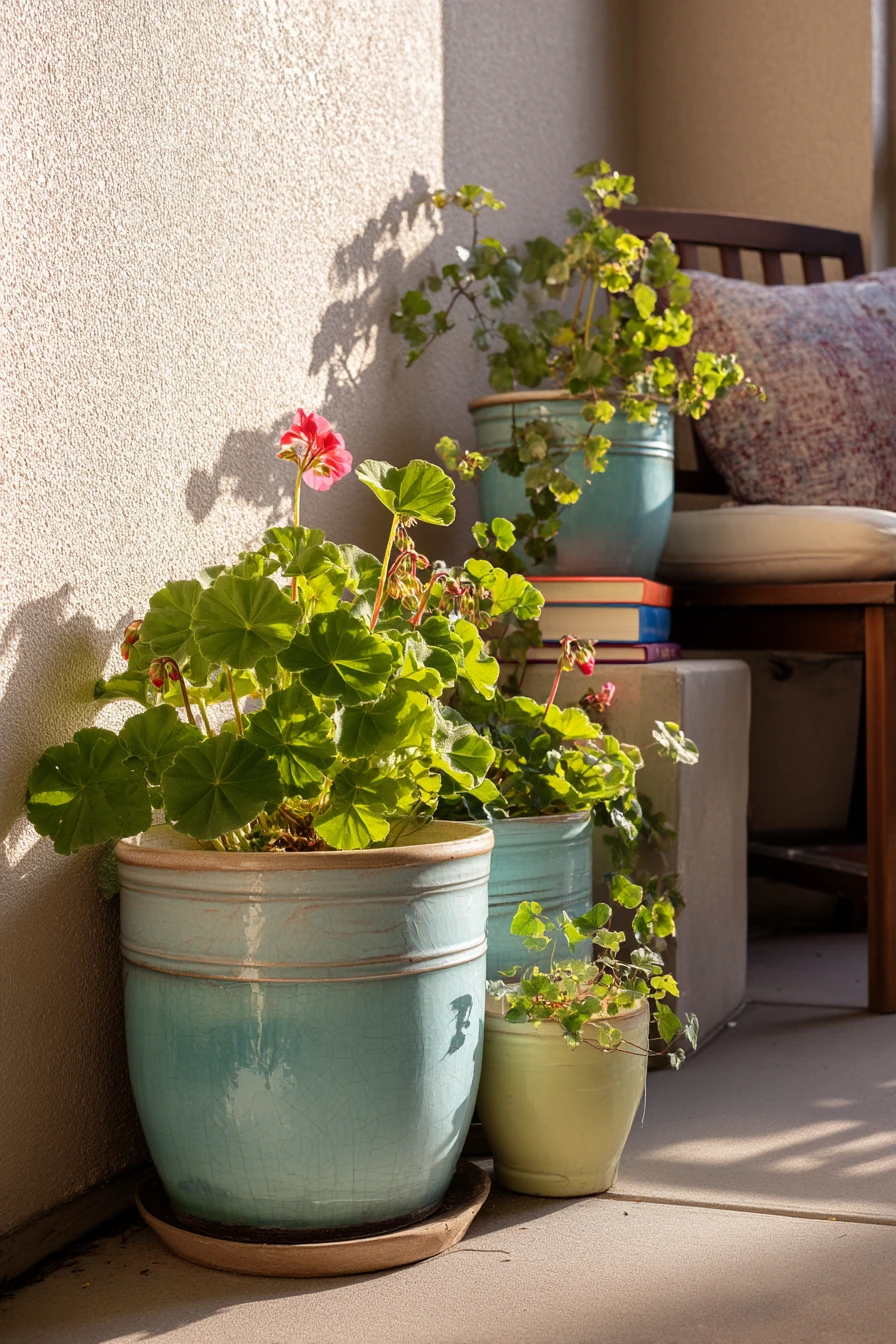
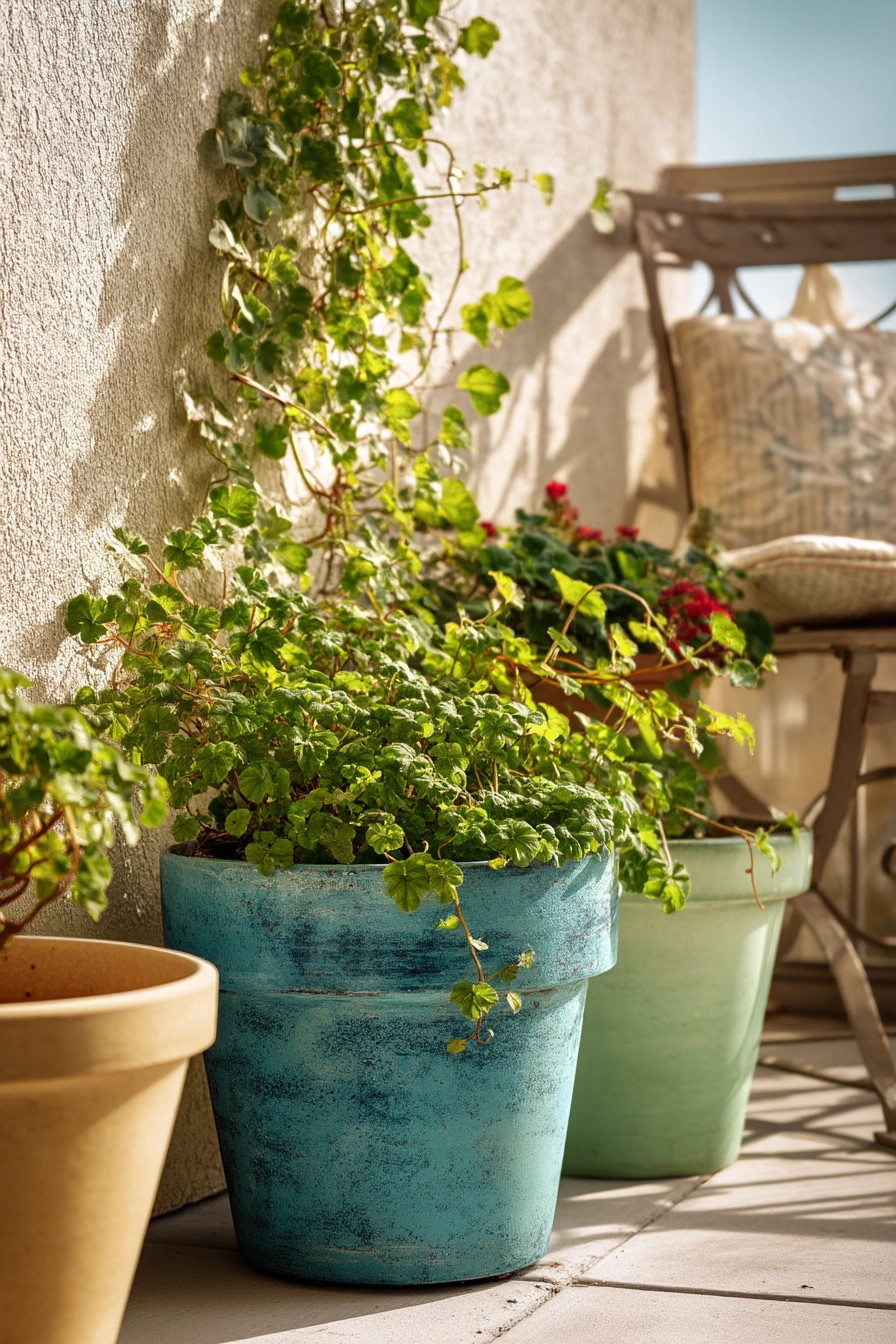
On an apartment balcony, weathered painted pots in muted cobalt, clay, and pale green fit the outdoor setting. They look great with geraniums and trailing ivy, plus everyday items like a watering can, a folded chair cushion, and a small stack of patio books. Golden hour light brings out the texture of the paint and the concrete floor.
For a weathered look, paint the pot, let it dry, then lightly sand the edges and raised areas. You can also dab a second color on with a sponge for a faded, layered finish. Outdoor pots need a strong sealer. Choose one rated for exterior use, and seal the painted area well. Make sure each pot has drainage, since rain and heavy watering can rot roots fast.
How to style it: place the tallest plant in the back corner, then let ivy trail down the railing side. Put geraniums in the brighter spot where they get more sun. Group pots in odd numbers for a natural look. If the balcony is small, use a plant stand or crate to add height without taking more floor space. Keep the watering can close so caring for plants feels easy.
- Use cobalt as a strong accent against neutral concrete.
- Choose plants that handle wind, like ivy and hardy geraniums.
- Raise pots slightly with feet so water drains well.
- Rotate pots every week for even sun exposure.
- Bring small pots inside during frost or heat waves.
Pro Design Tip: Repeat one color in two places, like cobalt on a pot and on a cushion stripe, to make the balcony corner feel pulled together.
Budget Considerations: Use basic clay pots and create the weathered effect with sanding instead of buying specialty finishes; you can also seal only the top half if pots sit in a sheltered spot.
10 10. Shelf Styling with Vintage Painted Pot Collection
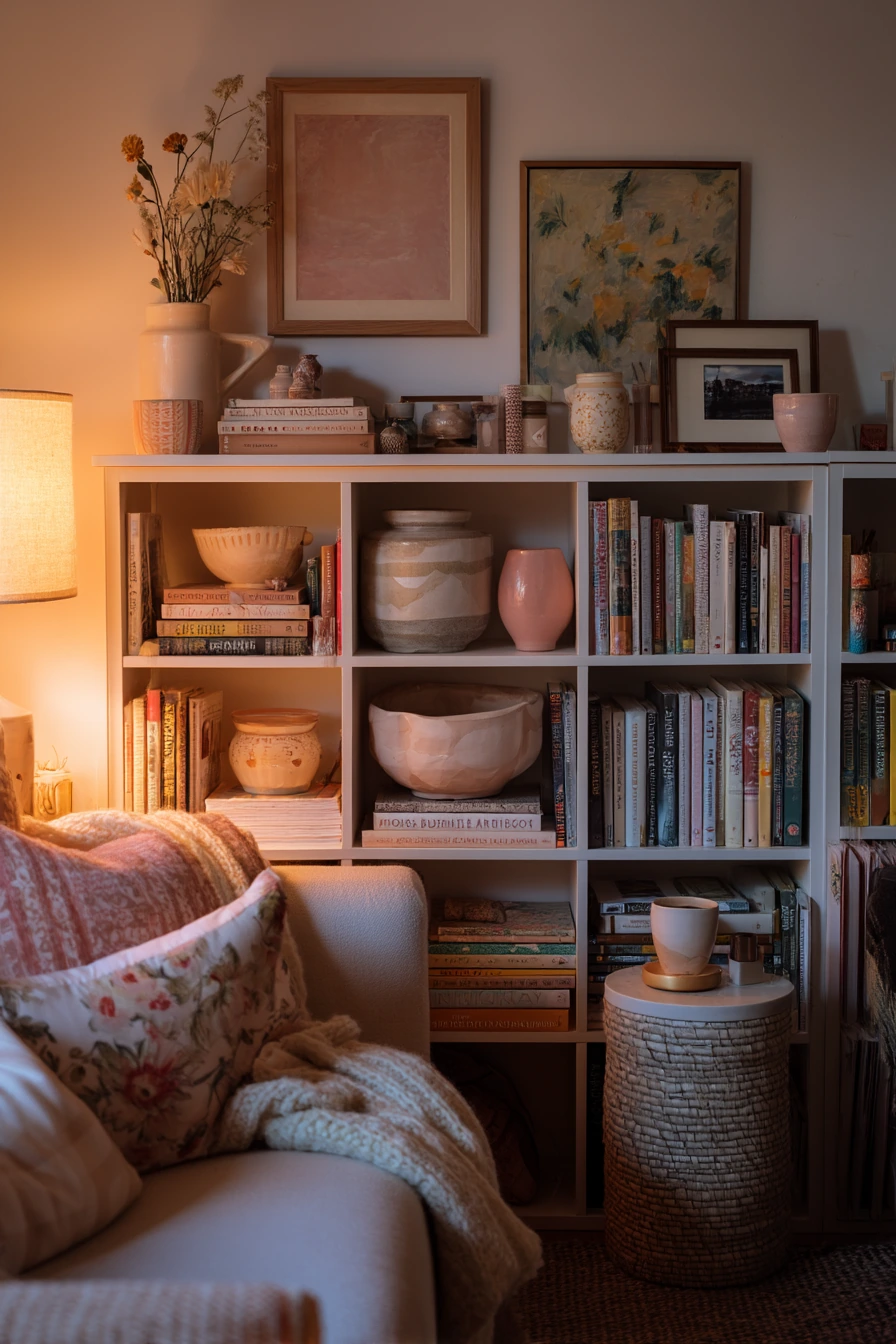
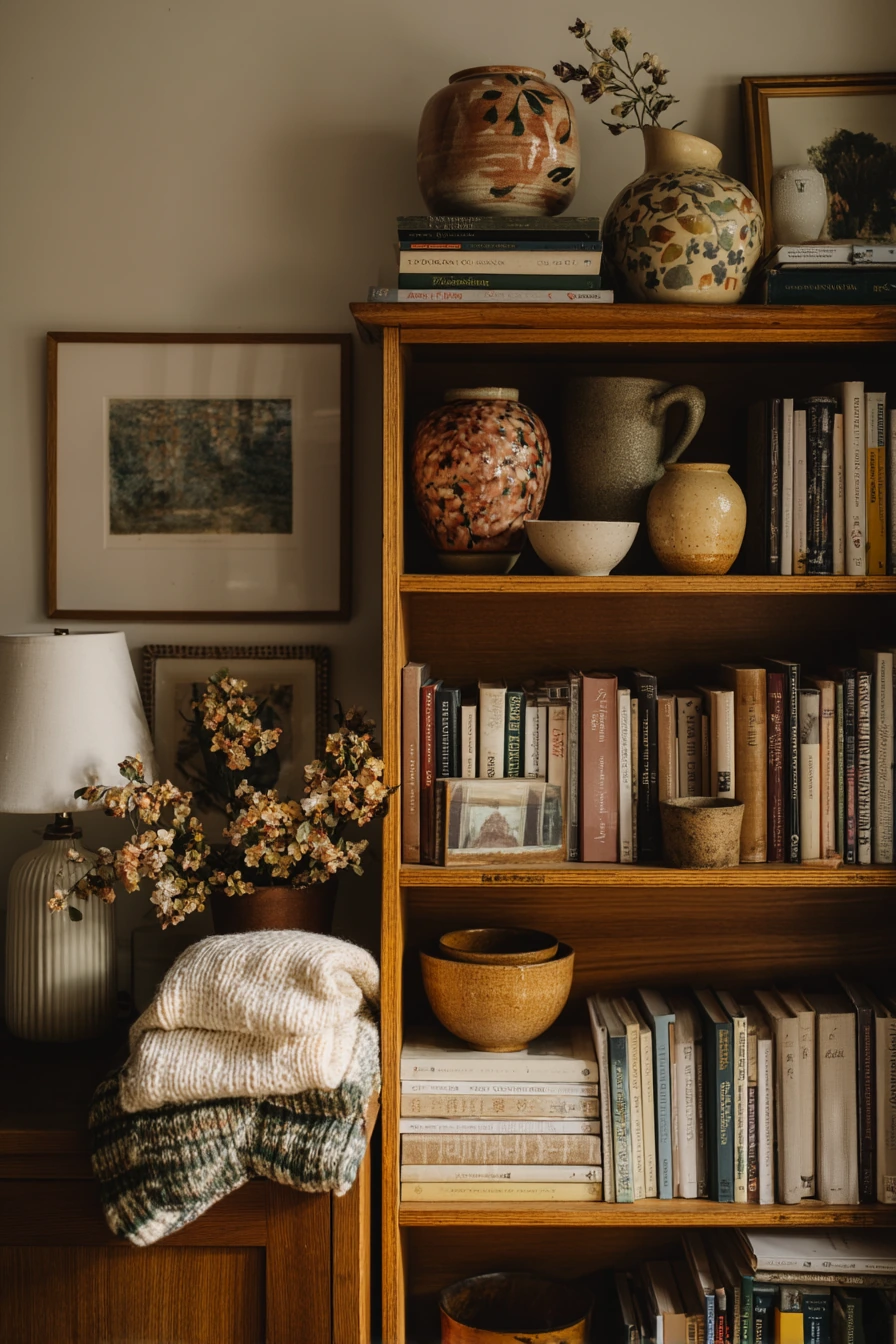
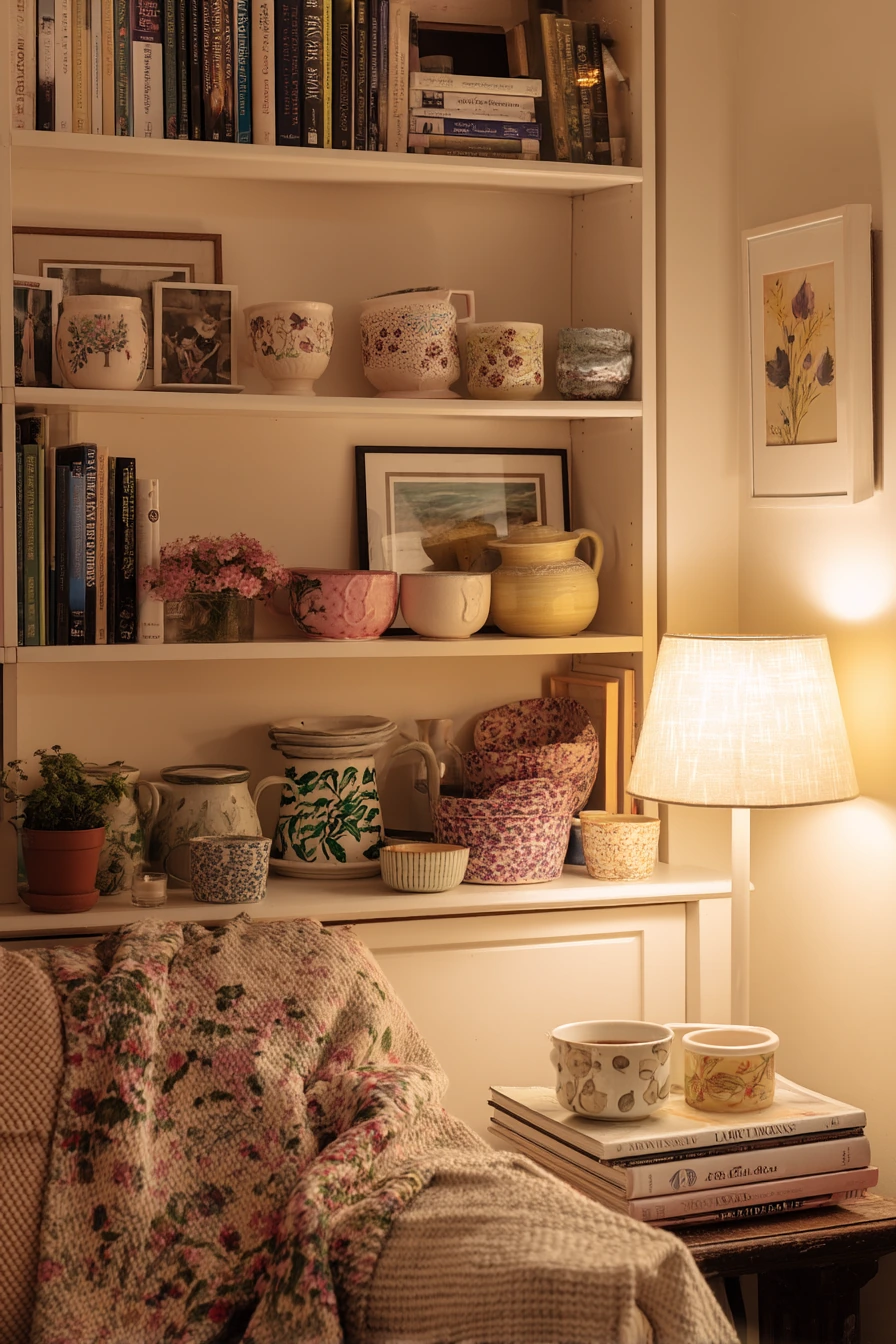
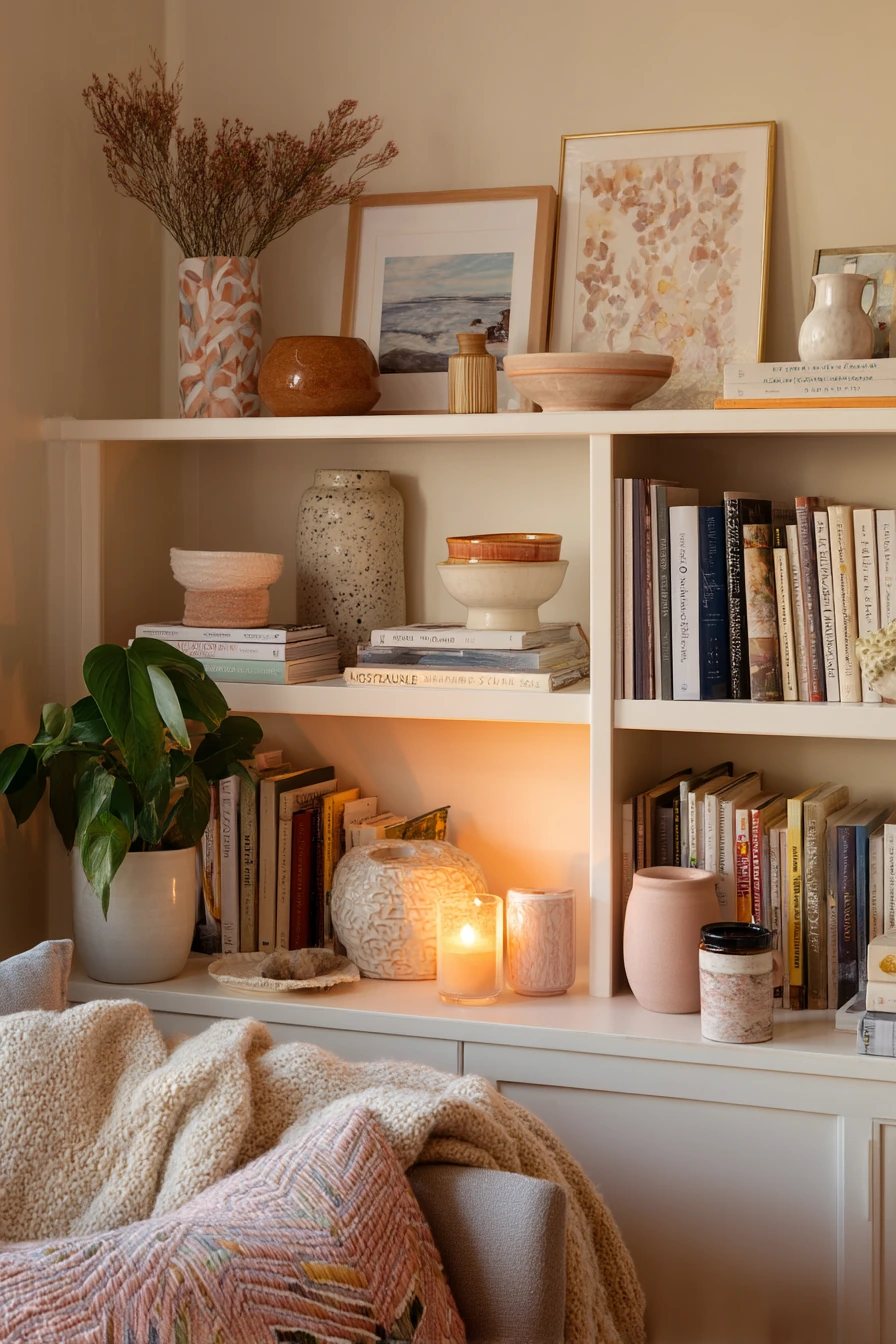
A cozy living room bookshelf is a smart place to display small painted pots, even if they are not all planters. A collected group with soft florals, simple geometrics, and faded stripes adds color among paperbacks, a ceramic bowl, and framed snapshots. In the evening, a reading lamp glow makes these small details stand out without feeling loud.
For bookshelf styling, choose lighter pots so the shelf does not look heavy. Use a mix of patterns, but keep the colors related, like dusty blue, warm cream, and soft green. If you paint florals, keep them simple, like tiny leaves or small petal clusters. For stripes, soften the look by dry-brushing the edge so it looks slightly worn. If a pot holds a plant, choose one that can handle indoor light levels, like a pothos cutting or a small snake plant.
How to style it: place one pot on a stack of books for height, and tuck another beside a framed photo. Leave some empty space so the shelf can breathe. Use pots as small holders for matches, loose change, or a TV remote on the lower shelf. Keep the coffee cup and throw nearby, but do not crowd the shelf with too many small items.
- Use odd-number groupings, like three or five pots, across shelves.
- Pair patterns with solids so the eye can rest.
- Keep pots near the front edge so they are visible.
- Mix matte and slight sheen for texture without clutter.
- Dust shelves often so painted details stay crisp.
Pro Design Tip: Pick one pattern type as the main theme, like stripes, then add one floral pot as an accent so the shelf looks curated.
Budget Considerations: Paint pots you already have and style them with books you own; you can swap in printable art instead of buying new frames to refresh the shelf.
Painted pot ideas work in every room because they can be both decor and storage. With a few simple colors and a clear plan, you can make pots that match your kitchen, bedroom, bathroom, entryway, or balcony.
Keep your palette tight, protect surfaces with saucers or trays, and seal pots when water and humidity are involved. Small styling choices, like grouping in threes and varying height, help the finished look feel calm and lived-in.
FAQ
1) What paint works best for painted terracotta pots? Acrylic craft paint, chalk-style paint, or mineral paint work well. Seal the outside if the pot will be handled or wiped often.
2) Do I need to seal painted pots? Seal is helpful for kitchens, bathrooms, and catchall pots. For outdoor planters, use an exterior-rated sealer.
3) Can I paint pots that will hold edible herbs? Yes, paint the outside only and avoid painting the inside rim where water might soak in. Let paint and sealer cure fully before use.
4) How do I stop water from damaging shelves and counters? Use saucers, trays, or inner liner pots. Add felt pads under catchall pots and wipe spills right away.
5) How do I get clean stripes and color blocks? Use painter’s tape on fully dry paint, press edges down well, and remove tape slowly while the last coat is slightly tacky.
6) What are easy plants for painted pots? Pothos, snake plant pups, and many succulents are easy indoors. For kitchens, try chives, mint, parsley, basil, and rosemary.
7) How can I make mismatched pots look like a set? Use one shared color across all pots, repeat the same finish, and keep patterns simple and in the same scale.
Pick one idea and try it this week. Once you have a small set you like, it is easy to repeat the look in another room.