
Tree stump fairy garden ideas are a simple way to turn an old stump into a small focal point you can enjoy every day. You can build one in a backyard, on a front porch, on a patio, or even indoors near a bright window.
This post shows 10 realistic ways to style a tree stump fairy garden using easy materials like moss, pebbles, tiny houses, thrifted figurines, and small lanterns. Each setup includes quick “how to style it” steps, plus a pro design tip and a budget note.
If you found this on Pinterest, you will get clear guidance on what to place first, how to make paths and borders, and how to keep it looking neat. You will also learn renter-friendly options and kid-safe choices.
Use the ideas as a plan, then adjust for your space, light, and weather. Even a small stump can hold a path, a bench, and a few plants that make the whole corner feel finished.
1 Backyard Tree Stump Fairy Garden with Kid-Friendly Magic
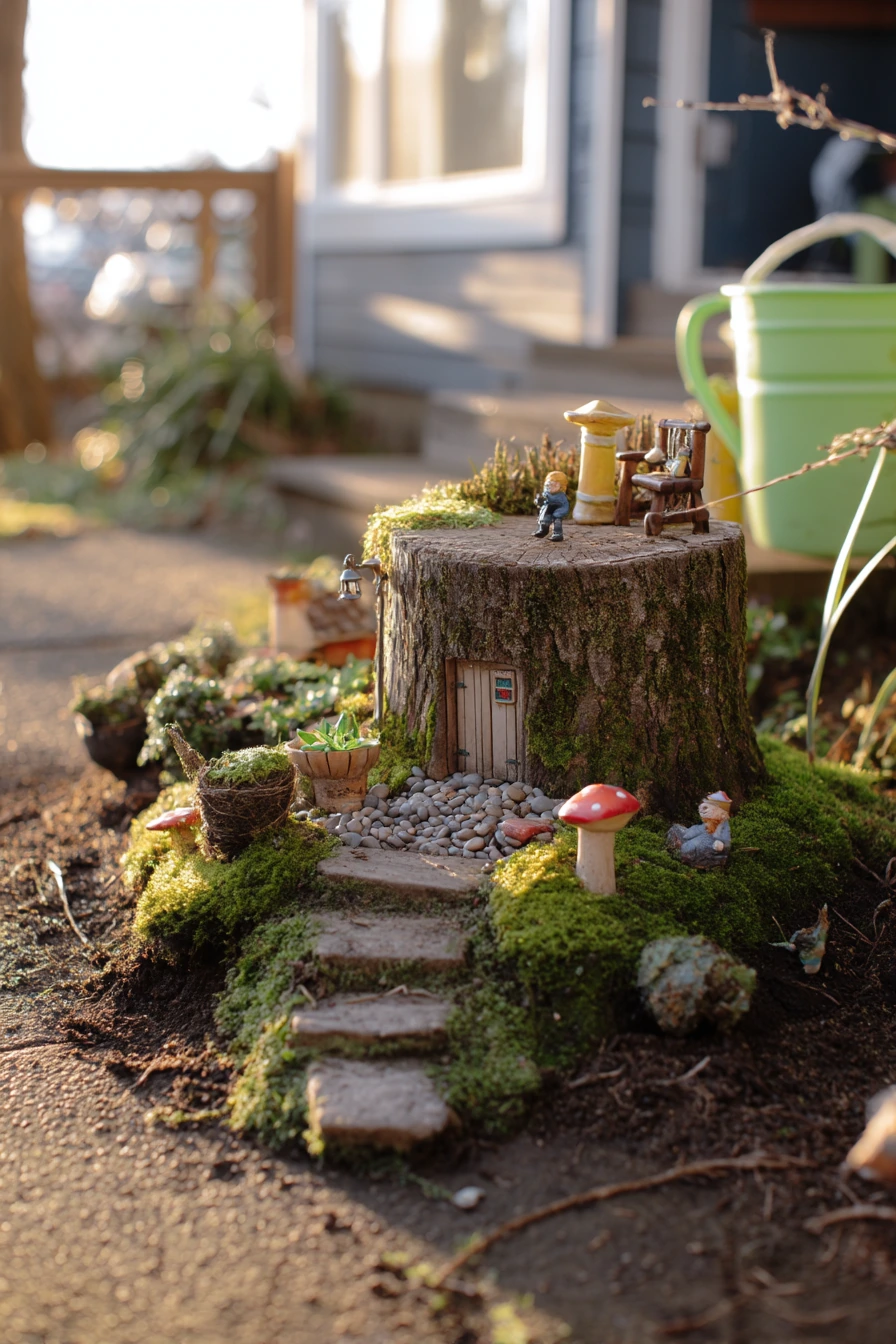
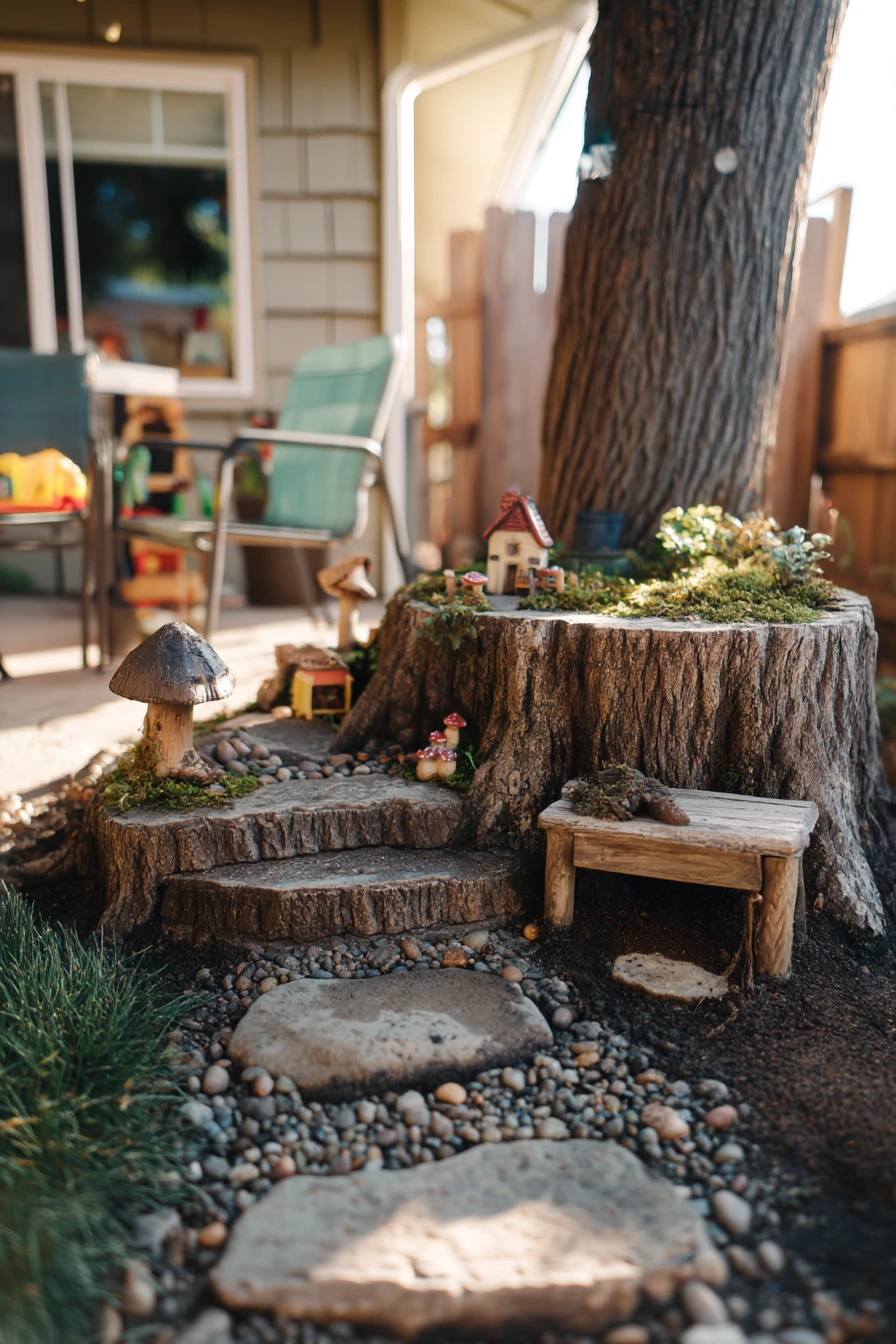
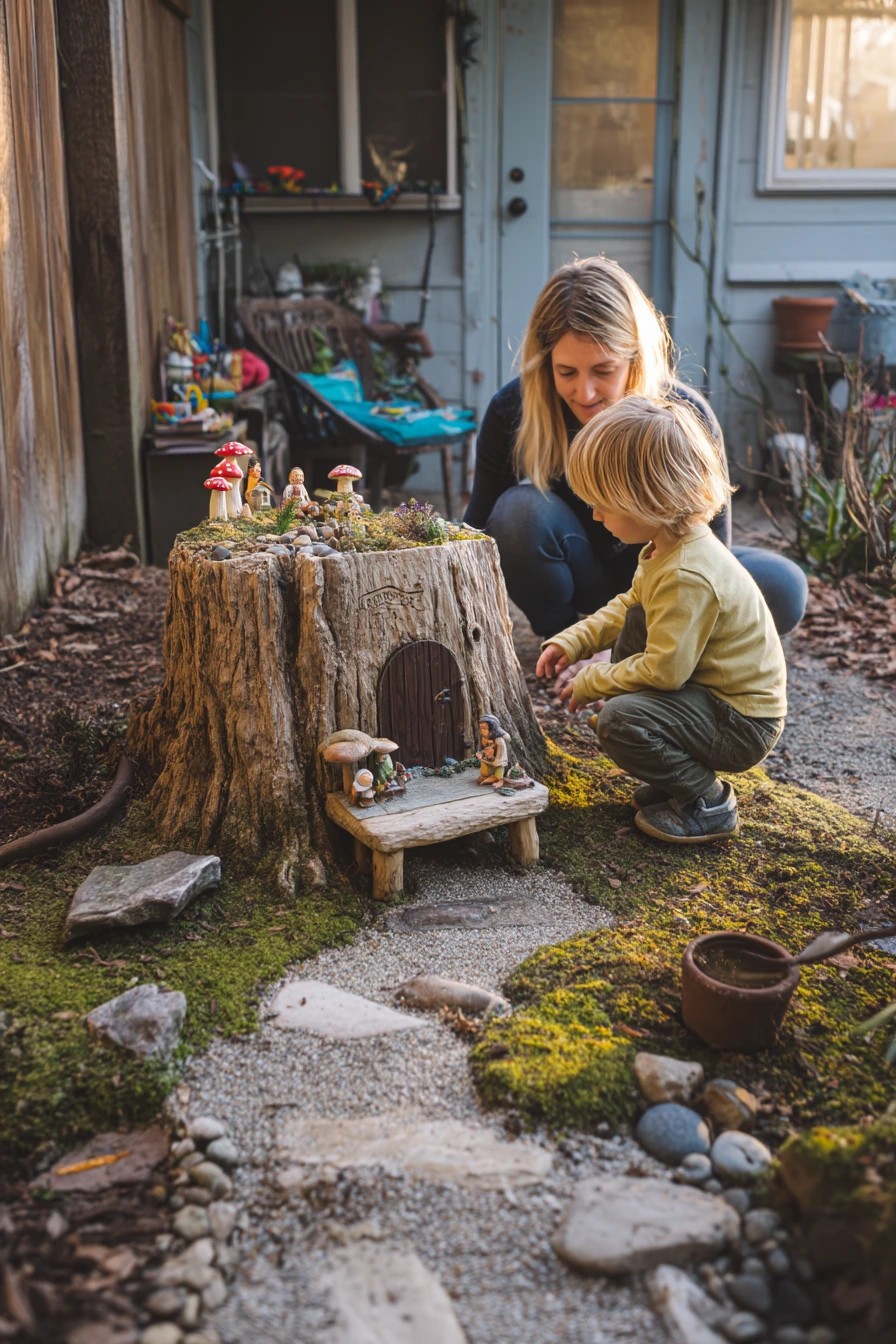
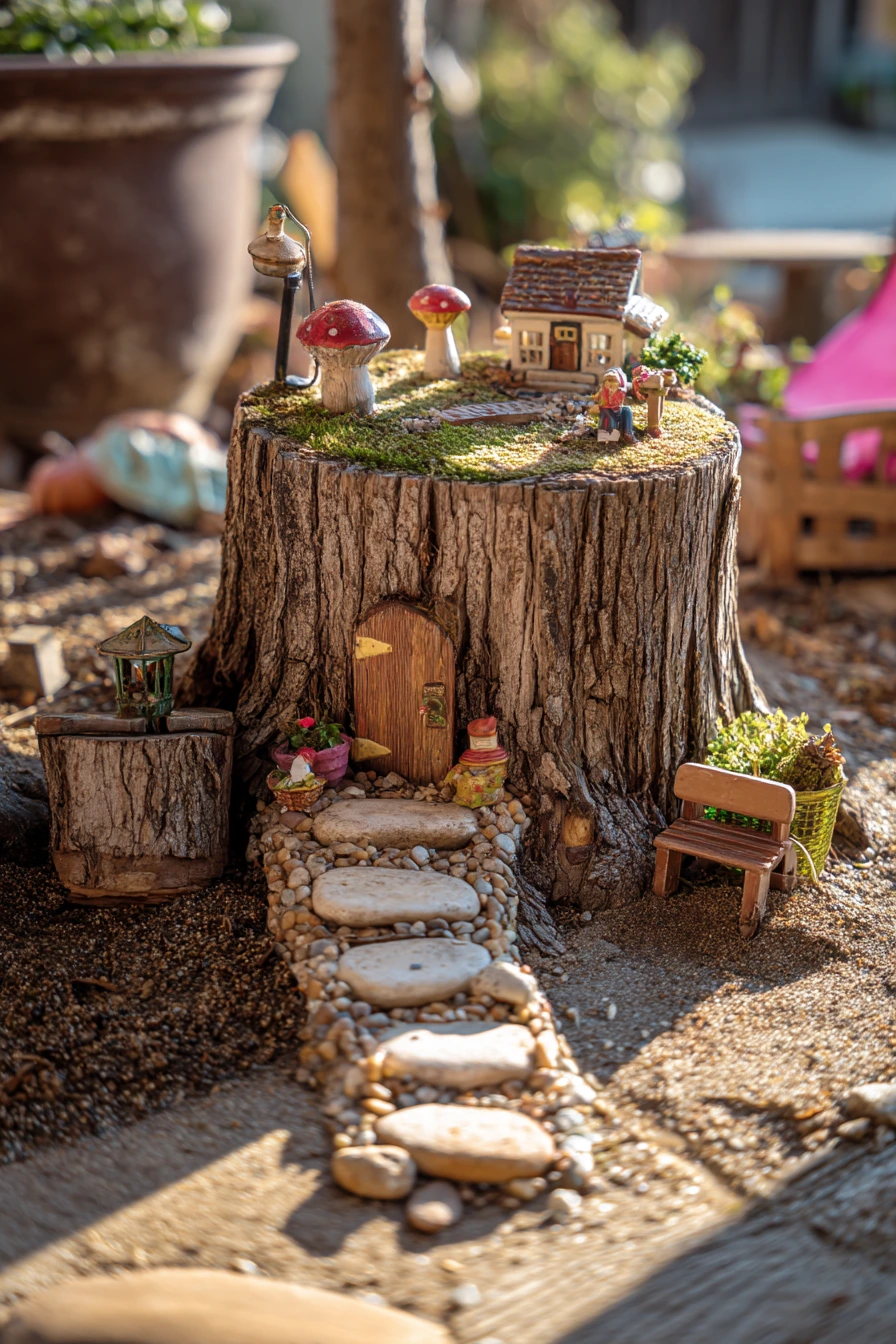
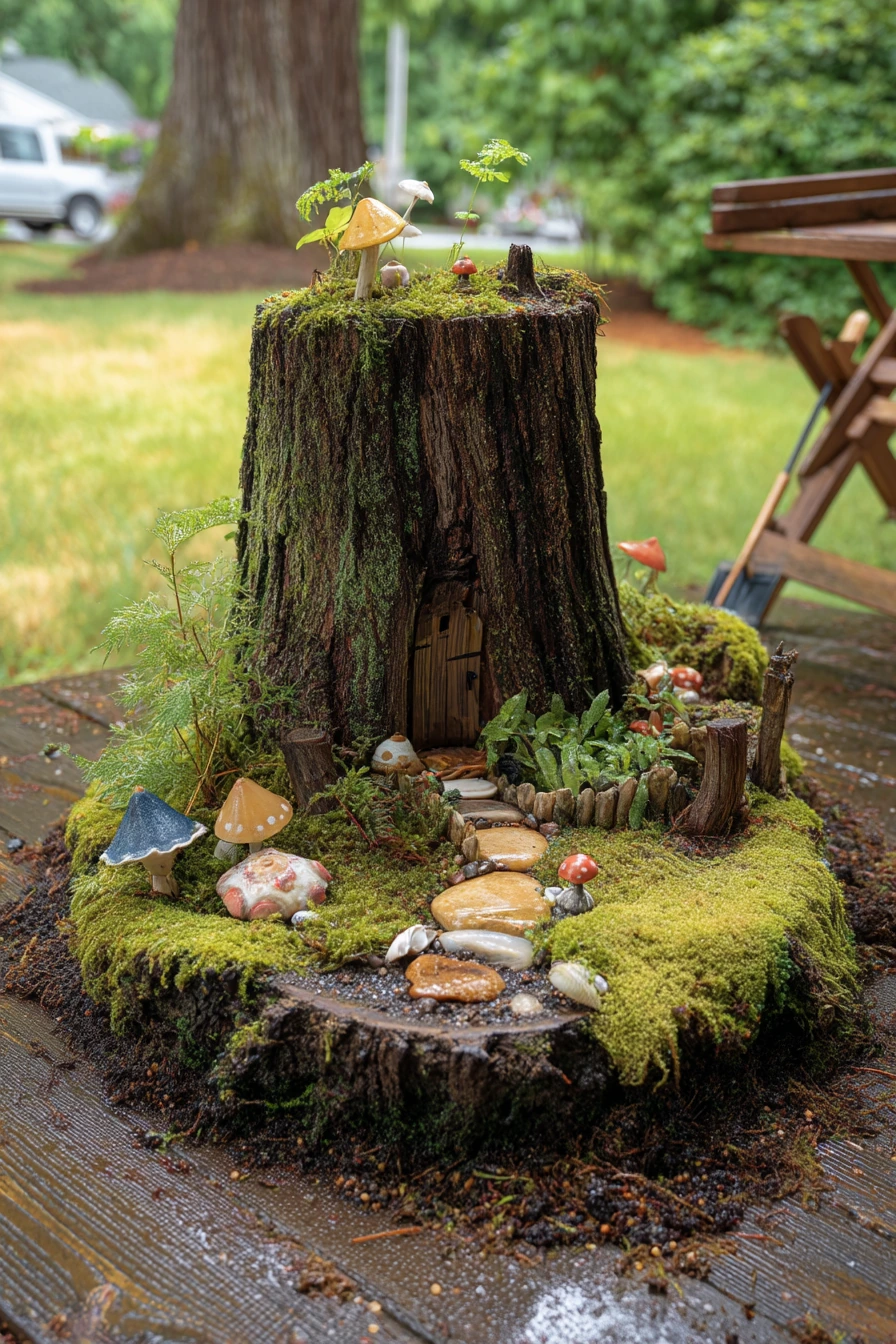
For a family backyard, a weathered tree stump is the perfect base because it already looks natural and sturdy. Start with a simple layout that has a mossy miniature path circling the stump, then add pebble steps to guide the eye toward tiny mushroom houses. Keep it playful by using thrifted figurines and a small brass lantern as the “main” accessory.
To make it feel like a real part of daily life, style it near where you already do garden tasks. A plastic watering can, garden gloves on a patio chair, and a toy basket by the back door help the scene feel lived-in. If kids will help, let them place one item like a tiny bench, then you adjust spacing so it does not look crowded.
How to style it: place bigger items first (houses, lantern), then build the path last so it fits. Press moss into the soil and mist it so it settles. Add a few larger pebbles at turns in the path to look like “steps.” Finish with one small focal point at the front, like a bench facing the lantern, so photos have a clear subject.
- Use flat stones for stable pebble steps that do not tip.
- Mix two moss types to add texture, but keep colors similar.
- Place mushroom houses in a triangle shape, not in a straight line.
- Hide the lantern base behind a stone so it looks tucked in.
- Leave a small “open” area so the garden does not feel busy.
Pro Design Tip: Repeat one material in three places, like the same pebble color in the path, around the houses, and near the bench, so the whole stump looks planned.
Budget Considerations: Thrifted figurines and mini benches are often cheapest in mixed bags at thrift stores; you can repaint them with leftover outdoor paint.
2 Porch Stump Fairy Garden in a Small-Space Entry
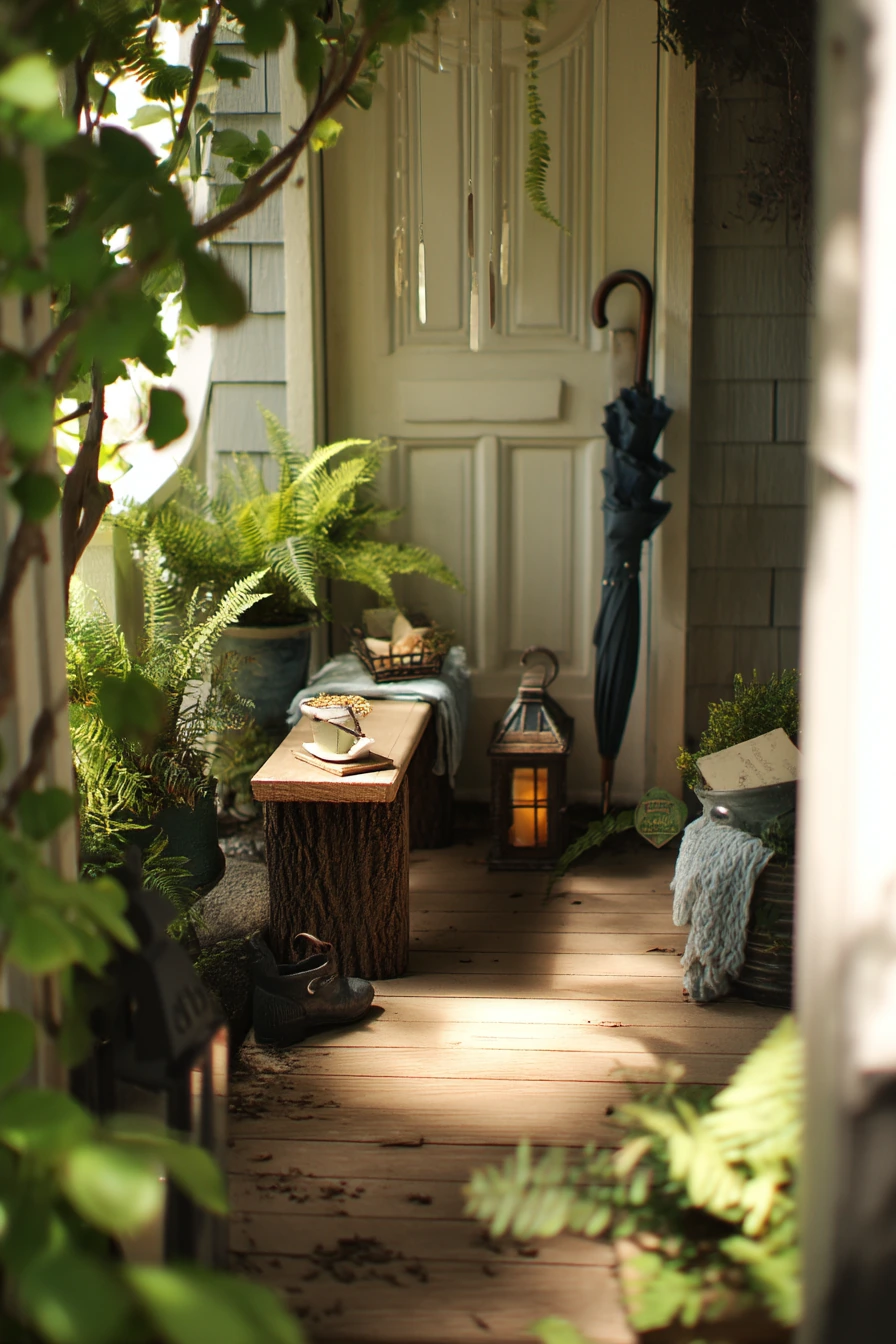
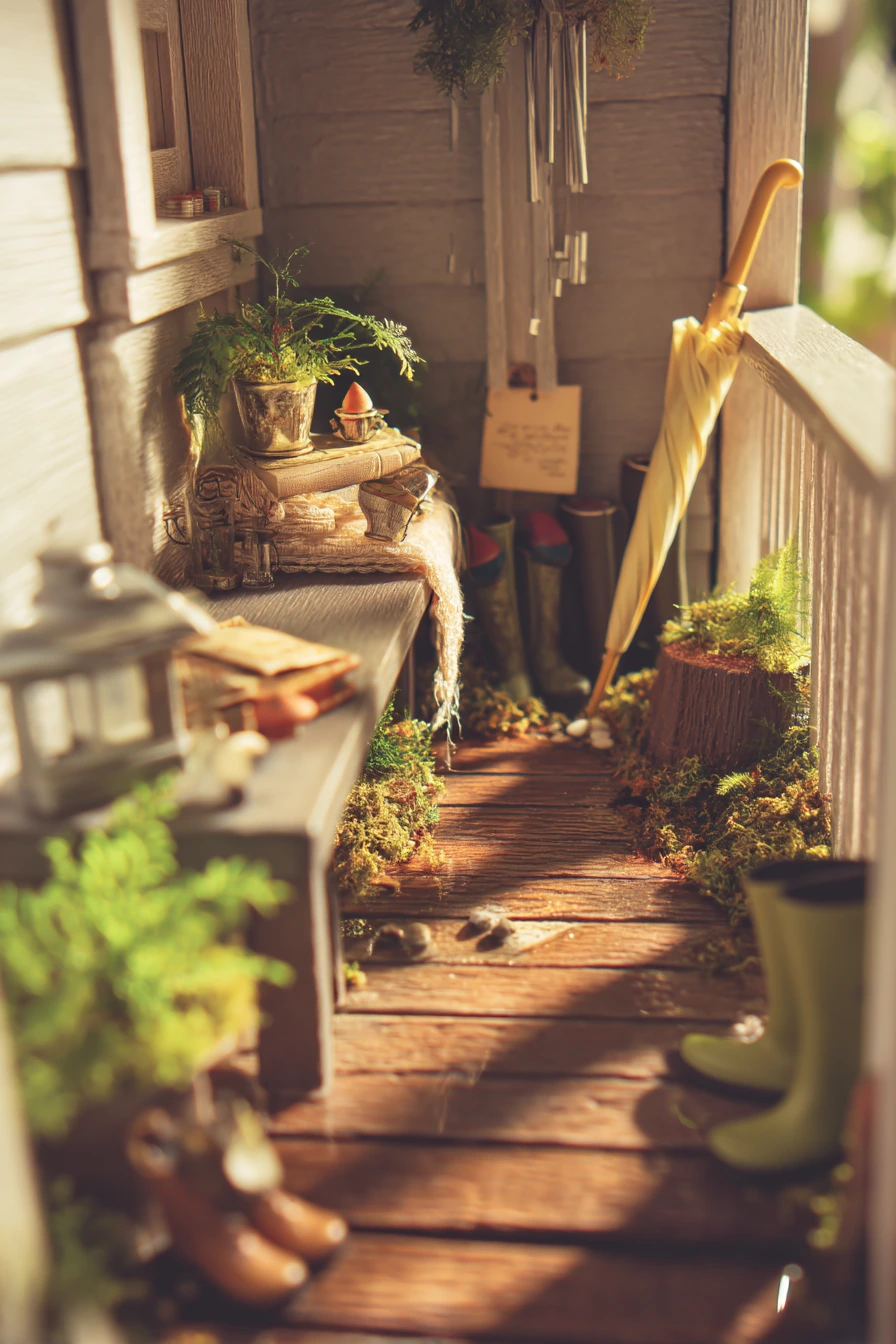
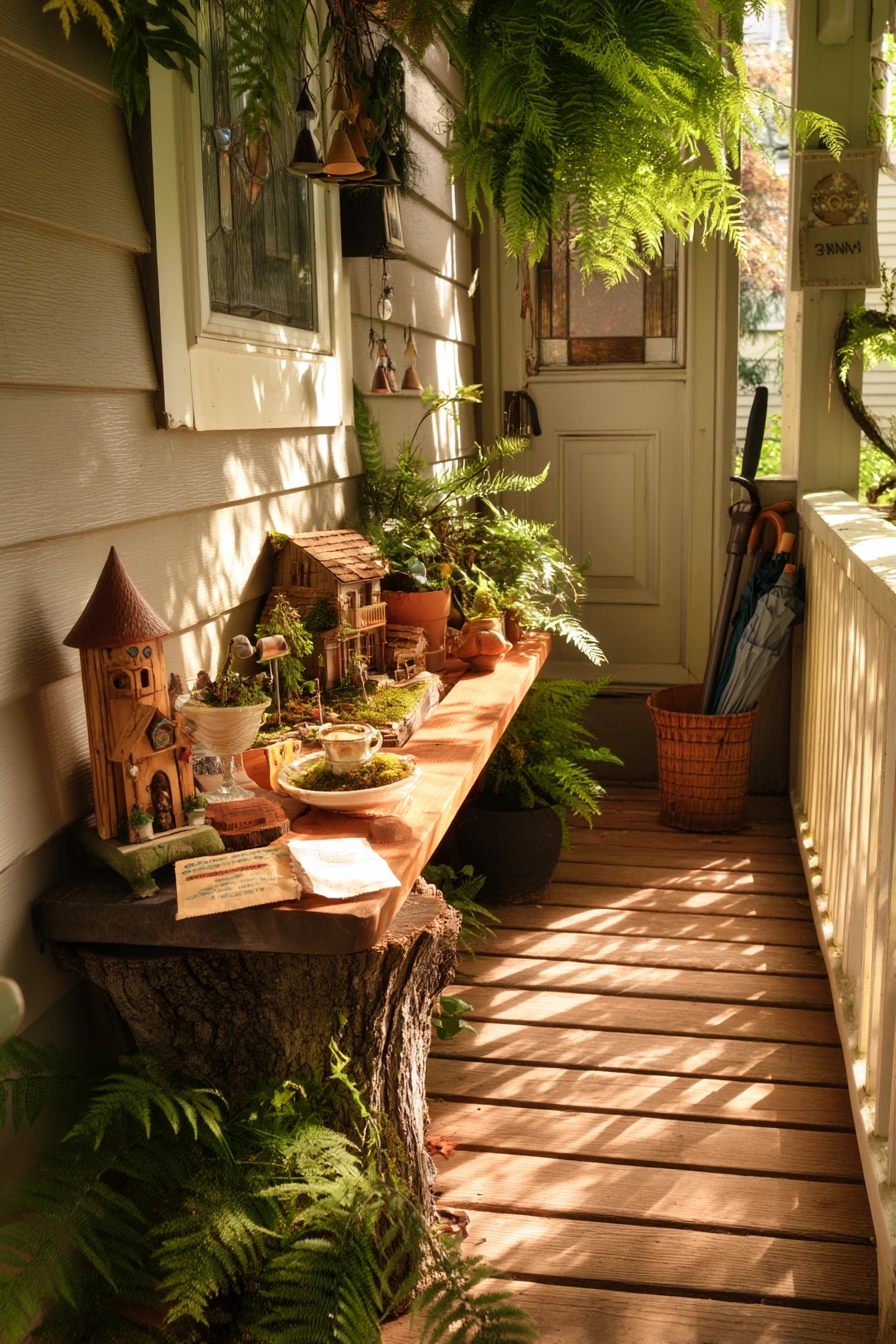
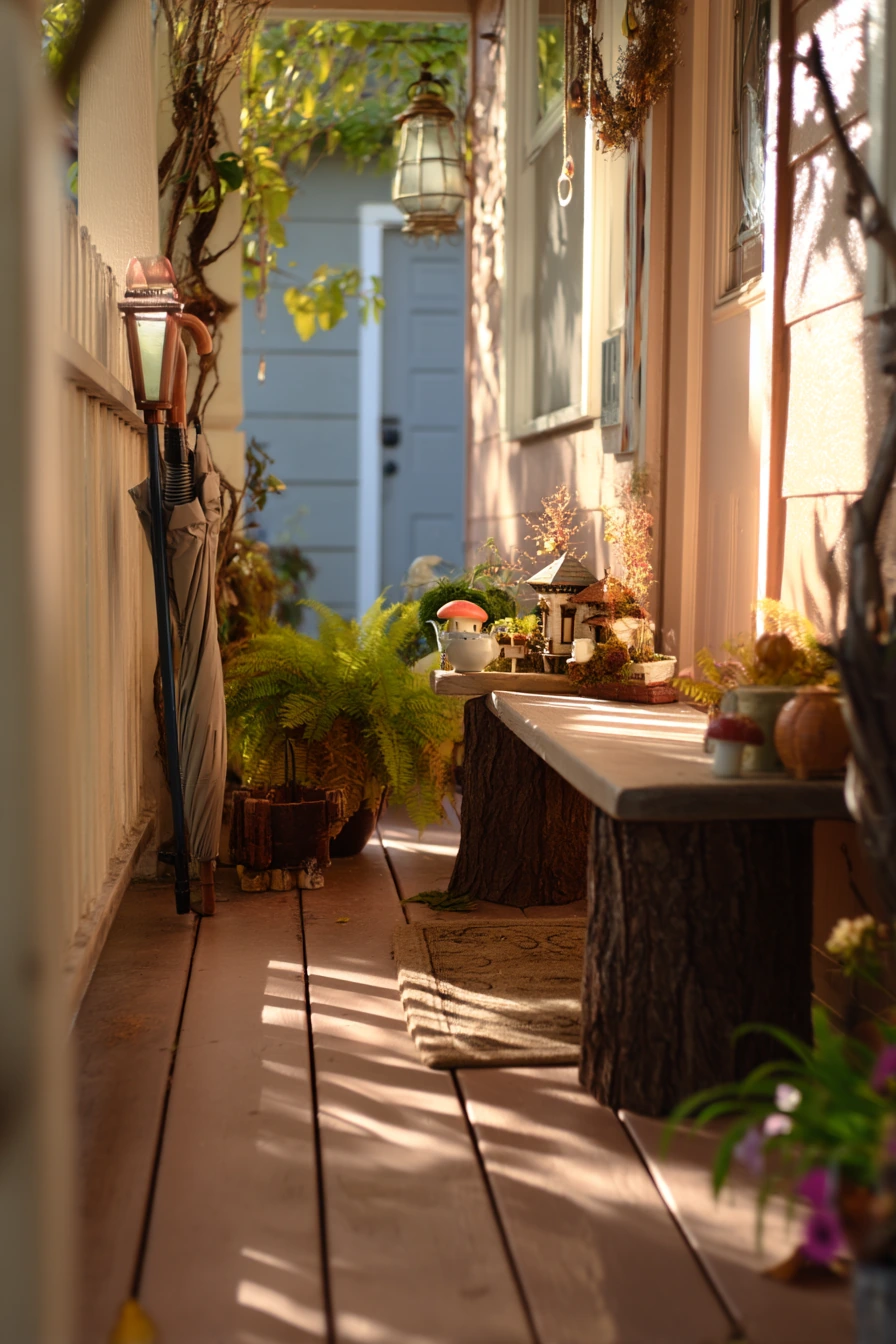
A narrow front porch is great for a tree stump fairy garden because it feels like a small welcome ritual near the door. Keep the arrangement compact: miniature cottages at the back, tiny fern clumps tucked into gaps, and a teacup planter for a pop of charm. Add wind chimes and a candle lantern to connect the garden to the porch decor you already use.
To make it believable and not staged, let normal porch items stay in view, like an umbrella stand and a small mail stack. A chipped watering can is fine here, since it matches the relaxed look. If you have a bench with a slightly wrinkled throw, that soft texture helps the stump feel cozy, not like a store display.
How to style it: aim for one clear front view from the walkway. Use the door side as the “back wall” so the cottages sit against it and do not look lost. Place the teacup planter at the front corner to lead the eye in. Tuck ferns to one side only, so you still have negative space on the other side for the lantern and chimes.
- Choose low cottages so they do not block the door swing area.
- Use a shallow tray under the stump area if runoff is a problem.
- Group the lantern and chimes on the same side for balance.
- Pick one plant type (ferns) and repeat it in small clumps.
- Keep the front edge neat with a thin pebble line or bark chips.
Pro Design Tip: Match metals on the porch, like a brass-tone lantern with warm wind chimes, so the fairy garden feels like part of the entryway style.
Budget Considerations: Use a secondhand teacup and saucer as a planter; drill no holes by adding a layer of small stones under the soil for drainage.
3 Budget DIY Tree Stump Fairy Garden on a Patio

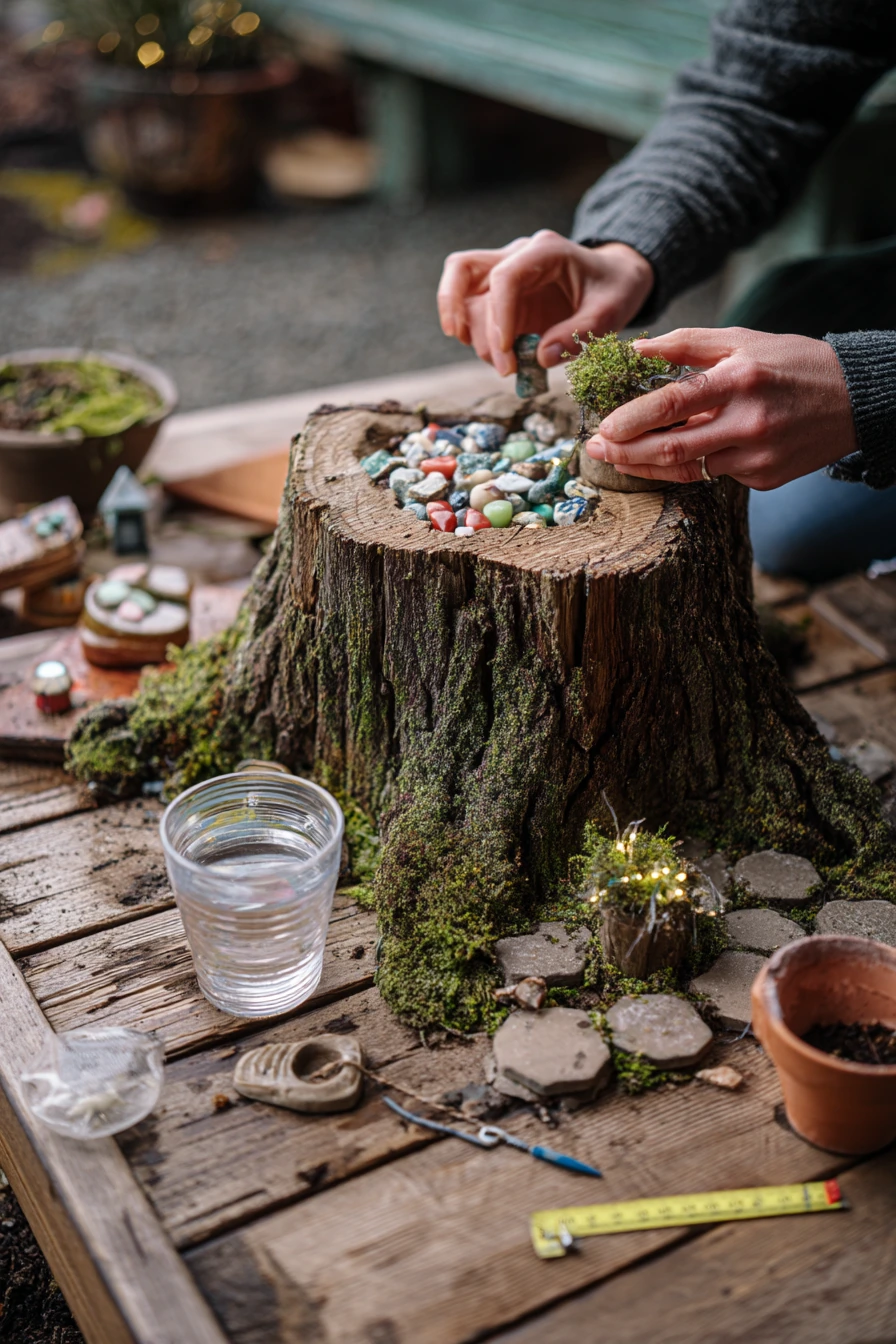
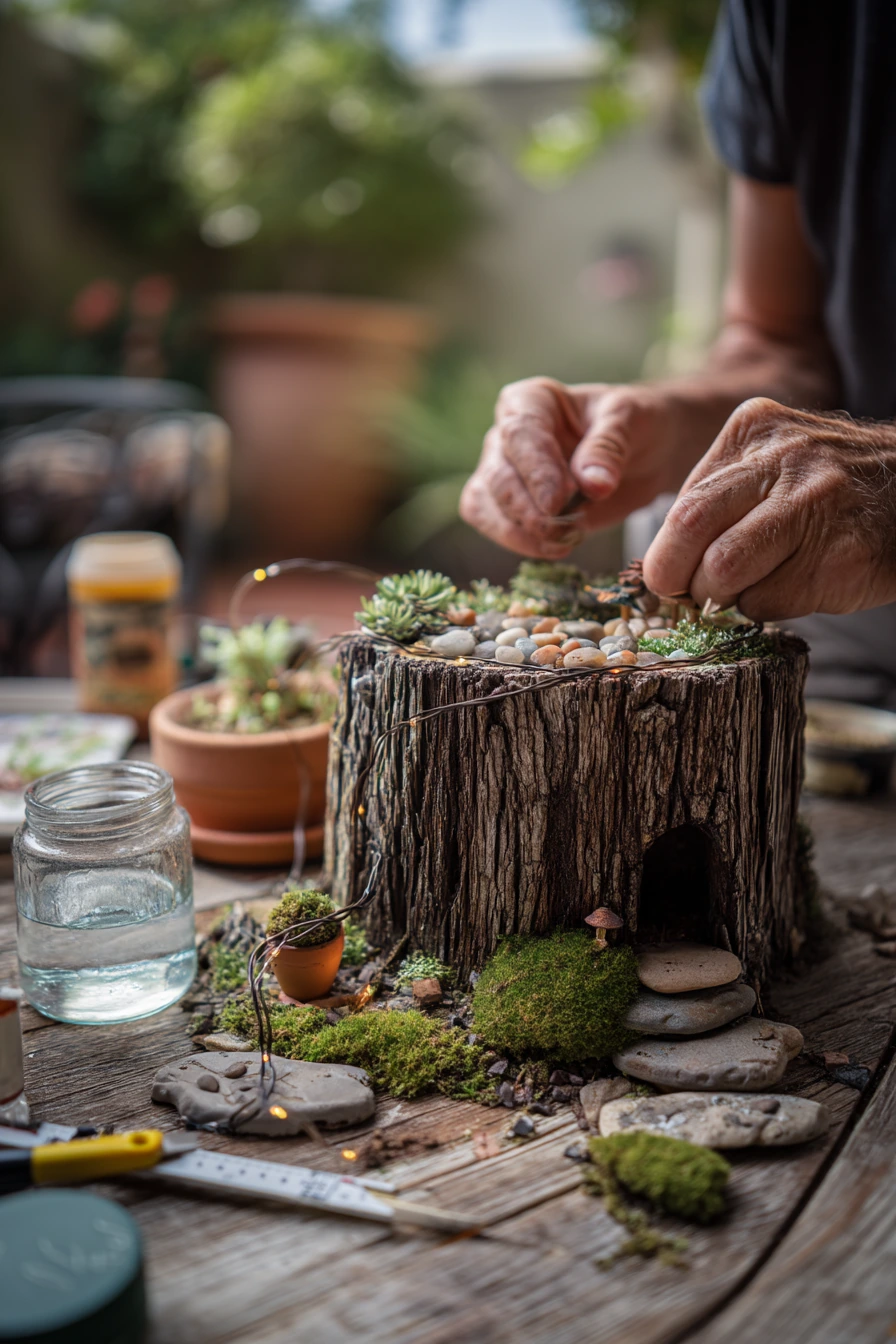
A small patio is the best place for a weekend DIY build because you can spread supplies out and work in steps. Start with the base: decide where the miniature bridge will sit, then shape a broken-saucer stepping stone path leading up to it. Painted pebbles add color without needing extra plants, and tiny terracotta pots help fill corners on the stump top.
Keep the scene realistic by leaving a few project cues nearby, like a half-open paint jar, a measuring tape, and a water glass on the side table. Save your garden center receipt in a clip or notebook so you can buy the same moss later. When you add fairy lights, wrap them around the stump in a loose spiral so they look intentional and are easy to remove for repairs.
How to style it: work from the center outward. Place the biggest element (bridge) first, then add stepping stones that point toward it. Build small “plant pockets” using moss in little clumps, and tuck terracotta pots into the pockets like tiny planters. Test the fairy lights at dusk before you finalize placement, so you do not hide the battery pack in a spot that is hard to reach.
- Seal painted pebbles with outdoor clear coat to reduce fading.
- Use broken saucers with sanded edges for safer stepping stones.
- Hide the light battery pack behind a pot or flat stone.
- Keep terracotta pots in odd numbers for a natural look.
- Leave one open strip for future additions, like a door or sign.
Pro Design Tip: Use one curved line in every layout, like a curved path and a curved light wrap, because curves make small scenes feel softer and more real.
Budget Considerations: Broken dishes and saucers can be free if you use your own or ask friends; just sand edges and use a strong outdoor glue.

4 Cottagecore Window Seat Tree Stump Display

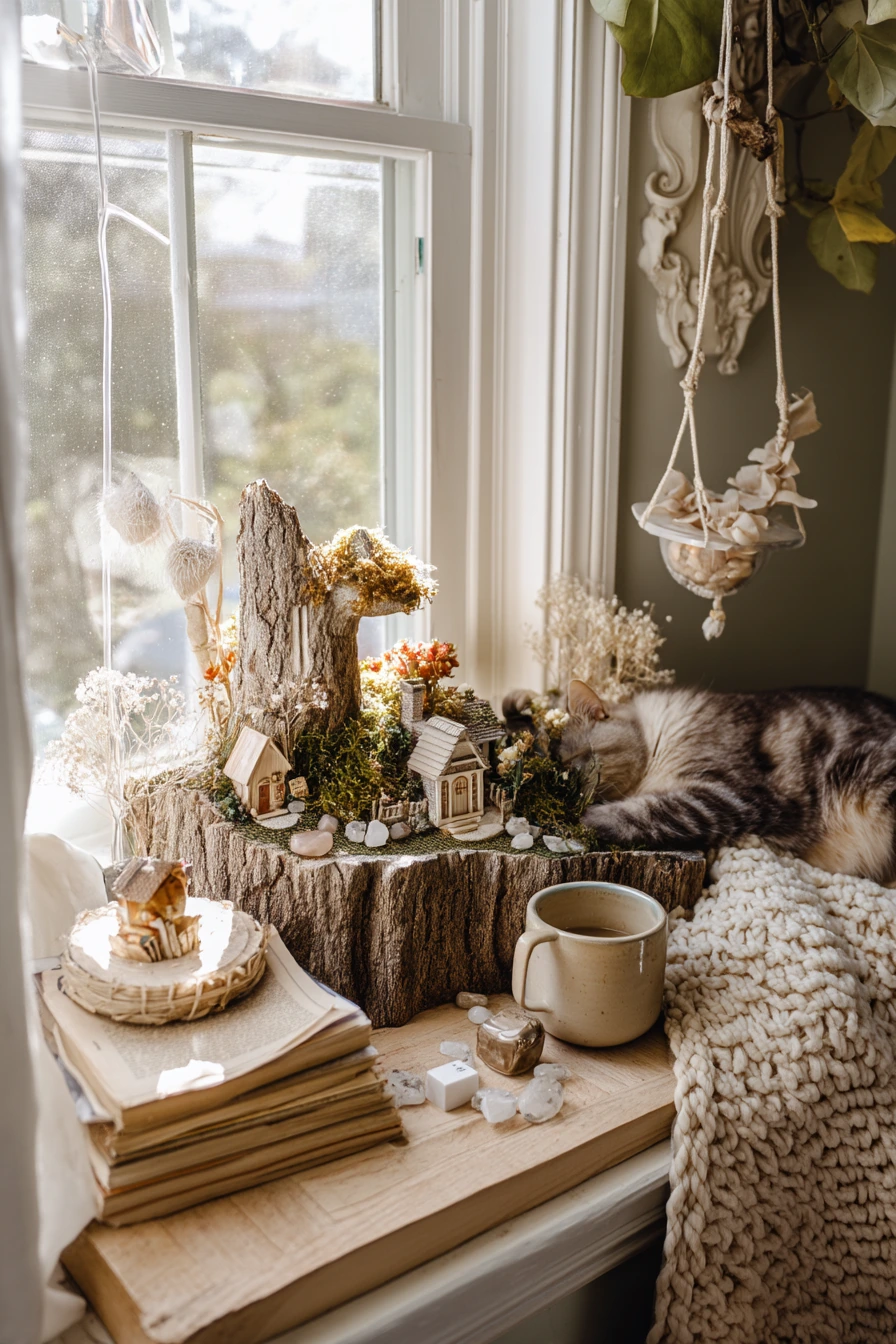
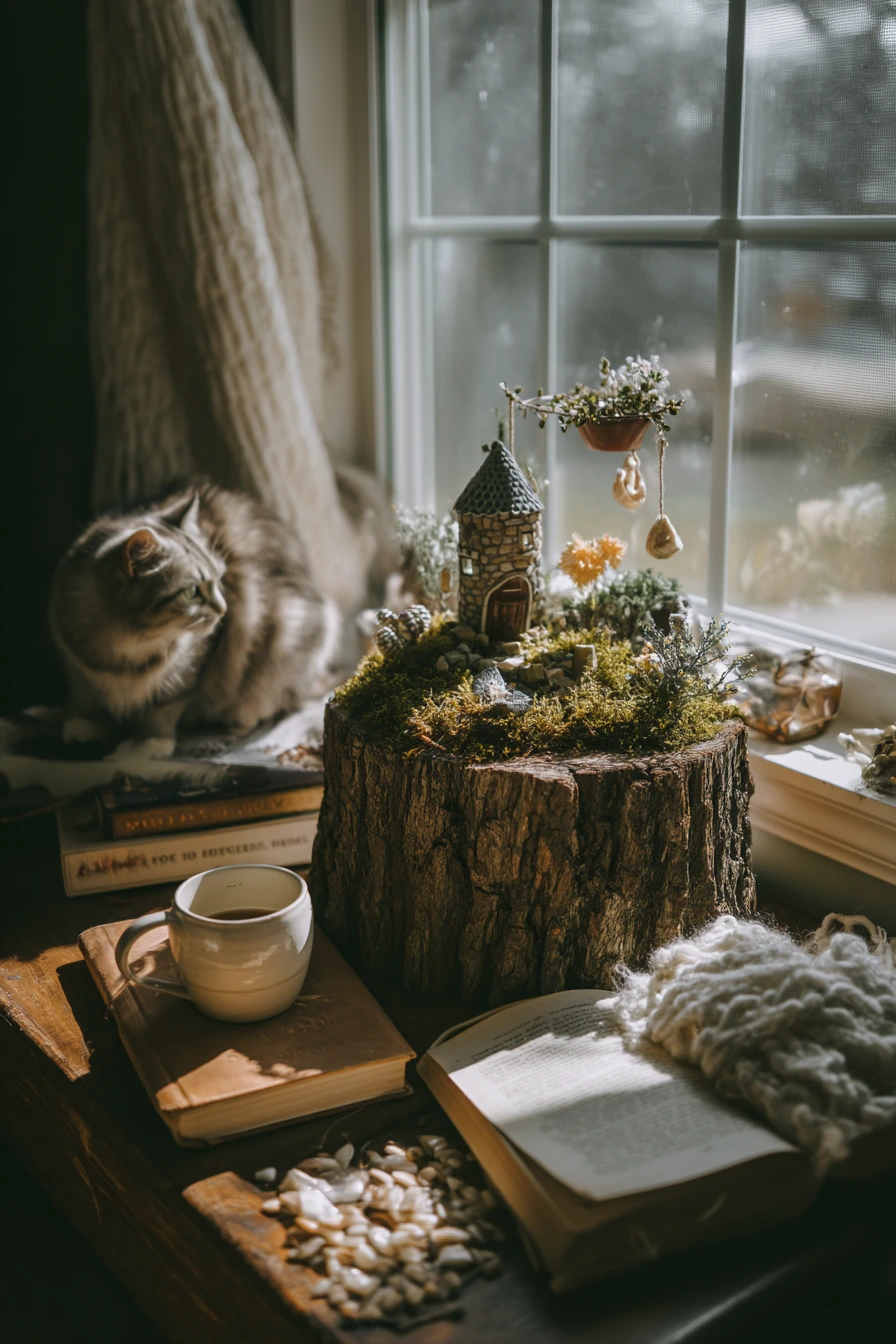
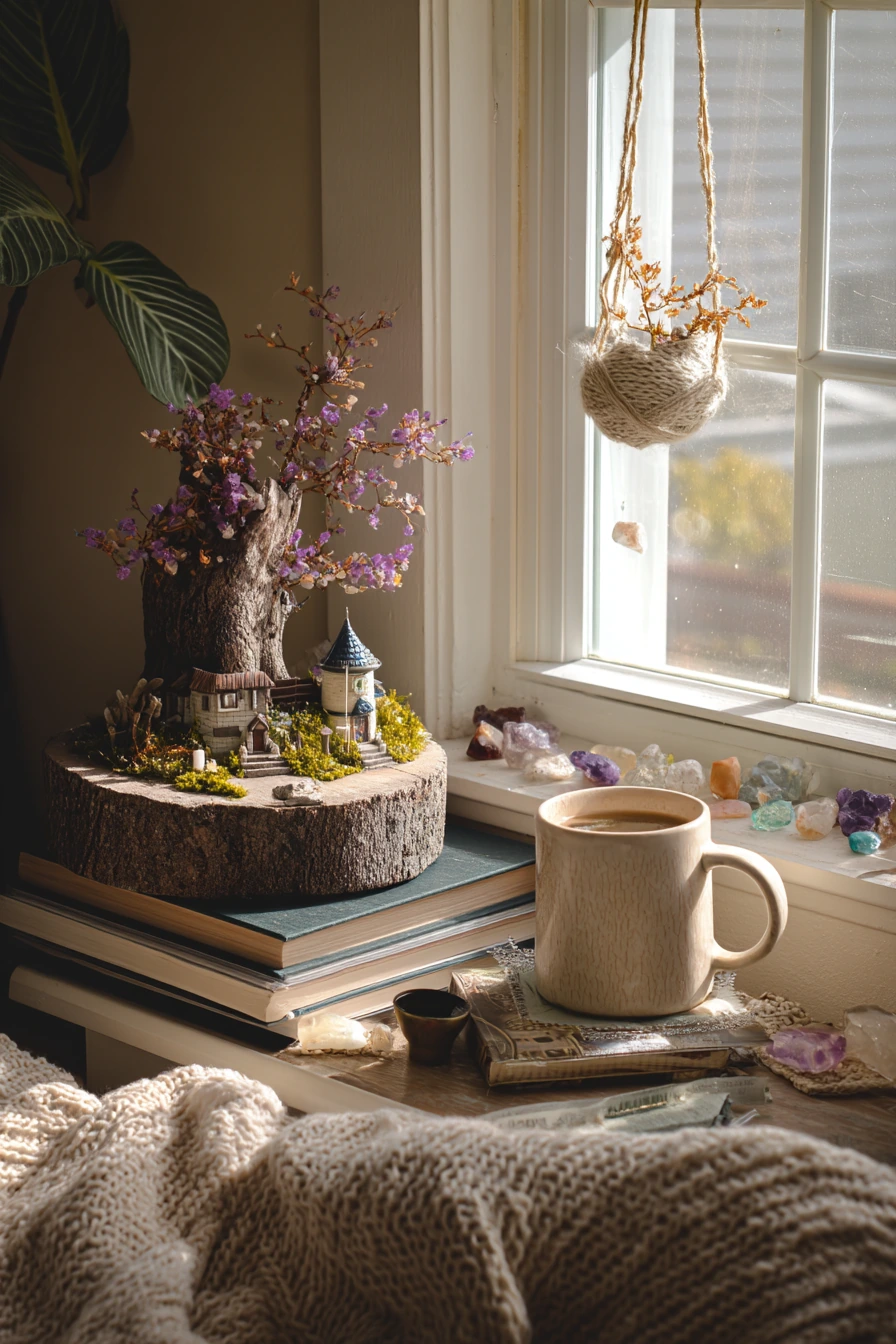
An indoor tree stump fairy garden can work as a calm display piece in a living room corner. Choose a stump slice or hollow stump that feels clean and stable, then add tiny cottages, moss, and dried flowers for color. Crystal pebbles can catch window light and make the scene look tidy without needing lots of items.
Make it feel like part of the room by keeping normal objects nearby, like stacked paperbacks, a charging cable, and a knit throw with soft creases. If you have a cat, plan for a “cat safe” edge by keeping small loose pieces away from the outer rim. A mug on a coaster nearby adds a homey cue and also reminds you to keep watering light, so moss does not drip.
How to style it: build a low base layer first with moss and a thin gravel strip, then set cottages on top so they do not sink. Use dried flowers at the back like a tiny backdrop, and keep crystal pebbles in one area, like a “stream.” Hang a miniature swing from twine, but keep it short so it does not tangle or pull when you dust.
- Use preserved moss indoors to reduce mess and shedding.
- Place cottages on small cork rounds to protect the stump surface.
- Keep tiny items in a shallow dish if you need to move them fast.
- Choose one accent color, like soft purple dried flowers, then repeat it.
- Dust with a small paintbrush to avoid shifting the layout.
Pro Design Tip: Create a simple “front path” even indoors, because a clear path gives the display a story and makes photos easier to frame.
Budget Considerations: Use dried flowers from grocery store bouquets and a small bag of craft pebbles; you do not need specialty miniatures to make it look finished.
5 Renter-Friendly Fairy Garden on a Balcony Stump
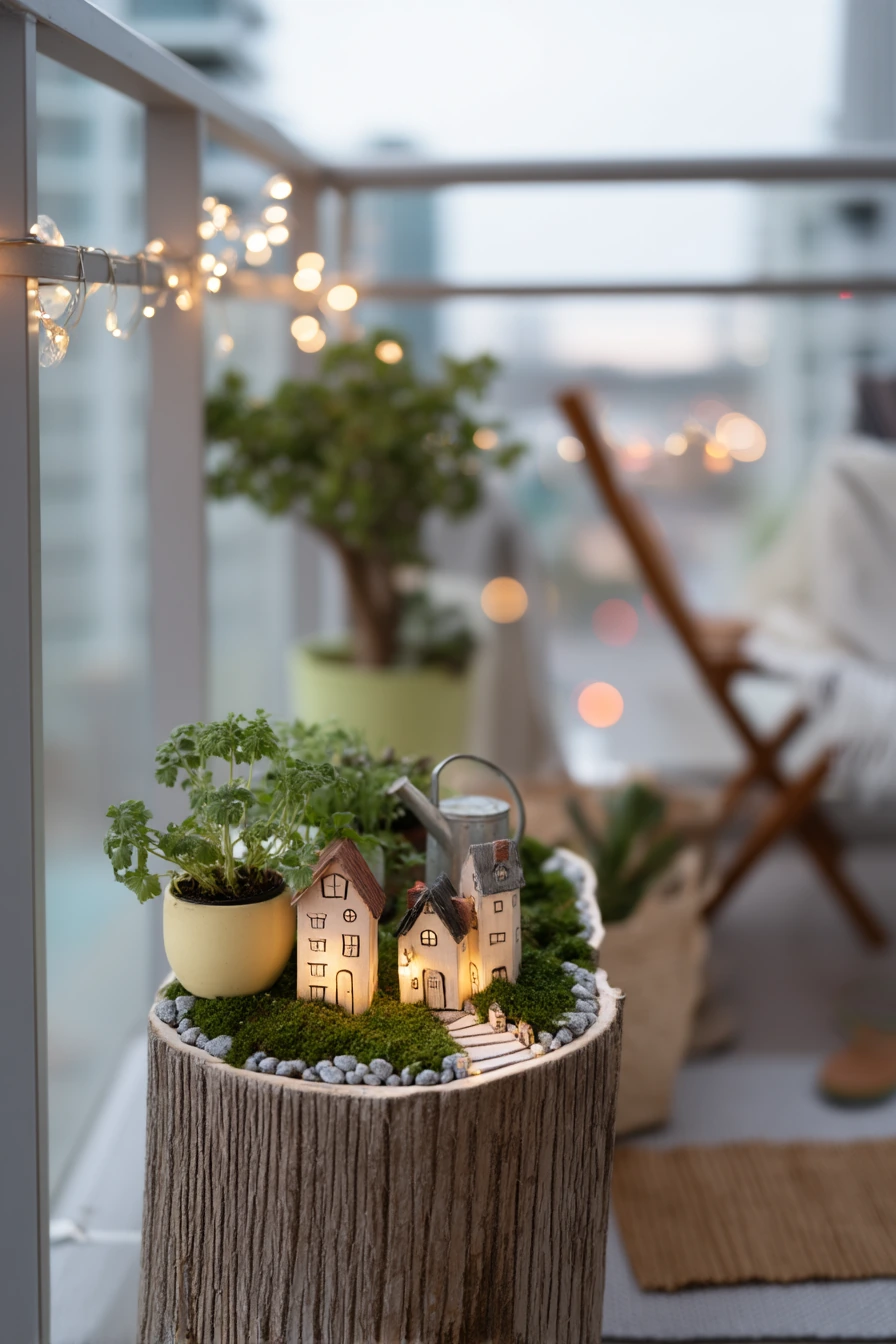
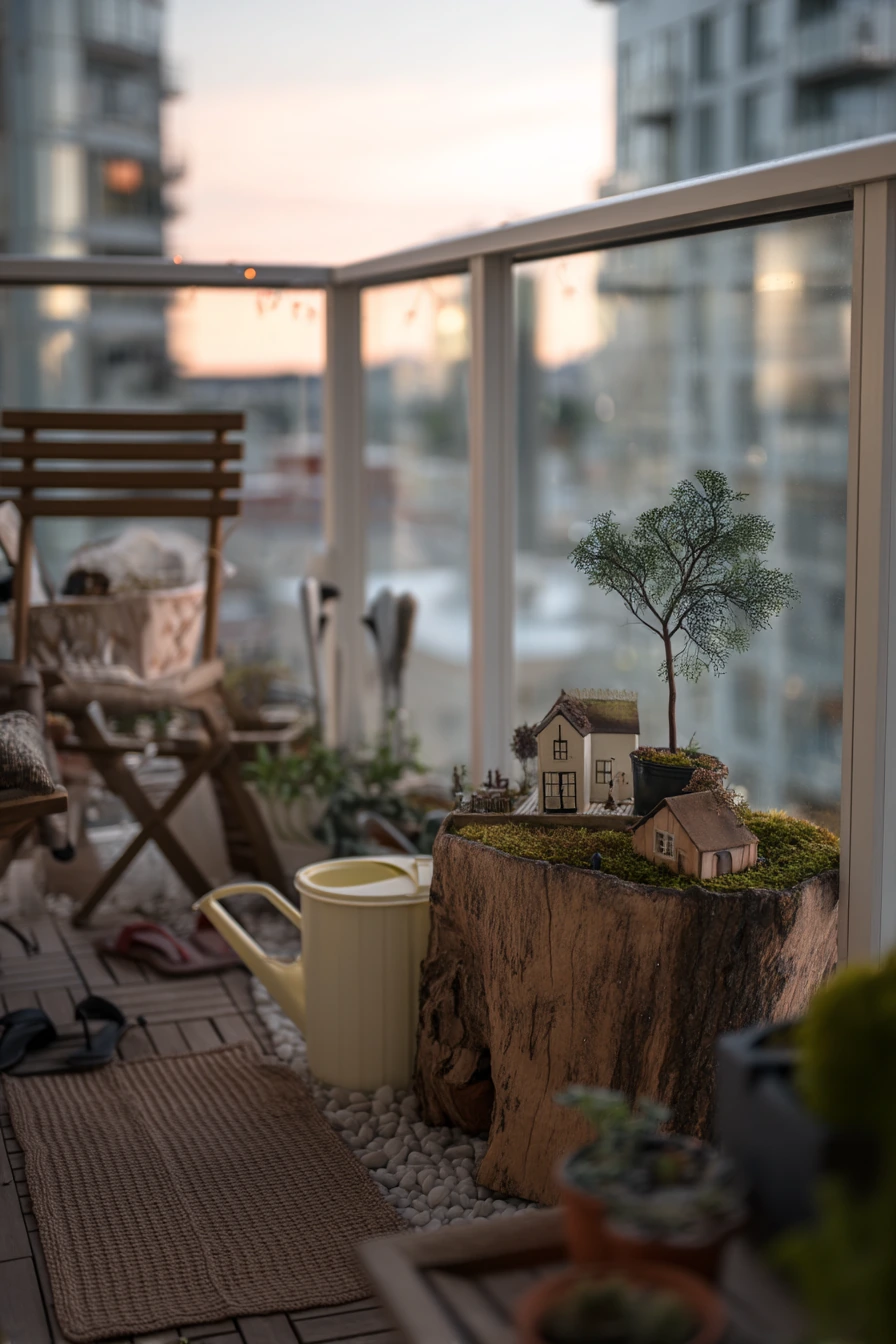
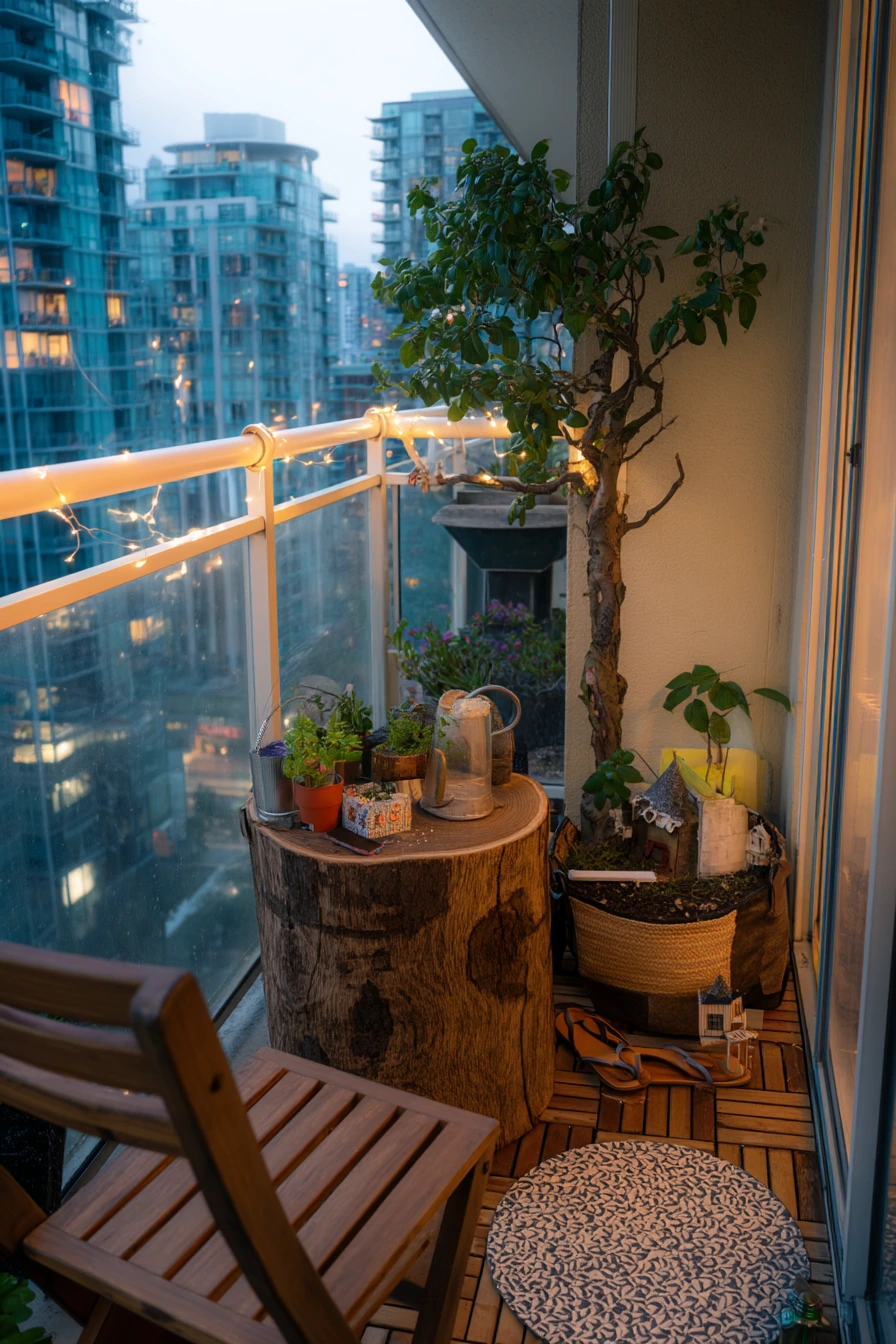
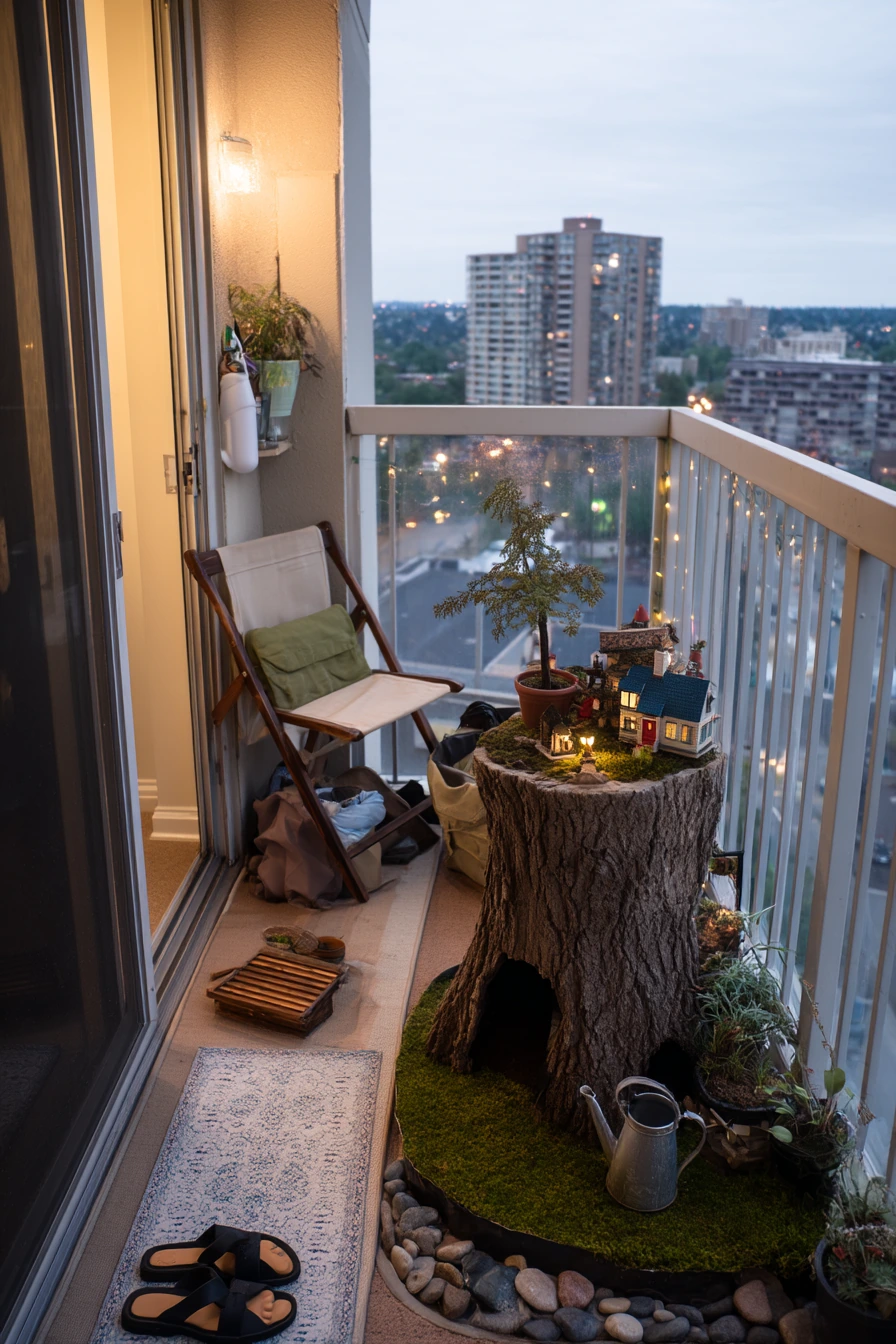
A renter-friendly balcony setup works best when the fairy garden is portable and easy to clean up. Use a tree stump planter or a stump-style container you can move without heavy tools. Add tiny resin houses, potted herbs, moss, and battery fairy lights so you do not need outdoor outlets. A removable pebble border keeps the edges neat and helps the scene look planned in a small space.
Keep the balcony feeling real and not overdone by leaving everyday items in place, like a folding chair, a laundry basket near the sliding door, and a watering jug. A pair of sandals by the mat adds a lived-in touch and reminds you to keep walking space clear. Since balconies can be windy, choose heavier decor pieces and avoid loose paper signs.
How to style it: put the planter against a wall or railing so it feels secure. Place herb pots behind the houses to create a green backdrop, then add moss in the front to cover soil. Lay the pebble border in a simple oval, and keep it removable so you can lift it and sweep. Wrap fairy lights around the stump edge and tuck the battery pack under the planter lip or behind a herb pot.
- Pick resin houses with flat bases so they do not tip on breezy days.
- Use herbs like thyme and mint for a tidy, useful green layer.
- Choose warm white battery lights for a softer evening look.
- Add a small saucer under the planter to protect balcony flooring.
- Keep one corner empty as a “handle” area for moving the setup.
Pro Design Tip: Use two height levels, like low moss in front and taller herbs in back, to make a small balcony garden look deeper in photos.
Budget Considerations: A basic planter plus a stump “wrap” look can be cheaper than buying a real stump container; use bark pieces or a faux wood sleeve.
6 Rainy Day Tree Stump Fairy Garden Under a Maple
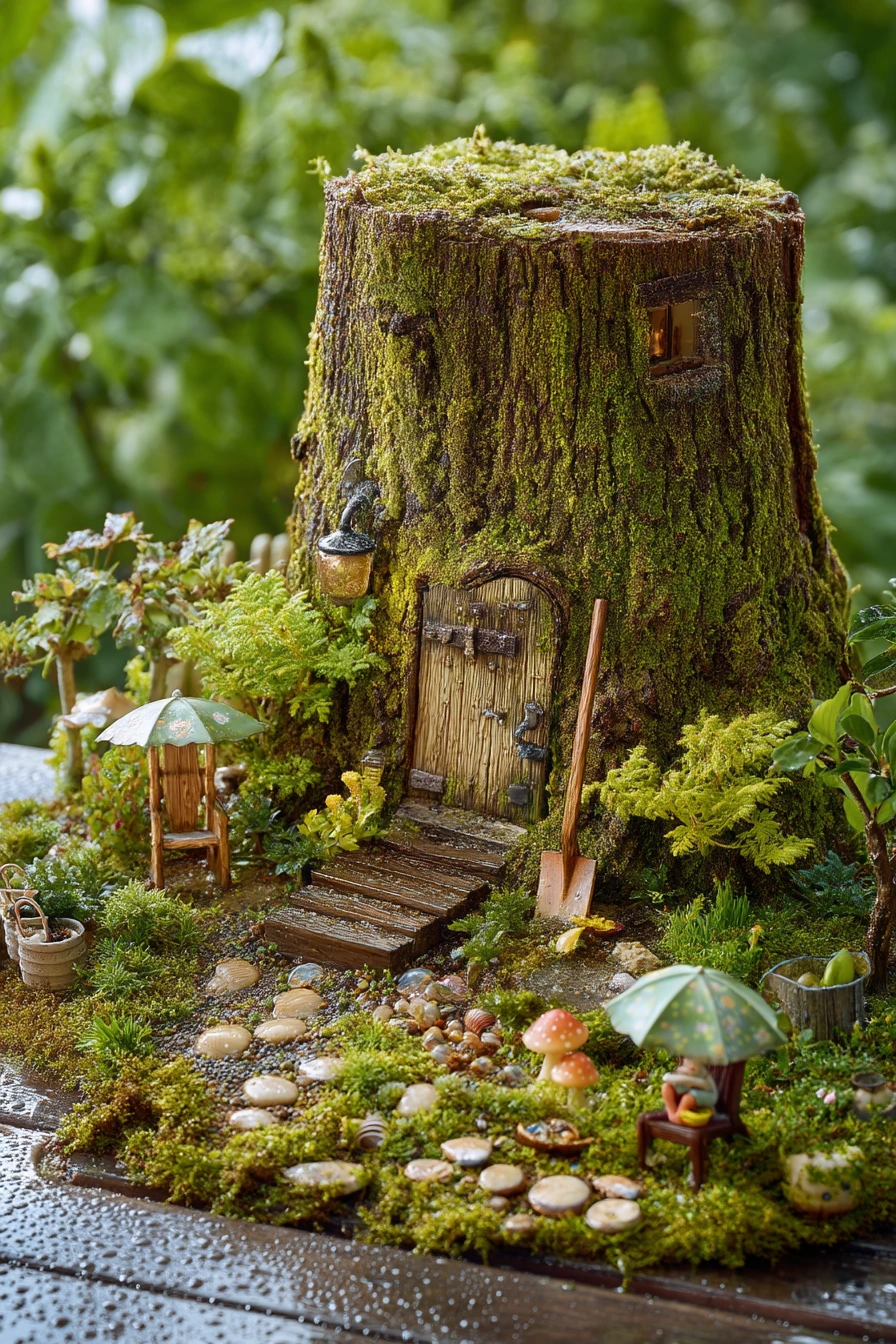
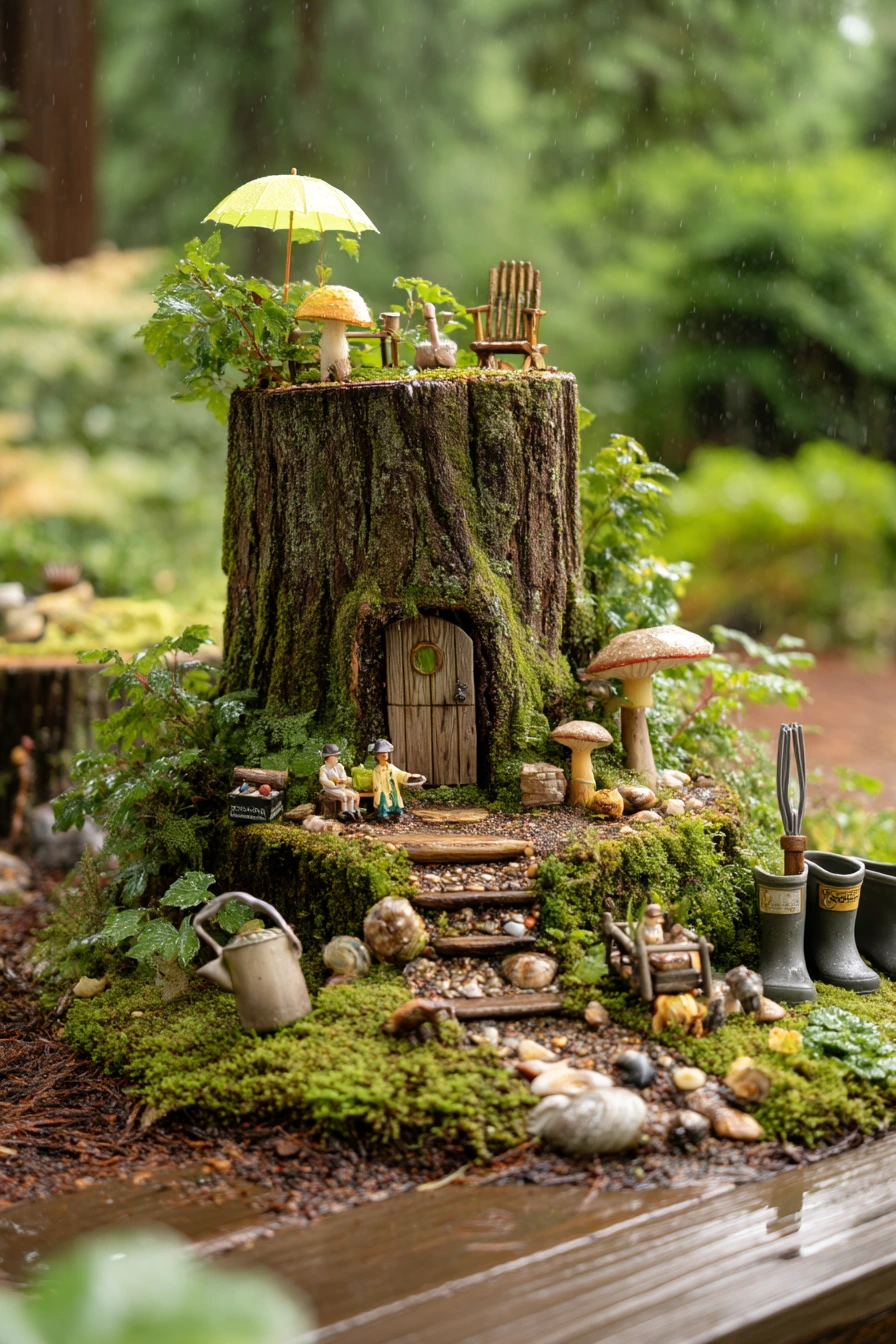
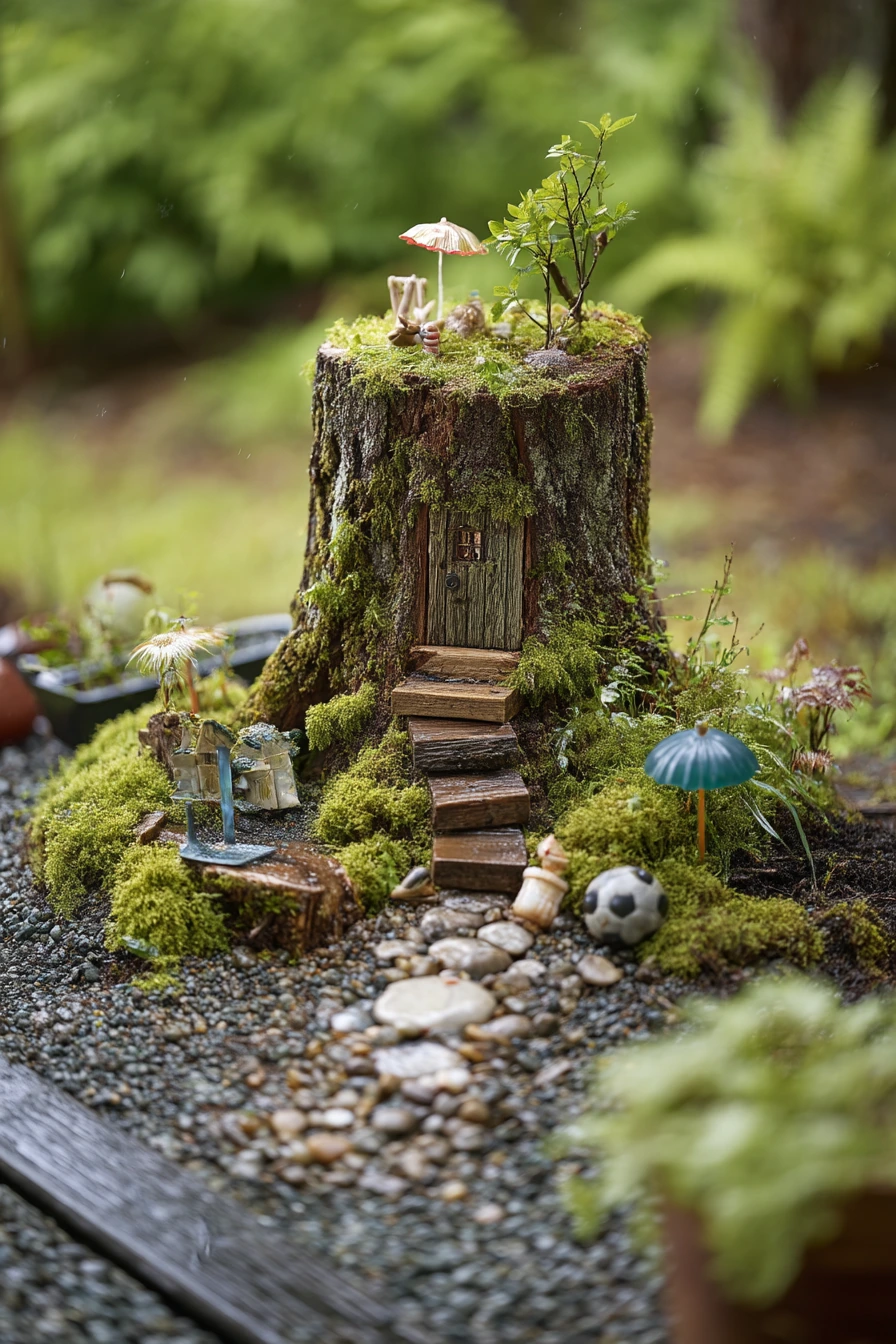
An after-rain tree stump fairy garden has a fresh look because the moss turns glossy and colors deepen. Set the stump garden under a maple or another tree for dappled coverage, then add miniature stepping stones and a small bridge that can handle moisture. Tiny umbrellas are a cute detail that also fits the rainy-day theme without needing extra plants.
Keep the scene grounded with real yard cues, like wet boots on the deck, a towel draped over a chair, and a garden tote nearby. If kids are involved, let a child point out the fairy door or place one shell accent, while an adult keeps tools like a rake out of the walking path. A forgotten soccer ball in the grass makes the area feel like a family yard, not a photo set.
How to style it: after rain, do not move moss too much, since it can tear. Instead, add shell accents where droplets can sit, like along the bridge edge or near a “pond” area made from dark pebbles. Angle stepping stones slightly so water does not pool on flat tops. If you want a fairy door, set it on the stump face and frame it with two stones like a tiny doorway step.
- Use river stones for stepping stones since they handle water well.
- Choose outdoor-safe mini umbrellas made from plastic or sealed wood.
- Place shells in small groups of three for a natural look.
- Check for slippery spots and keep the path off slick deck boards.
- Refresh moss edges with a thin layer of soil to hold it in place.
Pro Design Tip: Add one “wet shine” element on purpose, like dark stones or a small dish of water, so the rainy look feels designed, not accidental.
Budget Considerations: Shell accents can be free from past trips or dollar store packs; avoid pricey craft shells if your yard has wildlife that may move them.
7 Spring Tulip Tree Stump Fairy Garden by the Fence
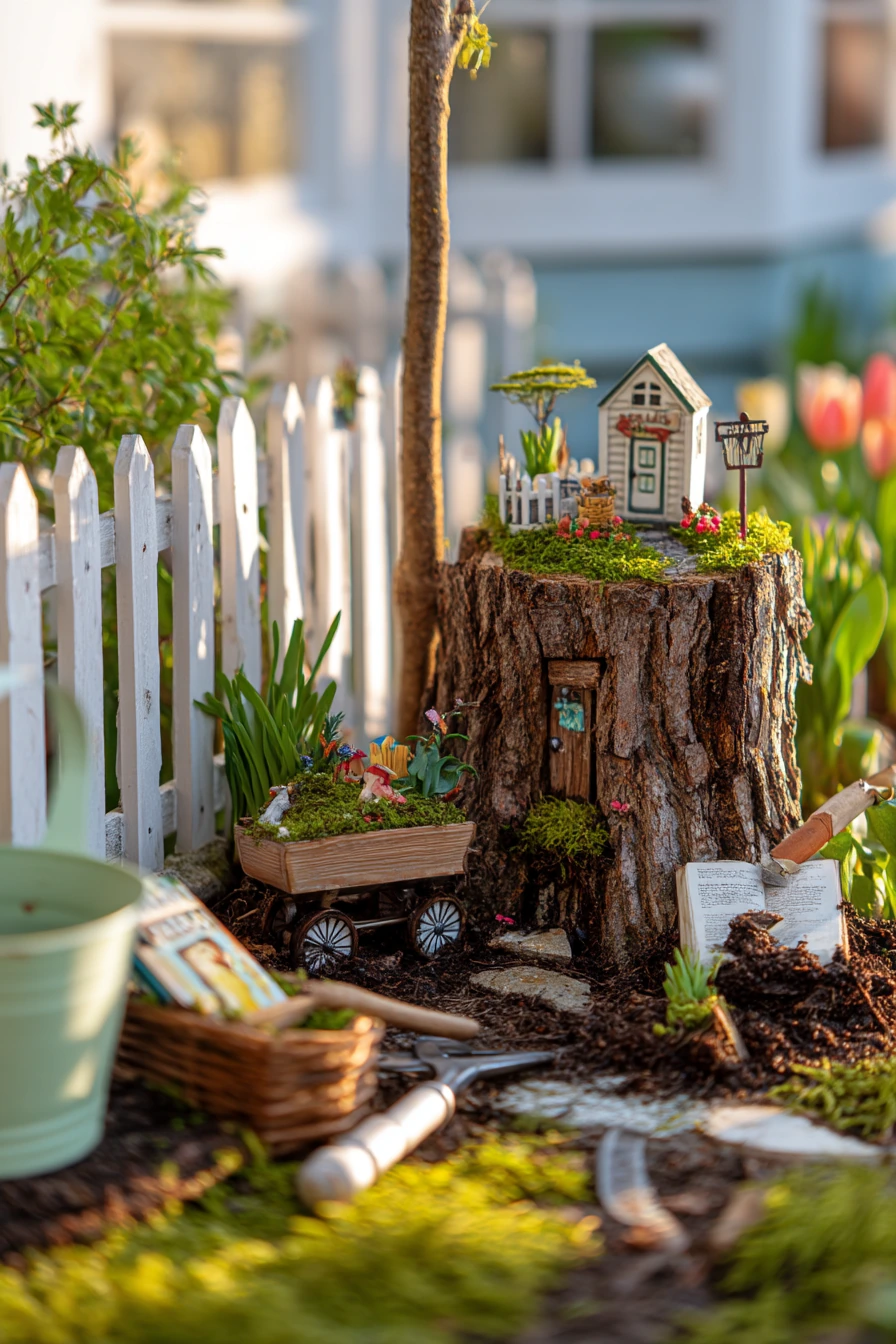
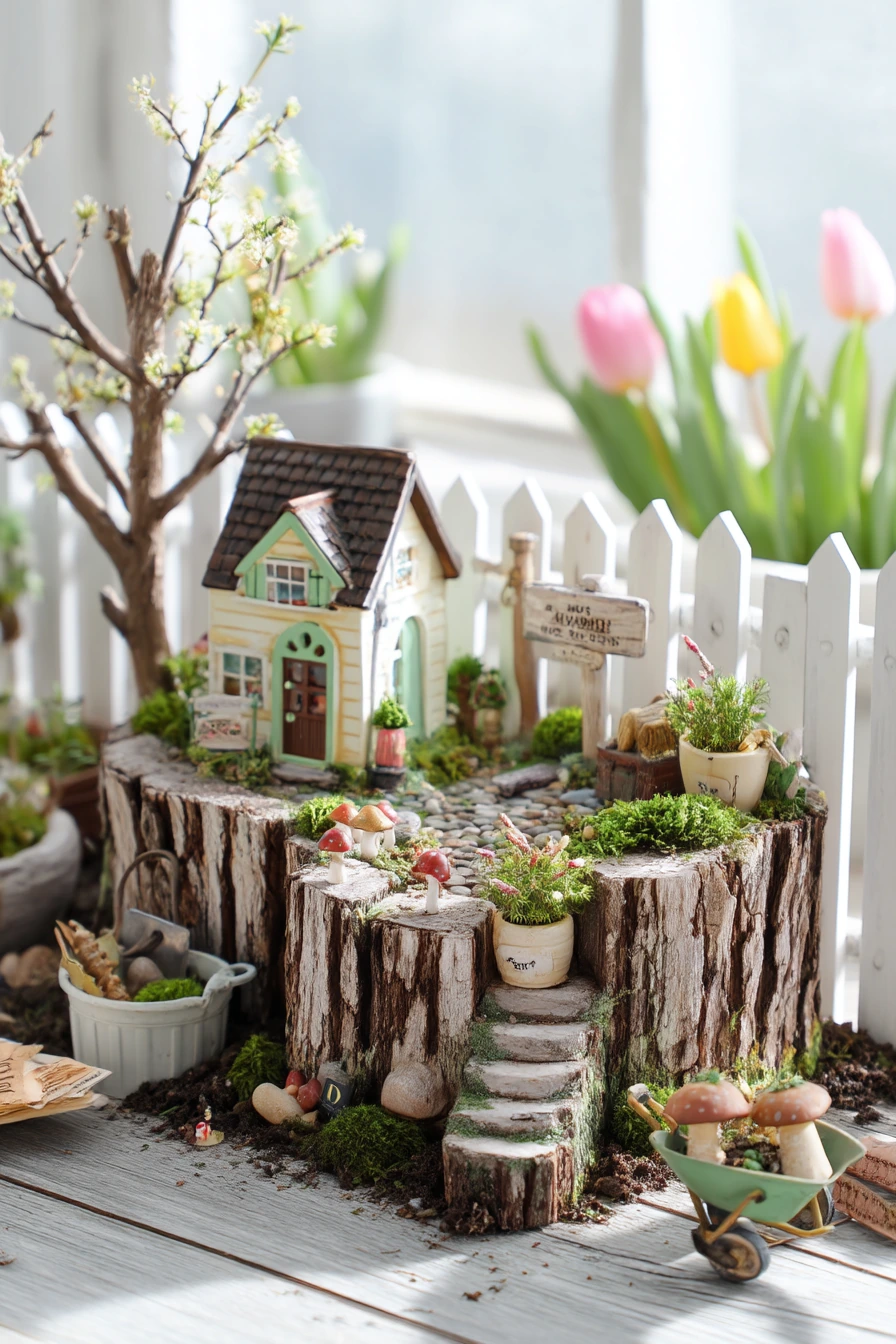
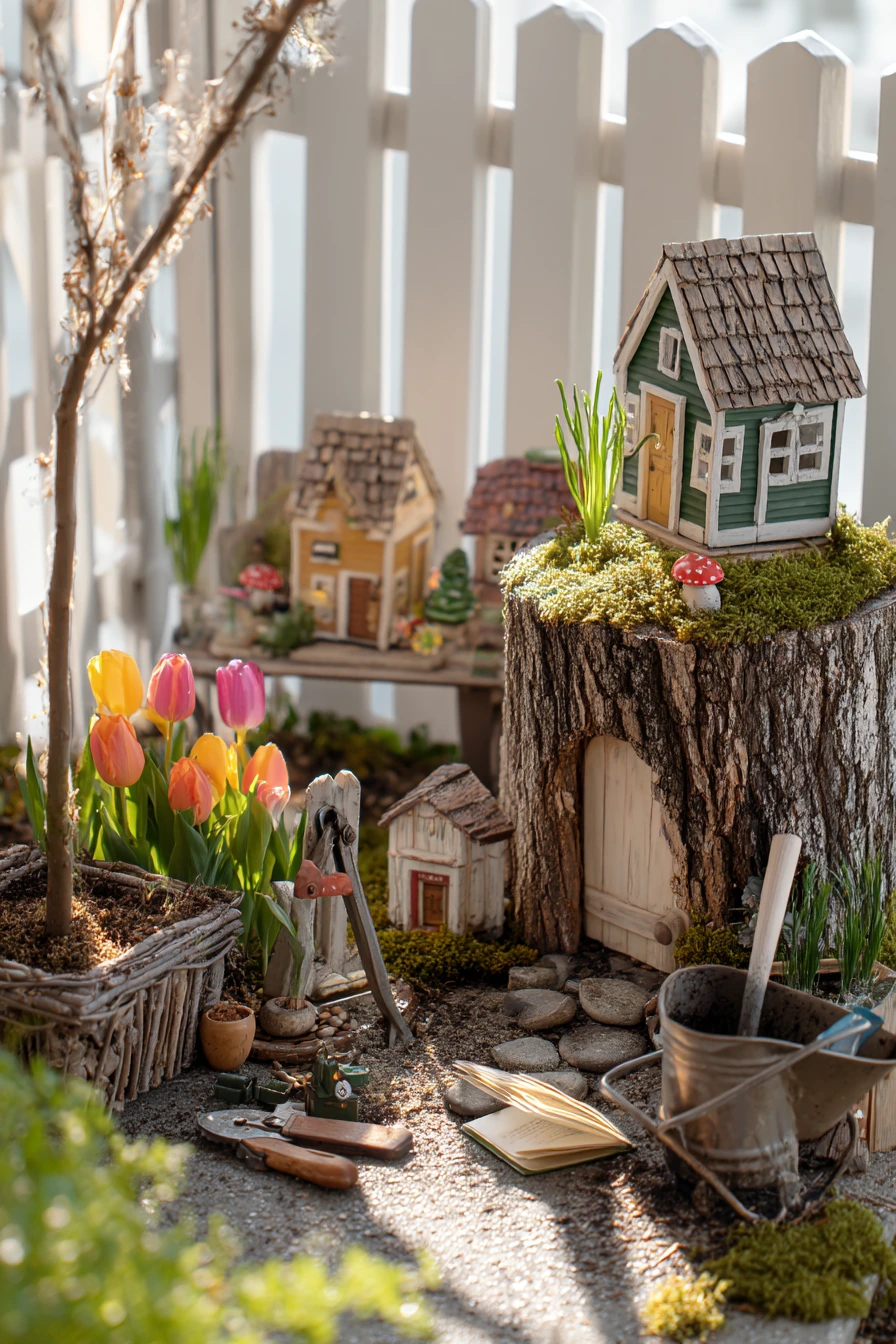
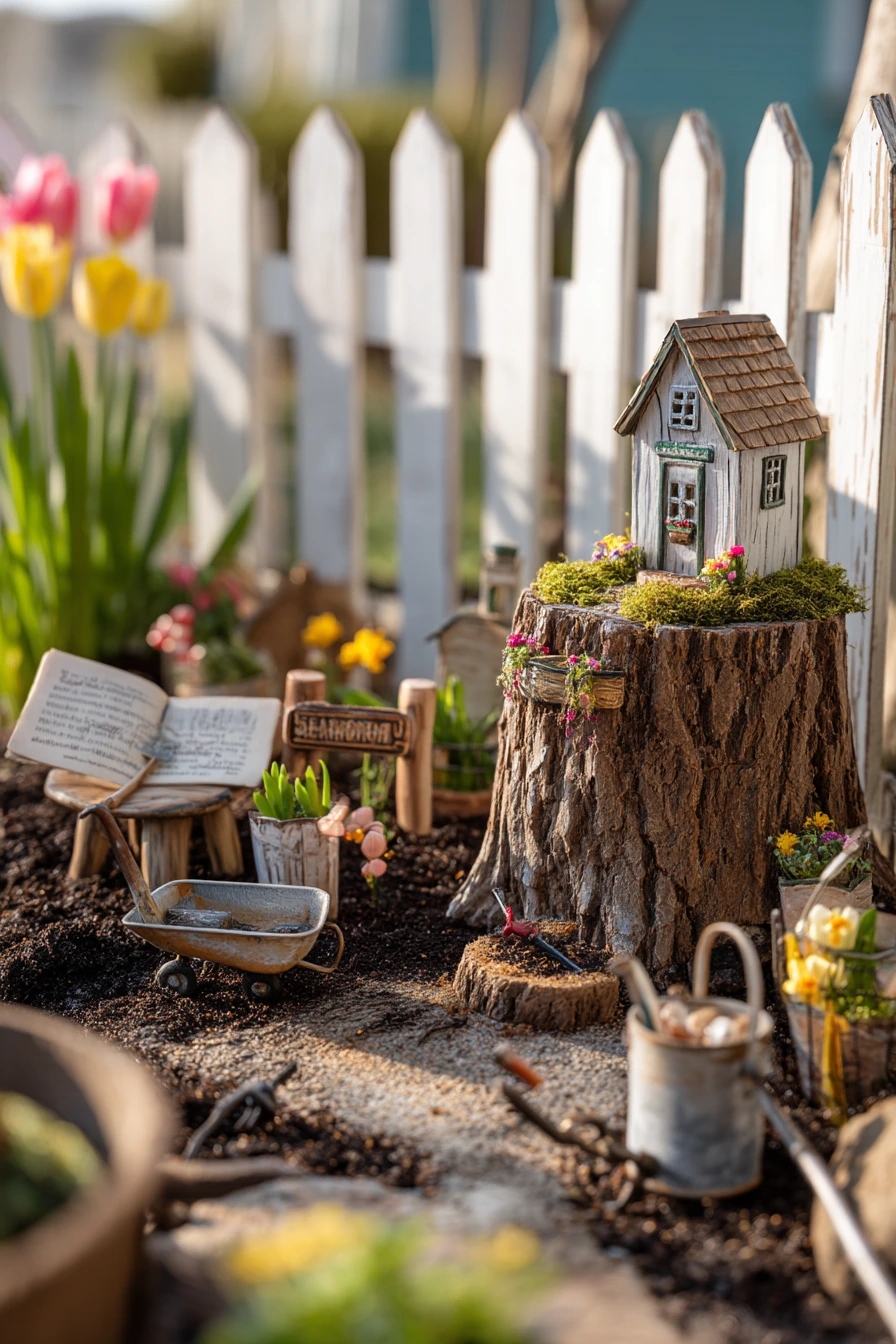
A spring reset is a great time to rebuild a tree stump fairy garden, especially beside a white fence where colors stand out. Start with tiny painted houses as the main decor, then add tulips nearby for real seasonal color. Use moss to soften the stump edges and add a miniature wheelbarrow for a gardening theme that fits the season.
Keep it like a real homeowner’s setup by leaving practical items in view, like pruning shears, a half-full compost bucket, and gardening clogs. A recipe book propped open on an outdoor table adds a casual touch and works well if you like herbs nearby. Since sunrise light can be bright and low, place taller items toward the fence so they do not cast harsh shadows across the front view.
How to style it: pick a color plan first, like tulip pink with green moss and neutral houses. Place the fairy bench made from twigs facing the path, not facing the fence, so it looks usable. Scatter seed packets near the stump base, but keep them in a small tray or clip them to a stake so wind does not blow them away. Add the wheelbarrow at the side of the path like it was “parked” there.
- Seal painted houses so spring rain does not peel the color.
- Plant tulips behind the stump so blooms frame the scene.
- Use twig bench legs pushed into soil for better stability.
- Keep seed packets in a clear pouch to protect them.
- Edge the stump base with bark chips to reduce weeds.
Pro Design Tip: Use the fence as a clean backdrop and keep the front area simple, because a plain background makes small details show up in Pinterest photos.
Budget Considerations: Make the twig bench from yard sticks and hot glue; save money by using one pack of small craft paint for all the houses.
8 Indoor Tree Stump Fairy Garden for a Nursery Shelf

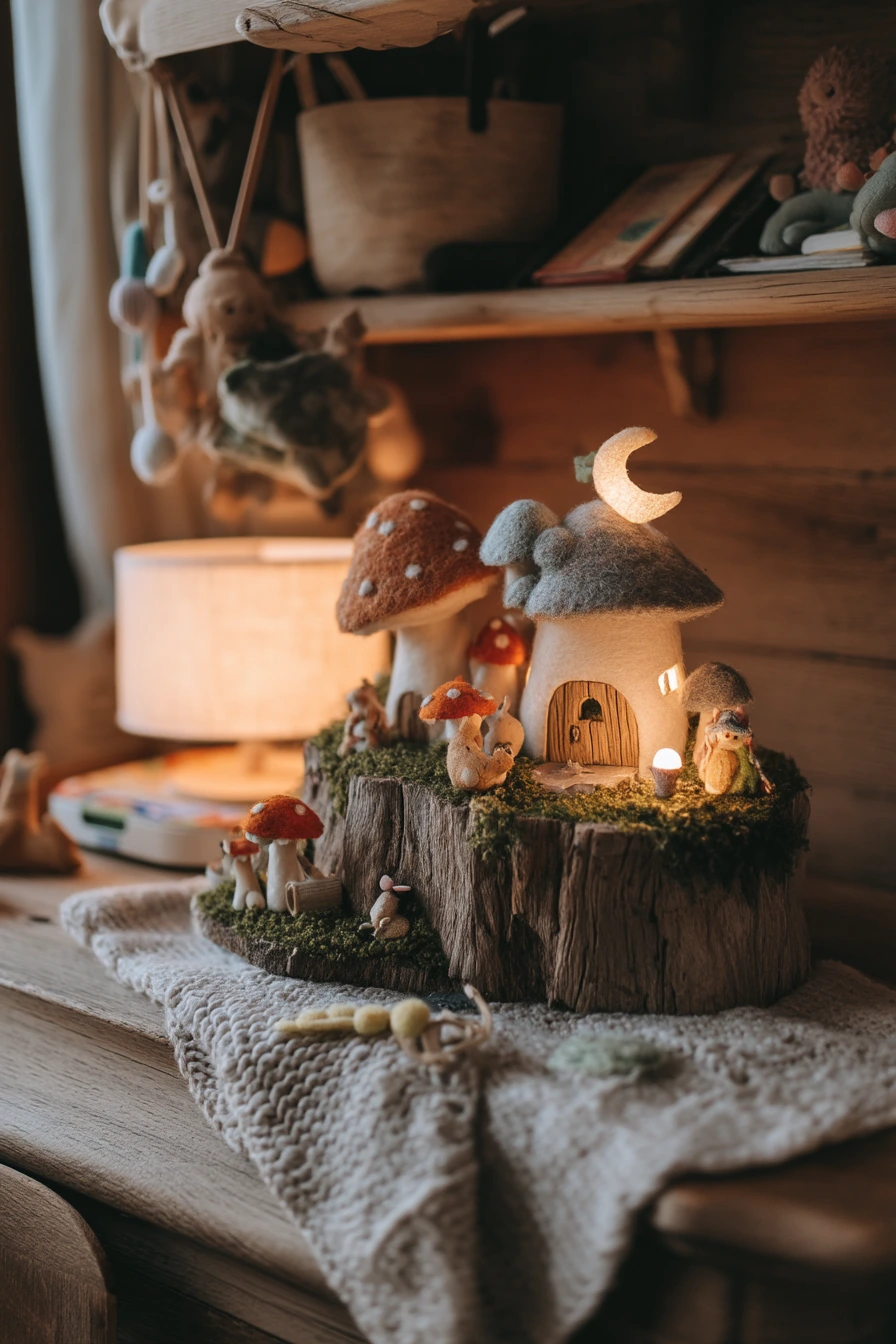
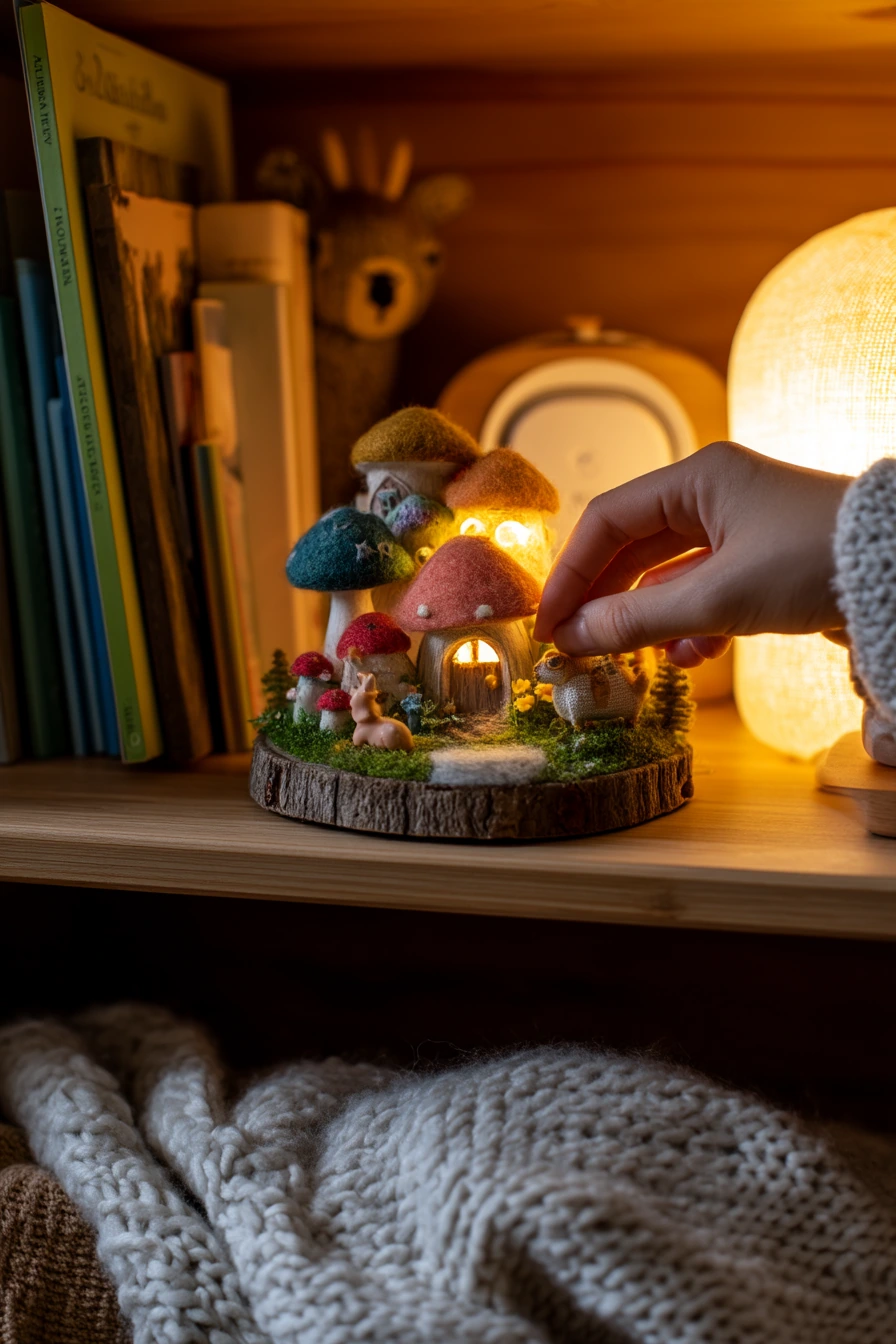
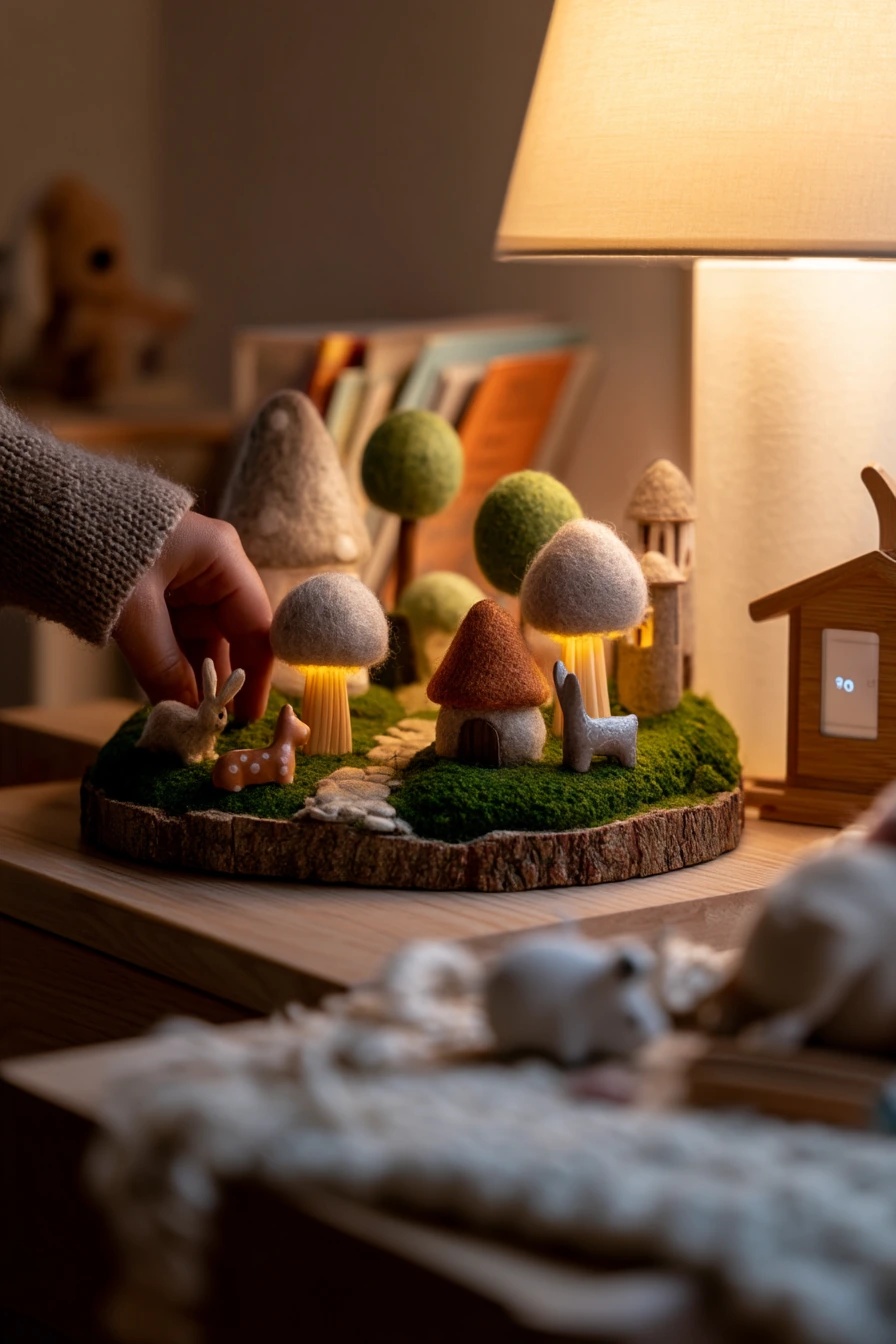
A nursery shelf fairy garden should be compact, soft-looking, and safe. Use a small tree stump piece as the base, then add tiny cottages, felt mushrooms, and wooden animal figures. A moon-shaped lantern can act as a gentle night accent without making the shelf feel busy. Keep moss controlled by using preserved moss or a moss mat trimmed to size.
Make the setup feel like real family life by keeping normal nursery items nearby, like board books, a burp cloth, and a pacifier clip. A baby monitor glow in the corner fits the nighttime mood and reminds you to keep lights low. If a parent’s hand is adjusting the scene, it is a sign to keep pieces easy to move and easy to clean.
How to style it: choose a “front” and keep the rest shallow so it fits on a shelf. Place the moon lantern at the back corner, then set cottages toward the center. Use felt mushrooms at the front edge since they are soft if they fall. Keep wooden animals in a small group, like they are “visiting” the cottages, and avoid tiny loose gravel on shelves that a baby can reach.
- Use museum putty to keep cottages from sliding on the shelf.
- Pick felt and wood pieces over small plastic parts for safety.
- Keep the color palette calm, like cream, soft green, and tan.
- Dust often with a dry cloth to keep fibers looking fresh.
- Place the display higher than baby reach, even if it is “just decor.”
Pro Design Tip: Keep the scene to three main materials, like wood, felt, and moss, so it looks calm and matches nursery decor.
Budget Considerations: Felt mushrooms and wooden animals are easy to find in multipacks; skip specialty miniatures and focus on safe, simple shapes.
9 Boho Backyard Tree Stump Fairy Garden Dinner Corner

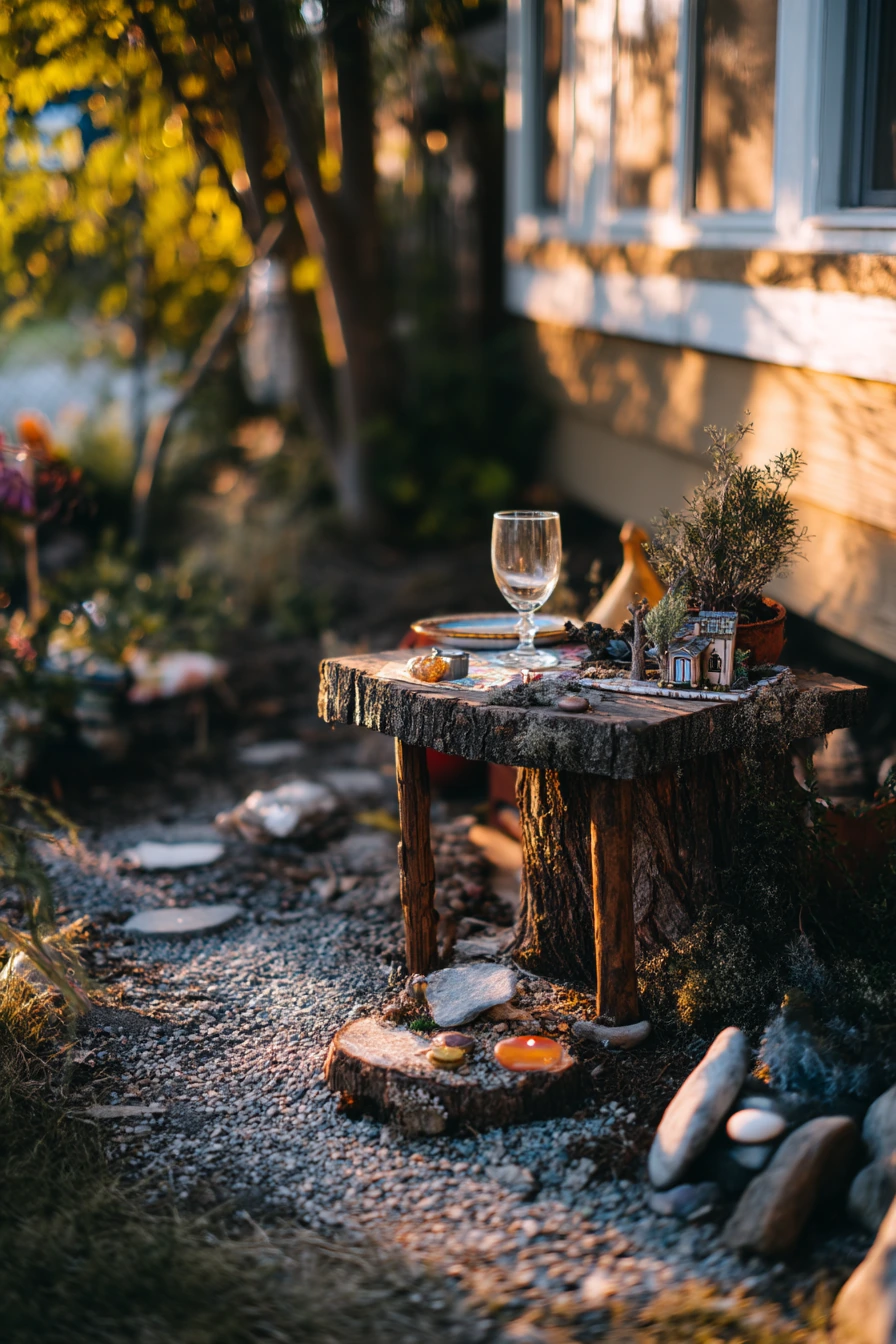
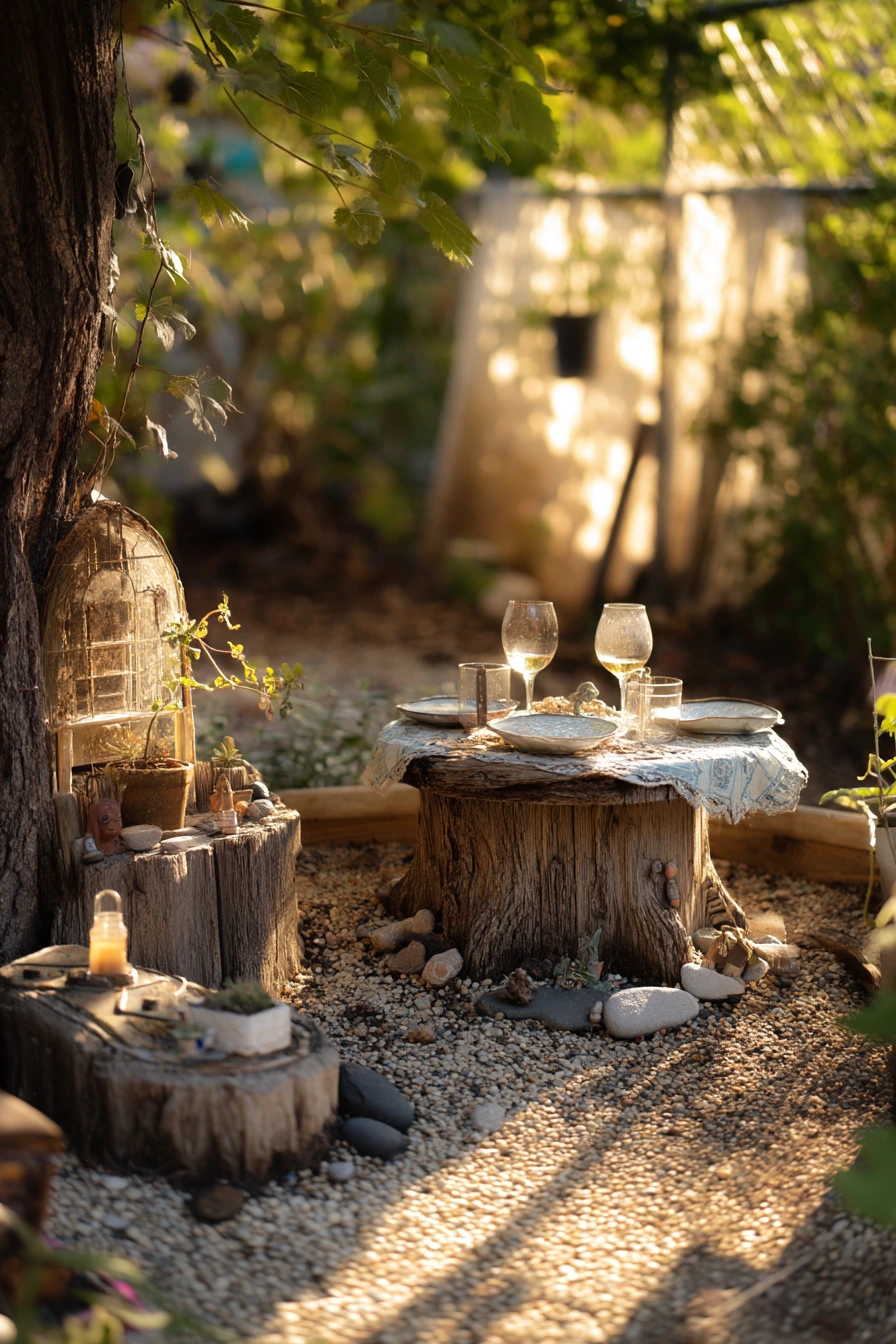
A backyard entertaining corner feels more inviting when a tree stump fairy garden sits near the table, like part of the outdoor routine. Use miniature fairy houses as the playful detail, then add herbs around them so it still feels grown-up. A gravel path and a few wind-polished stones add structure. Votive candles can provide warm light at dusk, but place them where they will not touch moss or dry leaves.
To keep it realistic, style it around what is already there, like a dinner table with a slightly sagging tablecloth and napkins. A wine glass with condensation and a phone charging on the windowsill look natural in a used space. If you host often, build the fairy garden so it can handle foot traffic, meaning fewer tiny pieces on the outer edge.
How to style it: make the stump garden a side feature, not the center of the table. Place it a step away from the main seating path so guests do not bump it. Keep the houses low and group them near the back of the stump. Use herbs like rosemary and basil as a scented border. Set candles in glass holders on a stone base, and use gravel to define where hands can safely reach to light them.
- Choose candle holders with wide bases for outdoor stability.
- Use gravel to reduce mud and keep the scene clean near guests.
- Pick herbs that can handle sun and trimming, like thyme and rosemary.
- Group stones in odd numbers for a natural look.
- Leave a clear “service side” so you can water and trim fast.
Pro Design Tip: Match the fairy garden lighting to your patio lighting by using the same warm tone, so the stump looks like part of the entertaining setup.
Budget Considerations: Use clippings from your herb pots and dollar store votives; save the nicer mini houses for protected spots so they last longer.
10 Seasonal Holiday Tree Stump Fairy Garden with Lantern Glow
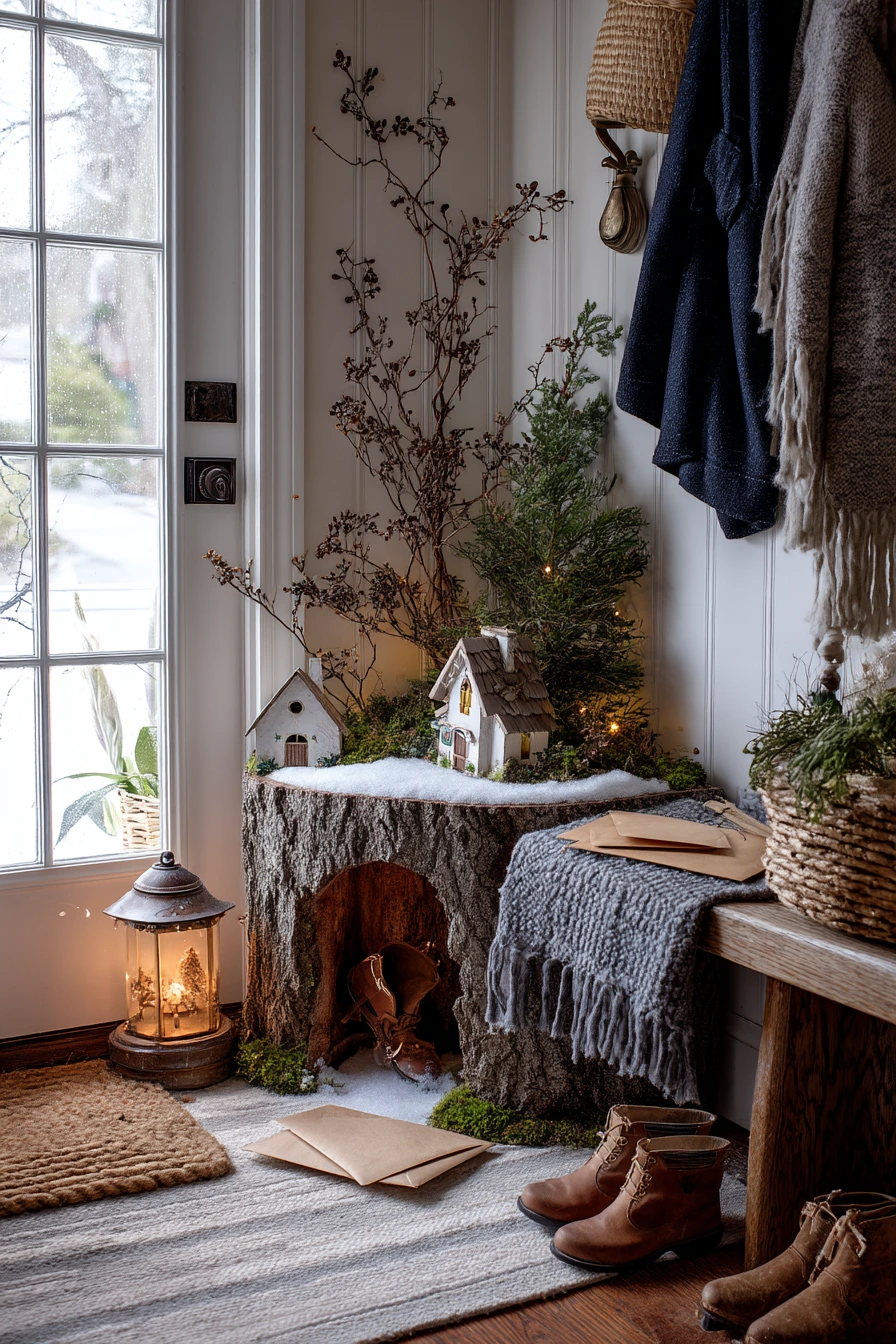
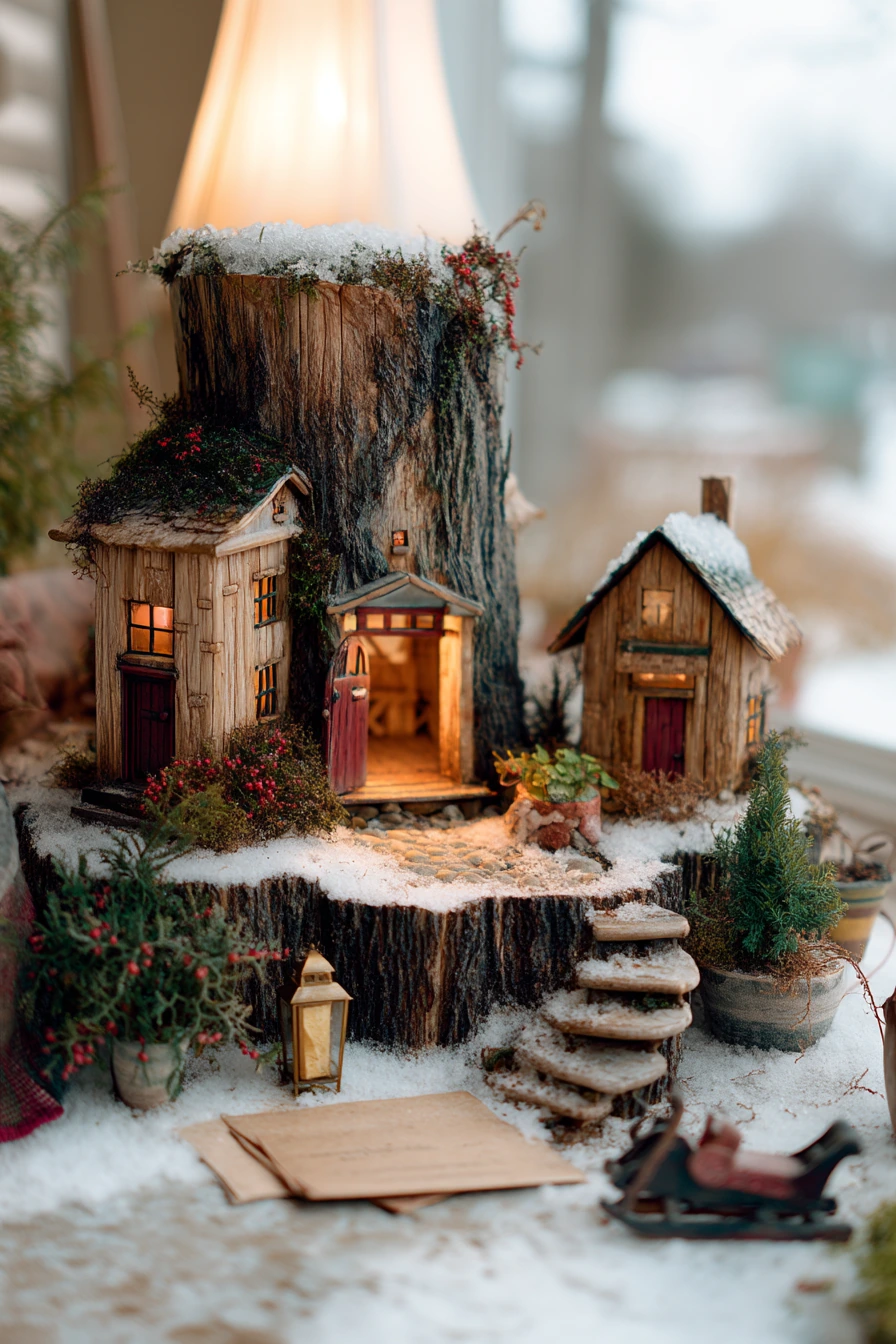
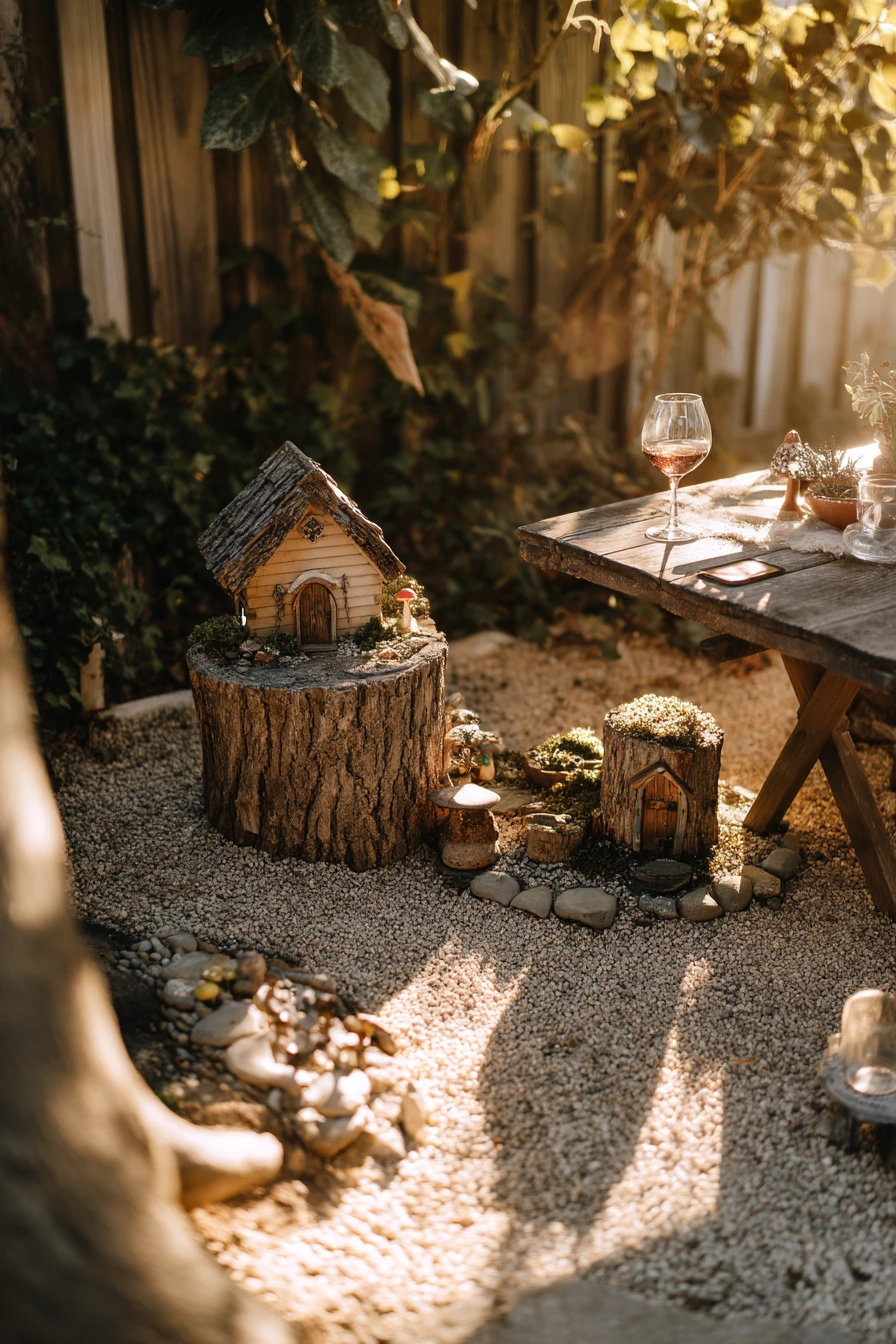
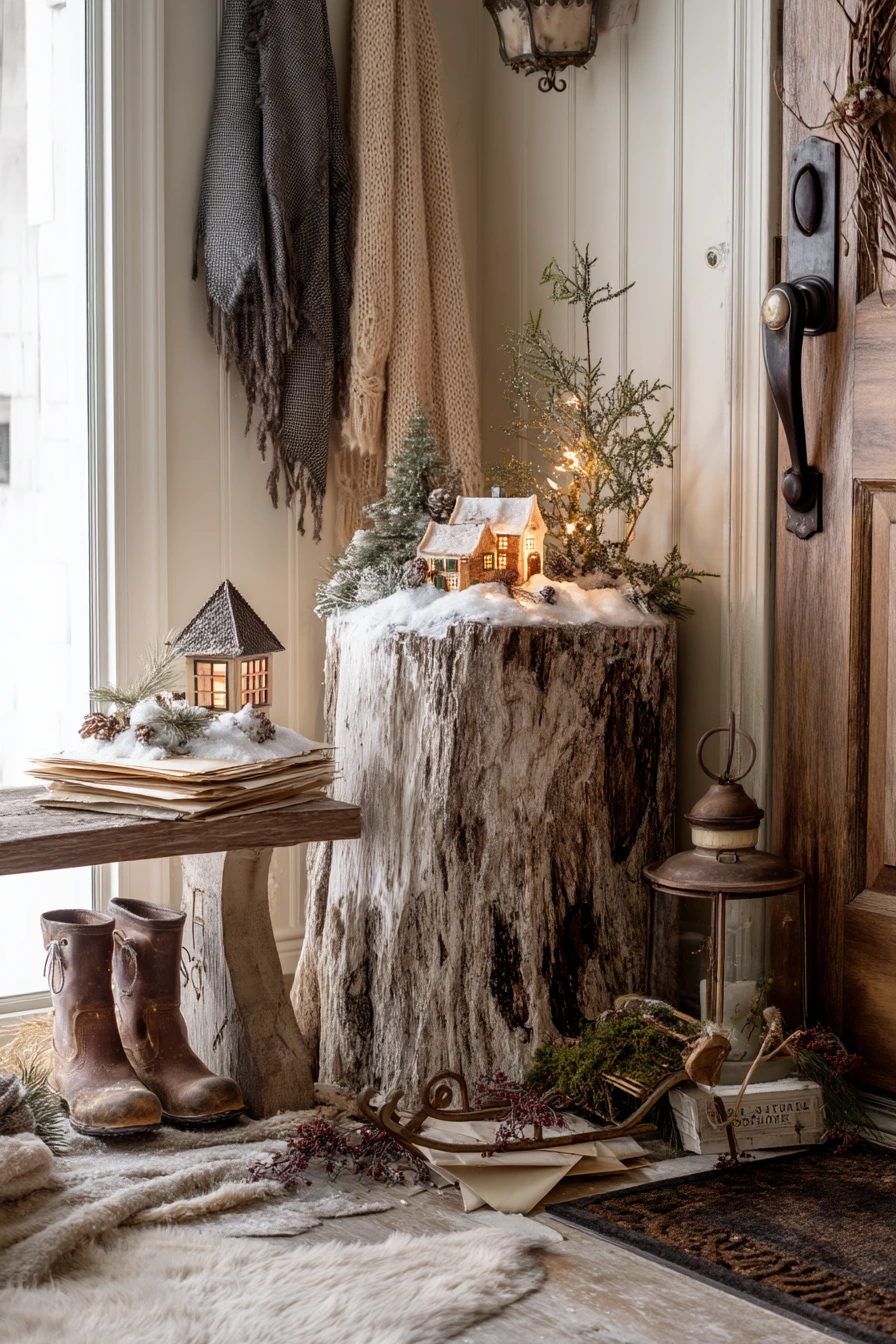
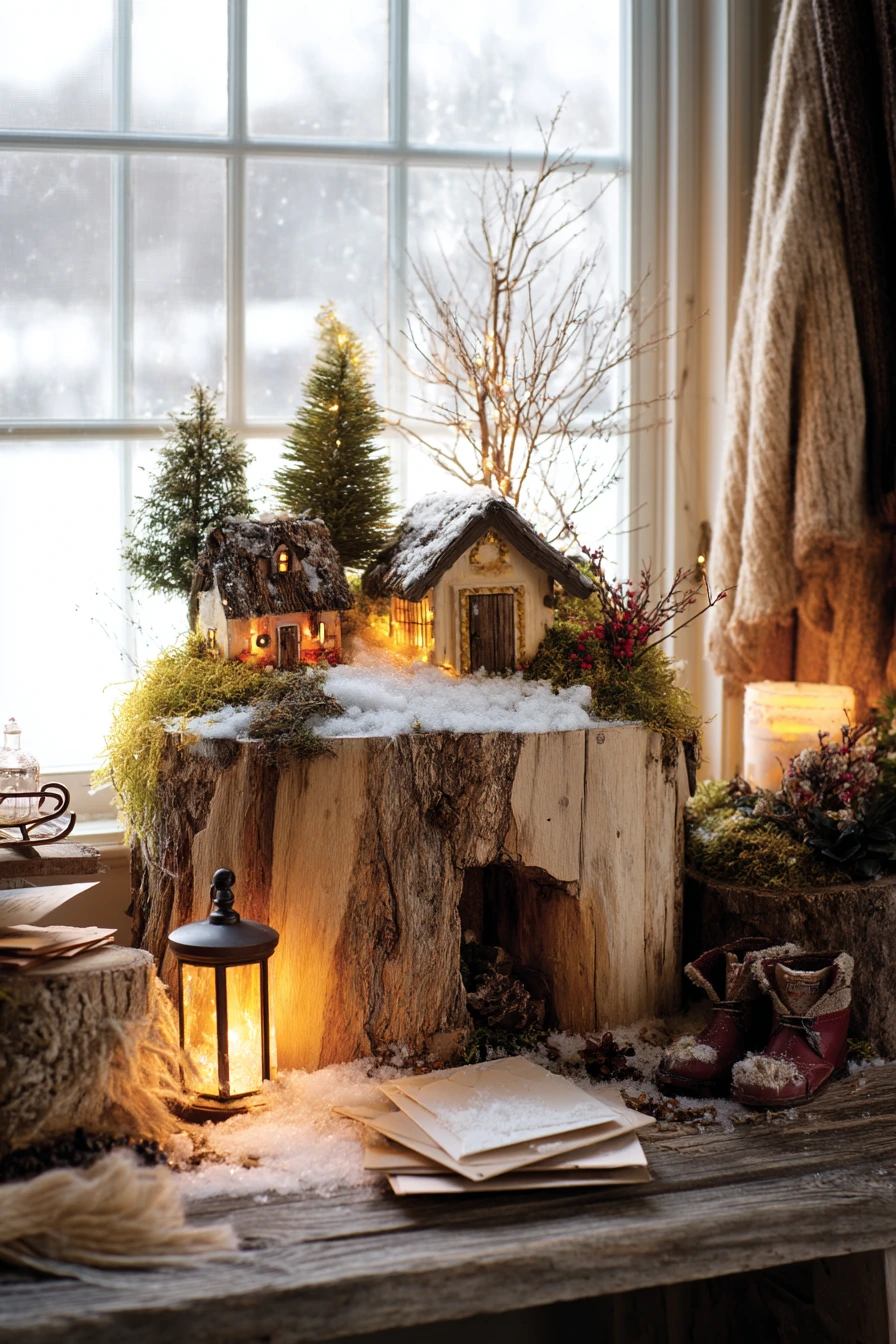
A winter entryway tree stump fairy garden can be a seasonal piece that feels handmade and calm. Dress tiny houses with faux snow, then add pine sprigs and berry stems for color. A miniature sleigh and a brass lantern can be the main winter accents. Keep the layout simple so the entry does not feel cluttered, since this is a high-traffic spot.
Make it look like real life by letting entry items stay visible, like boots on a mat, a knit scarf tossed on a bench, and a wool coat half-hanging from a hook. A stack of envelopes nearby fits the everyday feel. Since winter light can be low, the lantern glow helps the display feel warm without needing extra decor.
How to style it: start with a clean base layer, like a thin white felt or light fabric to mimic snow under the stump display. Add faux snow only in small areas, like roof tops and path edges, so it does not look messy. Use pine sprigs to frame the back and sides, leaving the front open as a “view.” Place the sleigh slightly off-center and angle it toward the houses to guide the eye.
- Use flameless candles inside lanterns for safer entryway lighting.
- Choose faux snow that does not shed glitter onto floors.
- Keep berry stems higher in back so they do not get bumped.
- Use a tray under the display to catch needles and snow bits.
- Set one small brush nearby for quick cleanup and touch-ups.
Pro Design Tip: Use one strong winter focal point, like the lantern, then keep the rest low and simple so the entry feels tidy.
Budget Considerations: Clip pine sprigs from your own yard or buy one small bundle; reuse the same mini houses each season and swap only the accents.
Tree stump fairy garden ideas work because the stump already has shape, texture, and history. With moss, pebbles, mini houses, and one good light source, you can make a small scene that fits your space.
Pick one setup that matches where you live, like a porch welcome corner, a renter-friendly balcony planter, or an indoor display by a window. Build it in simple layers, then keep it easy to clean and adjust through the seasons.
FAQ
How do I prepare a tree stump for a fairy garden? Brush off loose bark, remove soft rot, and level the top if needed. If you are planting, add a thin layer of soil in pockets and press moss in gently.
What kind of moss works best on a stump? Sheet moss and cushion moss are popular because they hold shape. In dry areas, mist often or use preserved moss for displays that do not need watering.
How do I keep miniatures from blowing away outside? Use heavier pieces, tuck bases into moss, and secure small items with a dot of outdoor-safe adhesive. Place the garden close to a wall or fence to cut wind.
Can I make a fairy garden on a stump with no digging? Yes. Use a portable stump planter, a tray base, or a shallow bowl set on the stump surface, then build the scene inside it.
How do I light a tree stump fairy garden safely? Use battery fairy lights or a lantern with flameless candles. Keep wires tucked and avoid placing heat near dry moss or leaves.
What are good kid-friendly materials? Use larger figurines, smooth stones, and soft felt pieces. Skip tiny loose gravel and small parts if children can reach the display.
How do I maintain it through seasons? Remove wet leaves, trim plants, and refresh moss edges. Swap accents like pine sprigs in winter or tulips in spring to keep it current.