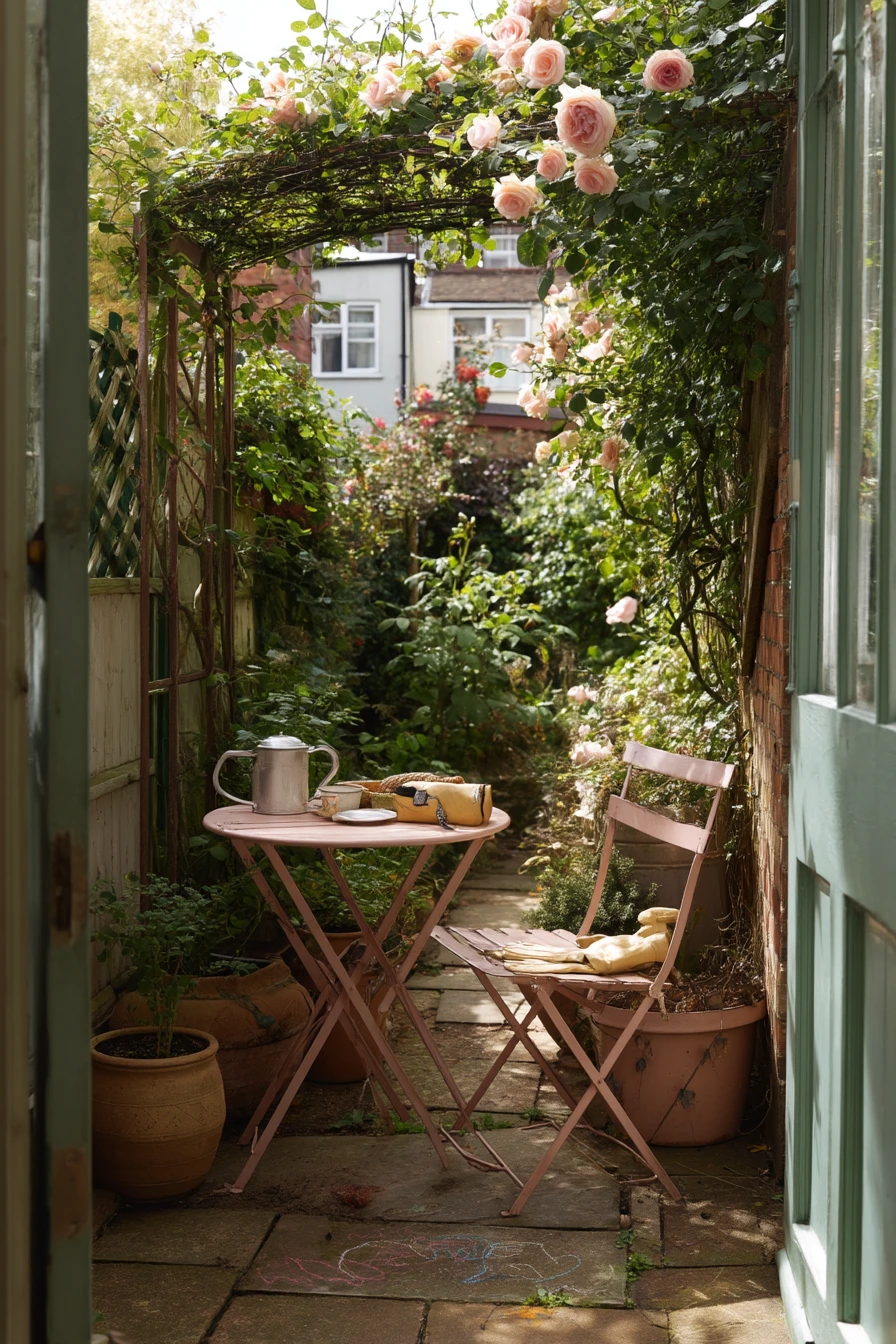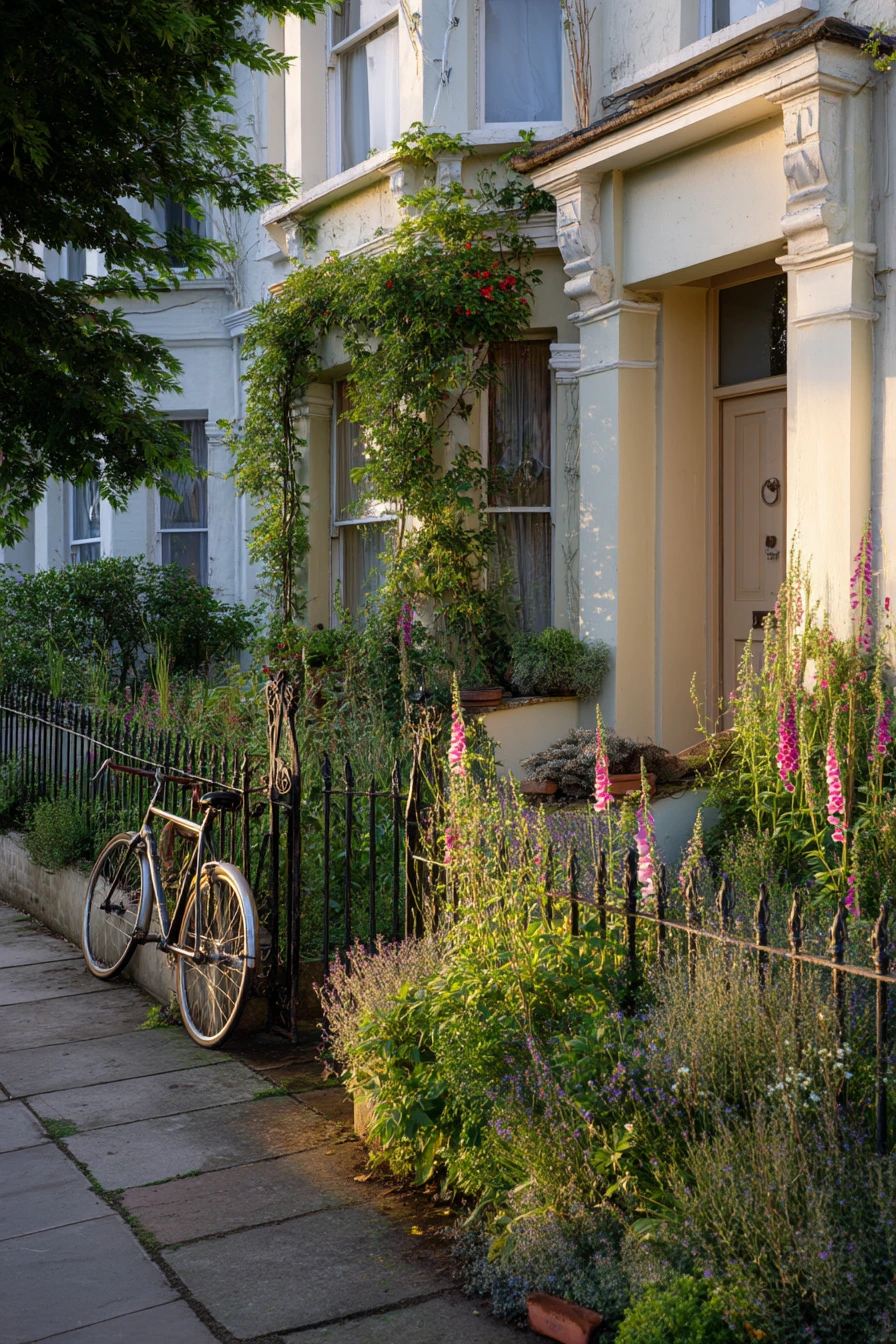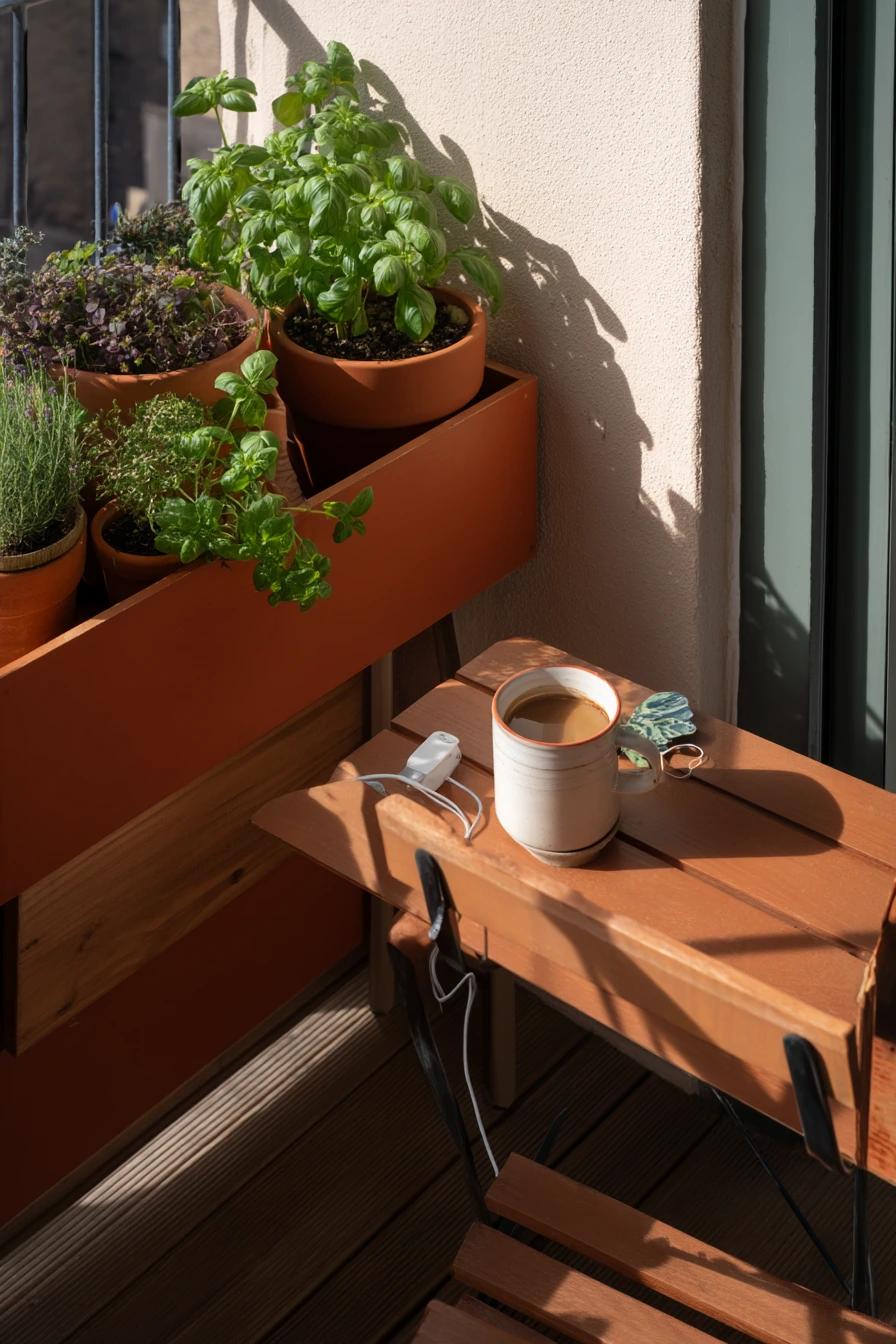

Pallet garden ideas are a simple way to grow herbs, flowers, and salad greens in small spaces. You can build a vertical pallet planter, raised pallet boxes, or a pallet privacy screen with basic tools.
This guide matches real-home scenes, like a renter-friendly balcony, a busy family backyard, and a small kitchen herb rack under the window. Each section includes easy layout tips so you can copy the look and make it work for your space.
You will also get styling ideas that make your pallet garden feel tidy and lived-in, plus low-cost options using salvaged wood, reused jars, and simple planters. If you found these ideas on Pinterest, this post helps you turn a saved photo into a finished setup.
Before you start, pick heat-treated pallets, sand rough spots, and use a liner for soil. Then choose plants that fit your light, like basil and mint for sun, or pothos and jasmine for part shade.
1 1. Tiny Balcony Pallet Herb Wall
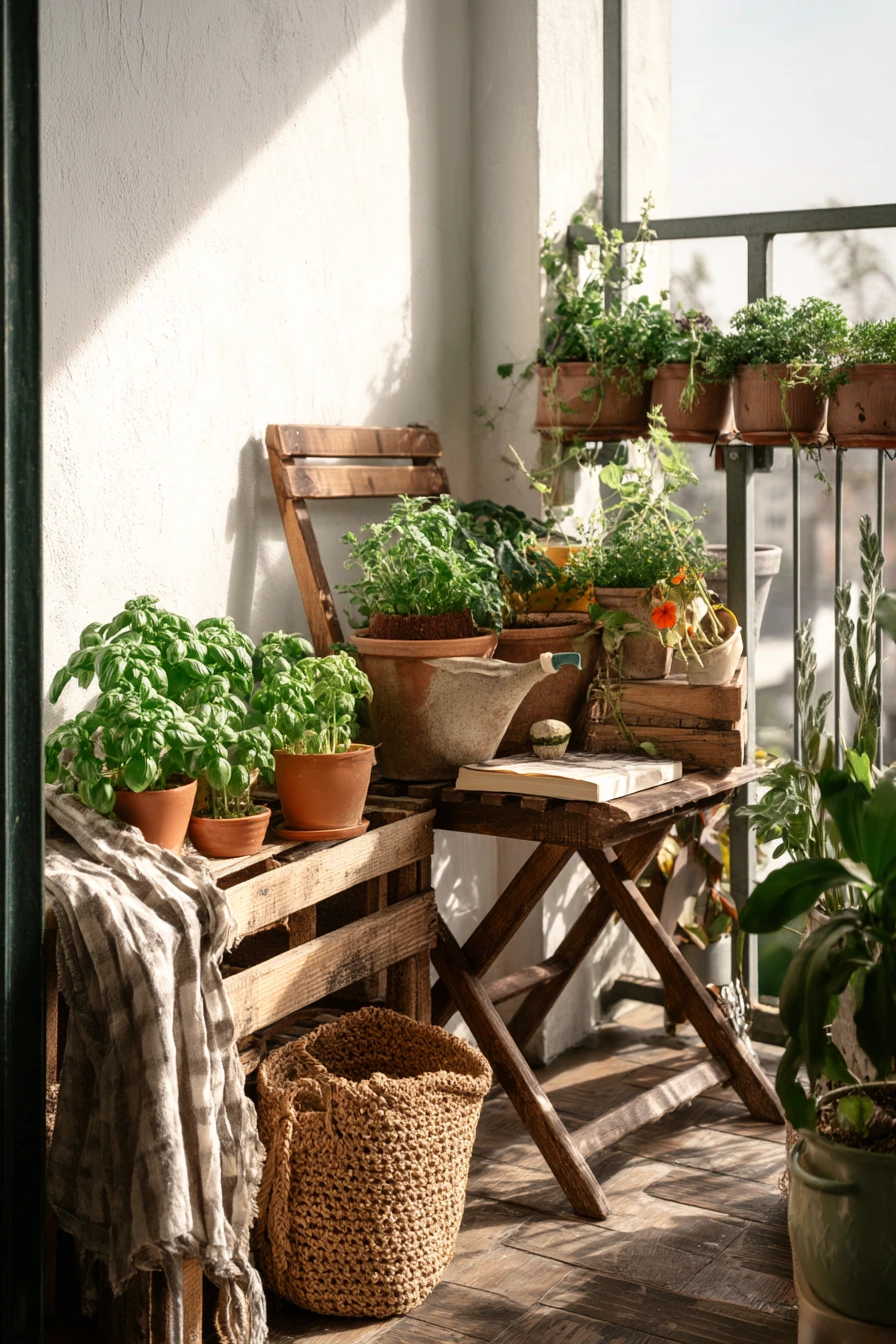
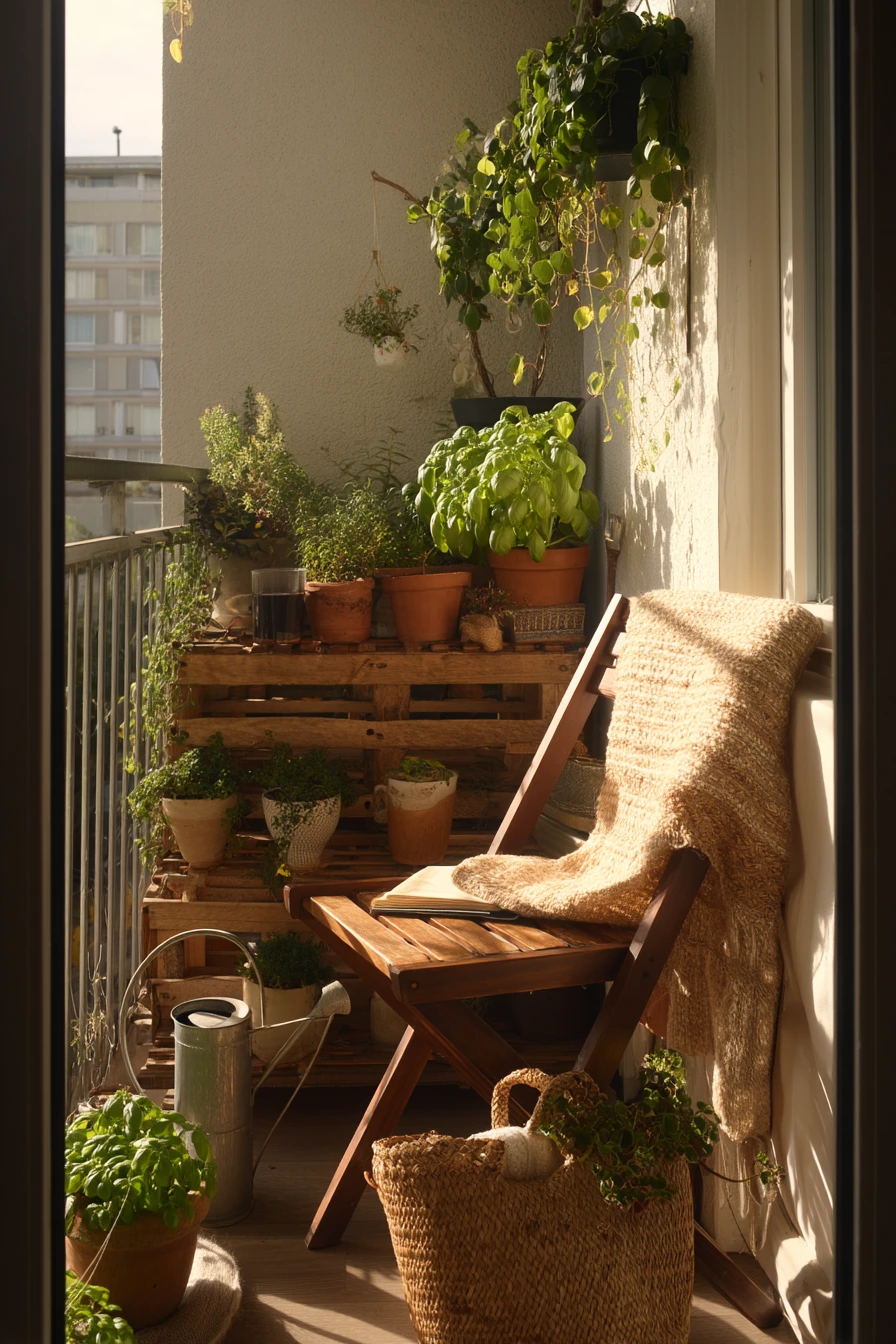
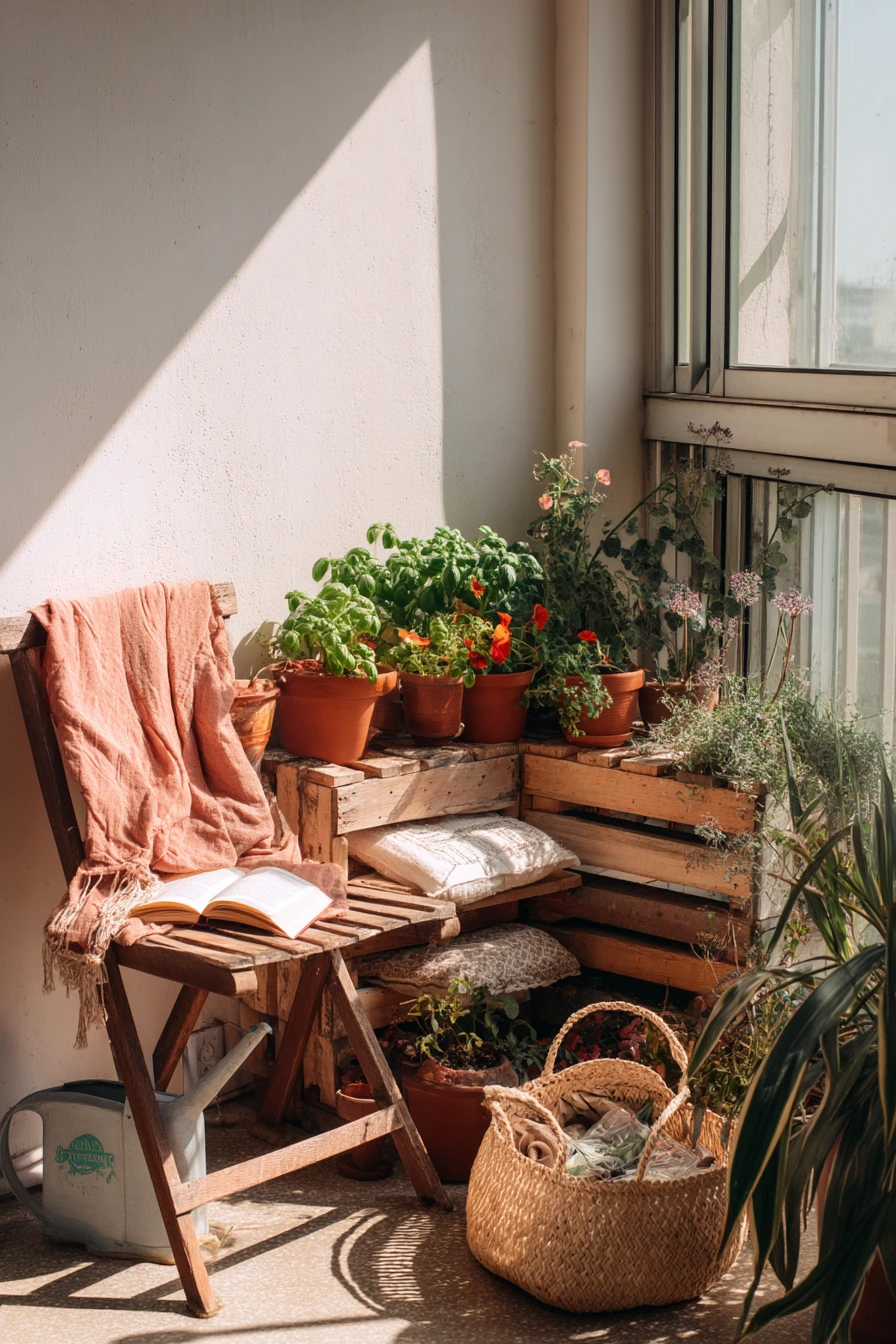
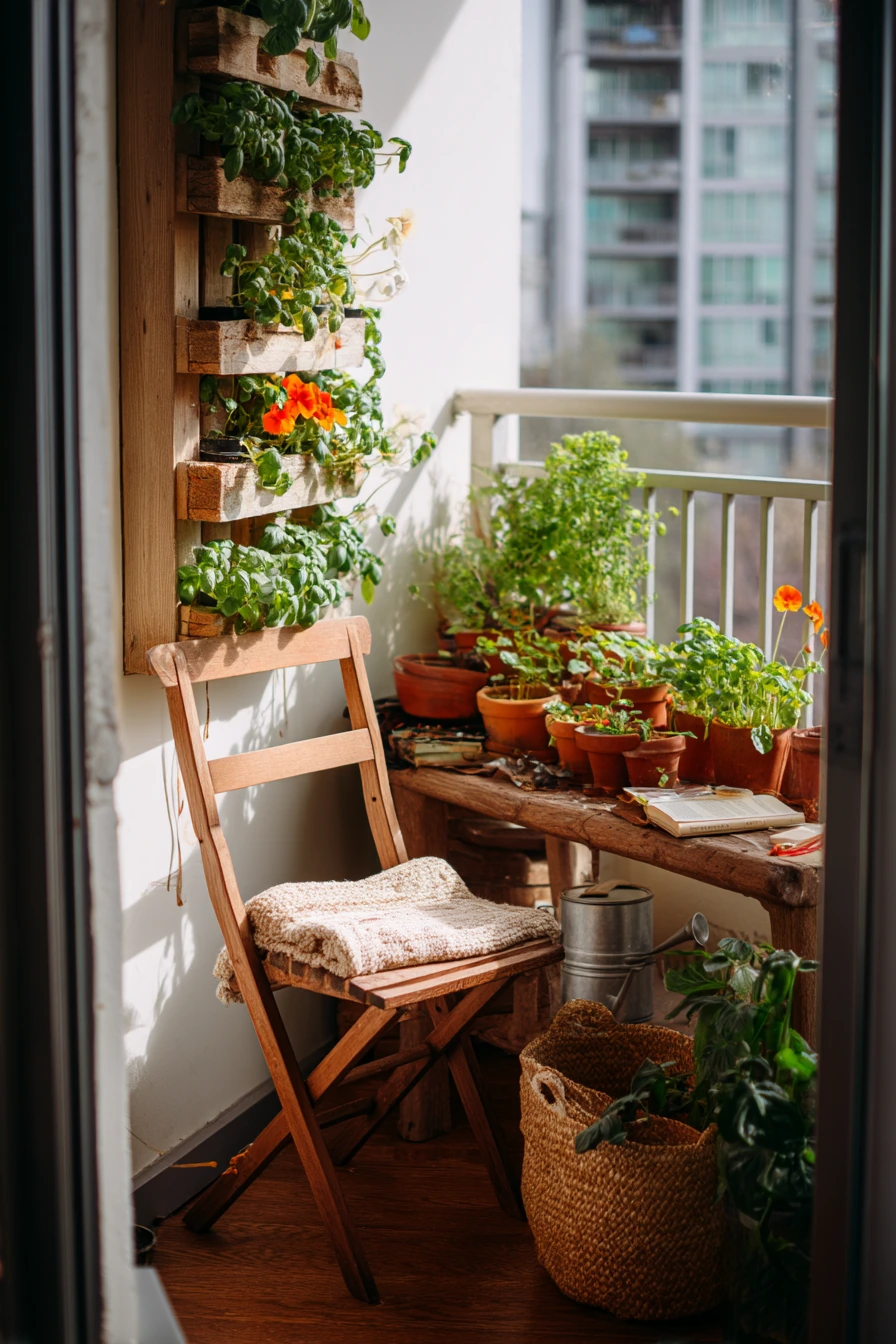
A renter-friendly balcony garden works best when it goes up, not out. A vertical pallet planter can hold basil, mint, thyme, and trailing nasturtiums without taking over your floor space. Keep it near the balcony rail or a bright window so you get soft morning light and healthy growth.
To make it feel like a real, usable nook, add terracotta pots on a narrow bench and keep a foldable bistro chair close by. Small details help the space feel calm and lived-in, like a watering can you actually use, a woven tote for tools, and a half-finished novel on the seat. A slightly wrinkled throw makes the corner look comfortable instead of staged.
For function, line the pallet pockets with landscape fabric so soil stays put. Group herbs by water needs so you do not drown the thyme while trying to keep mint happy. Nasturtiums can trail from the top row or the sides to soften the wood.
- Choose a heat-treated pallet and check for loose nails before you bring it outside.
- Mount the pallet with heavy-duty hooks or let it lean safely against a wall for a no-drill option.
- Use a drip tray under the bottom row to protect balcony flooring.
- Plant basil and mint in separate pockets so mint does not take over.
- Style with matching terracotta and one woven basket to keep clutter hidden.
Pro Design Tip: Keep the tallest herbs at eye level and place trailing nasturtiums on the top corners so the planter looks full but still easy to harvest.
Budget Considerations: Ask local stores for free pallets and reuse nursery pots inside terracotta covers to get the same look for less.
2 2. Backyard Pallet Veggie Patch
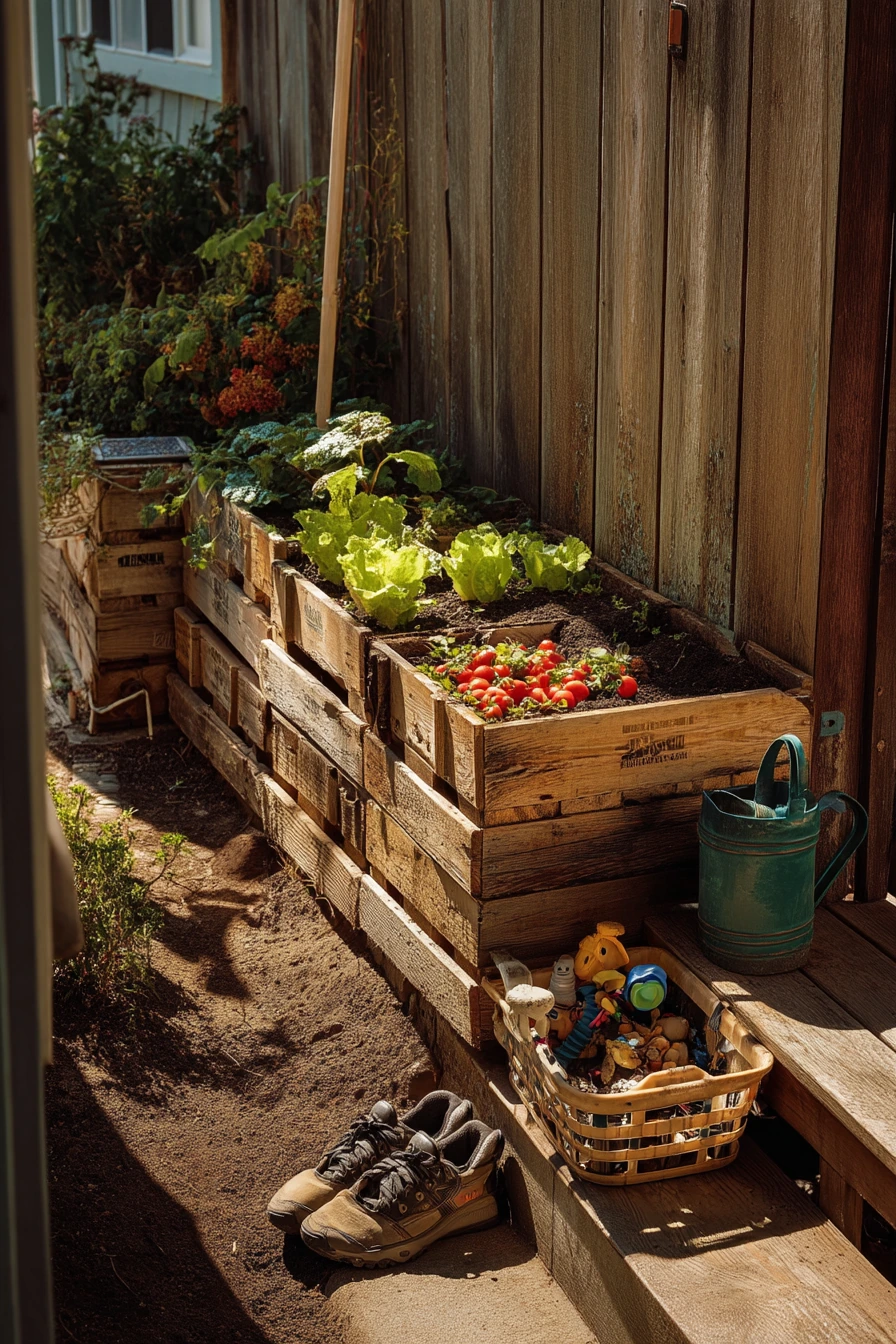
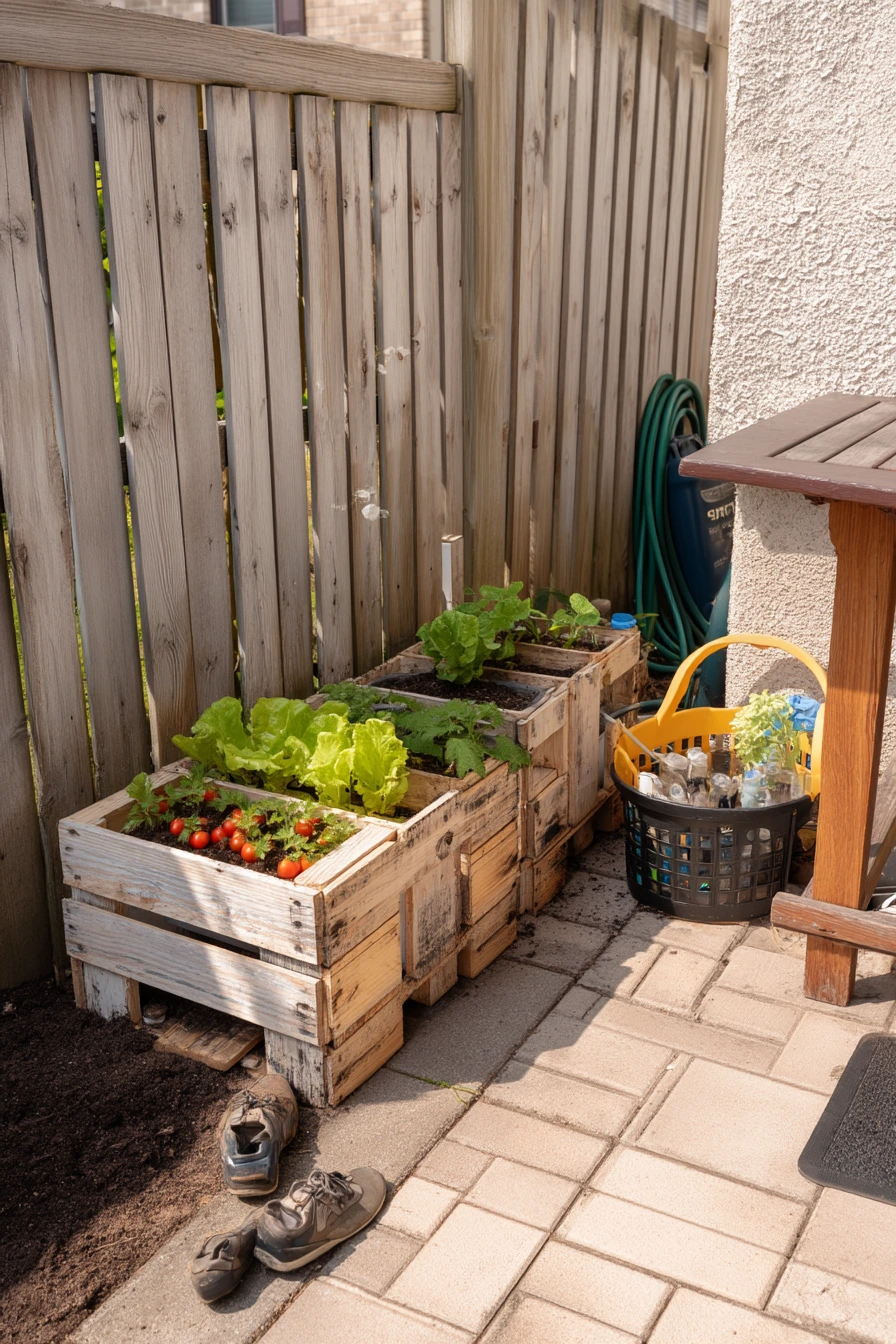
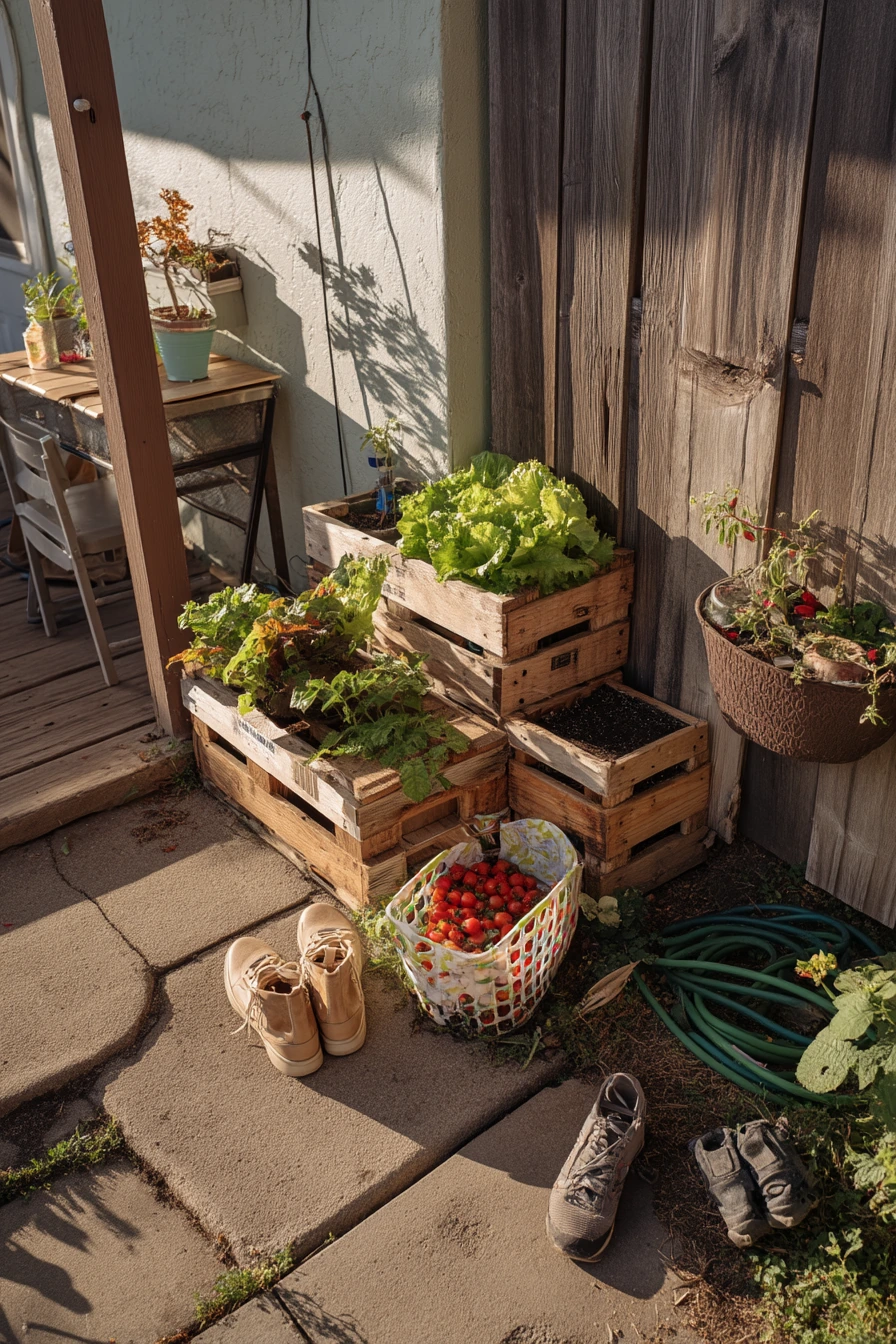
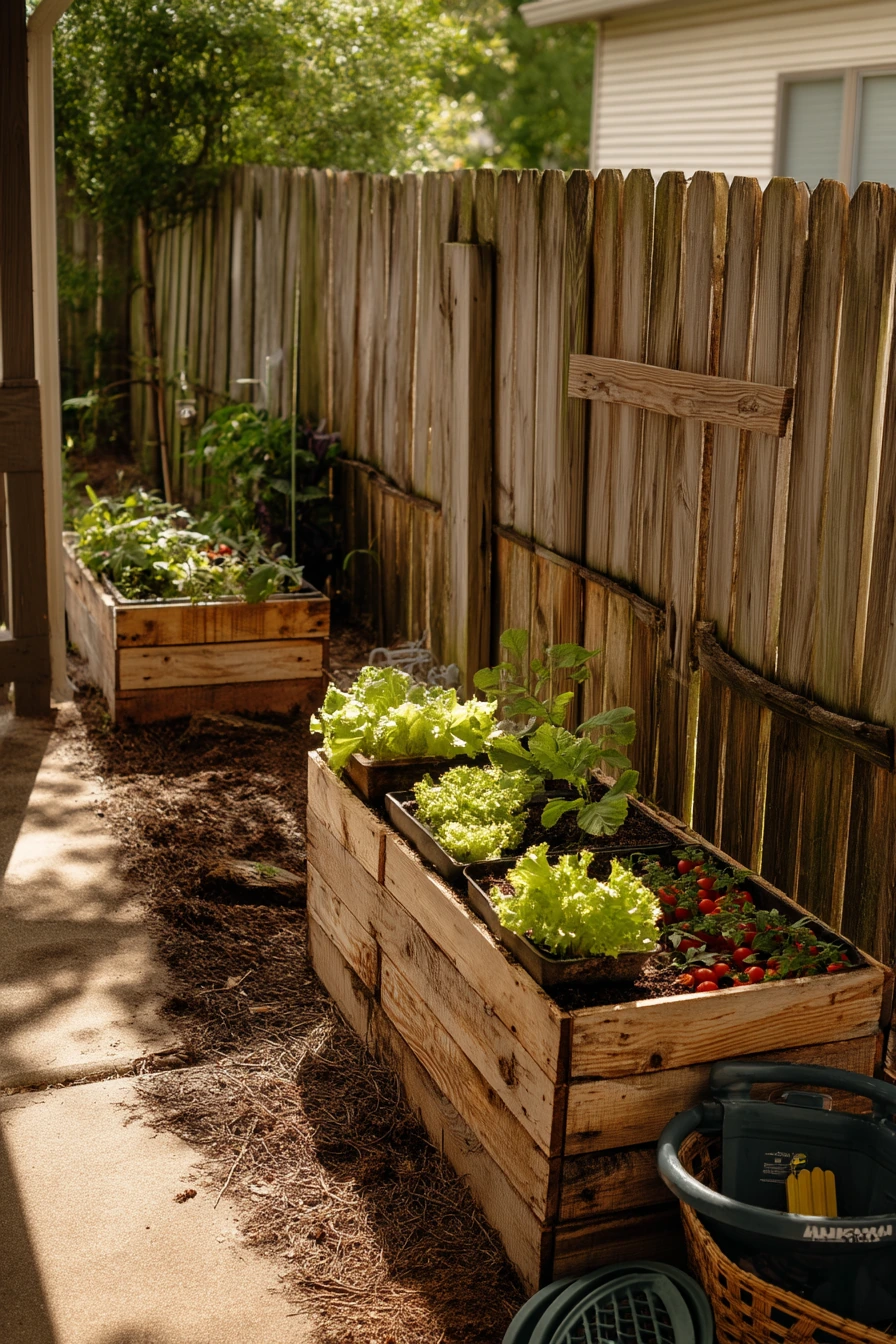
In a family backyard, raised pallet boxes make growing food feel doable and organized. Place them beside a weathered fence to create a clear garden zone near the patio. Plant quick wins like lettuce and cherry tomatoes, then add strawberries for snacks and marigolds for color and pest help.
This setup looks best when it shows real life. A kid’s toy basket near the step and muddy sneakers by the door make the space feel used, not perfect. Keep gardening gloves close and coil the hose loosely so watering is easy after school or before dinner. A glass of iced tea on a small side table signals that this is part of daily life, not a big project you only do once.
For layout, put tomatoes in the sunniest box and give them a simple stake or twine support. Keep lettuce and strawberries closer to the path so you can harvest fast. Mix marigolds along the edges to fill gaps and add a neat border.
- Build two or three matching pallet boxes for a clean line along the fence.
- Use a weed barrier under the boxes to reduce weeding.
- Keep a small tool basket by the door so kids can help.
- Water in late afternoon when the sun is softer and the patio is in use.
- Add one small table for drinks and harvest bowls to make it feel welcoming.
Pro Design Tip: Repeat one accent color, like marigold orange or red cherry tomatoes, across all boxes to make the garden look planned.
Budget Considerations: Fill the bottom of deep boxes with sticks or empty plastic bottles to reduce soil cost, then top with quality compost.
3 3. Kitchen Window Pallet Micro-Garden
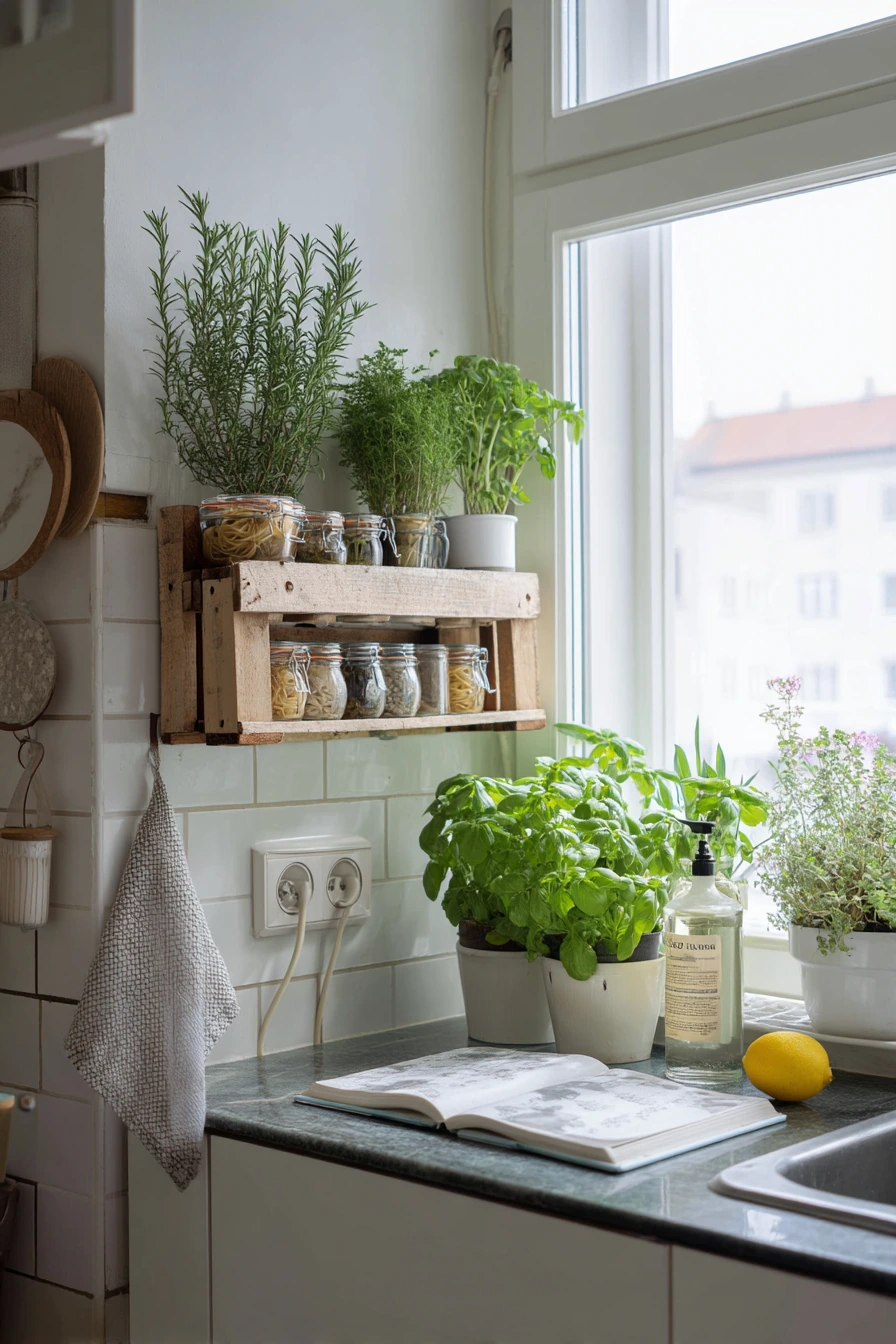
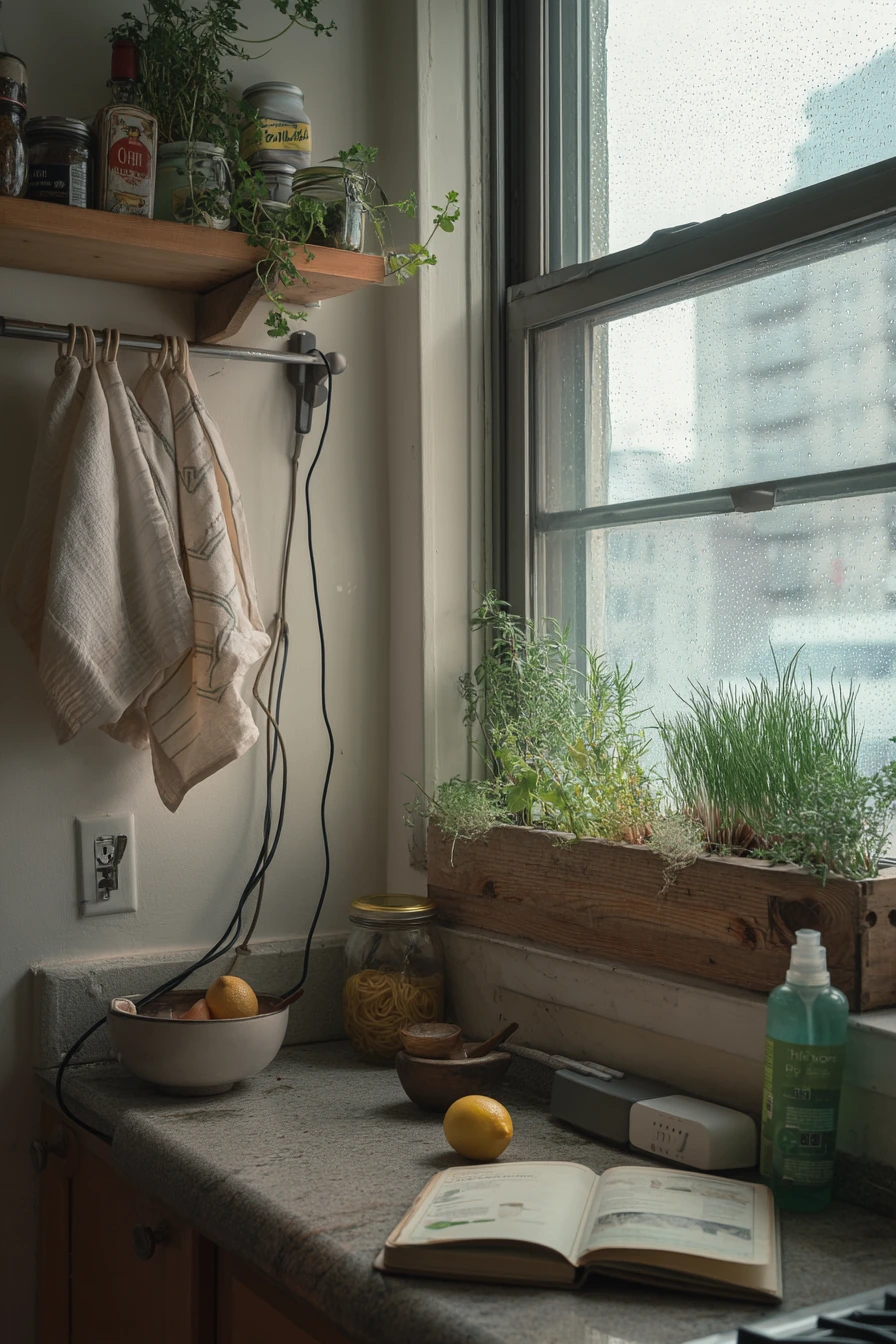
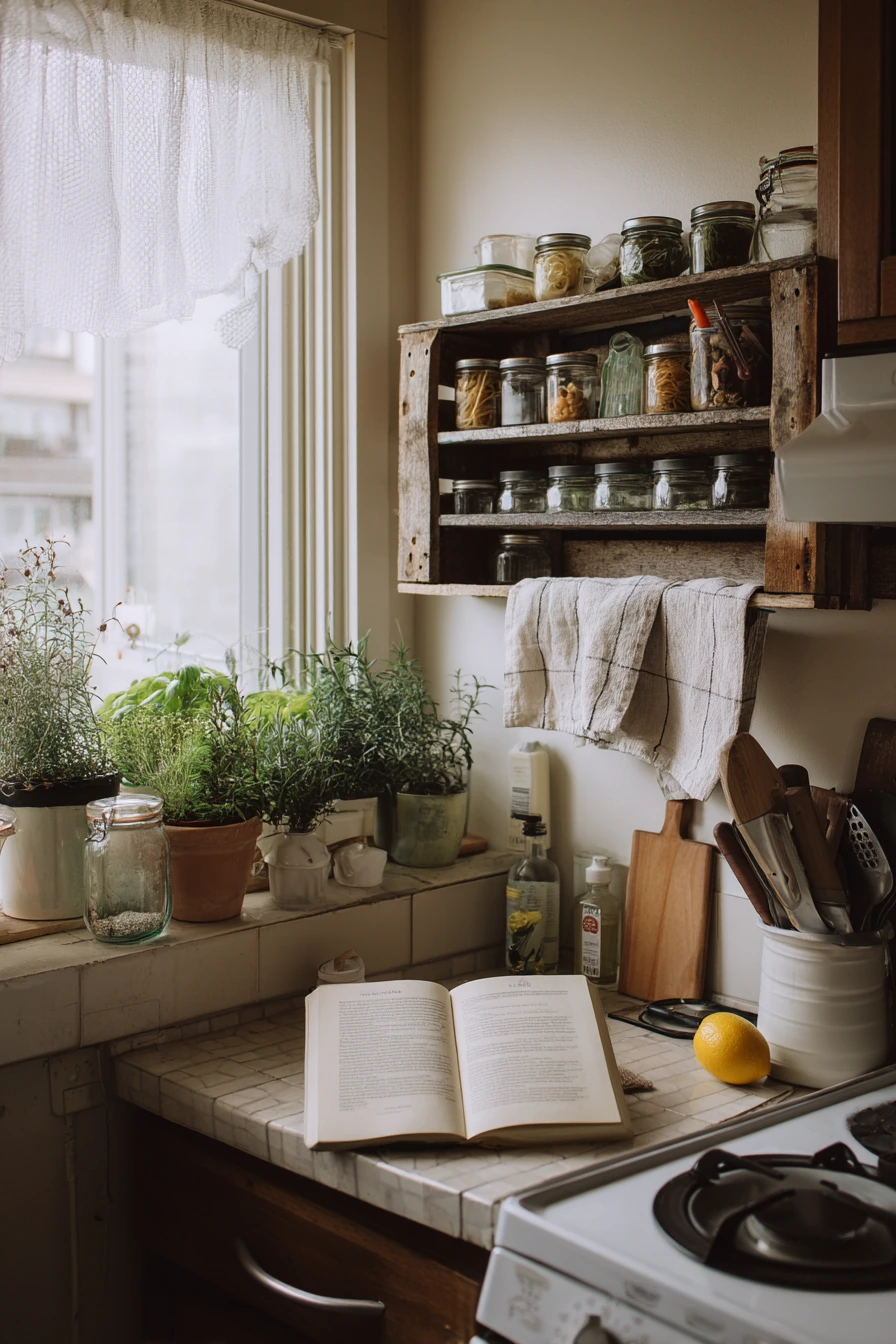
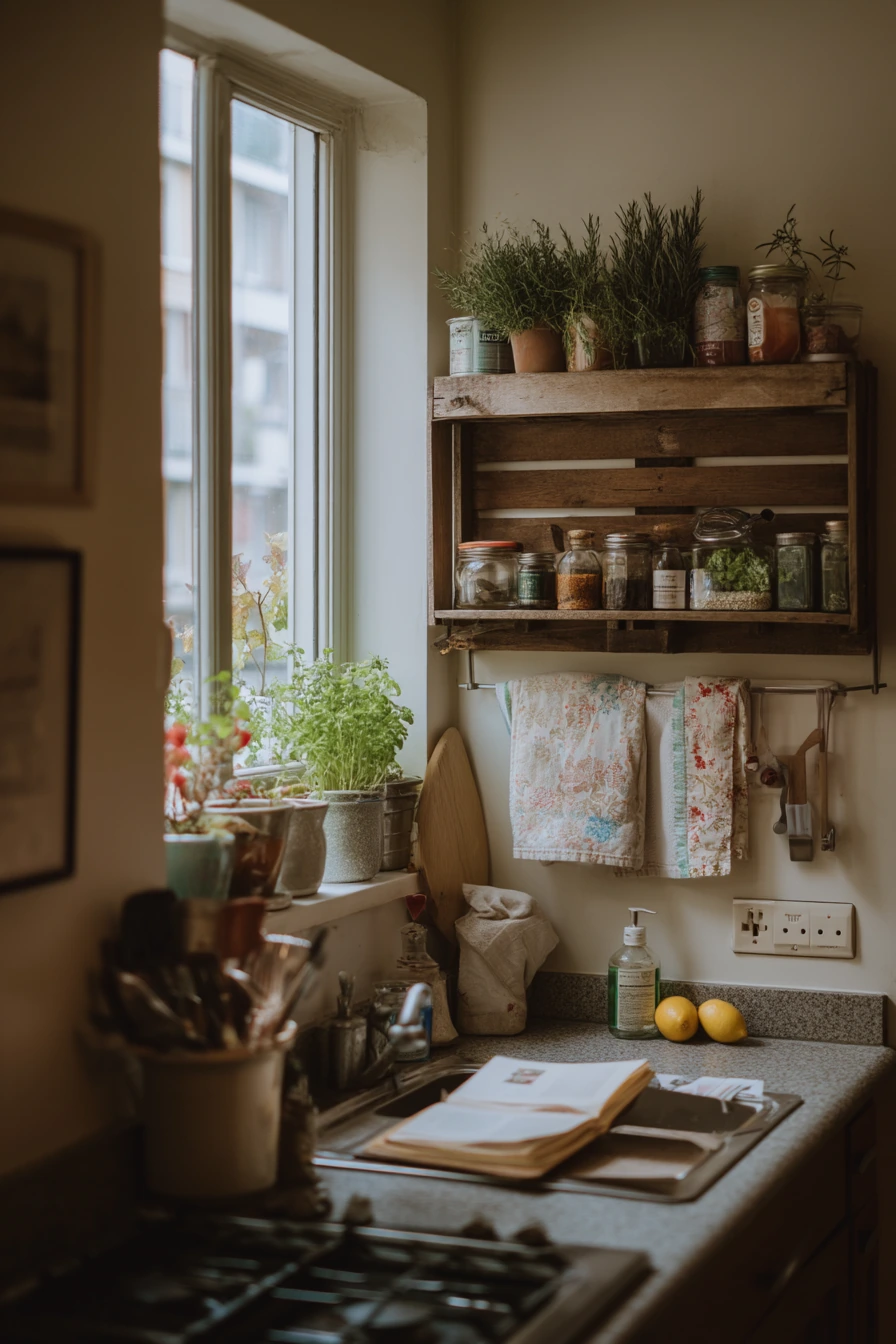
A small city kitchen can still grow a lot of flavor with a pallet herb rack under the window. Mount a slim pallet board as a rack for rosemary, chives, parsley, and microgreens. This keeps fresh herbs close to the cutting board and uses light you already have.
Make the rack feel natural with reused jars and simple labels. A cookbook open to a pasta recipe adds a practical touch, and everyday items like a tea towel hanging slightly crooked keep it real. Keep dish soap and a lemon on the sill, but leave enough space so jars are not splashed all day.
For care, choose herbs that match your window conditions. Rosemary likes brighter light and less water, while parsley and microgreens need more even moisture. Use jars with drainage by adding pebbles at the bottom or placing plants in small nursery pots inside the jars. Rotate the jars every few days so growth stays even.
- Pick a narrow pallet piece so it does not crowd the counter depth.
- Use screw-in hooks or a small shelf strip to hold jars safely.
- Place microgreens on the brightest side and harvest often to keep them tender.
- Keep a small tray under the jars to catch drips and protect wood.
- Style with one neutral towel and one cookbook to avoid visual clutter.
Pro Design Tip: Group jars in sets of three and vary heights slightly so the rack looks balanced from a low corner view.
Budget Considerations: Save pasta sauce jars and buy herbs as small starters, then repot as they grow instead of buying mature plants.
4 4. Weekend DIY Pallet Build Moment
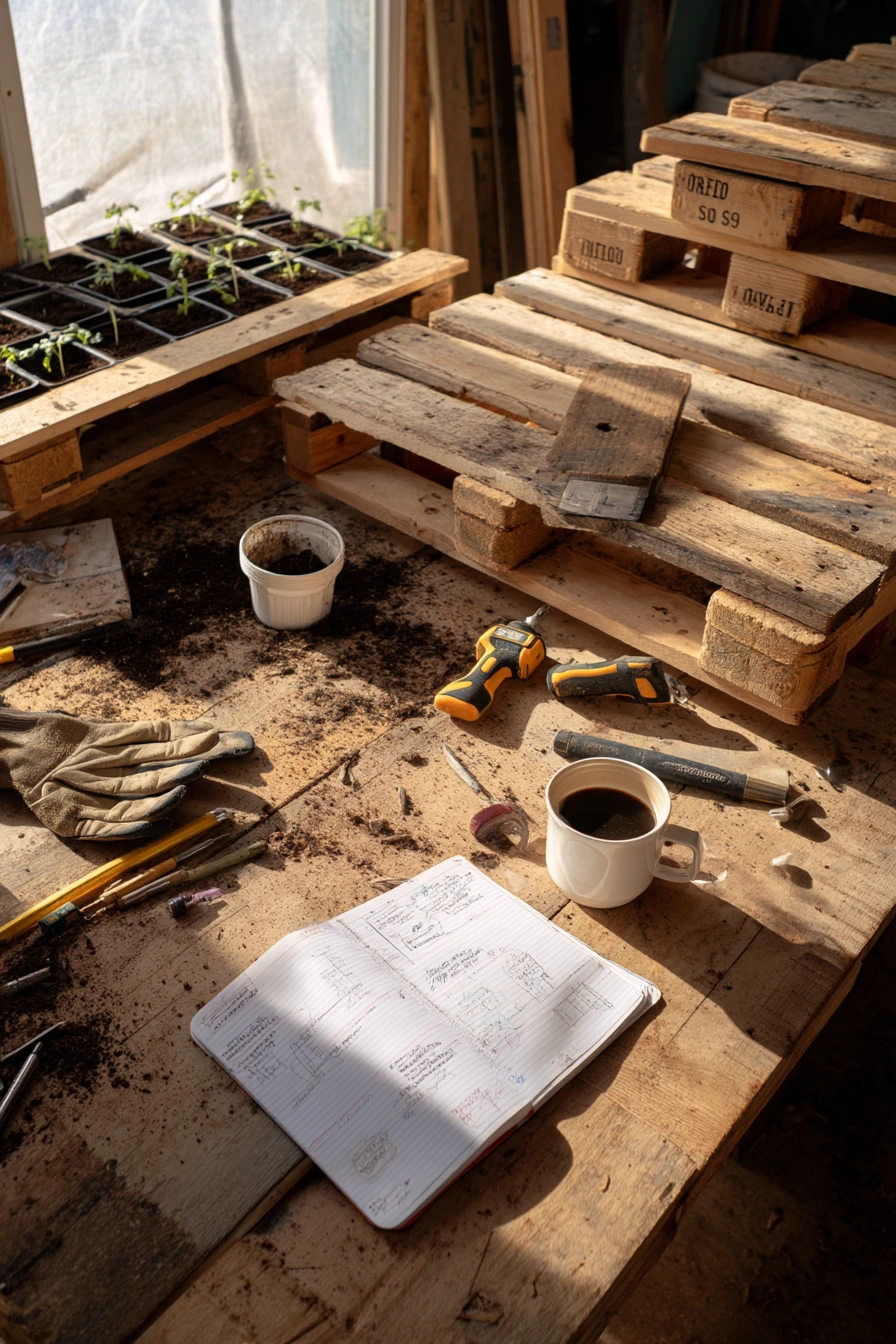
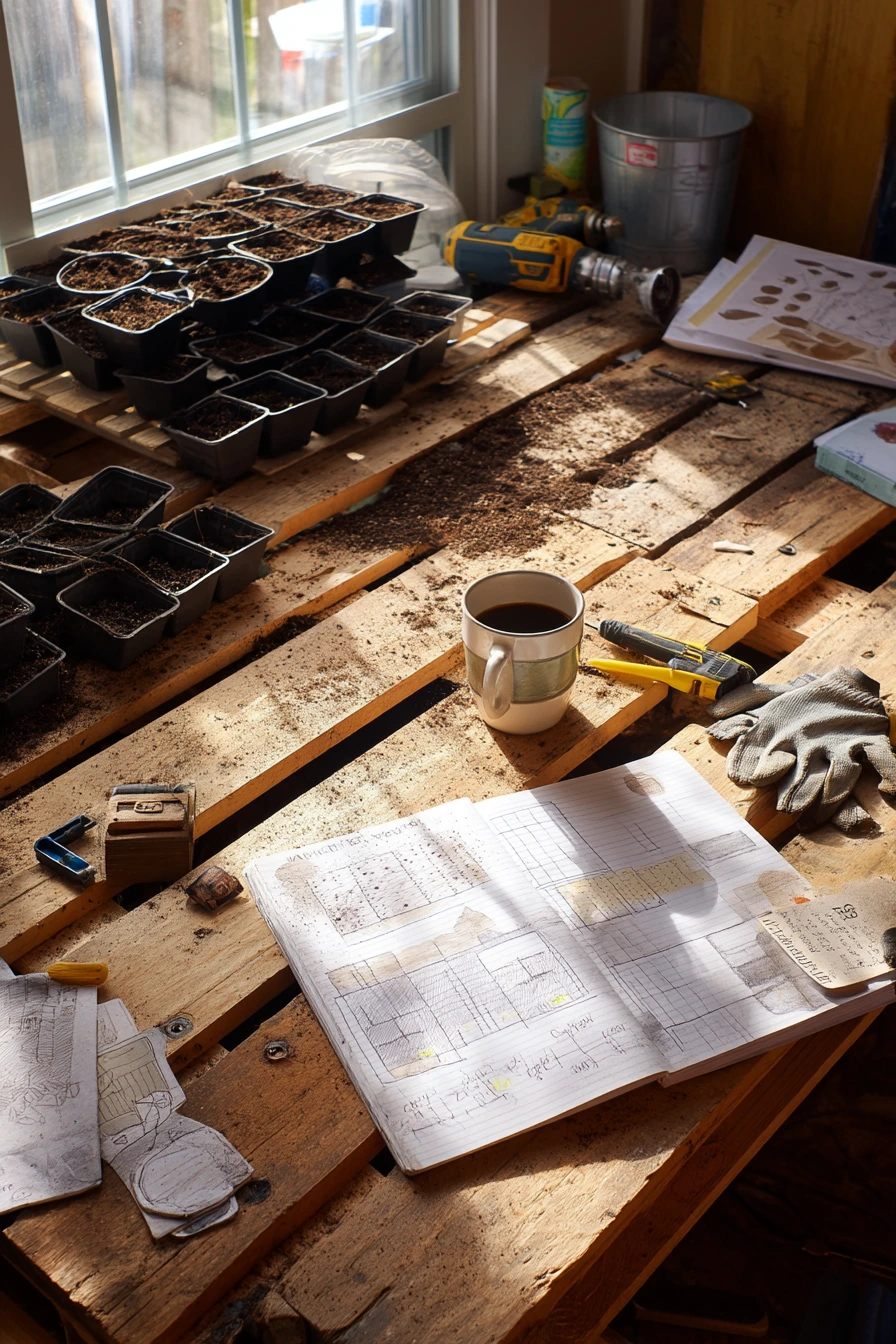
A garage-turned-workspace is a great place to prep pallet garden parts without making a mess outside. Start with half-sanded pallet boards and work in short steps: remove staples, sand edges, and pre-drill holes. Keep your drill, screws, and measuring tape on one side so you do not lose time looking for tools.
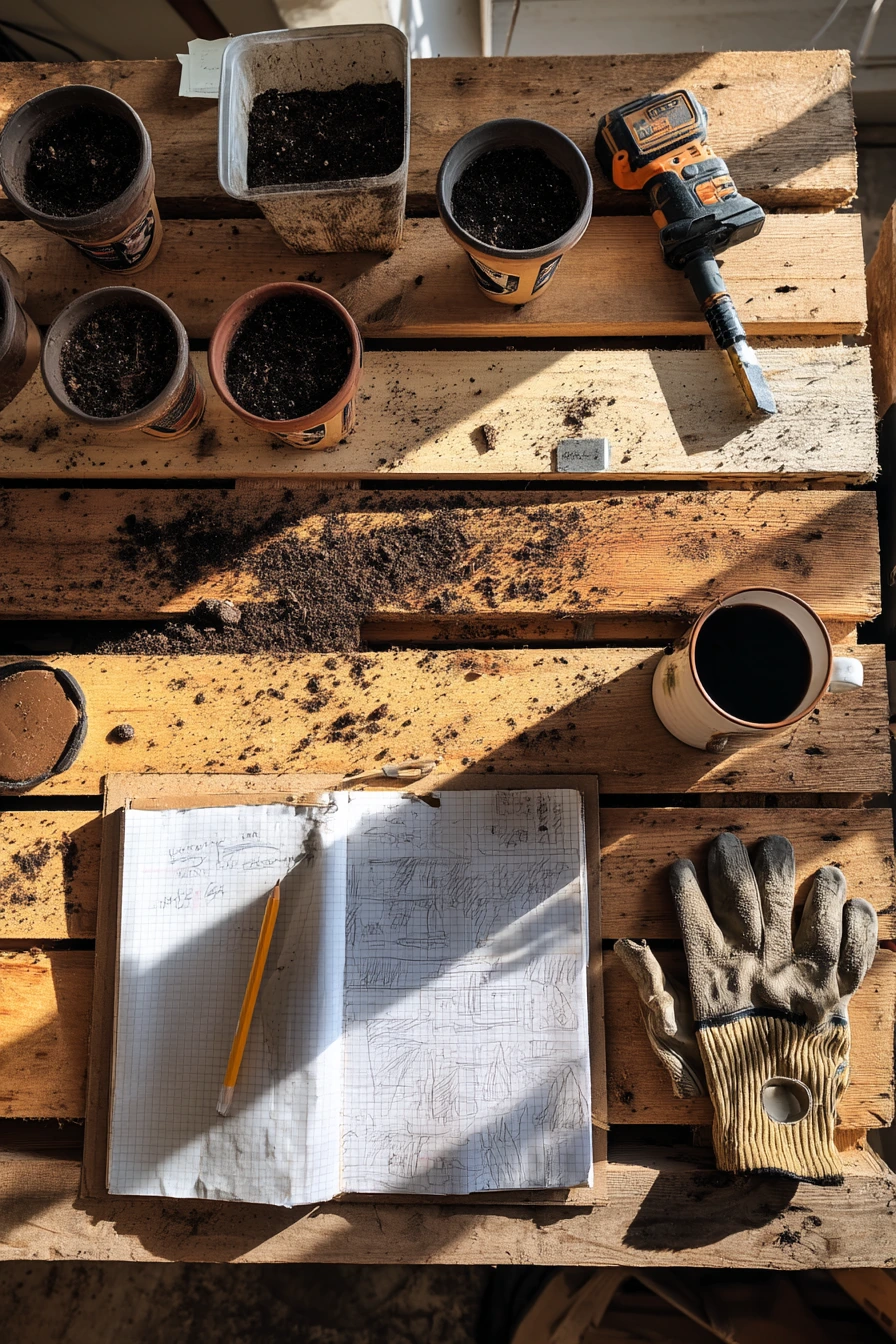
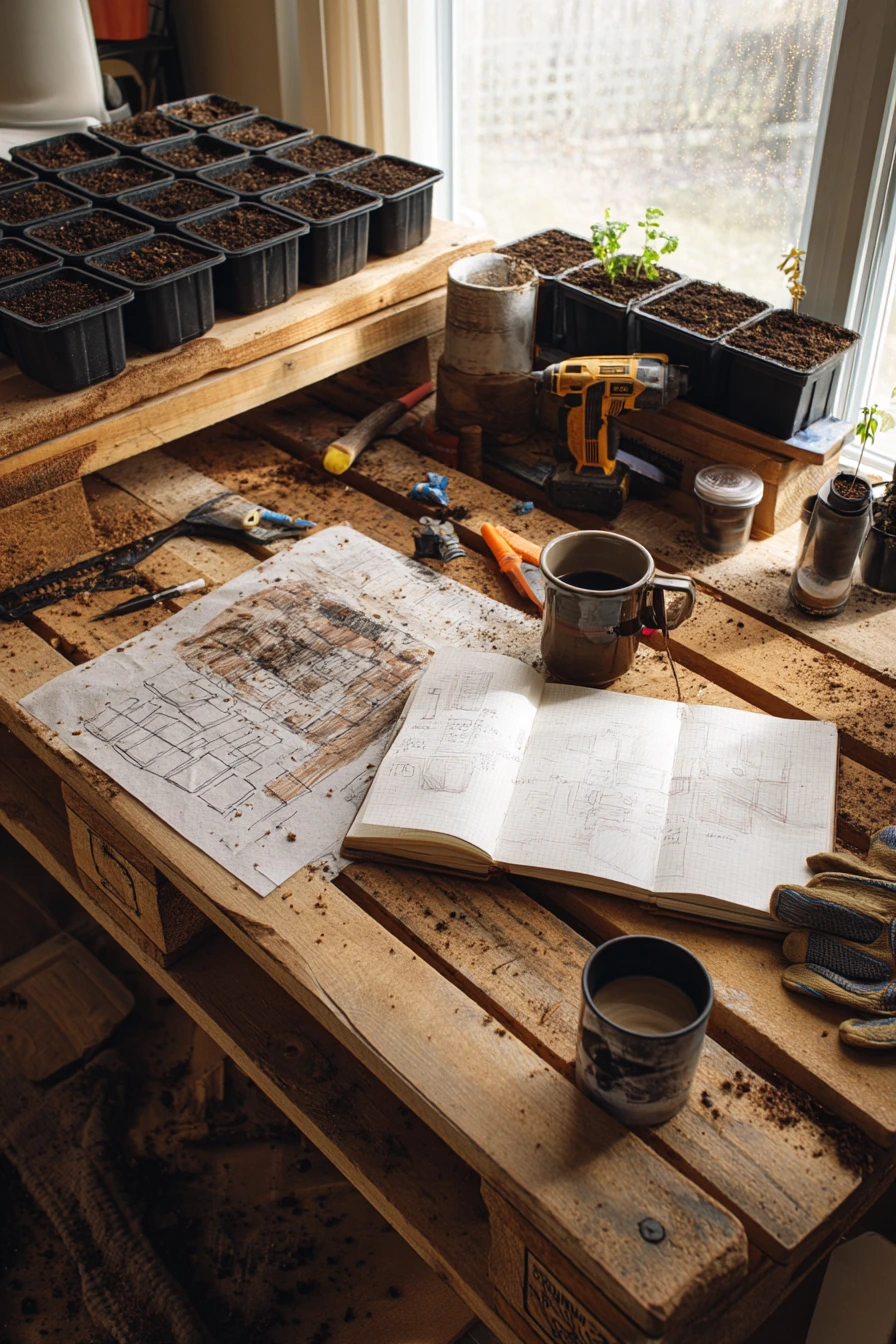
This project scene is honest and hands-on, and that is what makes it useful. A small pile of potting soil, potted seedlings waiting in trays, and a notebook with rough sketch plans keep you moving from idea to build. Work gloves and sawdust on the floor are normal. Set a coffee mug on a stable surface so it does not tip while you measure.
Before assembly, plan how the pallet will be used. A vertical planter needs pockets and a back panel, while raised pallet boxes need a base and corner supports. Mark boards with pencil, cut once, then dry-fit pieces before you screw them together. Seal the wood if it will face rain, and always let finishes cure before adding soil.
- Sand only the touch areas first, like edges and top rails, to save time.
- Use exterior screws and corner brackets for stronger joints.
- Line planters with landscape fabric and staple it tight to reduce soil loss.
- Test the weight by adding empty pots before filling with soil.
- Set up a warm task lamp so you can see screw lines clearly.
Pro Design Tip: Build one “test pocket” first, then copy its measurements for the rest so every row lines up cleanly.
Budget Considerations: Borrow a sander or drill if you can, and buy screws in bulk since they are often the biggest repeated cost.
5 5. Apartment Patio Pallet Privacy Screen
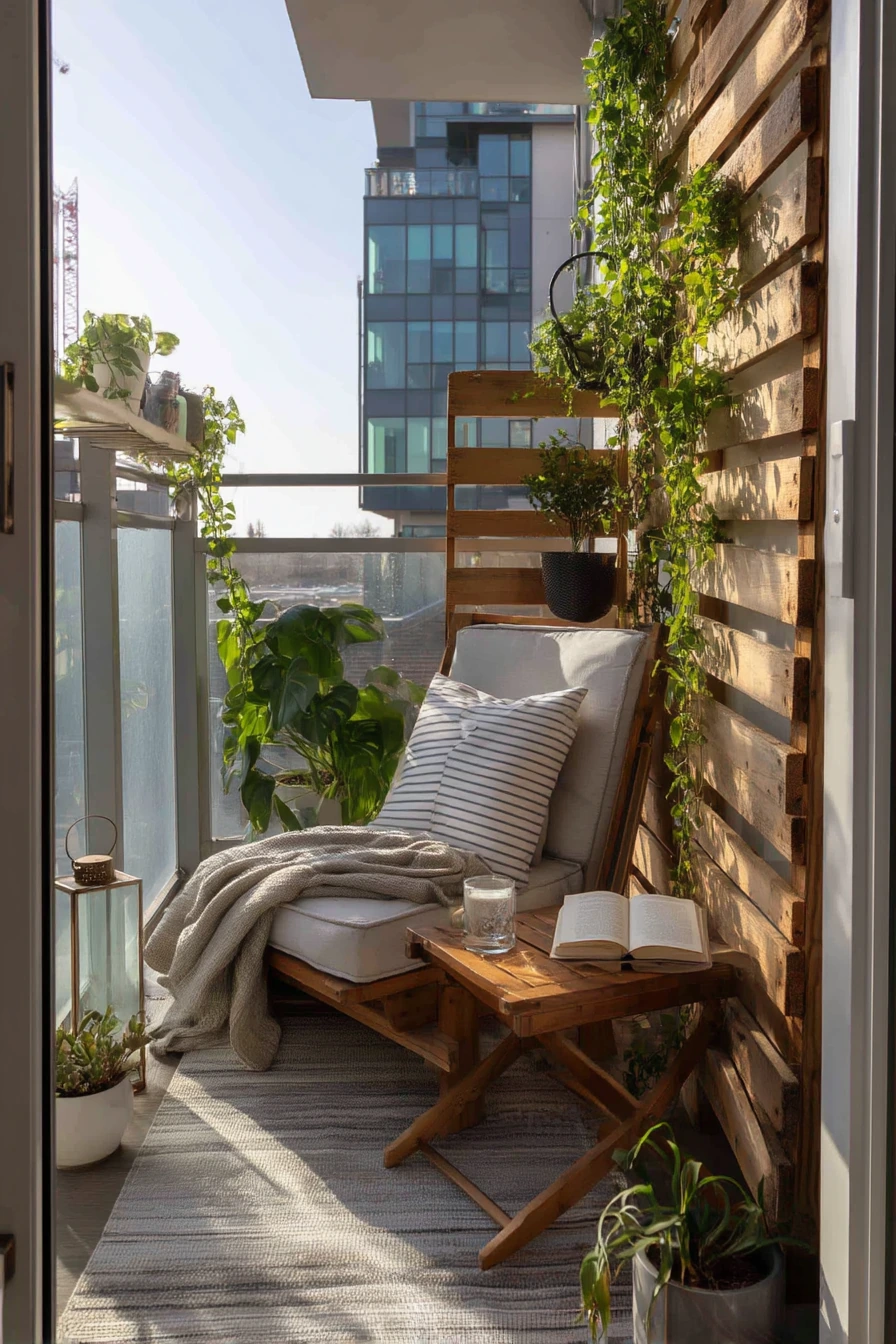
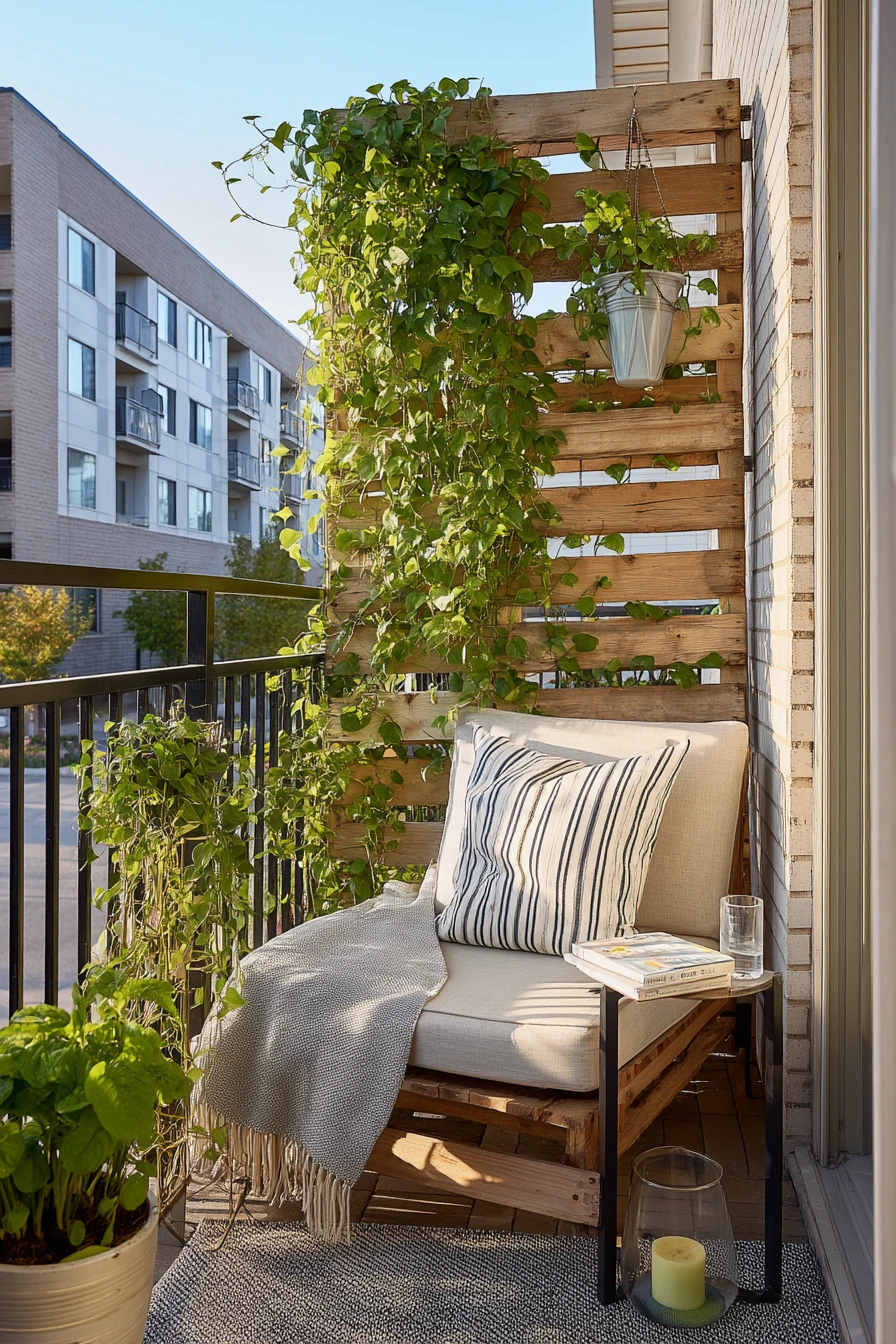
A narrow apartment patio can feel more private with a pallet privacy screen that also works as a garden wall. Set the pallet screen along the railing or fence line to block views while adding green texture. Climbing jasmine is a strong choice for scent and coverage, and pothos fills gaps fast in shadier corners.
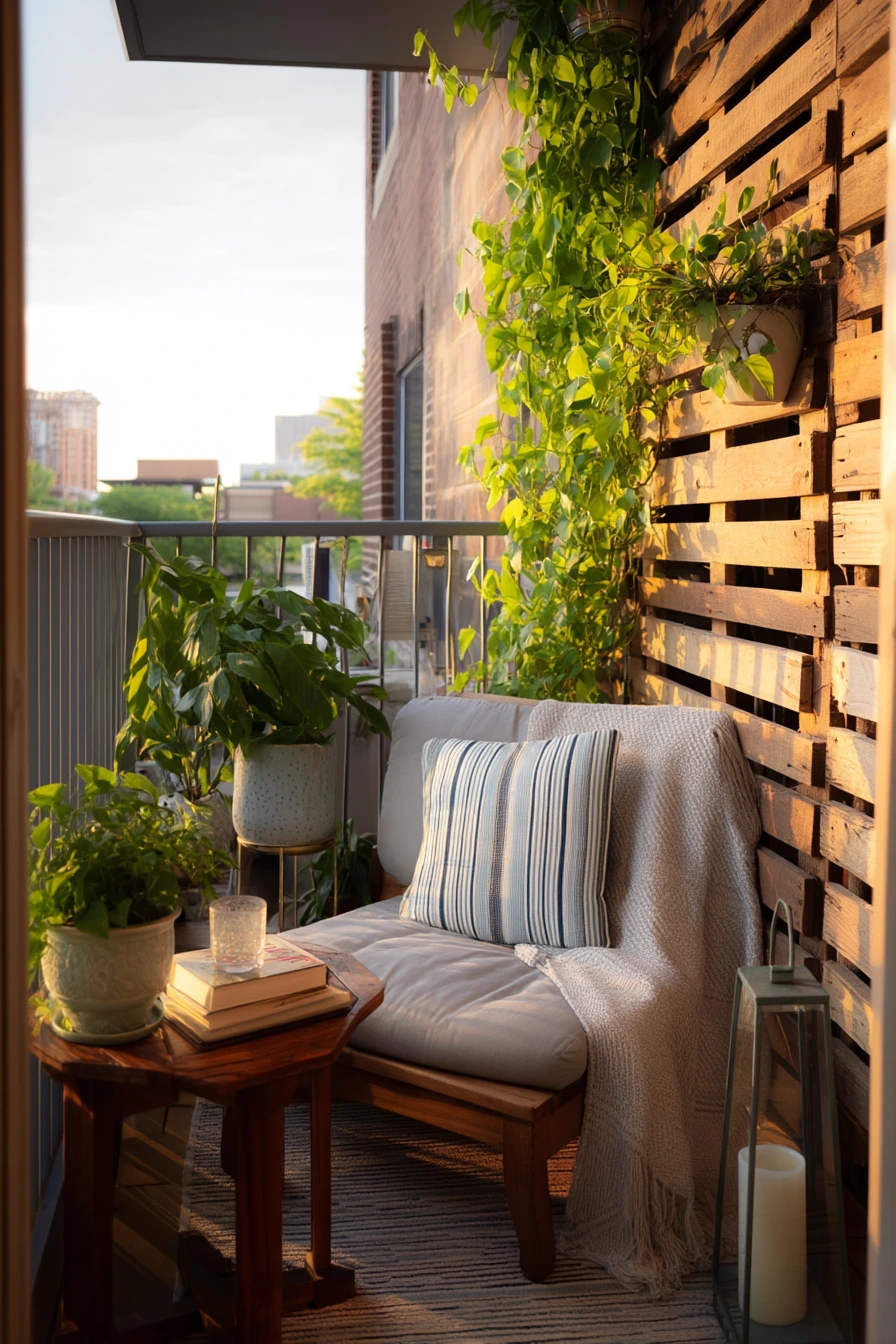
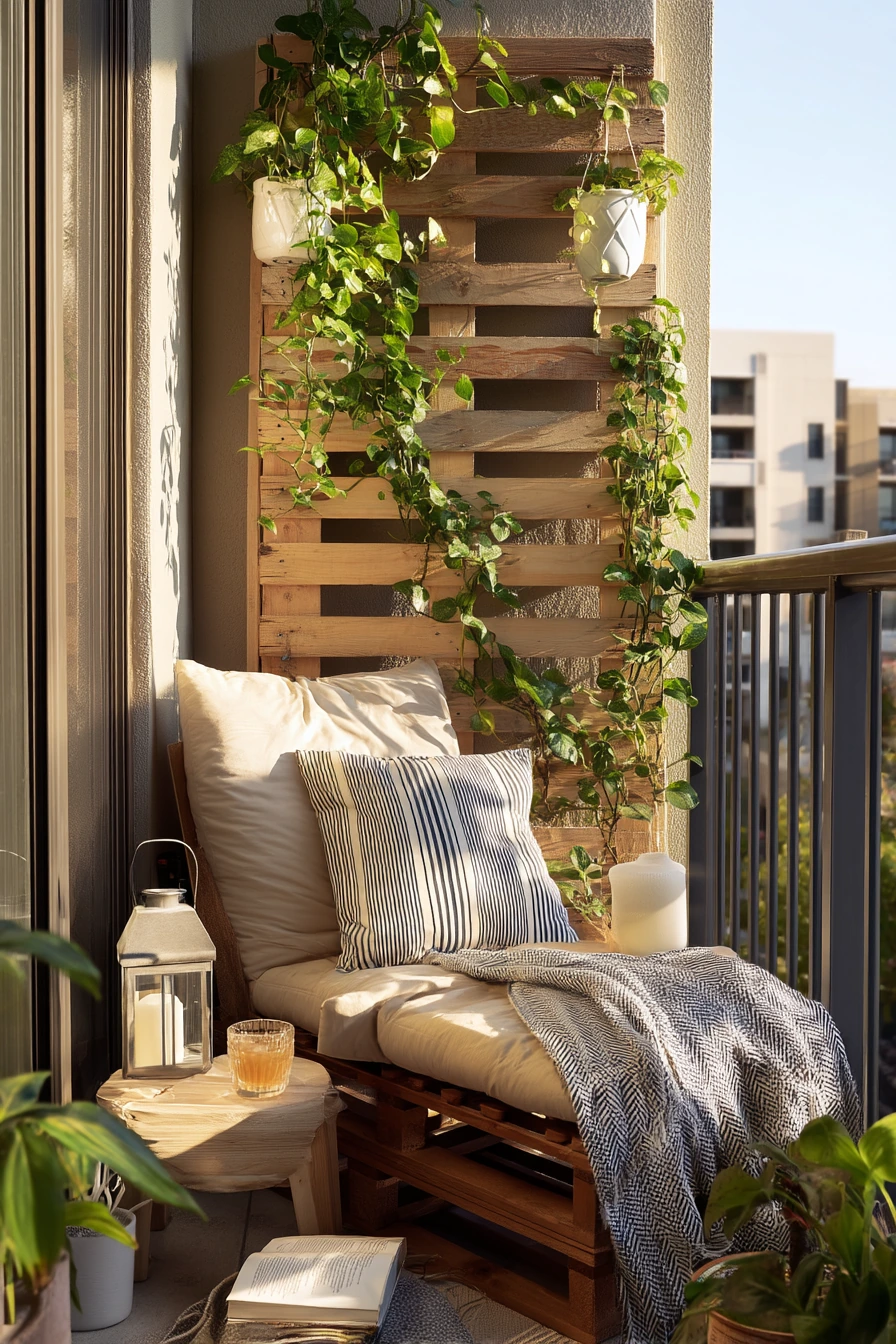
To keep the nook calm, style it like a small outdoor room. A compact lounge chair with a striped cushion, a paperback, and a water glass on a side table makes it feel used. Add a lantern and a folded blanket for evenings so you can stay outside when the light turns golden. Keep the floor open so the patio still feels bigger than it is.
For plant placement, put heavier planters low and hang lighter pots higher. Use sturdy hooks rated for outdoor use and check them often. Train jasmine with soft garden ties so stems do not snap. If you rent, use freestanding posts or weighted bases so you avoid drilling into walls.
- Anchor the pallet screen with planters or a base frame so it cannot tip in wind.
- Mix one climber, one trailing plant, and one upright planter for depth.
- Use a narrow shelf strip on the pallet for small hanging planters.
- Keep a clear path from the doorway so the nook feels easy to use.
- Choose warm lighting like a lantern to match dusk and string-light glow.
Pro Design Tip: Leave a small “breathing gap” of open wood between plant groups so the wall looks designed, not crowded.
Budget Considerations: Use inexpensive plastic hanging pots and hide them inside simple baskets or covers for a cleaner look.
6 6. Salvaged Pallet Flower Corner
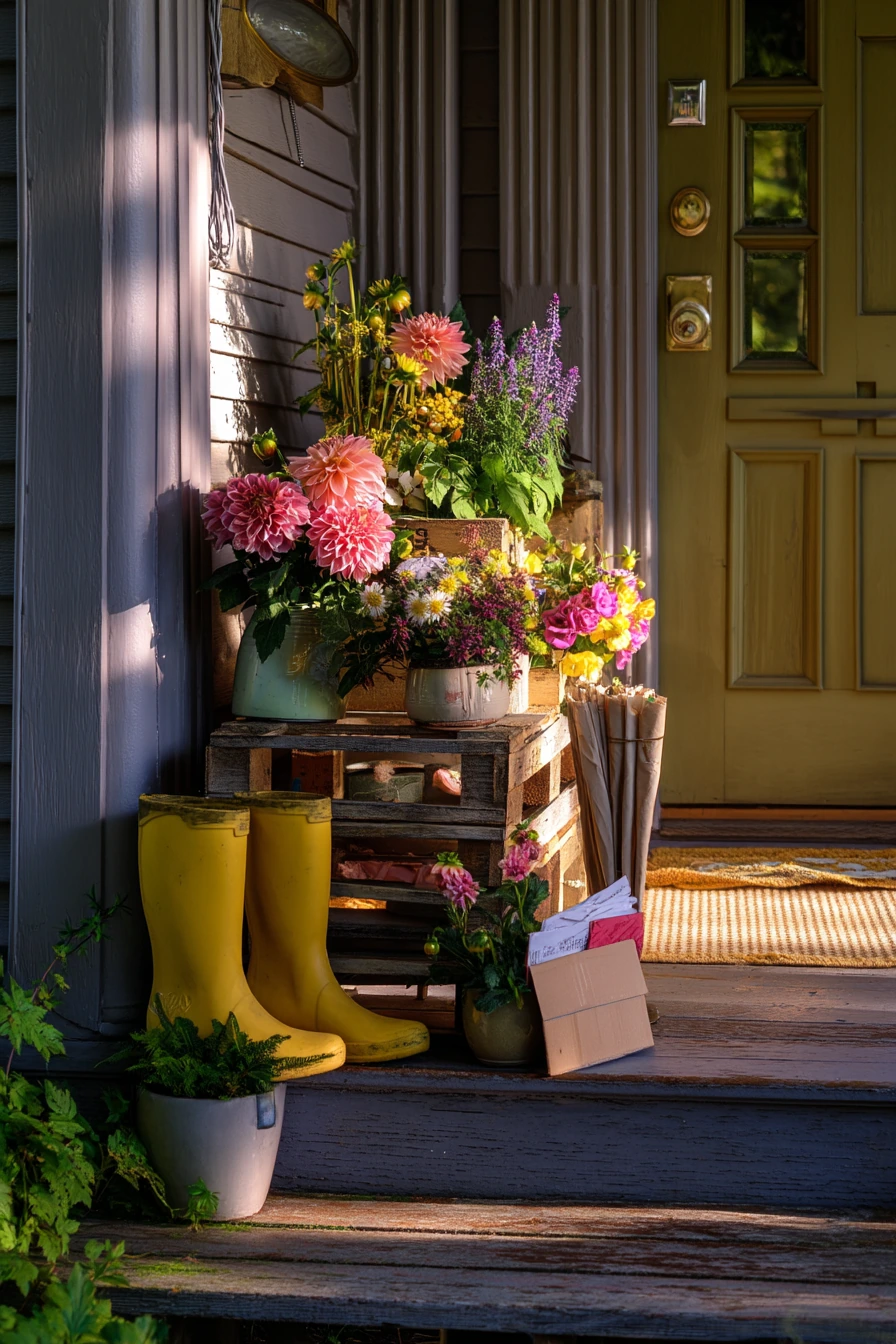
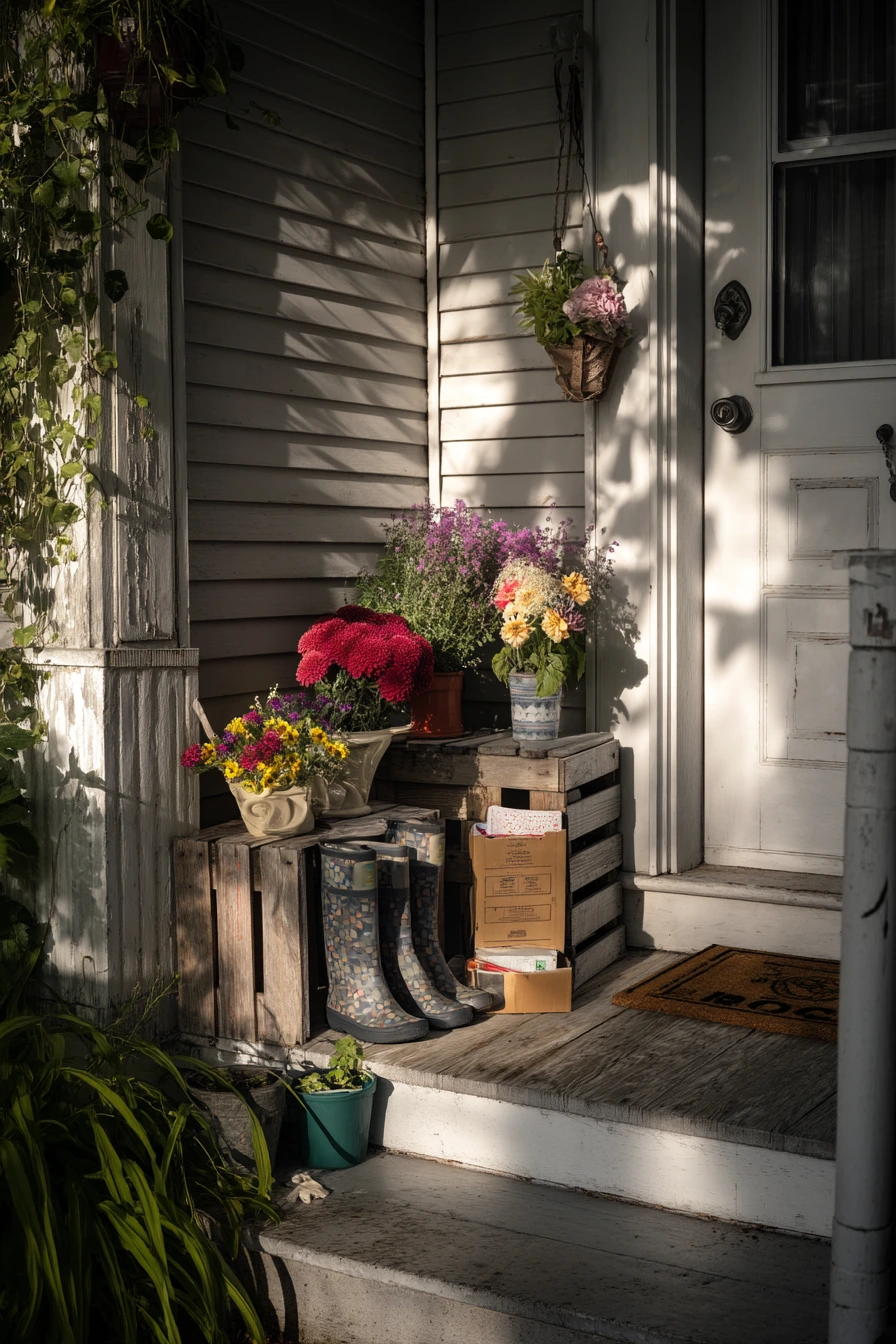
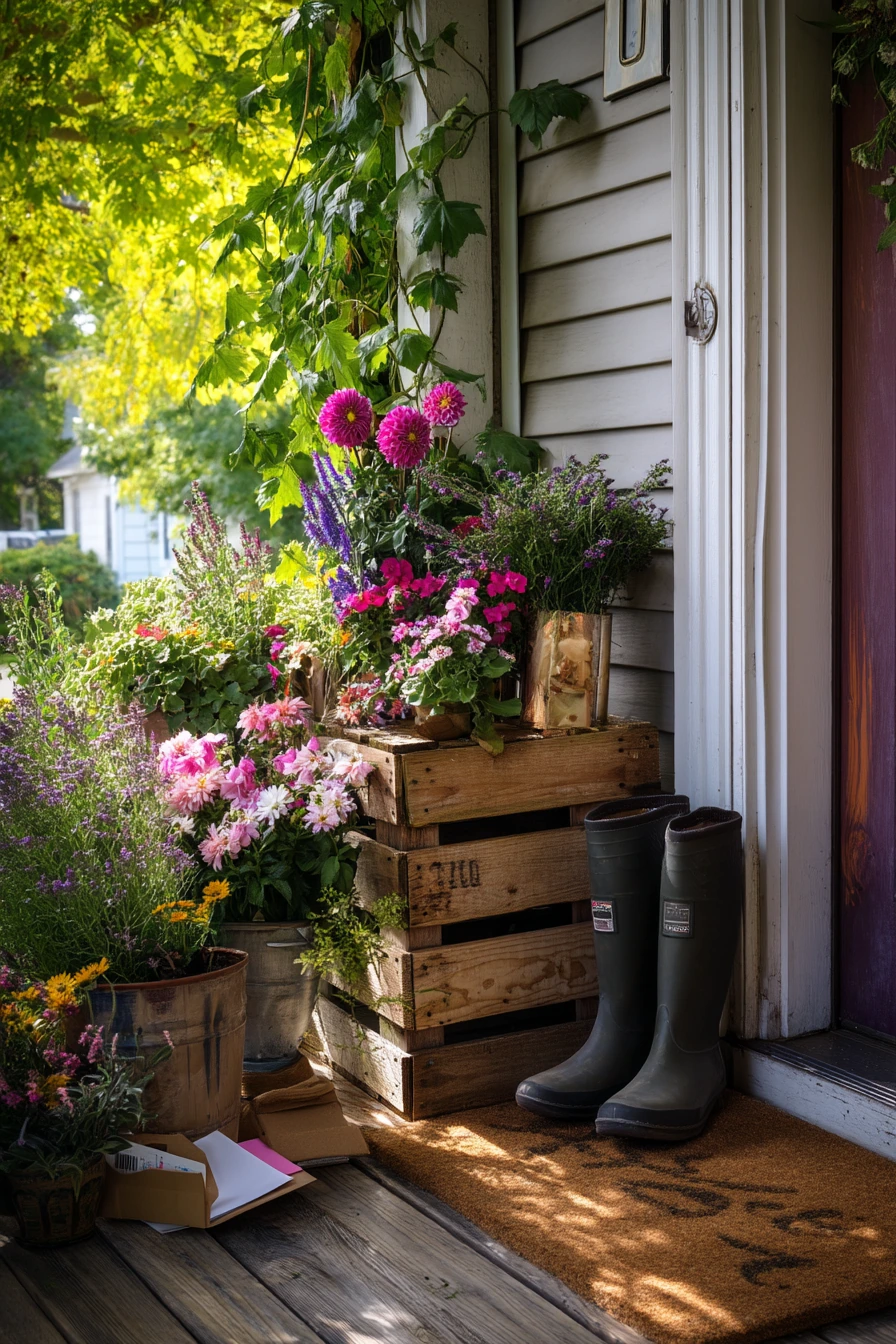
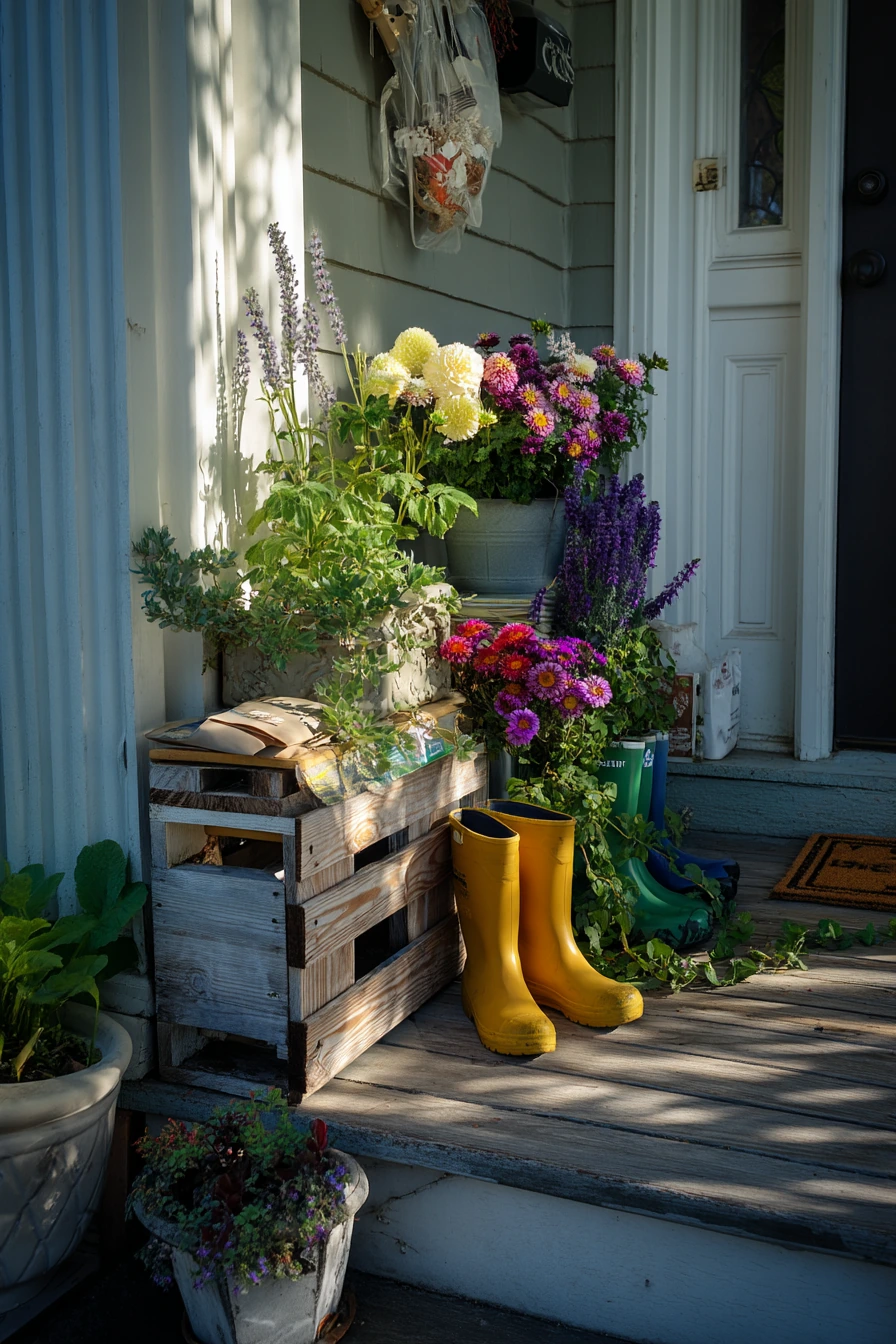
A modest front porch can look welcoming with a salvaged pallet flower corner. Use a pallet as a low tiered stand or a corner backboard, then fill it with mismatched containers. Dahlias bring height, petunias add steady blooms, lavender adds scent, and trailing ivy softens the edges.
This type of porch styling works when it feels real. Rain boots by the step and mail stacked beside a planter make it believable. A market bouquet in a vase near the door adds color without more planting work. Keep the welcome mat slightly askew if that is how your home actually looks, but make sure the walking path is clear and safe.
For easy care, choose containers with drainage and group them so you can water in one pass. Put thirsty petunias closer to the front where you notice them. Keep lavender in a pot with gritty soil so it does not stay wet. If the porch gets strong morning sun, rotate containers so one side does not cook.
- Place taller pots at the back corner and shorter ones at the edge for a layered look.
- Use one color family, like purple and pink, to make mixed pots feel cohesive.
- Add a small drip tray under messy pots to protect porch boards.
- Clip faded blooms weekly to keep petunias and dahlias flowering.
- Style with one simple vase and one doormat so the plants stay the focus.
Pro Design Tip: Repeat one container finish, like terracotta or matte black, even if the rest are mismatched, to tie the corner together.
Budget Considerations: Buy smaller annuals in multi-packs and let them fill in over a few weeks instead of paying for large, full baskets.
7 7. Small-Space Compost + Pallet Garden Utility Zone
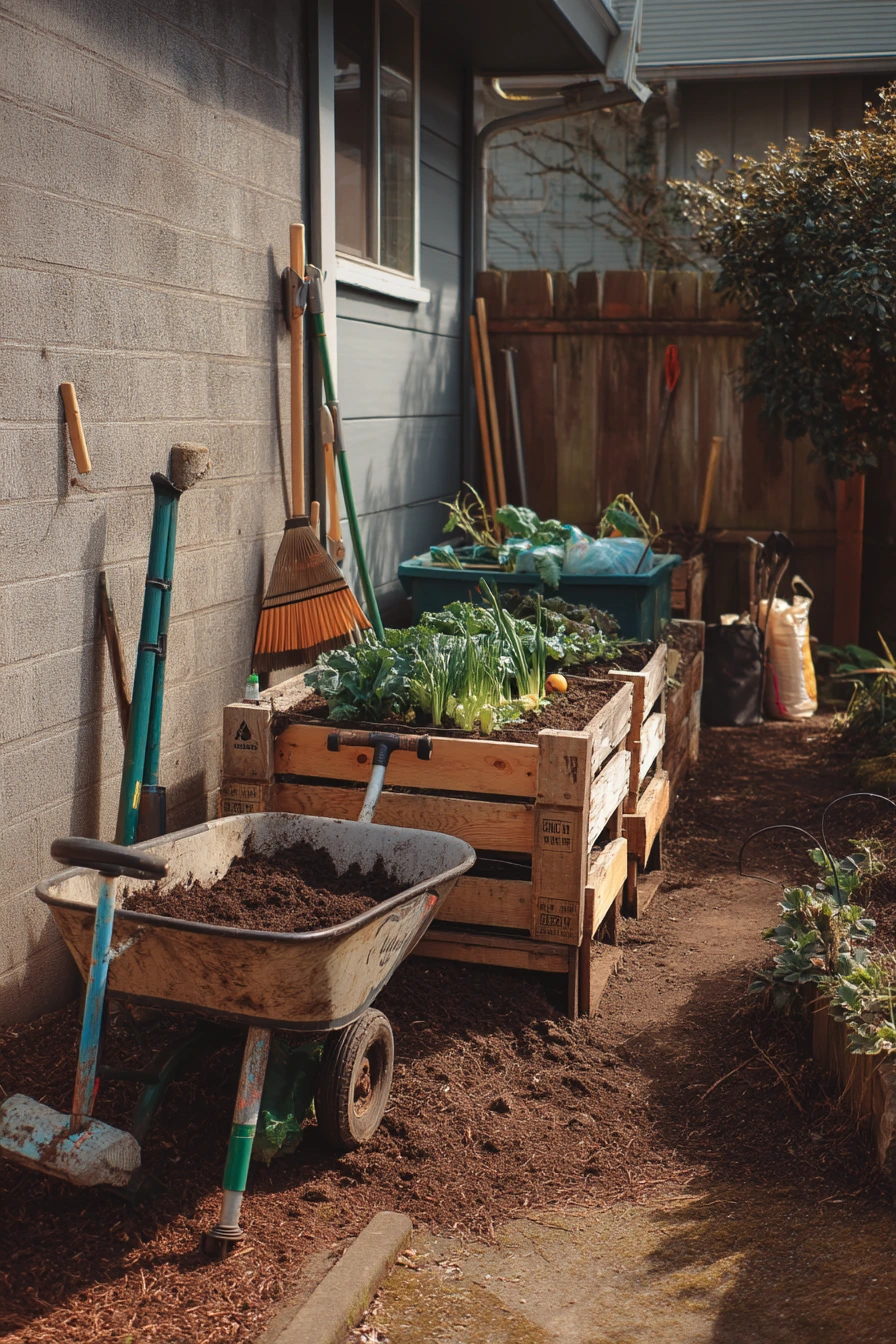
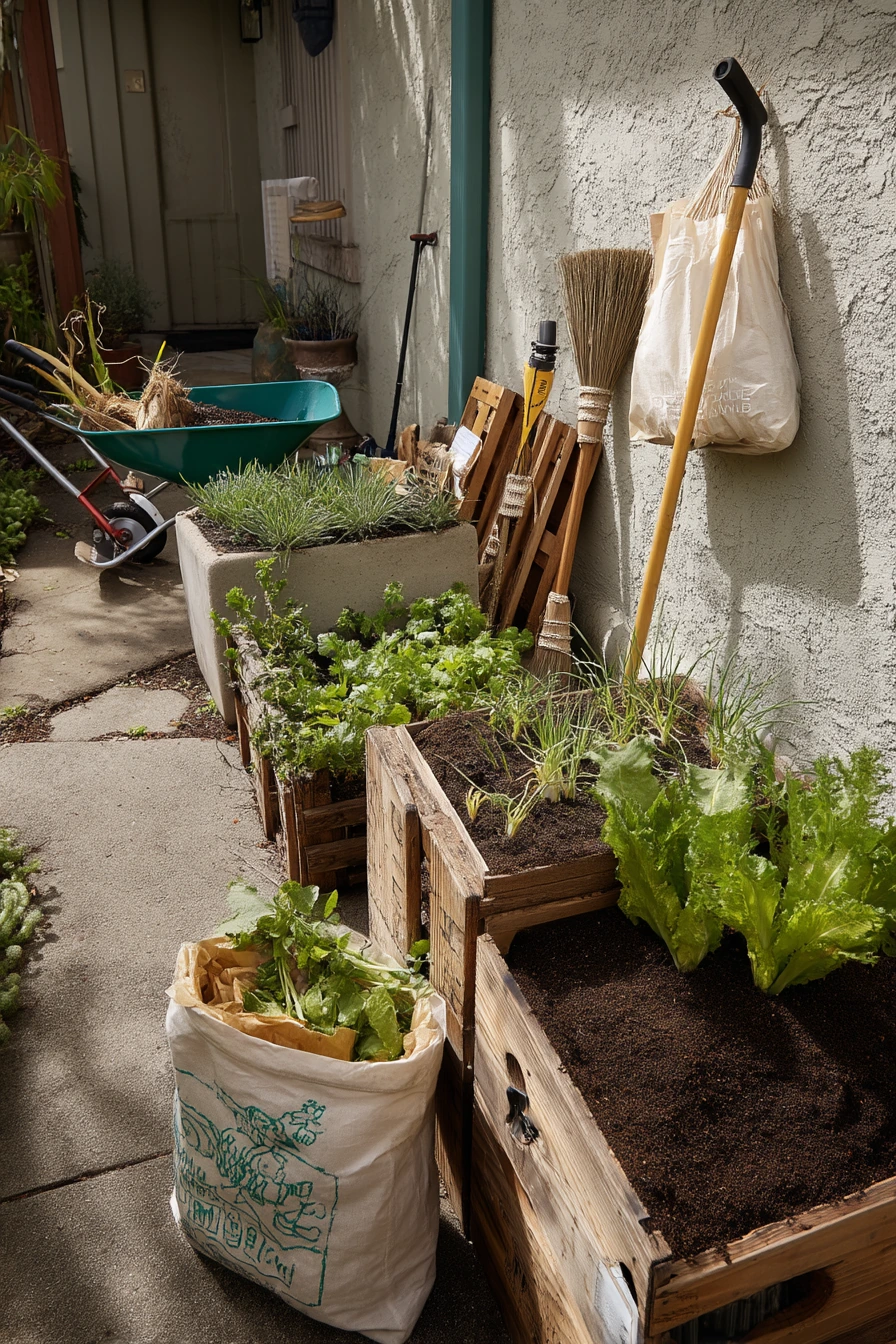
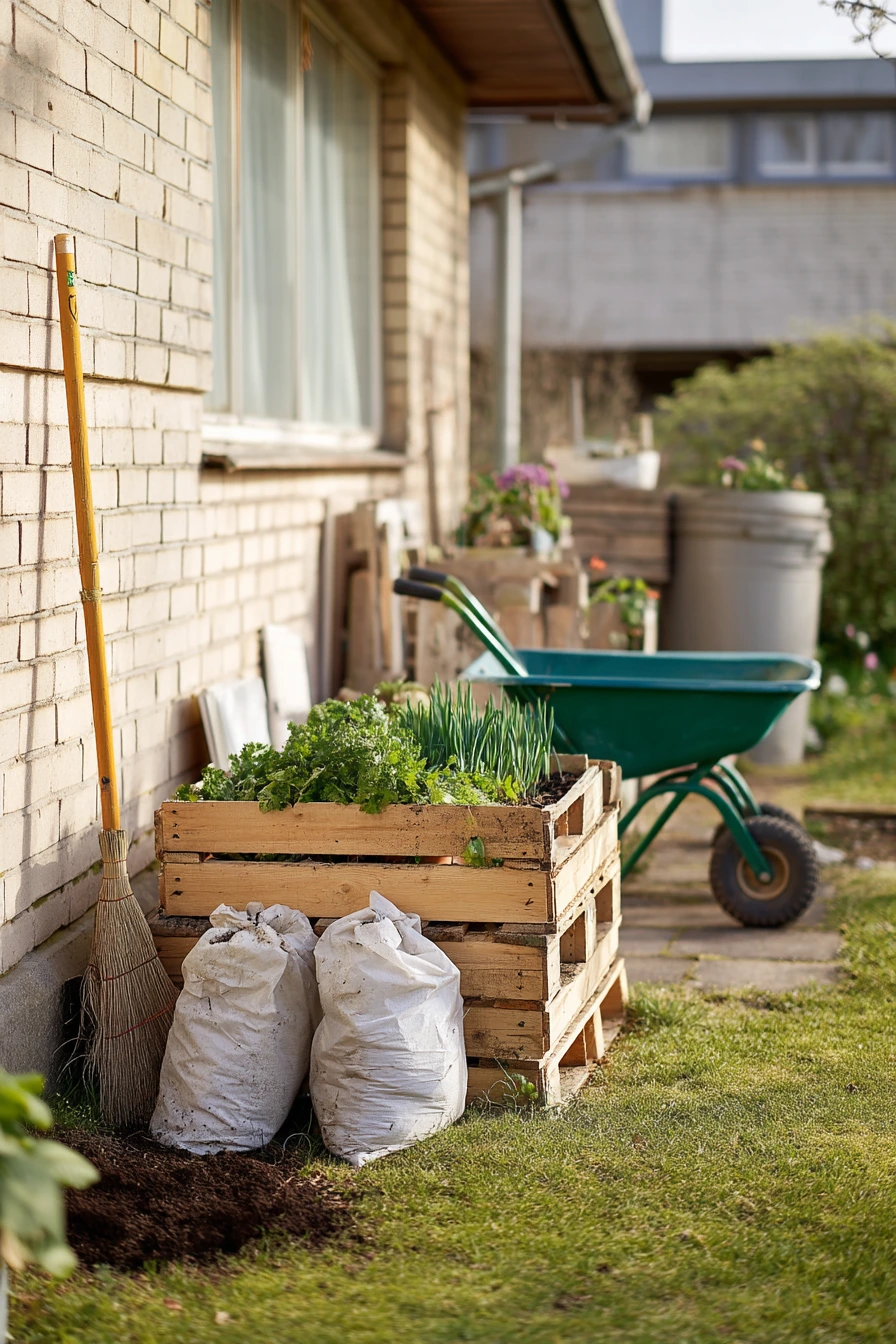
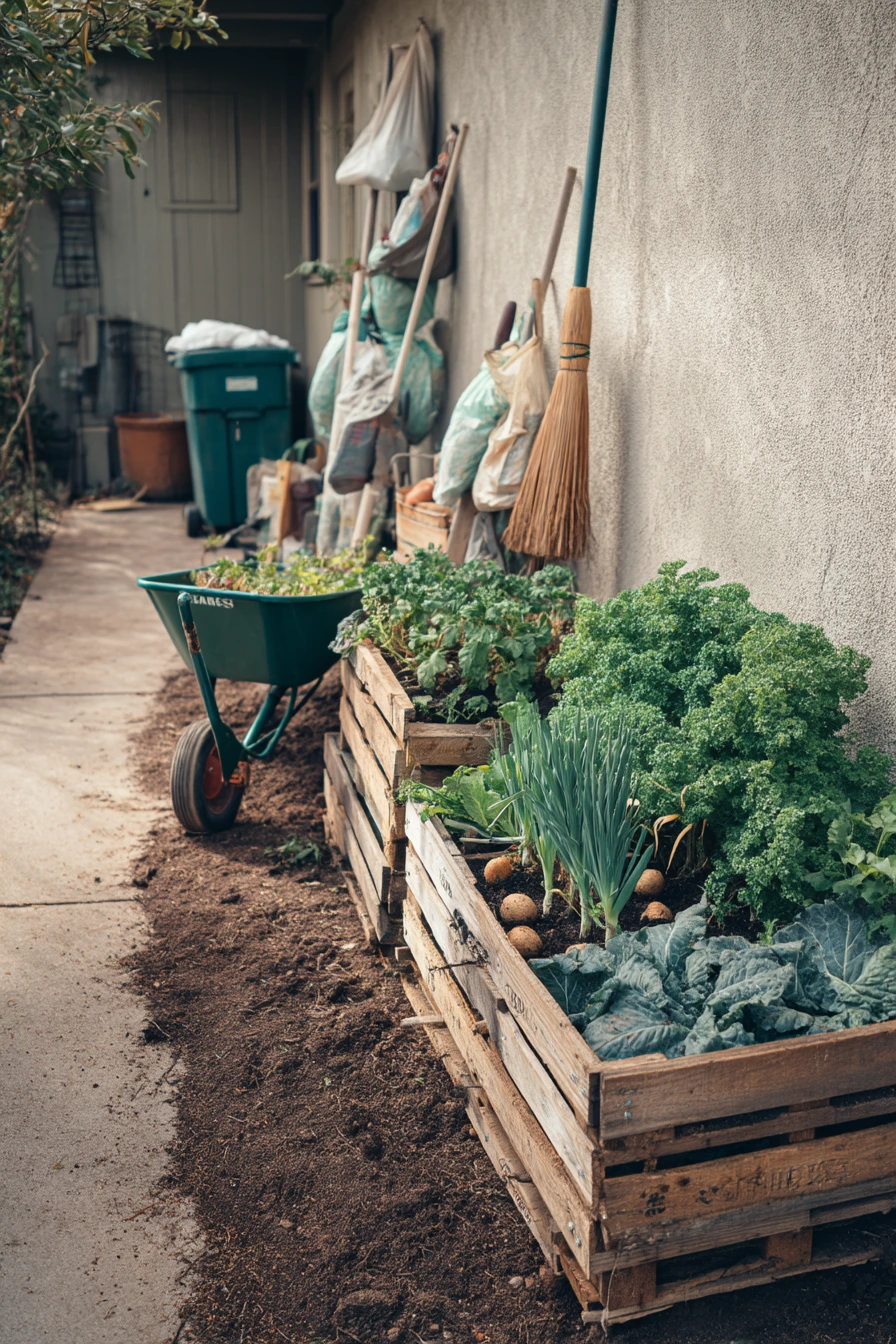
A tidy side yard is perfect for a pallet garden because it uses a space that often gets ignored. Place modular pallet boxes beside a compact compost bin so your kitchen scraps and garden beds are in the same routine. Grow sturdy plants like kale, scallions, and mixed herbs, which handle frequent harvesting and bounce back fast.
This area should feel utilitarian but still homey. A broom leaning near the wall, reusable grocery bags, and garden twine on a hook are practical items you will use often. If a child’s scooter is partially visible, that is fine. It shows the side yard is part of daily traffic, not a separate “garden zone” that no one enters.
For workflow, keep the compost bin on the far end, then put your pallet boxes closer to the door. This keeps muddy trips short. Store a wheelbarrow nearby for moving soil and compost. If the side yard gets mixed light, place kale in the brightest spot and herbs like parsley or chives in part shade.
- Use matching box sizes so you can rearrange them as seasons change.
- Add a stepping stone path to keep shoes cleaner after watering.
- Keep twine and pruners on a hook so they are always in reach.
- Top-dress beds with compost every few weeks for steady growth.
- Style with one simple storage bin so tools do not spread out.
Pro Design Tip: Set the boxes in a straight line with equal spacing so the narrow side yard looks wider and more organized.
Budget Considerations: Build smaller boxes to reduce soil needs, and use homemade compost to cut down on bagged mix over time.
8 8. Sunlit Pallet Succulent Shelf
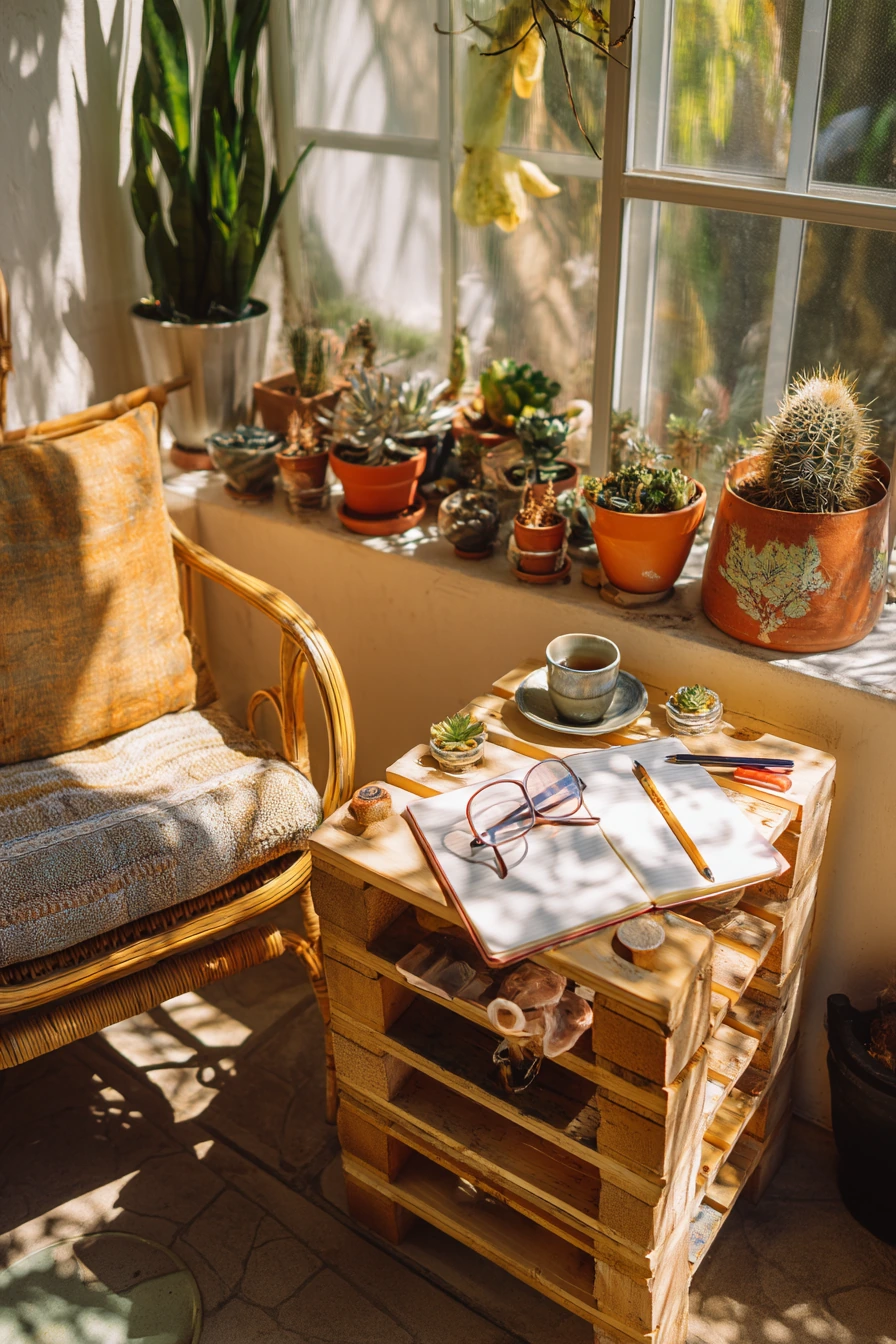
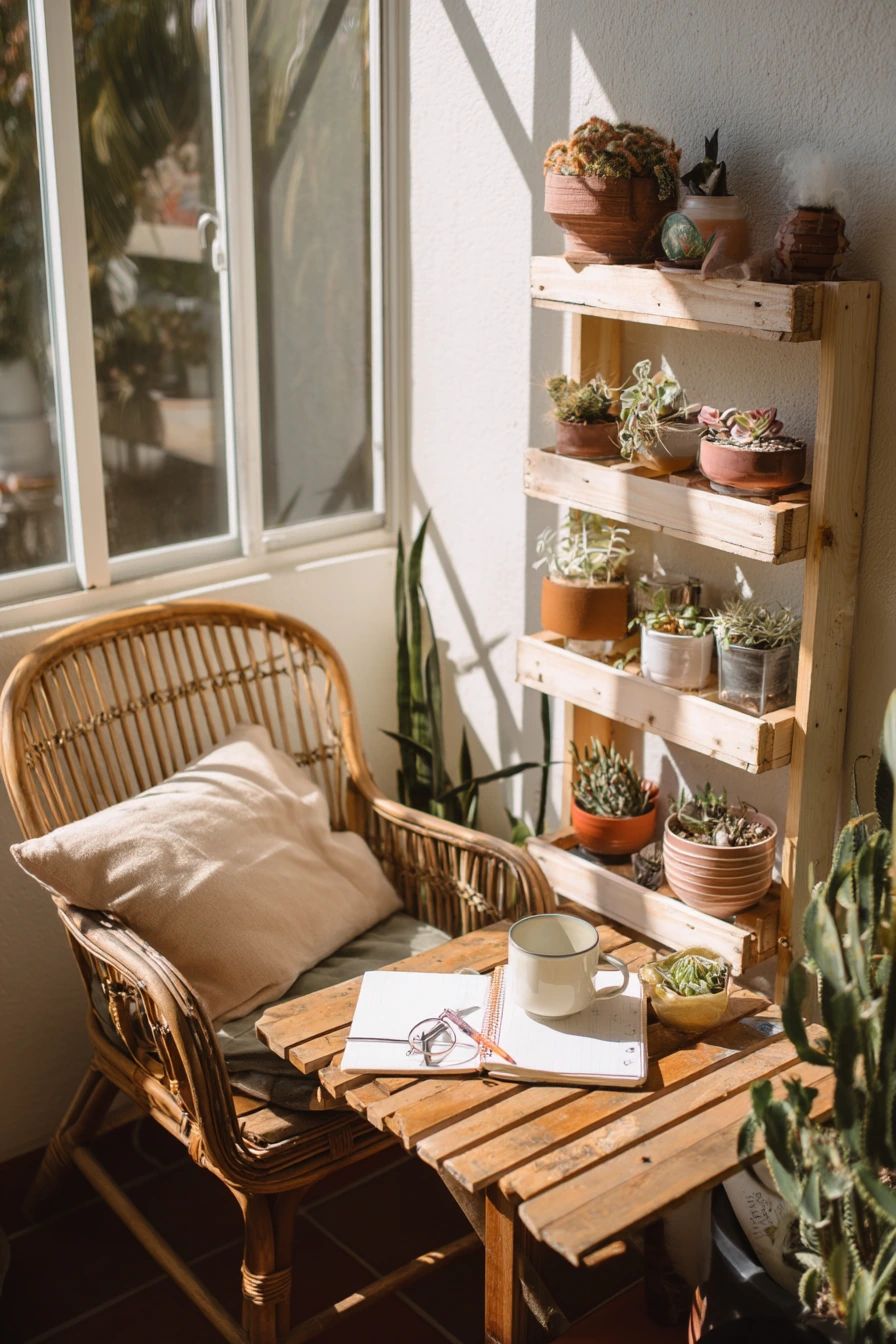
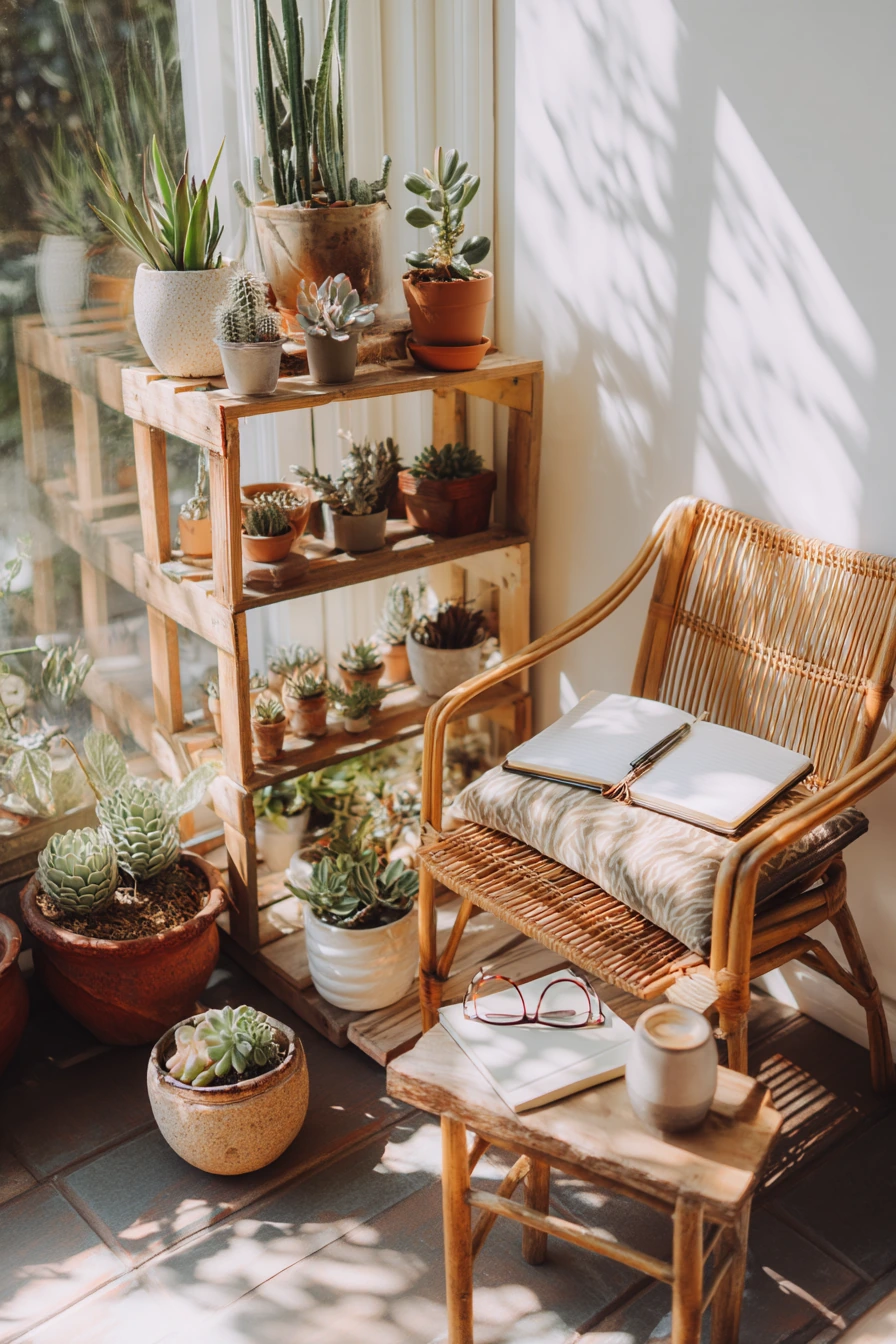
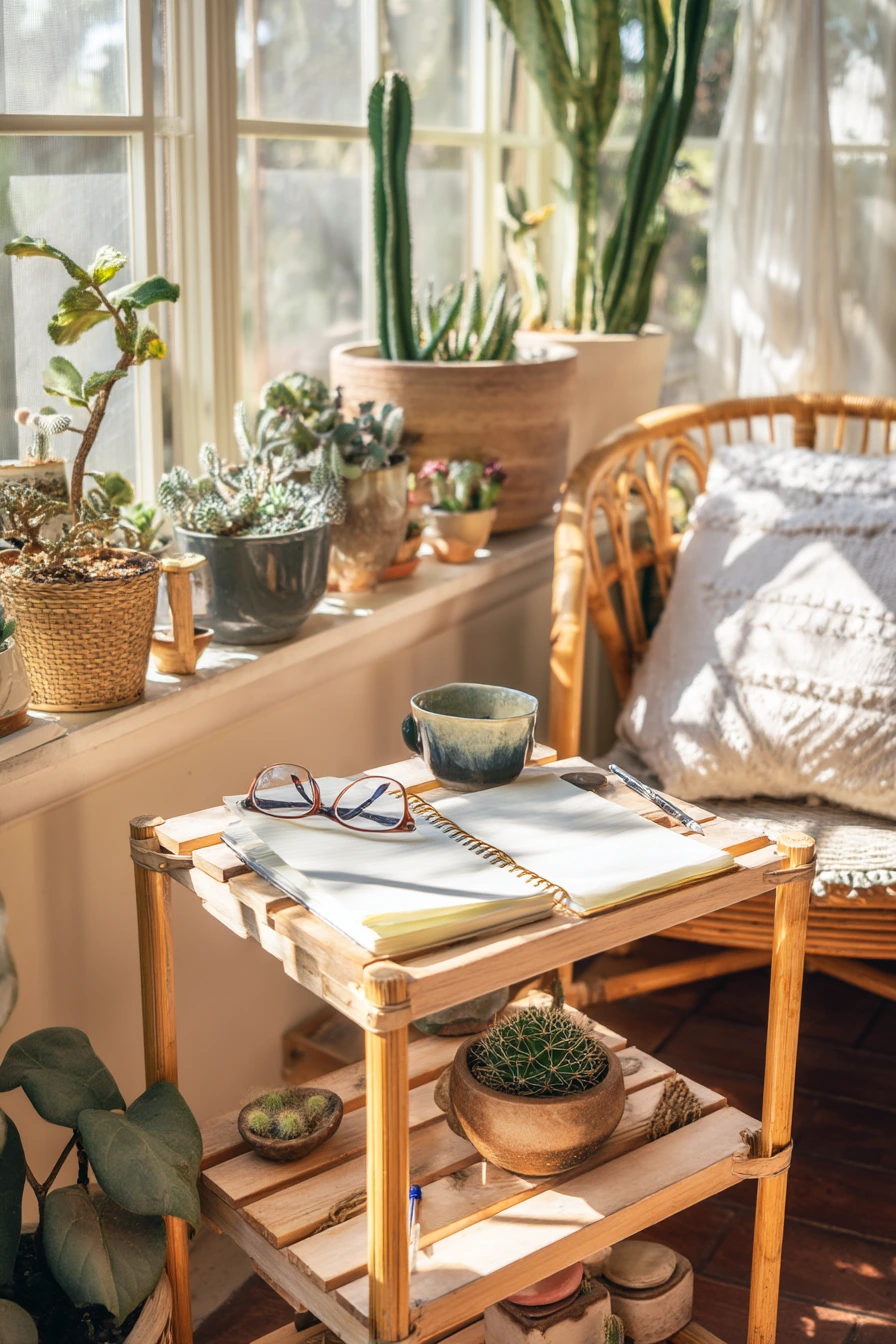
A bright sunroom is ideal for a pallet shelf garden filled with succulents, cacti, and air plants. A pallet shelf gives you rows for small pots and tiny clay labels, so each plant has a clear spot. This is a good choice if you want greenery without daily watering.
Keep the room feeling airy but grounded by mixing plants with comfortable seating. A rattan chair with a slightly rumpled cushion, reading glasses, and a ceramic tea cup make the space feel lived in. A sketchbook left open adds a quiet hobby vibe that fits well with slow-growing plants. When plant shadows stretch across the floor, the whole corner feels calm without extra decor.
For care, use a gritty cactus mix and pots with drainage holes. Rotate plants every week so they do not lean toward the window. Group similar types together: cacti in the brightest zone, softer succulents in filtered light, and air plants where they get airflow. Mist air plants or soak them weekly, then let them dry fully.
- Mount the pallet shelf securely and check that each ledge can hold pot weight.
- Use small trays under pots to protect wood from water rings.
- Mix textures: spiky cactus, rosette succulents, and wispy air plants.
- Label plants with simple clay tags so care stays easy.
- Style with one neutral chair cushion so the green shapes stand out.
Pro Design Tip: Limit the palette to two pot colors so the shelf looks curated, even with many different plant shapes.
Budget Considerations: Propagate succulents from cuttings and grow your collection over time instead of buying large specimens.
9 9. Rainy-Day Indoor Pallet Seedling Station
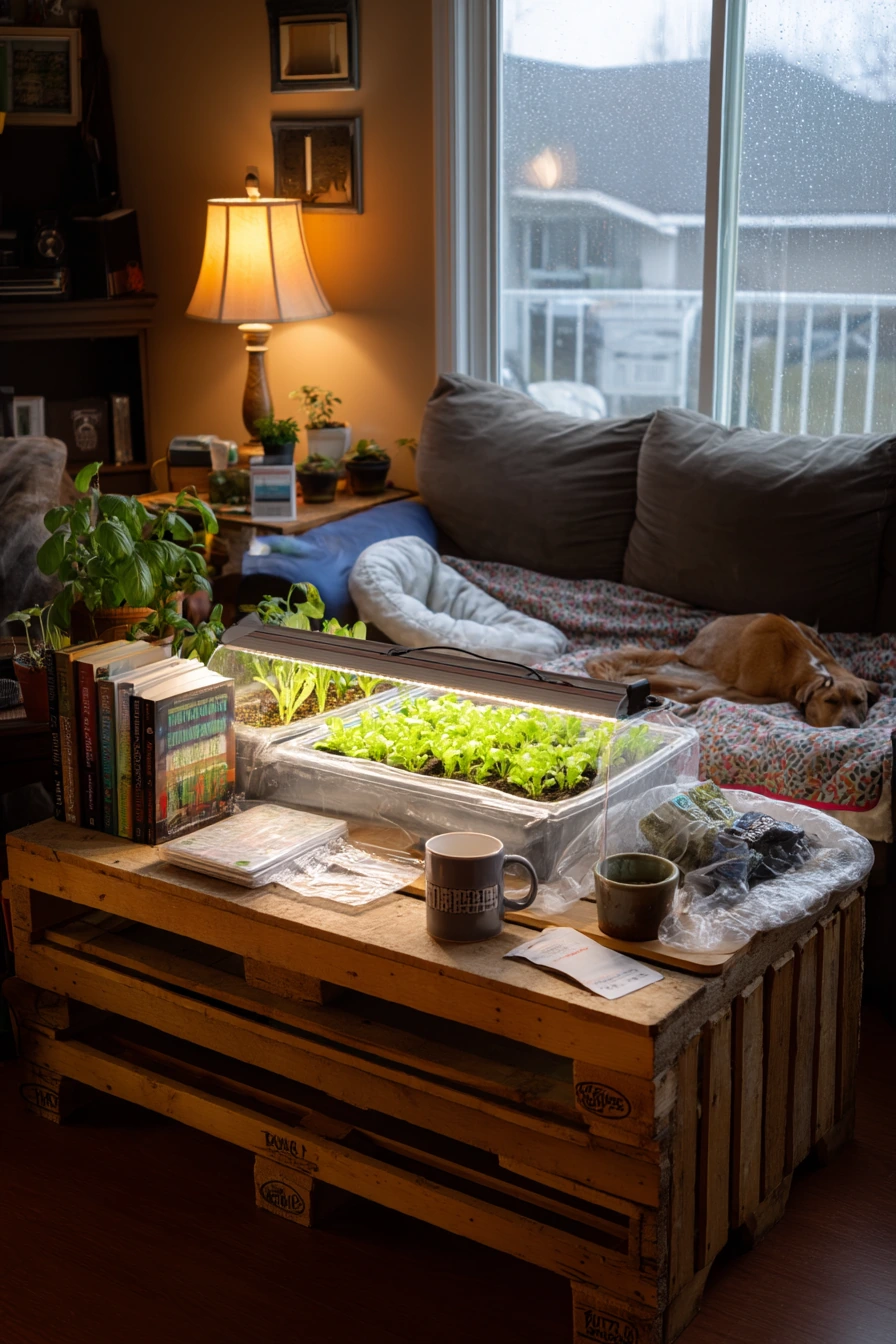
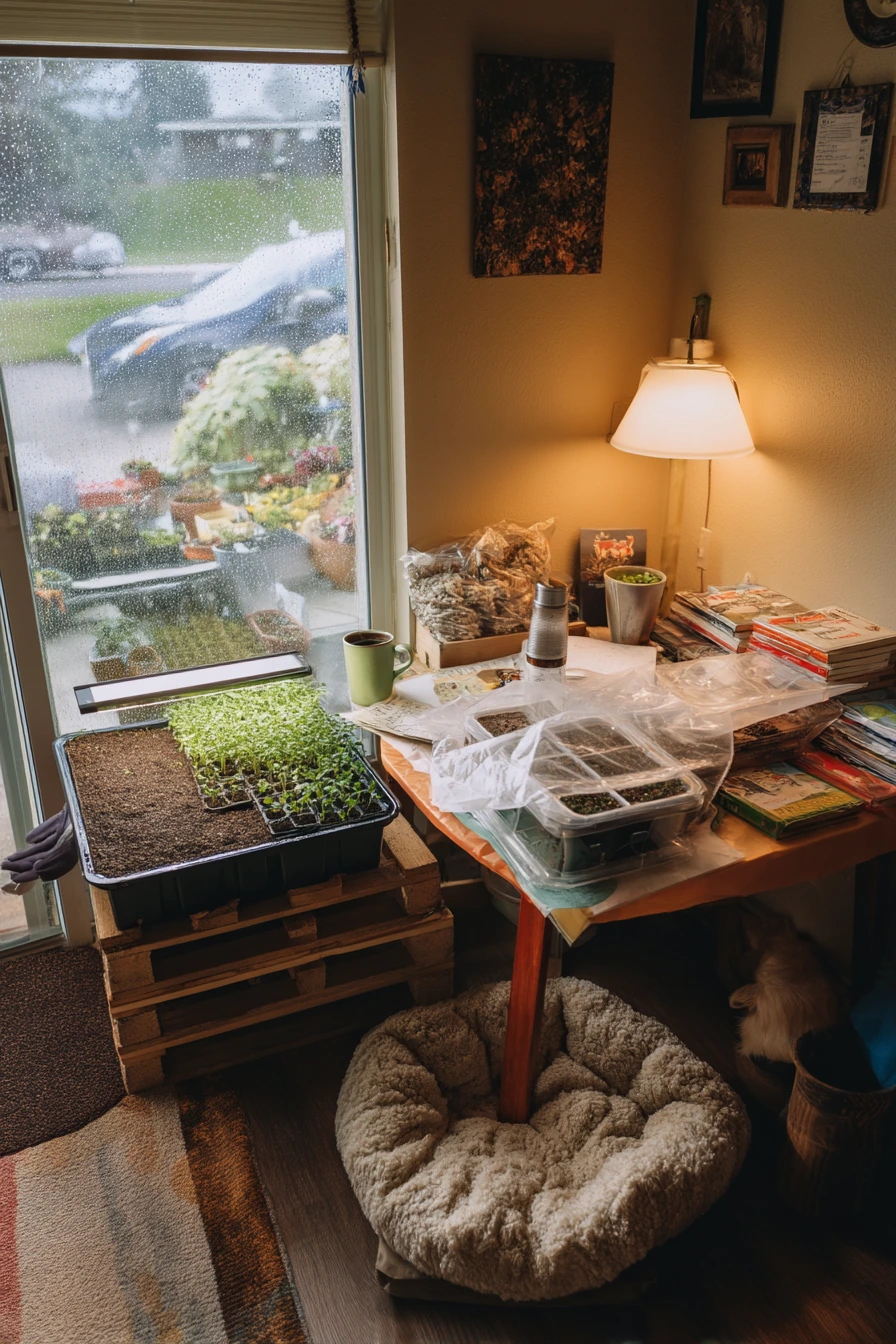
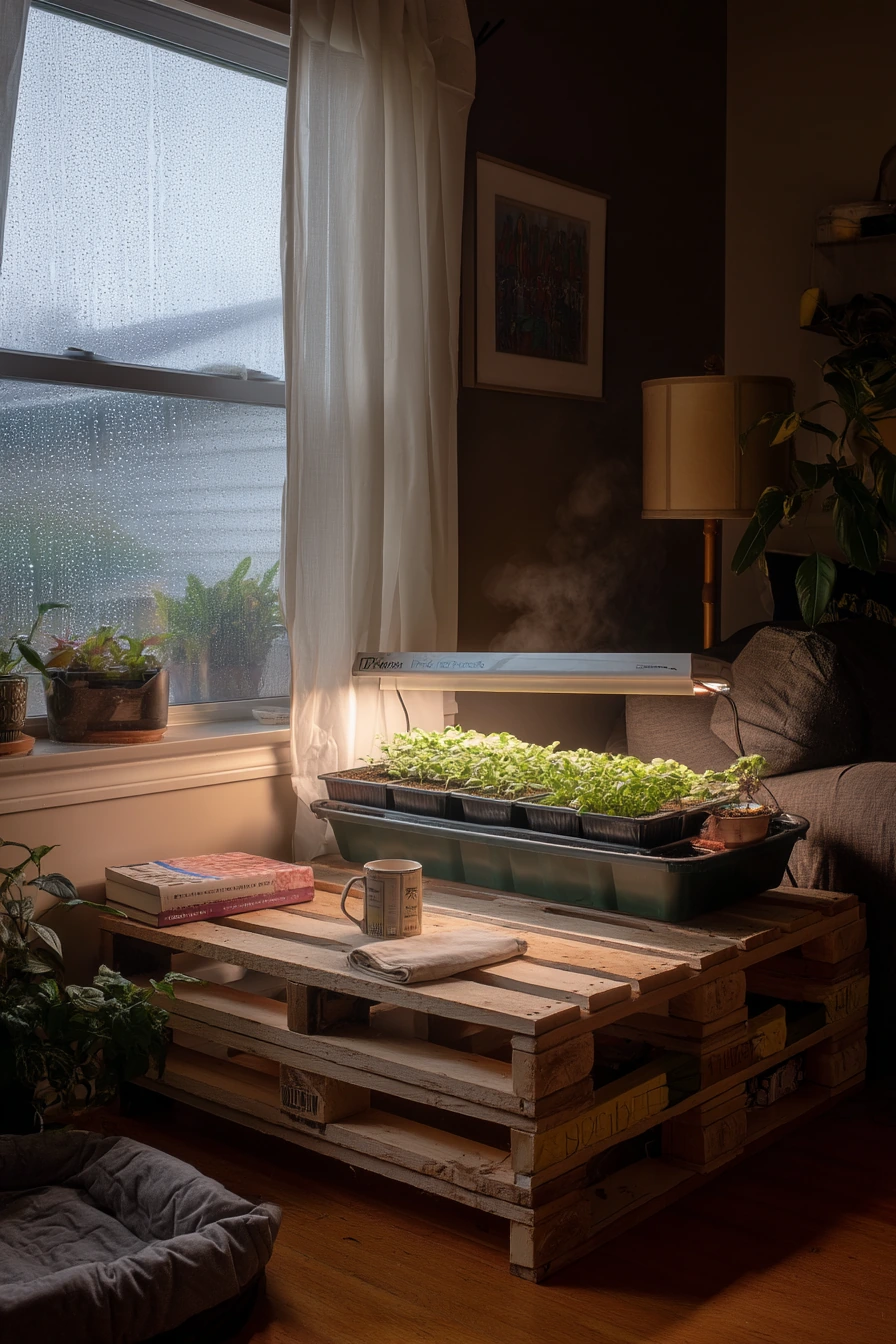
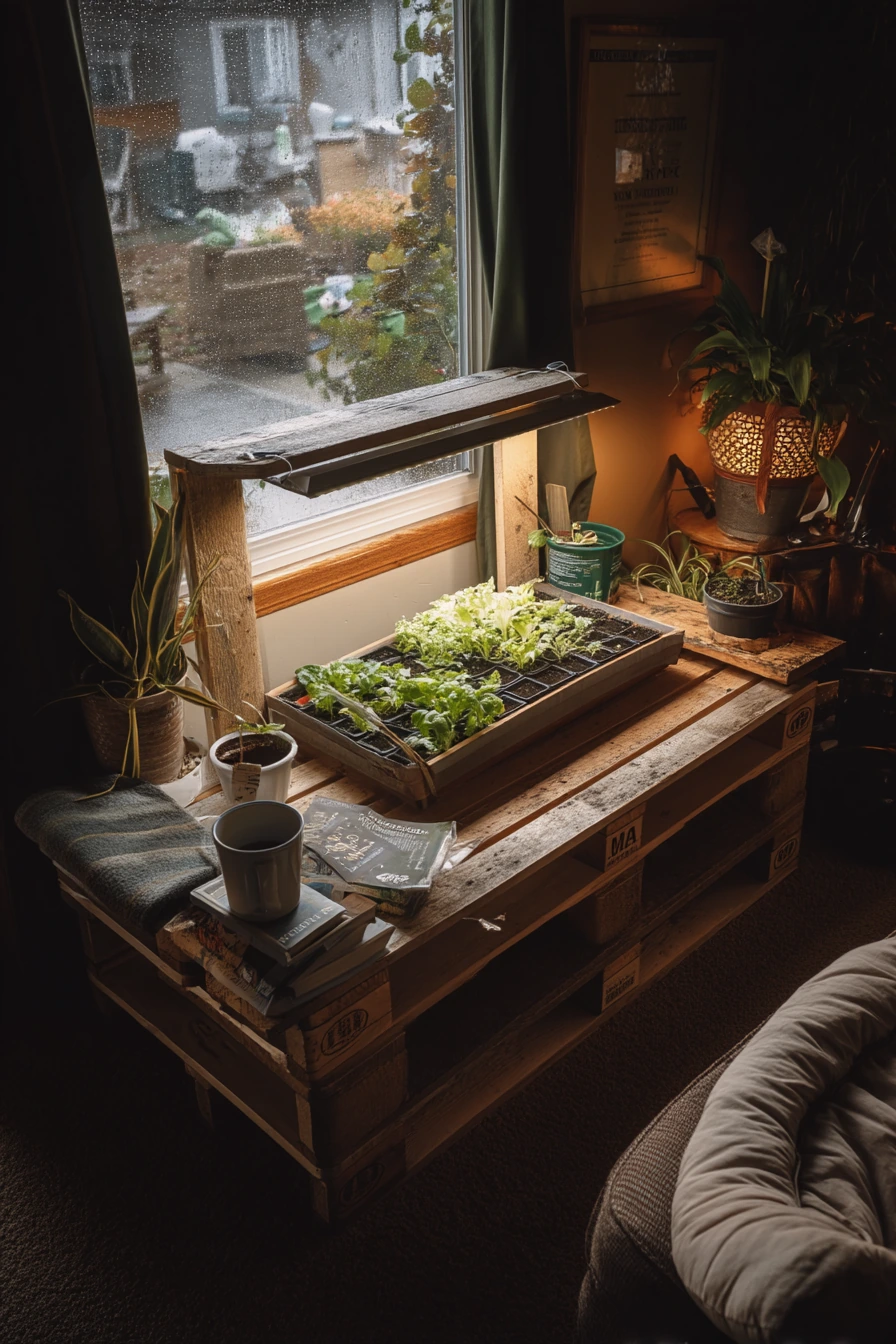
An indoor seedling station built from a pallet helps you start plants early and keep trays organized. Place it near a living-room window for natural light, then add simple grow lights for cloudy days. This setup works well for lettuce starts, basil, and marigolds, which transplant easily and give fast results.
Make it feel like part of the home, not a lab. Stack a few gardening books, keep a mug nearby, and store damp gloves in a tray so they do not drip on the floor. A folded grocery receipt or a small notes list can remind you what seeds you planted and when. If a pet bed sits in the corner, keep cords tucked away and choose a stable shelf so nothing tips.
For function, focus on airflow and consistent moisture. Use a waterproof mat under trays. Set lights a few inches above seedlings and raise them as plants grow. Water from the bottom when possible to reduce fungus. Label each tray with date and variety so you know what is ready for thinning and what can wait.
- Add a timer plug for grow lights to keep a steady schedule.
- Use shallow trays with clear domes only until seeds sprout.
- Keep a spray bottle for gentle watering of tiny starts.
- Thin lettuce early so seedlings do not crowd and stretch.
- Style with one basket for tools so the station stays neat.
Pro Design Tip: Paint the back of the pallet shelf white or add a light panel so more light bounces onto seedlings.
Budget Considerations: Start with one affordable LED grow bar and expand later; even a single light can handle a couple of trays.
10 10. Backyard Pallet Garden Entertaining Nook
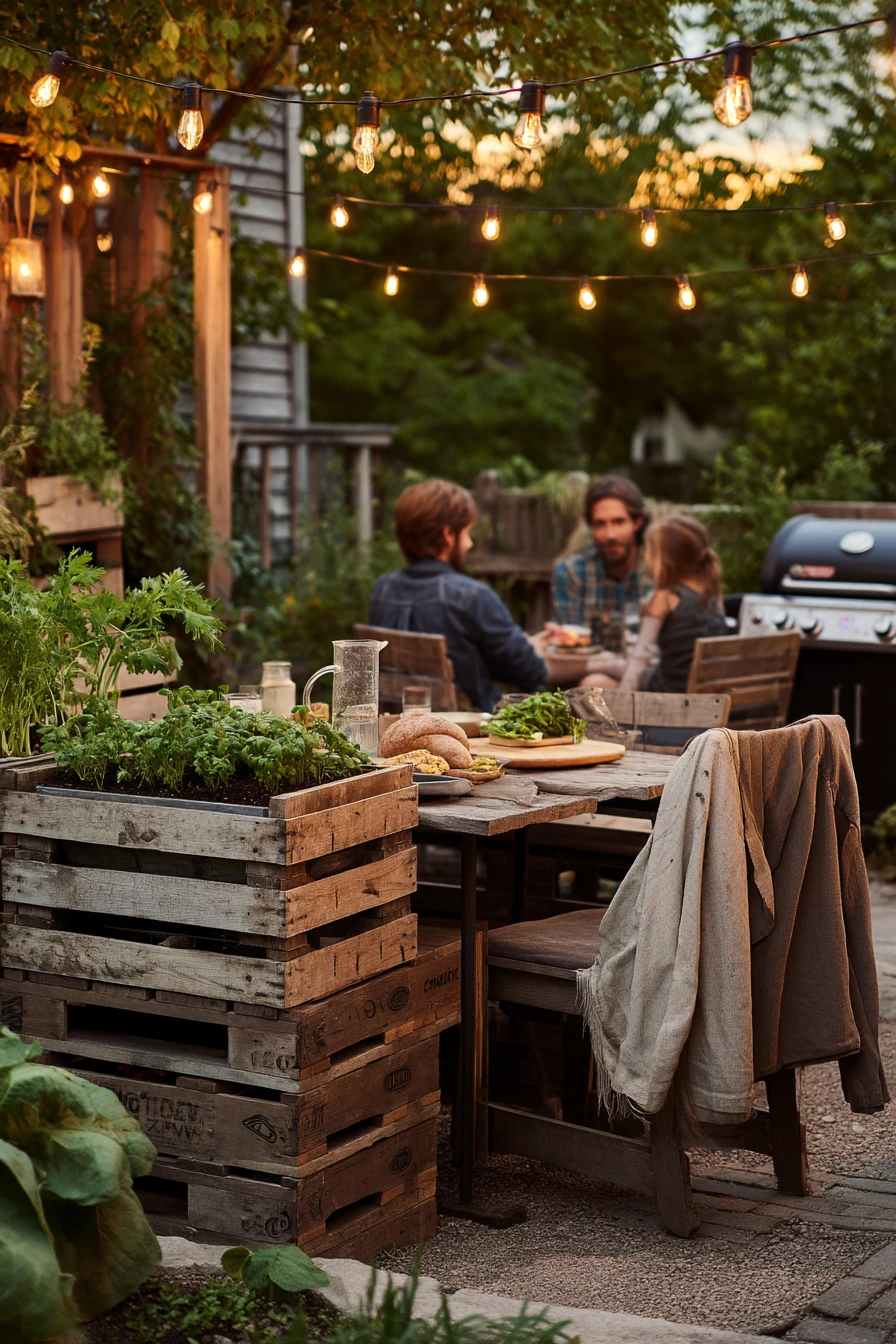
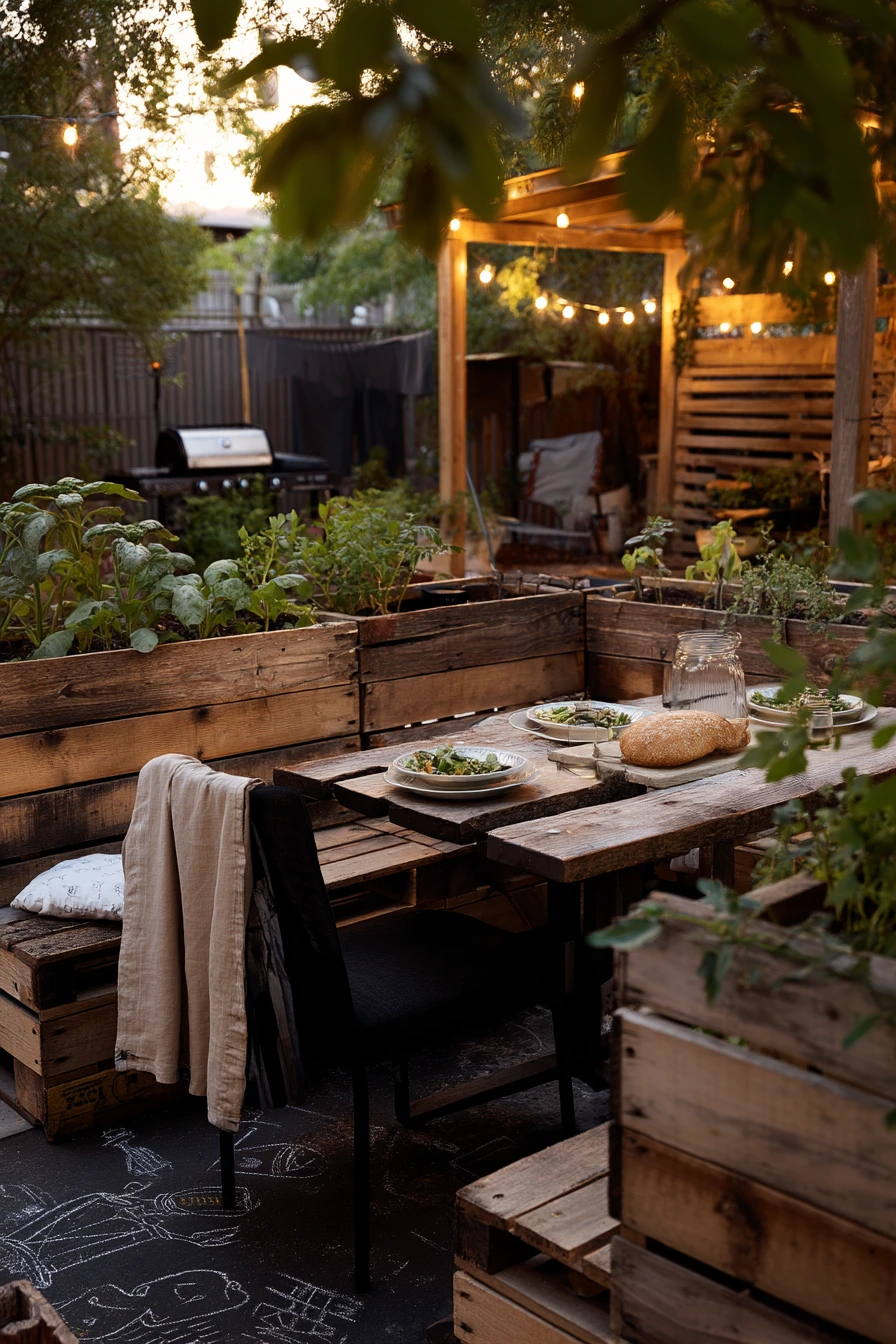
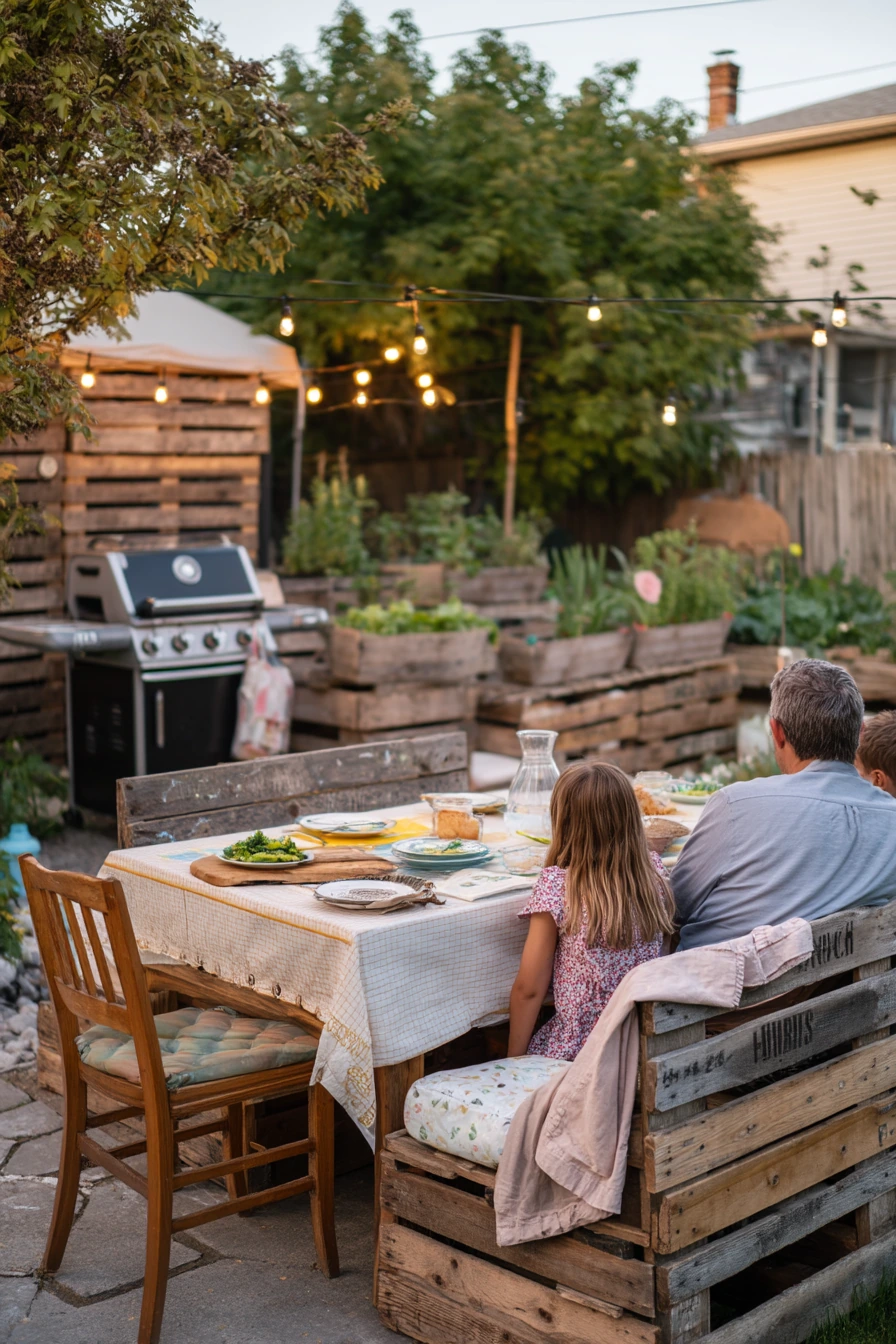
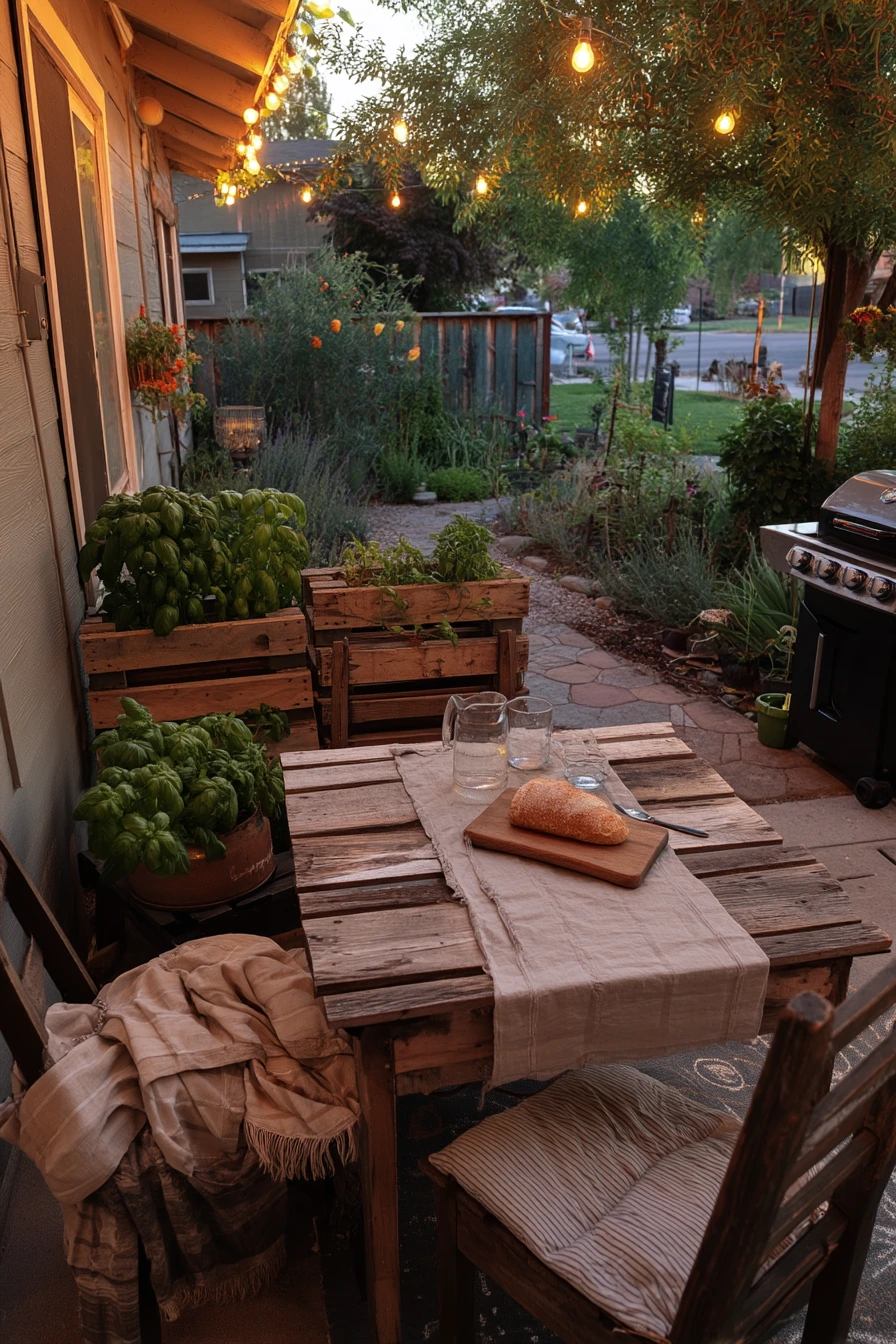
A backyard pallet garden feels most inviting when it supports how you live, like meals outside. Surround a small dining nook with pallet planters filled with edible greens and herbs. The plants create a soft border and make it easy to snip herbs while you cook or grill.
Keep the scene warm and unpolished. String lights overhead, a bread board on the table, and a carafe of water are enough for everyday dinners. Linen napkins add a simple texture. A jacket draped over a chair and kids’ chalk marks on the patio make it feel like a real family space. Place the grill in the background so the garden and dining area feel connected.
Plan the planting with cooking in mind. Put herbs like basil, parsley, and chives closest to the table. Place leafy greens where they get consistent sun but not harsh midday heat. Use deeper pockets for plants that need more root space. Water before guests arrive so the area looks fresh and you do not have hoses out during dinner.
- Use two planter heights to frame the nook without blocking conversation.
- Add a small basket for herb scissors and a harvest bowl near the door.
- Choose warm bulbs for string lights to match amber dusk light.
- Keep one clear walkway so serving food is easy.
- Style with simple linens and wood tones to match pallet texture.
Pro Design Tip: Repeat the same herb in two planters, like basil at both ends of the nook, to make the layout feel symmetrical.
Budget Considerations: Use inexpensive solar string lights and plant from seed for greens to keep the dining-garden upgrade low cost.
Pallet garden ideas work because they fit real spaces, from a small balcony to a family backyard dining nook. Start with one project that matches your light and your daily routine.
Keep the build simple, use safe pallets, and style with a few practical items like a watering can, a basket for tools, and one comfortable seat. Small touches make the garden feel lived-in and easy to maintain.
If you want the quickest win, try a vertical herb planter or a compact pallet box with lettuce and marigolds. Then expand as you learn what grows best in your home.
FAQ
What kind of pallets are safe for a pallet garden? Choose heat-treated pallets marked “HT” and avoid pallets with chemical stains or strong odors.
Do I need to line a pallet planter? Yes, use landscape fabric or a planter liner to hold soil in place and protect wood from constant moisture.
How do I water a vertical pallet garden without making a mess? Water slowly from the top, add a drip tray at the bottom, and use a narrow-spout watering can for control.
Can I use a pallet garden in a rental? Yes, use freestanding designs, leaning planters, or weighted bases so you do not need to drill into walls.
What are the easiest plants for pallet garden boxes? Lettuce, herbs like basil and chives, strawberries, and marigolds are beginner-friendly and grow well in small spaces.
How long will a pallet planter last outdoors? With a liner, good drainage, and a safe exterior sealer, many pallet planters last a few seasons, depending on weather.